Handmade Birthstone Jewellery Inspiration
What Are The 12 Birthstones?
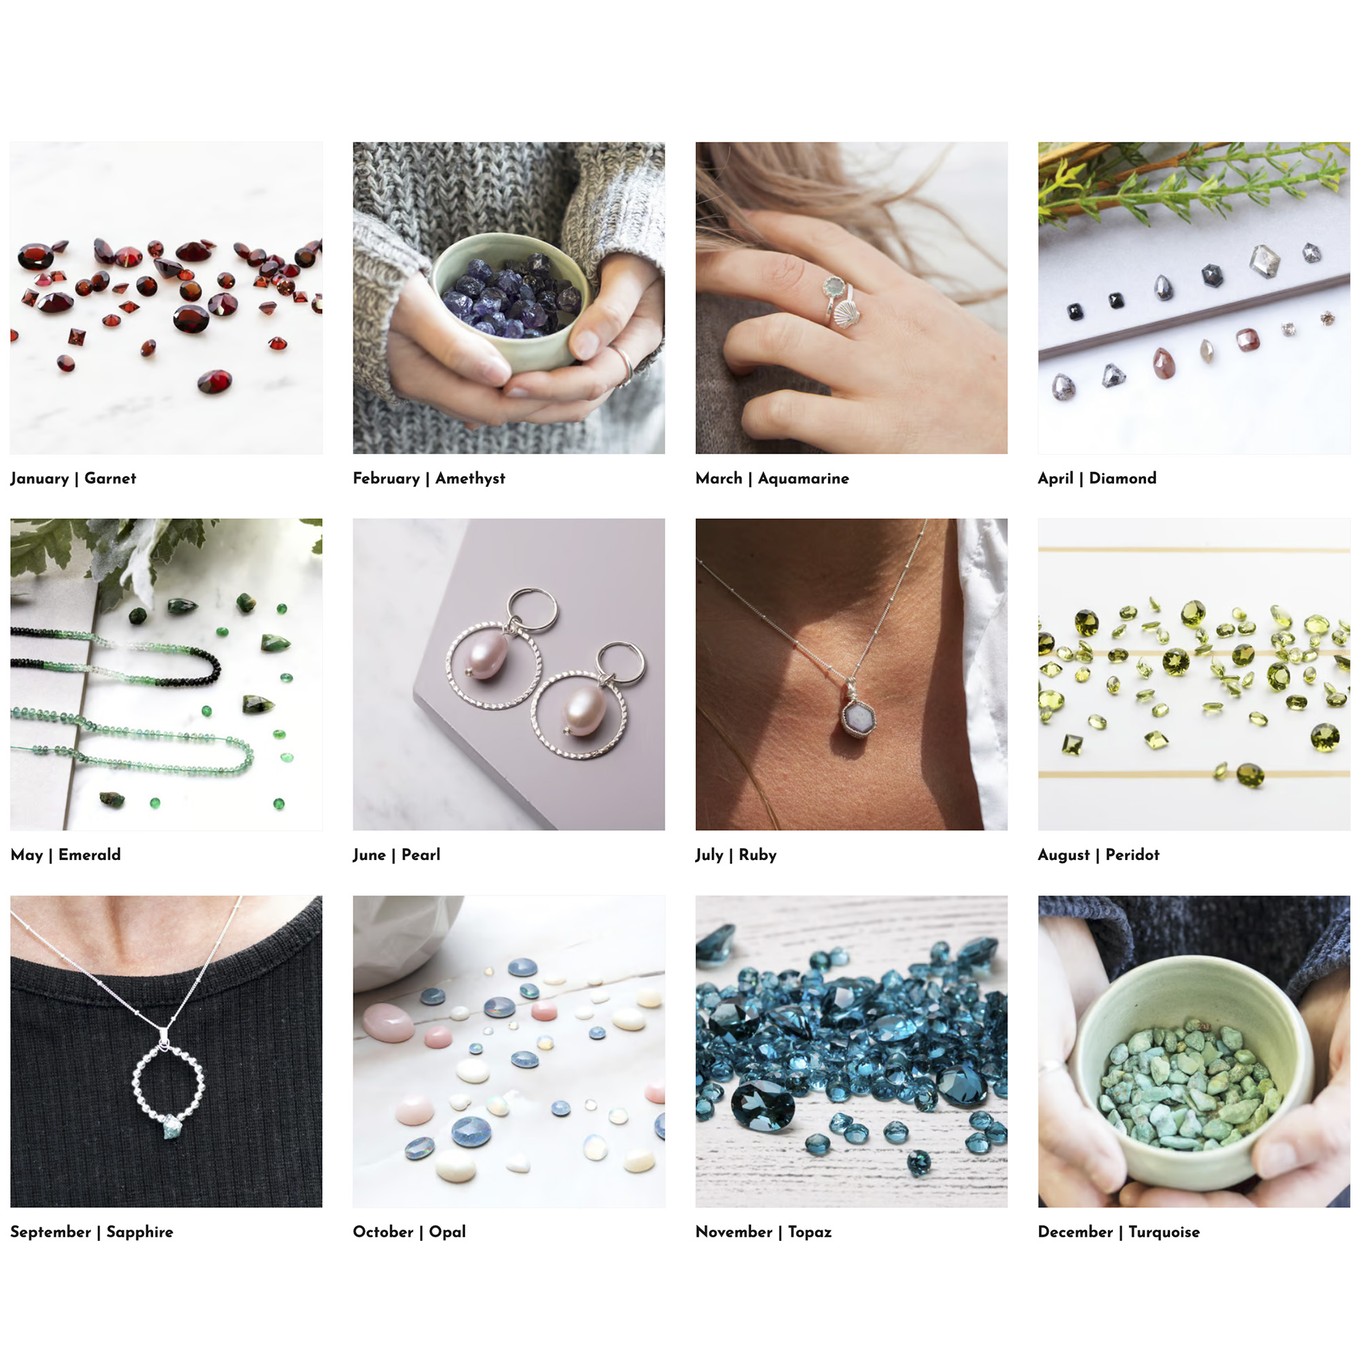
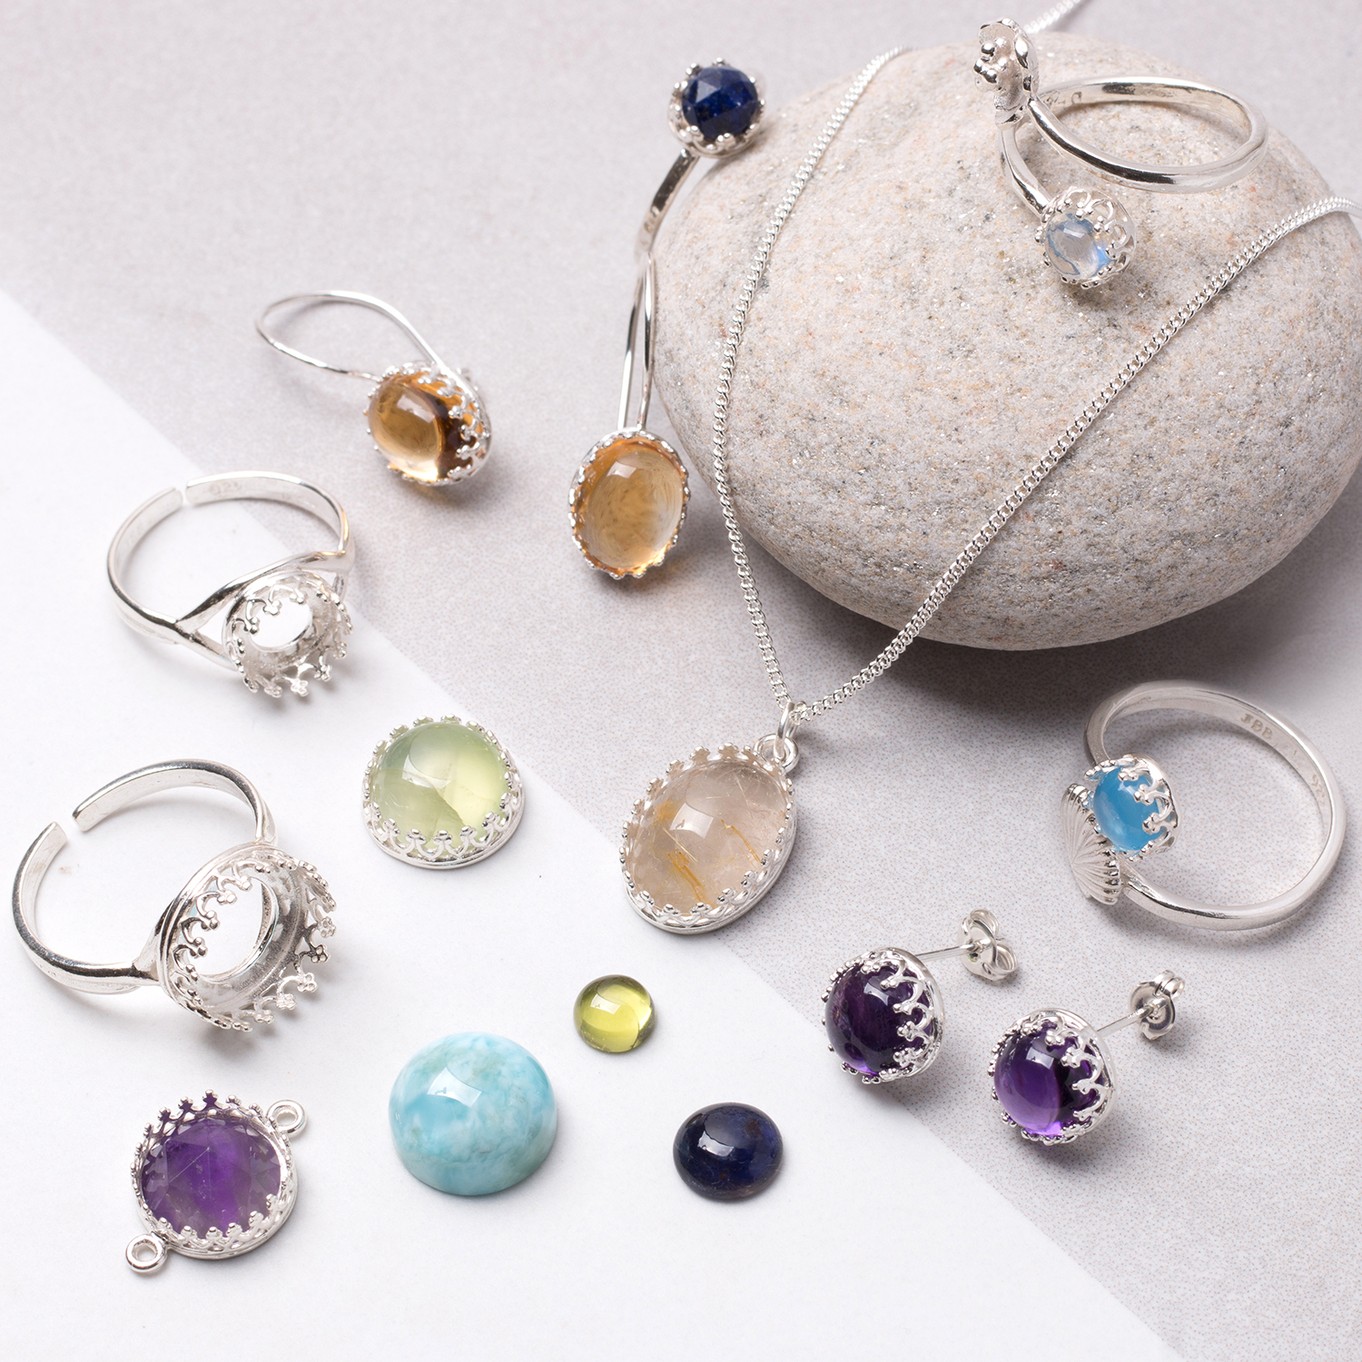
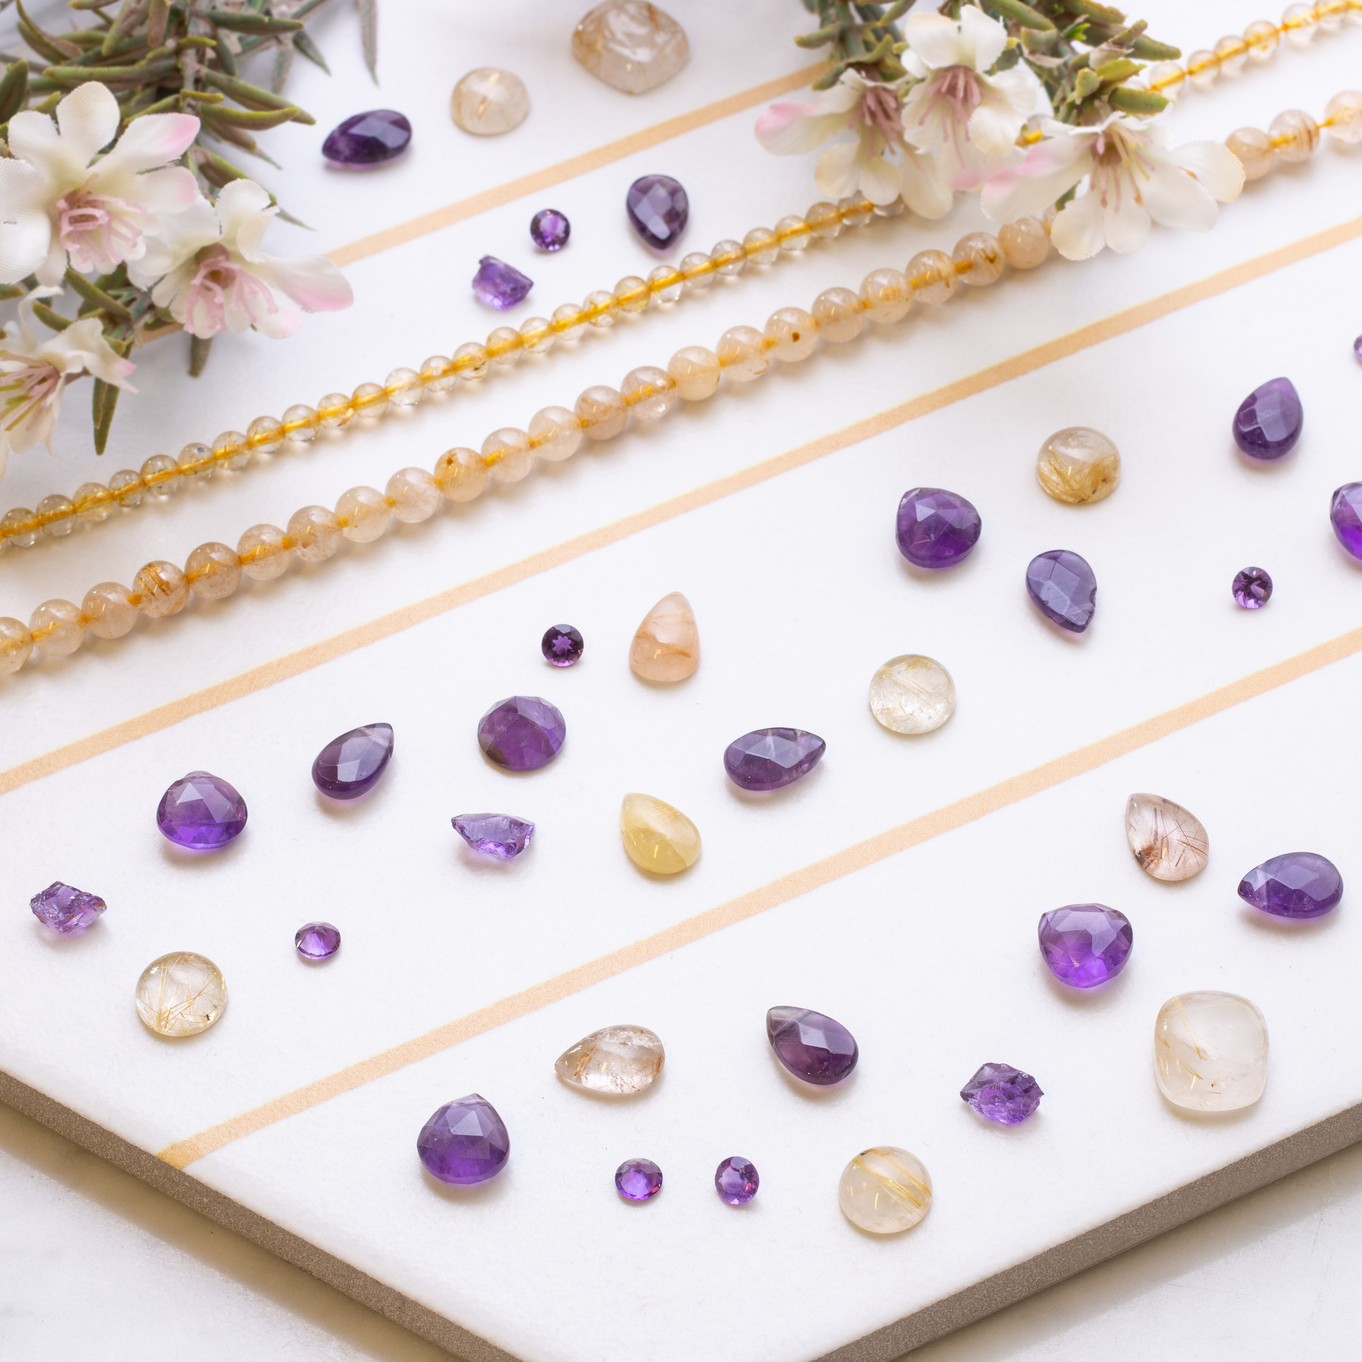
Every month of the year represents a stunning gemstone! So if you're after a special gift with meaning, why not make them a piece of jewellery featuring your loved one's birthstone. On this page, we explore the twelve birthstones, sharing some of our favourite customer birthstone designs - we hope they inspire you to make your own unique pieces! You'll find lots of beginner-friendly kits as well as more advanced step by step jewellery making tutorials on our website.
We make it easy for your to make your own birthstone jewellery! Shop by birthstone, with each birthstone category you'll find beautiful gemstone cabochons, faceted stones and gemstone beads in a range of shapes and sizes. For beginners, we recommend checking out our jewellery settings as well as our jewellery making kits and free tutorials. Don't hesitate to get in touch with our team if you have any questions or would like to place your order over the phone, we'd love to help!
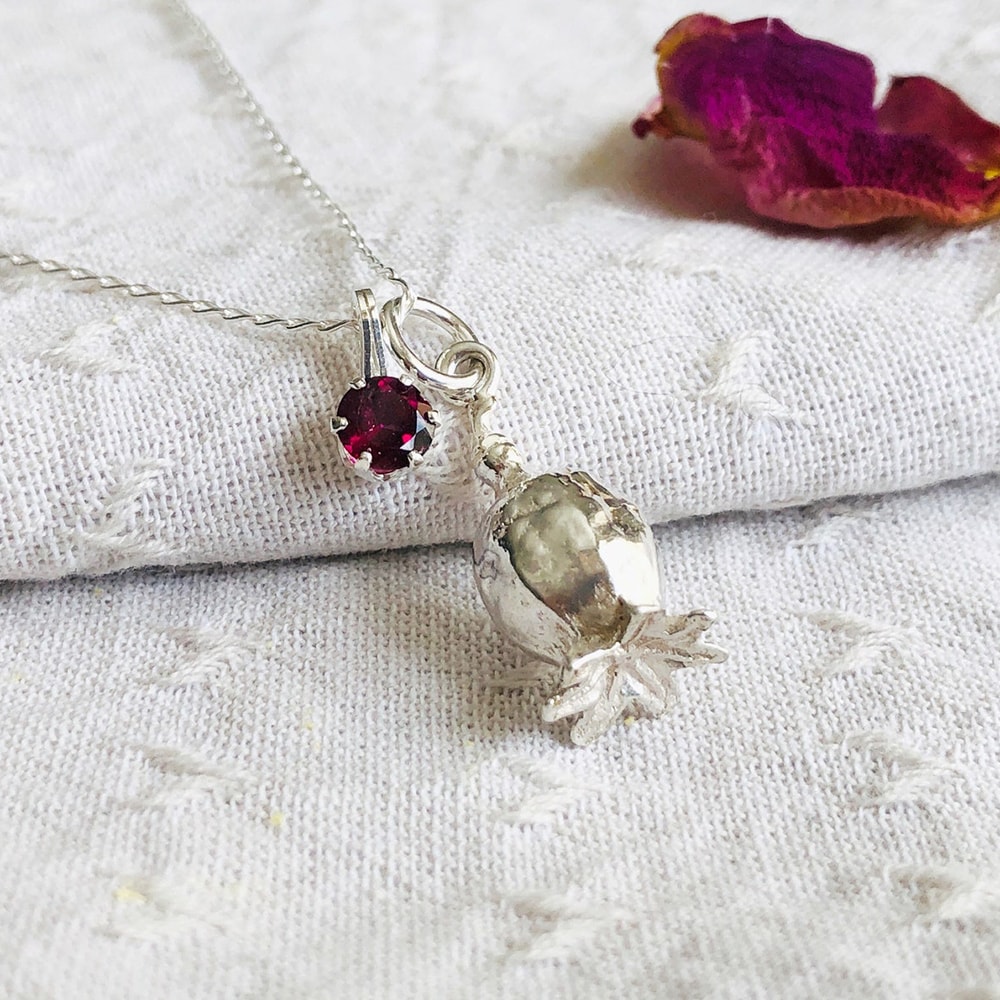
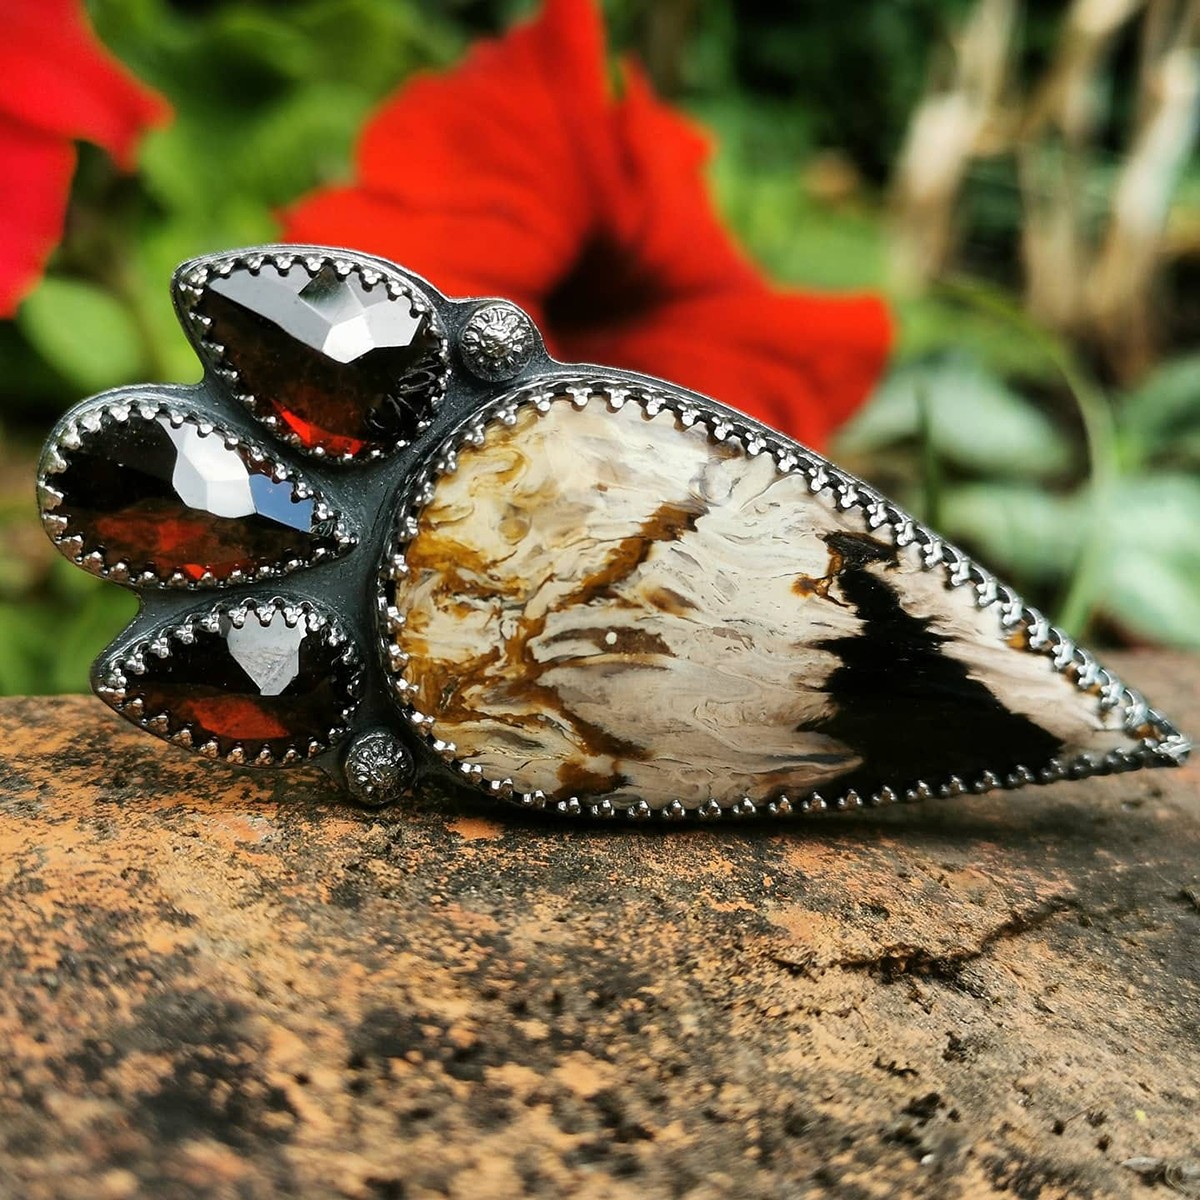
January Birthstone: Garnet
Anna from Silver Nutshell creates beautiful nature-inspired jewellery and often uses our snaptite settings for adding birthstones to her designs.
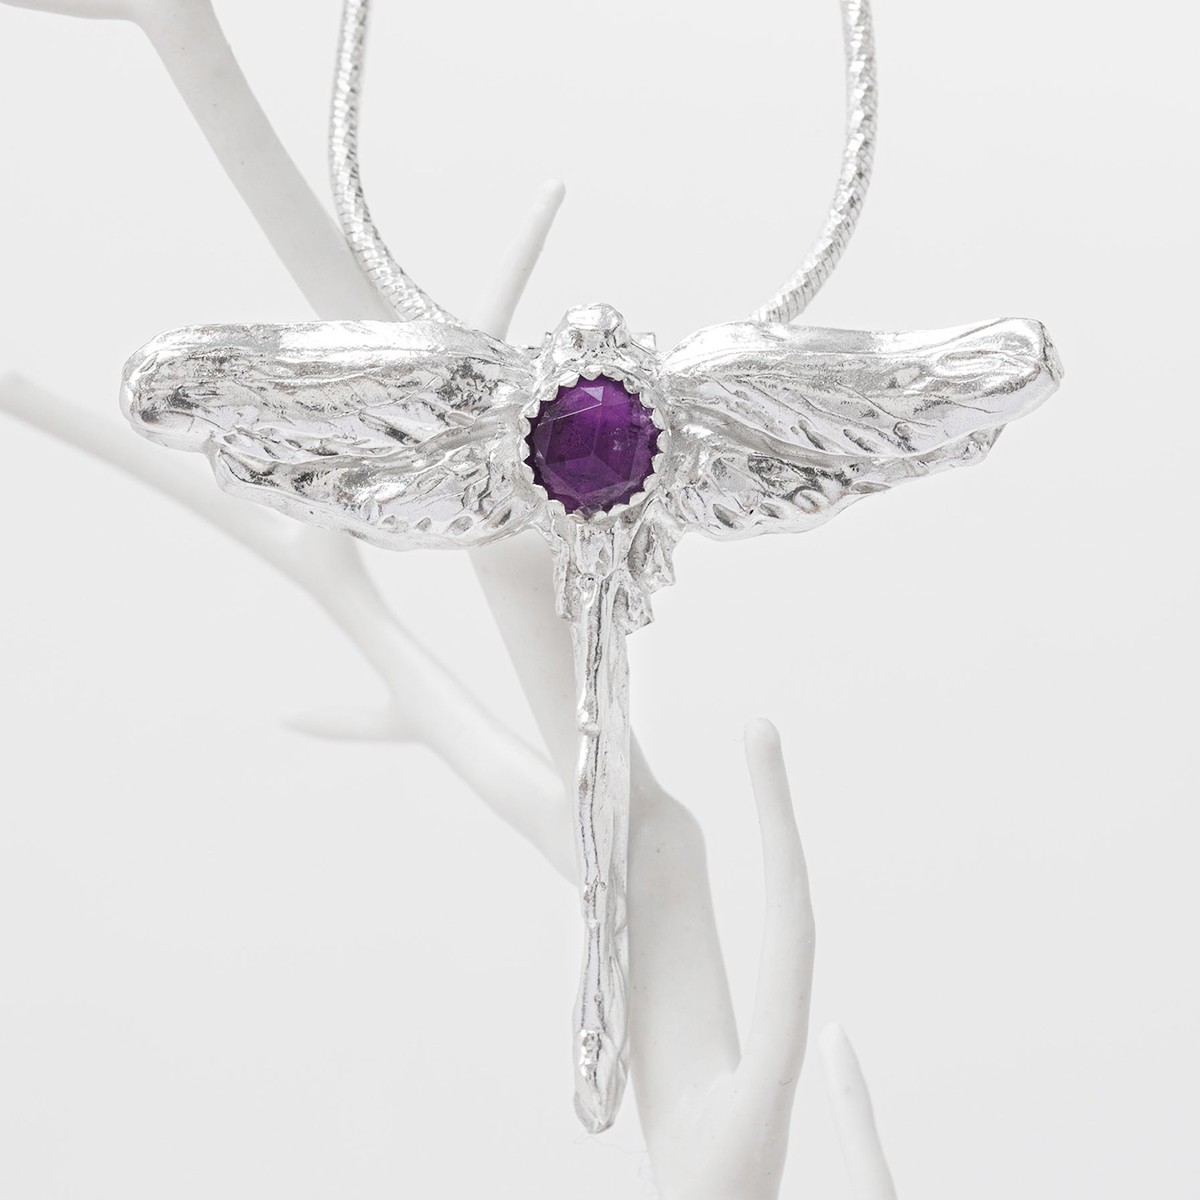
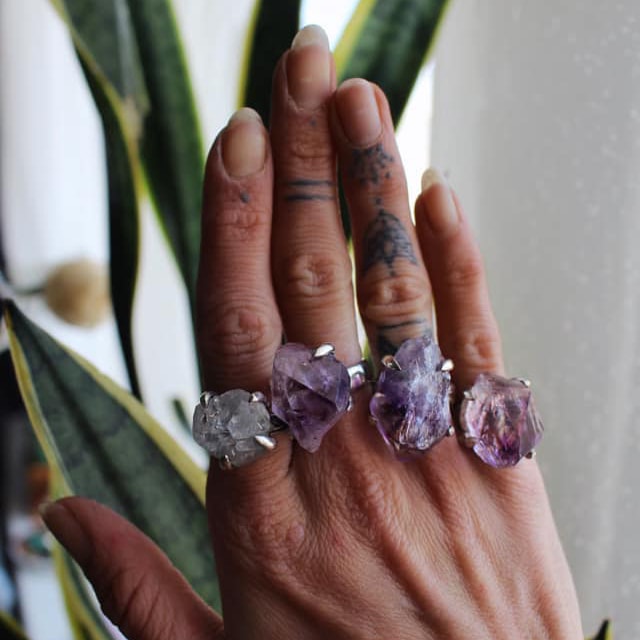
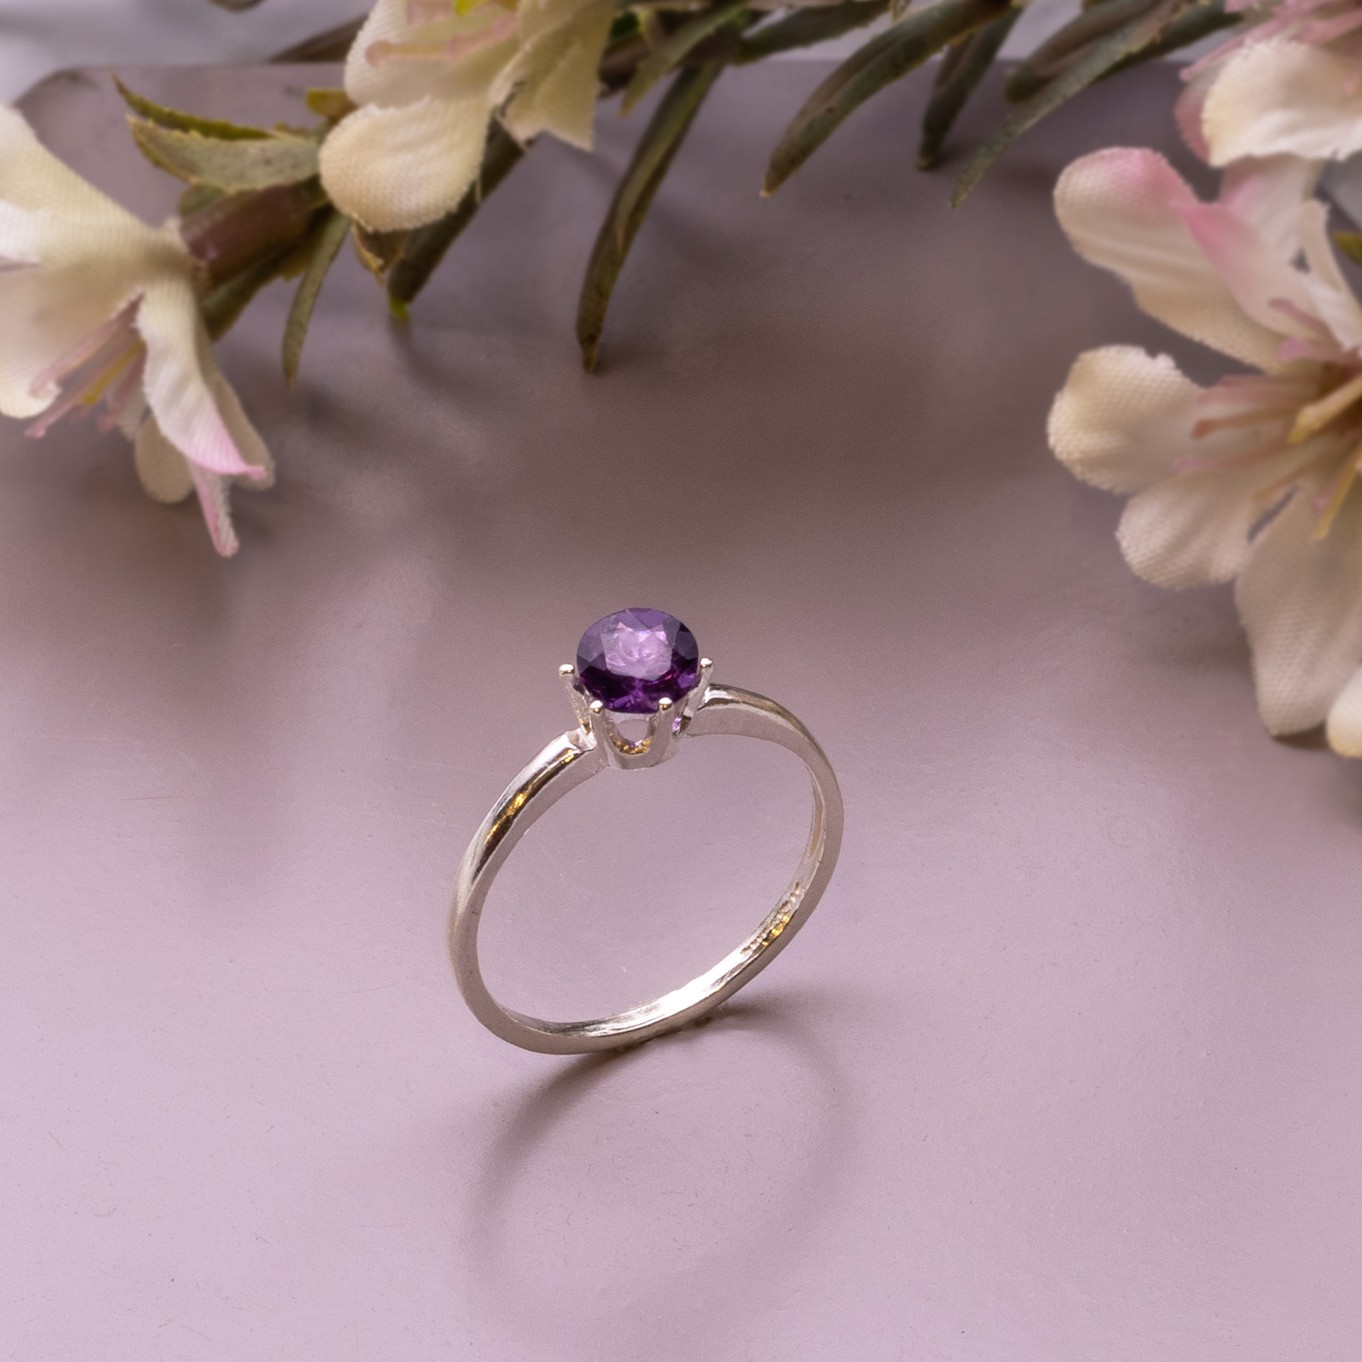
February Birthstone: Amethyst
Fireflies And Dragonflies: "Just one of the beautiful silver dragonfly pendants I have made from fine silver. This one has an amethyst for that extra zing of colour!"
Jessica from Roses & Whiskey mainly focuses on organic, gemstone crystal jewellery where she creates statement designs like these chunky amethyst rings!
March Birthstone: Aquamarine
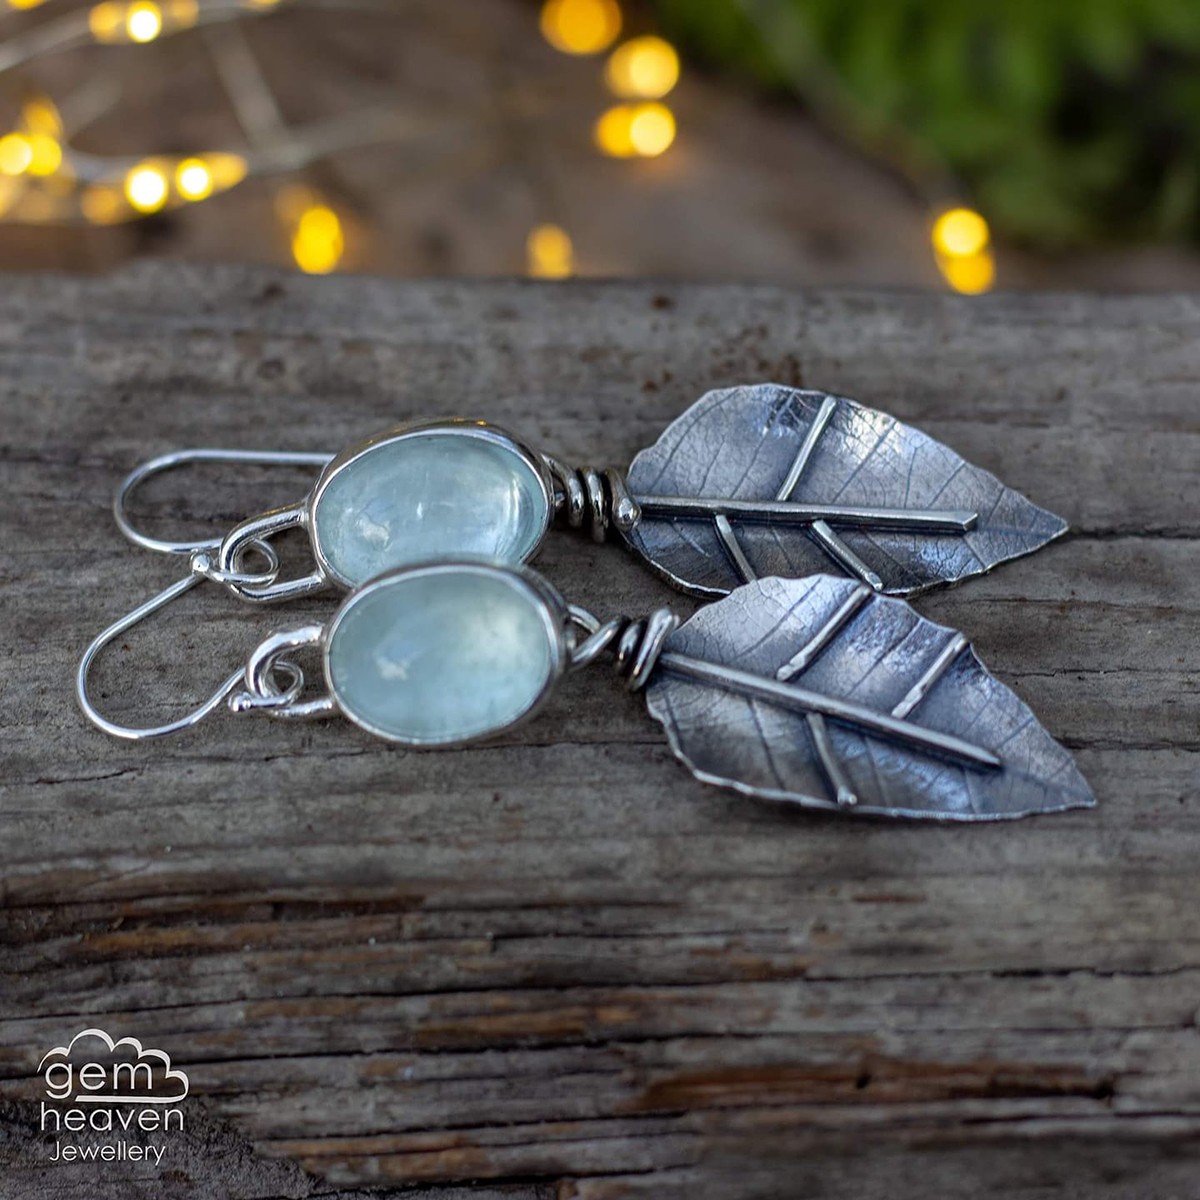
How magical are these aquamarine and detailed leaf earrings by Gemheaven Jewellery!
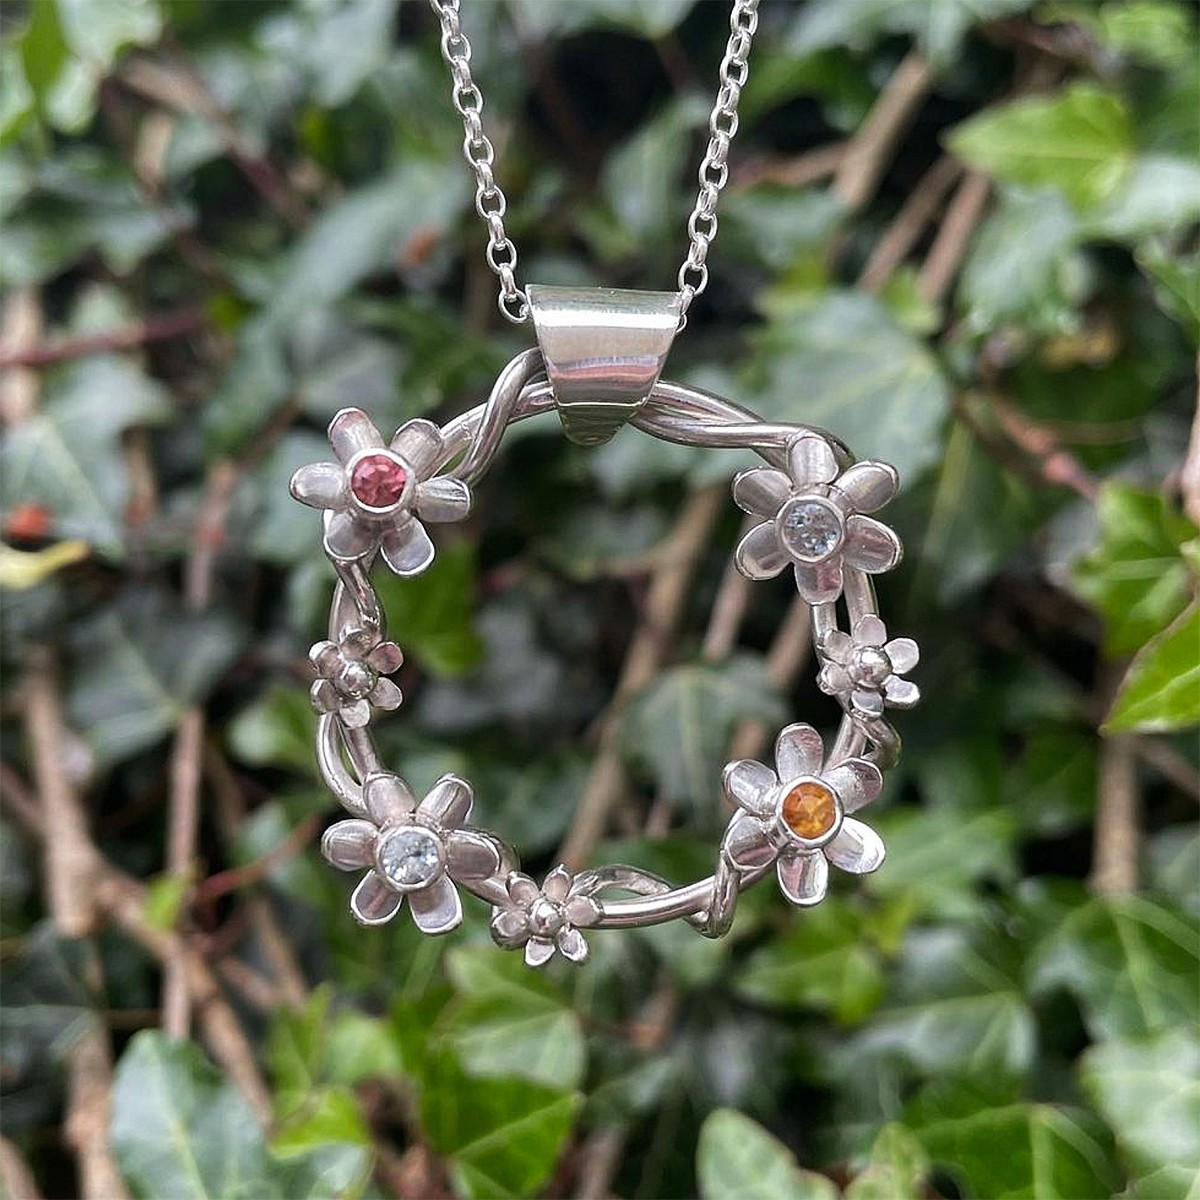
Hammered & Twisted: "This is a custom piece I made. Each stone is the birthstone of one of the client’s family members, two aquamarines, a pink tourmaline and a citrine all set in sterling silver."
April Birthstone: Diamond
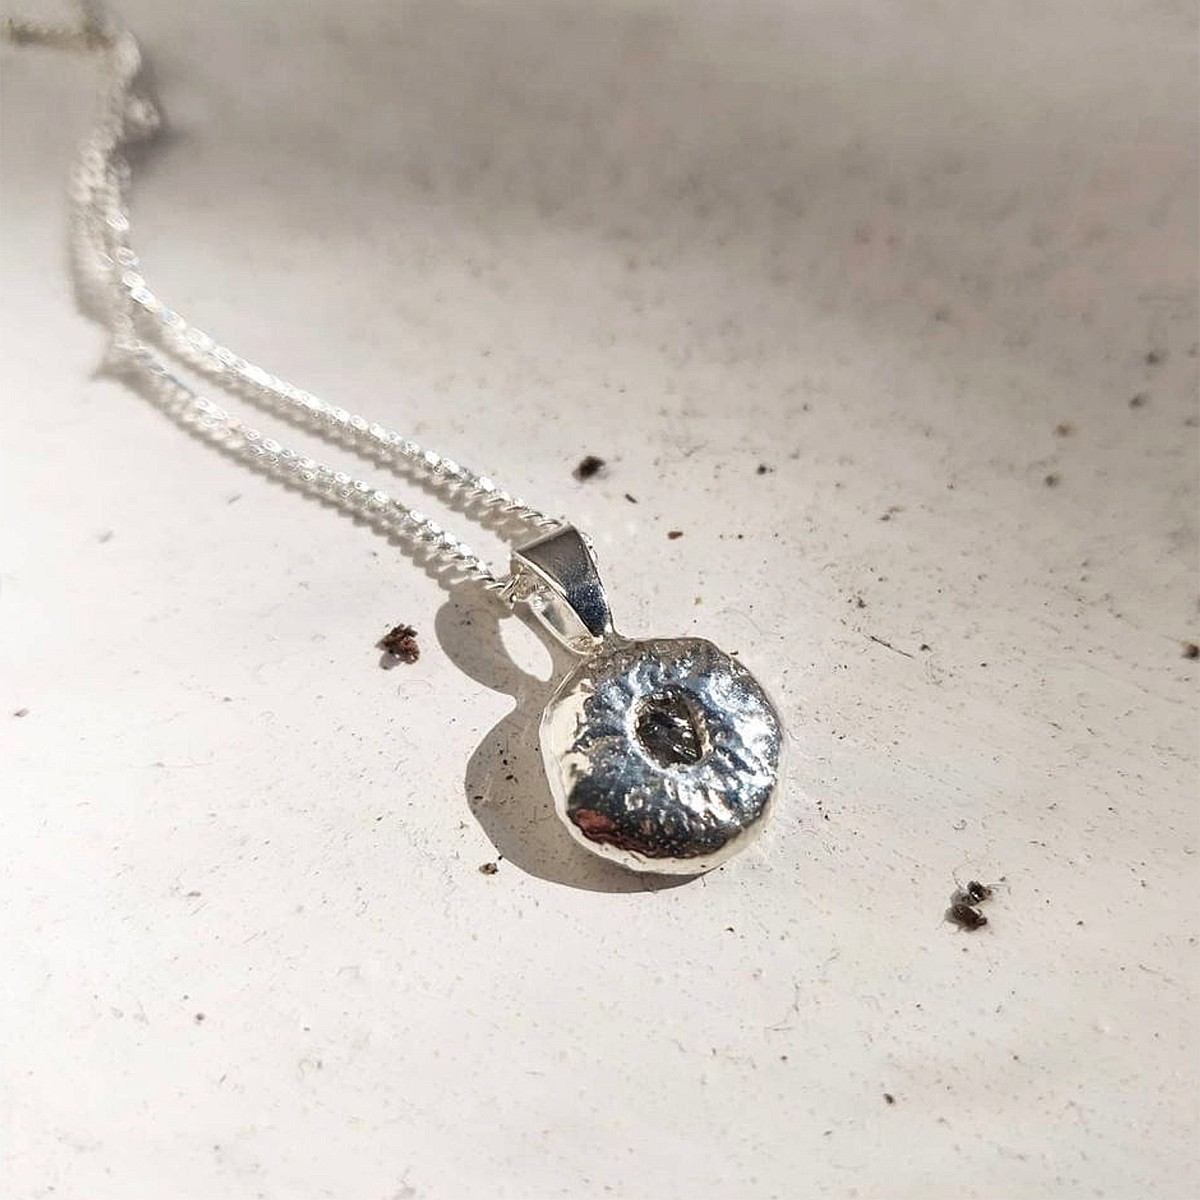
One of our natural diamonds set into molten silver by Jodie Fern Jewellery! A unique and one of a kind pendant we're totally obsessed with.
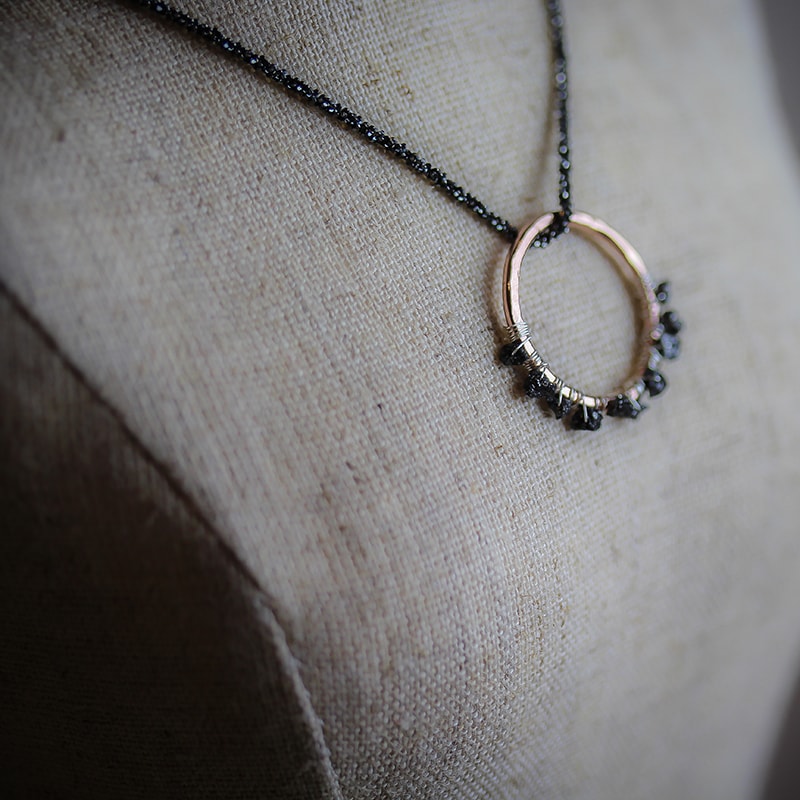
Caitie from When Caitie Met Soda has elegantly wrapped our black diamond beads onto a sterling silver pendant for a luxury design.
May Birthstone: Emerald
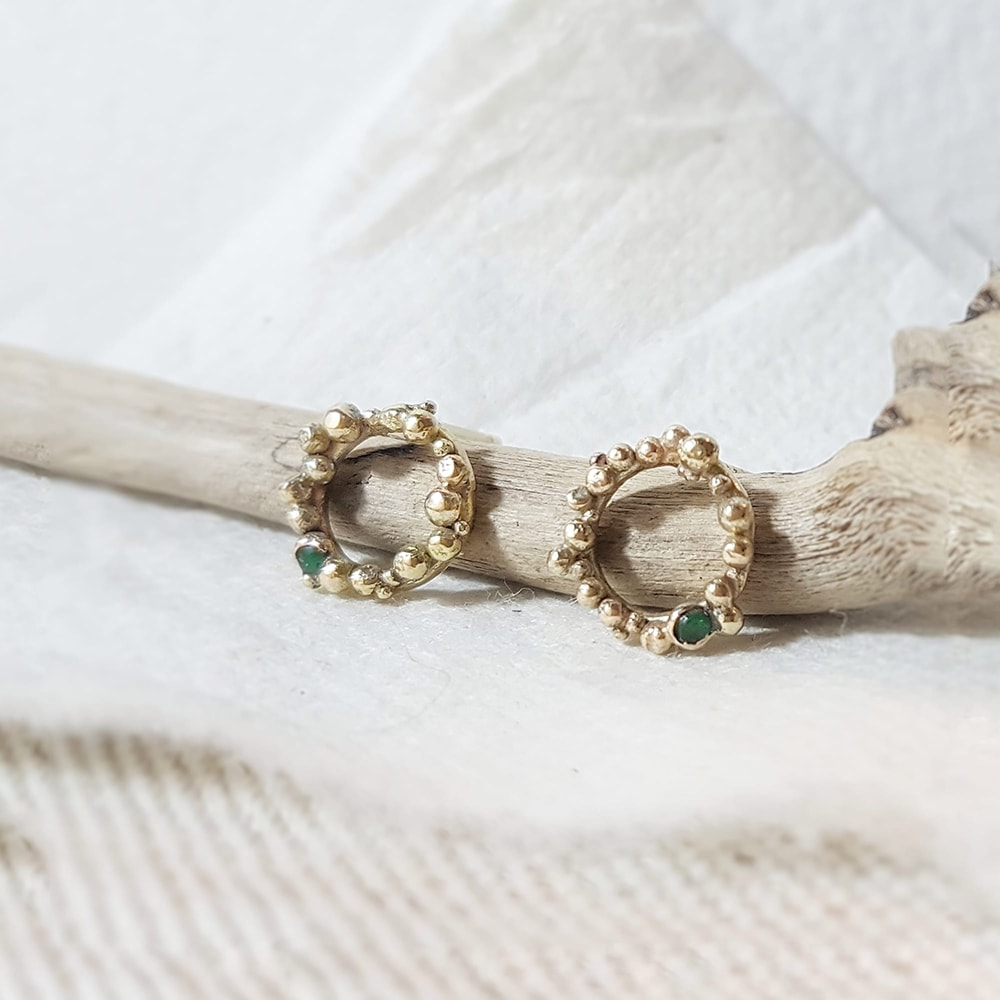
Gold granulated studs with pops of emerald by Sophie Cunliffe. Read our interview with Sophie to find out more about her stunning designs
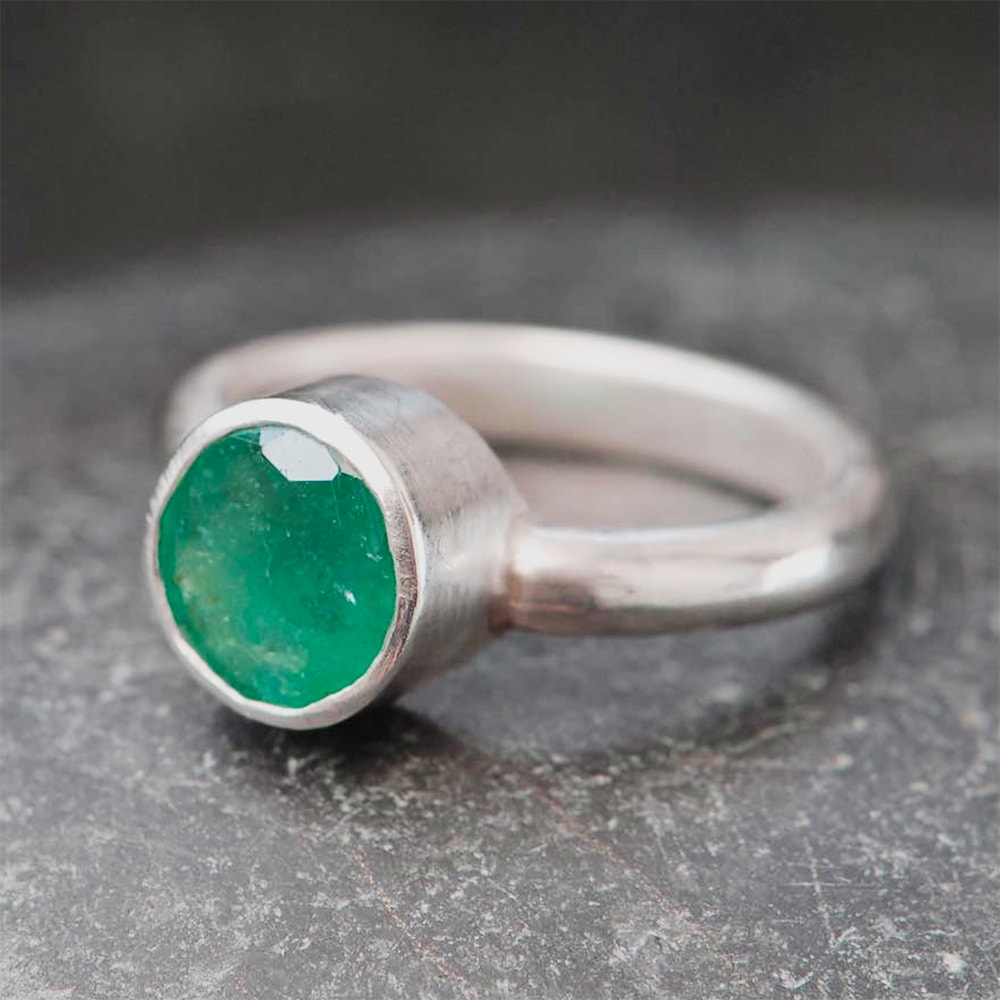
Hayley Agar Jewellery (from the Kernowcraft team!) creates this eye-catching sterling silver emerald ring with a matte finish.
June Birthstone: Pearl
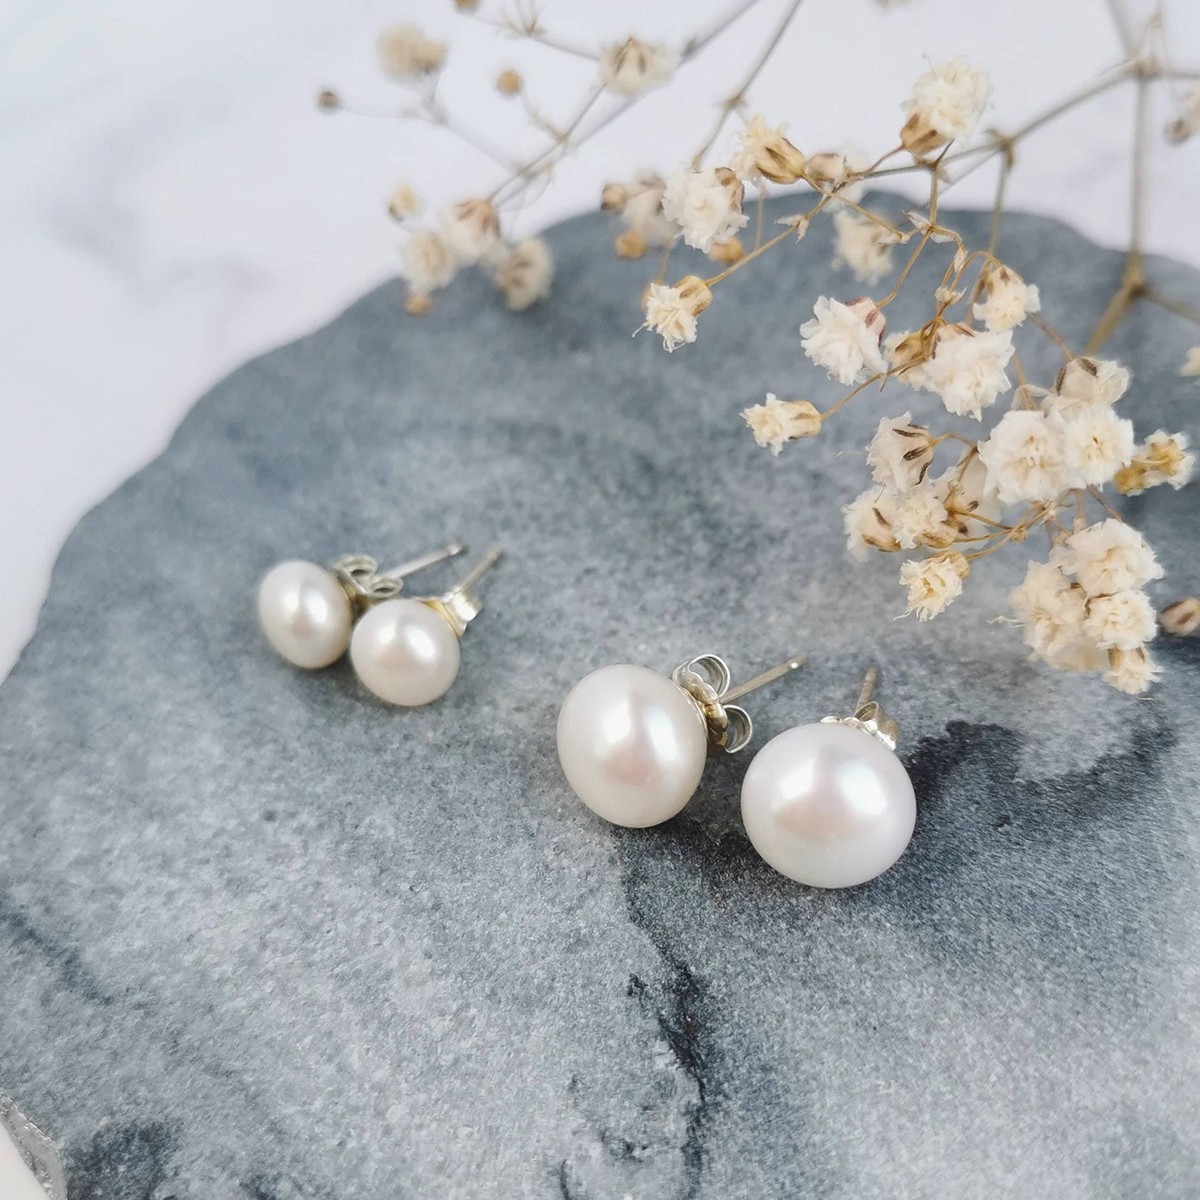
Cat Stacey Jewellery loves making birthstone jewellery like these pretty pearl eastuds.
Follow Cat's guest tutor on how to make scrap silver earstuds
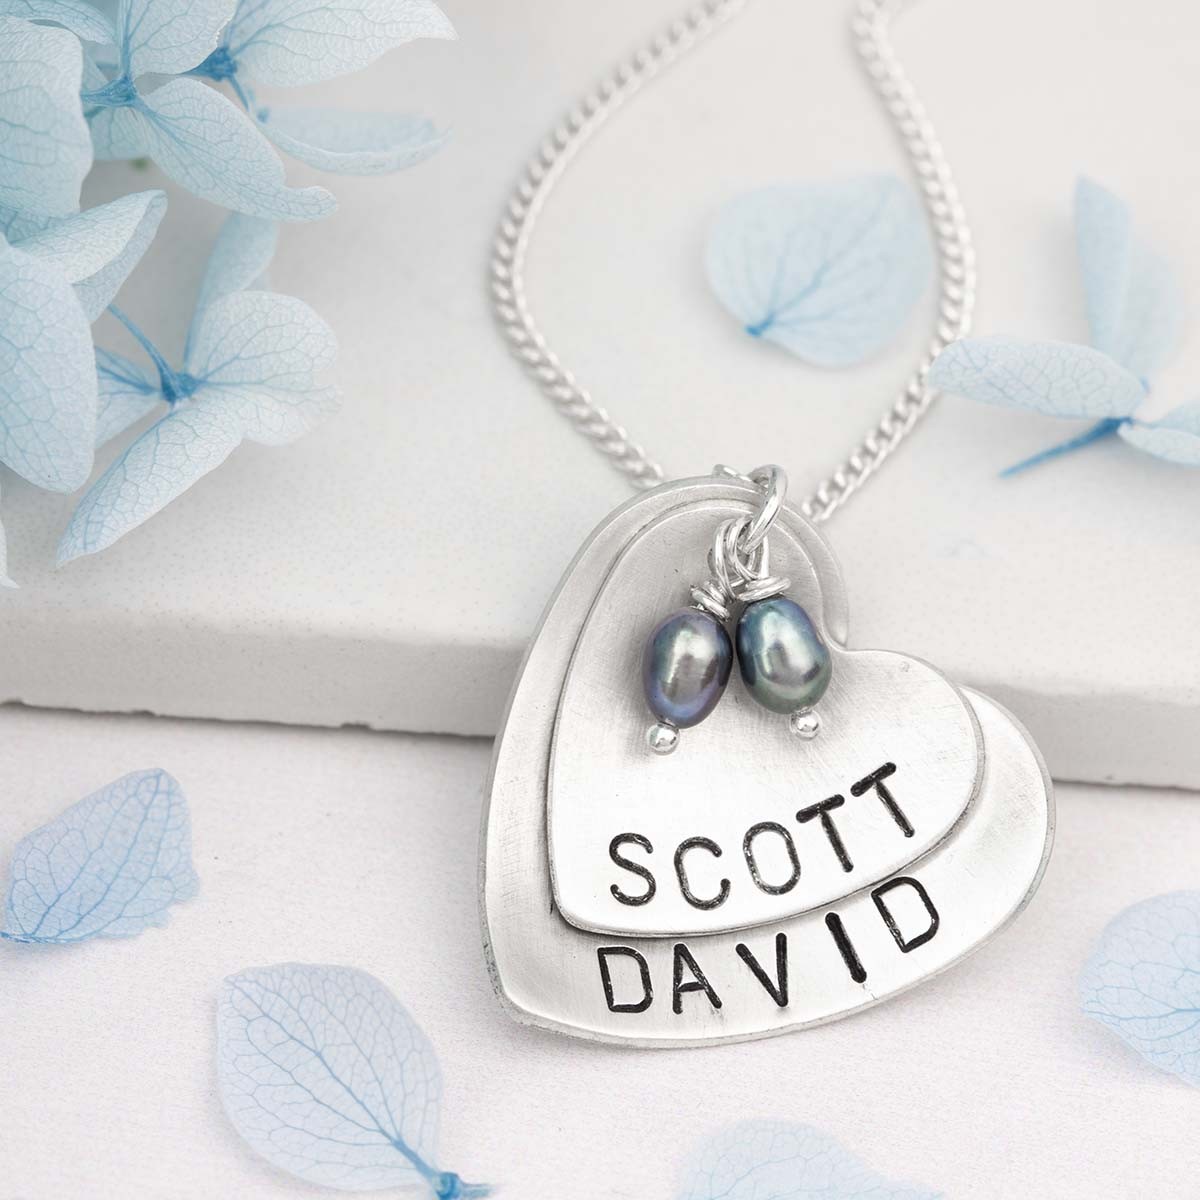
Personalised peacock pearl pendant made by the talented Karen Young Jewellery.
July Birthstone: Ruby
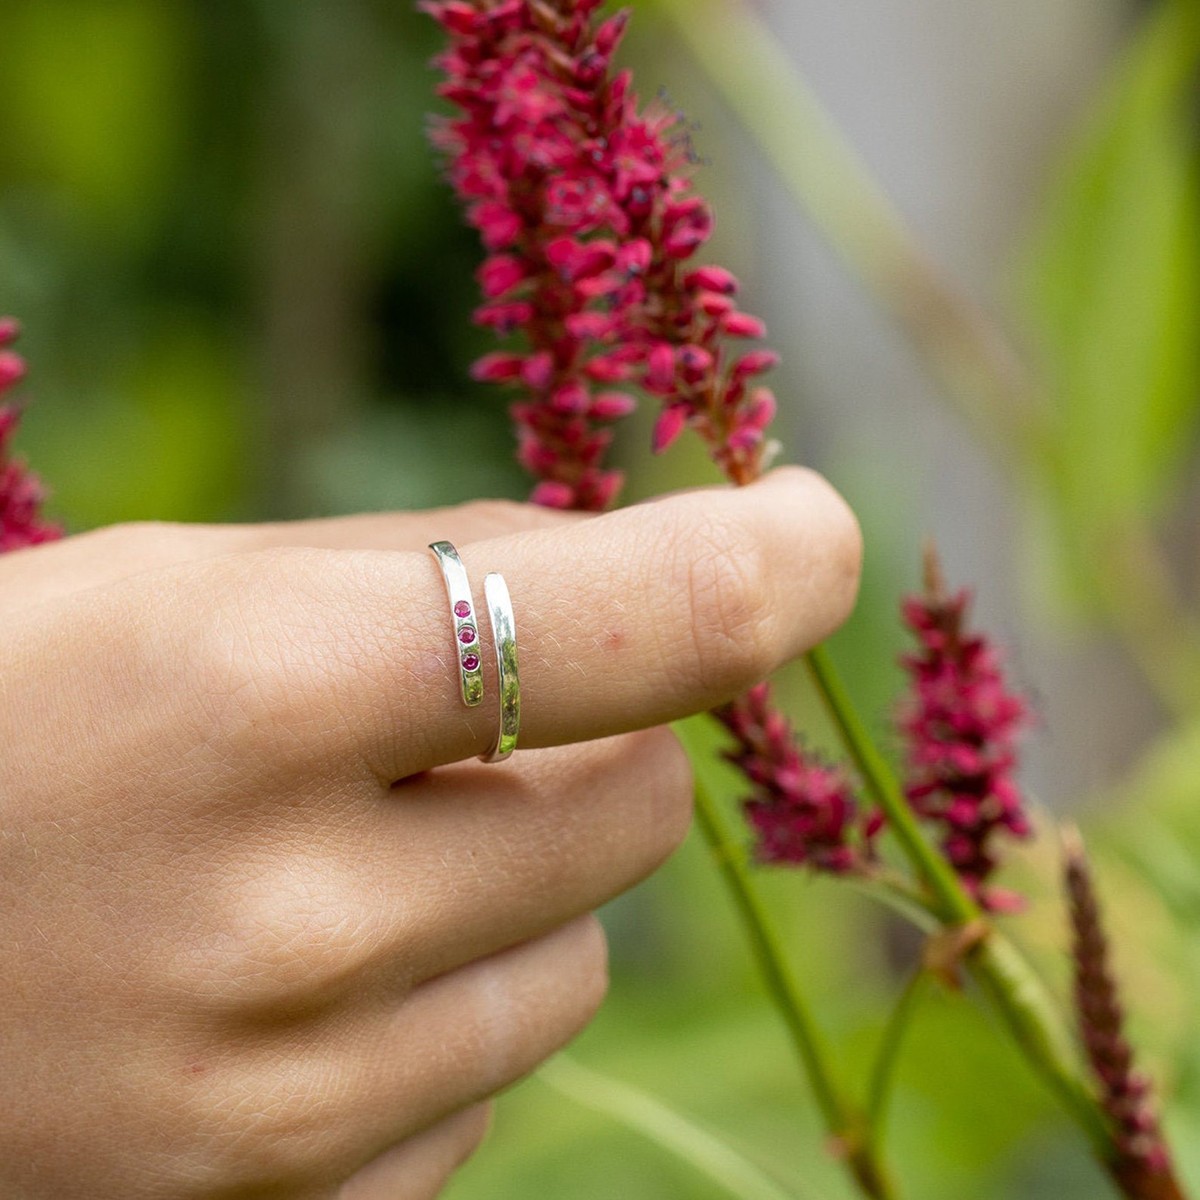
July birthstone open ruby ring by Lily Charmed! How gorgeous is this trio of gems?
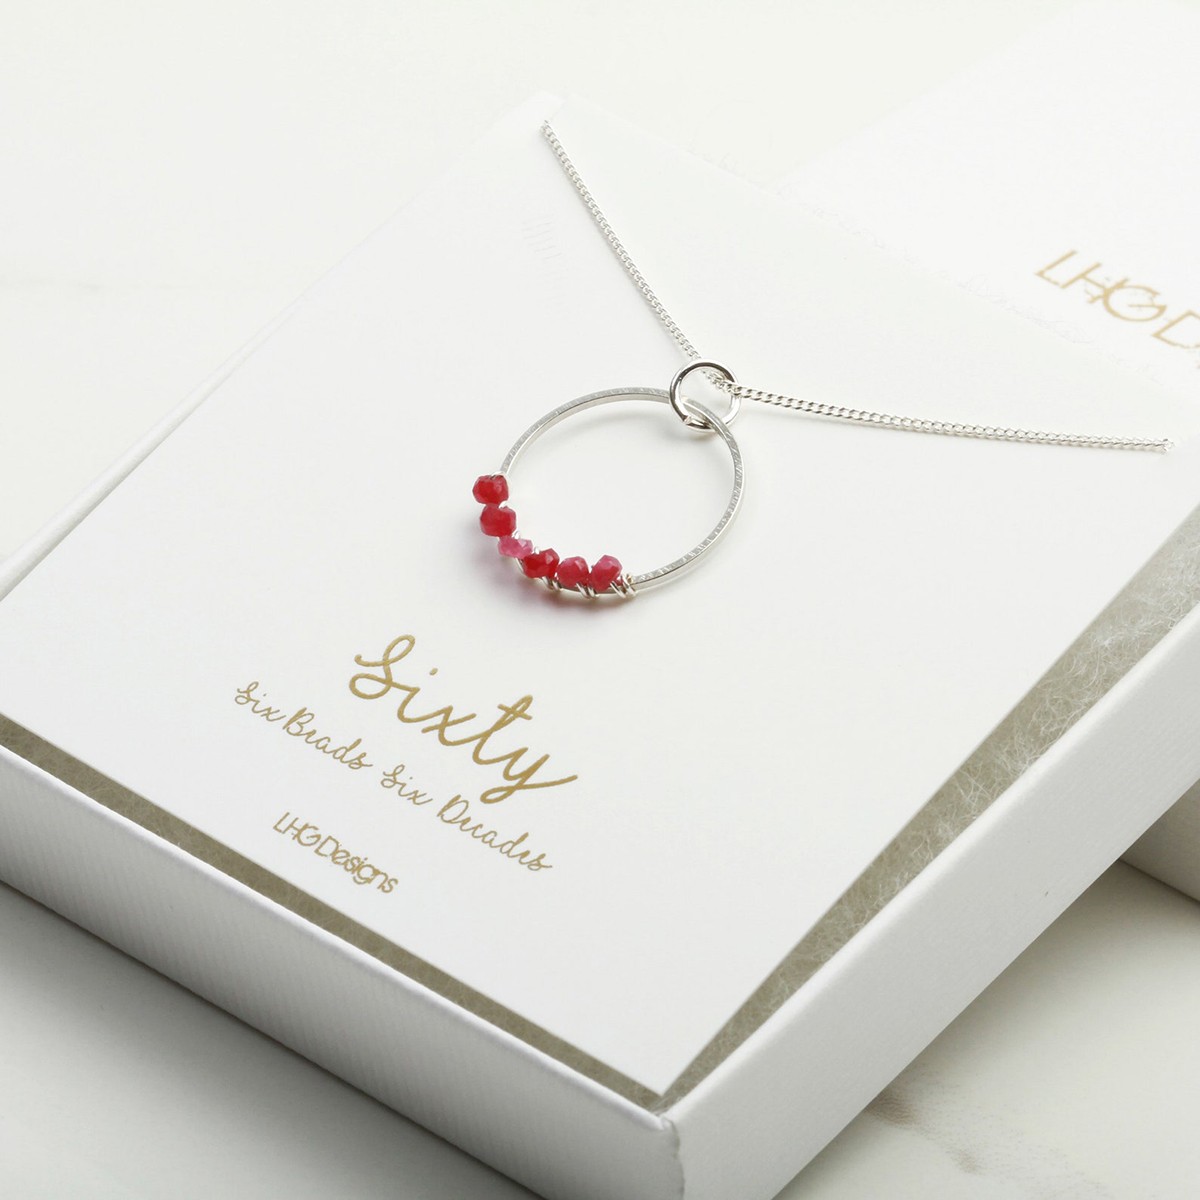
Juicy ruby beads hand wrapped around a silver pendant to make a pretty birthstone necklace handmade by LHG Designs.
August Birthstone: Peridot
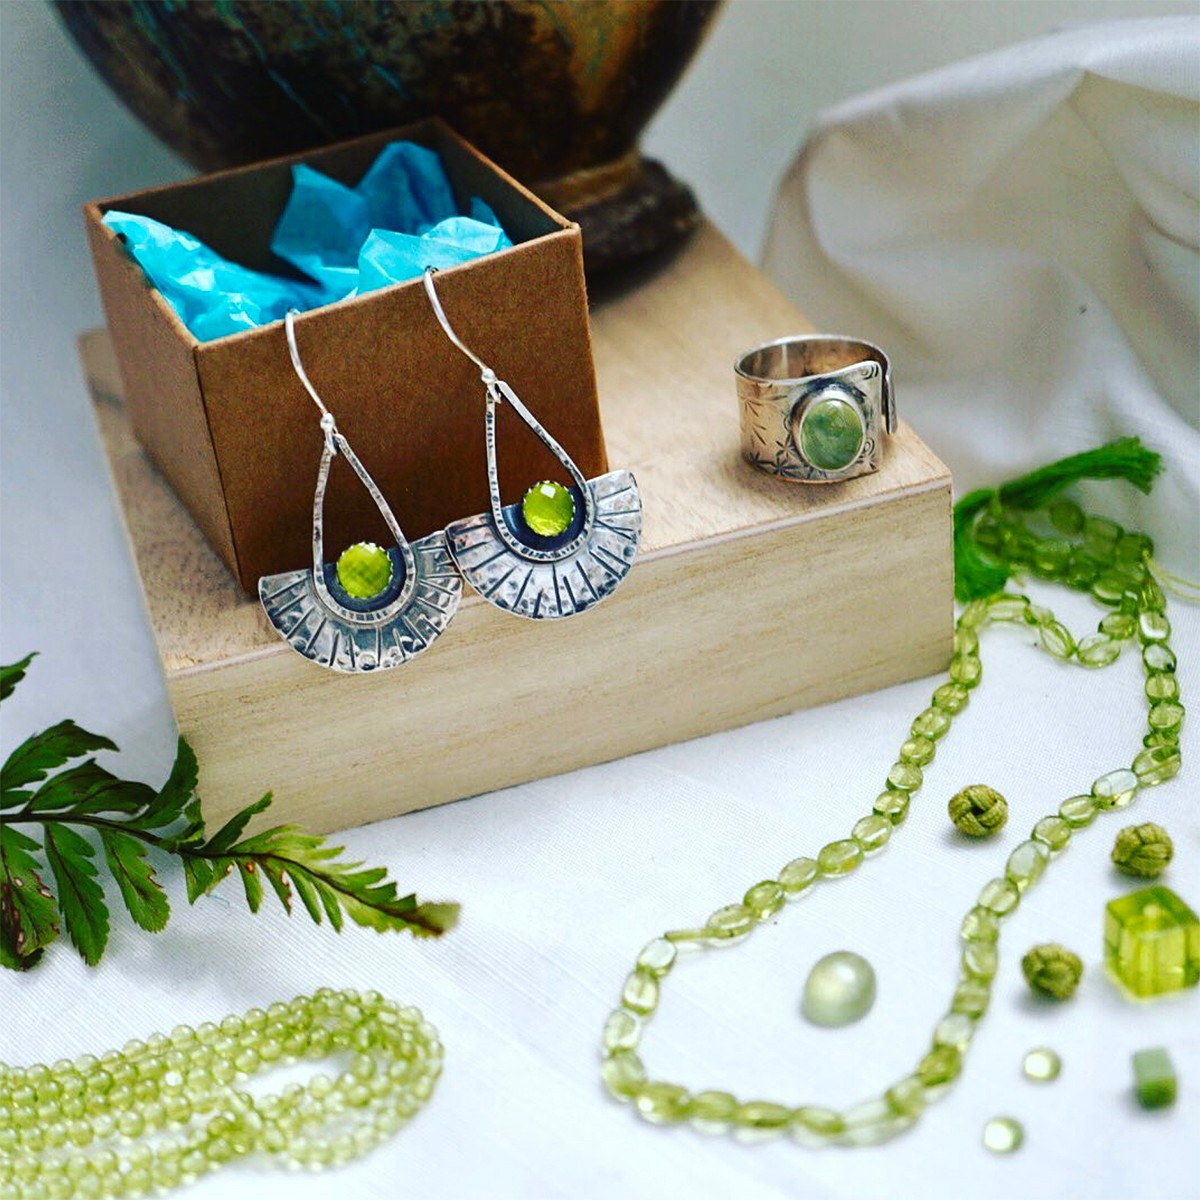
Silver Dragonflys: "Peridot for August birthstone, one of my favorite colours. The earrings are peridot, the ring has a prehnite stone with some lovely strands of peridot surrounding."
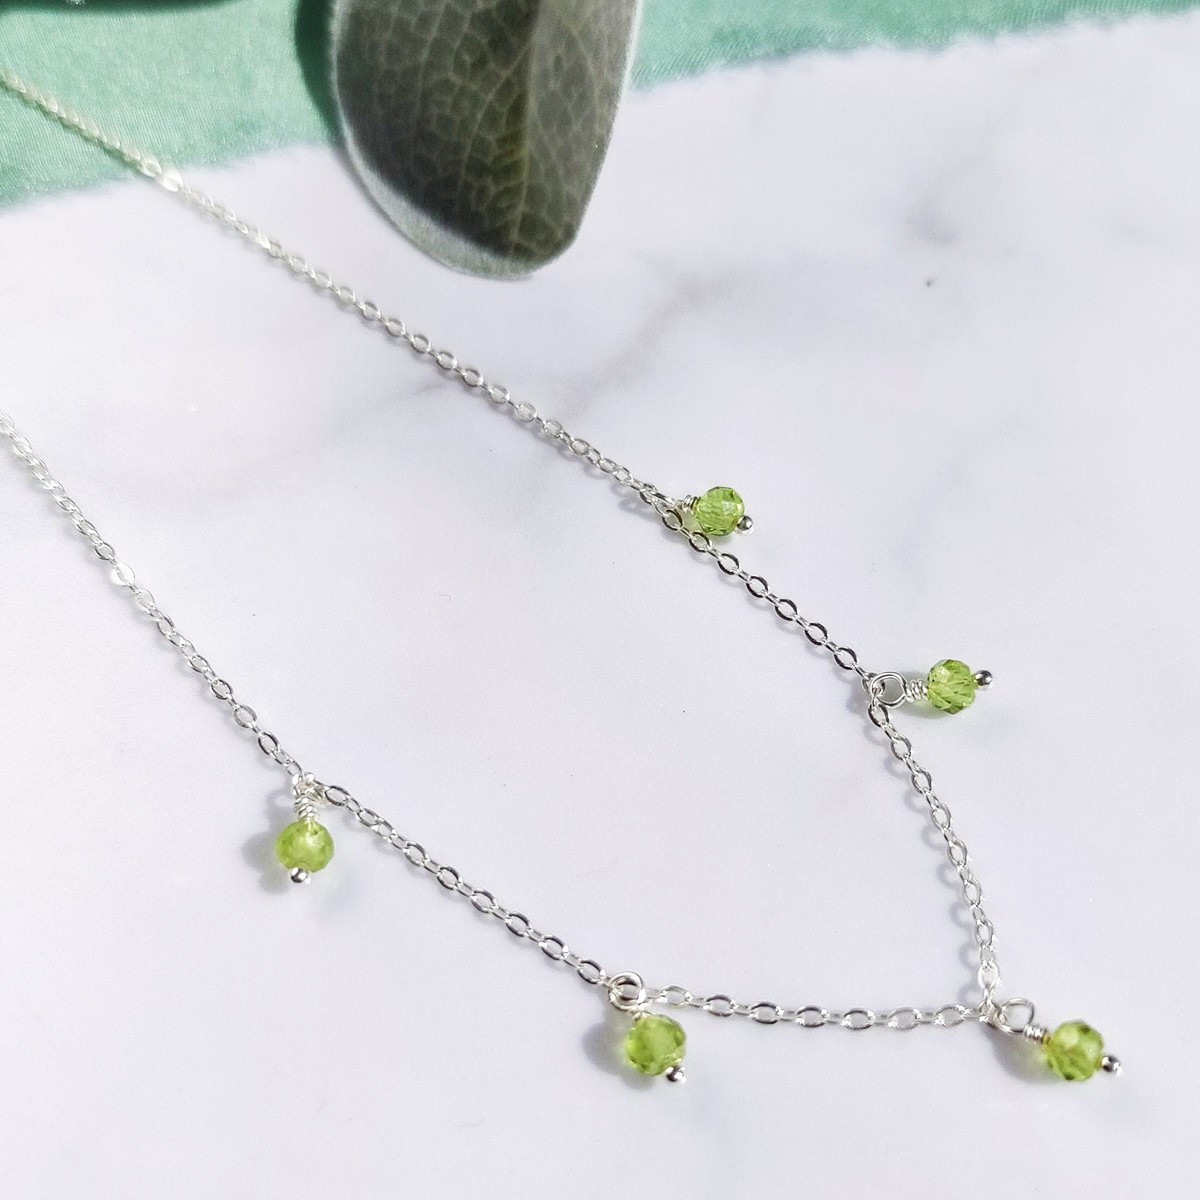
Evren Blue: "Peridot Dainty Drop necklace, handmade out of sterling silver. I think this colour was made for summer and perfect for those pub garden G&T occasions!"
September Birthstone: Sapphire
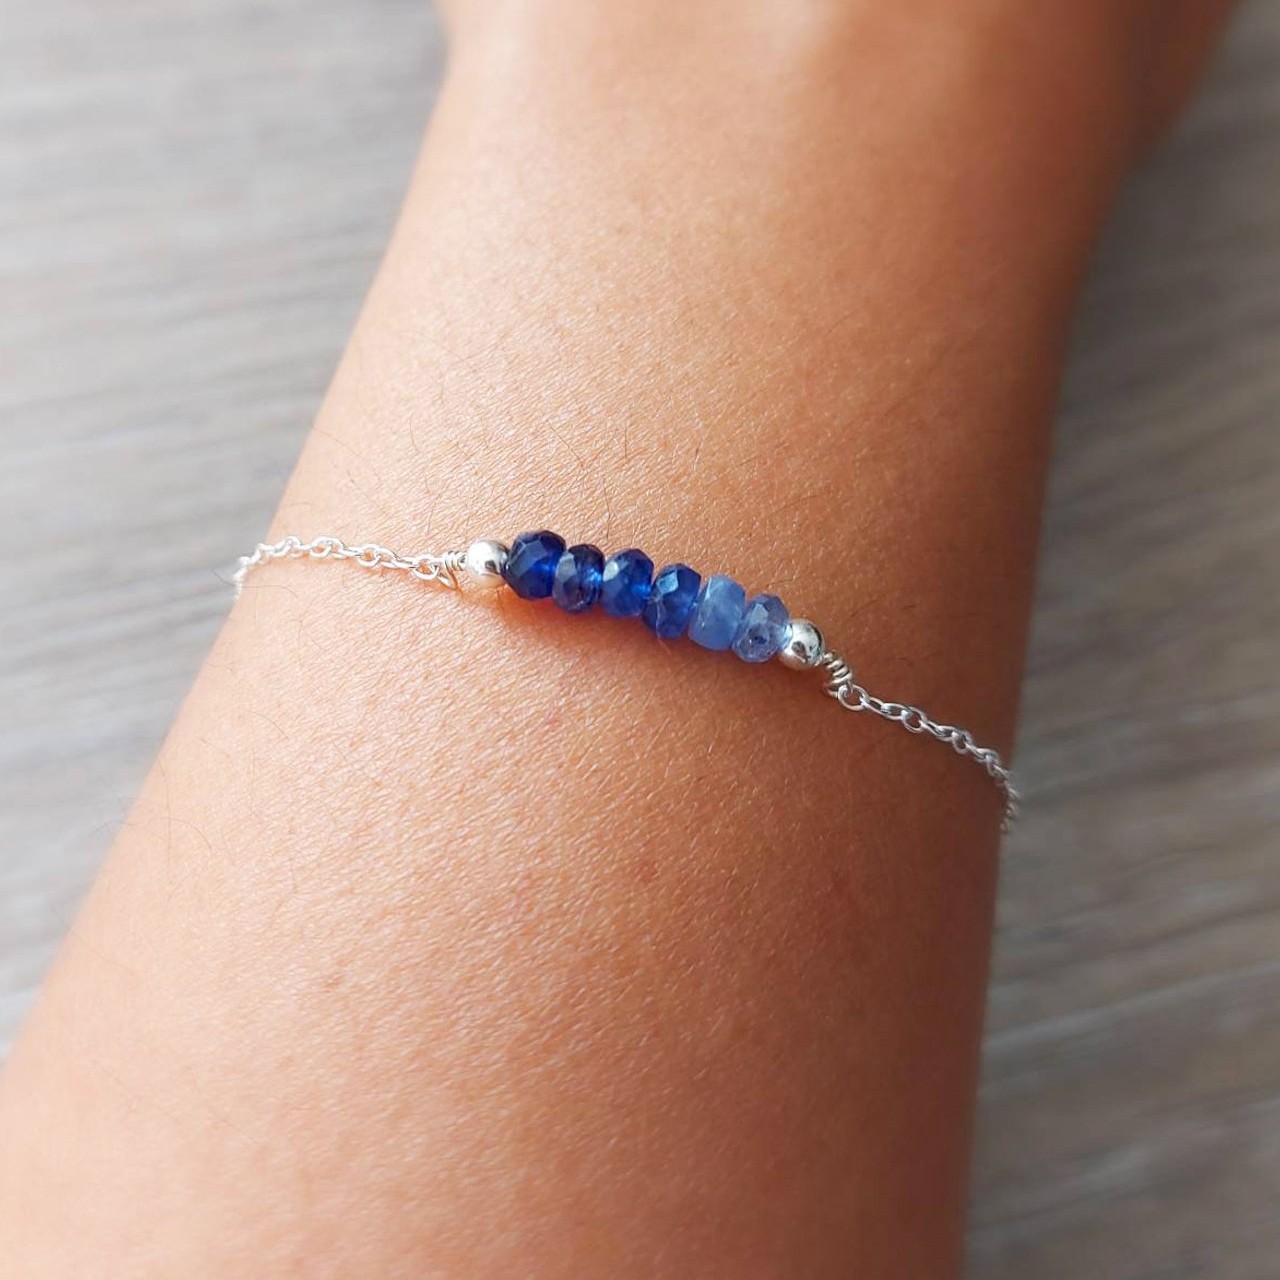
Ocean & Earth: "Featuring a stunning combination of light to dark sapphire rondelle gemstones, fastened onto a dainty bracelet chain. Sapphire is the most precious and valuable blue gemstone. It is one of the most desirable gemstones due to its beautiful colour, stone hardness, durability, and luster. This would make a beautiful gift and sapphire is the traditional birthstone for September!"
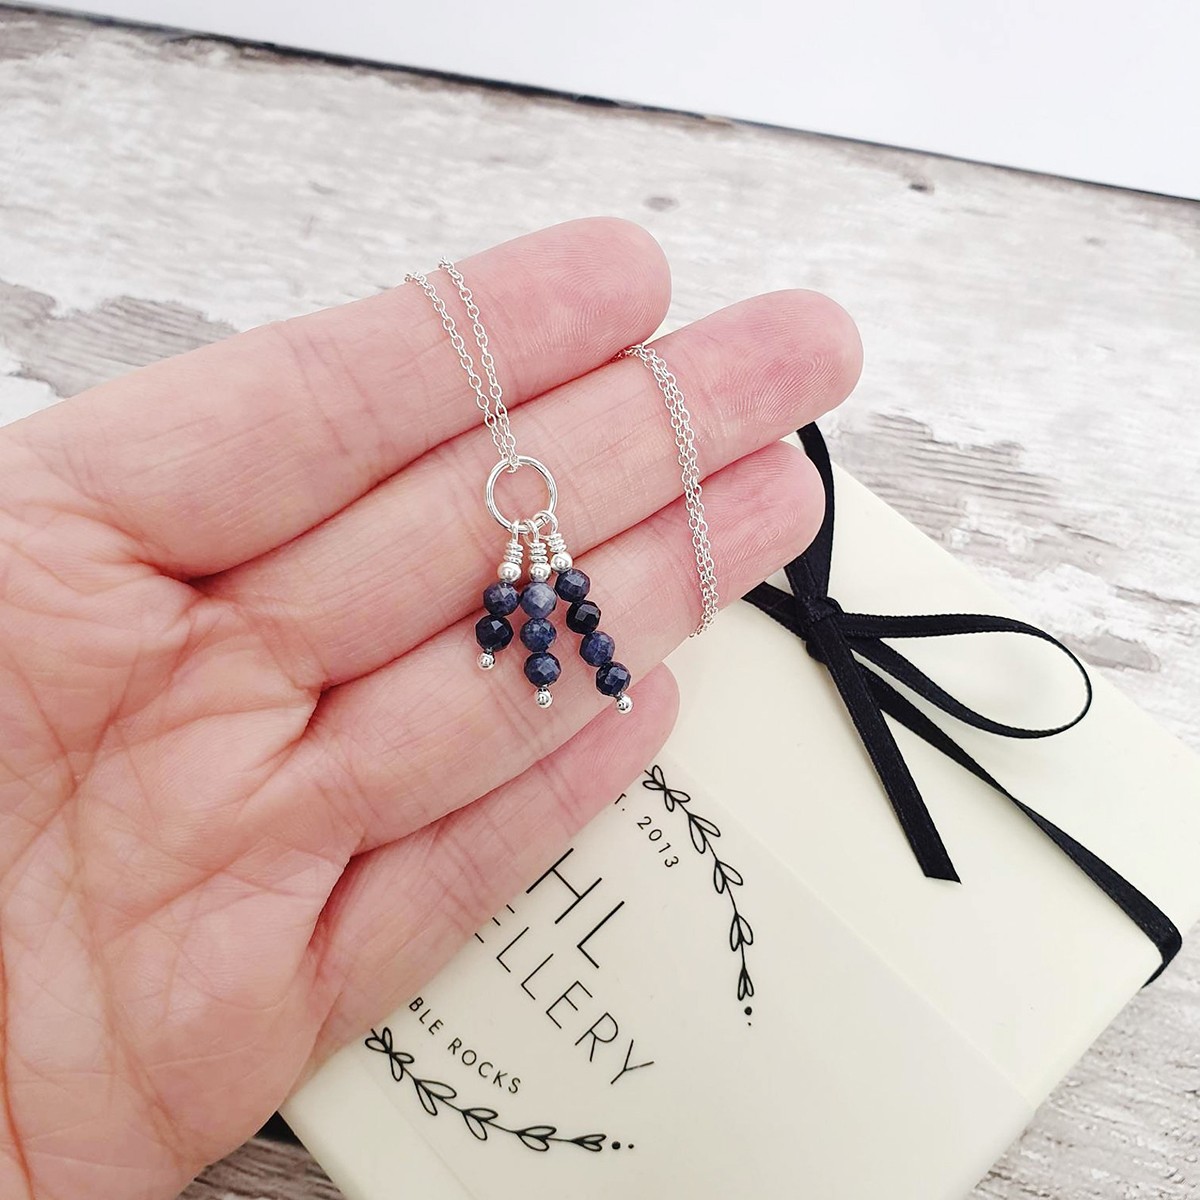
KHL Jewellery: "A wonderful blue sapphire pendant silver necklace. Made with sapphire 3mm round faceted beads and sterling silver components."
October Birthstone: Opal
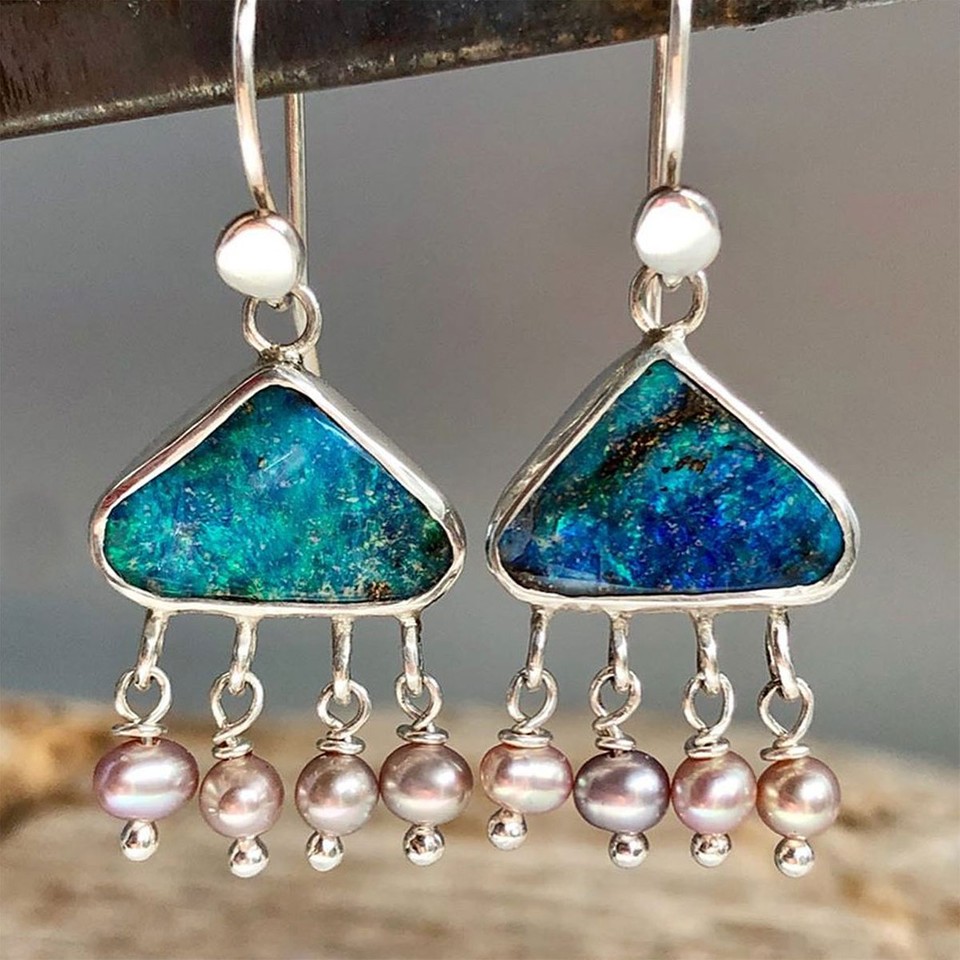
Love Your Threads knows exactly what gemstones work perfectly with boulder opals! Adding delicate dangling pearls to create a pair of bold earrings.
View our favourite Australian boulder opal designs on the blog
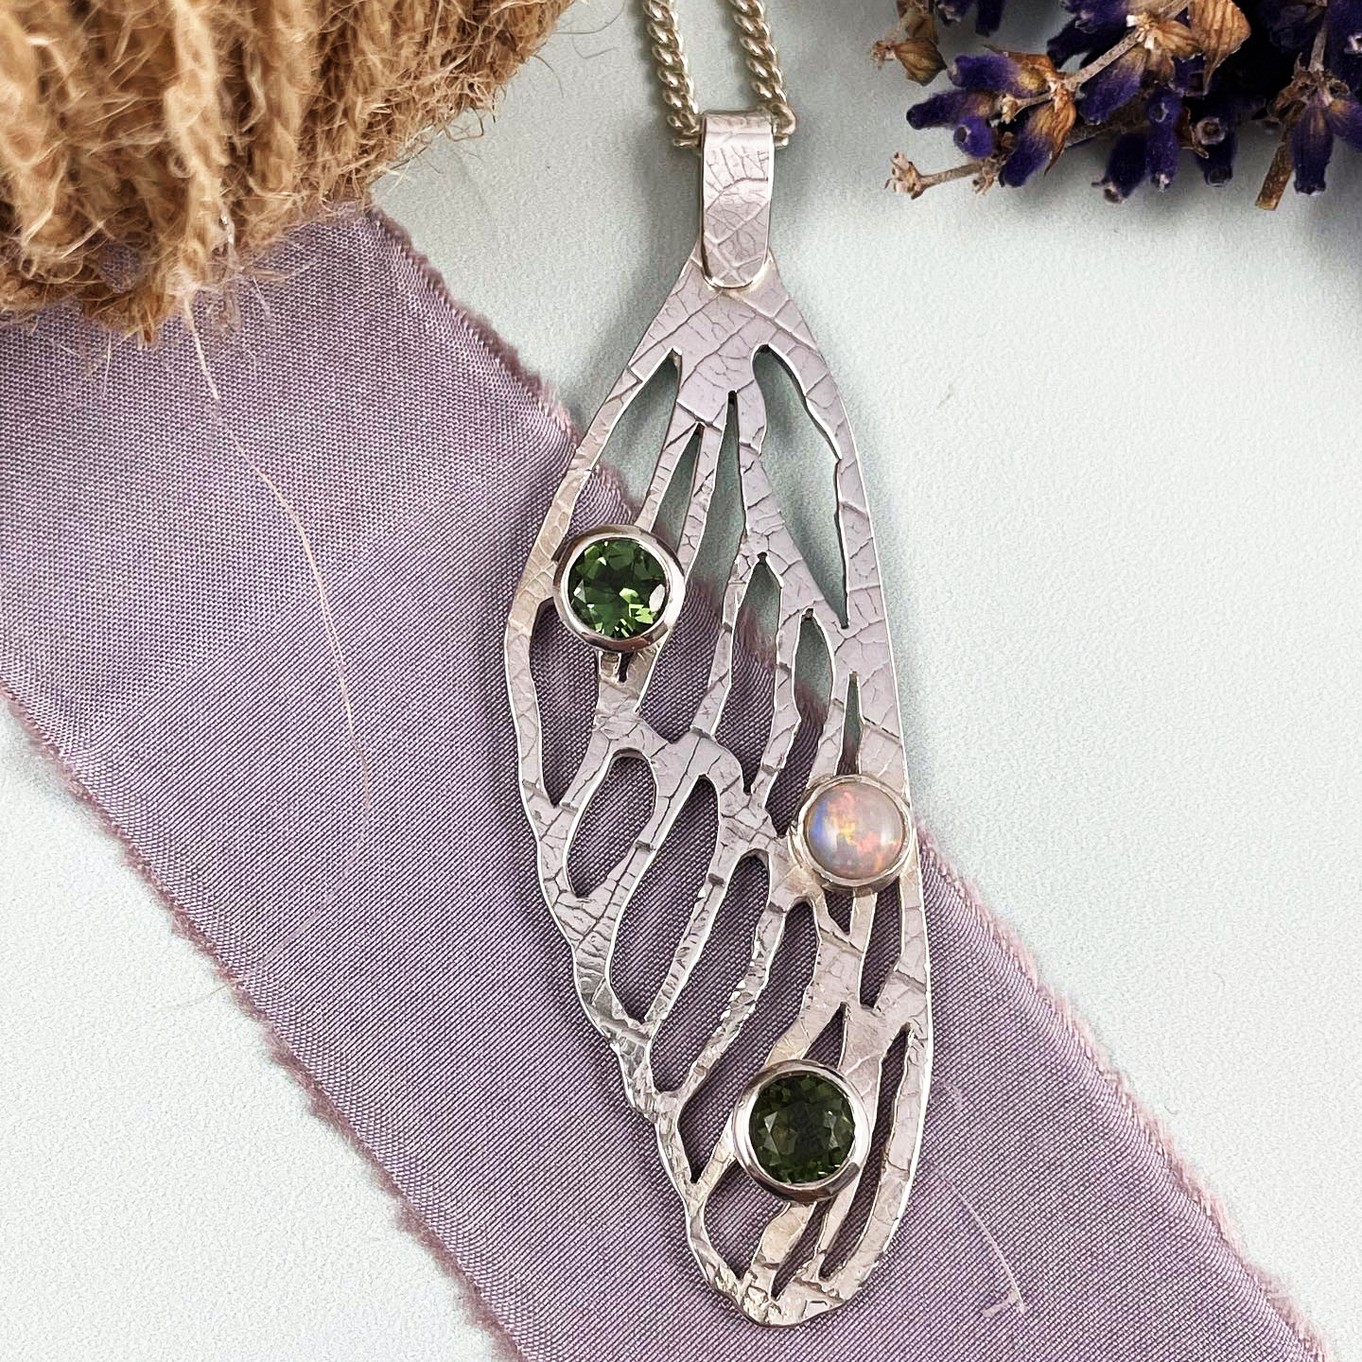
Simply Buddle Designs: "Recent commission for a 30th birthday in October. Tourmalines and an opal were used. Love it, didn’t want to hand it over."
November Birthstone: Topaz
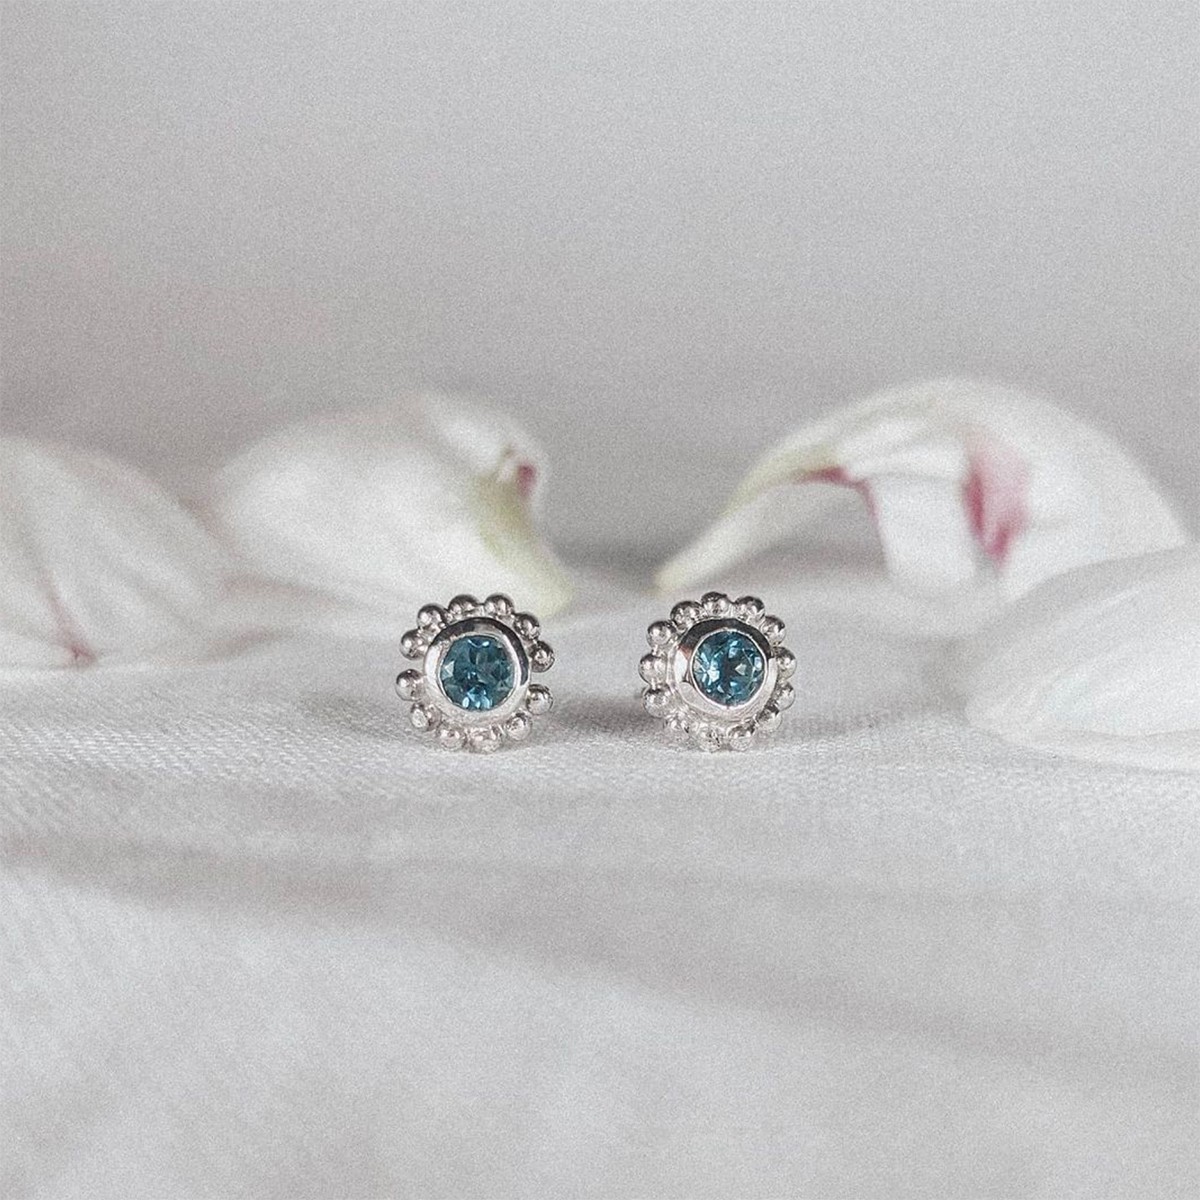
Hannah Brown Jewellery: "Pair of granulation studs featuring London blue topaz. These originally were designed as a bespoke piece for a customer, but a lovely woman reached out to me desperate for a pair! My original customer was happy for me to re make them."
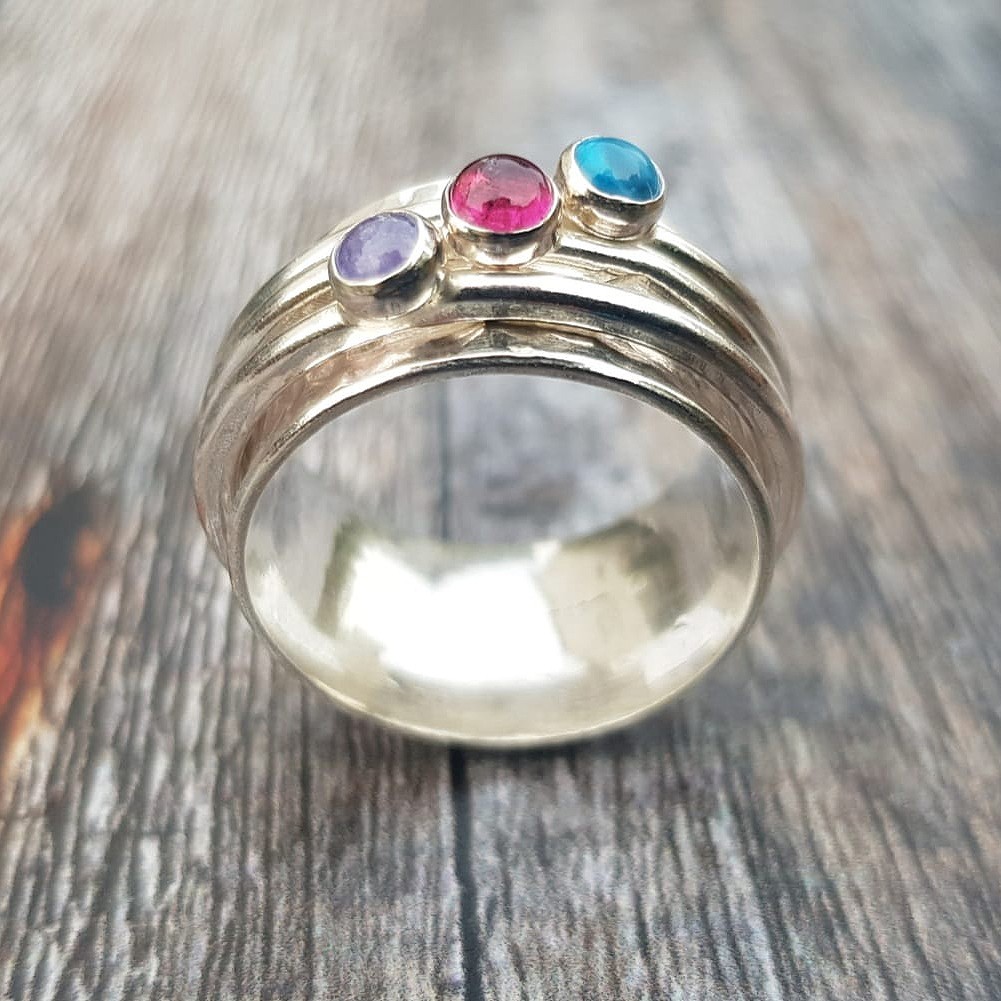
Silverpickle: "Birthstone triple spinning ring with tanzanite, pink tourmaline and Swiss topaz."
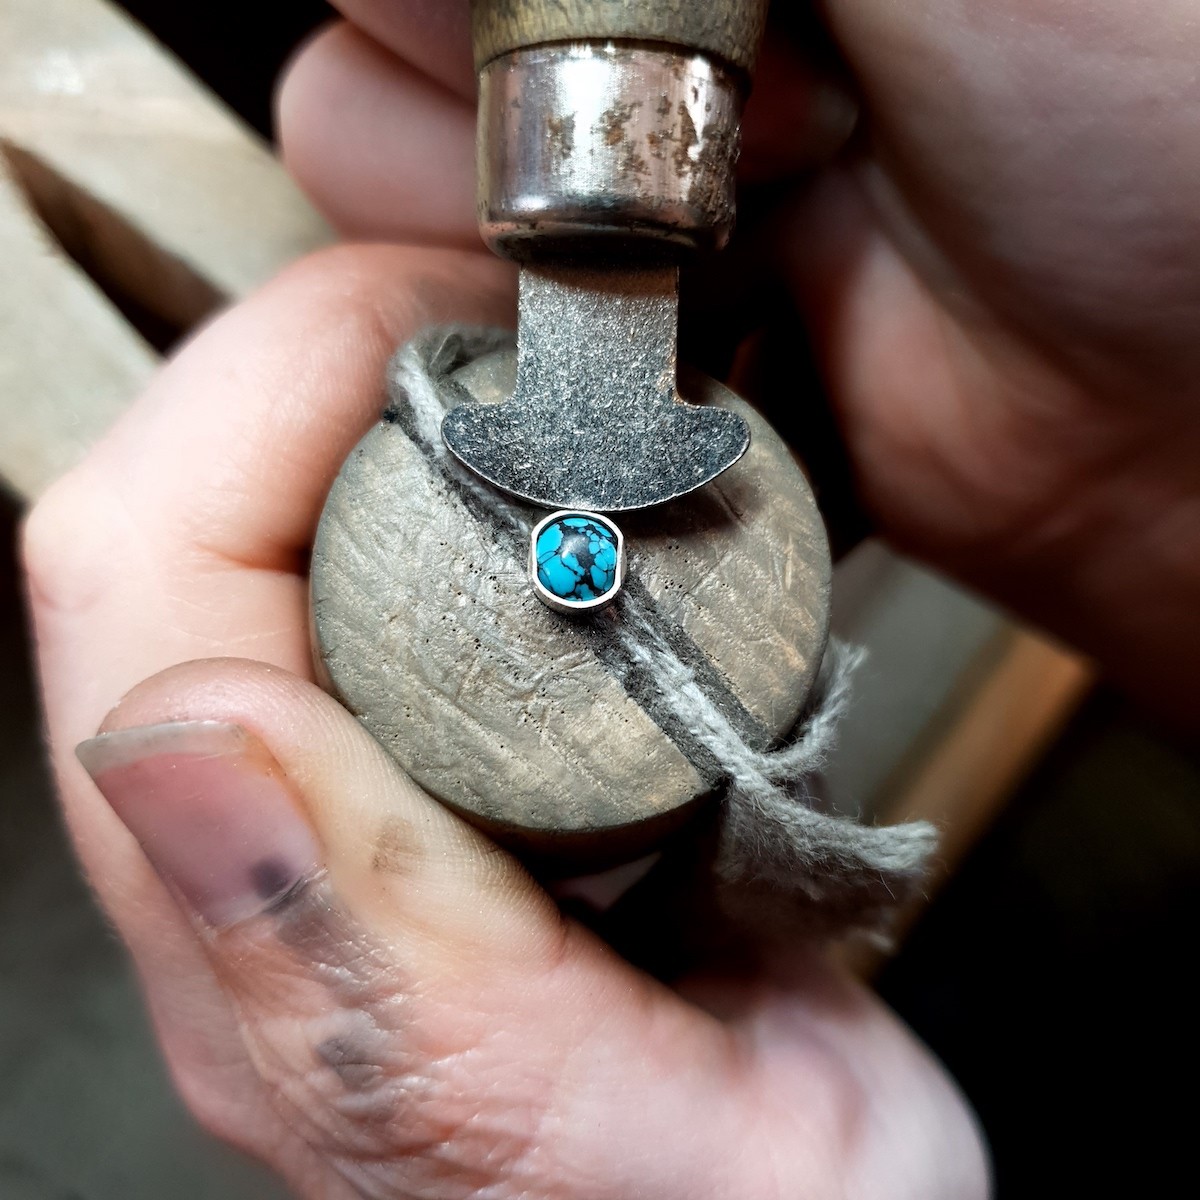
December Birthstone: Turquoise
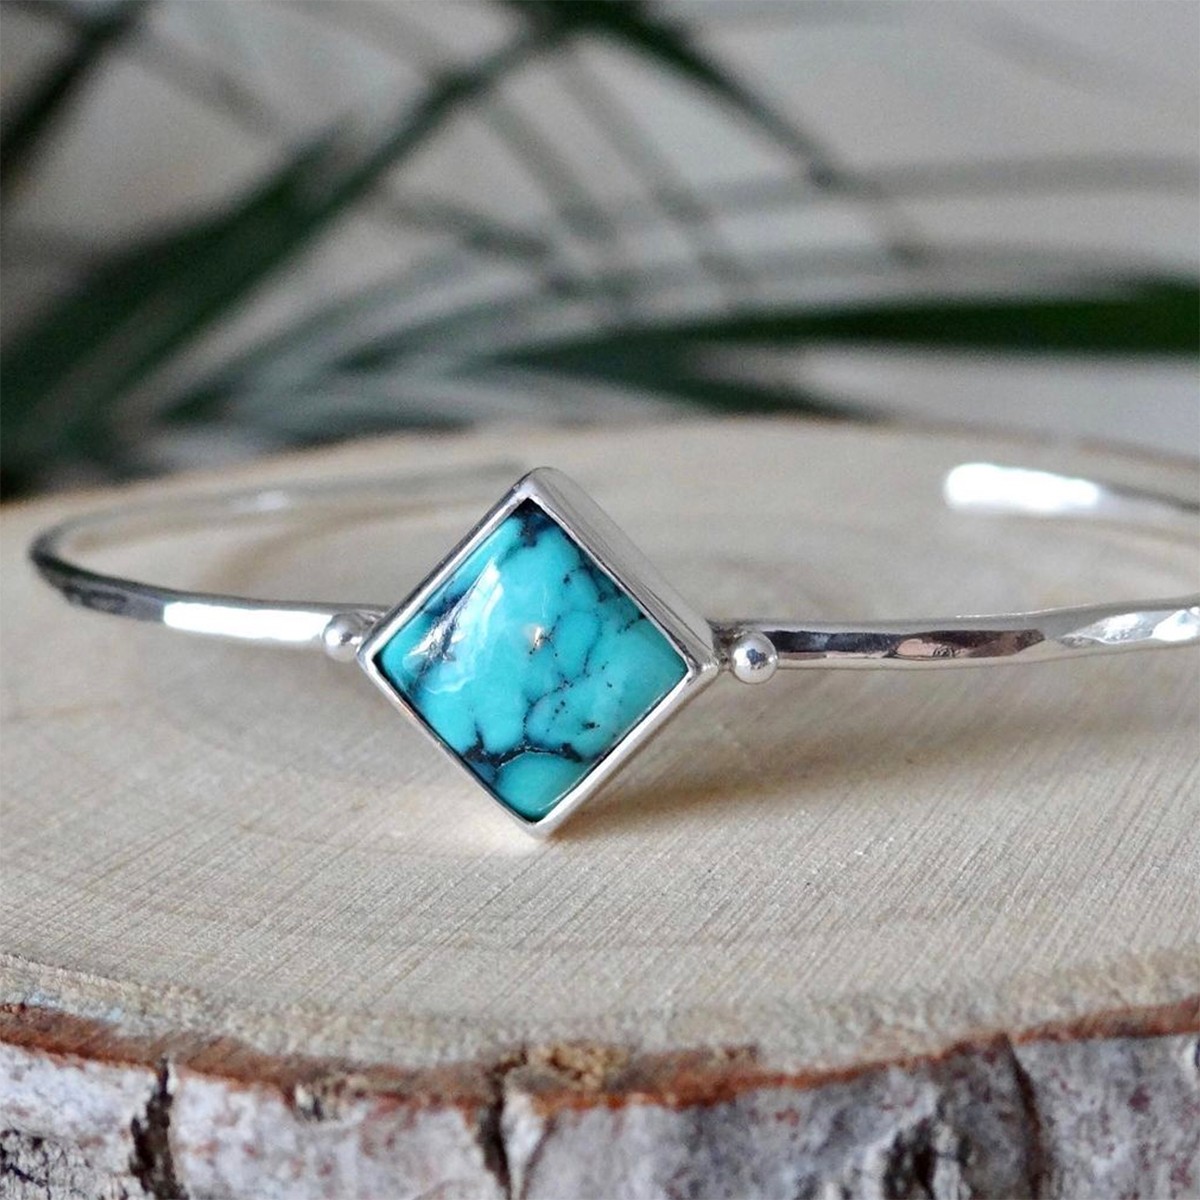
Sea Surf Rocks: "This gorgeous turquoise cuff bangle is one of my favs. I’ve totally loved putting together this collection with some gemstones other than opals (as much as I love opals) it’s nice to bring some of my other gemstone stash to life!"
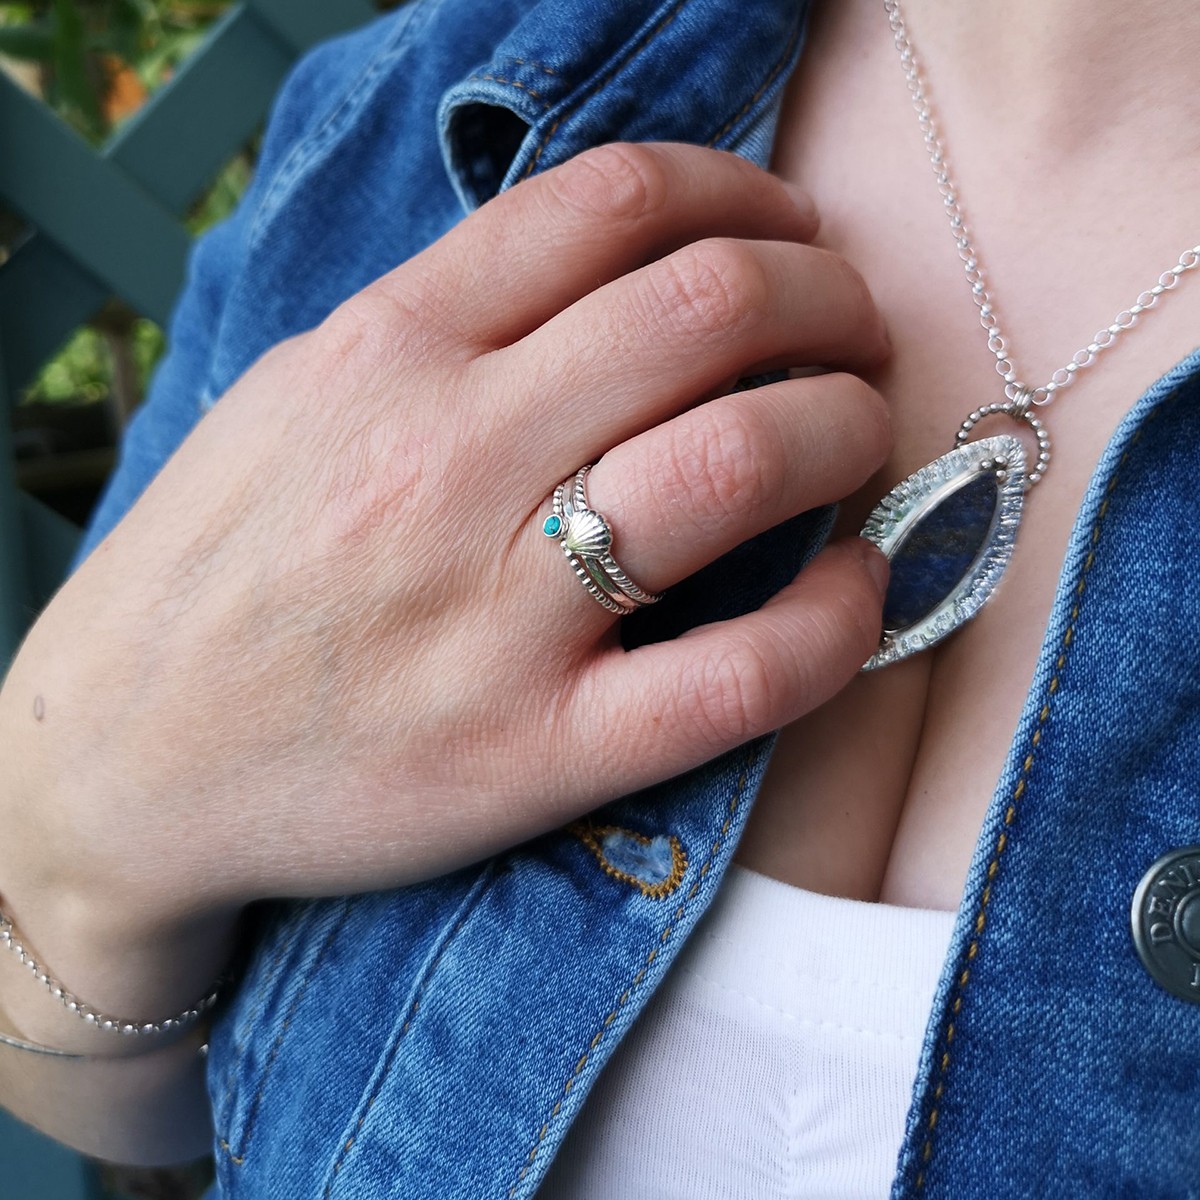
A minimal turquoise texturised ring, perfect for stacking by Little Black Cat Jewellery!
Explore The World of Jewellery Making with Kernowcraft
Beautiful Gemstones To Brighten Up Your Designs
Not only can you shop by birthstone, but you can also explore all of our available gems by category. Over 50 gemstones are available on our website where you can choose from cabochons, faceted stones and beads.
Also in this section:
- How To Make A Bracelet
- 5 Designs for Mother's Day
- Mocha Mousse Colour Of The Year 2025
- Our Favourite Customer Designs of 2024
- Easy Handmade Jewellery Ideas For Beginners
- Our Jewellery Book Recommendations
- 14 Jewellery Designs Using Metal Clay - Copy
- Trending 'Peach Fuzz' Gemstones & Jewellery Designs
- Our Favourite Customer Designs of 2023
- How To Make Your Own Chakra Jewellery
- Our Favourite Customer Designs Of 2022
- Handmade Garnet Jewellery Designs We Love
- Trending Magenta Gemstones & Jewellery Designs
- Top 12 Best Selling Gemstone Cabochons
- Our Favourite Customer Jewellery Designs Of 2021
- 12 Good Luck Charms To Add To Your Jewellery
- Handmade Jewellery Creations Using Turquoise
- Handmade Birthstone Jewellery Inspiration
- Our Favourite Customer Jewellery Designs Of 2020
- 12 Things To Do At Home If You Love Jewellery Making
- Favourite Customer Jewellery Designs Of 2019
- 20 Handmade Heart Jewellery Designs
- 16 Amethyst Jewellery Designs We Love
- Easy Handmade Mother's Day Jewellery Gift Ideas
- 11 Amazing Handmade Aquamarine Jewellery Designs
- 17 Jewellery Designs Using Liver Of Sulphur
- Customisable Earrings For Non Pierced Ears
- 25 Additional Jewellery Making Supplies For Your Collection
- Our Favourite #KernowcraftXmas Designs
- 25 Jewellers Creating Bespoke Engagement Rings
- 15 Statement Onyx Jewellery Designs We Love
- 9 Gemstone Ring Designs We're Obsessed With
- What Is Rose Gold Filled?
- Australian Opal Jewellery Designs
- Handmade Floral Jewellery Designs
- Using Crystals For Jewellery Making
- 4 Reasons To Do A Craft Course
- DIY Hair Accessories With Gemstones
- 18 Handmade Emerald Jewellery Designs
- What Is Granulation & Jewellery Designs We Love
- 10 Jewellery Making YouTube Channels To Watch
- Favourite Customer Designs Of 2018
- Favourite Customer Jewellery Designs Of 2017
- Prosecco & Rubies’ Top Tips for Buying the Perfect Gift
- Out Of This World, Galaxy Jewellery Designs!
- How Has Making Jewellery Helped You?
- Opal Jewellery Designs We Love Right Now
- 4 Jewellery Making Books For Beginners
- 16 Sea Glass Designs We Love
- Jewellery Making With Peridot
- Jewellery Designs Using Ruby Gemstones
- 19 Boho Inspired Jewellery Designs
- What Jewellers Think Of Alligator Tape
- Top 20 #KernowcraftNature Designs
- The Gemstones For Nature Lovers
- How To Help The Environment As A Jewellery Designer
- 14 Jewellery Designs Inspired By Nature
- 22 Jewellery Designs Inspired By The Sea
- Making Your Own Wedding Jewellery
- Top 6 Chains For Your Jewellery Designs
- Soldering For Jewellers Book Review
- Make Your Own Festival Jewellery
- 10 Tips For Creating A Jewellery Wedding Collection
- Customer Creations in 2016
- 10 Reasons To Do Jewellery Making With Your Kids
- Our Favourite Halloween Inspired Jewellery Designs
- 5 Minute Handmade Jewellery Gifts This Christmas
- 6 Ways To Support Small Businesses This Christmas
HAVE A QUESTION?
If you have any questions, feel free to get in touch with our friendly team who will be more than happy to give you advice over email or on the phone.
You can learn more and find inspiration by visiting our Jewellery Making Tutorials, Jewellery Making Kits and YouTube Channel. Don't forget to follow us on social media and tag us in your designs on Instagram & Facebook, we would love to see!

