How To Make Scrap Silver Earstuds
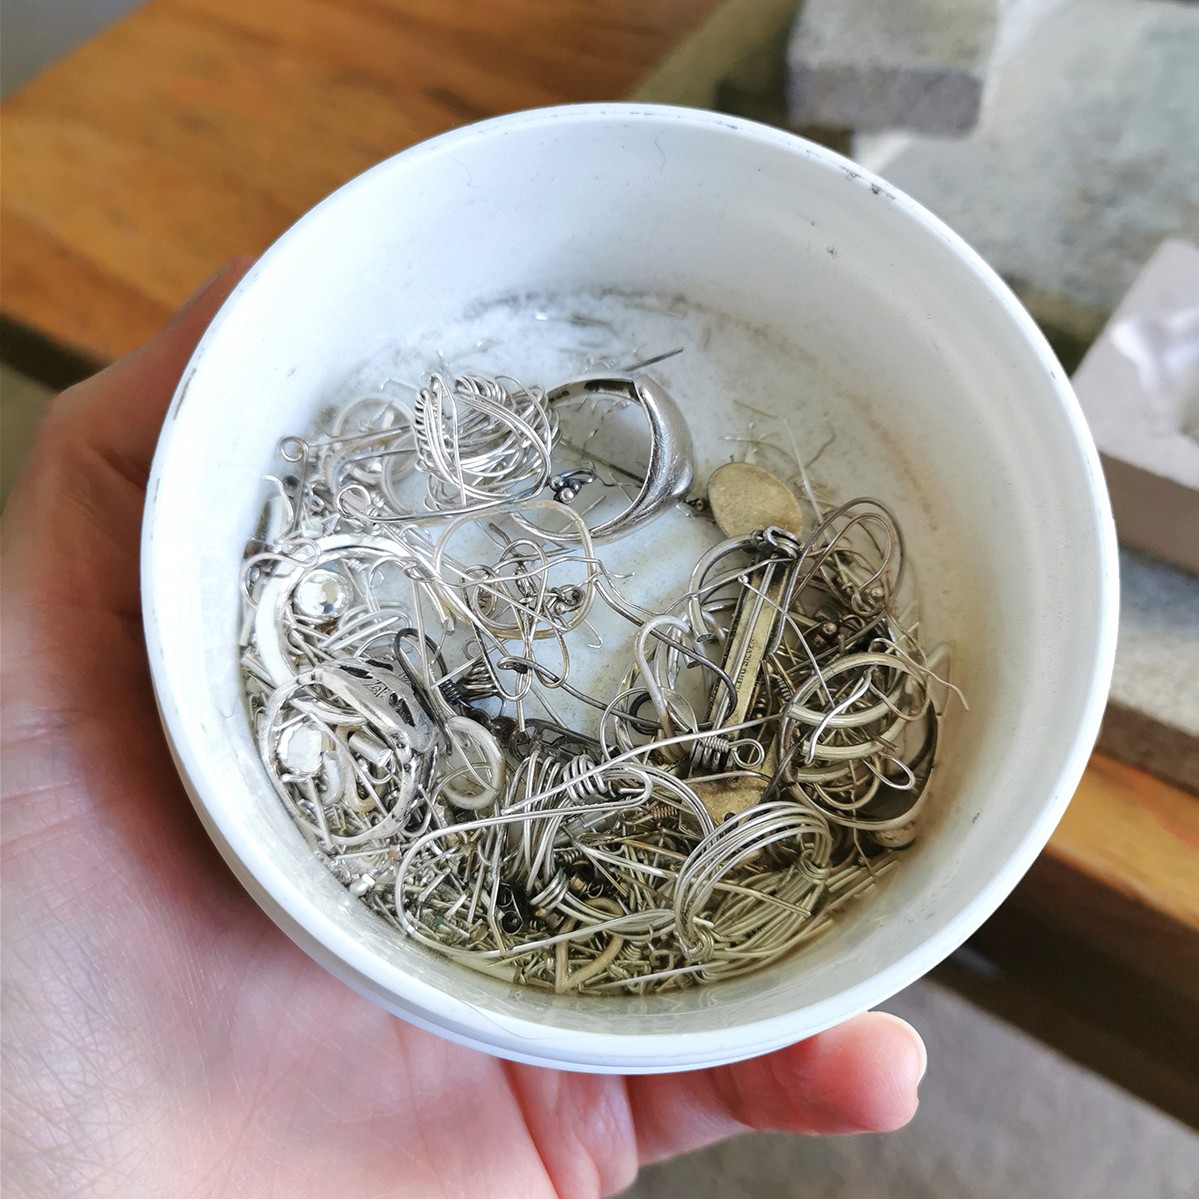
Grab your scrap silver and let's make!
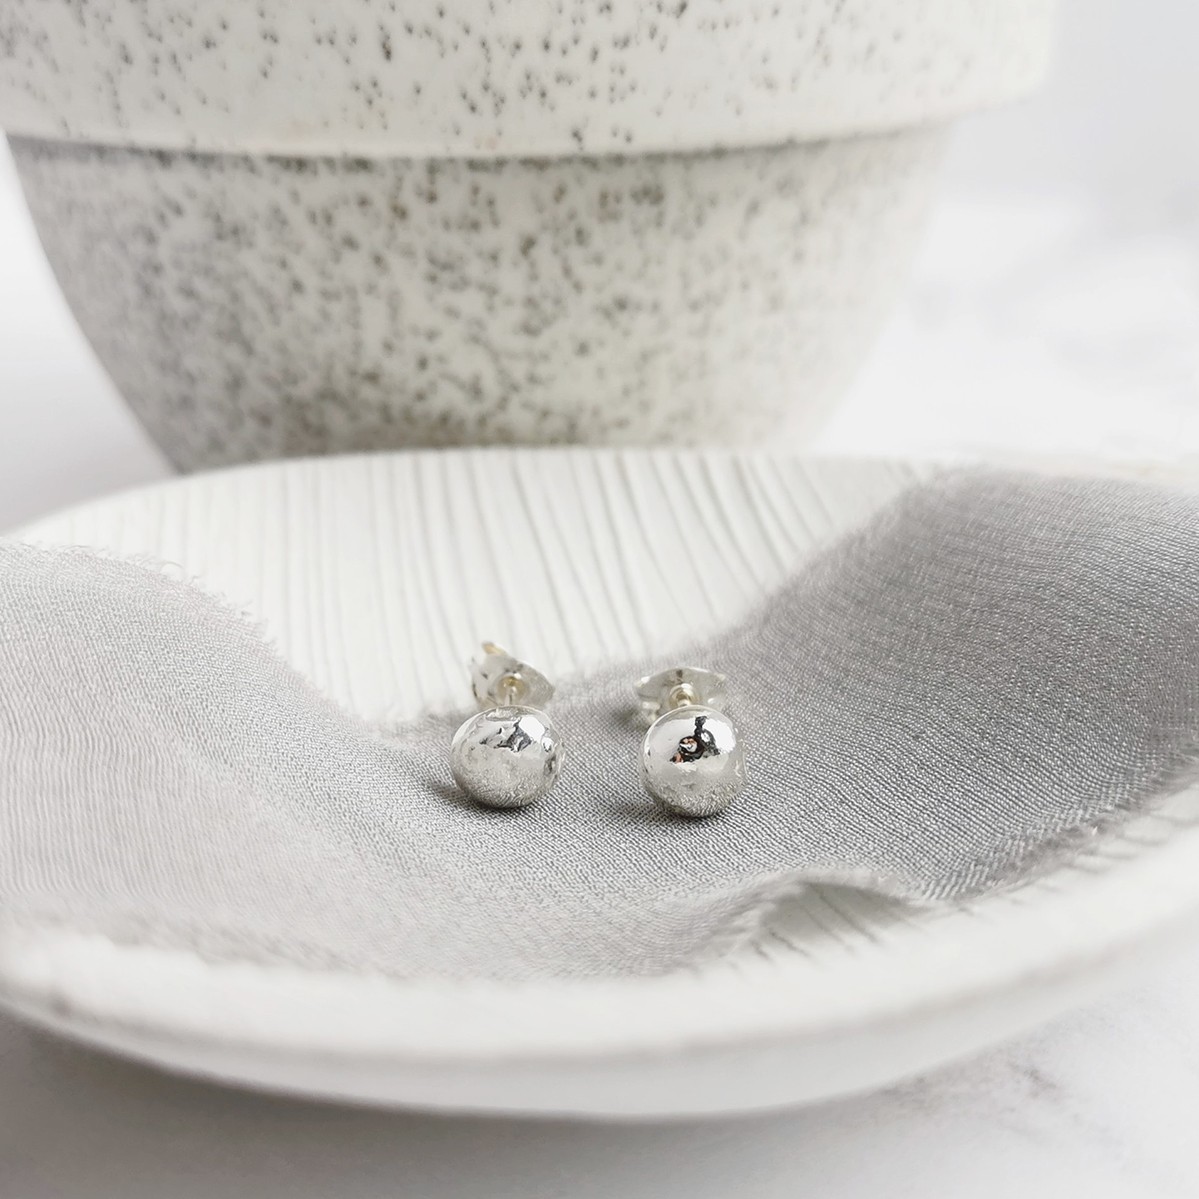
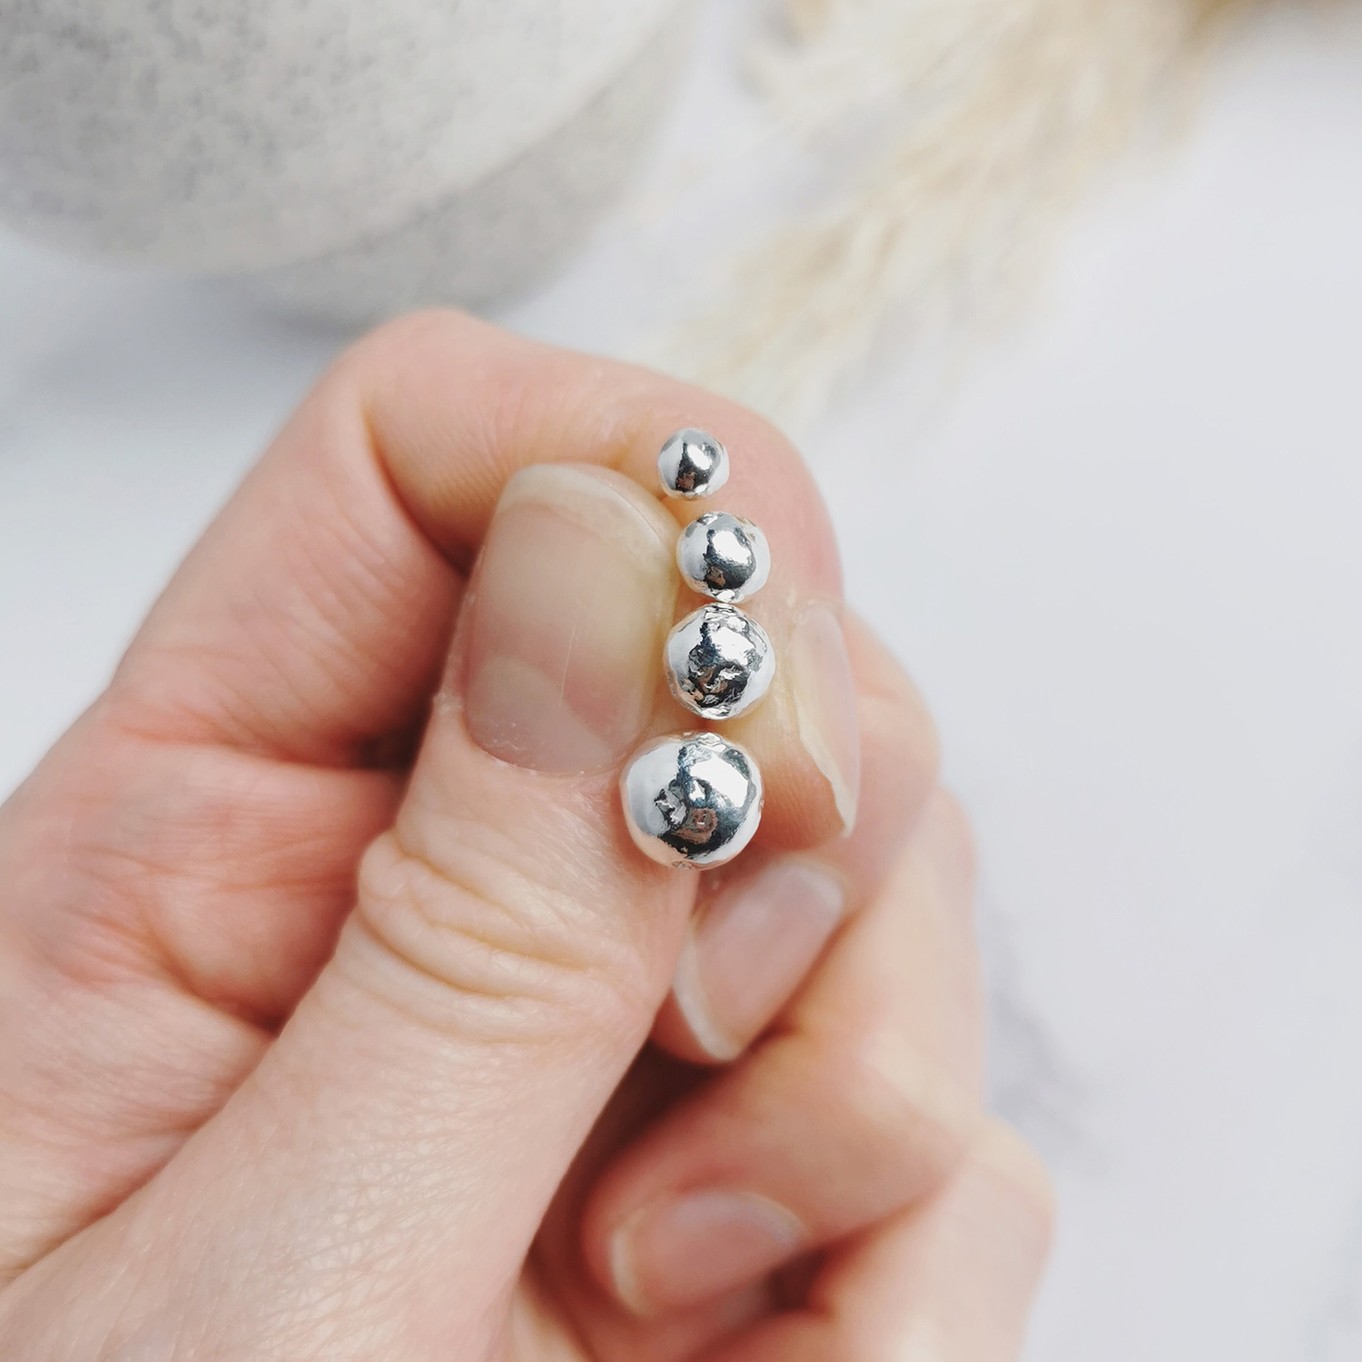
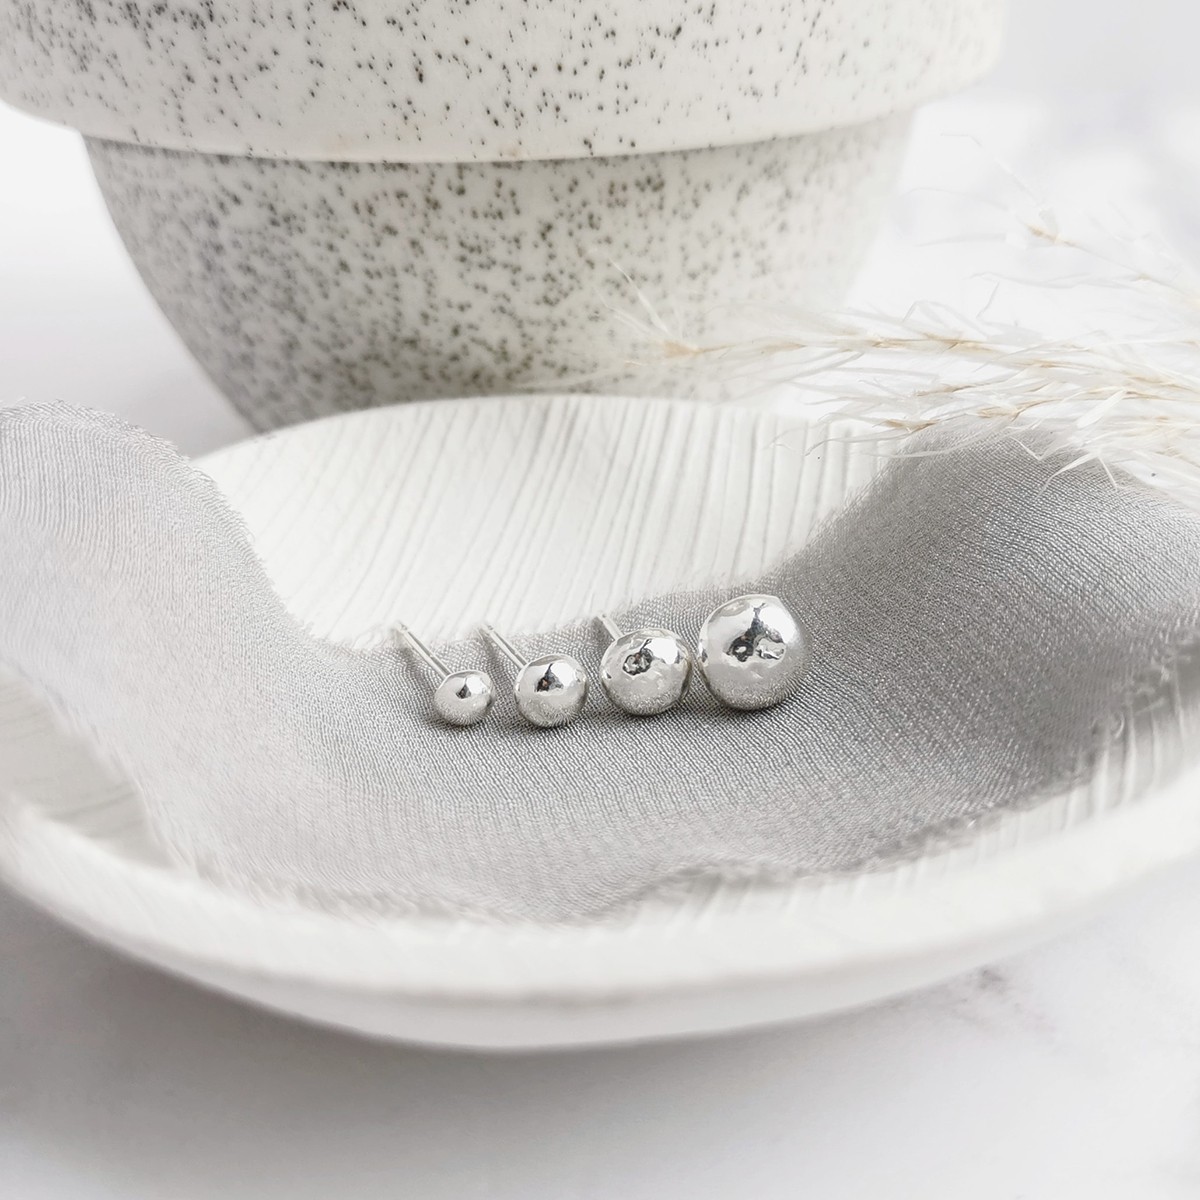
This fantastic tutorial is a great one to follow if you have lots of silver scrap hanging around! Gather it up because you're about to turn them into something beautiful... Cat from Cat Birch Jewellery has taken the time to share with you the step by step process of making these gorgeous silver scrap earstuds with photos for you to easily try for yourself.
It’s amazing to see how you can transform what would otherwise be waste into a beautiful piece of jewellery. There are so many design possibilities using this technique and these studs are a fantastic place to start! We hope it gives you the inspiration to get creative and try something new with your scrap silver.
Get all the tools and supplies needed to make your own in the list featured.
Recommended Tools & Supplies
- Silver scrap
- Earstud posts & earring scrolls
- Silver solder paste (or flux & solder strip)
- Flux
- Soldering tweezers
- Safety pickle and plastic tweezers
- Glass or ceramic dish with water for quenching
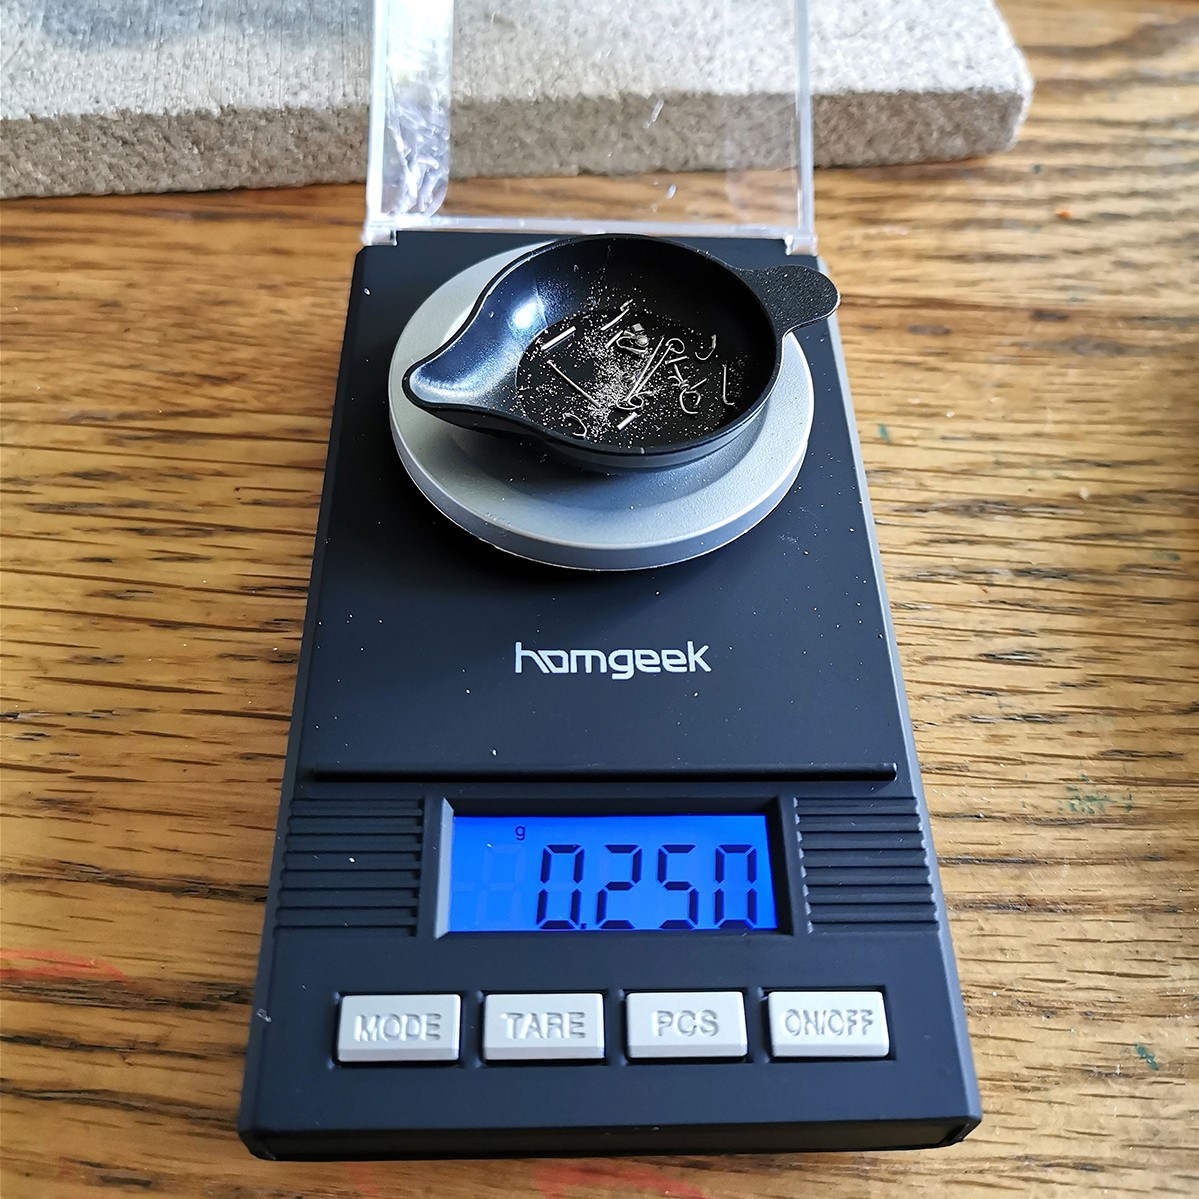
- Scales
- Gas torch
- Third hand
- Solder probe
- Soldering block
- Metal files
- Barrelling Machine or your choice of polishing equipment
Follow Step by Step Photos On How To Make Scrap Silver Earstuds Below
Step 2: Heat Scrap Silver Into A Ball
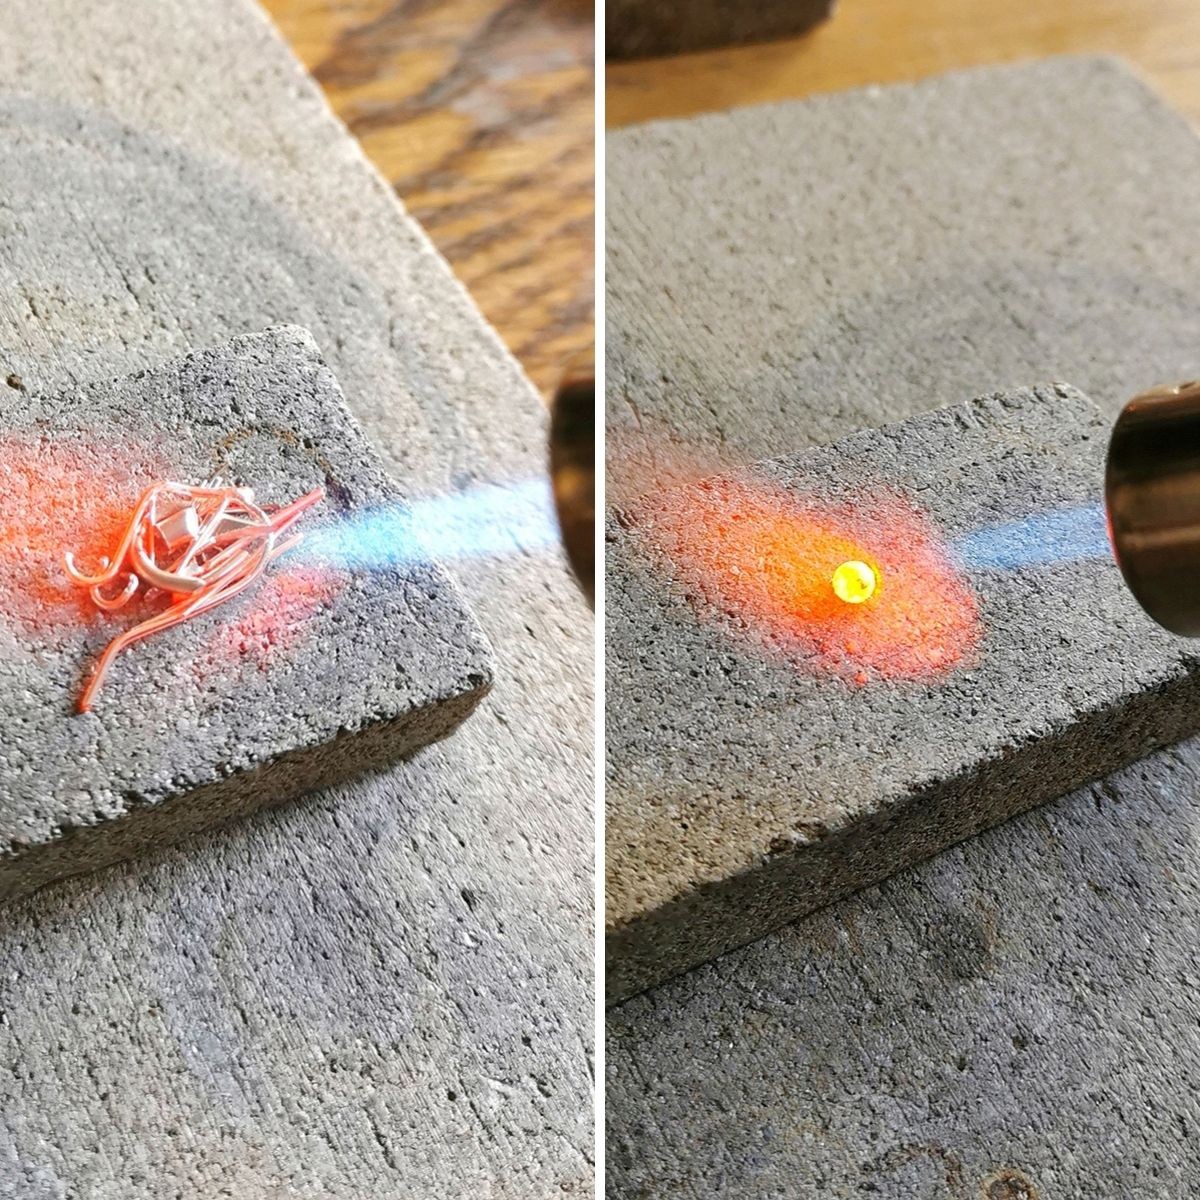
Place your fluxed scrap silver (although not entirely necessary, we suggest adding flux to help the silver to flow nicely together) in a little pile on your soldering block and heat with your gas torch until it melts into a little ball.
You may need to use a solder probe to poke any stray bits back in so they don't get left behind.
Step 3: Quench
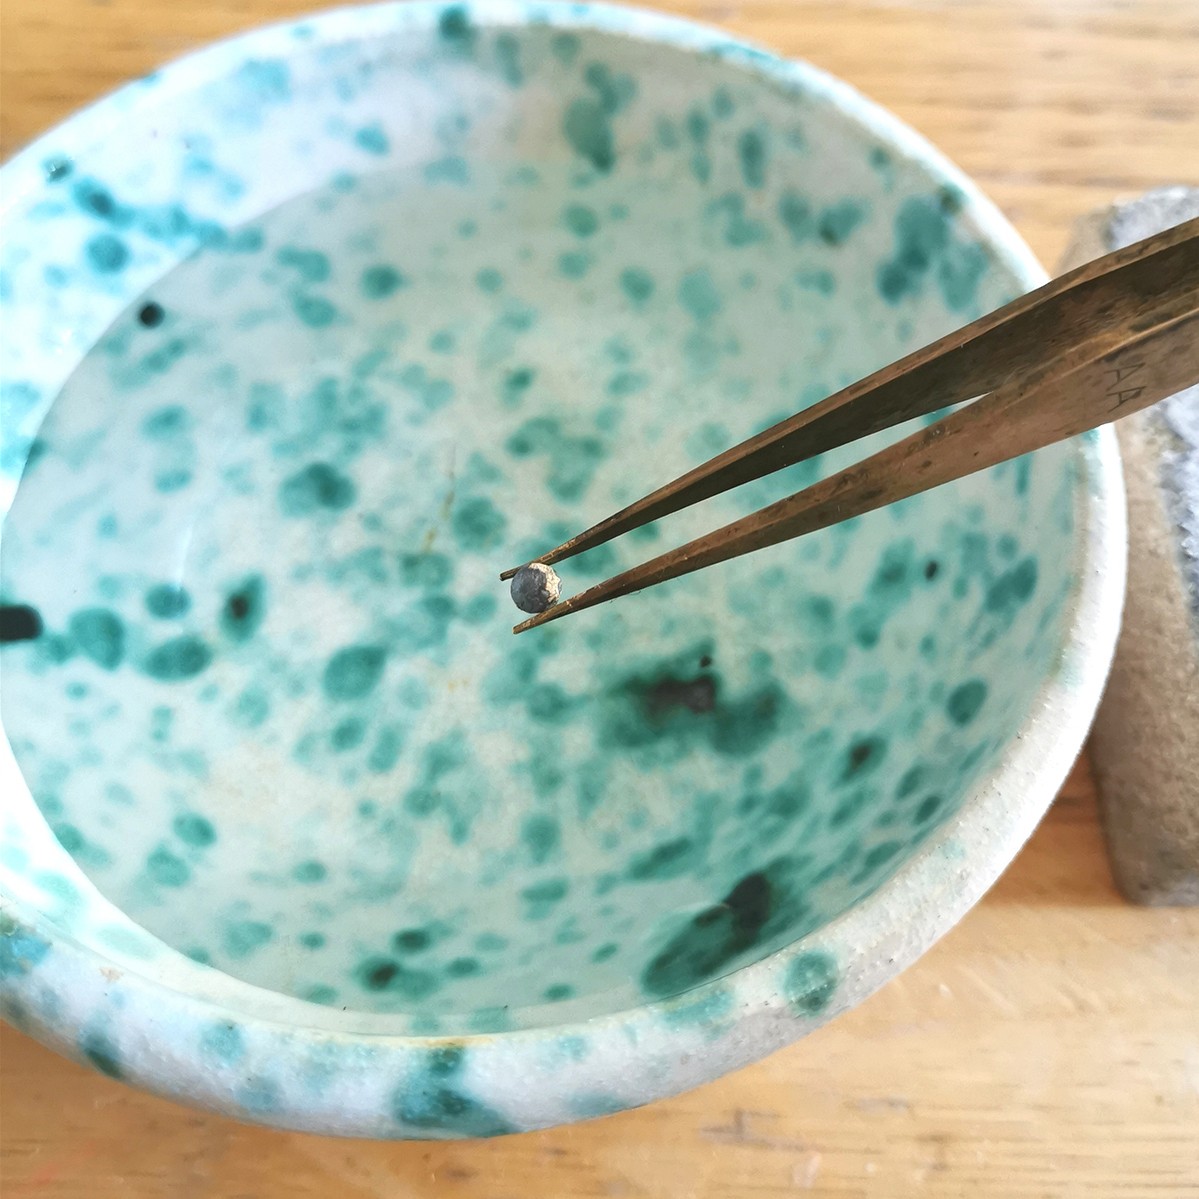
Use metal tweezers to pick up the ball and quench it in the water.
Step 4: Pickle
Use brass or plastic tweezers to remove your ball from the water and place it into the pickle solution.
TIP: If you are short on space for an electric pickle pot, you can just use a small glass jar (I use a Doritos salsa jar!) on top of a ceramic oil burner with a tealight (without any oil in it of course). It keeps the pickle warm but is easy to store out of the way when not in use.
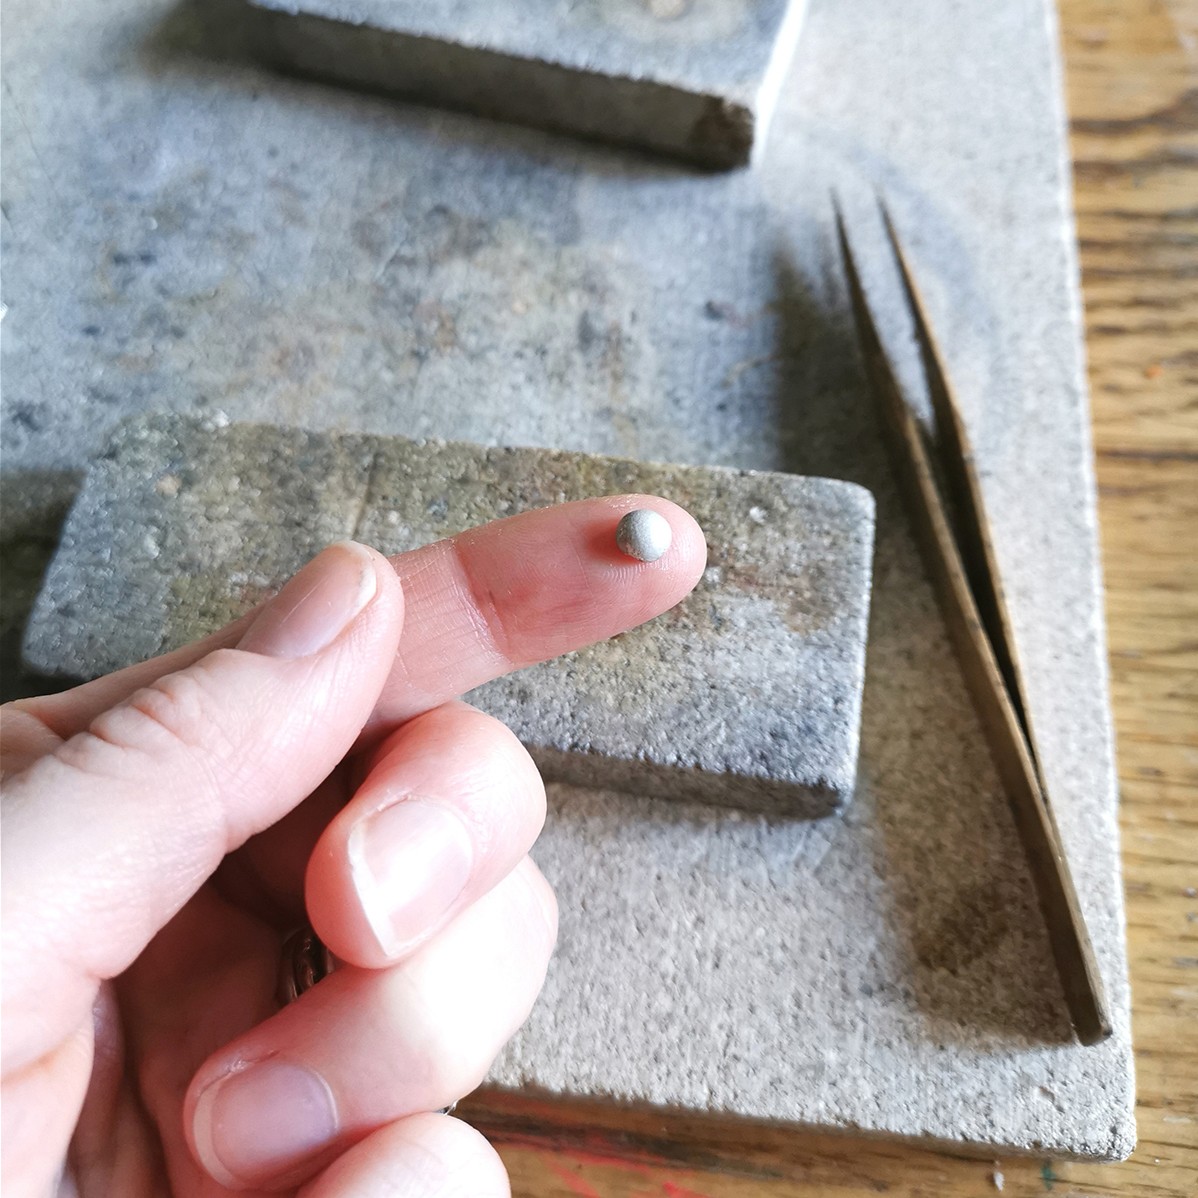
Your Ball Should Look Like This
Once the silver ball is fully pickled and has turned a matte white colour, remove from the pickle with brass/plastic tweezers. Your ball should look similar to the one pictured above.
Step 5: File
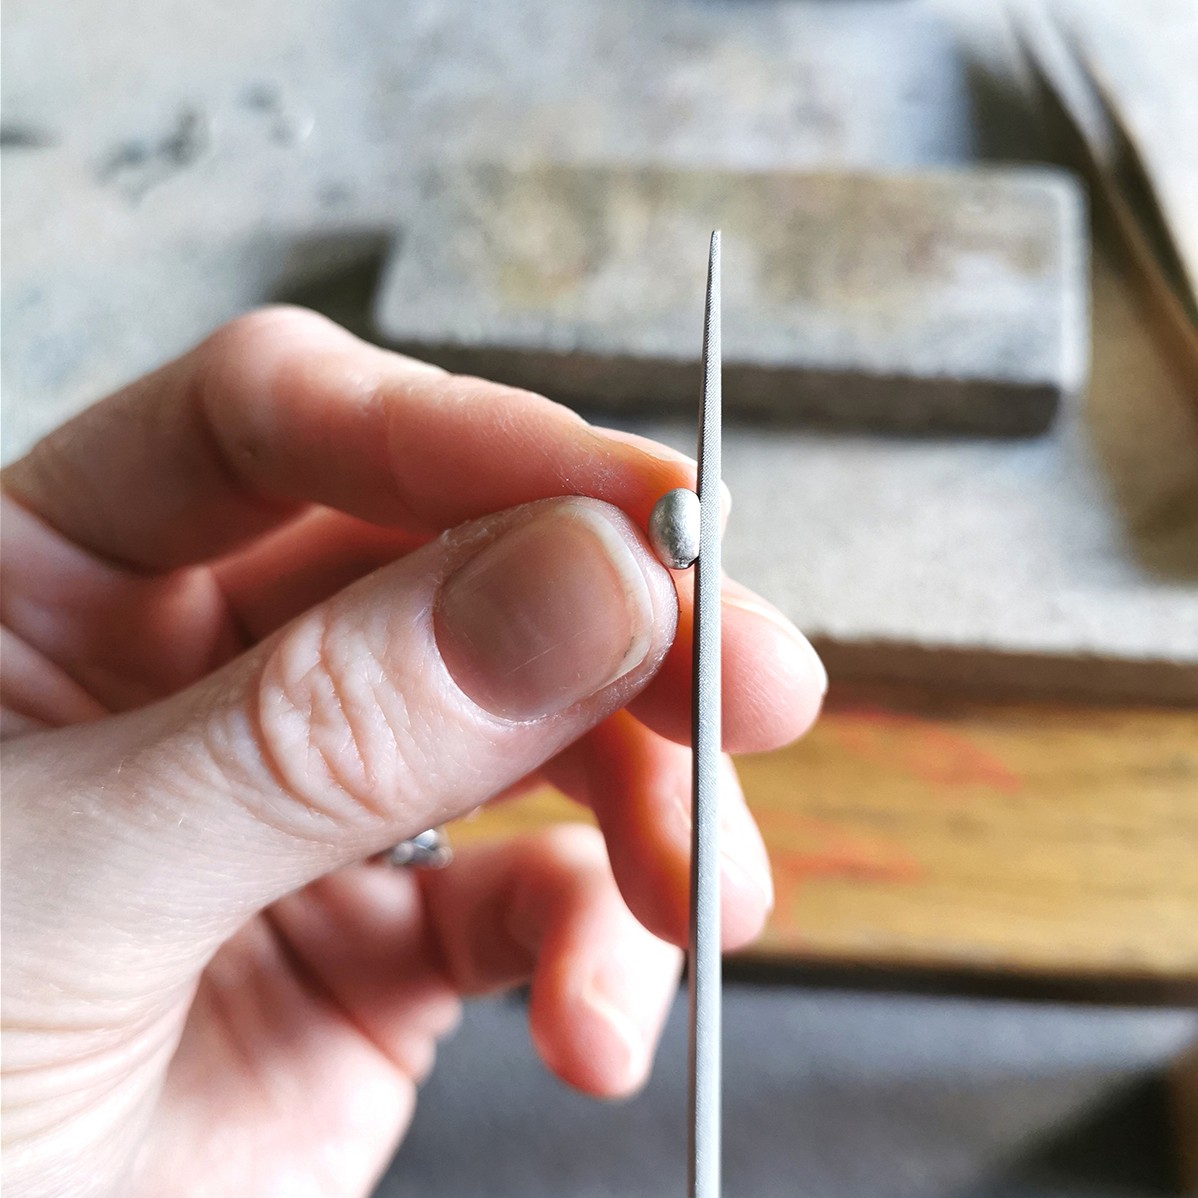
Use a metal file to remove any bumps and dents on the flat side of your ball.
TIP: I use a file with a no. 2 cut first then finish with no. 4 cut
The Back Of Your Ball Should Look Like This
Once you have a smooth and flat surface where your earstud post will go.
Step 6: Position Earstud Post Onto The Pebble
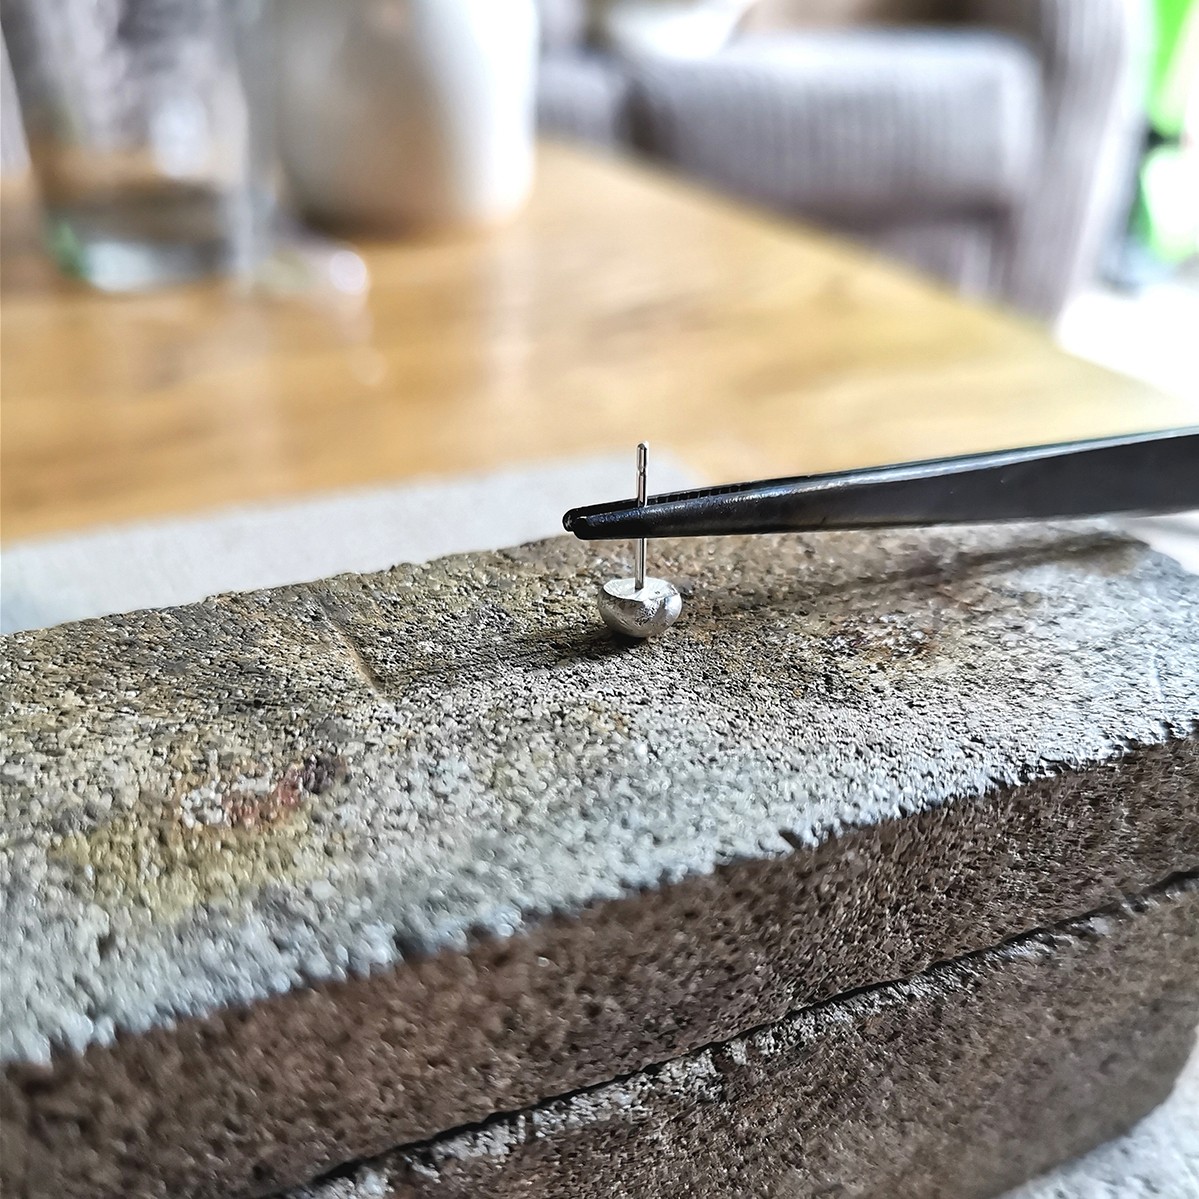
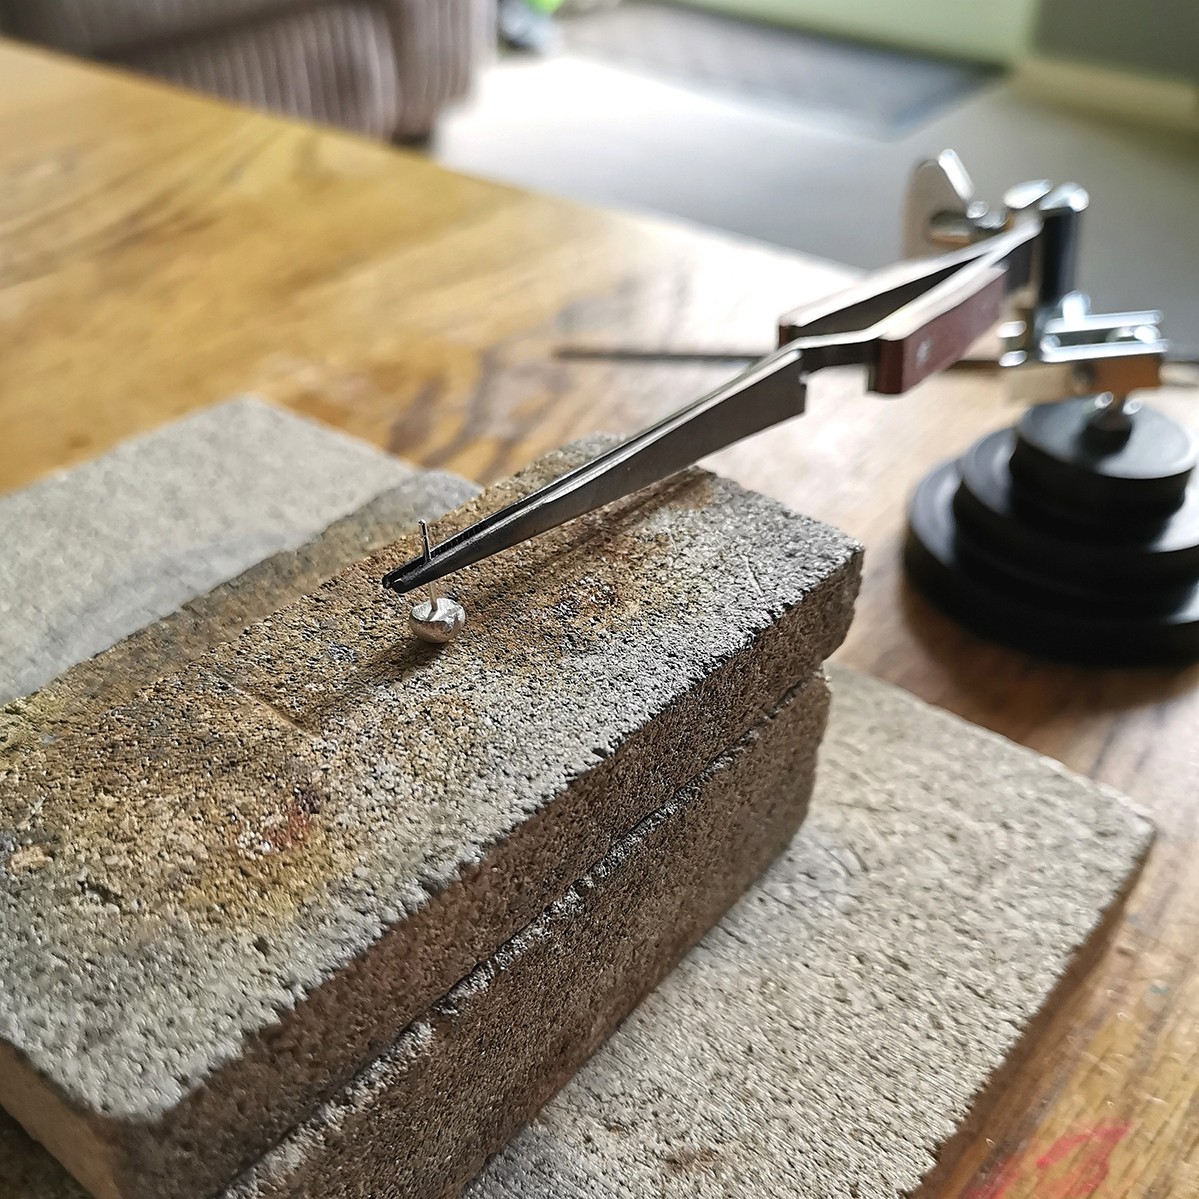
Position the ball flat side up, and use the third hand to hold the earstud post snug to it in the centre.
Step 7: Solder
TIP: check the angle of the earstud post from all sides to ensure you’re soldering it at a right angle to the back of the earring! It can appear to be upright when checking just from the front but can actually be tipping forward or back slightly.
Use solder paste (solder paste already contains flux so no need to add this) or pallions & flux (I personally find paste much easier for these studs) to solder the post to the flat surface of the ball.
TIP: Heat the ball first before moving the flame over the post to ensure the solder flows well - this will also prevent you from melting the post!
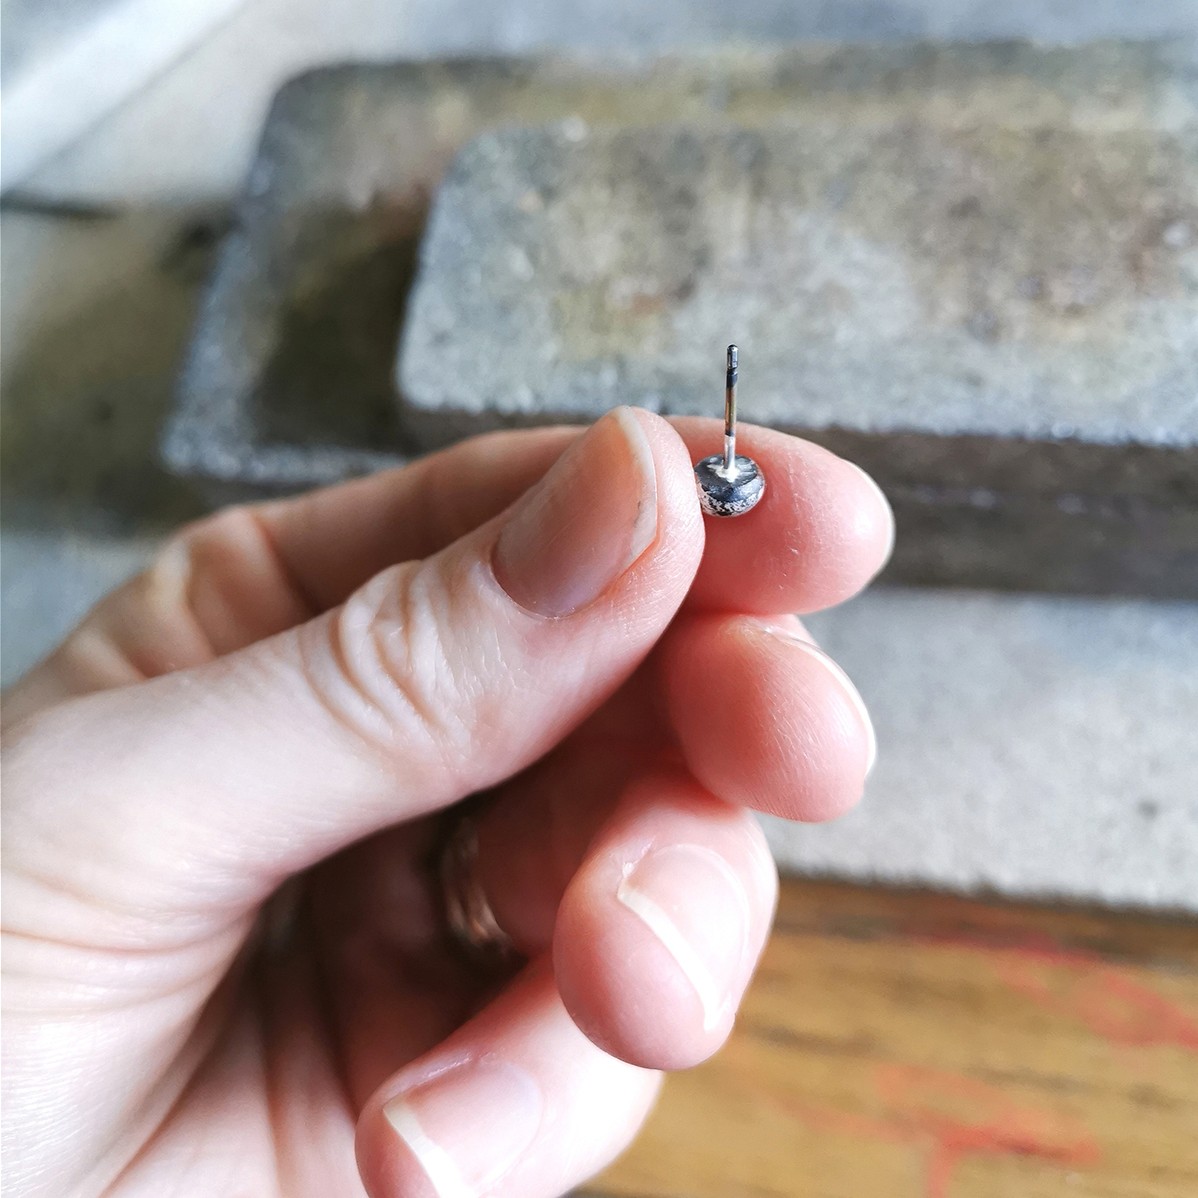
Step 8: Quench and pickle as normal
Use metal tweezers to pick up the ball and quench it in the water.
Use brass or plastic tweezers to remove your ball from the water and place it into the pickle solution.
TIP: Quench your reverse-action tweezers as well each time or you might burn yourself when adjusting the next earstud post! These tweezers will very quickly absorb the residual heat.
Step 9: Polish
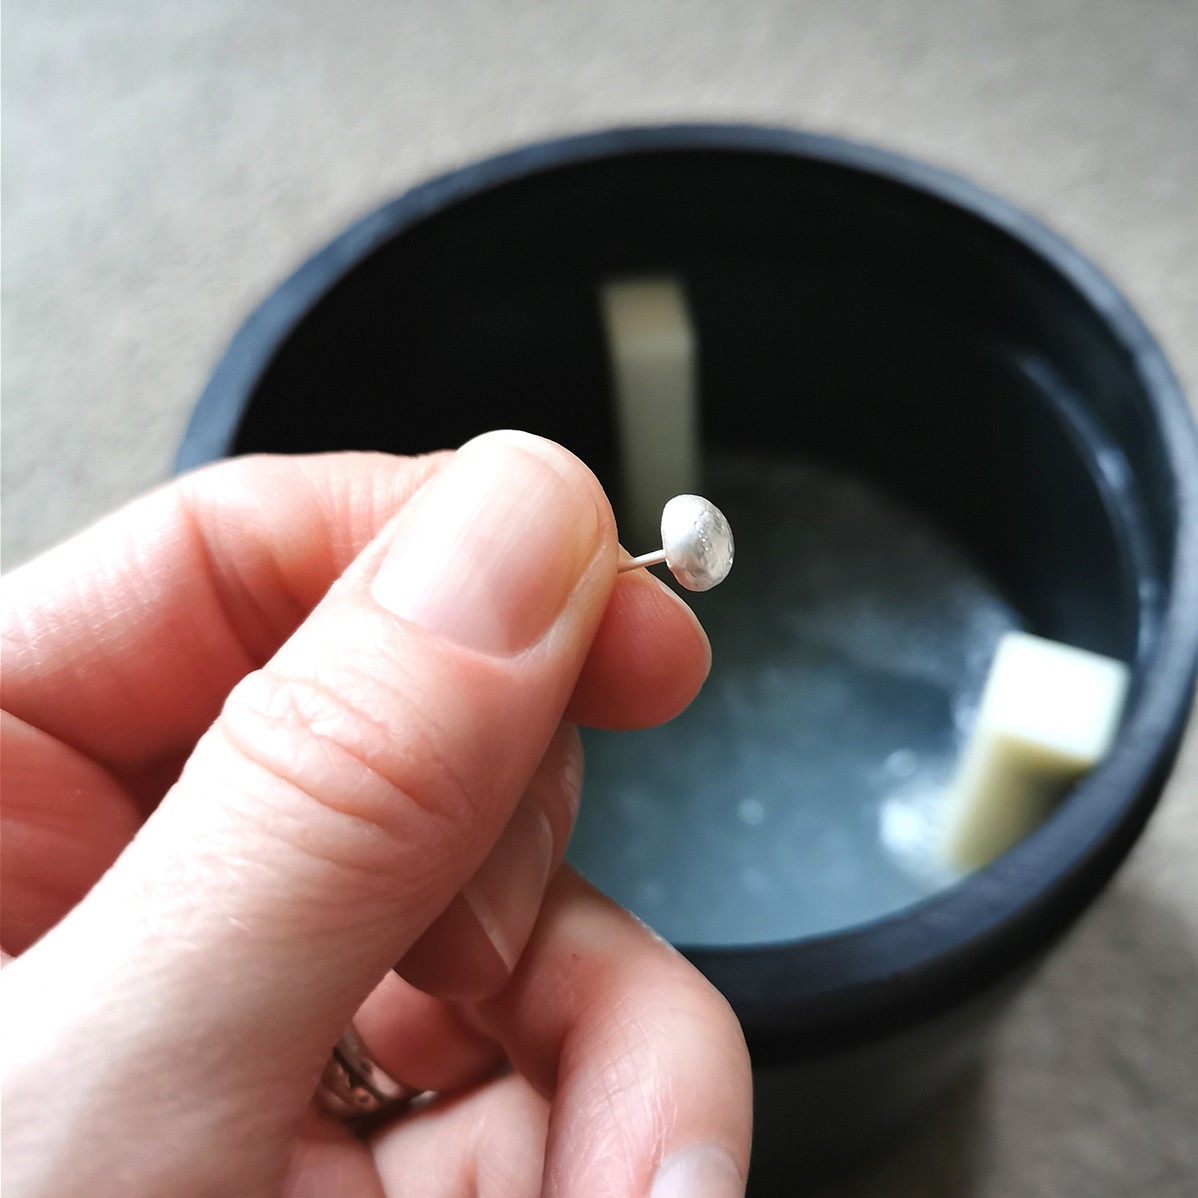
Once pickled, pop into your barrelling machine to give it a beautiful shine. Or polish using your preferred polishing tools and equipment.
Step 10: Add Earring Scrolls
Repeat the previous steps for your second earstud (or make two as you go along). Simply add the earring scrolls to the back of your earstud posts and your earrings are ready to wear!
Experiment with various sizes
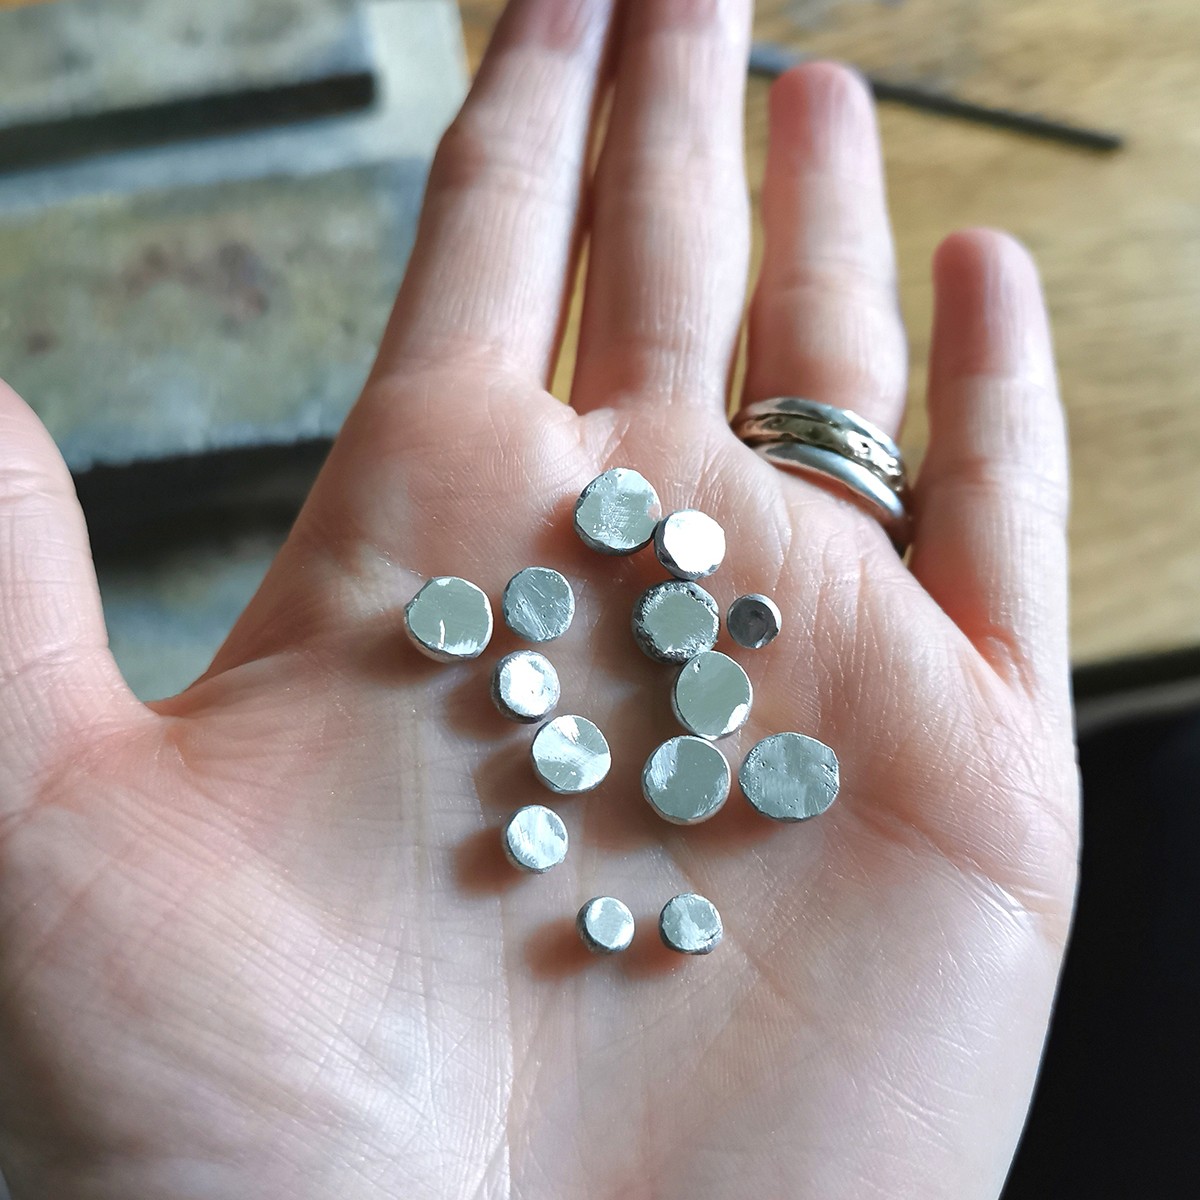
Now you know how easy it is to make your own scrap silver earstuds, you can get creative with the sizes and shapes of your designs. You may even wish to add a patina using liver of sulphur to your balls to make the textures stand out even more. Have fun and get creative!
Explore Kernowcraft Products
For the full recommended project tools and supplies see our list at the top of the page
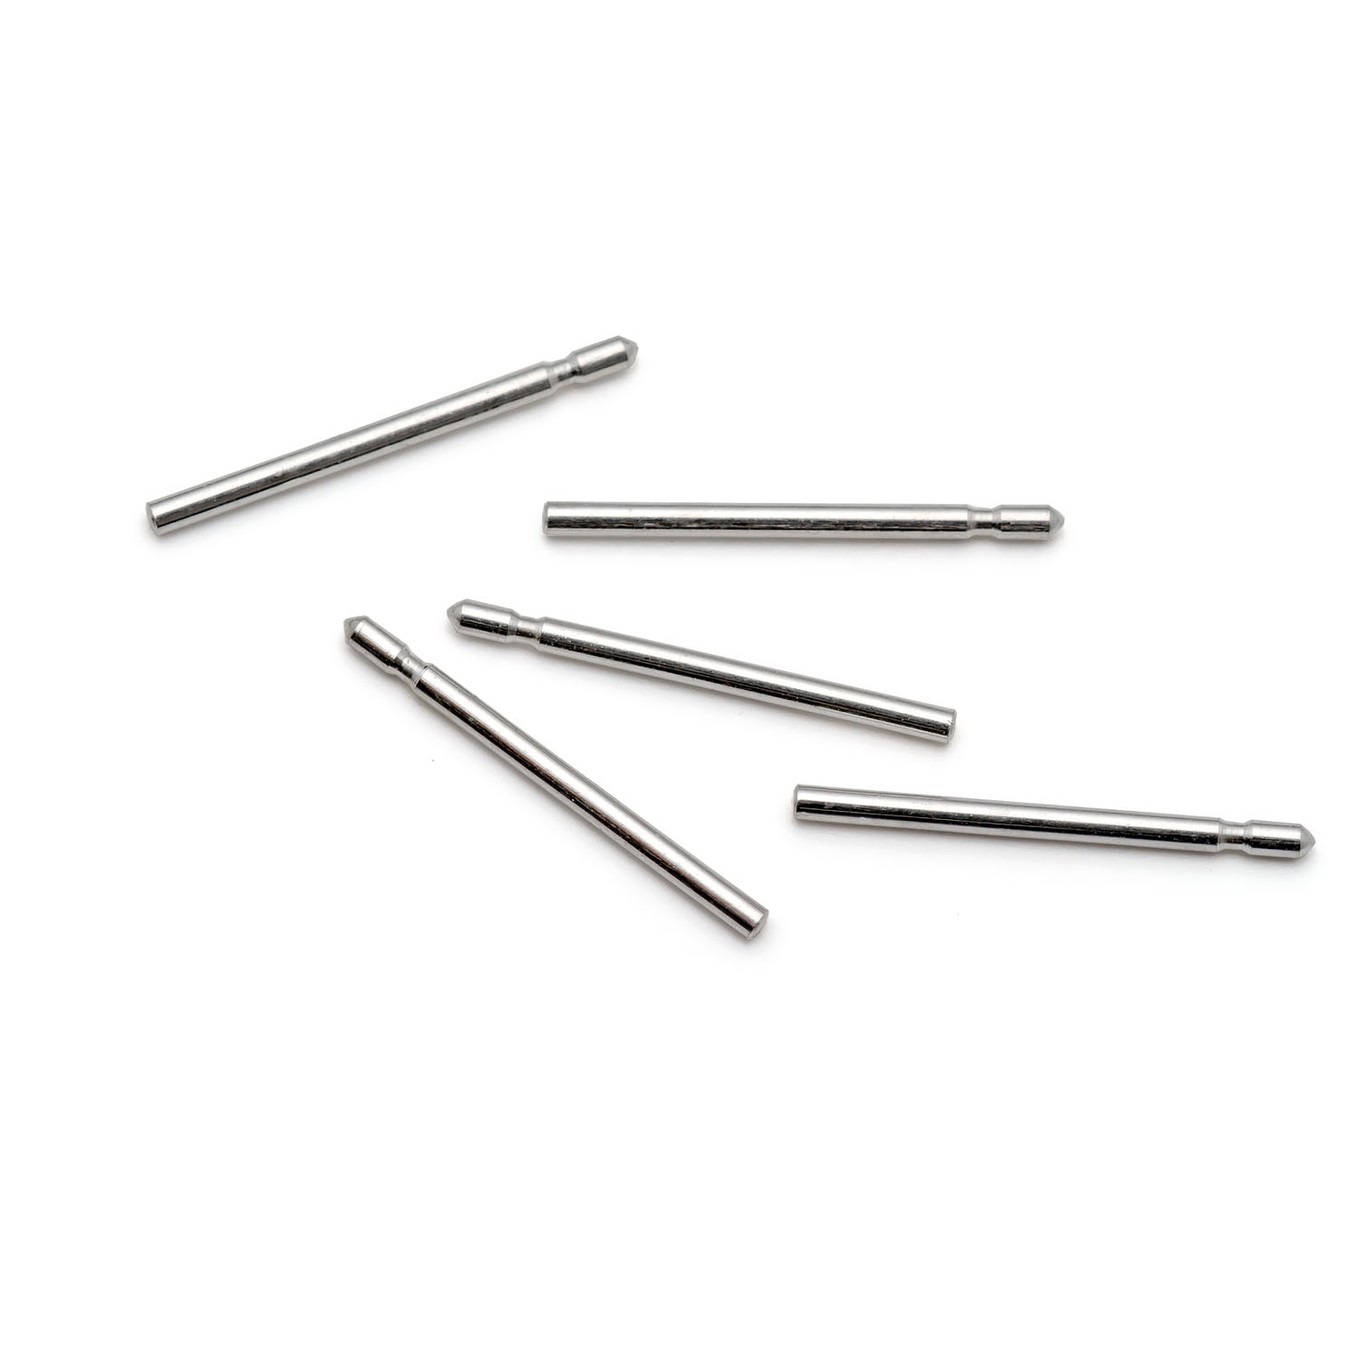
Earstud Posts
Our sterling silver earstud posts make creating your own earstuds so much easier! They are great if you're a beginner or if you simply want to save time making your own.
Our posts are sold in a pack of 10.
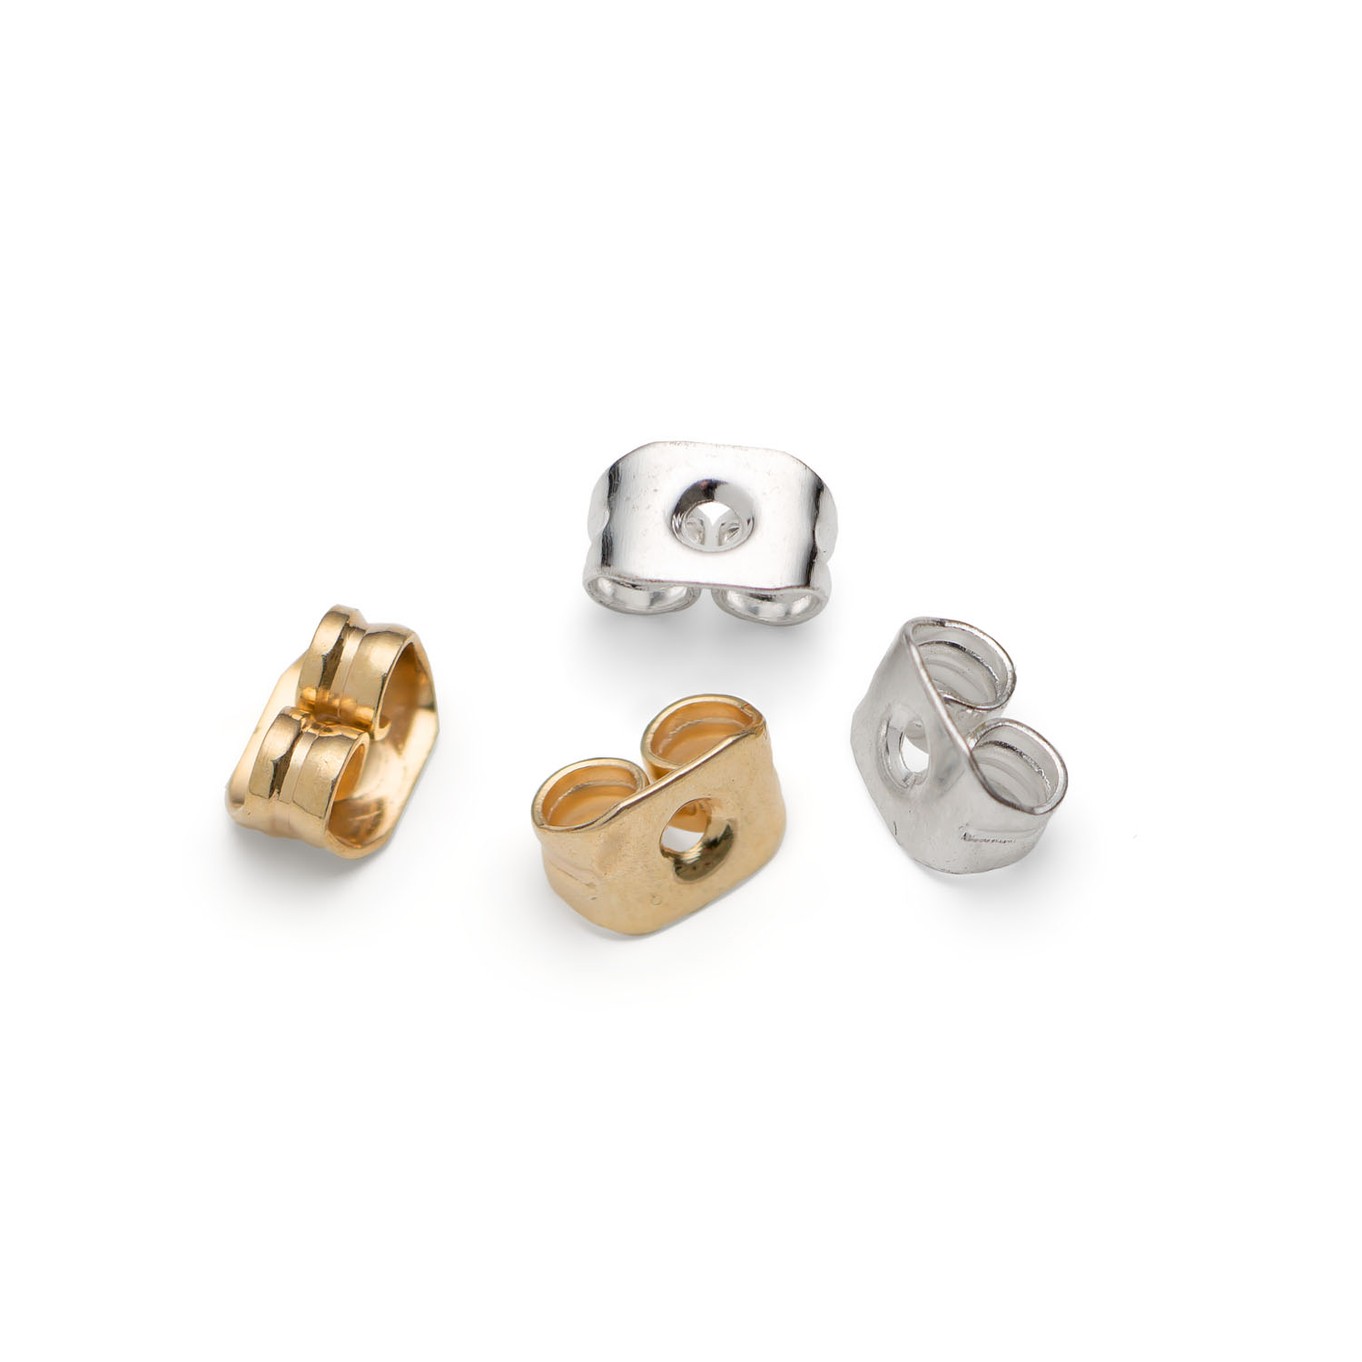
Earring Scrolls
Earring scrolls also known as butterfly backs are added to the back of earstud posts to make sure they stay in place whilst in your ear.
Choose from a range of metals and sizes on our website to cater to various designs.
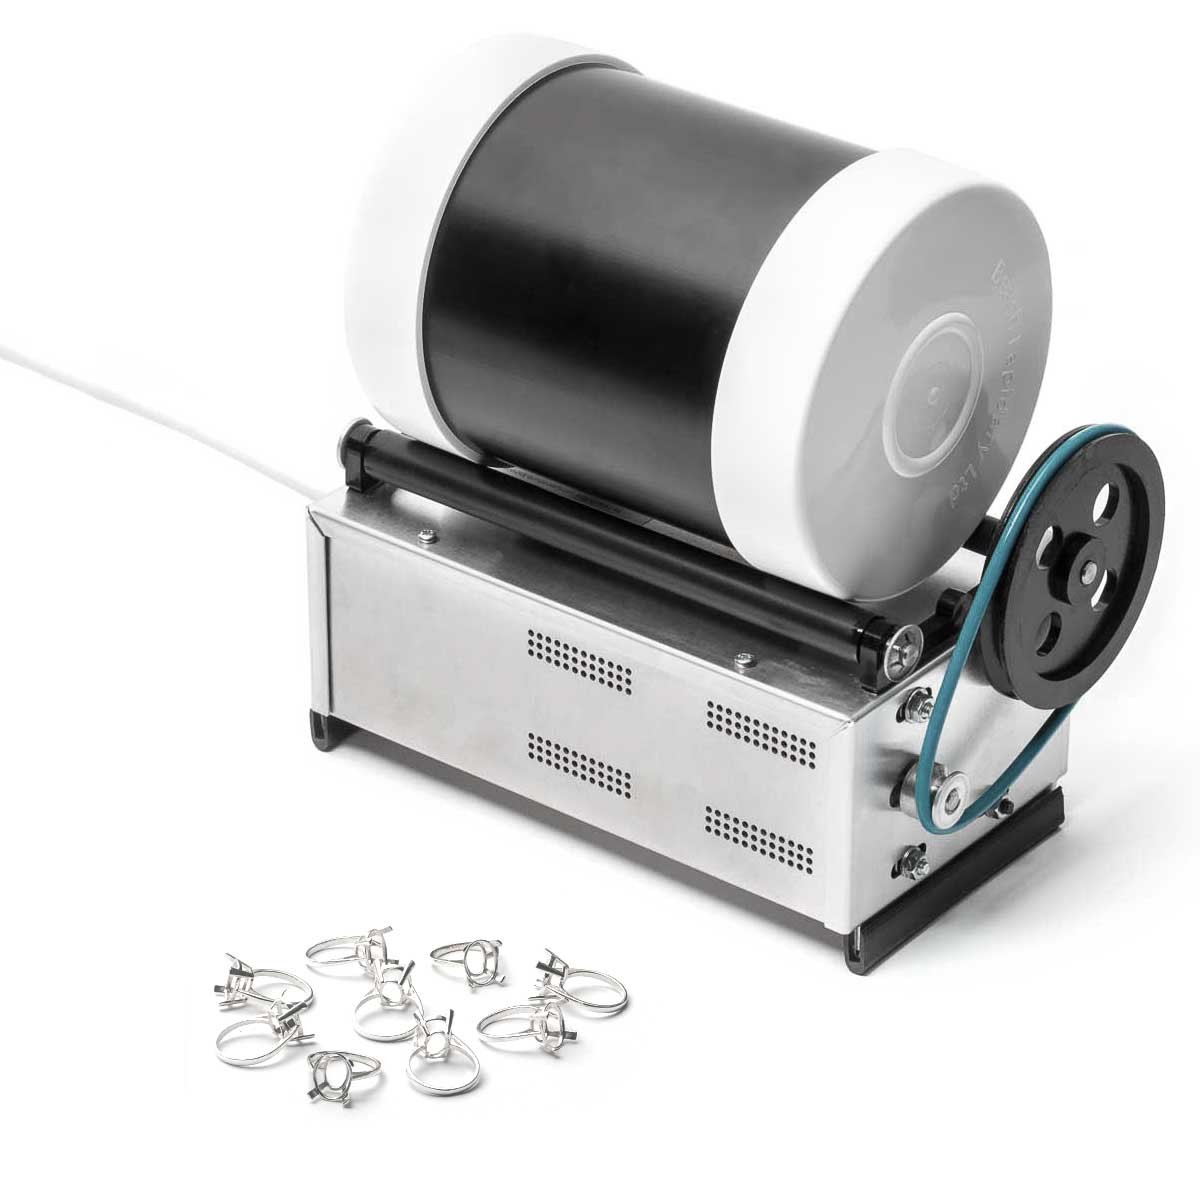
Barrelling Machine
A barrelling machine is a great investment for jewellers. The kit comes with everything you need to polish your metal jewellery creations! It works by tumbling the stainless steel shot around which acts like thousands of tiny hammers planishing the surface, polishing your designs to a high shine!
Meet The Guest Tutor, Cat
I have made jewellery for many years but it's only during the last few that I’ve been taking it seriously as a business rather than a hobby. After my son was born 2 years ago I made the leap and decided to not return to work. I’ve relished focussing my energy (or at least what’s left of it after looking after a small child!) on my own business and honing the extensive and necessary skills; from product photography to marketing, from copy writing to accounting, and anything and everything in between.
I do it all myself and it’s been a consistent learning curve, but I love building this small biz myself and learning heaps as I go. Looking back over these last couple of years, it's incredible to see actually how far I’ve come and what I’ve achieved, especially whilst also bringing up a baby/toddler and half of that time also being during a pandemic! It’s safe to say it’s the hardest thing I’ve ever done, but I wouldn’t change it for the world!
I’m so excited for these next couple of years as I continue to refine and grow this small business of mine. I have so many ideas and dreams, and I feel incredibly lucky to be able to work on making it come to fruition.
I live in Cornwall, a truly beautiful and special part of the world, which continues to inspire me everyday. Not just in the beauty of the landscape and seascapes (which do indeed play a significant part in my creative process), but also in the slower pace of life here too. I feel a huge benefit when I allow ideas to evolve organically and take pleasure and joy in the simple things.
My designs encapsulate a sense of wonder at the materials I work with. From unique textures created on the surface of precious metals, to the little details to be found in natural gemstones; finding beauty in the tiny flecks of Pyrite sparkling in a piece of Lapis Lazuli, or the awe at the skilled cut of a stone drawing out its delicate colour. Akin to finding joy in the gentle burblings of a brook rather than wanting the drama of a roaring waterfall.
These small, intimate pleasures are so personal to us, and we each bring with it our own memories, associations and passions. It is an honour to create jewellery that encompasses this and to know that others share with me these little wonders that Nature created.
I strive to create designs that are elegant, clean and timeless. Whether they are everyday favourites that you feel naked without or something saved for special occasions to make you feel a million dollars, jewellery has a special superpower to give us this gift of energy and confidence.
It is my passion to create pieces for all the unique and wonderful women who share with me the simple joys of colour and shape of these beautiful materials; born in nature, and composed in my head, my heart and with my hands.

