How To Use Your Scrap Silver For Jewellery Making
Reduce, Reuse, Recycle!
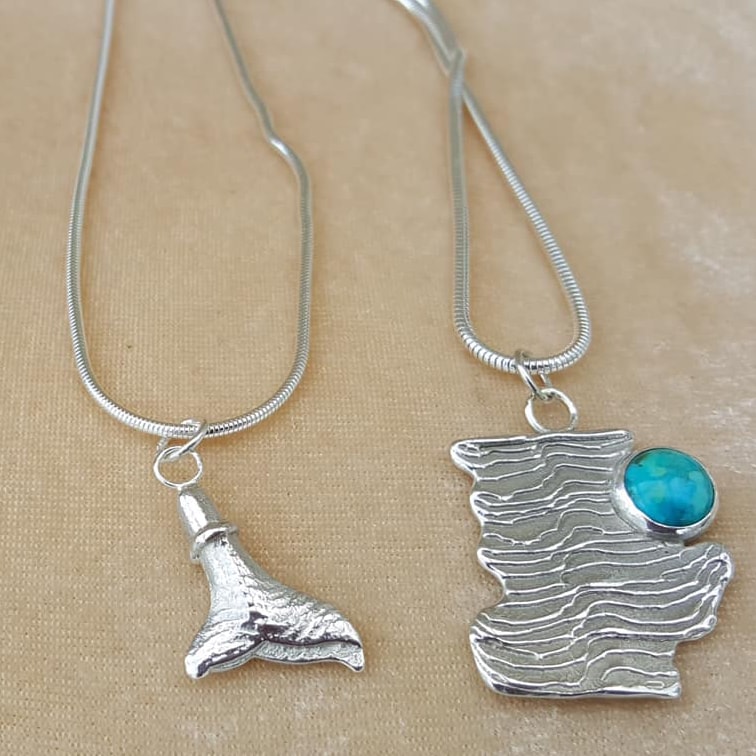
On this page we look at the many ways you can transform your scrap silver to create unique jewellery designs.
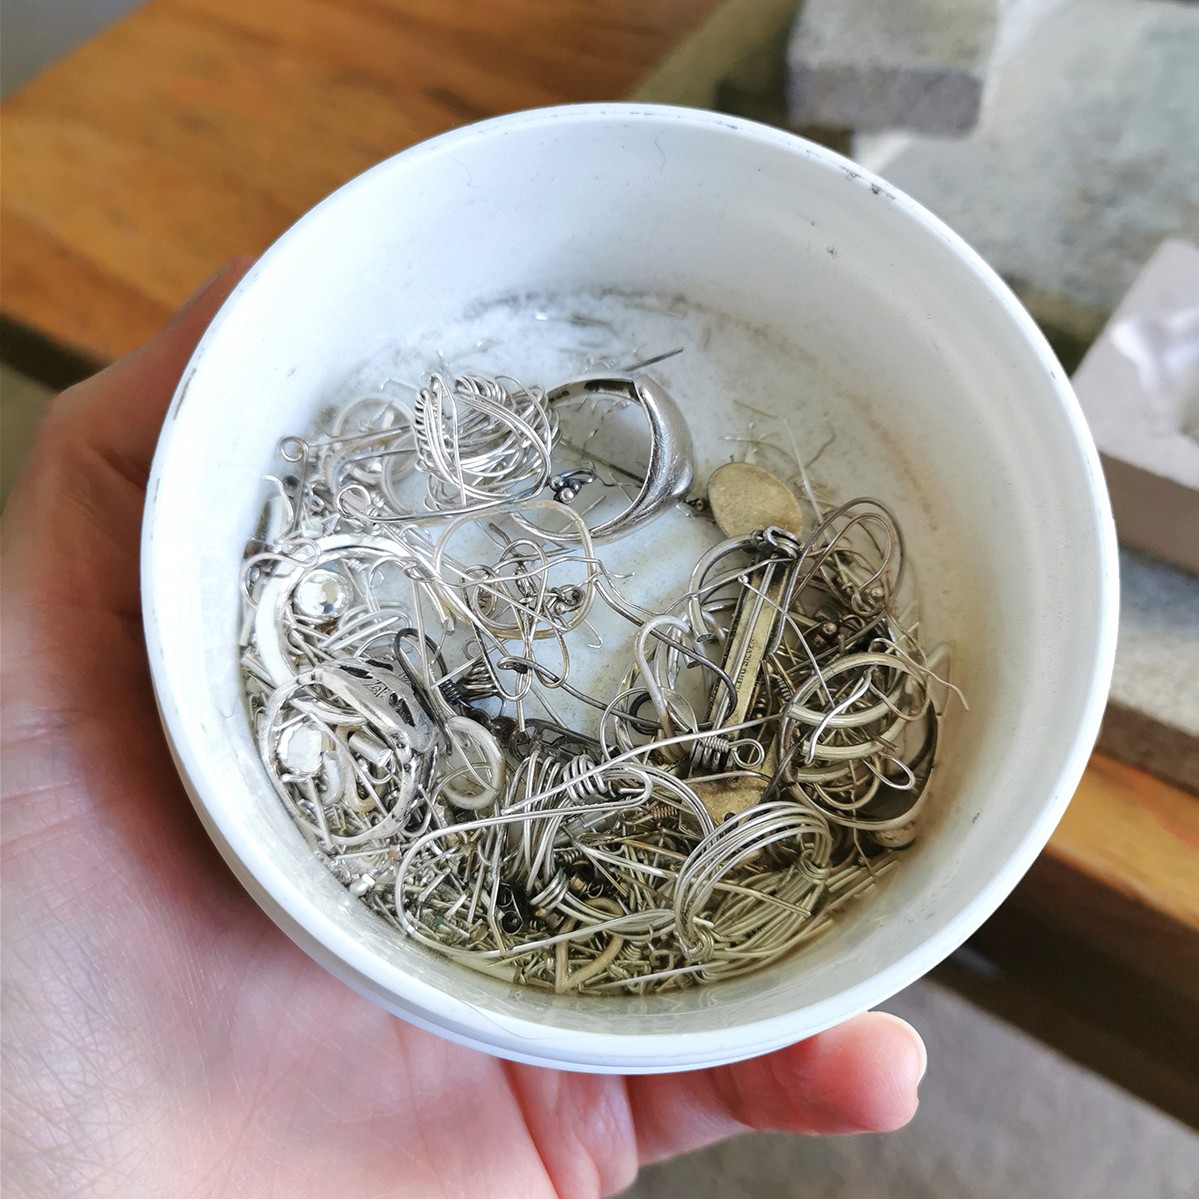
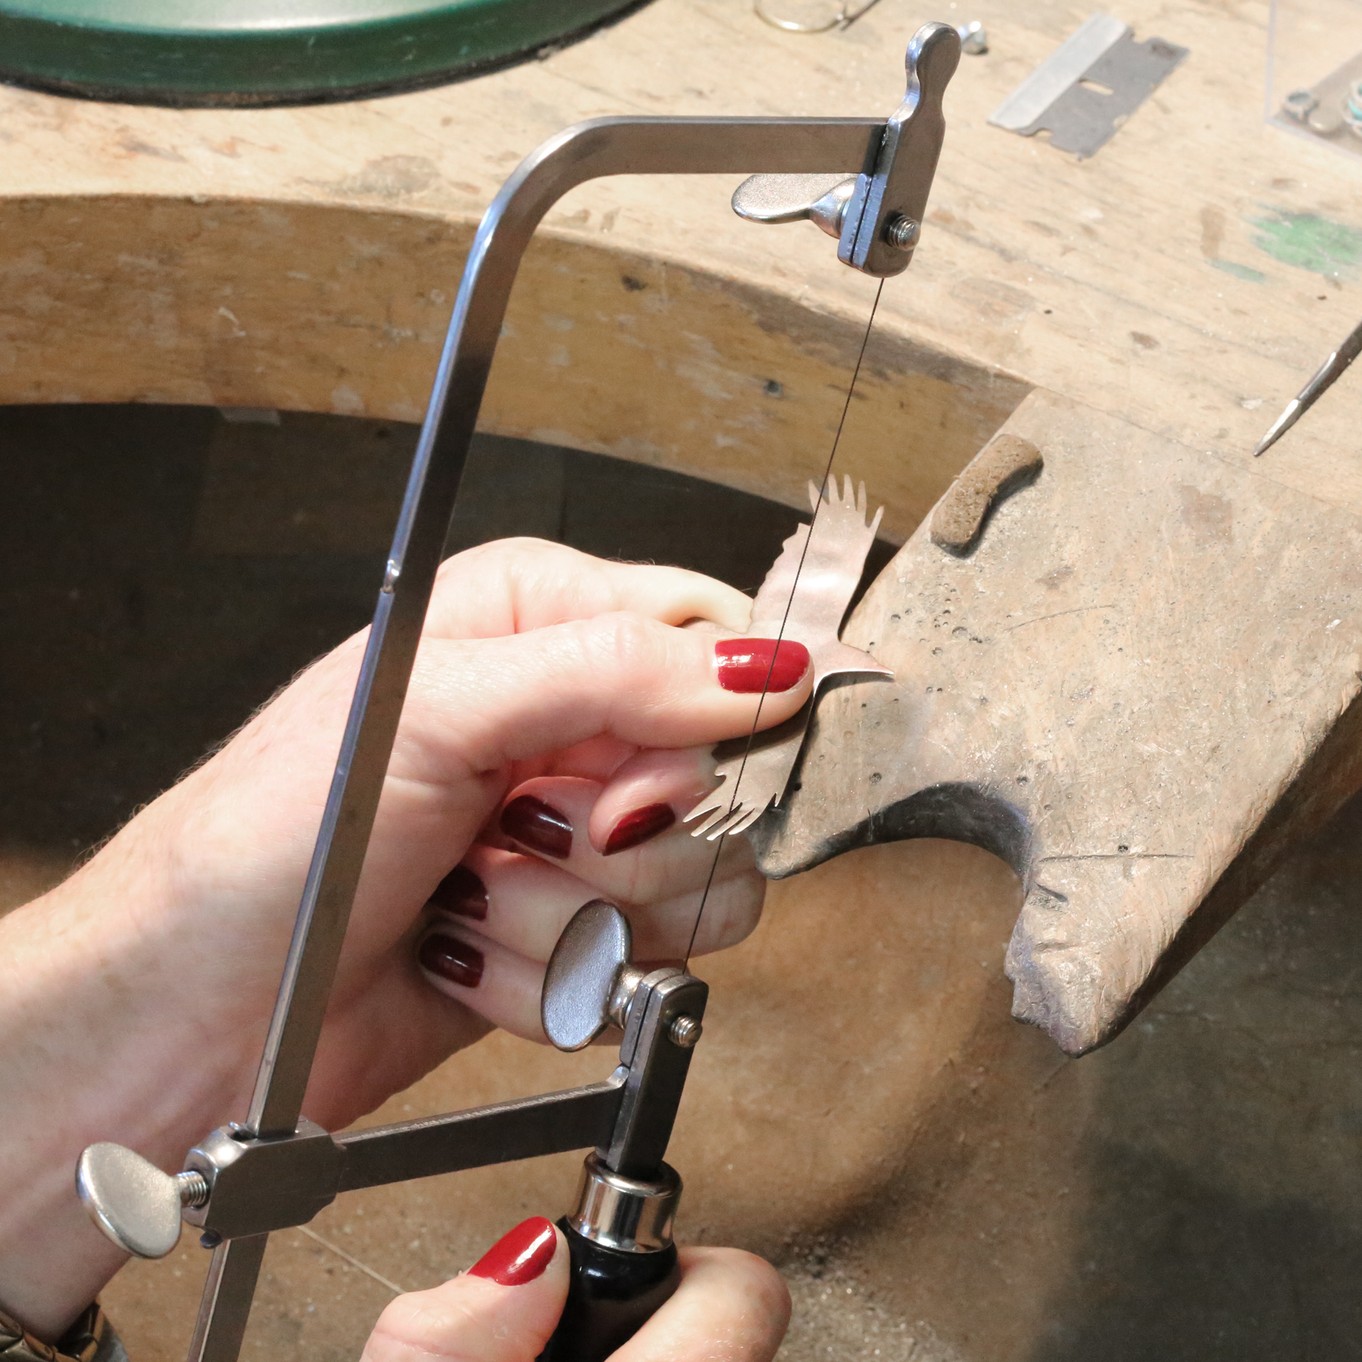
Scrap silver is created from excess metal, including tiny particles of silver left over from filing and sawing - never throw these pieces away! Even tiny pieces of silver are valuable and can be used to create new and beautiful pieces of jewellery.
We show you some brilliant tutorials and projects that you can easily recreate and get creative with for yourself.
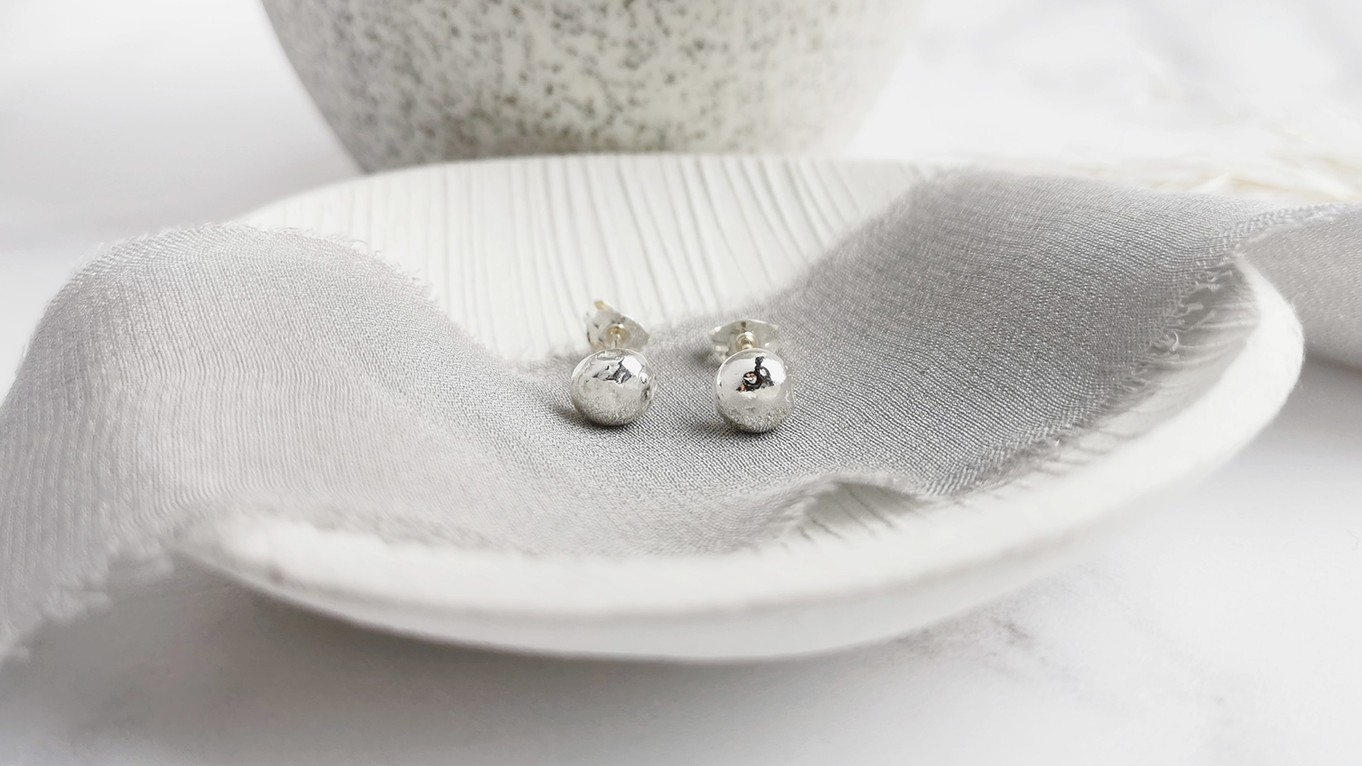
Photo from Cat Stacey Jewellery's guest tutorial showing you how to make scrap silver earstuds
Don't forget to share your designs with us on social media - tag @kernowcraft for a chance to feature!
Collecting Your Scrap Silver
Attach A Bench Skin To Your Bench
A bench skin is a piece of material that is fixed to your workbench, hung from the underside of your bench's semi circle. This makes it easy to collect all of your metal cuttings and filings produced from making.
Another bonus is that a bench skin will catch any falling items!
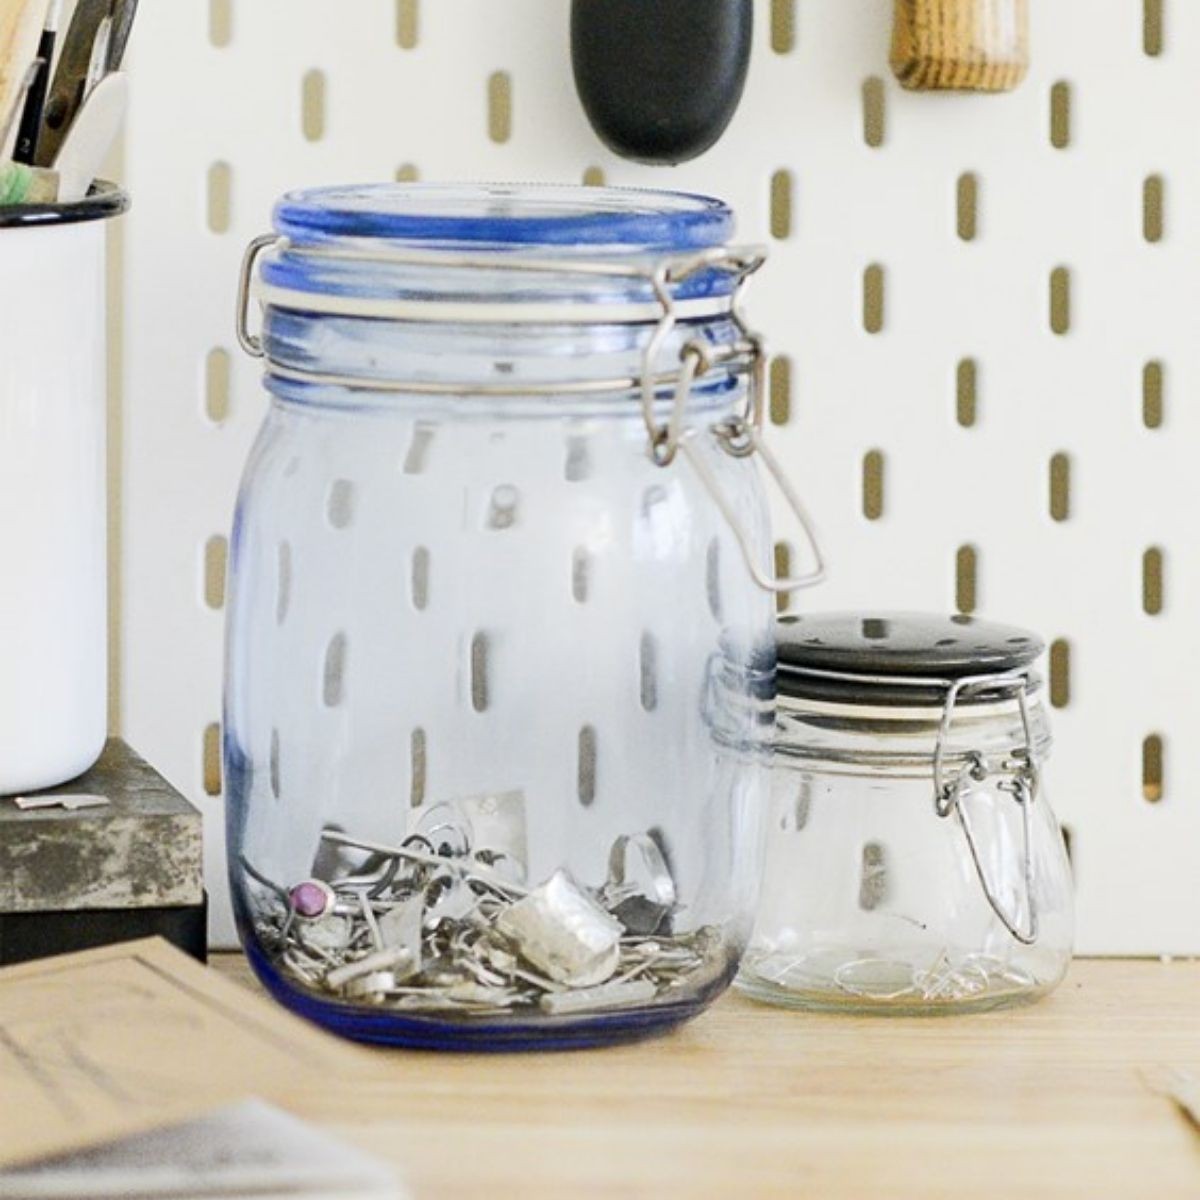
Keep All Of Your Scraps In A Jar
A jar is the most simple and effective way to store all of your scrap silver. Avoid adding other metals or combining sterling silver with fine silver, as you will want to melt these separately.
Melting Your Scrap Silver | Granulation & Casting Techniques
To get started in transforming your scrap silver into a piece of jewellery, you will need to melt it down into a solid piece of metal.
In the video below Kim shows you how to use your scrap pieces to form little balls which can be added as decoration and texture to your designs. This process is called granulation and it's one of our favourite ways to reuse silver!
In the second part of the video, Kim also shows you how you can use a charcoal block to carve shapes for casting, featuring a set cubic zirconia stone!
Surfaces For Melting Scrap Silver
Discover our recommended soldering surfaces for melting your scrap silver as well as essential tools.
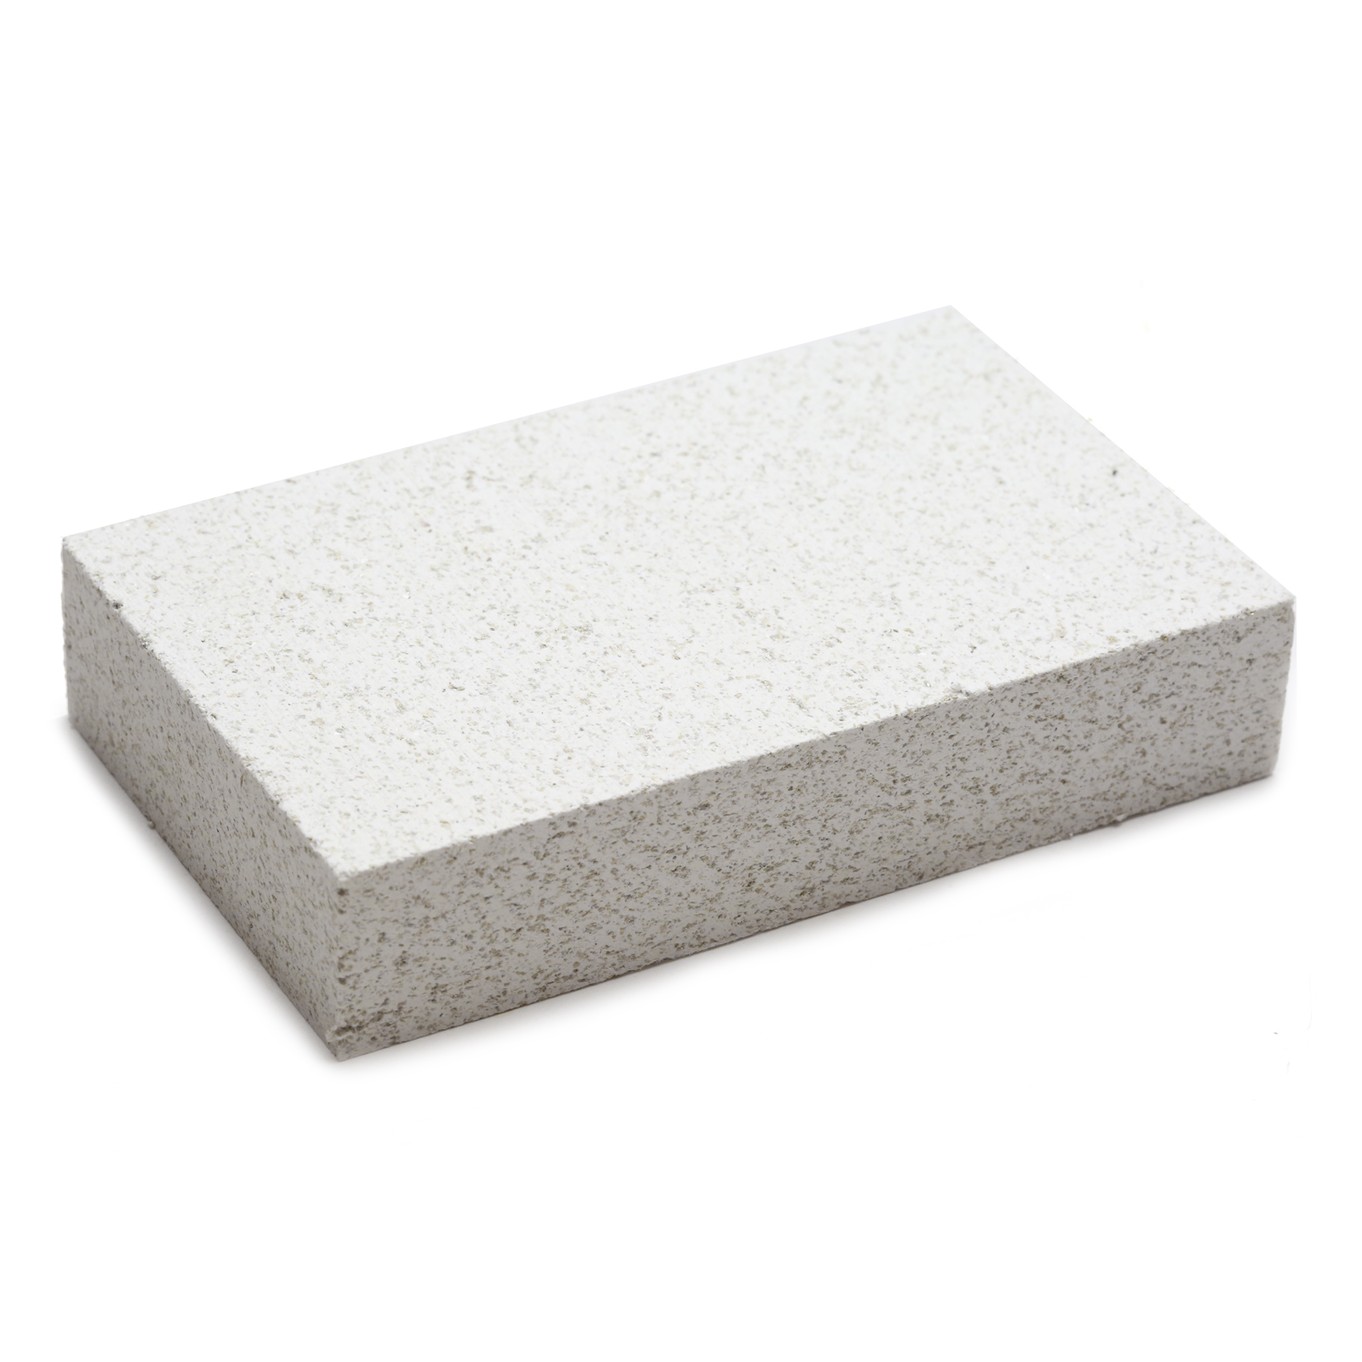
Soldering Block
This soldering block is the most popular choice for providing a safe surface for heating your designs. This long lasting, fire-proof block keep the heat exactly where you want it.
TIP: Use more than one soldering block to create a 'cave' to assist achieving a constant temperature needed for heating larger pieces.
Charcoal Block
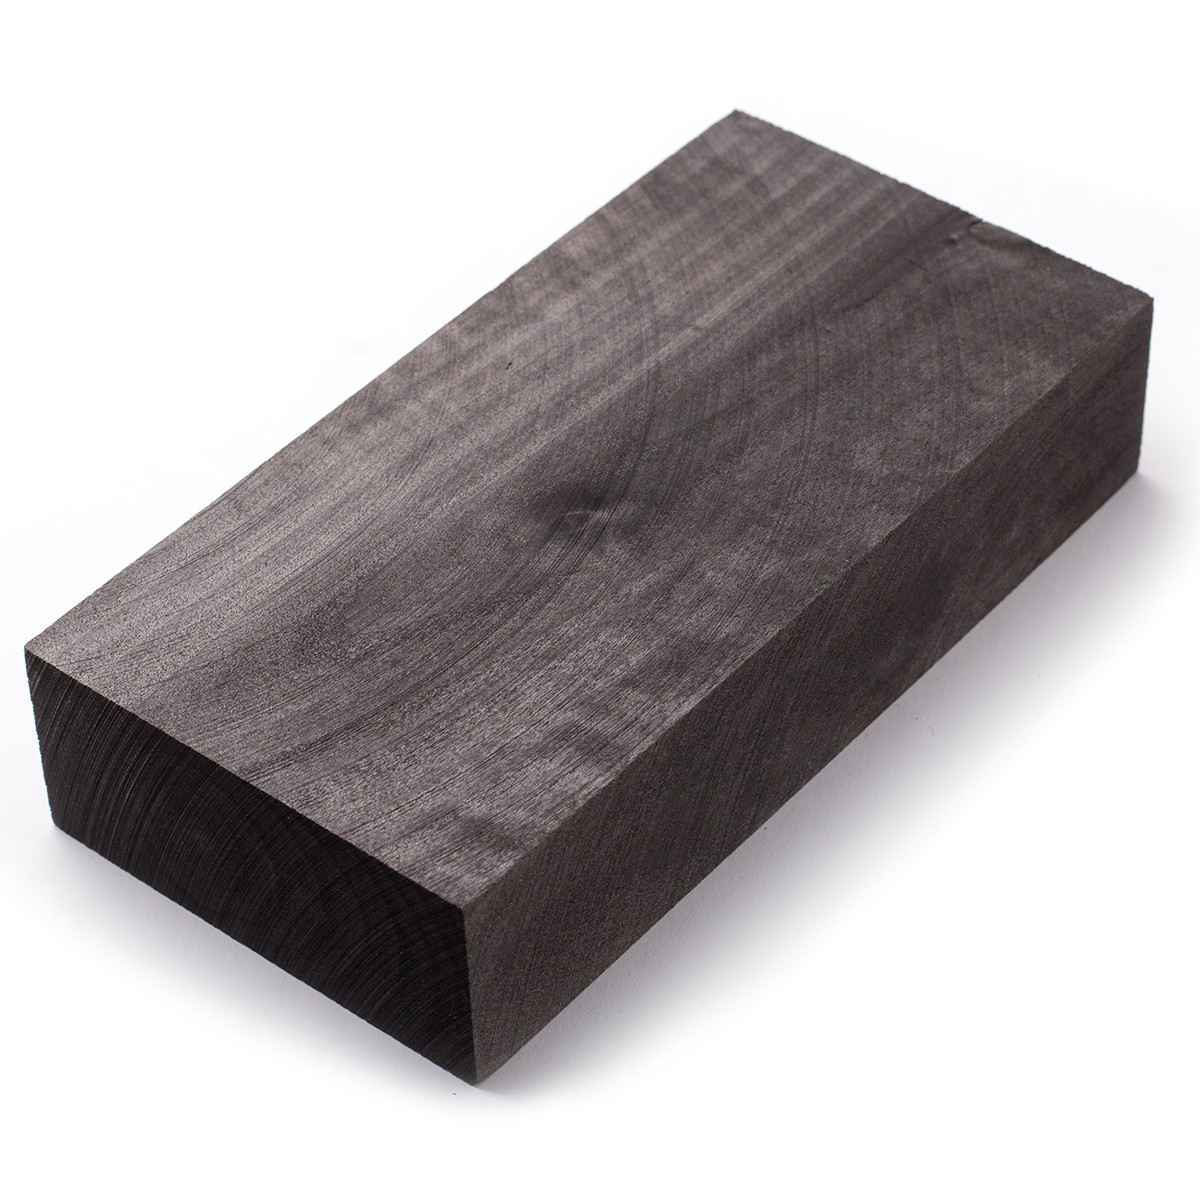
A charcoal block is a popular choice for jewellers when it comes to doing granulation or casting. A charcoal block reflects the heat back onto the metal for quicker heating as well as consuming the oxygen around the metal. The reason jewellers love it for granulation is because you can easily be drilled or carved to use as a crucible in which to melt and cast metal. Wear a mask when customising your block, to avoid inhaling any dust.
Essential Supplies
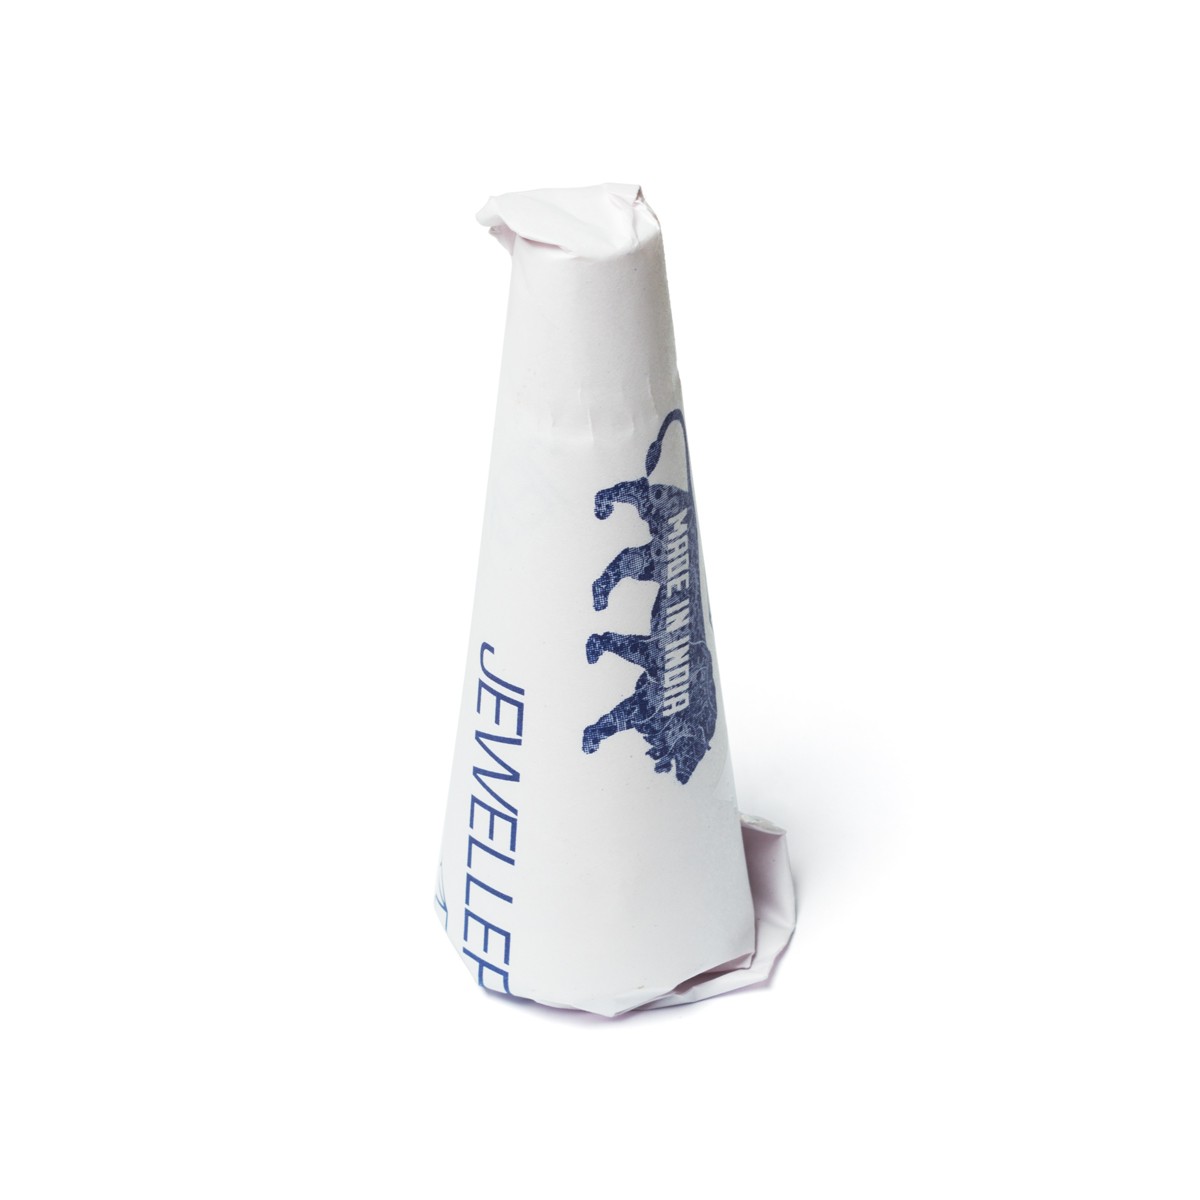
Flux
Applying flux to your scrap silver before heating is needed when melting them together to ensure the pieces flow together. This creates a nice and smooth lump of silver - without it they would struggle to join and create gnarly lumps of silver and make the process harder.
Gas Torch
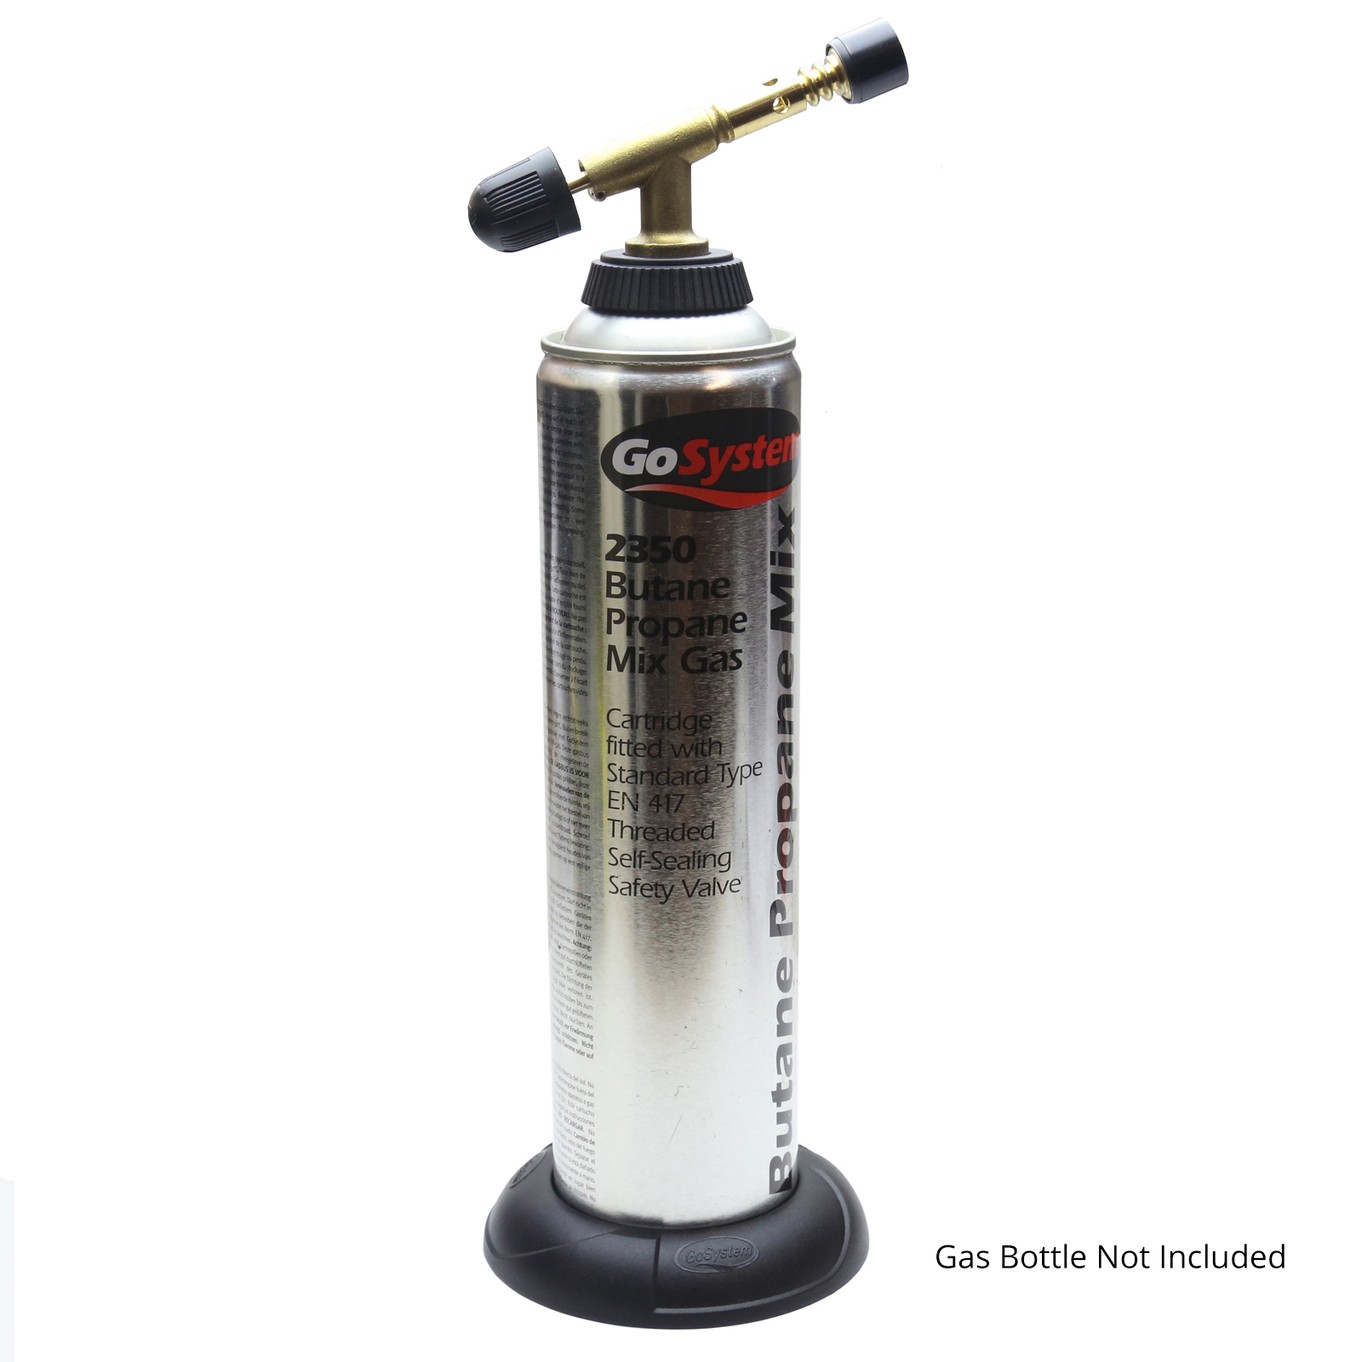
As well as a soldering surface such as a soldering block and charcoal block featured above, you will need a gas torch to heat the pieces of silver together. Our GoSystem Tech Torch has a large flame, making it ideal for quickly melting your scrap silver - this is the torch used in Kim's video tutorial above.
Solder Probe
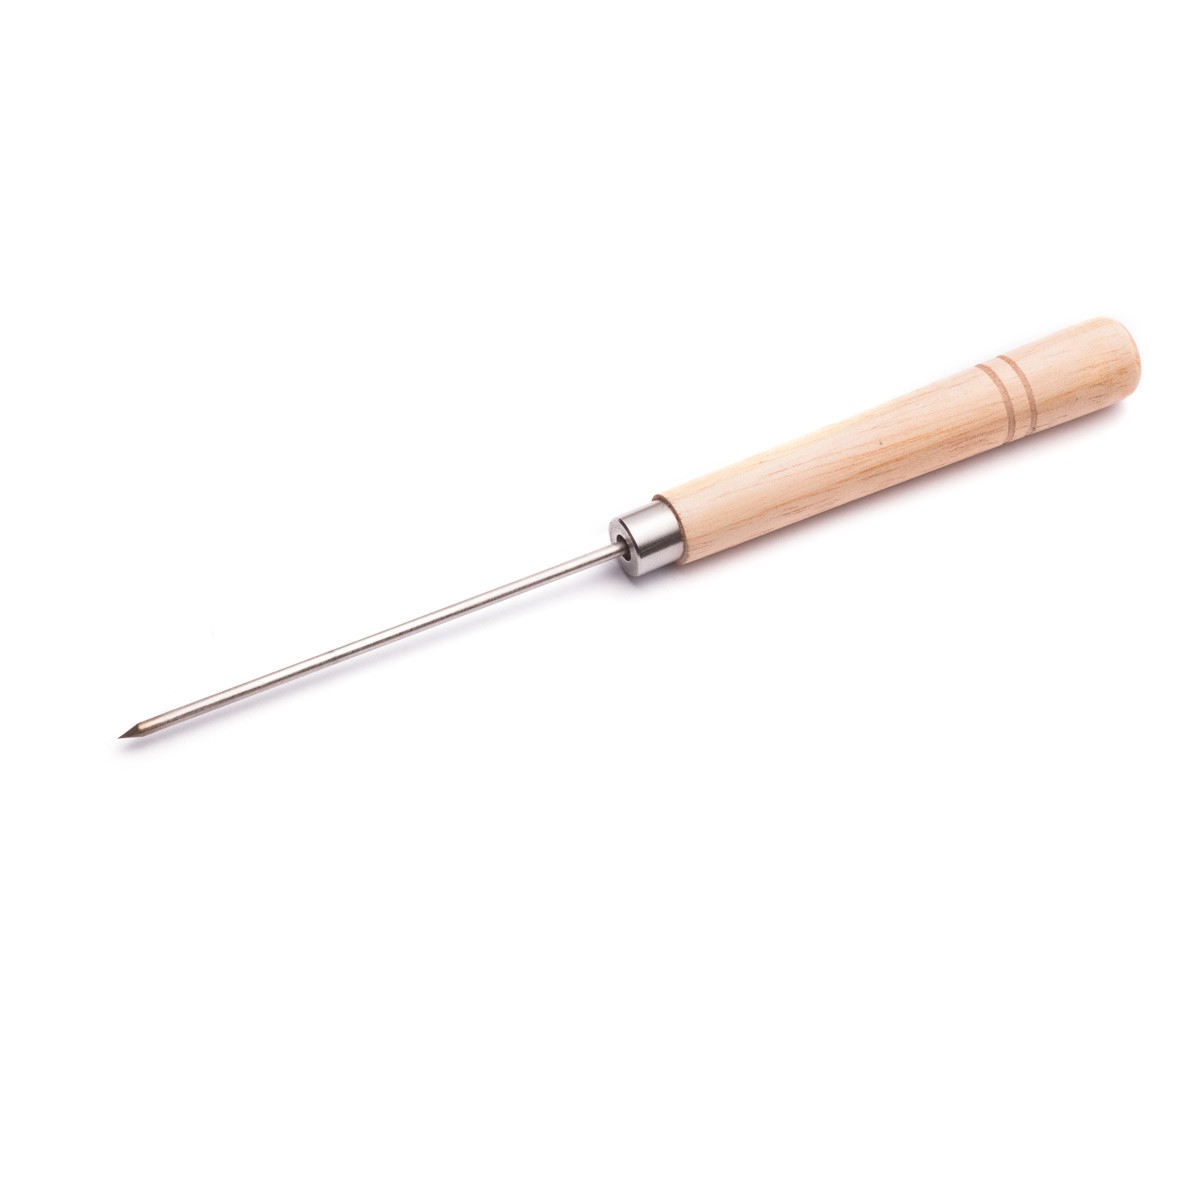
A solder probe is a great tool to have in the workshop, use it to manipulate, guide or drag molten metal (or solder) where you need it. When creating granulated balls for example, it's great to use the probe for guiding the ball into a recess made into a charcoal block. You may also find that your gas torch may blow your pieces of silver away, so you can use the probe to guide it back in place.
Make Scrap Silver Earstuds
Guest tutor, Catherine from Cat Stacey Jewellery shares a step by step photo tutorial on how to create these beautiful scrap silver earstuds!
This is a brilliant beginner friendly project as it uses ready-made earstuds so you can simply solder them onto your granulated scrap silver balls.
Follow the tutorial and get all the tools you need with our recommended supplies list.
Make A Silver Disc
Below Cyrilyn shows you how you can create a disc with your scrap silver which can be used to make a pendant or charm, you could also texture the disc or solder a design onto the disc or more granulated balls for added texture.
Firstly, you need to heat up your fluxed scrap silver until it melts into a sphere - you'll see that Cyrilyn has used two torches to make this process quicker. Then place your sphere between 2 steel blocks and use a hammer to hit and flatten the silver. Now you need to anneal the silver to soften it, heating it to a cherry red colour, withdraw the heat and keep it warm for roughly 10 seconds. Quench and pickle, remove from the solution and rinse with water, dry and repeat the process of hitting and annealing until you have your desired disc shape which is perfect for turning into jewellery.
At the end of the video, you can see that Cyrilyn turns her scrap silver disc into a pendant with a cute stamped bee!
Use A Rolling Mill
Cyrilyn gives you a glimpse into how you can flatten your melted scrap metal with a hammer and steel block or rolling mill. A rolling mill is used for rolling wire and sheet to change the shape and thickness as well as giving the opportunity to add beautiful patterns and textures to your metal.
Discover Customer Jewellery Designs Using Scrap Silver
We hope these project ideas gives you the inspiration to get creative with your scrap silver! Don't forget to share your designs with us on social media - tag @kernowcraft for a chance to feature
Yvonne Antoinette Jewellery: "This was made by casting my scrap in water."
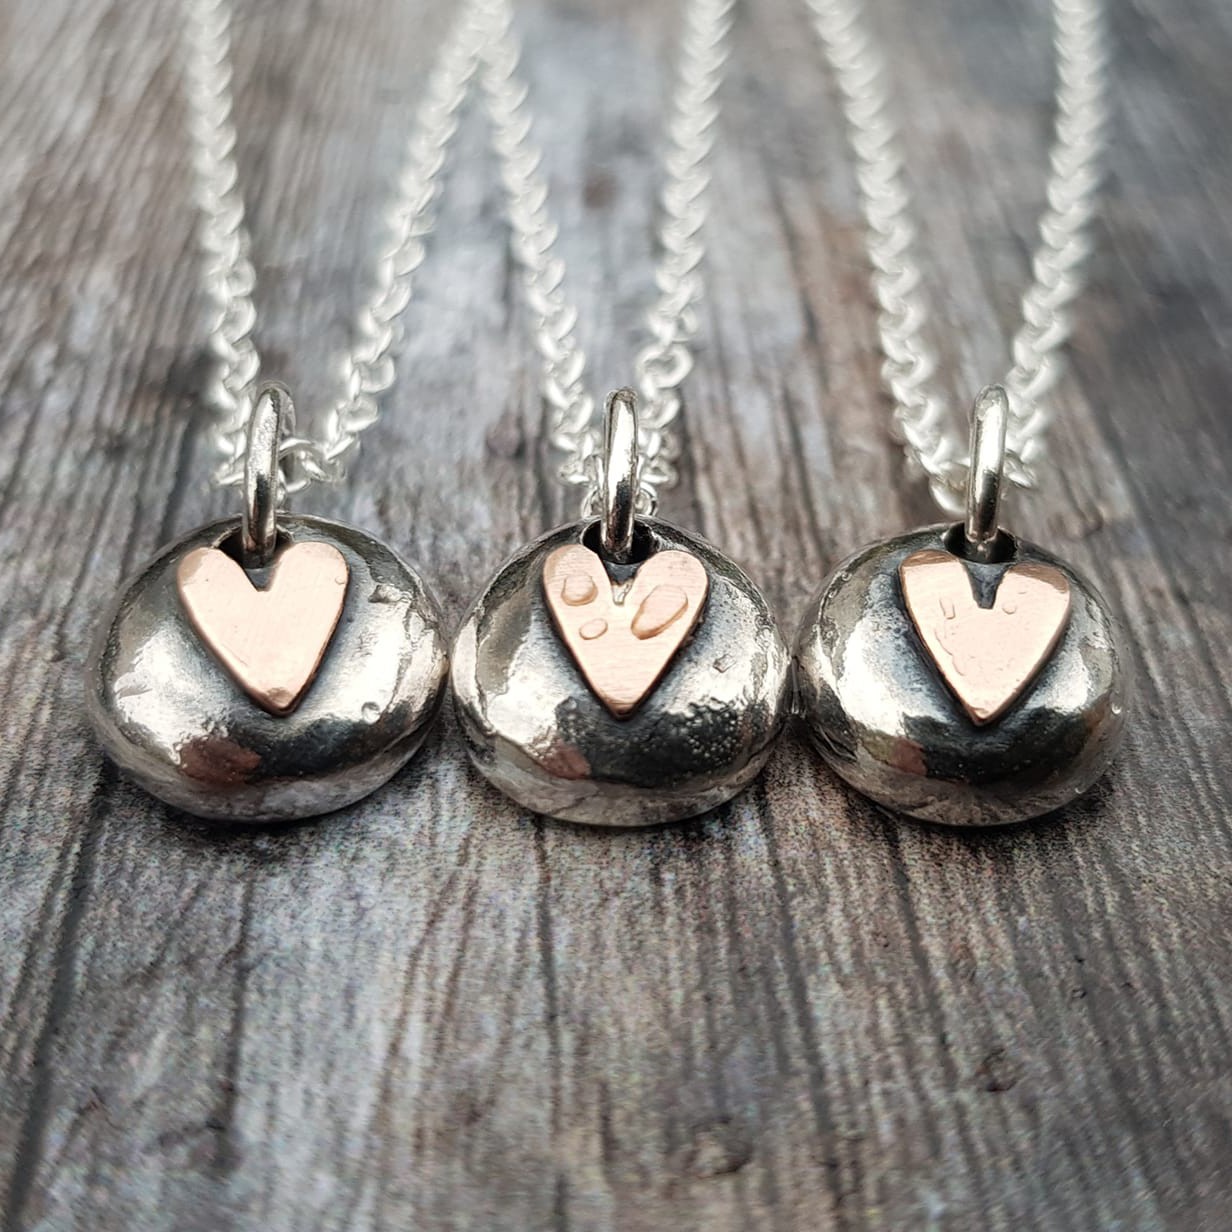
Silverpickle: "I use scrap to make my little pebbles."
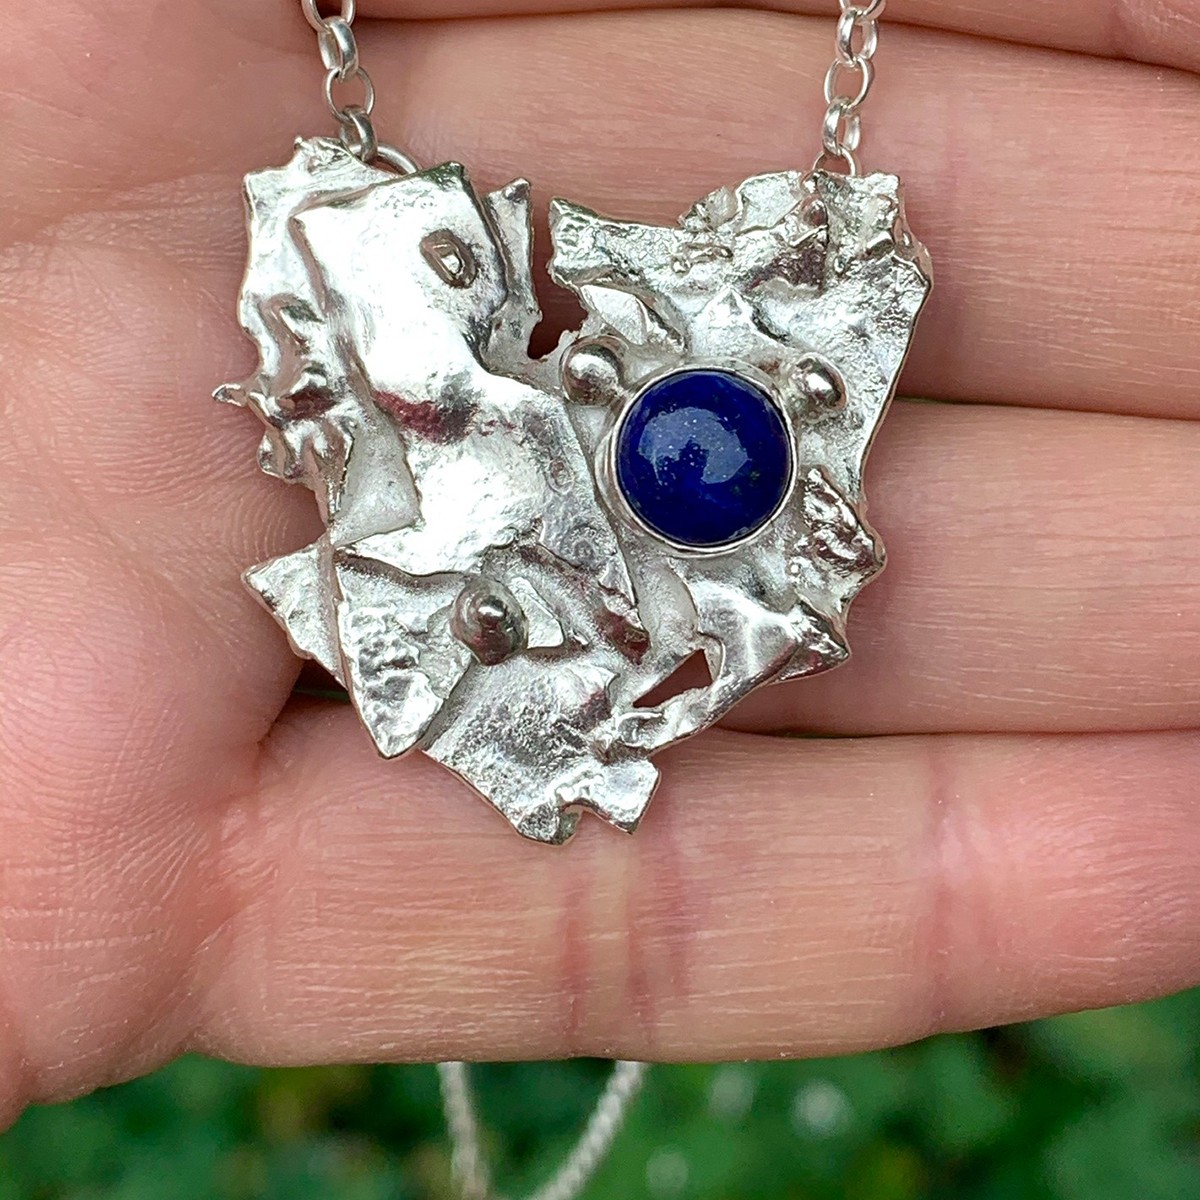
Alison Crowe: "Necklace with Lapis Lazuli - sold within minutes of posting!"
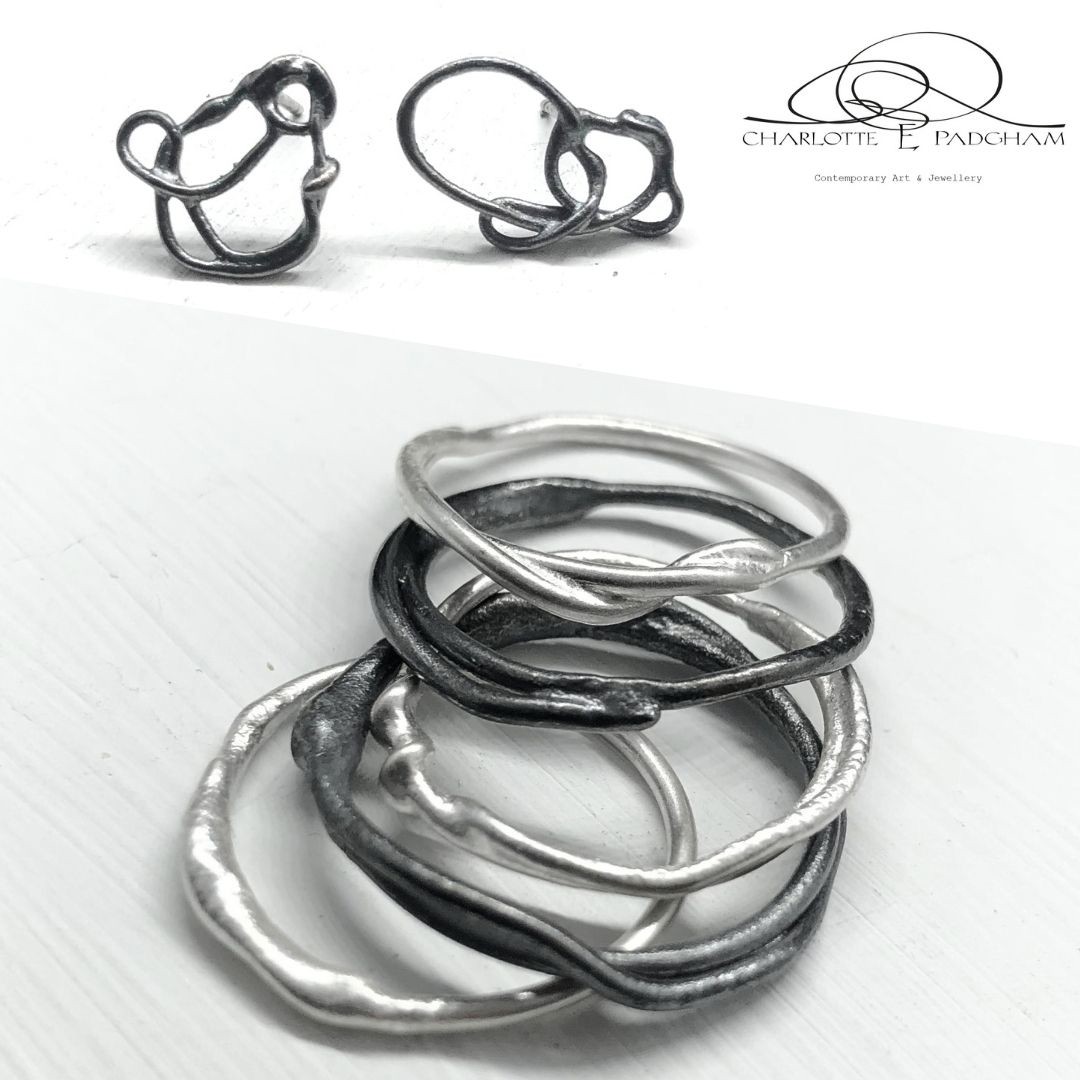
Organic ring bands by Charlotte Padgham.
Deborah Fox: "I don't have a rolling mill so have to get creative with hand tools."
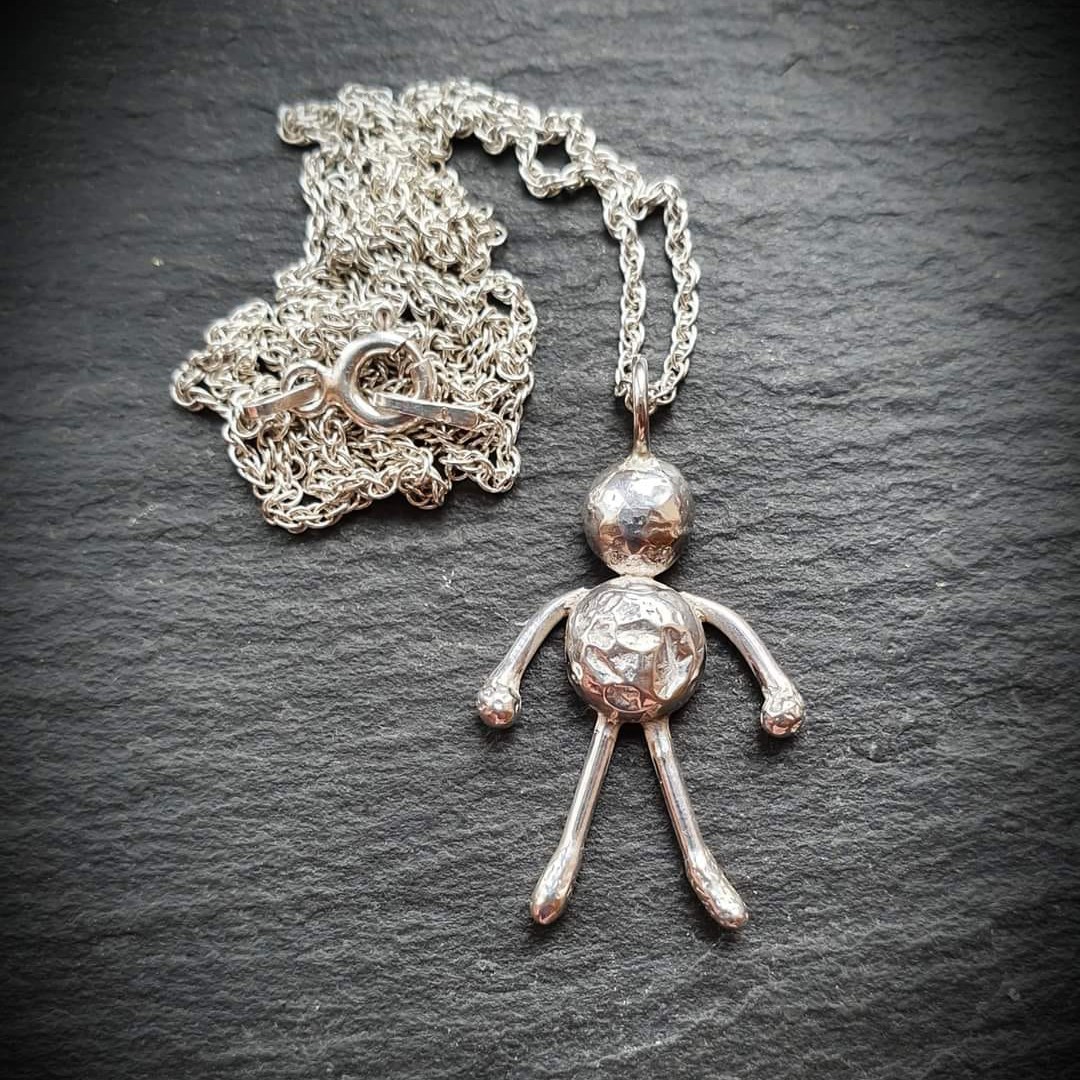
Debonair Creations: "A silver pebble person."
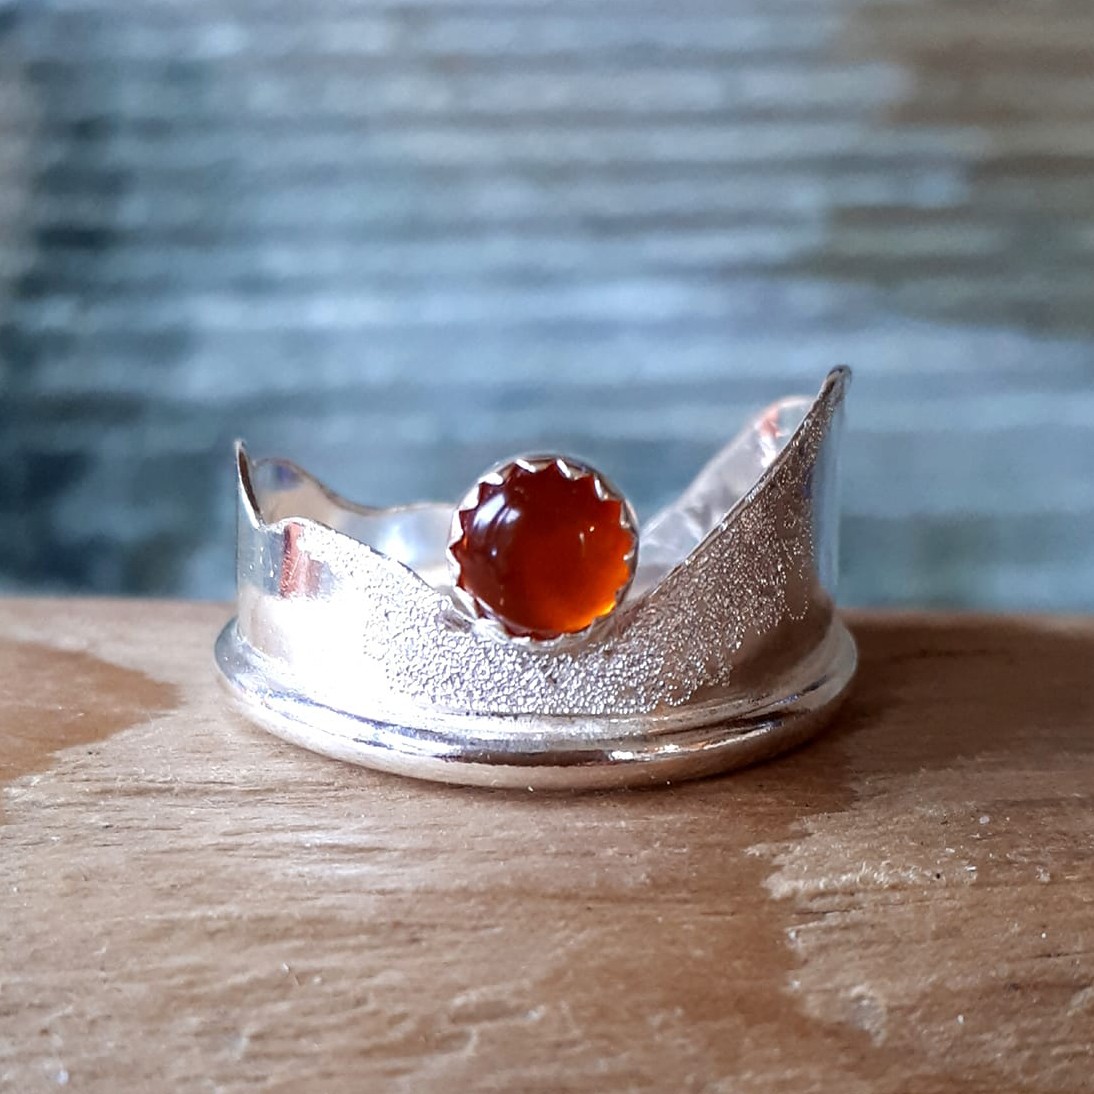
Stunning gemstone ring using scrap silver by Scrappo Worko.
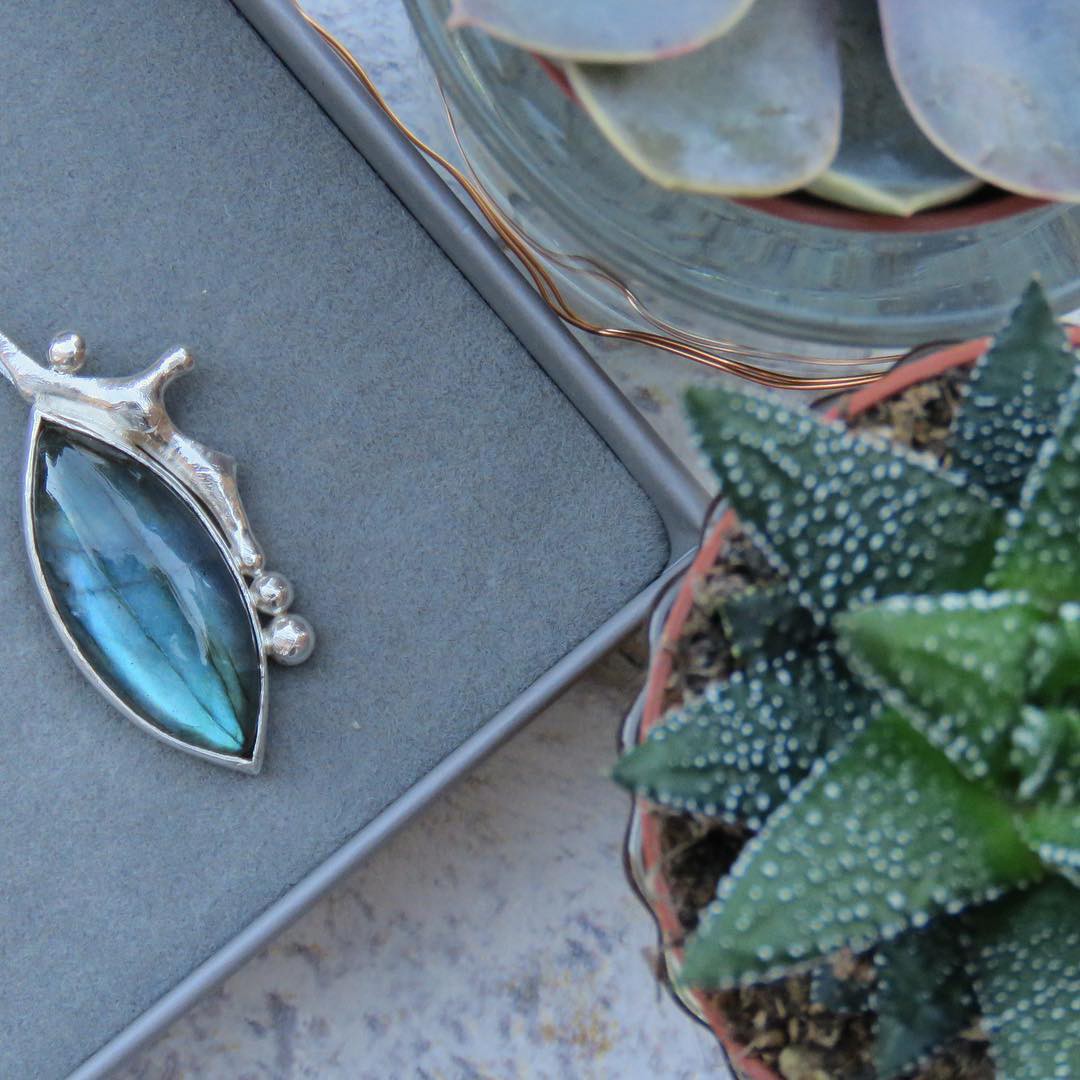
Snooty Ooty: "Labradorite and scrap silver pendant."
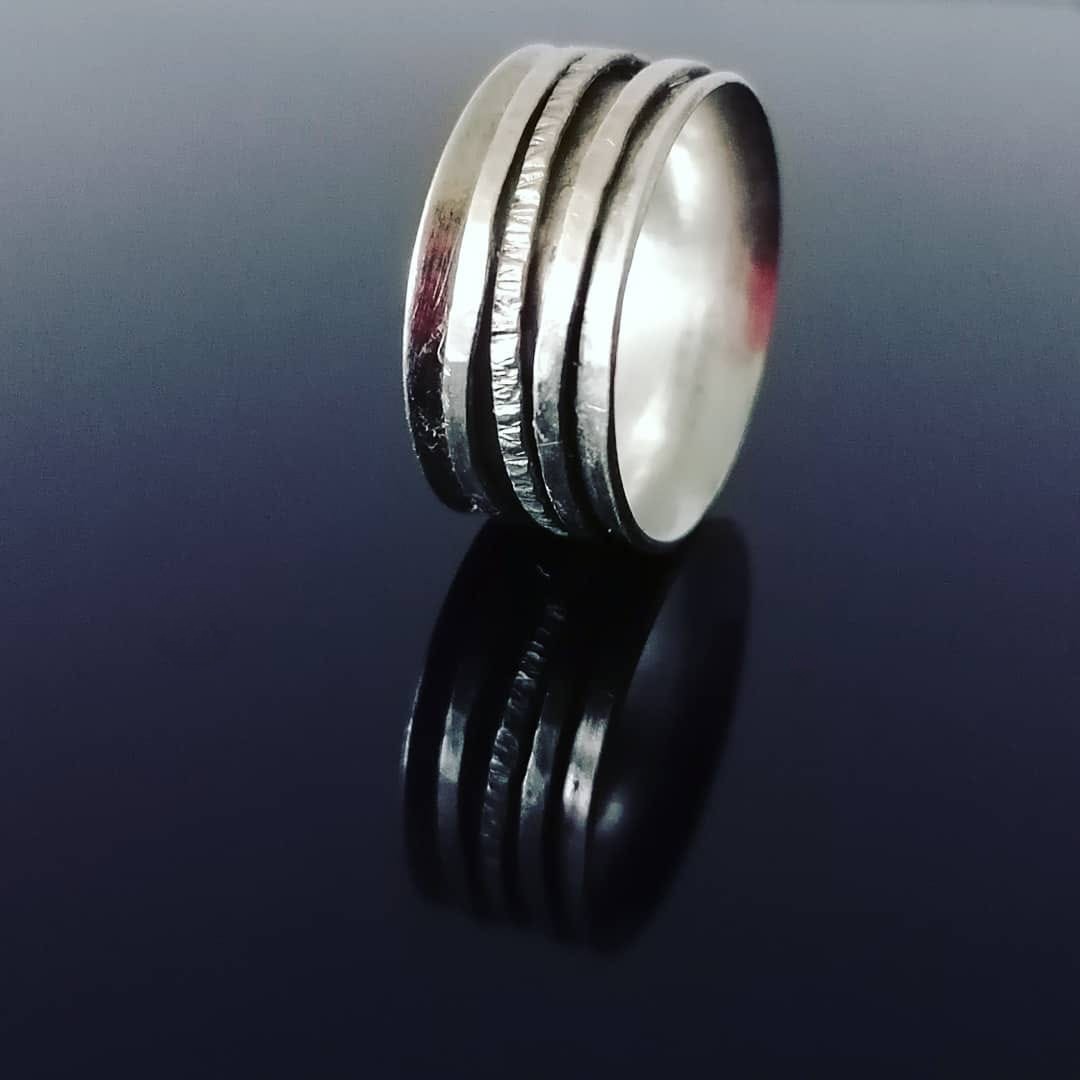
Kerry Day: "The main body of my spinning ring was made from my scrap silver."
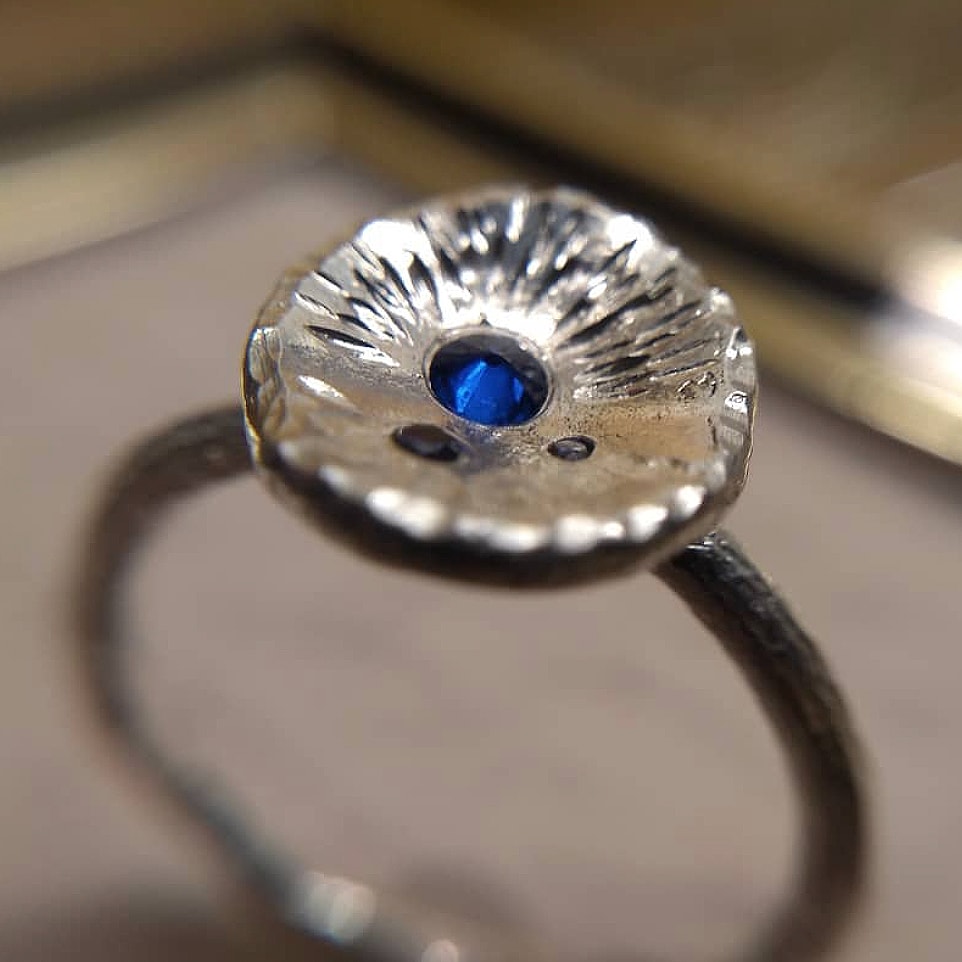
Prosecco & Rubies: "Fused silver off-cuts with a little Kernowcraft sapphire sat to one side."
Experiment With Organic Casting
In Kim's 12 Months Of Metal series all available on our blog, she shares with you how to use your scrap silver to create beautiful organic shapes which can be soldered onto your designs. The video below shows organic silver casting with rock salt, spaghetti and water - the results are incredible.
TIP: Use a gas torch with a larger flame will allow you to heat and melt the metal more quickly.
Make An Organic Shaped Ring
This quick tutorial shows you the amazing textures you can create using scrap silver and a charcoal block! In this video, Cyrilyn carves a channel into her charcoal block to melt her silver into, ready to transform into a wonderful ring band!
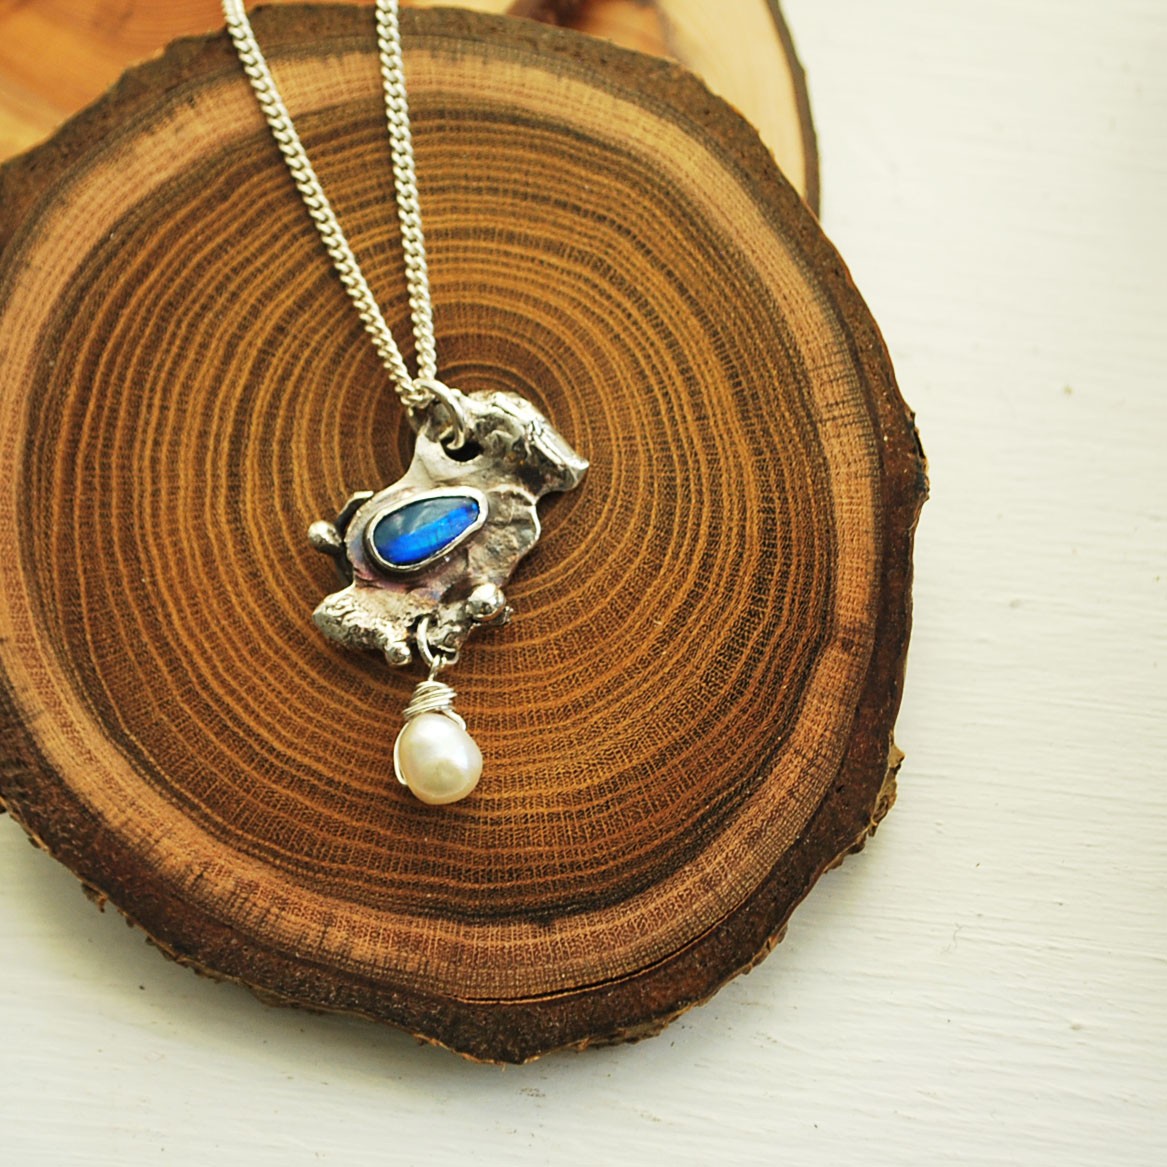
Follow these step by step project with photos on how to set a stone on a textured pendant.
This tutorial features a free-form opal doublet, which has been set using bezel strip.
This is a great tutorial to follow if you want to practice stone setting on a unique shaped stone. You can see that this pendant has a stunning texture, which has been achieved by combining scrap silver and adding granulation. A truly eye-catching piece!
Add A Patina - Use Liver Of Sulphur To Make Textures Pop!
Liver of sulphur is used to create an antique look or patina on metal that can be black or a range of colours. It's brilliant to use on textured surfaces such as scrap metal designs, as it enhances the patterns to make them stand out beautifully.
Watch our video tutorial below and read more about using this handy solution on our advice page.

