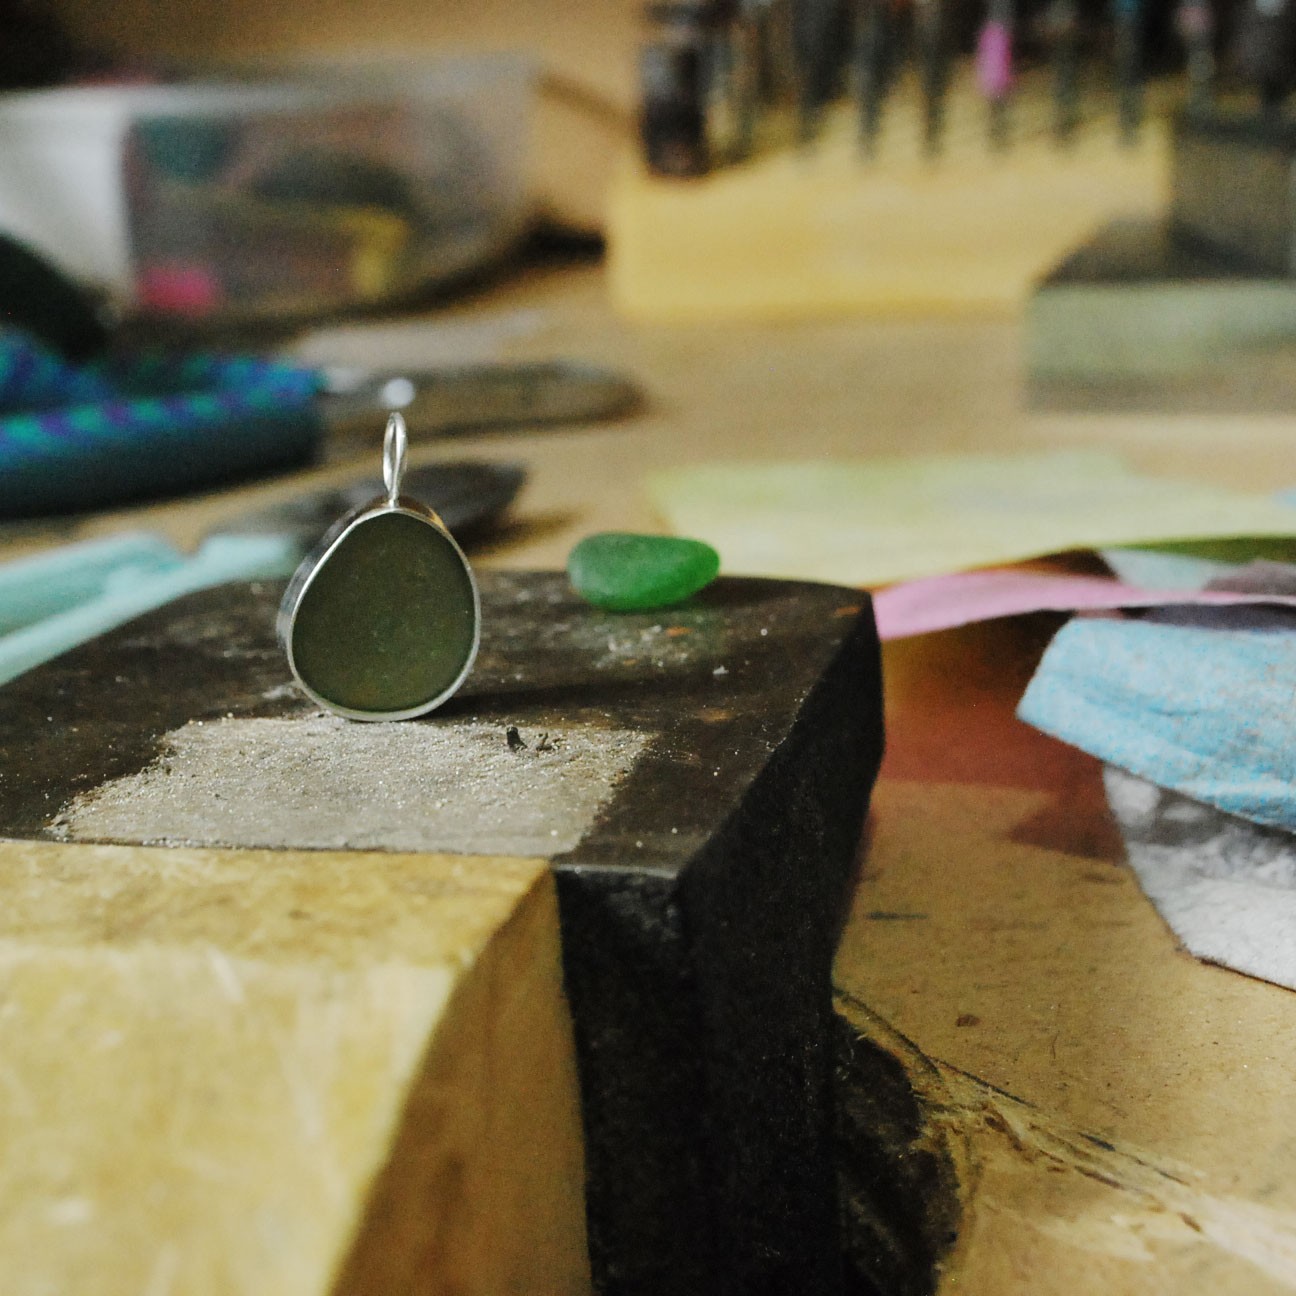
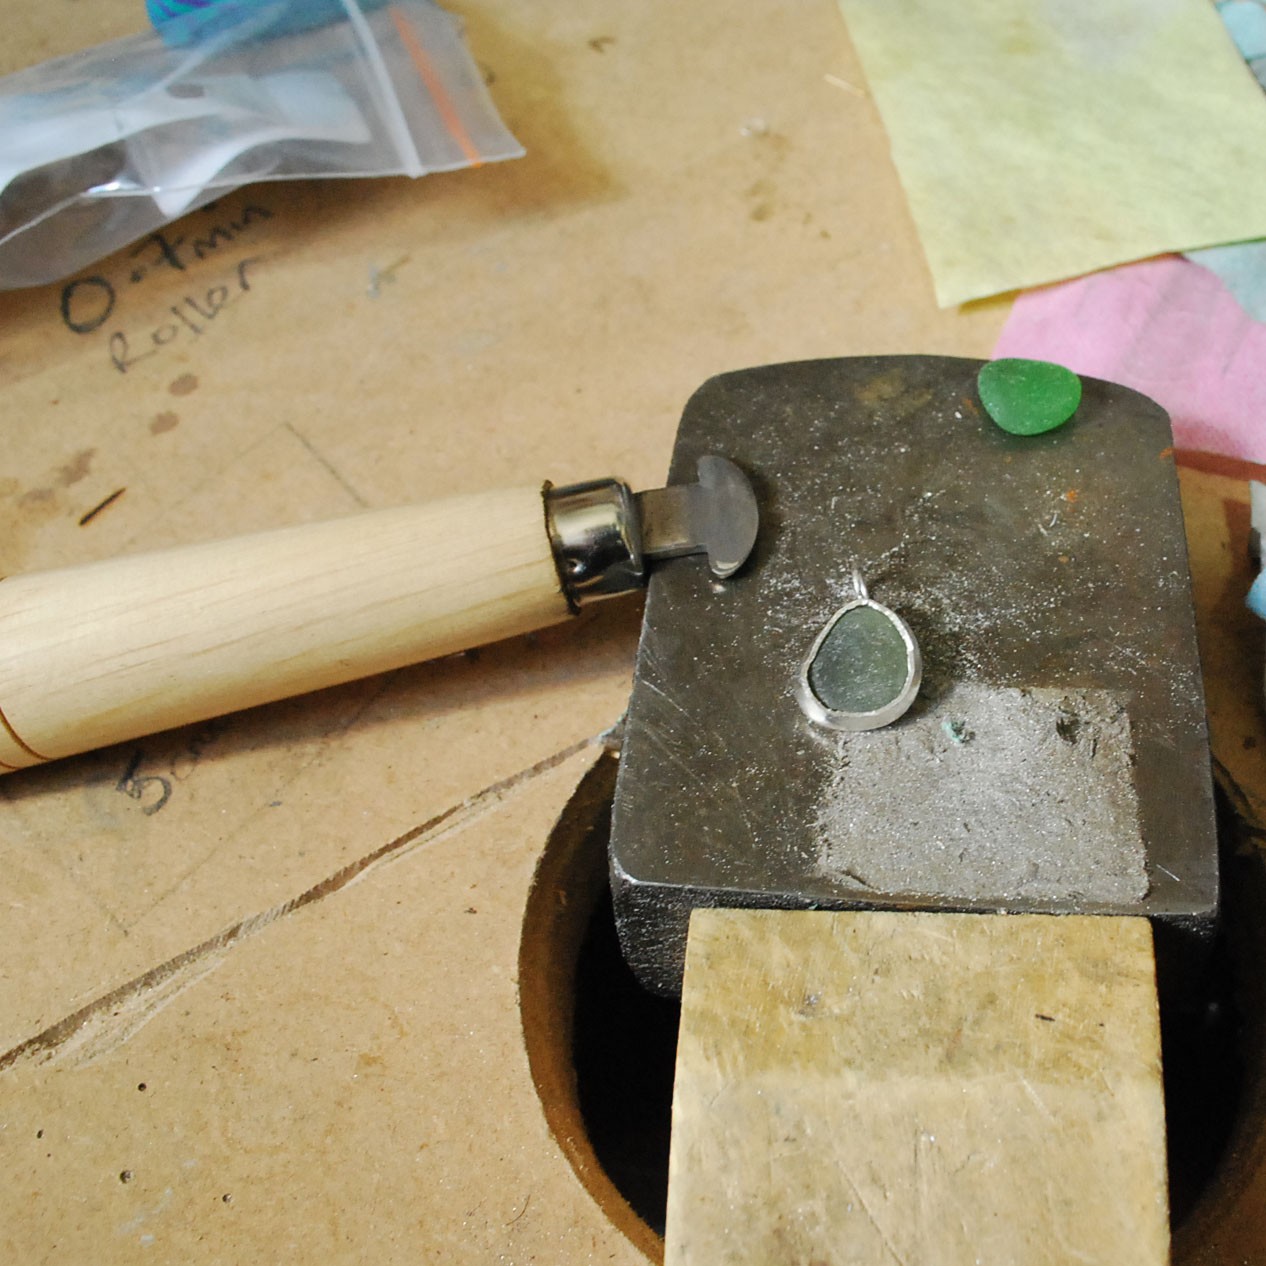
How To Make A Sea Glass Necklace With Backless Bezel Setting
Recycled by the sea, transformed by you...
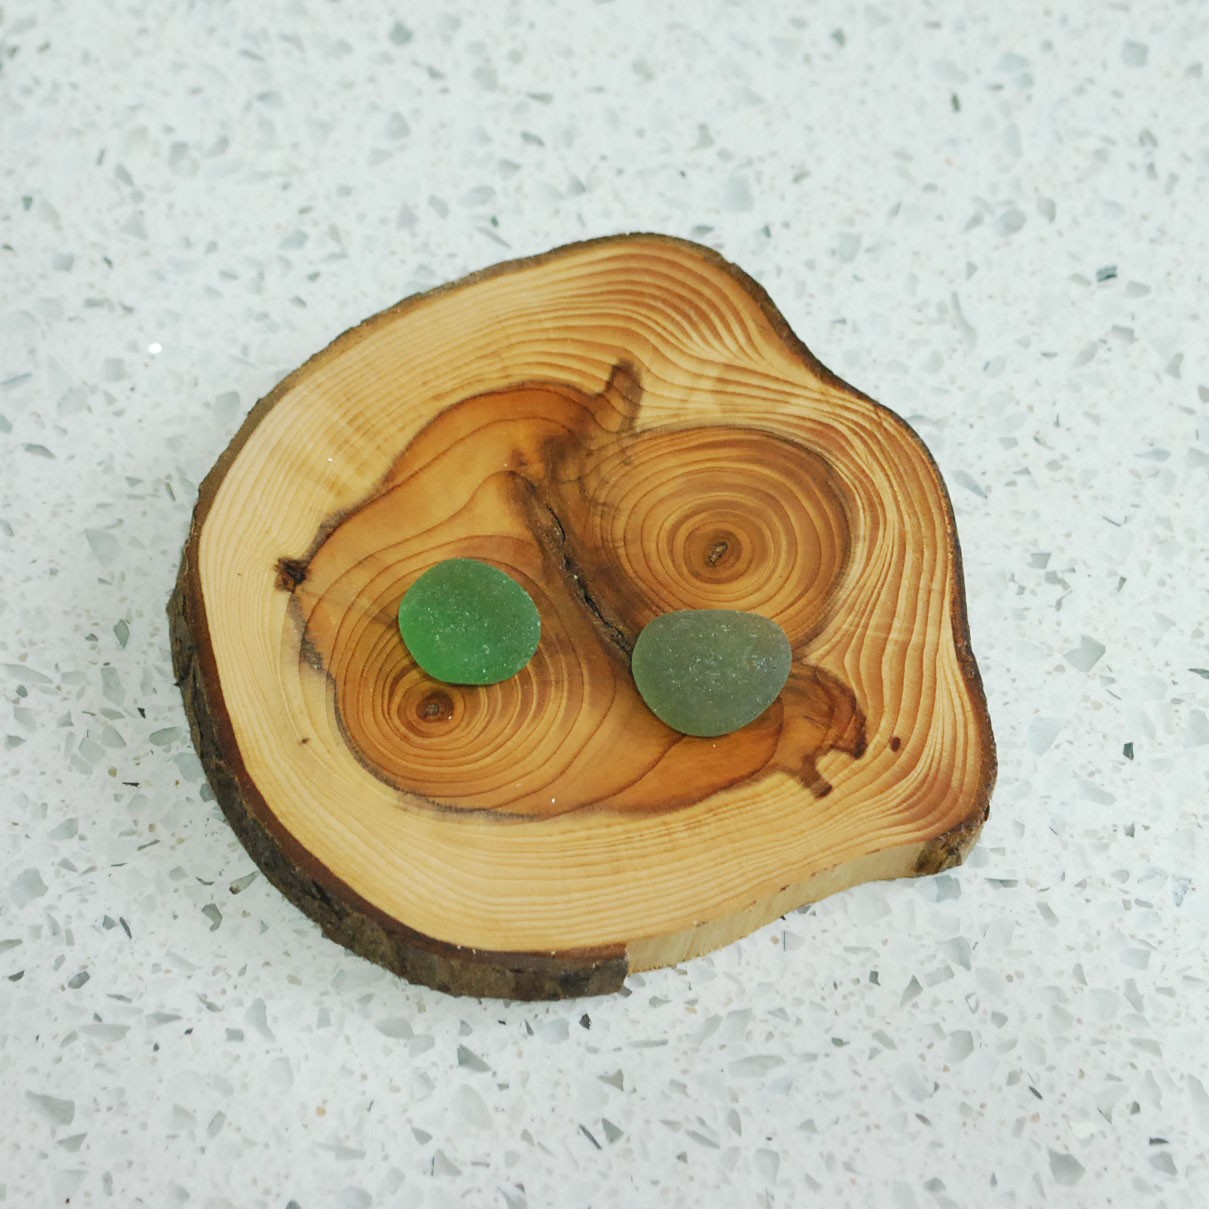
We have so many customers eager to know more about designing jewellery with sea glass, especially creating a bezel setting. This man-made gem can come in many irregular shapes and sizes and unlike a calibrated cut stone sea glass will not fit a ready-made stone setting.
So today we're showing you exactly how to create a backless bezel setting for your piece of sea glass. This design can seem daunting at first, but don't worry - we have a step by step tutorial for you to follow below, along with a shopping list at the bottom of the page to make it even easier for you!
You can also read our advice page on working with sea glass where we talk about finding sea glass, drilling holes and using a barrelling machine!
At Kernowcraft, we are jewellers ourselves and this tutorial comes from our lovely Buyer, Hayley and we hope it fills you with a little inspiration for your next sea glass project.
Project tools & supplies
- Piece of sea glass found on your local beach
- Bezel strip
- Metal cutters
- Scriber
- Solder paste & needle
- Gas torch
- Pickle
- Files
- Wet and dry sanding sheets
- Polishing papers
- Alligator tape
- Pusher
- Bezel rocker
- Burnisher
- Jump ring
- Chain
Step 2: Bezel Strip
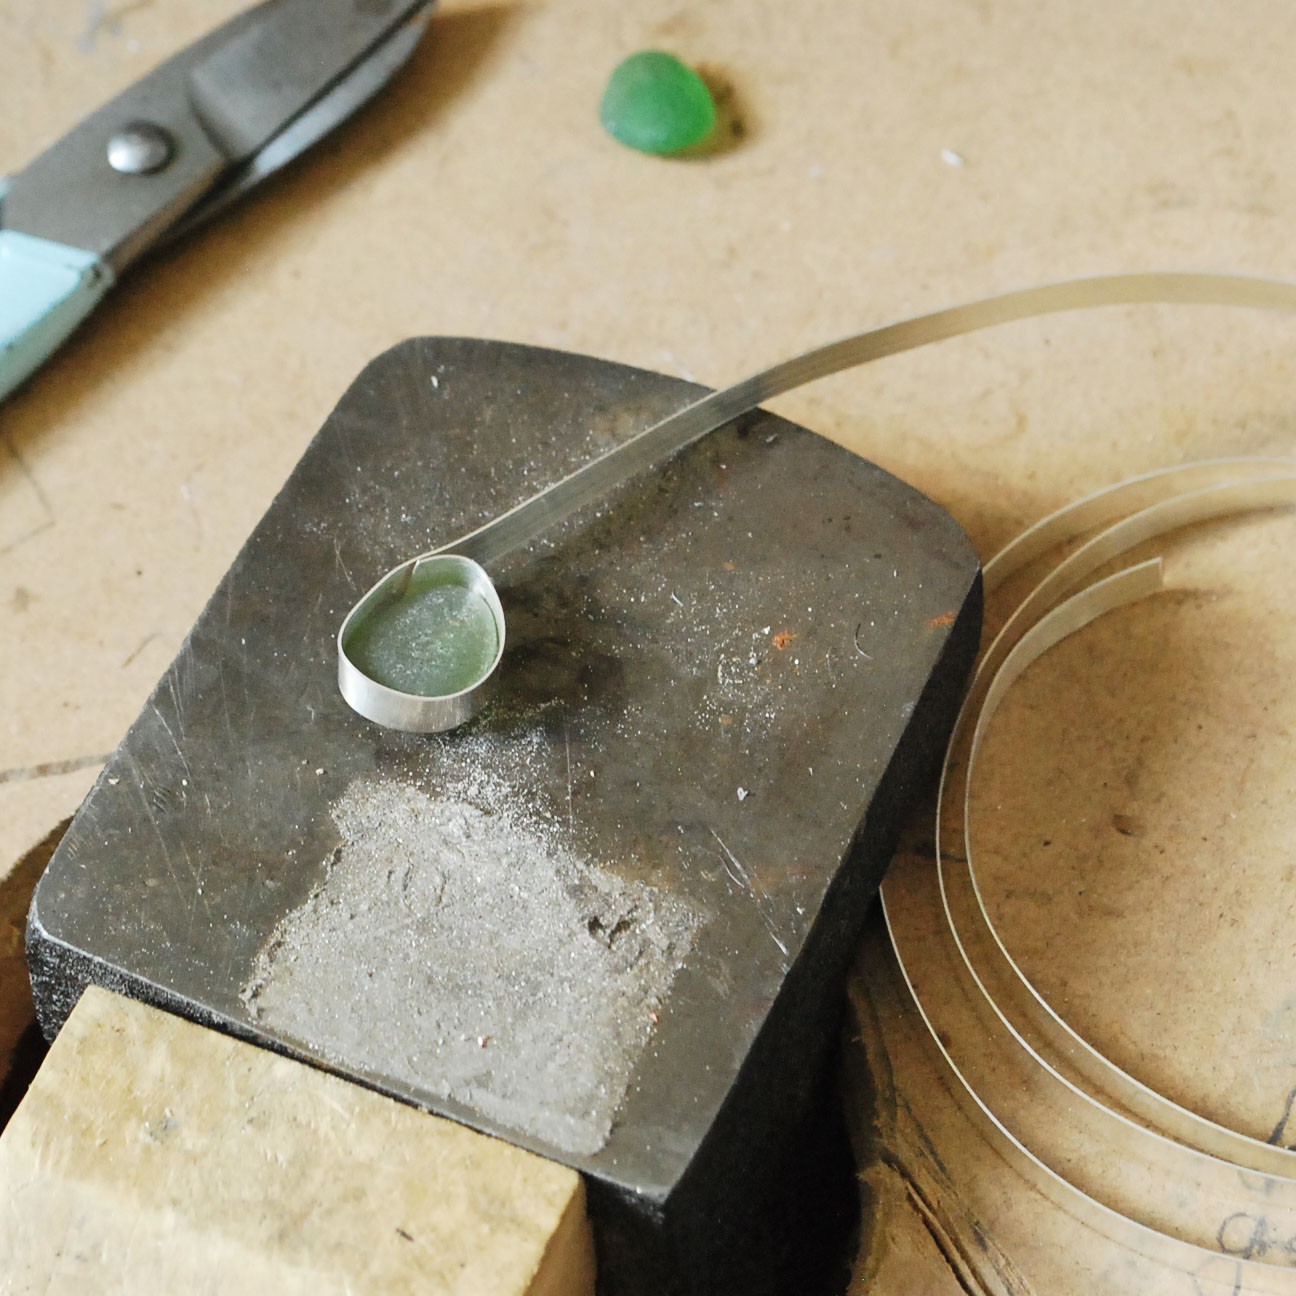
Next, choose the right depth of fine silver bezel strip to fit around the sea glass. It will need to be the same height each side, so that the sea glass can be pushed in on each side equally.
Step 3: Wrap
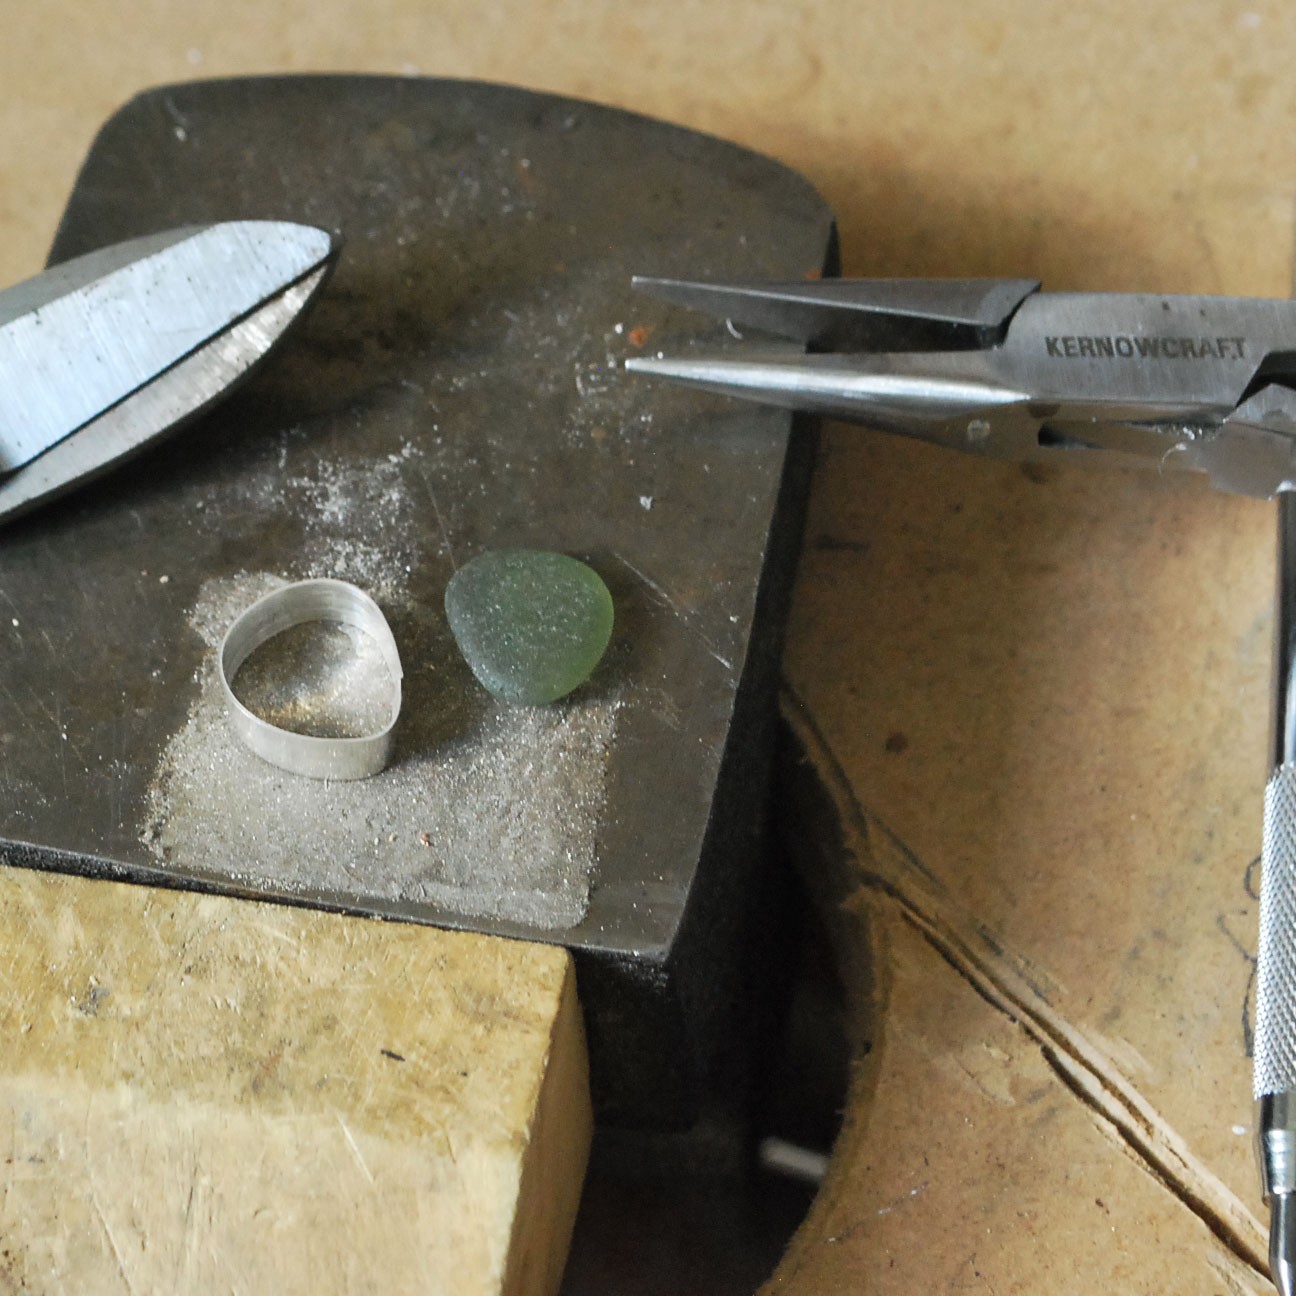
It's now time to wrap the bezel strip around your sea glass until it touches. Make a line using a scribe where the bezel strip touches and cut using metal snips - the join should sit flush and there shouldn't be any gaps.
Step 5: Join
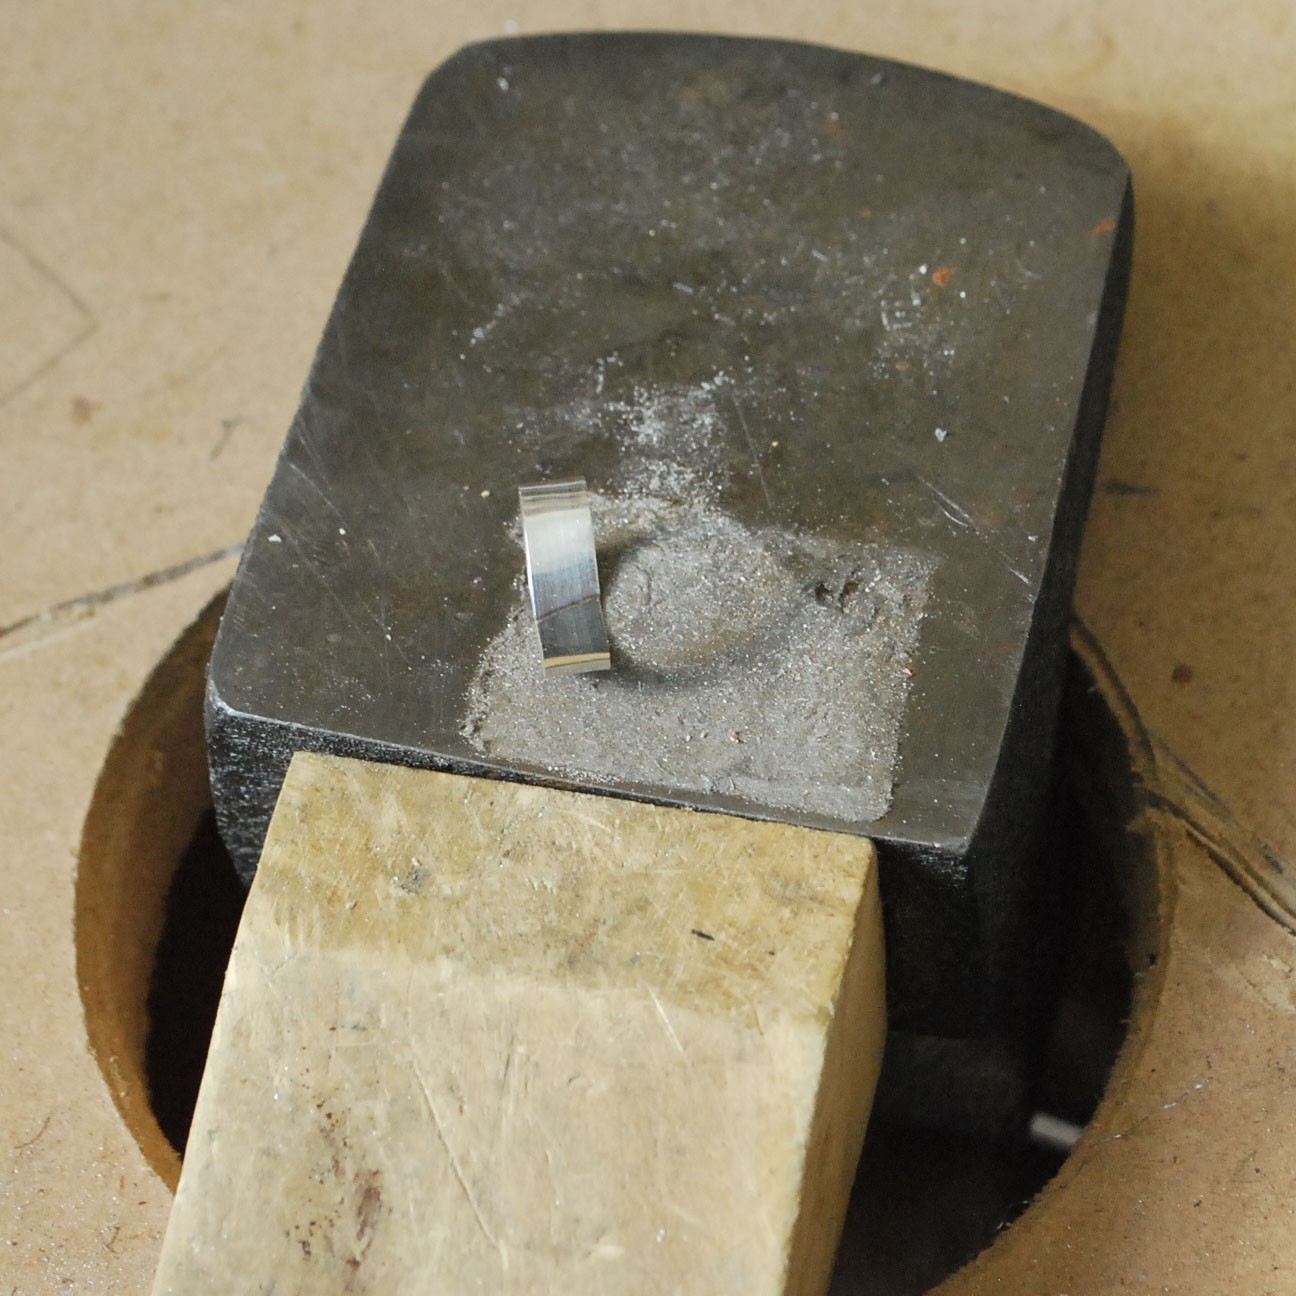
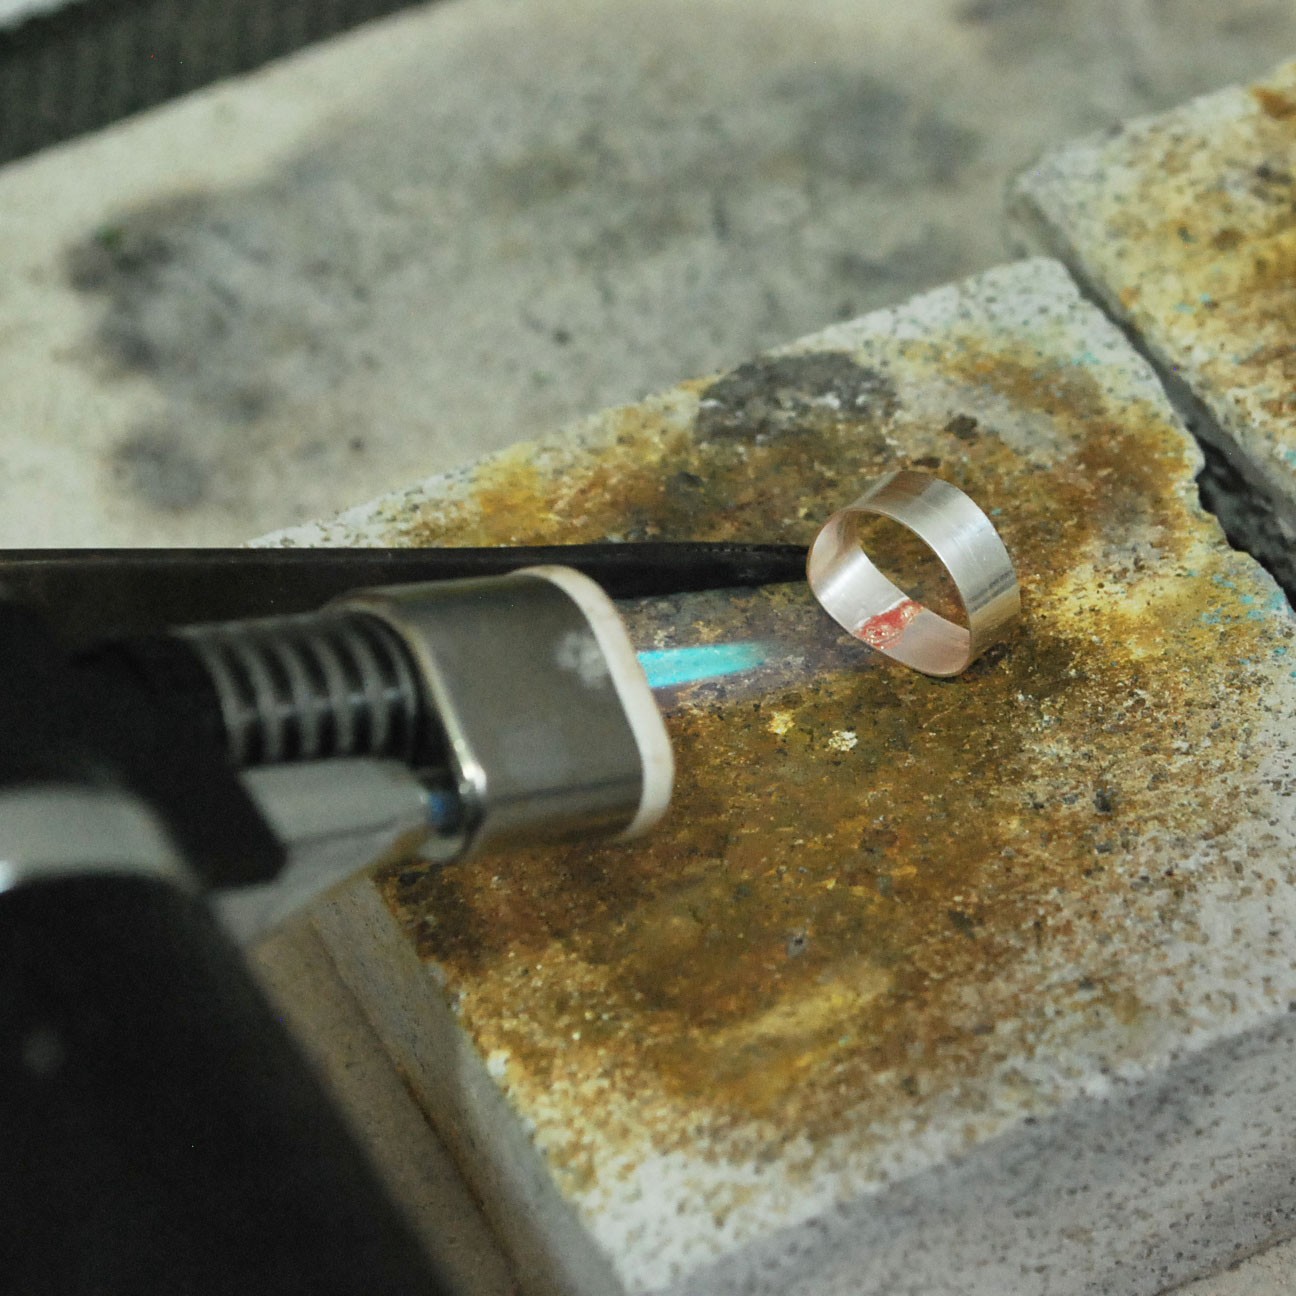
Flux the join (solder paste already has flux incorporated in it so there is no need to flux if using this) and use hard solder paste or pallions ready to soldering. Use the gas torch to apply heat to the join as well as fast circular movements around the whole piece until the solder flows and joins the bezel together.
Step 6: Pickle
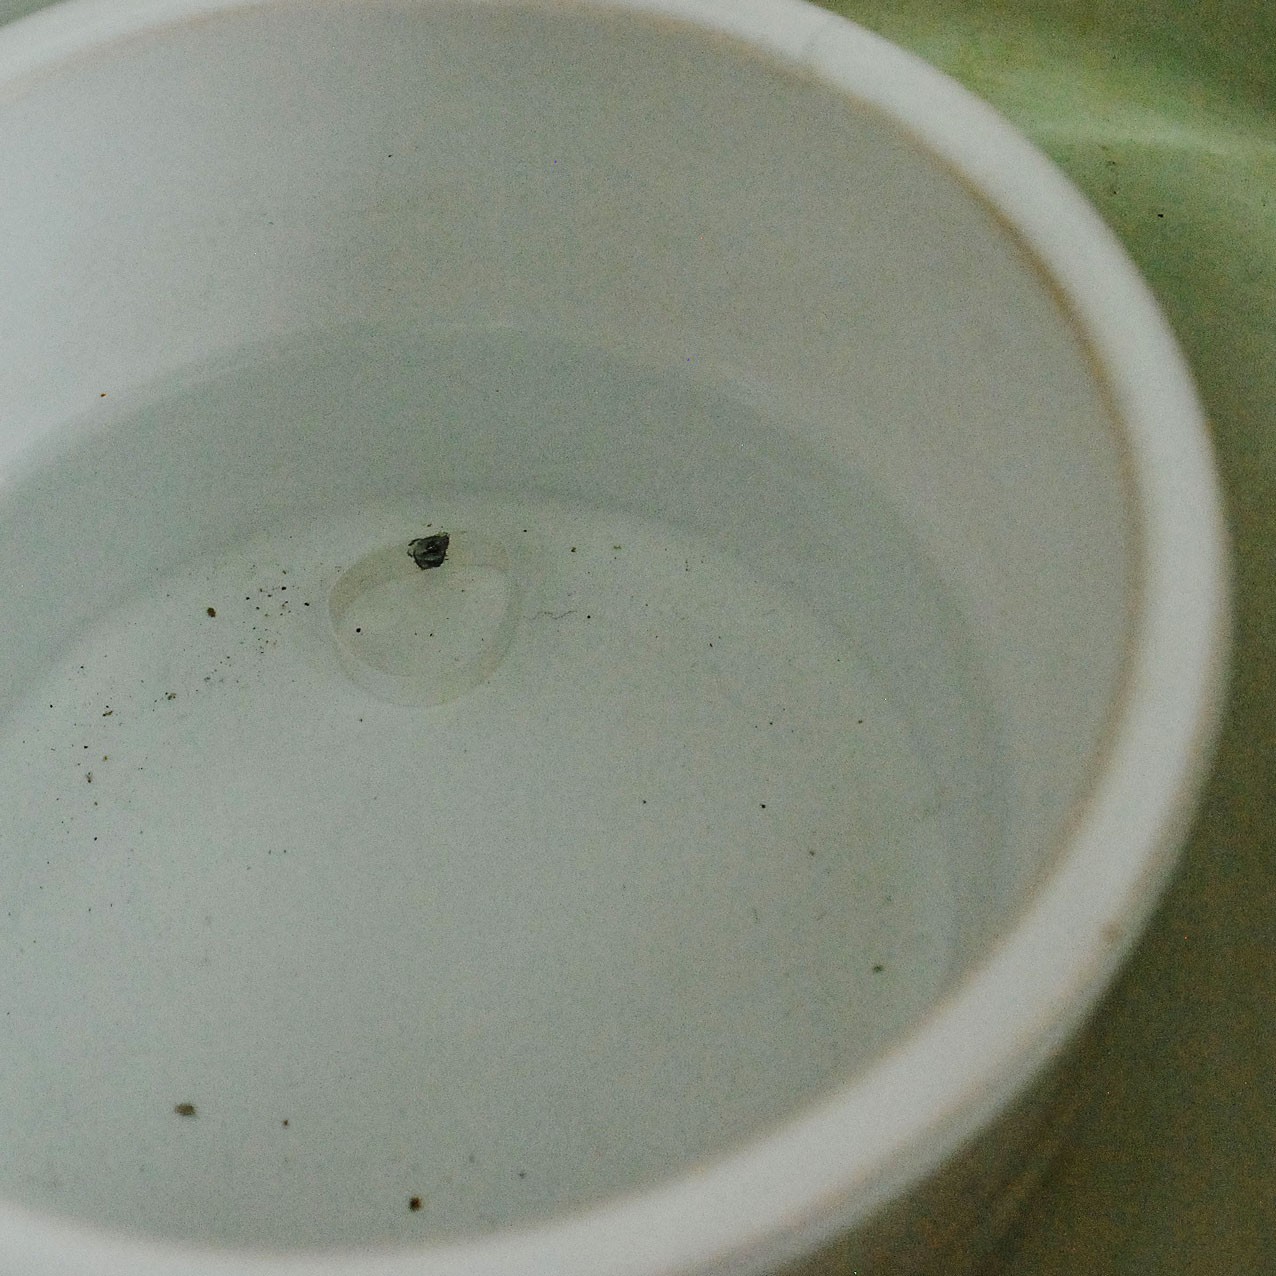
Now it's time to pickle your bezel setting to remove any fire stain. You can remove it from the pickle after a few minutes and inspect the join, ensuring it is a complete flush join with no gaps.
Step 7: File
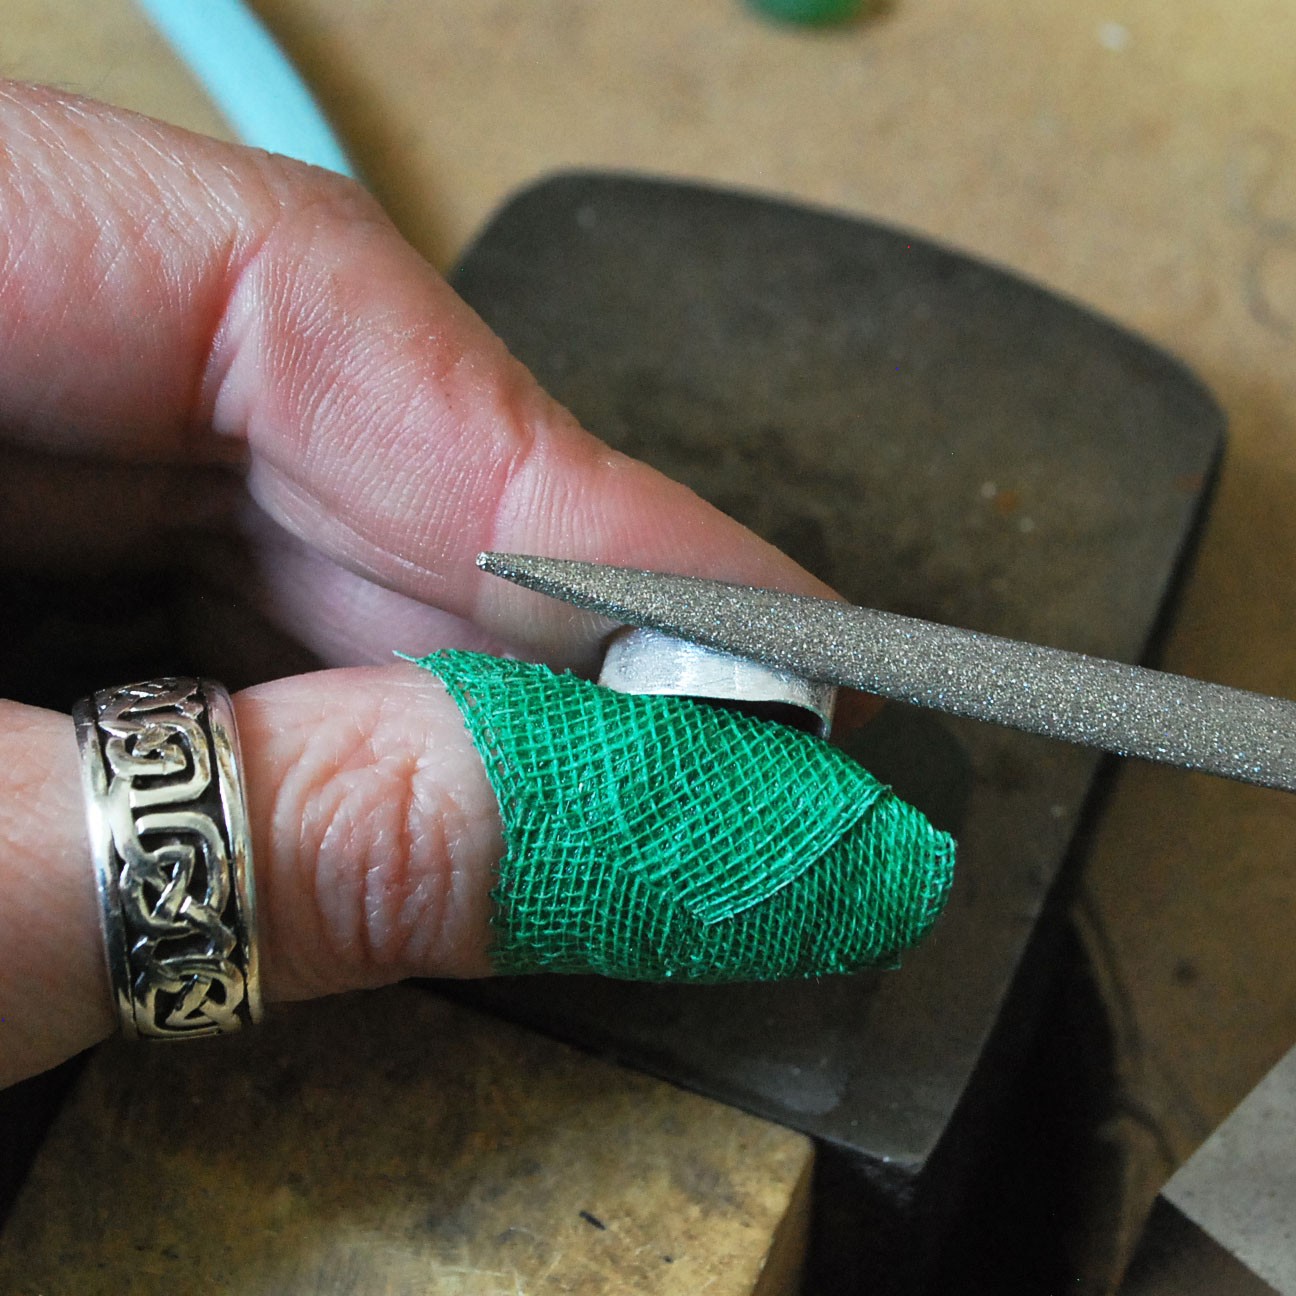
File and clean up the join using files, wet and dry sheets or polishing papers.
Hayley uses alligator tape to keep her fingers protected when filing - it's also great for gripping too!
Step 8: Attach Jump Ring
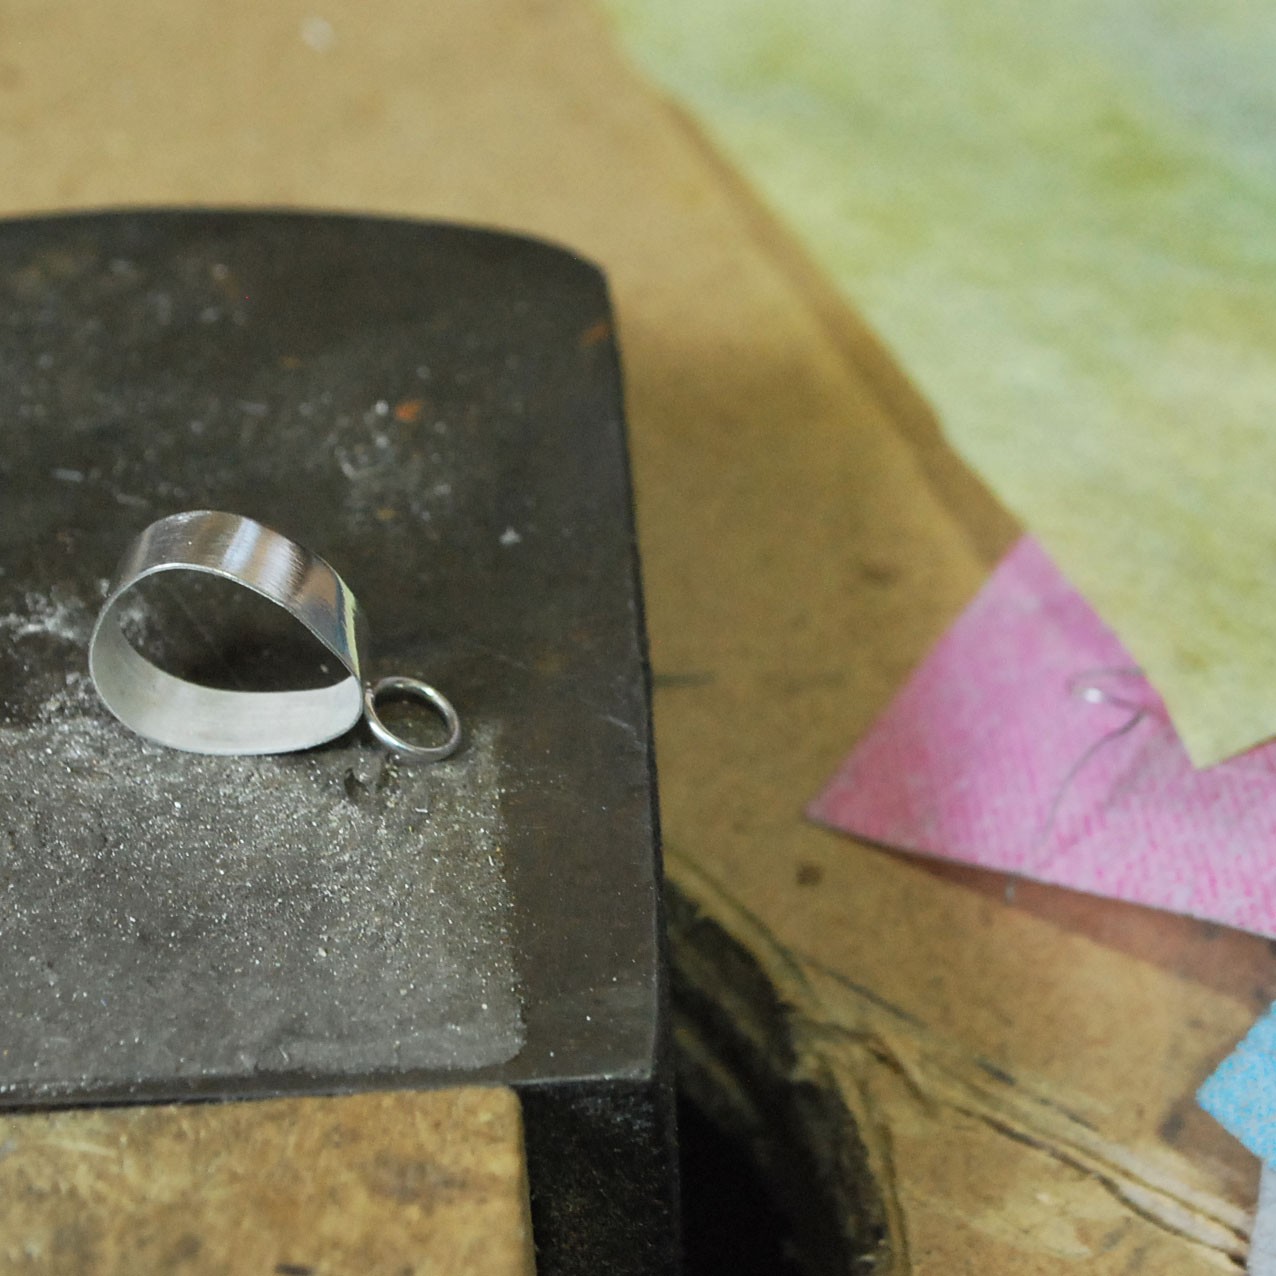
Attach a jump ring to the bezel setting. The jump ring needs to be soldered exactly in the centre of the setting as you will need to have enough bezel on each edge to push over the sea glass. Flux the join (solder paste already has flux incorporated in it so there is no need to flux if using this) and use medium solder paste or pallions.
Step 9: Bezel Rocker
Place the sea glass in the setting exactly in the centre allowing you to push over the excess bezel on the front and the back. Using your pusher or bezel rocker, gently push the bezel over the stone in a downward motion.
Hold the back of the sea glass with your finger as you start to push the bezel over from the front. It's important to keep the stone in the centre of the bezel strip so you have an even amount of metal to push over on either side. Continue working the bezel over the sea glass, a little on the front and then the reverse until it is flush and holding the glass securely.
(Be careful not to slip and mark the sea glass with your tools as it will mark easily.)
Step 10: Smooth & Finish
Repeat this process on the back and then move to the front again. Continue to do this until you have a smooth finish on both sides that are flush against the sea glass.
Use a burnisher to smooth the section of the bezel you have pushed over the stone, to give it a high polished look - be careful not to touch the stone while you do this. Finally, polish the setting with either polishing papers or silicon polishers if you have a Dremel or similar power tool.
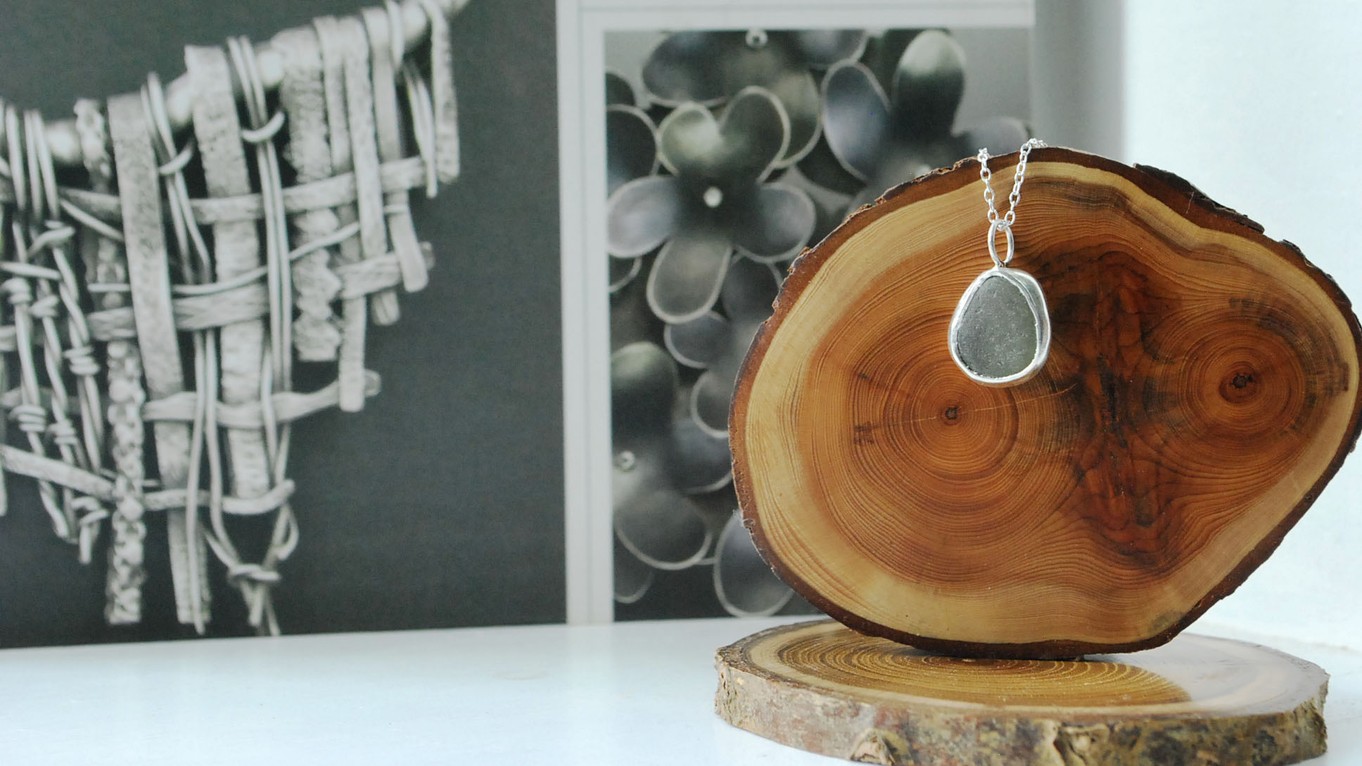
Choose a sterling silver chain to complete the necklace and viola, a beautiful sea glass pendant you can cherish!
The products used in this project are suggestions to inspire you. Products used were compatible at the time of making but do be aware that stocks can vary, so do use your own judgement as to the compatibility of each item when making.
More Pages In This Category
- The Essential Tools For Setting Gemstones
- Your Guide To Stone Setting Burrs For Jewellery Making
- What Is A Bezel Rocker?
- Types Of Settings & How To Use Them
- Types Of Settings For Calibrated Cabochon Stones
- Types Of Settings For Faceted Stones
- Types Of Settings For Free-Form Stones & Crystals
- Calibrated Gemstones & Size Tolerance In Jewellery Making
- Ready Made Settings vs Making Your Own Settings
- 7 Ways To Make Your Own Gemstone Ring
- How To Set Earstuds For Half Drilled Beads
- How to Set Flat Plates and Milled Edge Jewellery Settings
- How To Set Snaptite Settings
- How To Set Gemstones In Gallery Wire Settings
- How To Set Backset Settings
- How To Set Wraptite Settings
- How To Use Huggie Claw Settings For Crystals & Sea Glass
- What Are Bell Caps For Jewellery Making?
- How To Set A Pre-Notched Setting
- How To Set Claw Settings
- How To Make A Decorative Ring Setting For A Free Form Cabochon
- How To Make A Tube Setting For A Faceted Stone
- 4 Drilled Sea Glass Earring Projects
- Jewellery Making With Sea Glass: Drilling & Stone Setting Tutorials
- How To Drill Sea Glass For Jewellery Making
- How Much Bezel Strip/Gallery Wire Do I Need?
- Types Of Bezel Cups
- How to Adjust Bezel Settings to Fit Cabochons
- How To Set A Cabochon In A Bezel Setting
- How To Make A Gemstone Ring With A Bezel Cup
- How To Make A Bezel Set Cabochon Ring With 'Made By Oonagh'
- How To Make A Sea Glass Ring With Bezel Setting
- How To Make Bezel Set Cabochon Earstuds
- How To Make A Sea Glass Necklace With Backless Bezel Setting
- How To Bezel Set A Free Form Cabochon Onto A Textured Silver Pendant
- How To Make A Textured Pendant With A Freeform Gemstone Slice
- How To Make A Claw Set Cabochon Pendant
- How To Make A Prong/Claw Setting For Irregular Shapes Stones
- How to Make A Wire Edged Setting
- How To Make A Balled Claw Ring Setting
- Making An Australian Boulder Opal Pendant With Stardust Mine
- The Process Of Remodelling A Gemstone Ring With 'Honey Bee Design'
If you have any further questions, feel free to call our friendly team who will be more than happy to give you some advice by emailing [email protected]or giving us a call on 01872 573888 8.30am - 4.30pm.
Alternatively, for more information and how to's on all areas of jewellery making visit our other Gemstone Setting Advice pages.


