


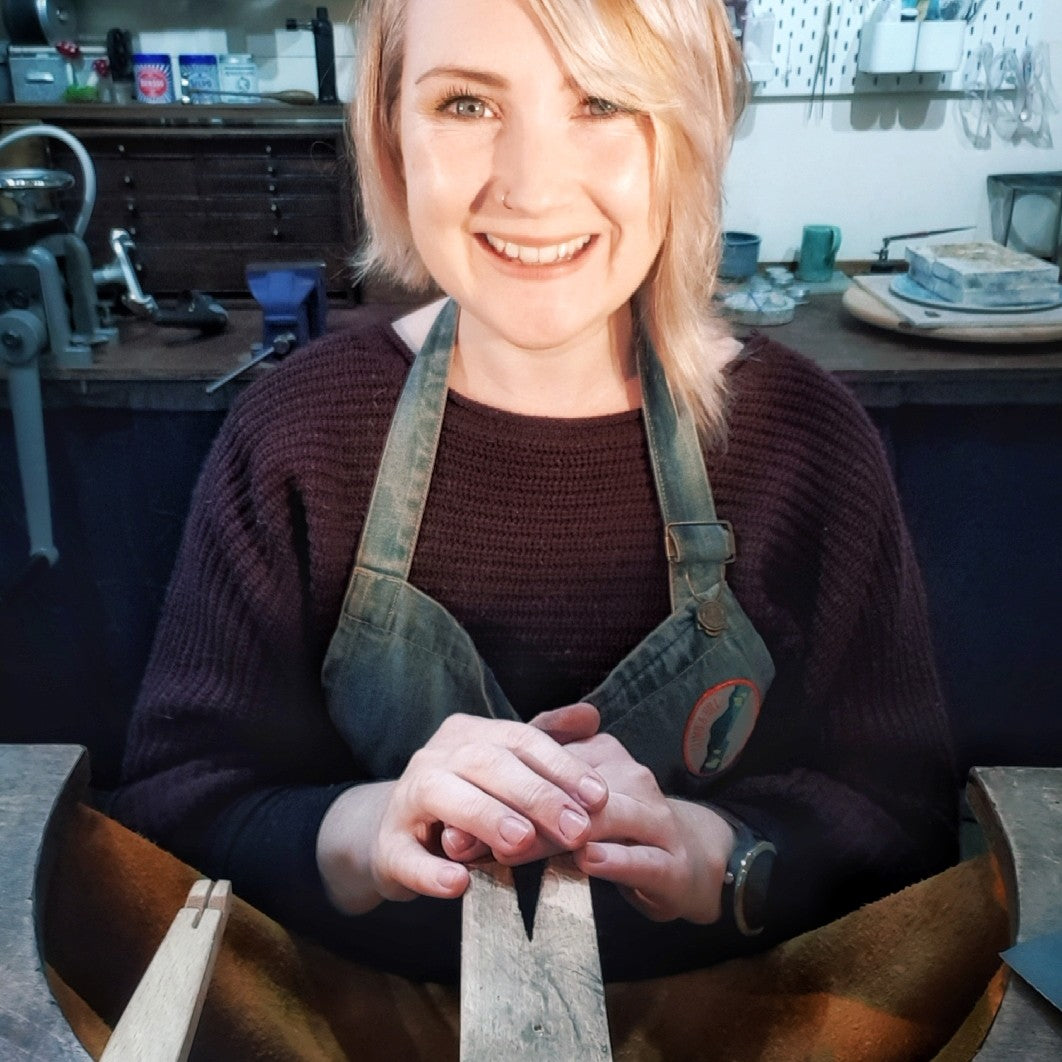
We always get asked how to transform sea glass into beautiful pieces of jewellery! So we're so excited to share with you this guest tutorial by jeweller, Sarah Bird from Seastone Jewellery. Sarah creates stunning, handcrafted jewellery using sea glass and gemstones in her Dorset workshop on The Jurassic Coast. Below, Sarah walks you through the step by step process of making a sterling silver sea glass ring with a bezel setting.
Get all the jewellery making supplies and tools you need to make your own sea glass ring online with Kernowcraft! Don't forget this is also a great project to use on gemstone cabochons too.
Products & Supplies Mentioned in this Guide
- Sterling Silver Sheet (0.4mm or 0.3mm) or Fine Silver Bezel Strip
- Sterling Silver Round Wire
- Bench Peg & Anvil
- Saw Frame, Saw Blades & Beeswax
- Flat File
- Ring Mandrel with Sizes
- Pliers (e.g. Half-Round Pliers)
- Metal Snips
- Flux
- Hard Solder (Paste or Strip/Pallions)
- Gas Torch & Soldering Block
- Tweezers / Reverse Action Tweezers
- Safety Pickle, Quench Bowl & Water
- Rawhide Mallet
- Wet and Dry Sanding Sheets
- Polishing Papers
- Power Tool (such as Dremel Multi Tool) with Silicone Burrs or Barrelling Machine
- Third Hand
- Pusher & Burnisher

Measure Your Sea Glass
Firstly, measure around the sea glass for your bezel length and depth.
Tip: I use an old piece of silver bezel strip, you can also use paper or wire. Make sure it’s a nice close fit and mark where it meets with a sharpie.

Cut Metal To Size
Next straighten the bezel wire (or whatever you used to measure the sea glass) and measure the correct length against your ruler - allow for filing your ends square.
Now you need to measure the height for your bezel, I measure the highest point of the stone. You will probably need to bring this down once you have made the bezel. But it’s better to take away as you can’t add! Using the bezel wire to measure also helps you gauge what height you need.
Cut your sheet to size - for this project I used 0.4mm sterling silver sheet. Remember to file your ends square so you will get a nice solder join.
TIP FOR BEGINNERS: If you are just starting out it is good to practice with 0.3mm fine silver bezel strip instead of metal sheet. It is so much easier to work with initially as you can almost bend it round the stone and you just need to measure the length you need.

Join Ends & Solder
Now you are ready to make your bezel! Use half round pliers to shape the sheet around your sea glass (take your time with this) and make adjustments to the length if necessary as you don’t want any baggy bits.
You may need to manipulate the shape to get your ends flush for soldering but you can reshape around the stone once it is soldered and annealed.
Now it's time to solder the ends together. Flux the join (solder paste already has flux incorporated in it so there is no need to flux if using this) and use hard solder paste or pallions to solder the ends together and then pickle your piece to remove fire stain. Remove from the pickle after a few minutes and inspect the join.

Make The Back Of The Setting
Measure and cut your backplate to size using a jewellers saw, you need enough to place your bezel on and comfortably apply your solder. I’m using 0.4mm if you are using fine silver bezel wire you may want to use 0.3mm.
Check your bezel fits over your sea glass (reshape if necessary) and place on the backplate so you can gauge your height and fit.
Next make sure the bezel sits on top with no gaps underneath as you need a flush join for soldering. You don’t want to see any daylight or gaps underneath, in this step you may need to use sandpaper to file it all for a flush fit (tip: use a figure of 8 motion).
When you are happy with the join, it's now time to set up for soldering. Flux and apply small pieces of solder pallions all the way round your bezel on the outside. Using a gas torch, start heating gently around the outside being careful not to blow your solder away. Gradually move in focusing on building heat in the backplate, moving round the whole piece.
You want everything to come to temperature evenly, so your solder flows all the way round your piece. You should see a nice solder flow around the whole join. Be brave and keep going until this happens. You do need to be more careful at this stage if you are using fine silver as it will heat much quicker.
Quench and leave in the pickle until it looks clean. Meanwhile, make your ring band! Click here to see how to make a ring band.

Cut Excess Metal & Sand
Now use a jewellers saw to cut away the excess silver around the setting.
Next it’s time for some filing (you may like to use alligator tape to protect your fingers) you need to file all around the bottom of the bezel until it’s all flush and smooth. Give the back a sanding to get rid of any scratches before you solder your ring band on.

Solder On The Ring Band
You are now ready to solder your ring band onto your bezel. Work out how you would like to orientate the stone on the ring. I usually do a little cross in the middle of the back of the bezel to help me line it up when setting up for soldering.
Work out where your solder join is on your ring and aim to solder the bezel opposite this. File a flat patch on the ring to help it sit nicely on the bezel.
Set up for soldering using your third hand to position the ring band onto the setting, ensuring it is straight.
Apply flux and small pieces of solder pallions on both sides of the ring band. Get some heat into the whole piece and then focus on the area you need to solder aiming to pull the solder through the join. Quench and pickle.

Check The Sea Glass Fits & Polish Before Setting
In this step, check your sea glass in your ring - I use floss under the stone when I’m checking so that I can get the stone out if it’s a tighter fit. This is where you may need to adjust the height at different points. Sea glass is not usually uniform so you may need to make certain points lower so it’s even when you set the stone. Use a file or/and sandpaper to adjust the height and be careful not to ruin your shape by being too aggressive with the file.
You can see here my height is pretty good so I don’t really need to take any away. If you have too much height when you set your stone you will cover a lot of the sea glass with silver.
The next step is sanding and polishing! I use lots of different things for this depending on the piece but generally I work my way through the grades of sandpaper to get rid of solder and imperfections, then polishing wheels to get into the crevices. To polish, pop your ring in a barrelling machine if you have one, or use polishing papers to do this by hand.

Set & Final Polish
It's time to set the sea glass into the setting - remember to take your time here!
Use a pusher to push the bezel over the sea glass - work around the stone, almost working in a north, south, east, west motion and then the gaps in between. You may need some blu tack over your stone to stop it from moving around as you tap. See stone setting tutorial for extra tips.
Once you are happy your stone is nice and secure go round the top of your setting with a burnisher, being careful not to scratch your stone or setting.
Give the top edges a final polish to make it super sparkly!
Don't forget to take some photos of your beautiful handmade ring! Share your creations with us on social media and don't forget to tag @kernowcraft & @Seastone_jewellery

Why Not Experiment By Combining Gemstones With Your Sea Glass Designs?
Follow Sarah from Seastone Jewellery: WEBSITE | INSTAGRAM | FACEBOOK

Find More Sea Glass Jewellery Projects
The possibilities are endless when it comes to using sea glass for jewellery making and don't forget many of these techniques can be used with gemstone cabochons too! Check out some fun projects to try at home below.

How To Make A Claw Setting

Watch How To Drill Sea Glass

