How To Make A Ring Band
Make Your Own Ring Band With Guest Tutor, Jordan Lily!
This is a perfect beginner's metalsmith project or for those looking to practise soldering and explore texturing techniques. This tutorial is for a silver 1.5mm ring made from round sterling silver wire, however the techniques are transferable to other wire sizes and ring blanks cut from silver sheet too.
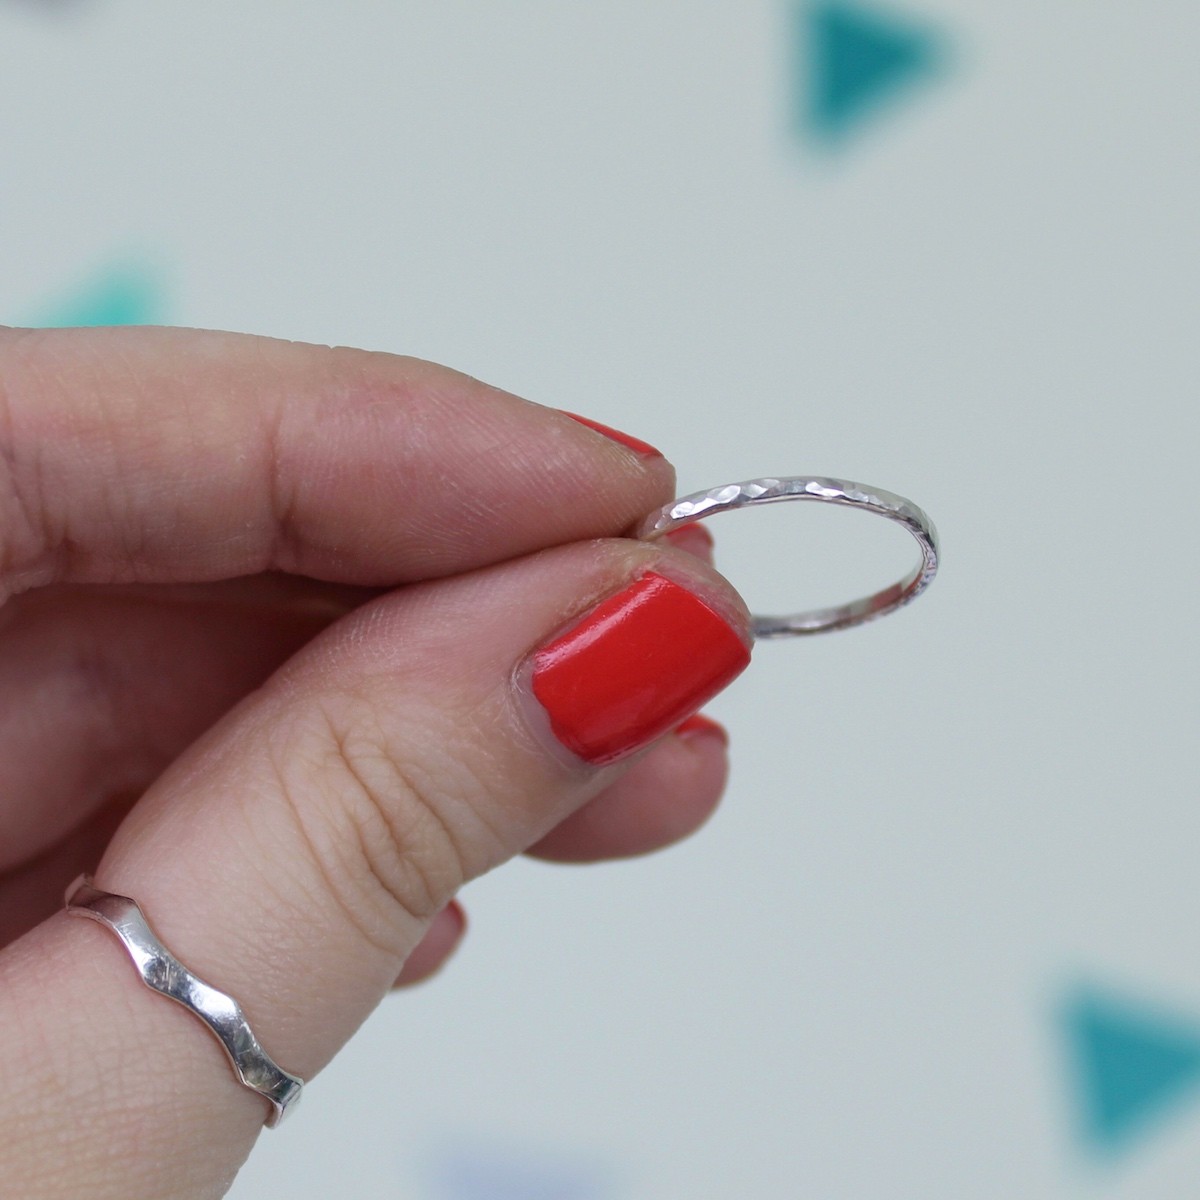
This ring has a gorgeous hammered texture, achieved with a repousse hammer. But you can always experiment with different jewellery hammers to add new textures to your repertoire! Wear solo for a minimalist feel, stack them high with other mix and match textures or go further and add gorgeous gemstone to the band, the possibilities are endless!
Recommended project tools and supplies:
- Sterling silver round wire in your preferred thickness (I’ve used 1.5mm)
- Ring size chart, ruler & calculator
- Bench peg & anvil
- Saw frame, saw blades & beeswax
- Flat file
- Ring mandrel with sizes
- Pliers (I like to use half-round)
- Flux
- Solder (paste or strip)
- Gas torch
- Soldering block
- Tweezers
- Plastic tweezers
- Safety pickle
- Quench bowl & water
- Mallet
- Steel block
- Repousse or ball pein hammer
- Wet and dry sanding sheets
- Polishing papers, power tool (such as Dremel Multi Tool) with silicone burrs or barrelling machine
Follow Jordan's Step By Step Instructions...
1. Work Out Your Size
To work out the size you need to cut your silver wire you will need the following equation: Inside Diameter (mm) + Metal Thickness (mm) x 3.14 = Ring Blank Length. As the texturing process makes the band bigger, you will need to make your ring at least one size smaller than the desired finished size. Use a ring chart to find the internal diameter for your size. Measure your wire against the ruler and mark with a permanent marker.
2. Cut & File
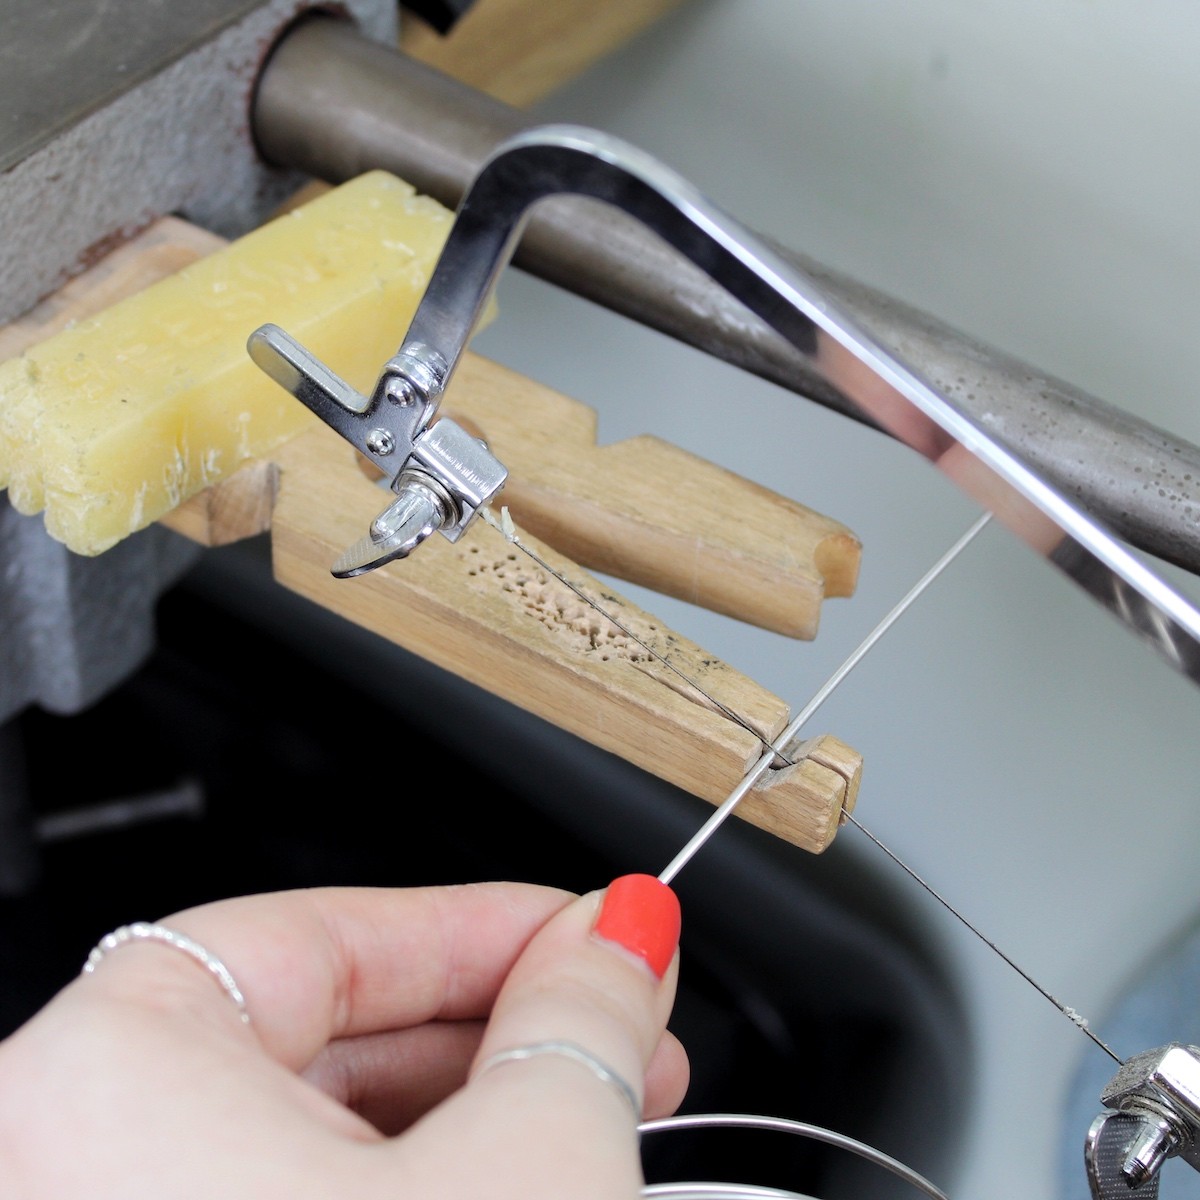
Using a bench peg, hold your wire firmly and begin sawing where you made your line. You might want to lubricate your saw with wax, and consider starting at a diagonal angle to make your first strokes easier. Then, using a metal file, file your ends flat. If you struggle with this, a mitre jig can be a really useful tool.
3. Shape and Join
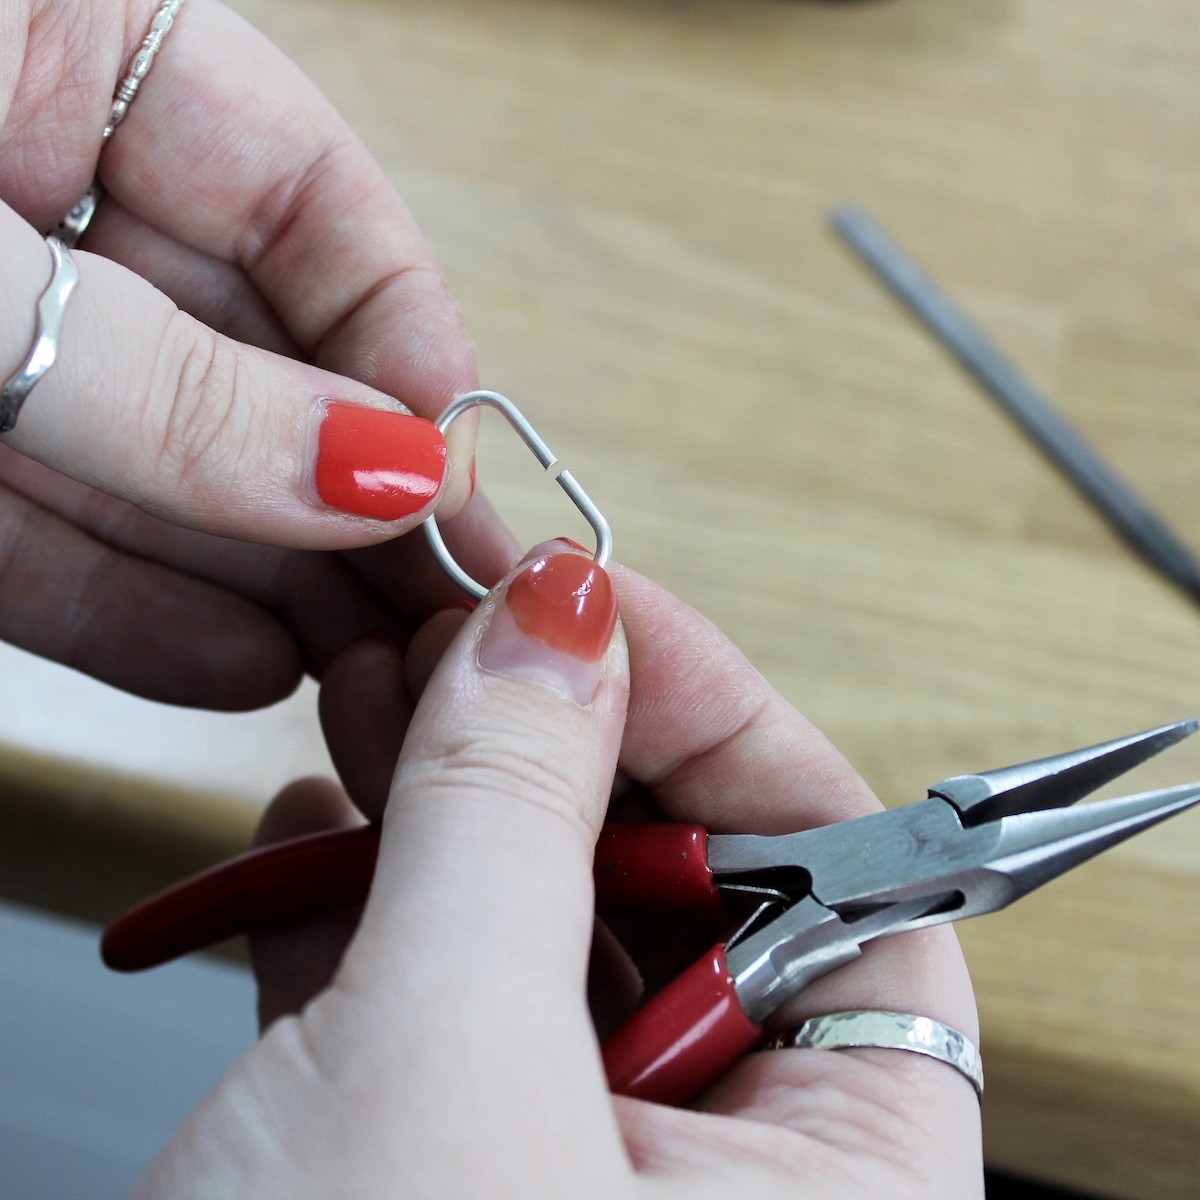
Bend your wire into a horseshoe shape using your ring mandrel, then form a D shape with your pliers. Keep moving the wire until the ends meet. Pushing the wire past itself can help with this step. For soldering your join needs completely flush.
4. Flux and Set Up
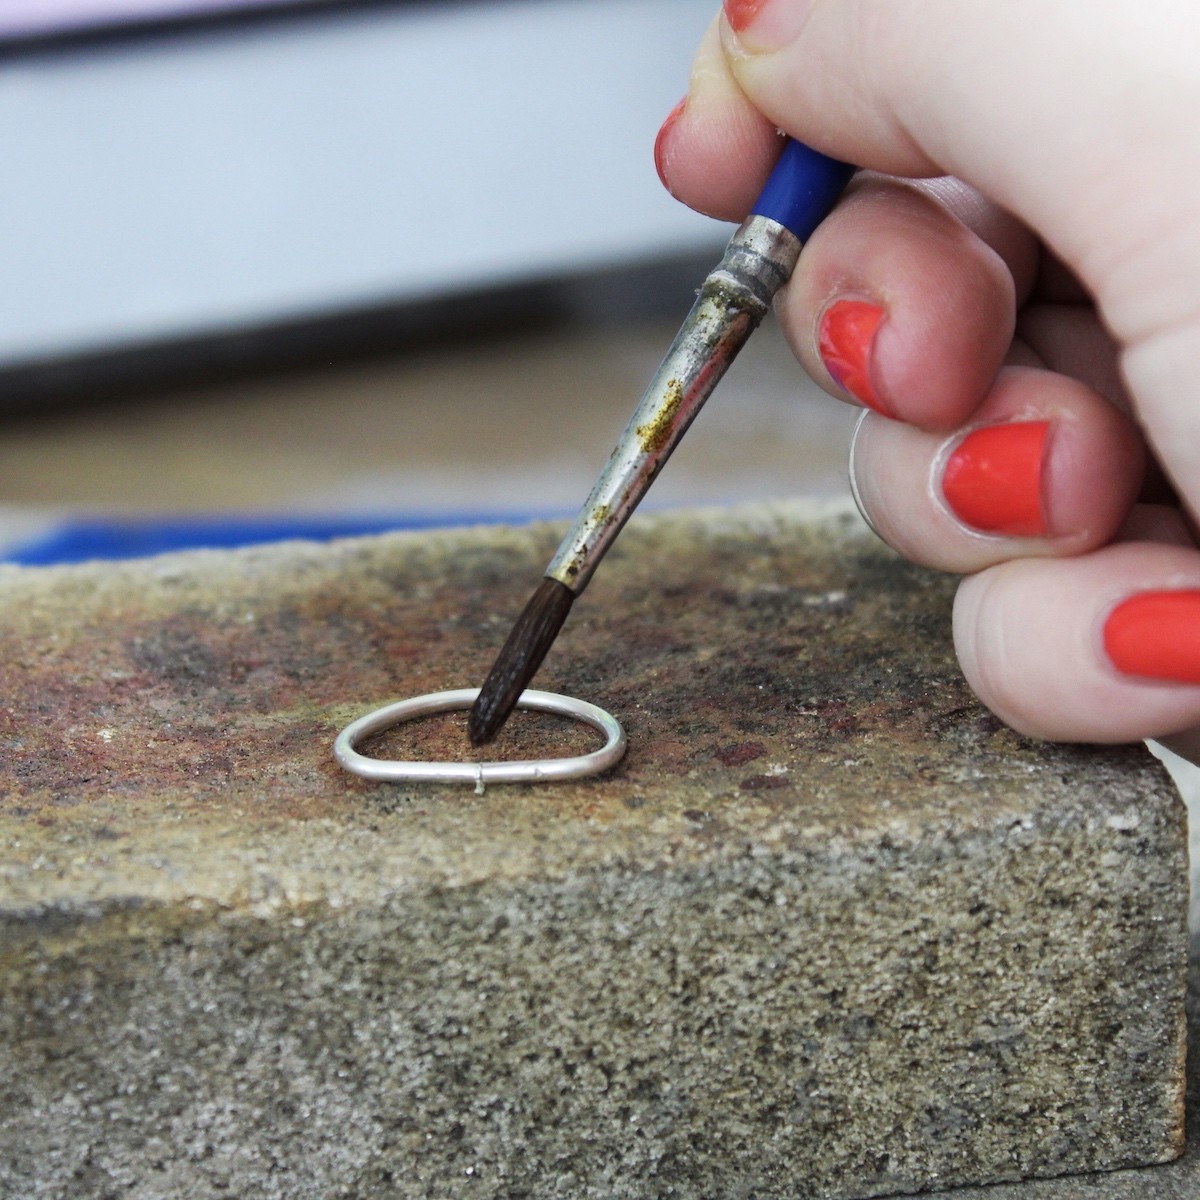
Using a clean paintbrush add flux to the join. Then add a small strip of hard solder underneath the join, so that the ring is sitting on top of the solder and slightly raised from the soldering block.
5. Solder Time!
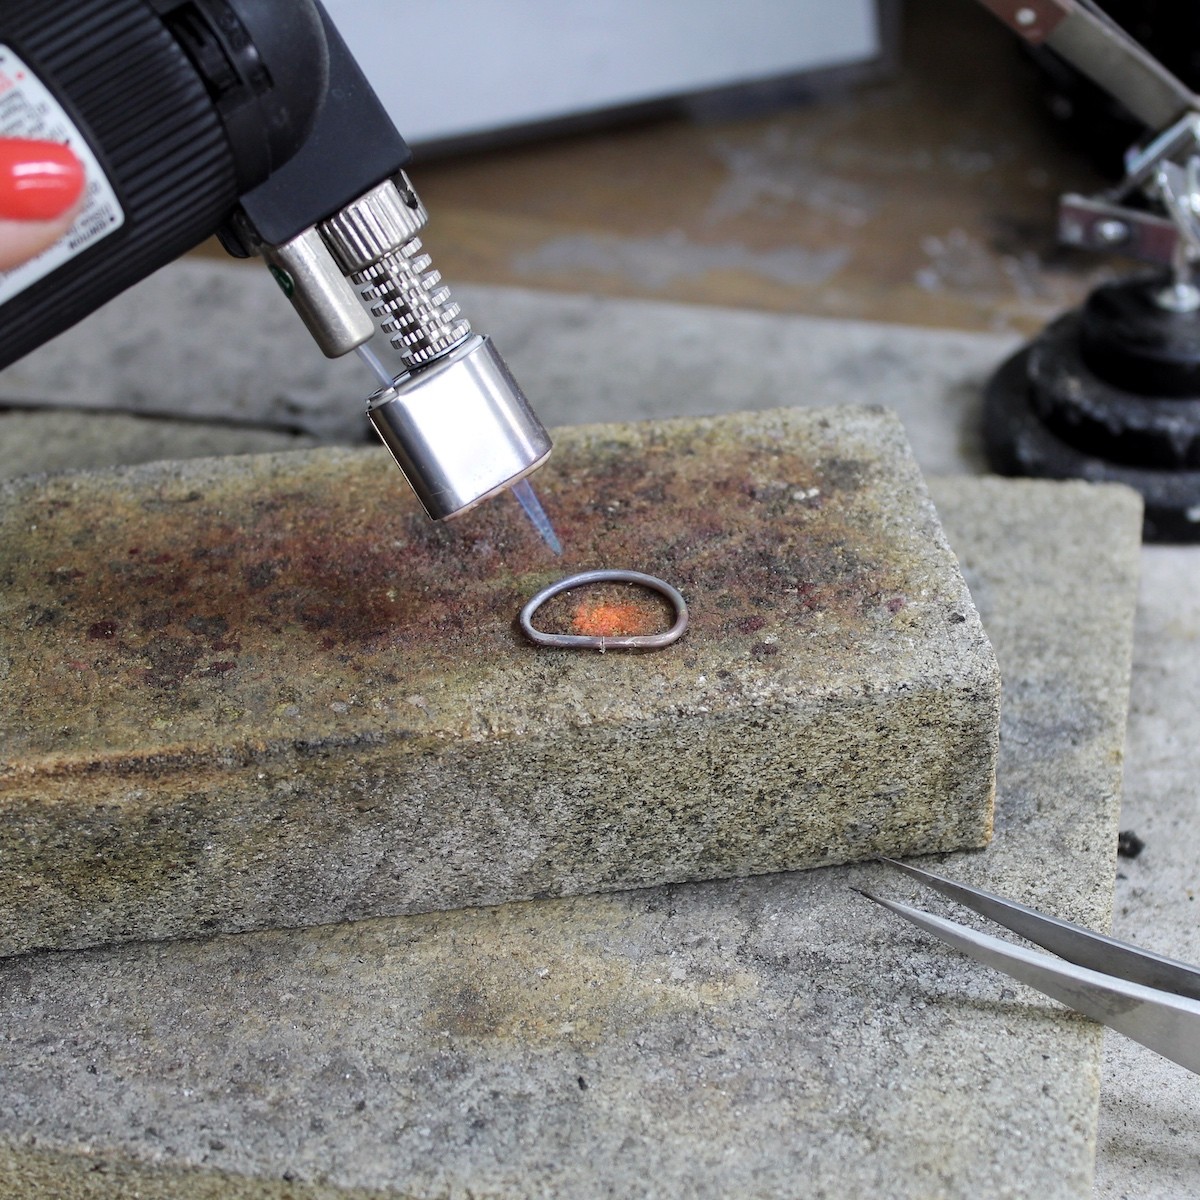
Using your gas torch, circle around the entire ring band in slow circles. You should see the flux burn away. Keep going in slow circles until the solder flows - it should go a really shiny molten silver and zip up the join. Using tweezers, quench the ring in water then pop it in the pickle solution.
6. File Away Excess
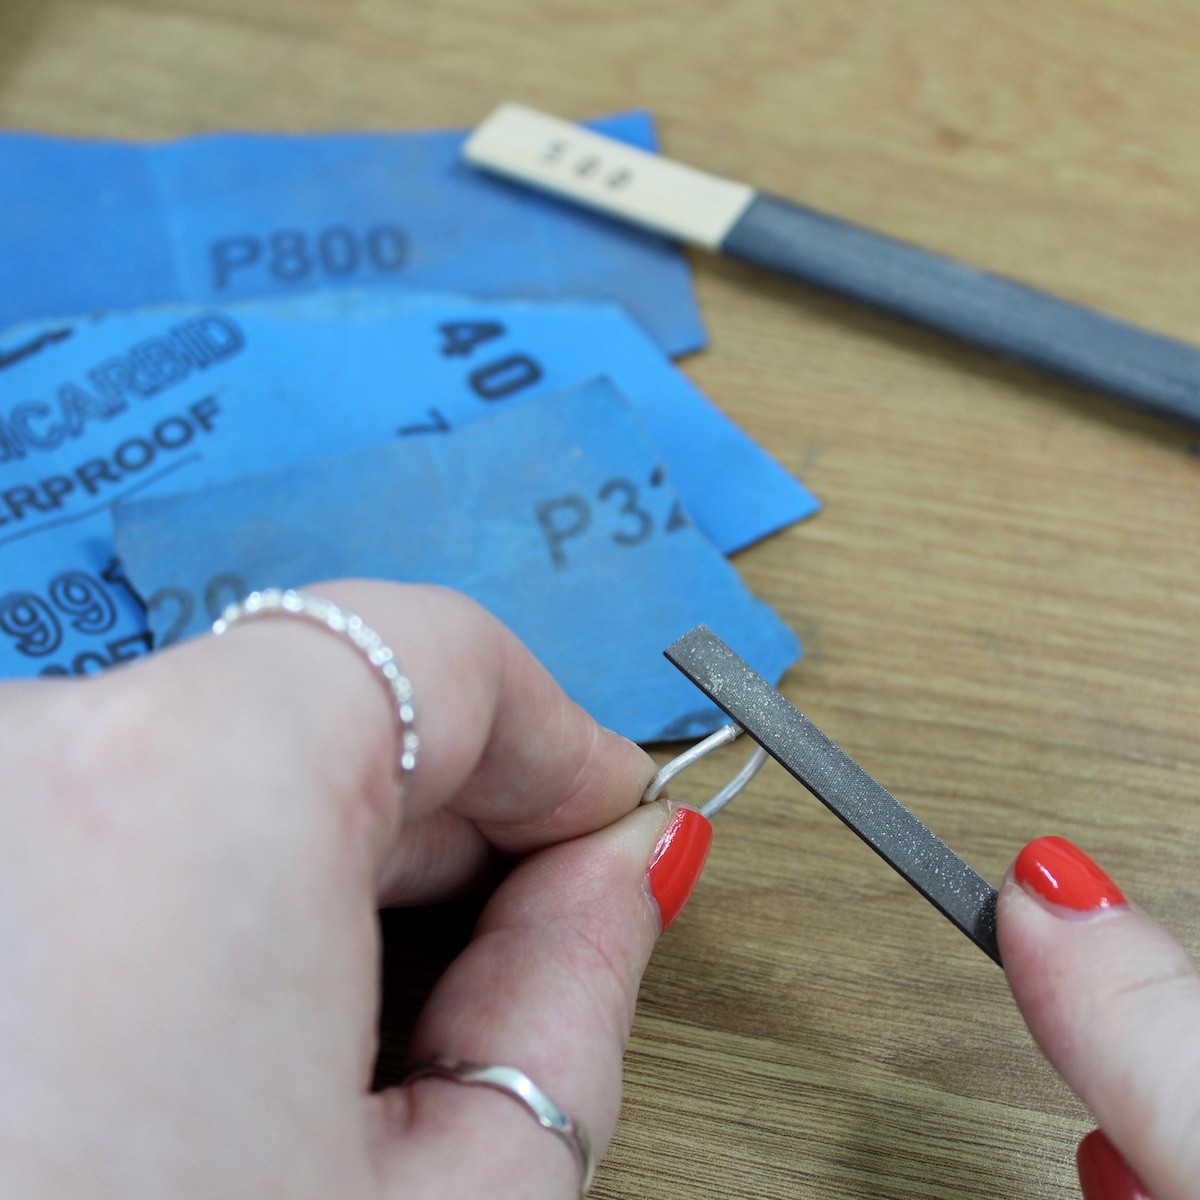
Once the ring is white and all signs of firescale are gone, remove the ring from the pickle using plastic tweezers and rinse in water. File away any excess solder on the join with your metal file then with wet and dry paper. Your goal here is to make the join invisible. You may also want to give the inside and outside of the ring band a light buff with wet and dry paper, getting out any plier marks as you go.
7. Begin Shaping
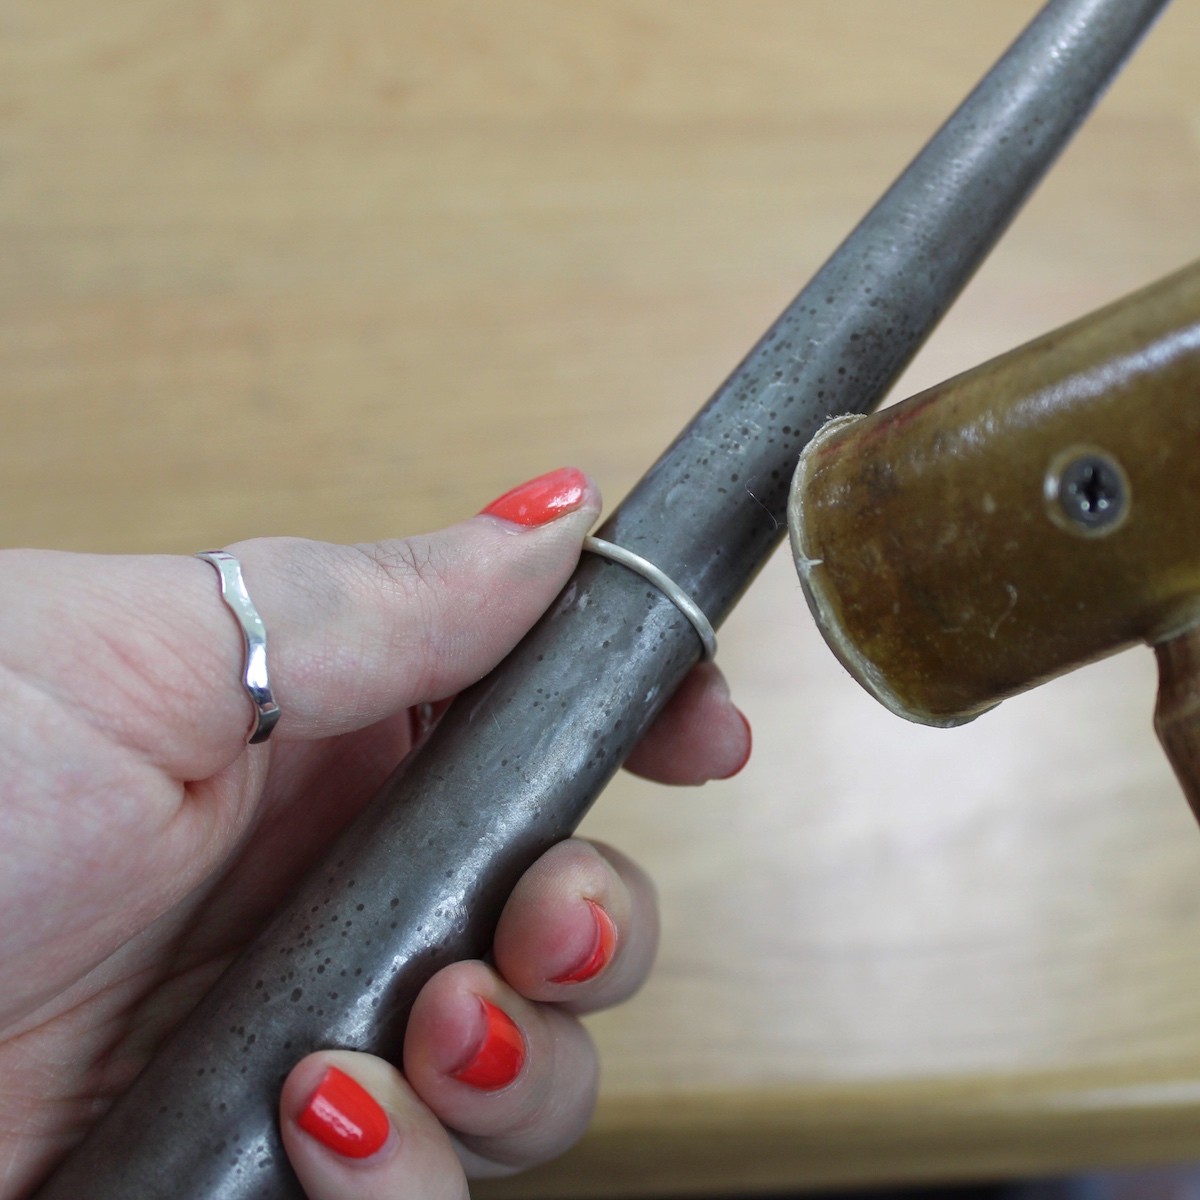
Using a rubber or rawhide mallet, place the ring on your ring mandrel and gently tap all around to create a circle. You may want to check the sizing at this stage, it should be one size smaller than the final ring size you wish to make (give or take!)
8. Texture
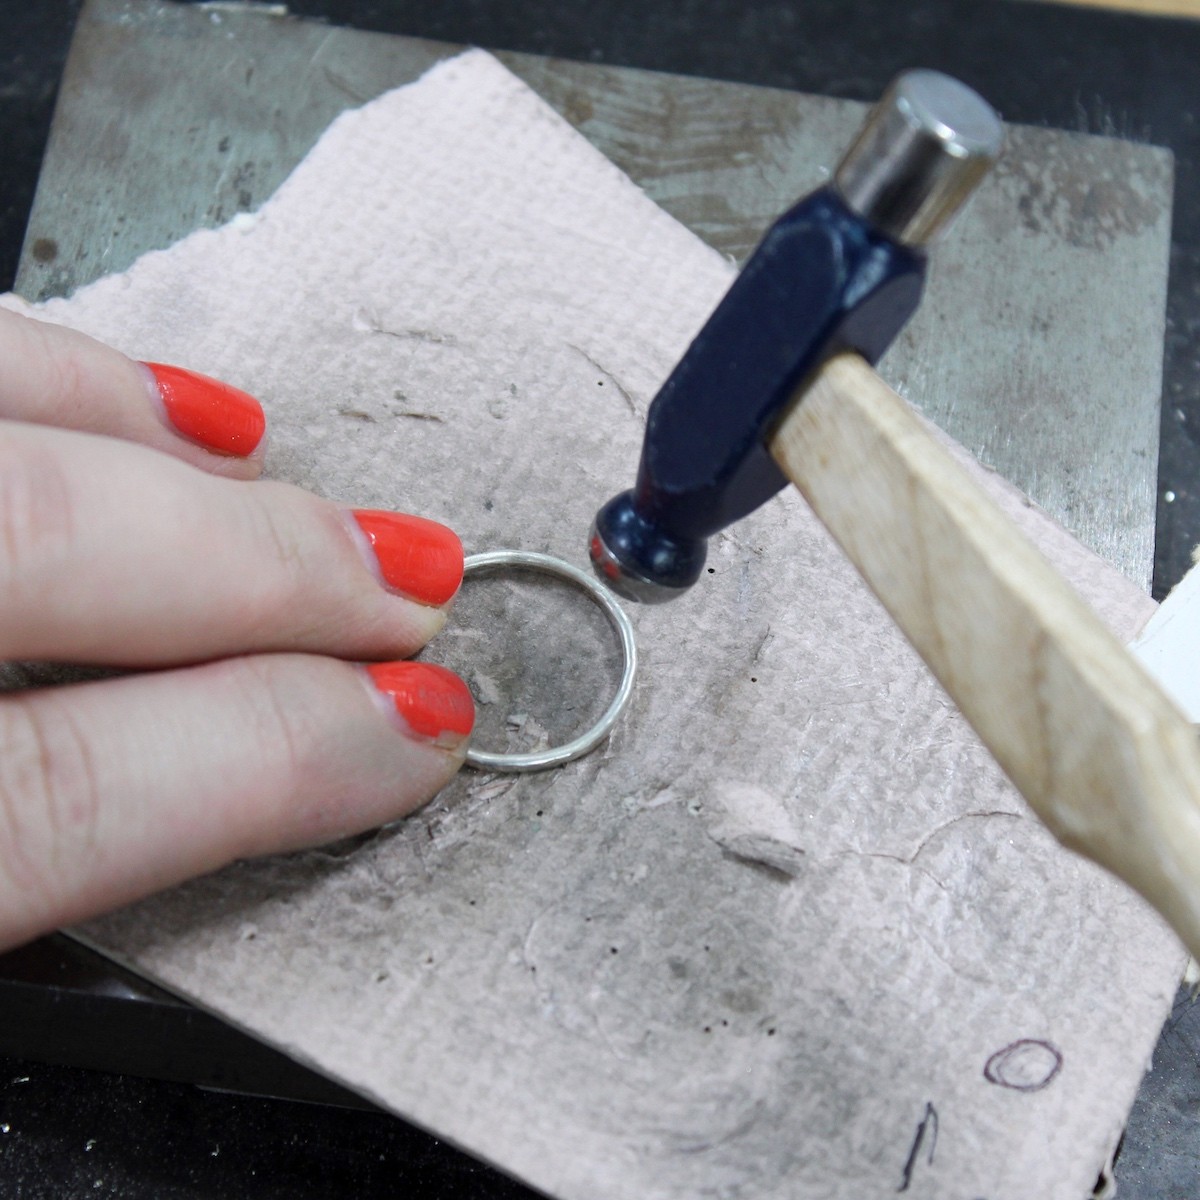
Now it’s time to add your texture! Using a repousse or ball-pein hammer, gently begin adding your texture around the band. It’s best to start with a light touch and keep checking in on the sizing before adding gusto with the hammer! Once your ring is at its desired size, you can add more texture to the ring on a flat anvil or steel block surface. You may want to use a piece of card underneath the ring to avoid scratching the other side.
8. Polish
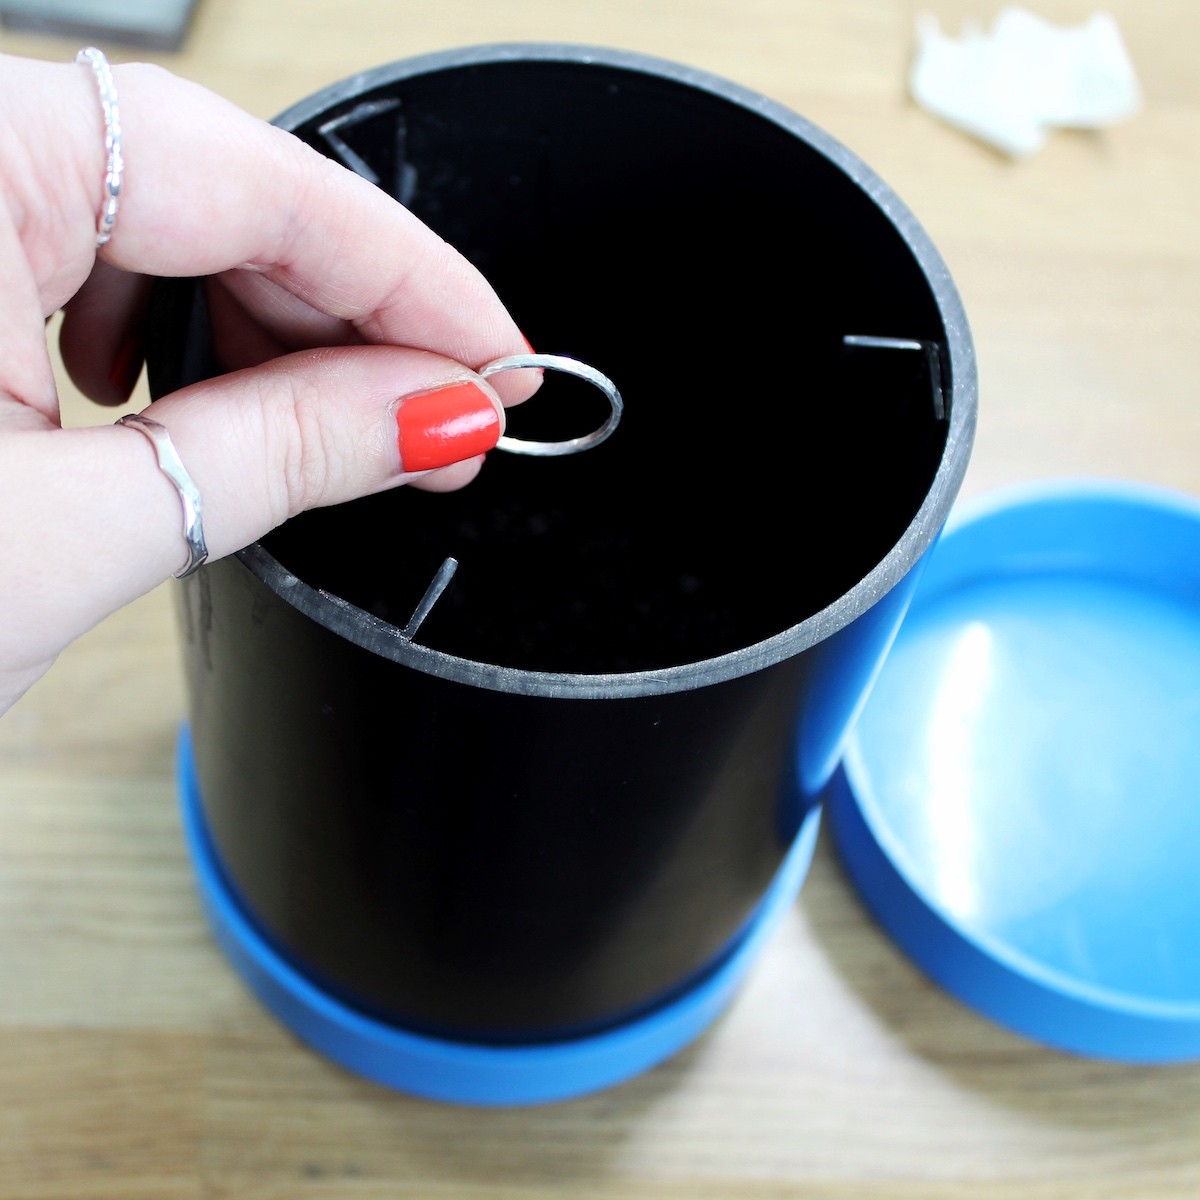
Finally, our last step is to polish up the ring. You can do this with polishing papers, power tool (such as Dremel Multi Tool) with silicone polishers or barrelling machine (as shown in the photo) - for a really high-shine finish, all three!
Finished!
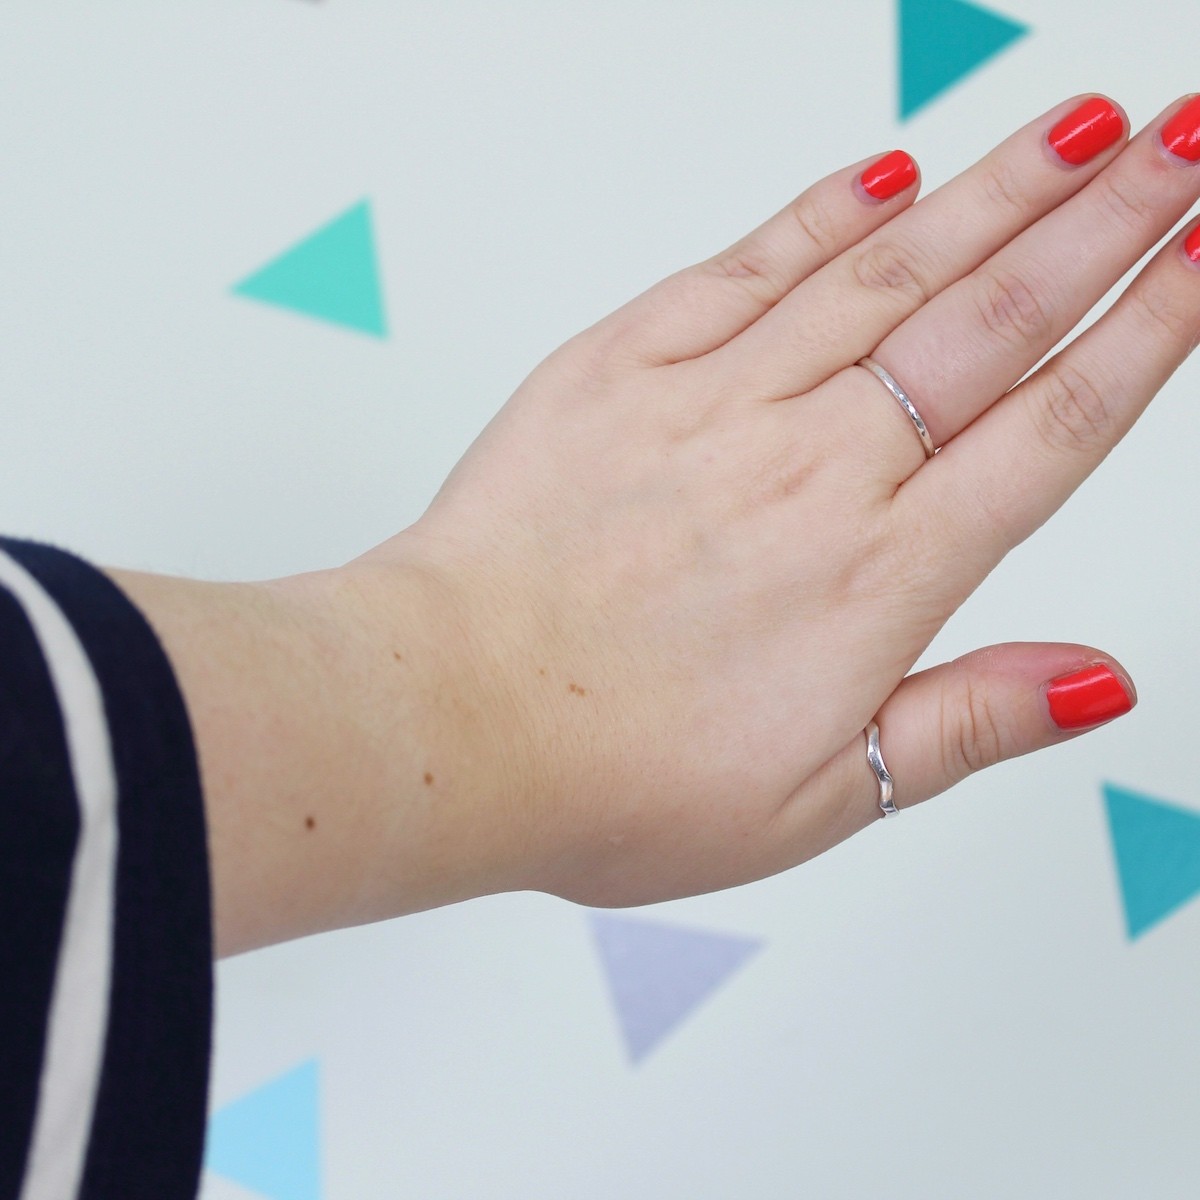
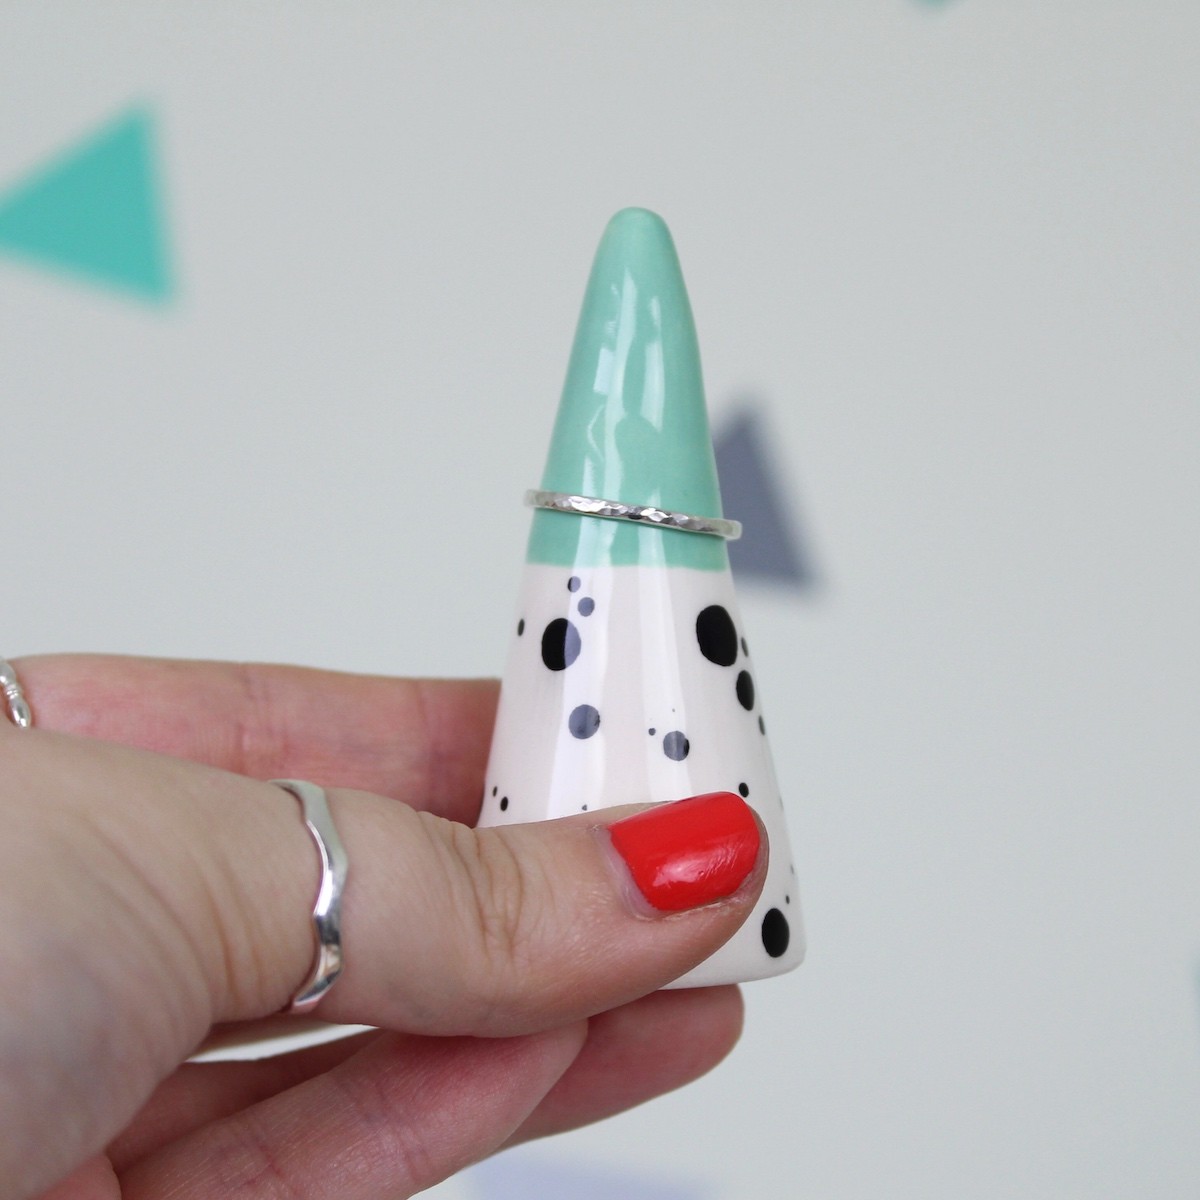
A simple, sterling silver hammered ring band perfect to wear solo for a minimalist feel, stack them high with other mix and match textures or go further and add gorgeous gemstone to the band, the possibilities are endless!
Share your minimal ring designs with us on social media, tagging Kernowcraft and Jordan Lily Designs for a chance to feature.
Jordan's Top Tips & Soldering Troubleshooting
Unsure on your ring size? Use a plastic ring sizer or ring sizers. Most high street jewellers are also helpful for measuring size.
My ring is the wrong size! There’s no exact science to this, if the ring is smaller than one size smaller, you can add your texture with more force to make it the right fit. If your ring is already close to, or over your desired final size, consider sawing the ring open, removing a couple of mm with a file and re-soldering.
Soldering can be a tricky skill to master, but I promise it gets easier with practice! Some reasons why you’re having difficulty could be:
Your join isn’t flush enough - this is something that I really struggled with at the start. You want to make sure your ends are filed flat and there’s no gapping in the join. Try holding it up to a window - you shouldn’t be able to see light through the join.
Your join isn’t clean - solder likes it when our metal is super clean. Make sure you’ve filed/sanded the ends and your solder is clean too.
You’ve forgotten the flux (we’ve all been there!) Make sure you’ve added enough flux. For tricky joins, I sometimes dip my silver join in the flux to make sure it’s in the right place.
Your torch isn’t hot enough. The tip of the blue cone part of the flame needs to be just in contact with the ring so that the whole ring is brought to the same temperature. Circle slowly, once the ring is a peachy colour and starts to glow you can concentrate the flame over the join. If you find your torch still isn’t hot enough you can upgrade, or look into forming a little mini area with soldering blocks surrounding your piece - this helps stop heat loss.
You took your torch away too quickly! Once the solder has flowed, you can keep the torch over the joint for a second or so. Remember solder flows towards heat, so you want to use your torch to directionally draw the solder towards it. This can be helpful with thicker rings to pull the solder through the whole way.
About The Jeweller
Jordan, from Jordan Lily Designs works from her home workshop in Cornwall. Her designs are largely influenced by minimalism and geometric shapes.
As a Cornish gal, she loves visiting the beach with her dog Barney to hunt for sea glass, which can then be turned into beautifully unique jewellery.
Her Christian jewellery can also be found on Cheerfully Given. As a self-taught jeweller, Jordan says Kernowcraft’s blogs full of tips played a big part in helping her develop her skills, so she’s very happy to be sharing this tutorial with us!
Find Jordan around the web
WEBSITE | ETSY | CHEERFULLY GIVEN | INSTAGRAM | FACEBOOK
We have also been lucky enough to interview Jordan for our 'Meet The Jeweller' series over on our blog! We find out how she learns new skills as a self taught jeweller, how to create a gorgeous brand for your handmade business as well as using sea glass and gemstones in her designs.

