


Pre-notched settings are a great and easy way to set faceted gemstones. A pre-notched setting has claws with little grooves (notches) already cut into them to save you time in having to create the notches yourself in clawed settings
Our selection of pre-notched settings give you the options to create pendants, earrings and rings in either 925 sterling silver or 14ct yellow gold. This style of setting comes in a variety of different sizes and with different connector fastenings.
Here we show you how to set a faceted gemstone in a pre-notched setting with easy to follow, pictured step-by-step instructions.
Recommended Supplies
- Pre-notched setting - select the relevant setting for your design.
- Faceted stone - select the correct size stone for the setting, on our website you can search our faceted gemstone collection by size or colour.
- Snipe nose pliers - for gently pushing some of the prongs open a little wider.
- Pusher - to allow you to easily 'push the claws' exactly where they need to be.
- Flat needle file - for neatening prong settings after setting.

Step 1
Place your chosen faceted stone into the setting - it is common at this stage to need to open the prongs a little wider so the stone goes in easily.
Use some snipe nose pliers to gently push a couple of the prongs open a little wider.

Step 2
When the stone is in the setting ensure that the outside edge of the stone is sitting within the grooves (this is the 'pre-notched' bit) of the prongs.
Make sure that the setting is a good fit and the stone does't rattle about too much. If it is a little loose you may need to just gently adjust one or two of the prongs by using your pusher to push them closer to the stone and hold it tight.

Step 3
Use a pusher to gently push the prongs over the top of the faceted stone, being careful not to mark the stone or bend one prong more than others causing the stone to sit off centre. We recommend working your way around the setting by pushing opposite prongs, adjusting a little bit each time to make sure that there is even pressure across the top of the stone and that the stone is held nice and secure.
Create Your Own Pre-Notched Jewellery With Kernowcraft

Pre-Notched Settings
Shop our range of sterling silver and 14ct gold pre-notched settings for setting faceted stones into with little or no preparation needed. Including loose settings, rings and earstuds to use with your favourite faceted stones.

Faceted Stones
Choose from our large range of high quality faceted stones in a range of shapes and sizes to suit your needs. These can be set in our range of settings for faceted stones.

Pusher
Use a pusher (also known as a prong pusher) to simply push claws and bezels over stone during setting. The square metal rod is slightly rounded on the corners and polished on the end to minimise setting marks and scratches.

Needle Files
If you have made a few marks on the metal whilst pushing the prongs over the stone you can use a flat needle file to make each prong nice and tidy.
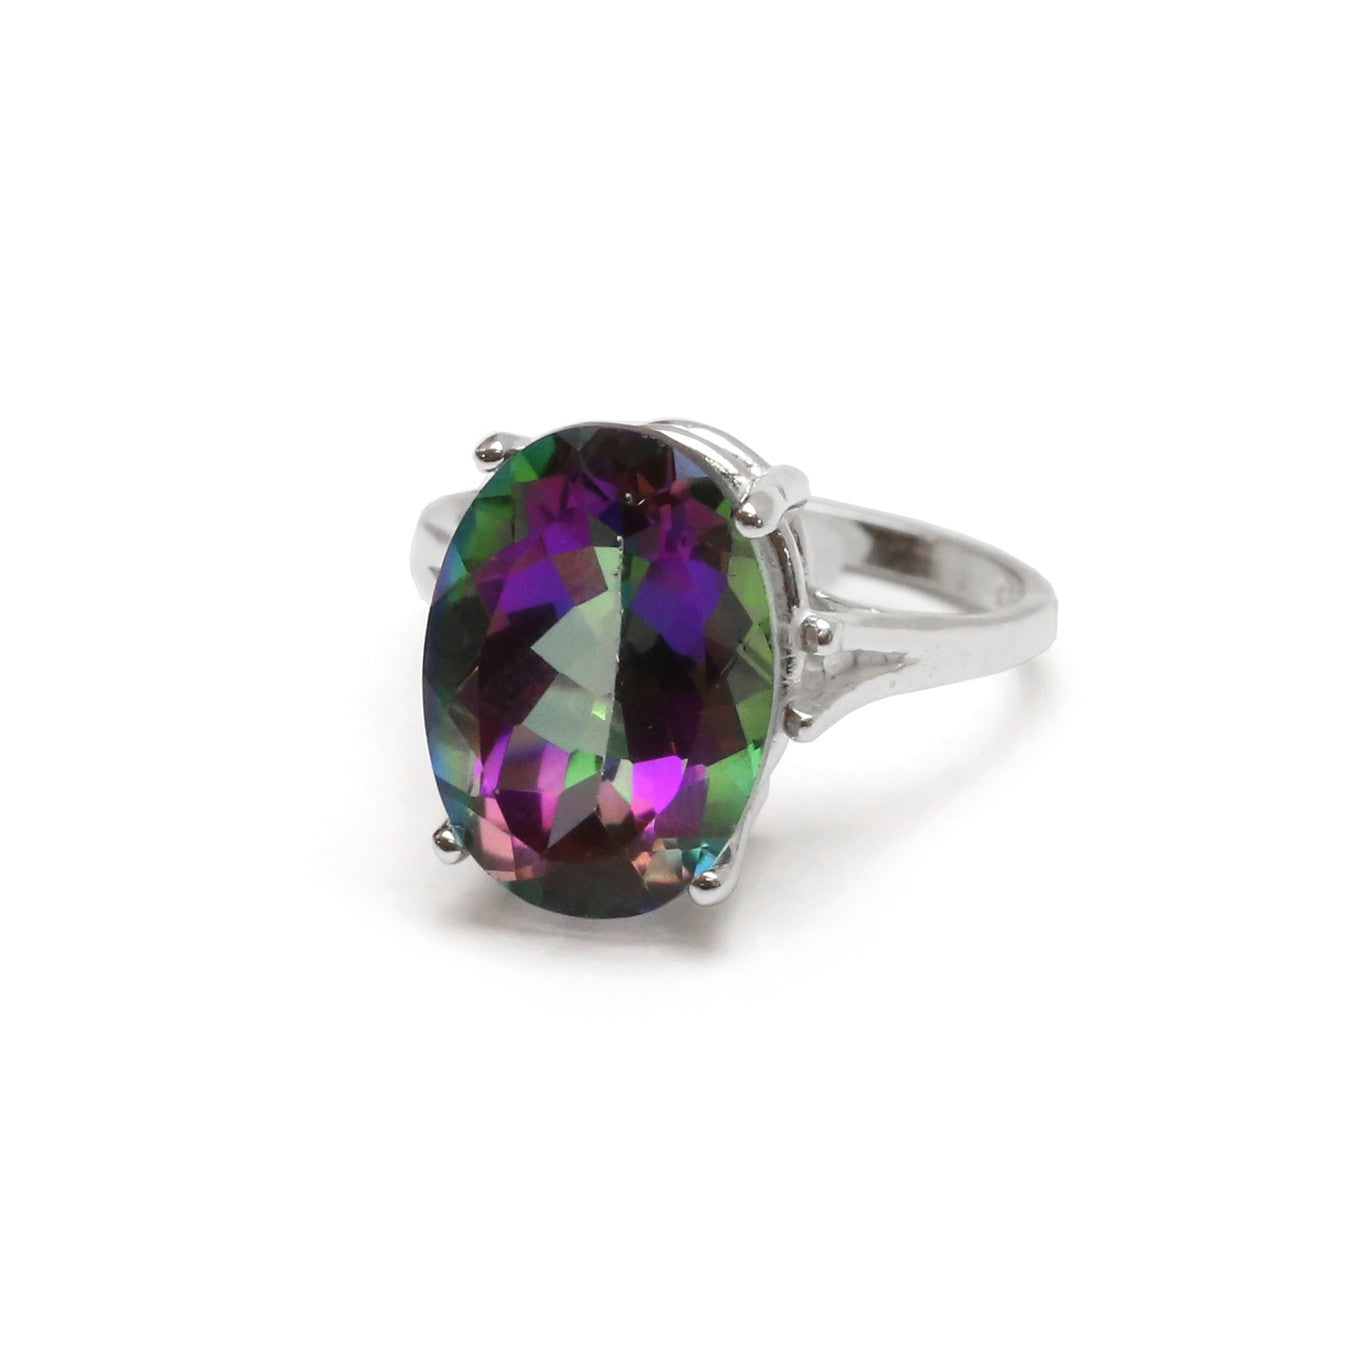
Be inspired...
Here are some examples of our pre-notched settings with a selection of our gemstones set in them. Click on any of the images to view the setting.


Also in this section:
- The Essential Tools For Setting Gemstones
- Your Guide To Stone Setting Burrs For Jewellery Making
- What Is A Bezel Rocker?
- Types Of Settings & How To Use Them
- Types Of Settings For Calibrated Cabochon Stones
- Types Of Settings For Faceted Stones
- Types Of Settings For Free-Form Stones & Crystals
- Calibrated Gemstones & Size Tolerance In Jewellery Making
- Ready Made Settings vs Making Your Own Settings
- 7 Ways To Make Your Own Gemstone Ring
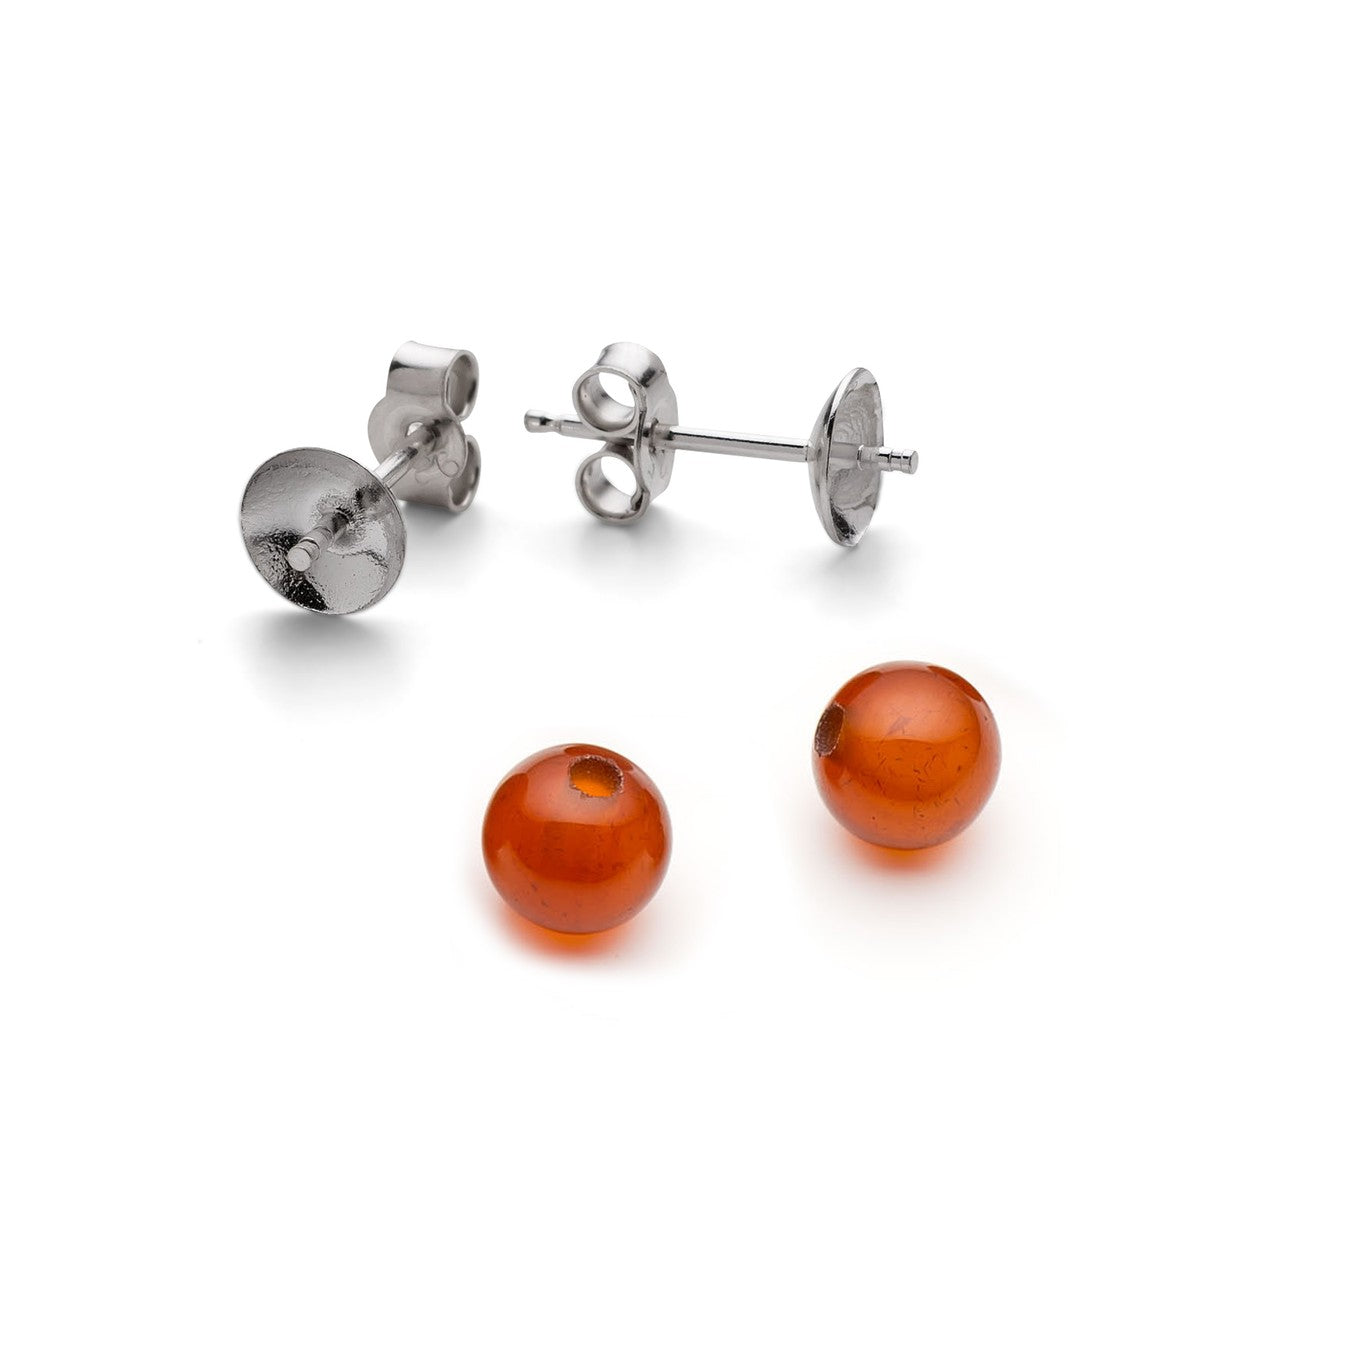
- How To Set Earstuds For Half Drilled Beads
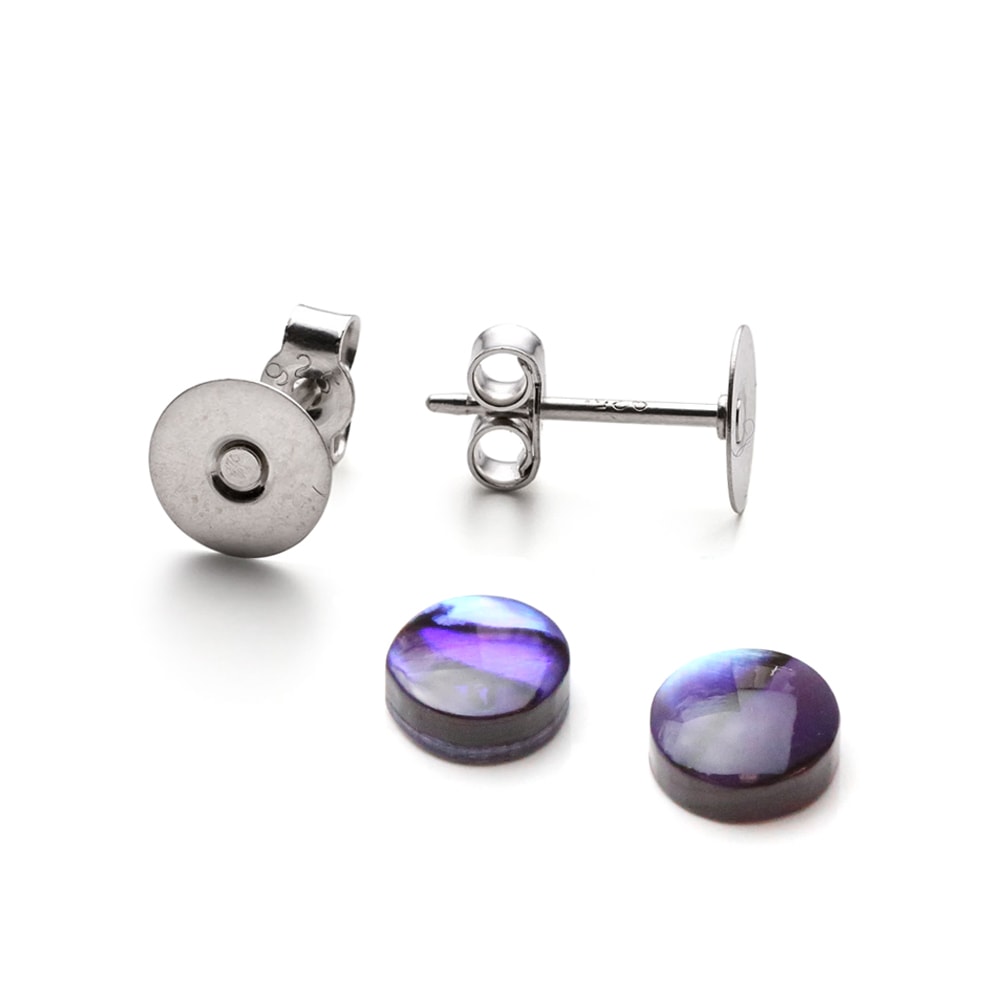
- How to Set Flat Plates and Milled Edge Jewellery Settings
- How To Set Snaptite Settings
- How To Set Gemstones In Gallery Wire Settings
- How To Set Backset Settings
- How To Set Wraptite Settings
- How To Use Huggie Claw Settings For Crystals & Sea Glass
- What Are Bell Caps For Jewellery Making?
- How To Set A Pre-Notched Setting
- How To Set Claw Settings
- How To Make A Decorative Ring Setting For A Free Form Cabochon
- How To Make A Tube Setting For A Faceted Stone
- 4 Drilled Sea Glass Earring Projects
- Jewellery Making With Sea Glass: Drilling & Stone Setting Tutorials
- How To Drill Sea Glass For Jewellery Making
- How Much Bezel Strip/Gallery Wire Do I Need?
- Types Of Bezel Cups
- How to Adjust Bezel Settings to Fit Cabochons
- How To Set A Cabochon In A Bezel Setting
- How To Make A Gemstone Ring With A Bezel Cup
- How To Make A Bezel Set Cabochon Ring With 'Made By Oonagh'
- How To Make A Sea Glass Ring With Bezel Setting
- How To Make Bezel Set Cabochon Earstuds
- How To Make A Sea Glass Necklace With Backless Bezel Setting
- How To Bezel Set A Free Form Cabochon Onto A Textured Silver Pendant
- How To Make A Textured Pendant With A Freeform Gemstone Slice
- How To Make A Claw Set Cabochon Pendant
- How To Make A Prong/Claw Setting For Irregular Shapes Stones
- How to Make A Wire Edged Setting
- How To Make A Balled Claw Ring Setting
- Making An Australian Boulder Opal Pendant With Stardust Mine
- The Process Of Remodelling A Gemstone Ring With 'Honey Bee Design'
HAVE A QUESTION?
If you have any questions, feel free to get in touch with our friendly team who will be more than happy to give you advice over email or on the phone.
You can learn more and find inspiration by visiting our Jewellery Making Tutorials, Jewellery Making Kits and YouTube Channel. Don't forget to follow us on social media and tag us in your designs on Instagram & Facebook, we would love to see!