


Make Incredible Jewellery Using Sea Glass
Sea glass jewellery is a style that has become really popular in the jewellery making world. One of the benefits of using sea glass is that it costs absolutely nothing, which makes it perfect if you're at the beginning of your metalsmithing journey and keen to practice your stone setting techniques.
On this page, we share some inspiring projects that are great for using with sea glass, with recommended techniques and tools which are available to purchase on our website. We show you how to drill sea glass, create a claw setting, how to make a backless bezel set pendant and our most requested tutorial: how to make a sea glass ring.
We hope these projects inspire you. If you have any questions, get in touch with our friendly team, we'd love to help you get started. Don't forget to share your sea glass creations over on social media, we often share our favourites @kernowcraft.
Products & Supplies Mentioned in this Guide
- Dremel Multi Tool
- Diamond-coated drill bits
- Safety goggles
- Rotary tool
- Tumbling Machine Kit
- How to drill sea glass tutorial
- Backless bezel setting tutorial
- Sea glass ring tutorial

Looking For Beginner Projects?
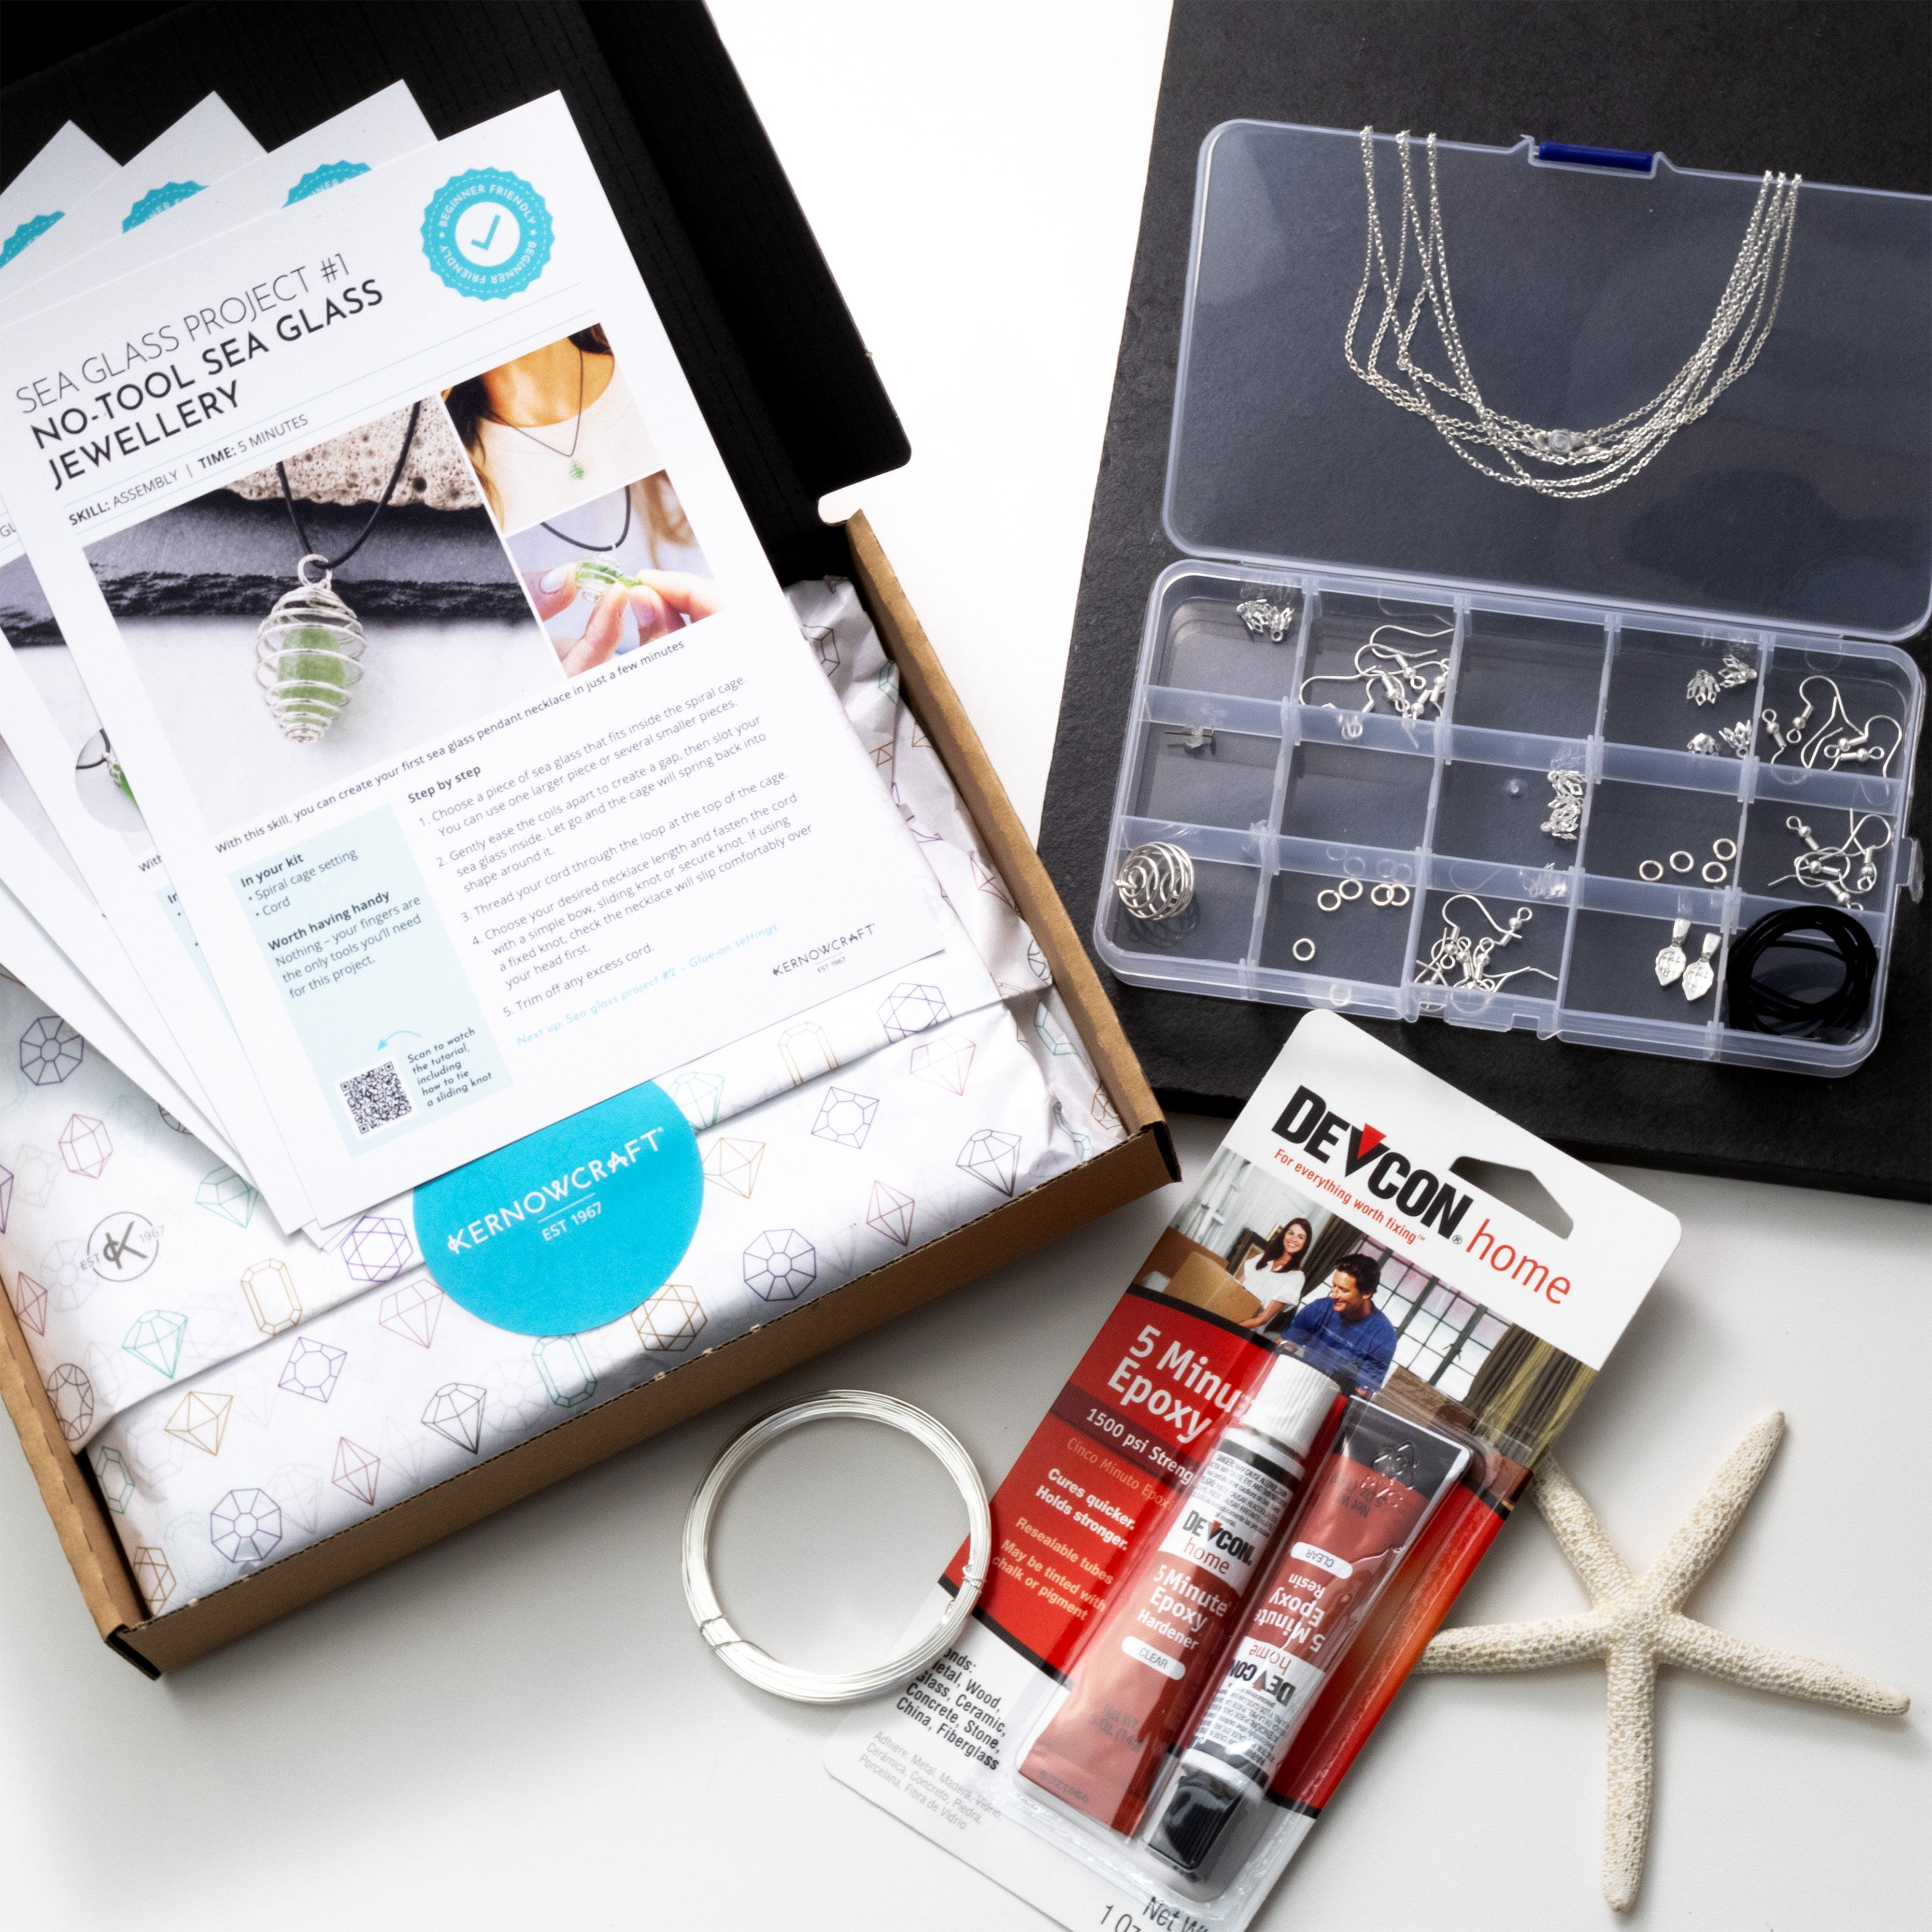
Most of these projects are aimed at experienced jewellery makers with soldering knowledge. If you're after beginner-friendly designs, we recommend taking a look at our Sea Glass Projects For Beginners page with a video and lots of inspiring designs, perfect for making quick gifts.
Organising Your Sea Glass
Before starting the design process, it is always helpful to sort your collection of sea glass for different jewellery designs. Some shapes suit certain ways of setting better than others. For example, if you want to bezel set a piece of sea glass it is easier if it has a flat surface and an even height.
How To Drill Sea Glass
This project is great for a jewellery making beginner who wants to push themselves a bit further. Drilling sea glass is a really popular technique and gives you so many possibilities for jewellery designs, from creating pendants to elegant earring drops. Once you have the right set up and tools, the process is fairly easy but it's important to know that drilling sea glass takes some trial and error to get right, so patience is key.
Watch our video tutorial above or read our advice page with step by step photos and all the tools you need to get started.
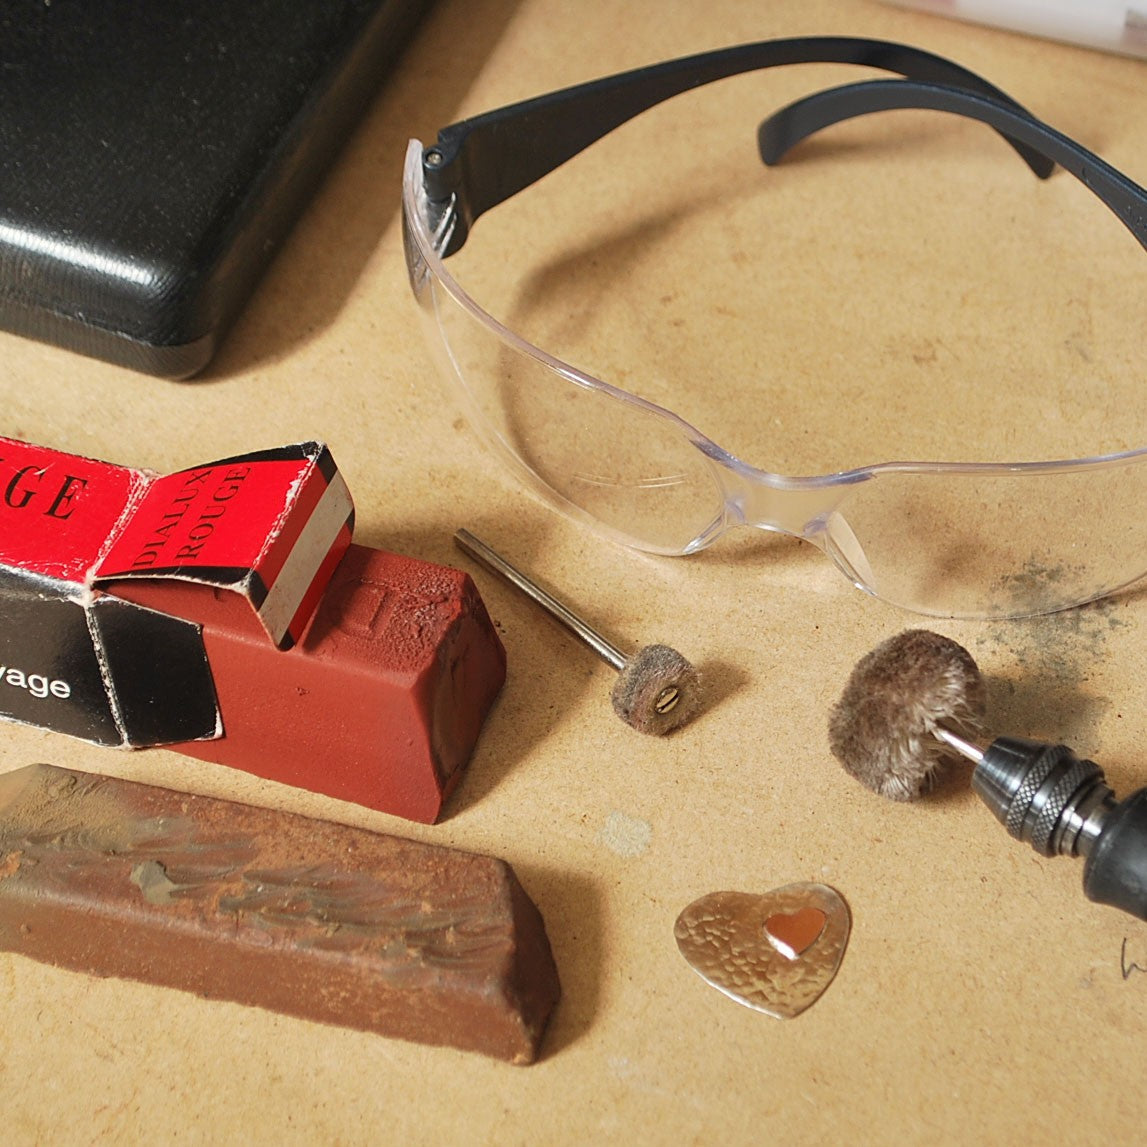
Rotary Tool & Diamond Coated Drill Bit
For this project you will need a rotary tool such as our Dremel Multi Tool, a diamond-coated drill bit and safety goggles. Diamond-coated drill bits are essential for drilling sea glass, pearls and ceramics. They must be used at a slow speed and water must be used as a lubricant. We have a variety of drill bit diameters available to suit your needs. In the necklace design we have used 1mm.
Our Top Tips For Drilling Sea Glass
- Assess safety in your workspace, such as wearing safety goggles and ensuring the electric parts of the rotary tool are away from the water.
- Begin drilling the sea glass at an angle as this will stop the drill bit from skidding out of position.
- Use light to medium pressure, allowing the diamond coated drill bit to go at its own speed.
- Use plenty of lubrication and rinse the sea glass regularly.
- Use a pulsing movement.
- Keep the drill bit and sea glass cool throughout the drilling process.
- For thick pieces of sea glass, you can drill 3/4 of the way through, flip it over and drill from the other side for a more even hole.
- Be patient. If you break some pieces of sea glass or a drill bit, don't panic. Assess your technique and try again.

How To Make A Claw Setting For Sea Glass
Claw settings are a great way to create a design for irregularly shaped stones such as sea glass, crystals or cabochons. The process consists of creating a frame where the stone will sit and pushing the claws over it to hold it securely in place.

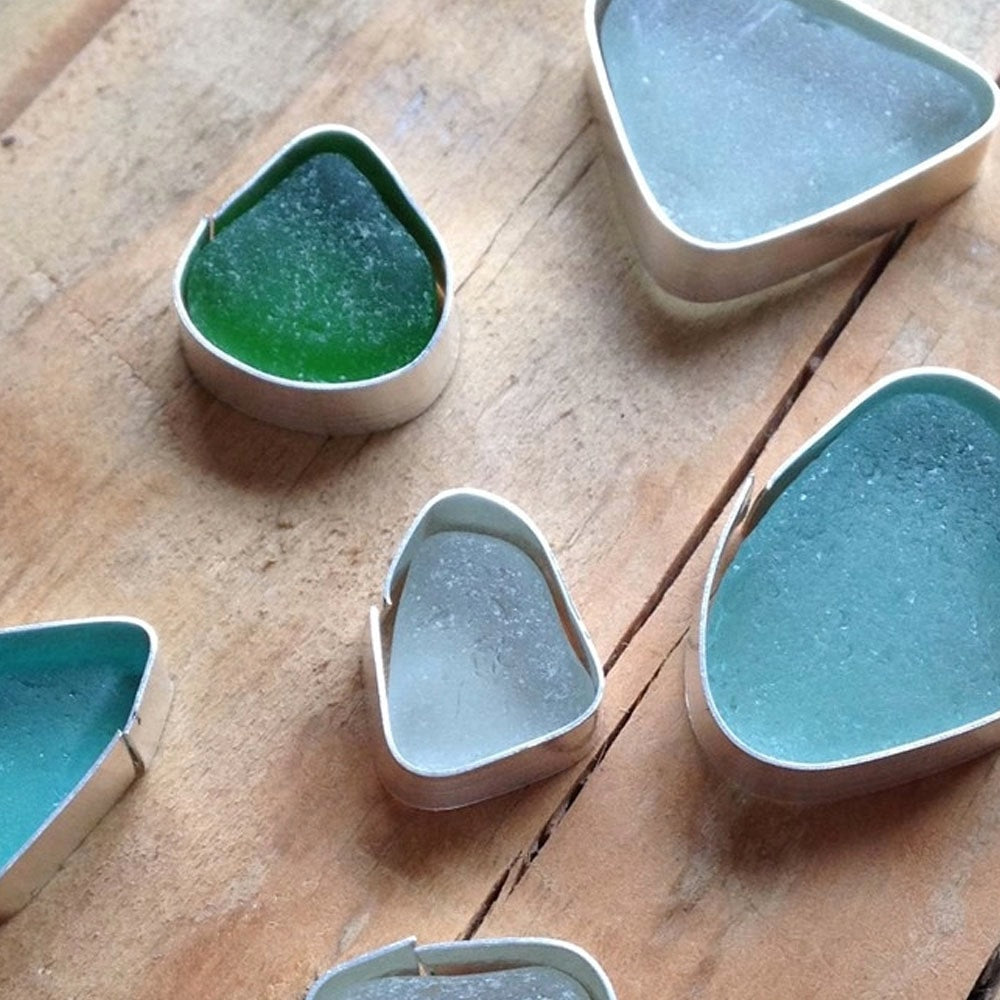
How To Make A Backless Bezel Setting For Sea Glass
We show you exactly how to create a backless bezel setting for a piece of sea glass. This design is a great metalsmithing project if you want to practice setting irregularly shaped stones. It's also great practice for working with fine silver bezel strip which is a great alternative to using metal sheet. It's thin and flexible making it really easy to rub over the stone to set it in place.

How To Make A Sea Glass Ring With Bezel Setting
We're so excited to share with you this guest tutorial by jeweller Sarah Bird from Seastone Jewellery.
Sarah walks you through the step-by-step process of making a sterling silver sea glass ring with a bezel setting, using sterling silver sheet but you could choose to use bezel strip instead to make the process easier. This tutorial covers a whole range of metalsmithing techniques so it's a great one to get stuck into to push yourself to the next level.

How To Make A Spinning Sea Glass Necklace
In Kim's 12 Months of Metal series, all available to watch for free on our blog, she shows you how you can use a cold connection to create a beautiful spinning pendant using a piece of drilled sea glass.
In this video, you'll see Kim preparing the layers, making a ball, followed by a nail head rivet. She also shows you how to create texture, how to rivet the other side and transform it into a pendant.
Watch more of Kim's cold connection tutorials here
Don't Live Near A Beach? Create The Sea Glass Look At Home
Our Tumbling Machine Kit will enable you to start tumble polishing your own glass, pebbles, rocks, shells or gems to a matt or gloss finish. Tumble polishers, also known as rock tumblers, lapidary tumblers and rotary tumblers, work by tumbling grit particles around in the spinning barrel which repeatedly fall onto the material being polished. The tiny scratches made this way gradually polish the surface.
So it could be as simple as breaking some glass safely and tumbling the pieces until they have that matt finish and no sharp edges.

Be Inspired By Customer Sea Glass Creations
Over on our Facebook page, we asked our customers to share with us their sea glass designs and we were not disappointed. There were so many inspirational pieces. Take a look at our favourites over on our blog and discover new jewellers to inspire you.

Watch Our Video Tutorial On How To Create Simple Jewellery With Sea Glass
Also In This Section
- The Essential Tools For Setting Gemstones
- Types Of Settings & How To Use Them
- Types Of Settings For Free-Form Stones & Crystals
- 7 Ways To Make Your Own Gemstone Ring
- Jewellery Making With Sea Glass: Drilling & Stone Setting Tutorials
- How To Drill Sea Glass For Jewellery Making
- How To Make A Sea Glass Ring With Bezel Setting
- How To Make A Sea Glass Necklace With Backless Bezel Setting
- How To Make A Prong/Claw Setting For Irregular Shapes Stones
Have A Question?
If you have any questions, feel free to get in touch with our friendly team who will be more than happy to give you advice over email or on the phone.
You can learn more and find inspiration by visiting our Jewellery Making Tutorials, Jewellery Making Kits and YouTube Channel. Don't forget to follow us on social media and tag us in your designs on Instagram and Facebook, we would love to see!
The products used in these projects are suggestions to inspire you. Products used were compatible at the time of making but do be aware that stocks can vary, so do use your own judgement as to the compatibility of each item when making.
