A good quality finish creates a professional, high value and irresistible piece of jewellery that really stands out from the crowd - but how do you get there?
On this page, we talk you through the importance of cleaning your piece of jewellery and preparing it for polishing, our top tools for hand polishing and how to use a power tool to create a high shine. Not only that, we tell you how you can take your piece to the next level of shiny!
Polishing is such an important part of jewellery making and achieving a great finish really can elevate your work to the next level. Excellent results can be achieved by polishing with machinery but with a little patience and the right tools, hand polishing can also provide a superb finish.
Products & supplies you'll need to achieve that perfect finish
- Needle files
- Wet & dry sanding sheets
- Sanding and polishing sticks
- Headband magnifier
- Silicon carbide polishers
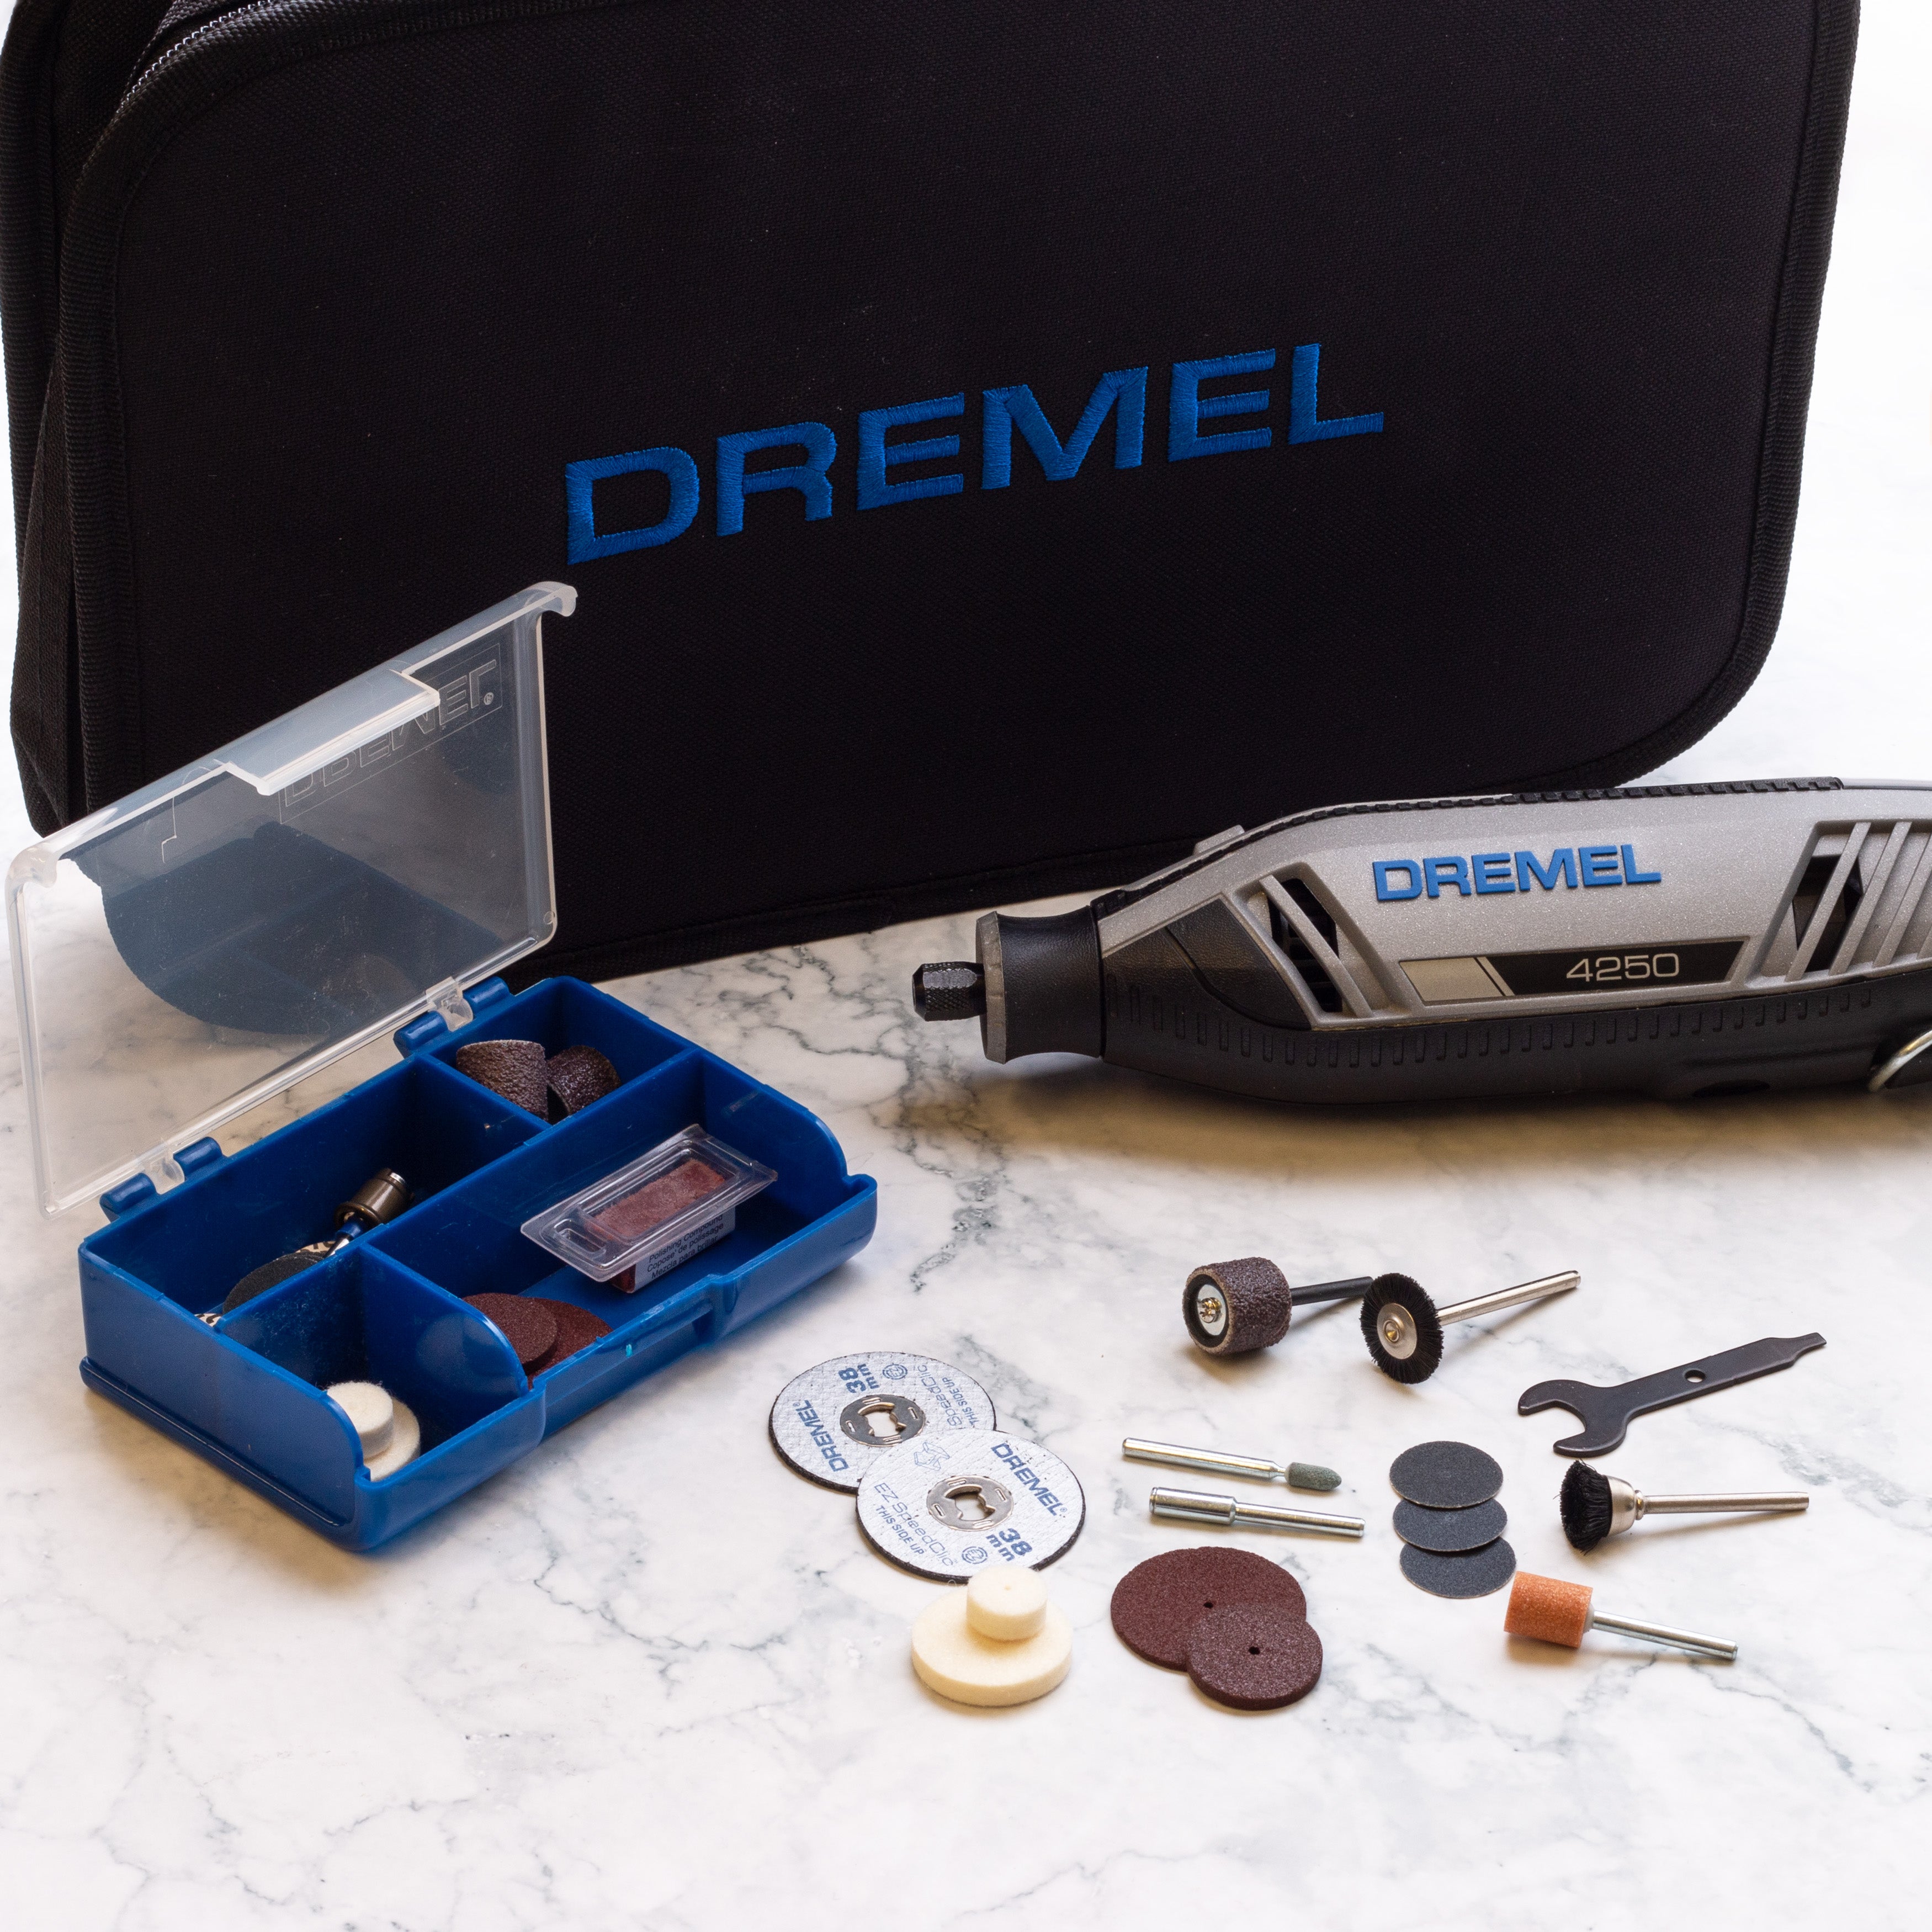
- Dremel Multi Tool
- Polishing papers
- Tripoli
- Rouge
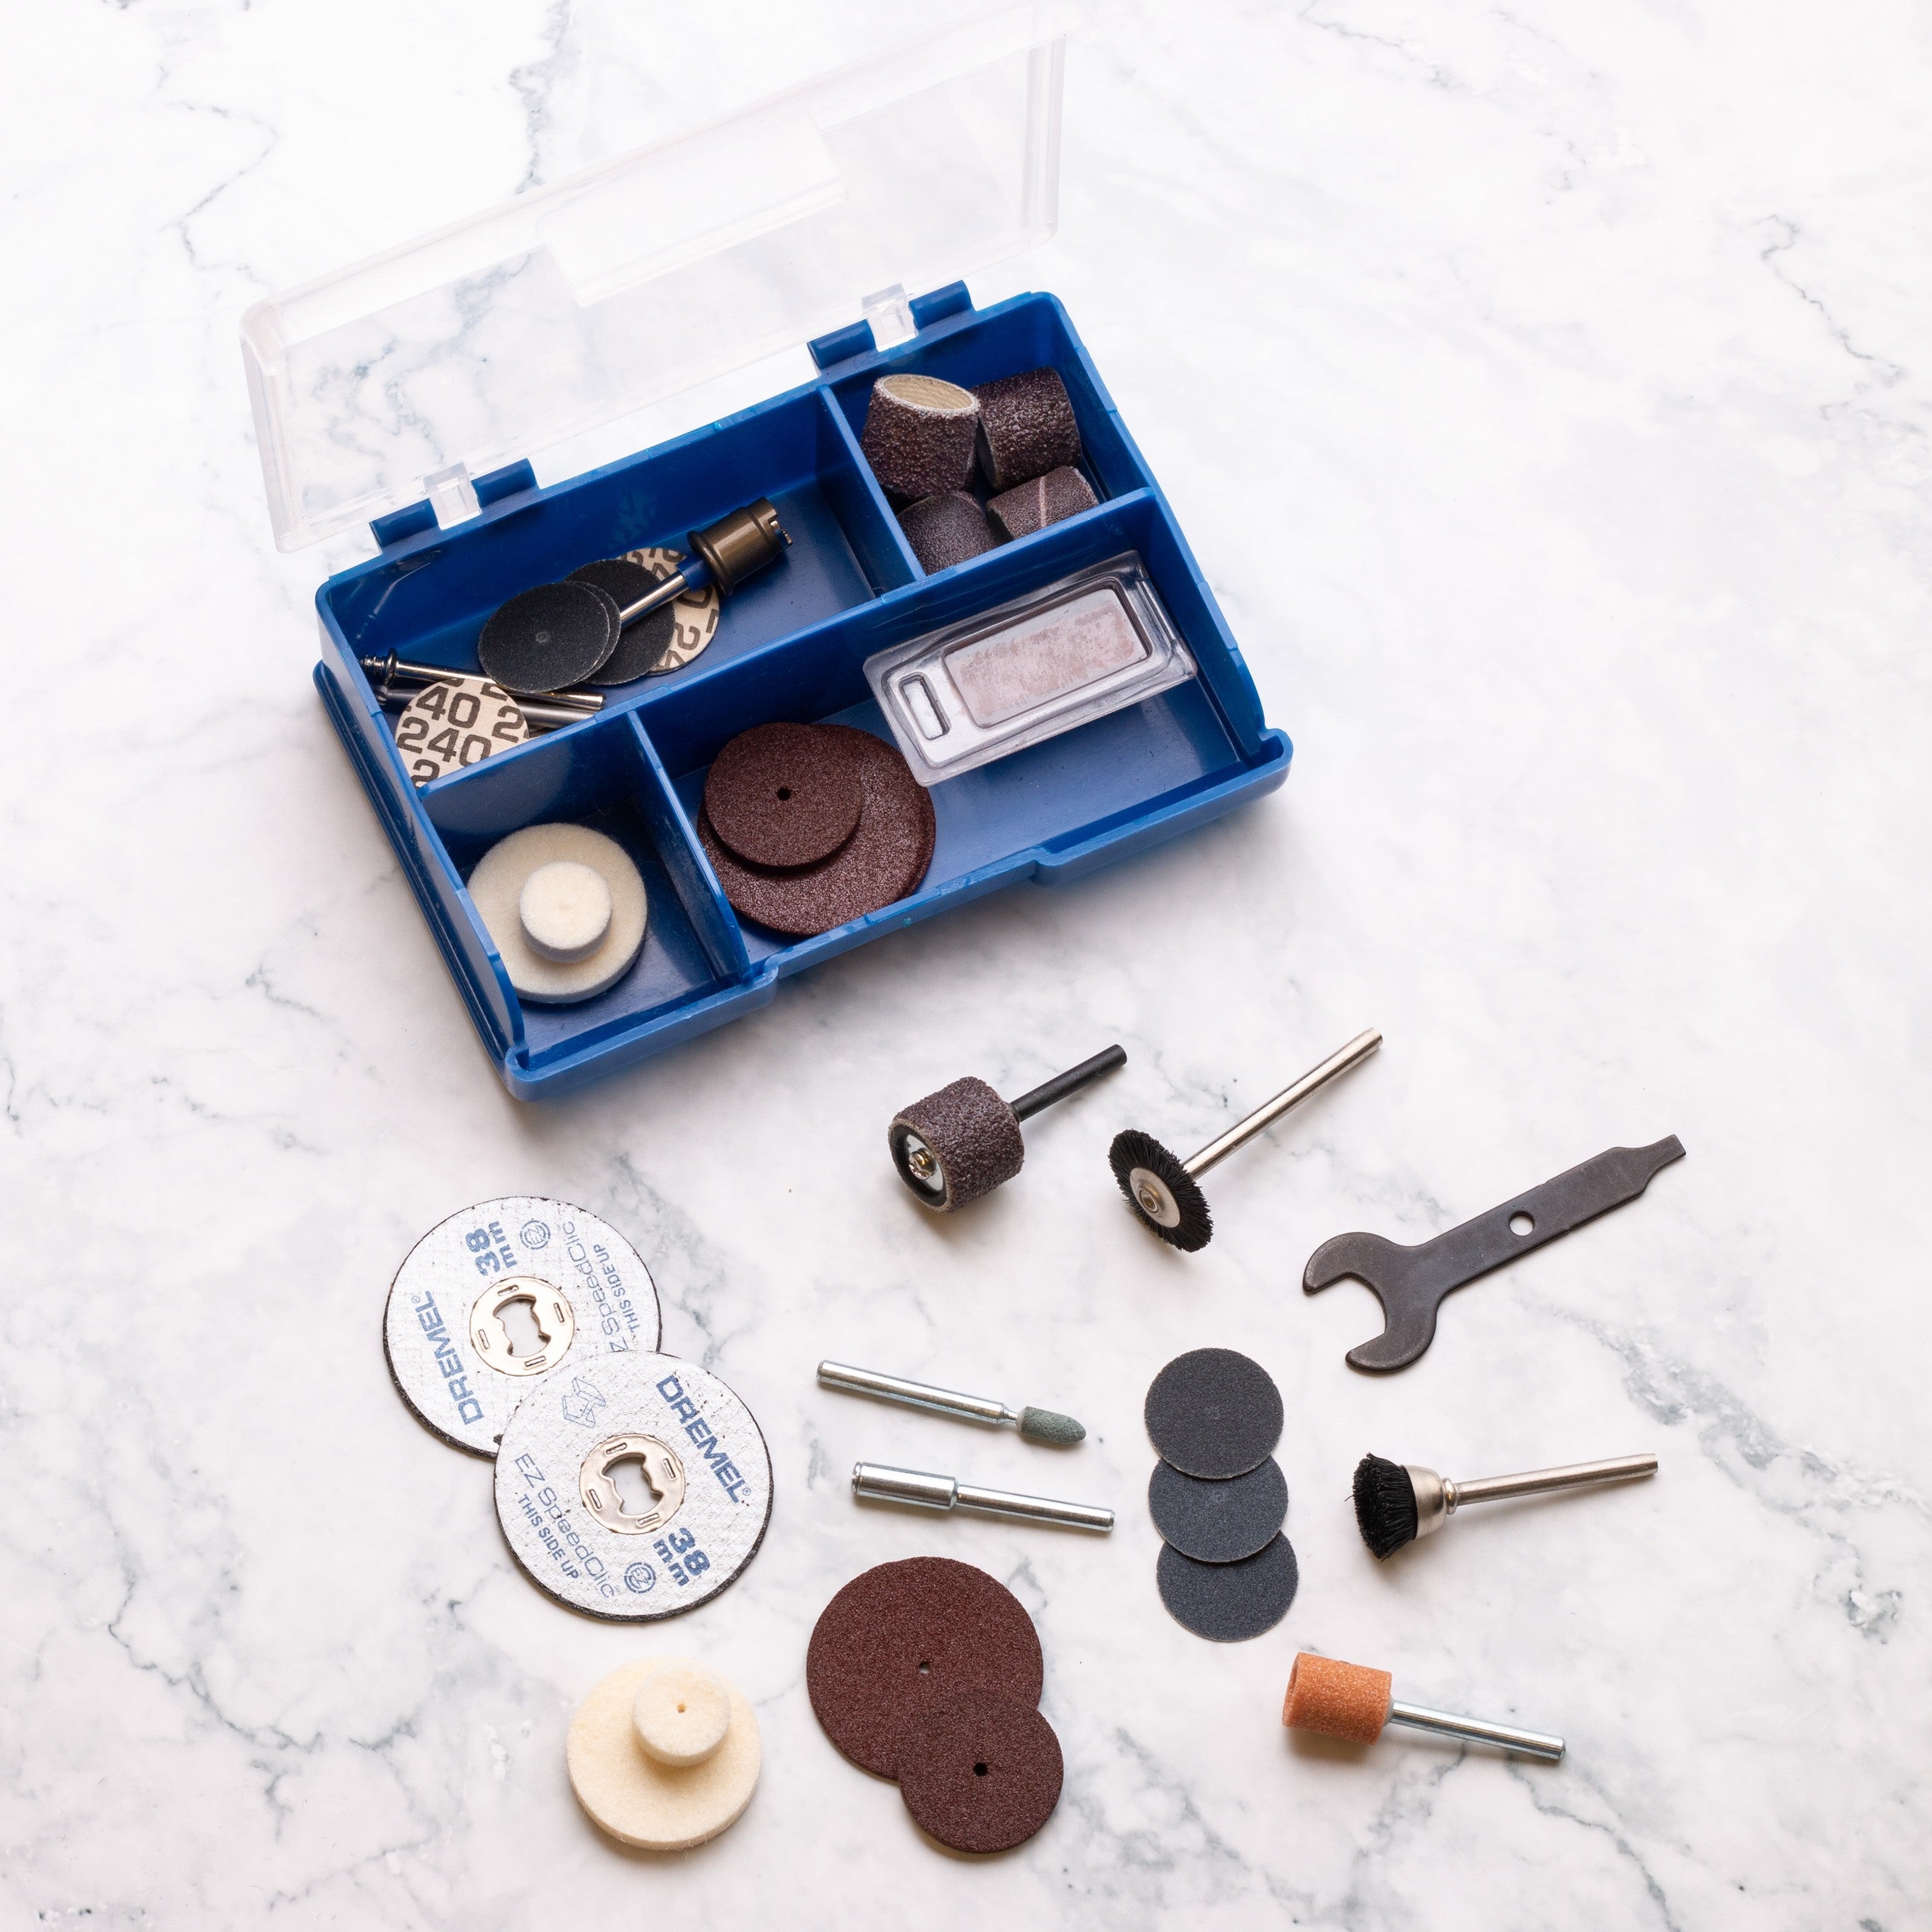
- Polishing mops, wheels & points
- Burnisher
- Barrelling machine
- Jewellery polishing cloths
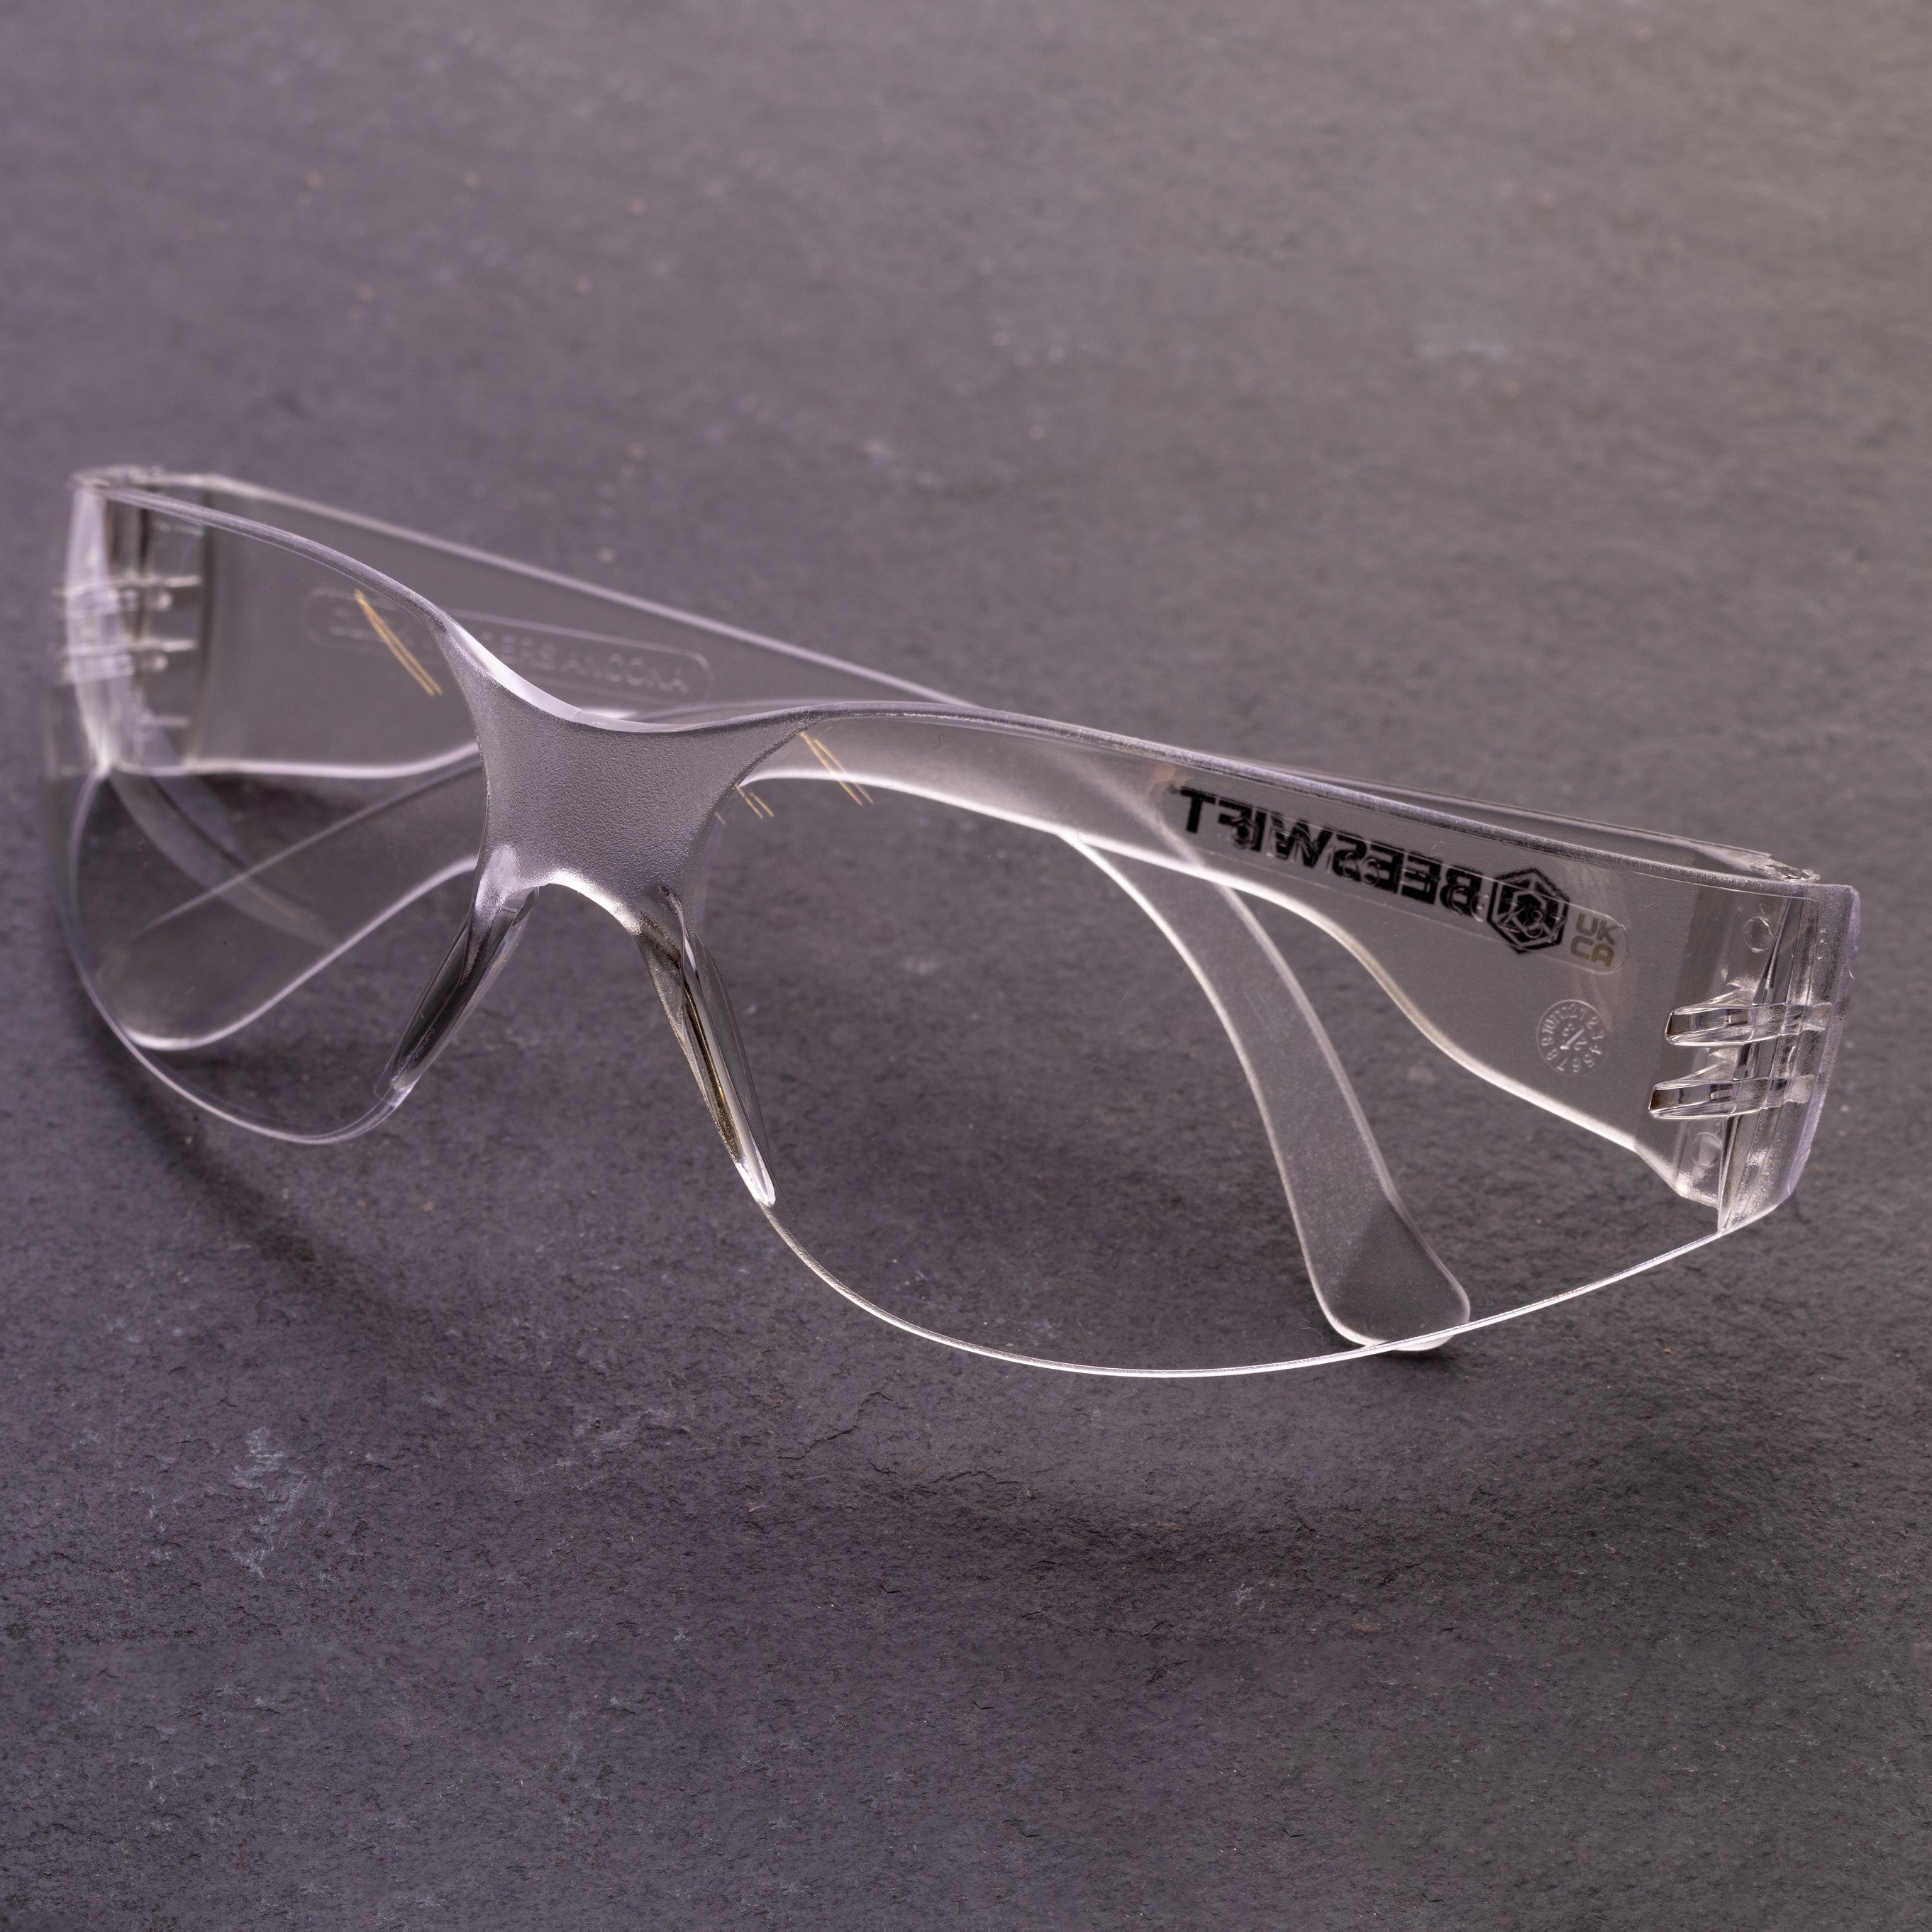
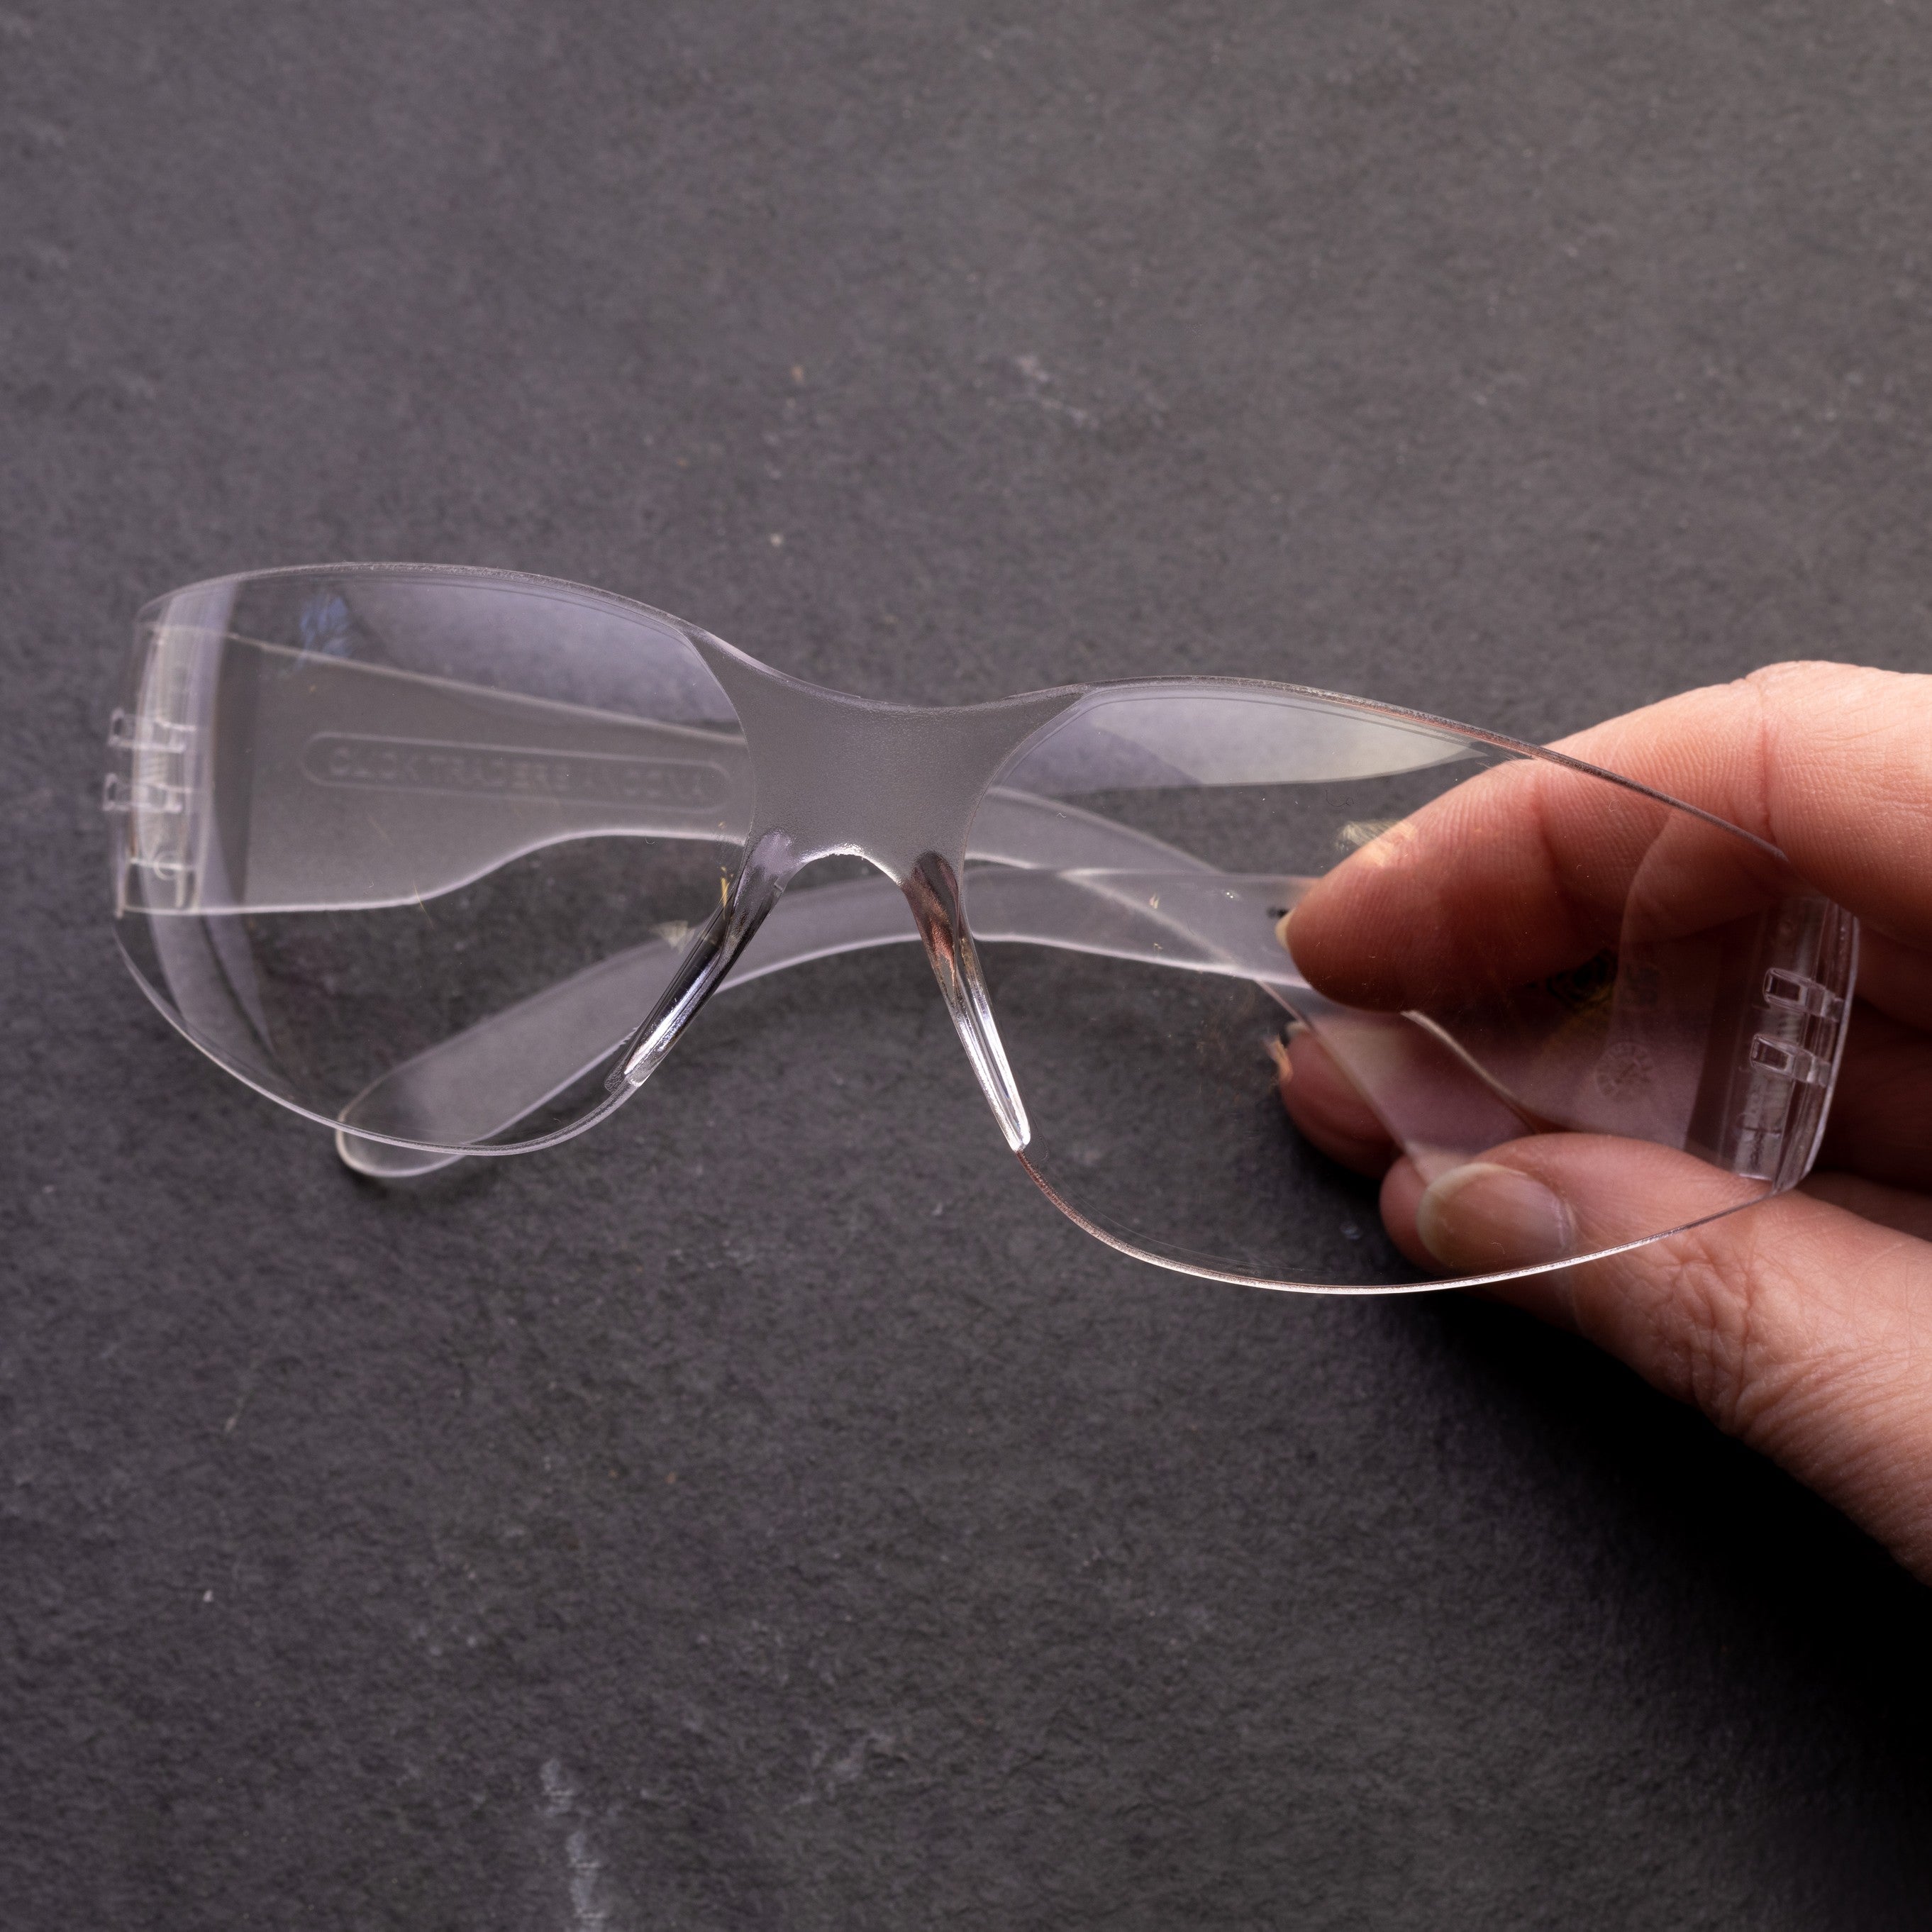
- Anti mist eye goggles
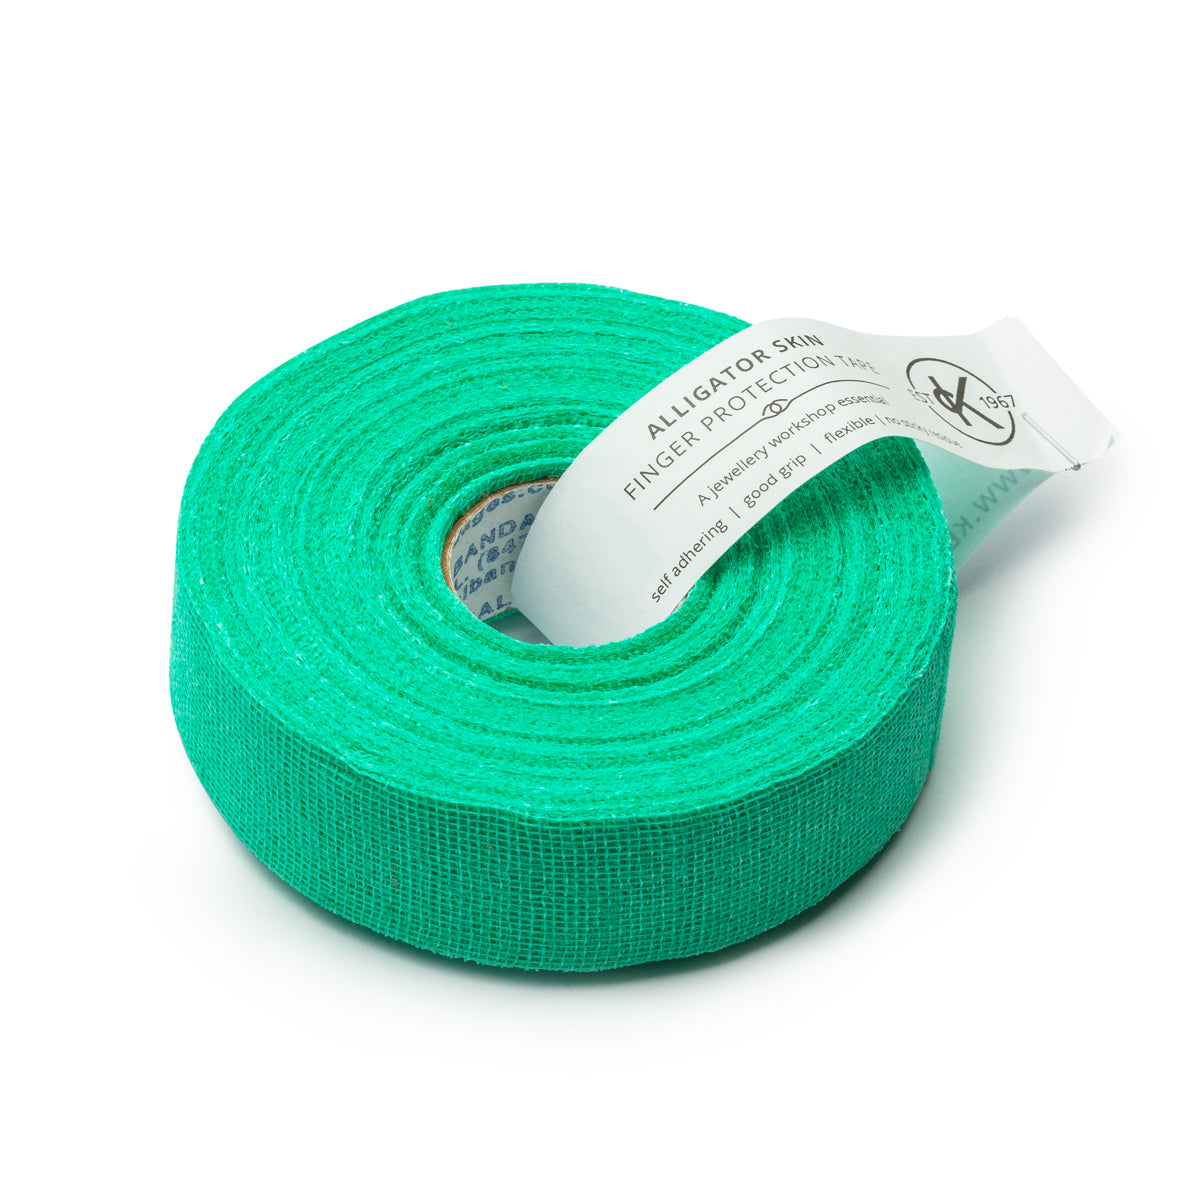
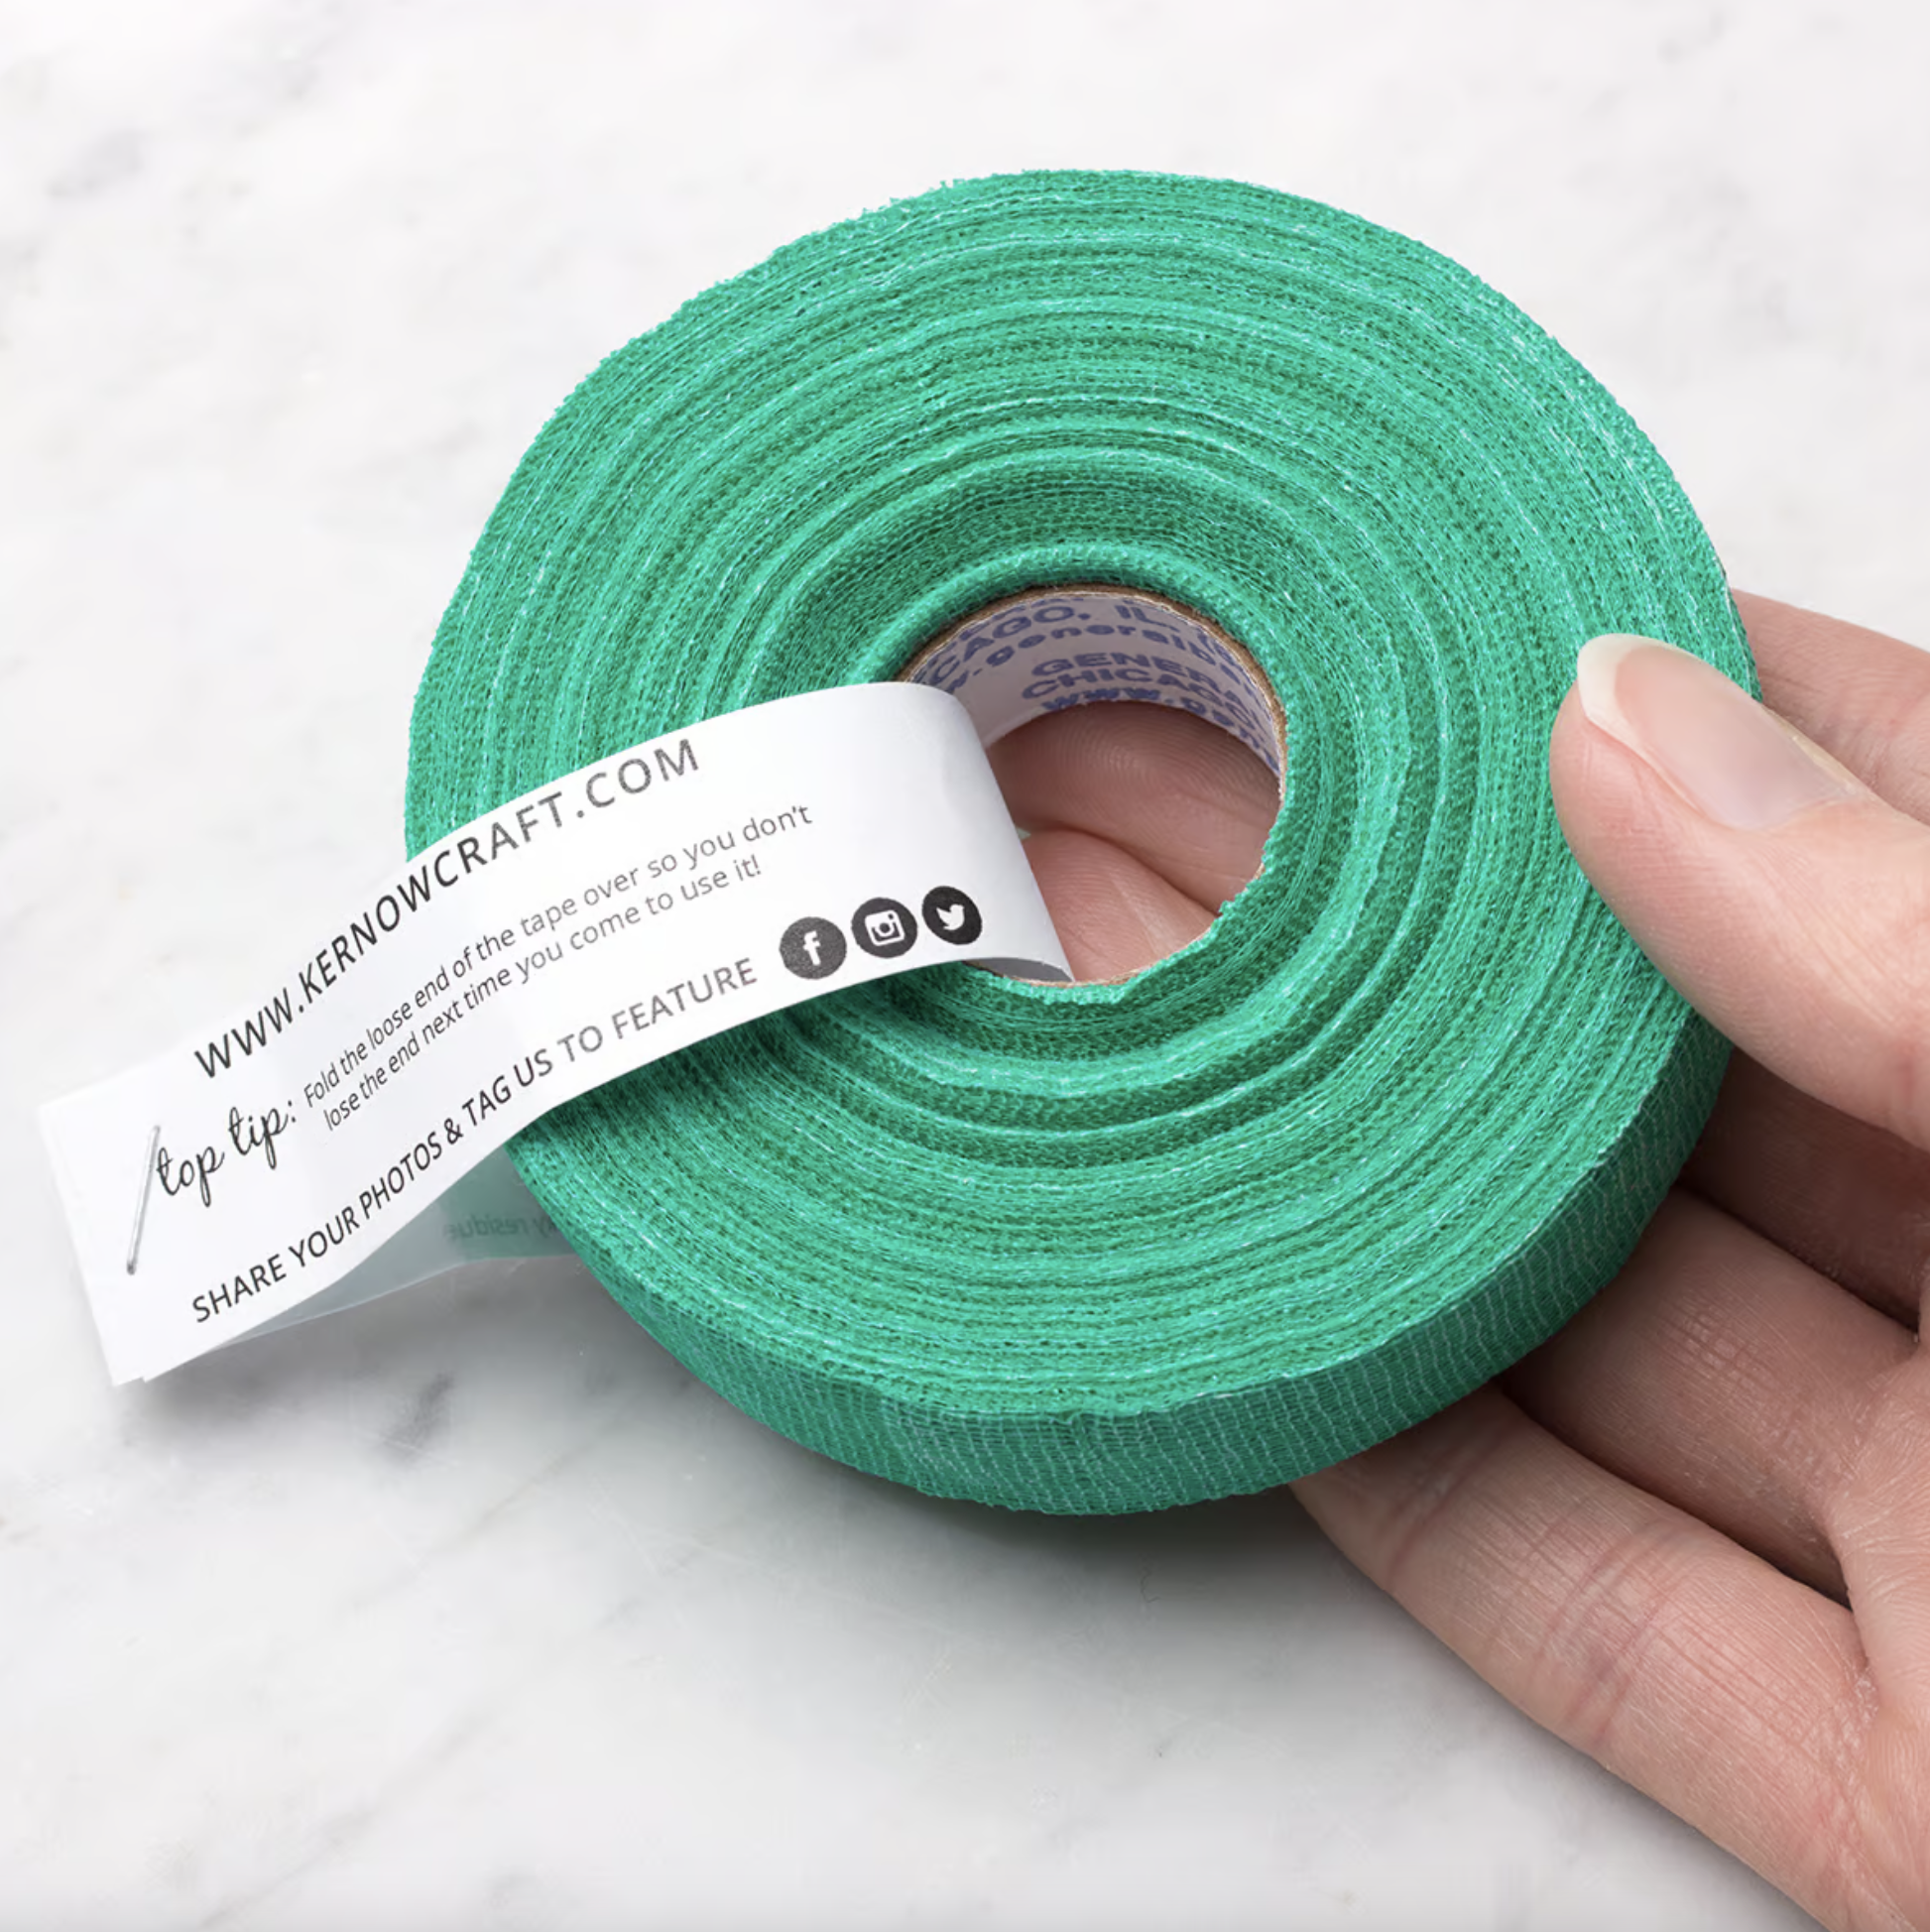
- Alligator tape
- Finger protectors
The importance of preparation
The first rule of polishing is to prepare your surface well and take your time. Any deep marks, scratches and fire stain may surface during the polishing process which is frustrating, so it's important to get this part right.
Taking extra time and care with your technique can help you save valuable time at the polishing stage. This means making solder joins neat and taking extra care when setting stones. These little things can help cut down on the need for filing and sanding, but of course there will always be a certain amount to do.
Step 1: Filing
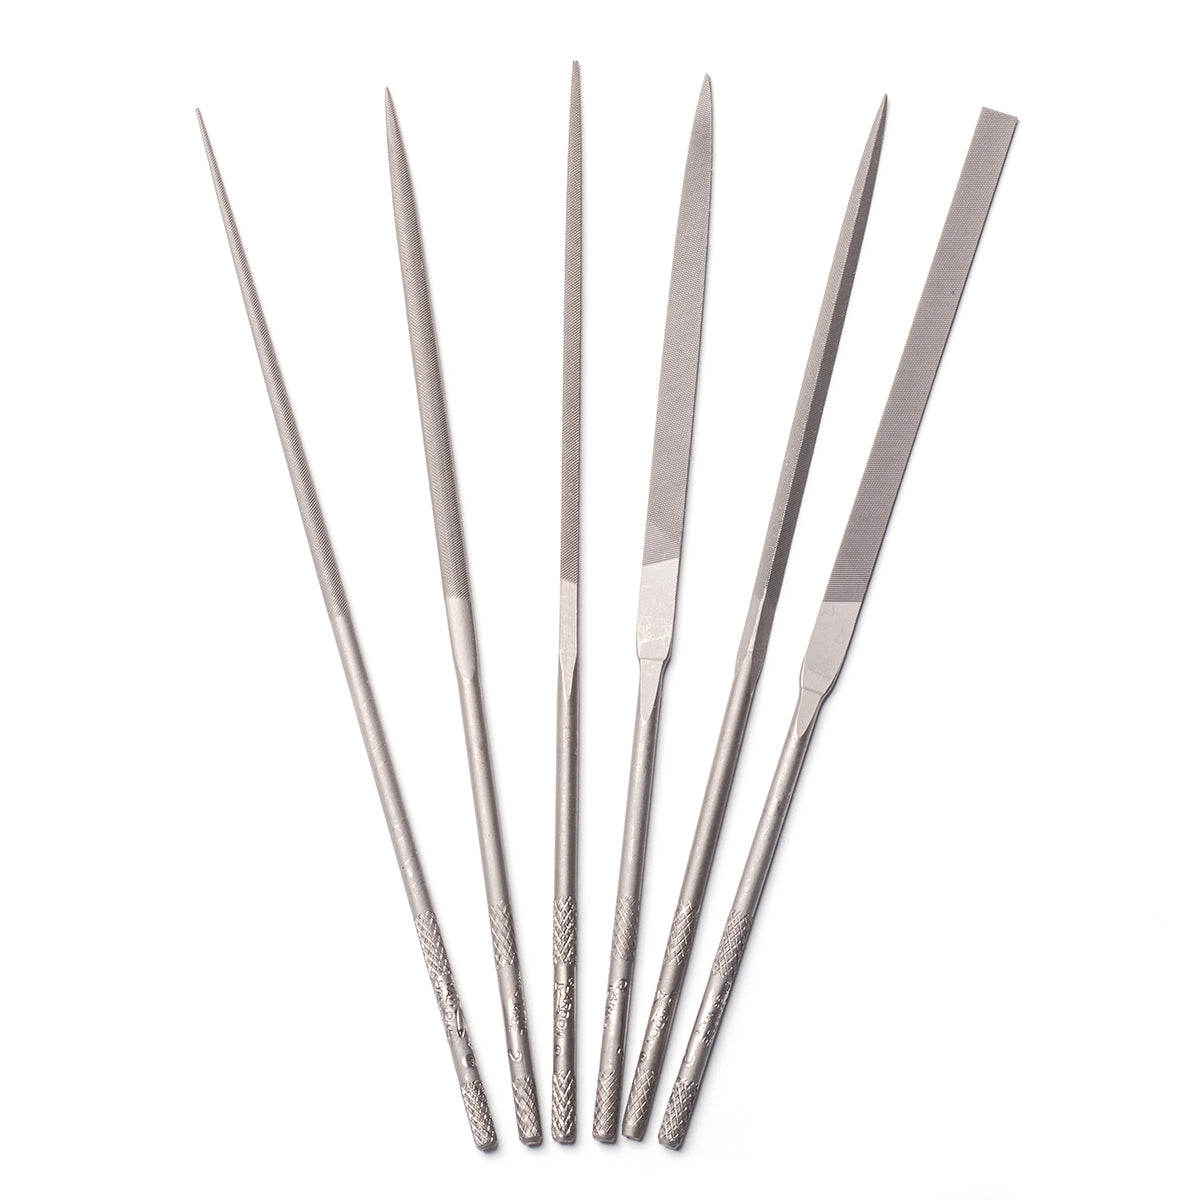
Filing is an important part of the jewellery making process. Needle files are used to shape and finish your pieces, removing excess metal and solder to tidy up your design.
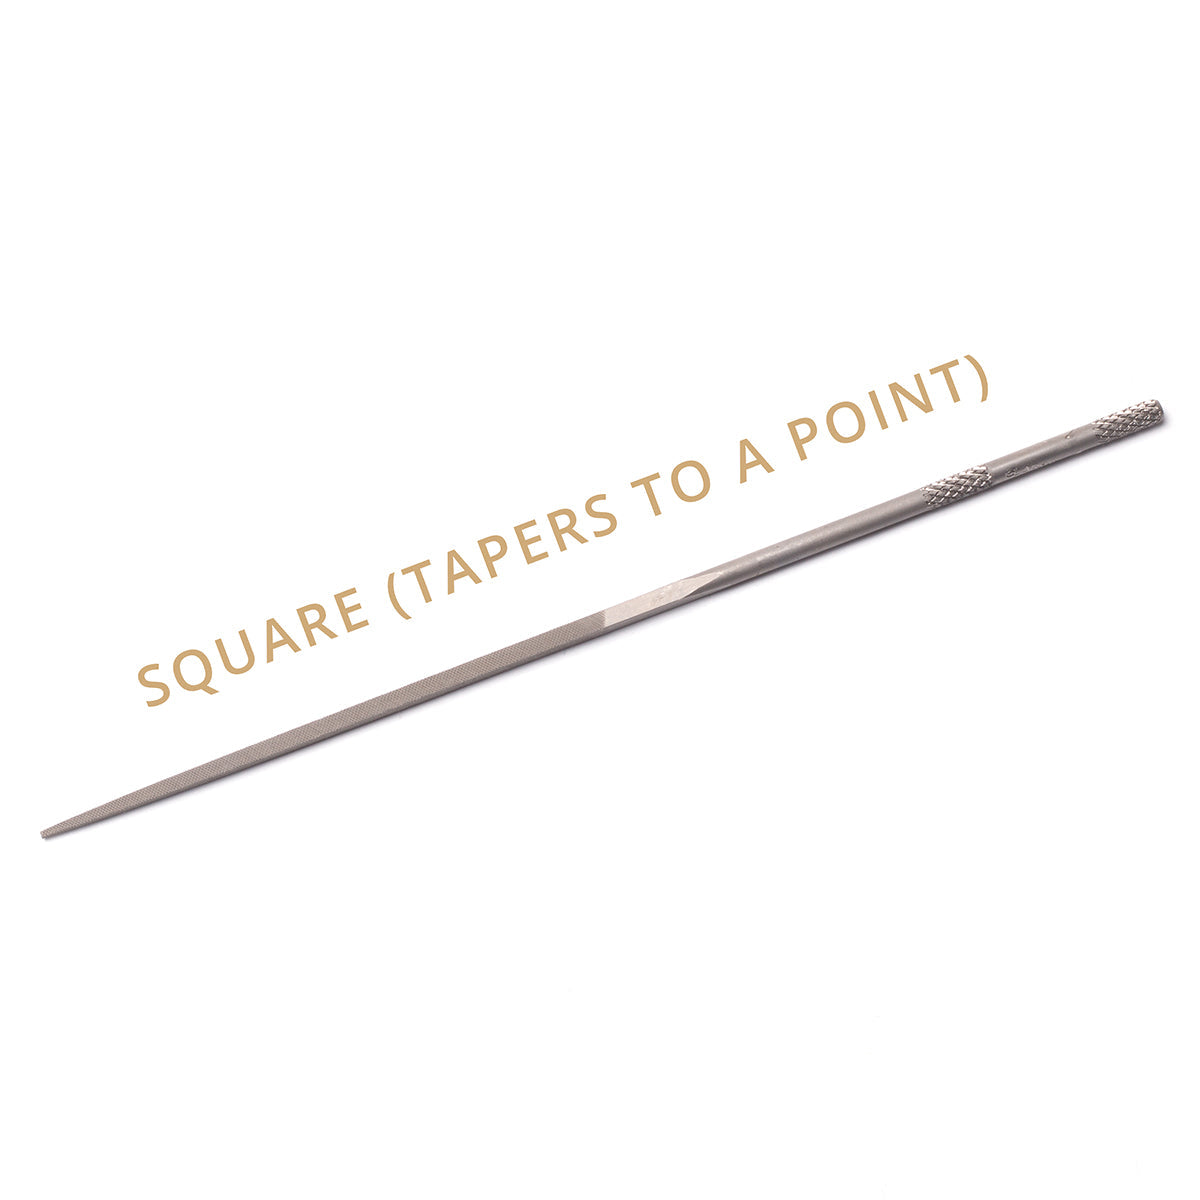
Needle files are small files, perfect for getting into small, hard to reach places. They come in a range of shapes and are often sold in a pack with a set of different shapes, so you can pick and choose the right file for your needs.

Read our advice page: how to use needle files for jewellery making
Step 2: Sanding
The next stage for ensuring your jewellery is on the right path for a good finish is to sand your piece. The secret to a really high shine is all in the pre-polish. The more time and effort you put into this stage the better the results will be.
After construction, your design has been through a lot - fire scale, pickle residue, large scratches and the dreaded fire stain. The following products will help you to remove these and make the polishing stage much easier and more effective.

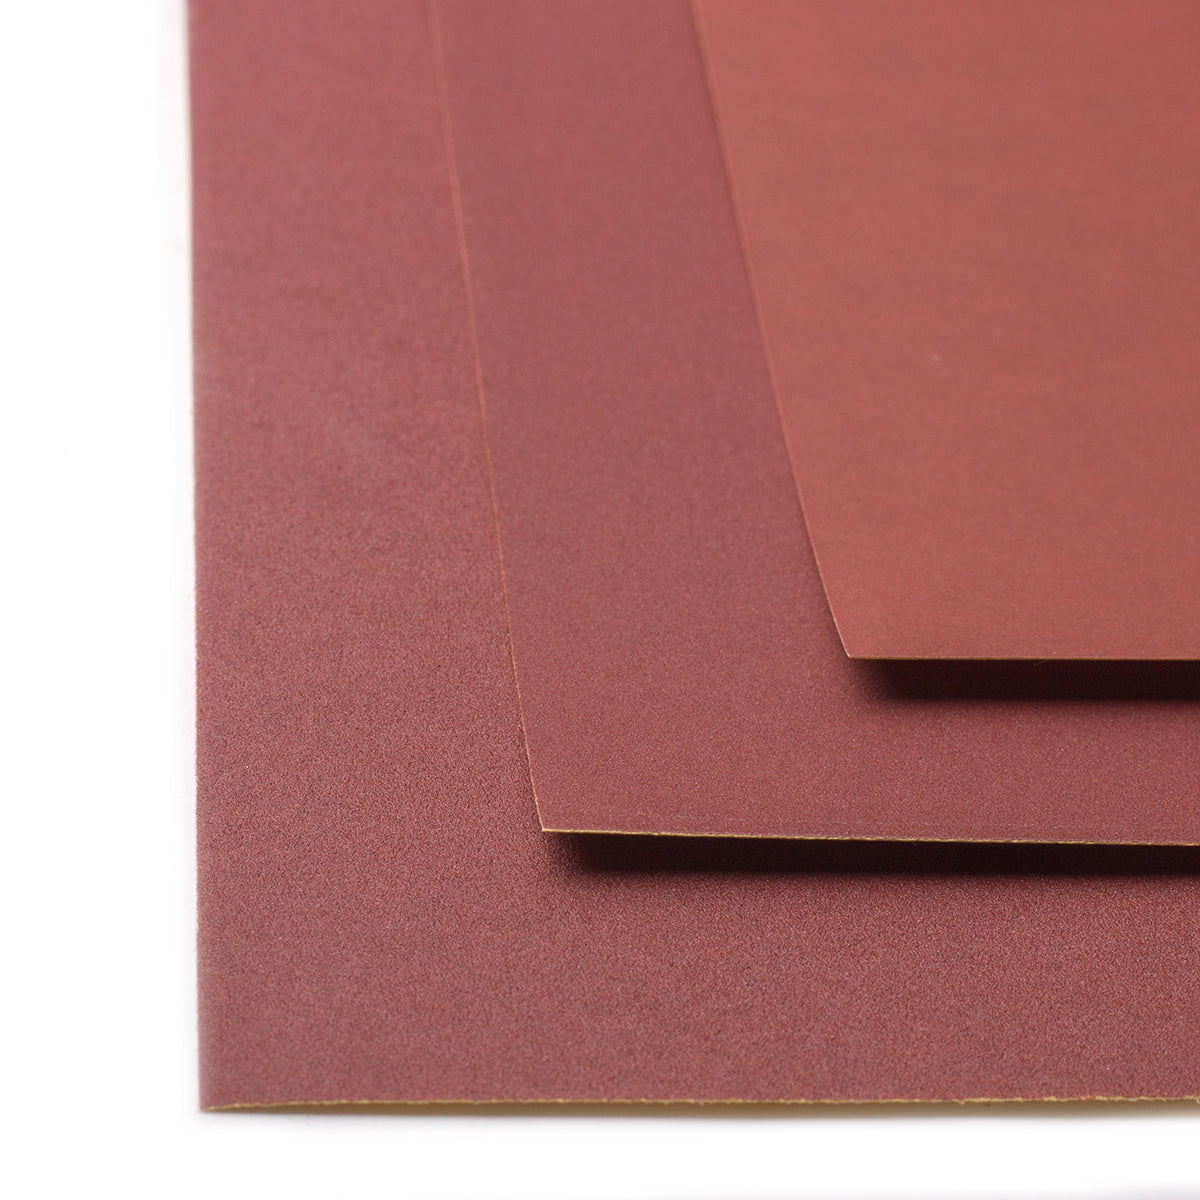
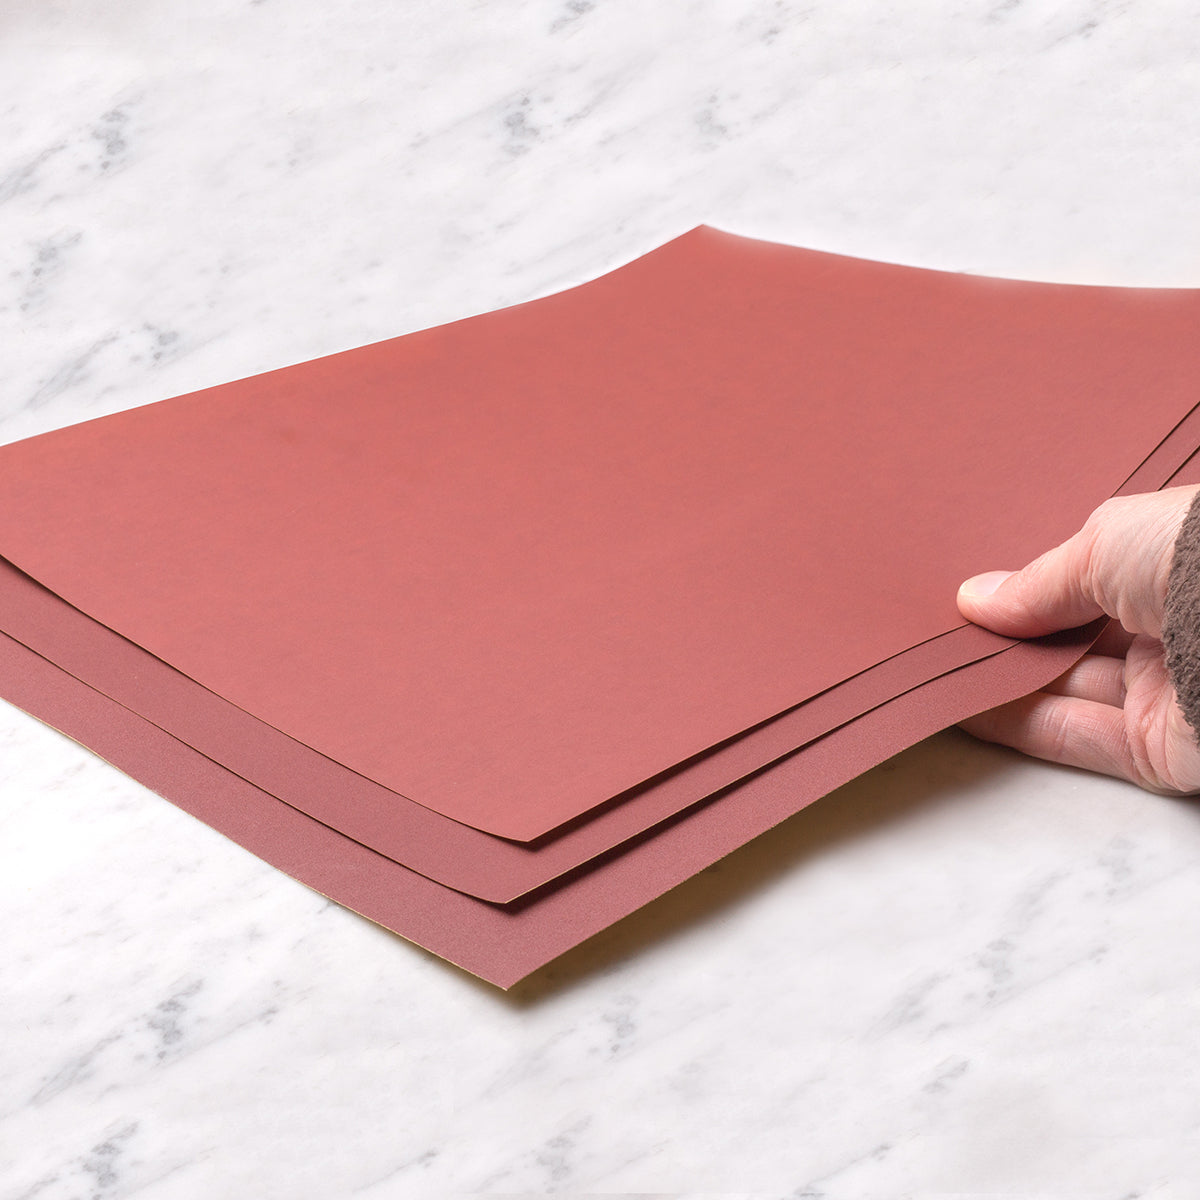
We recommend using graded wet and dry sanding sheets to further smooth the surface to be polished and to eliminate any marks you have made with needle files, as well as sanding away any stubborn fire stain.
For best results, work up through the grades from coarse to fine:
- 400 grit - coarse
- 600 grit - medium
- 1200 grit - fine
These excellent quality sanding sheets have been especially developed for use with metals and are accurately graded with ultra-fine precision. You may find it easier to wrap a small piece of sanding sheet around a block of wood to provide a hard backing for quicker sanding results.

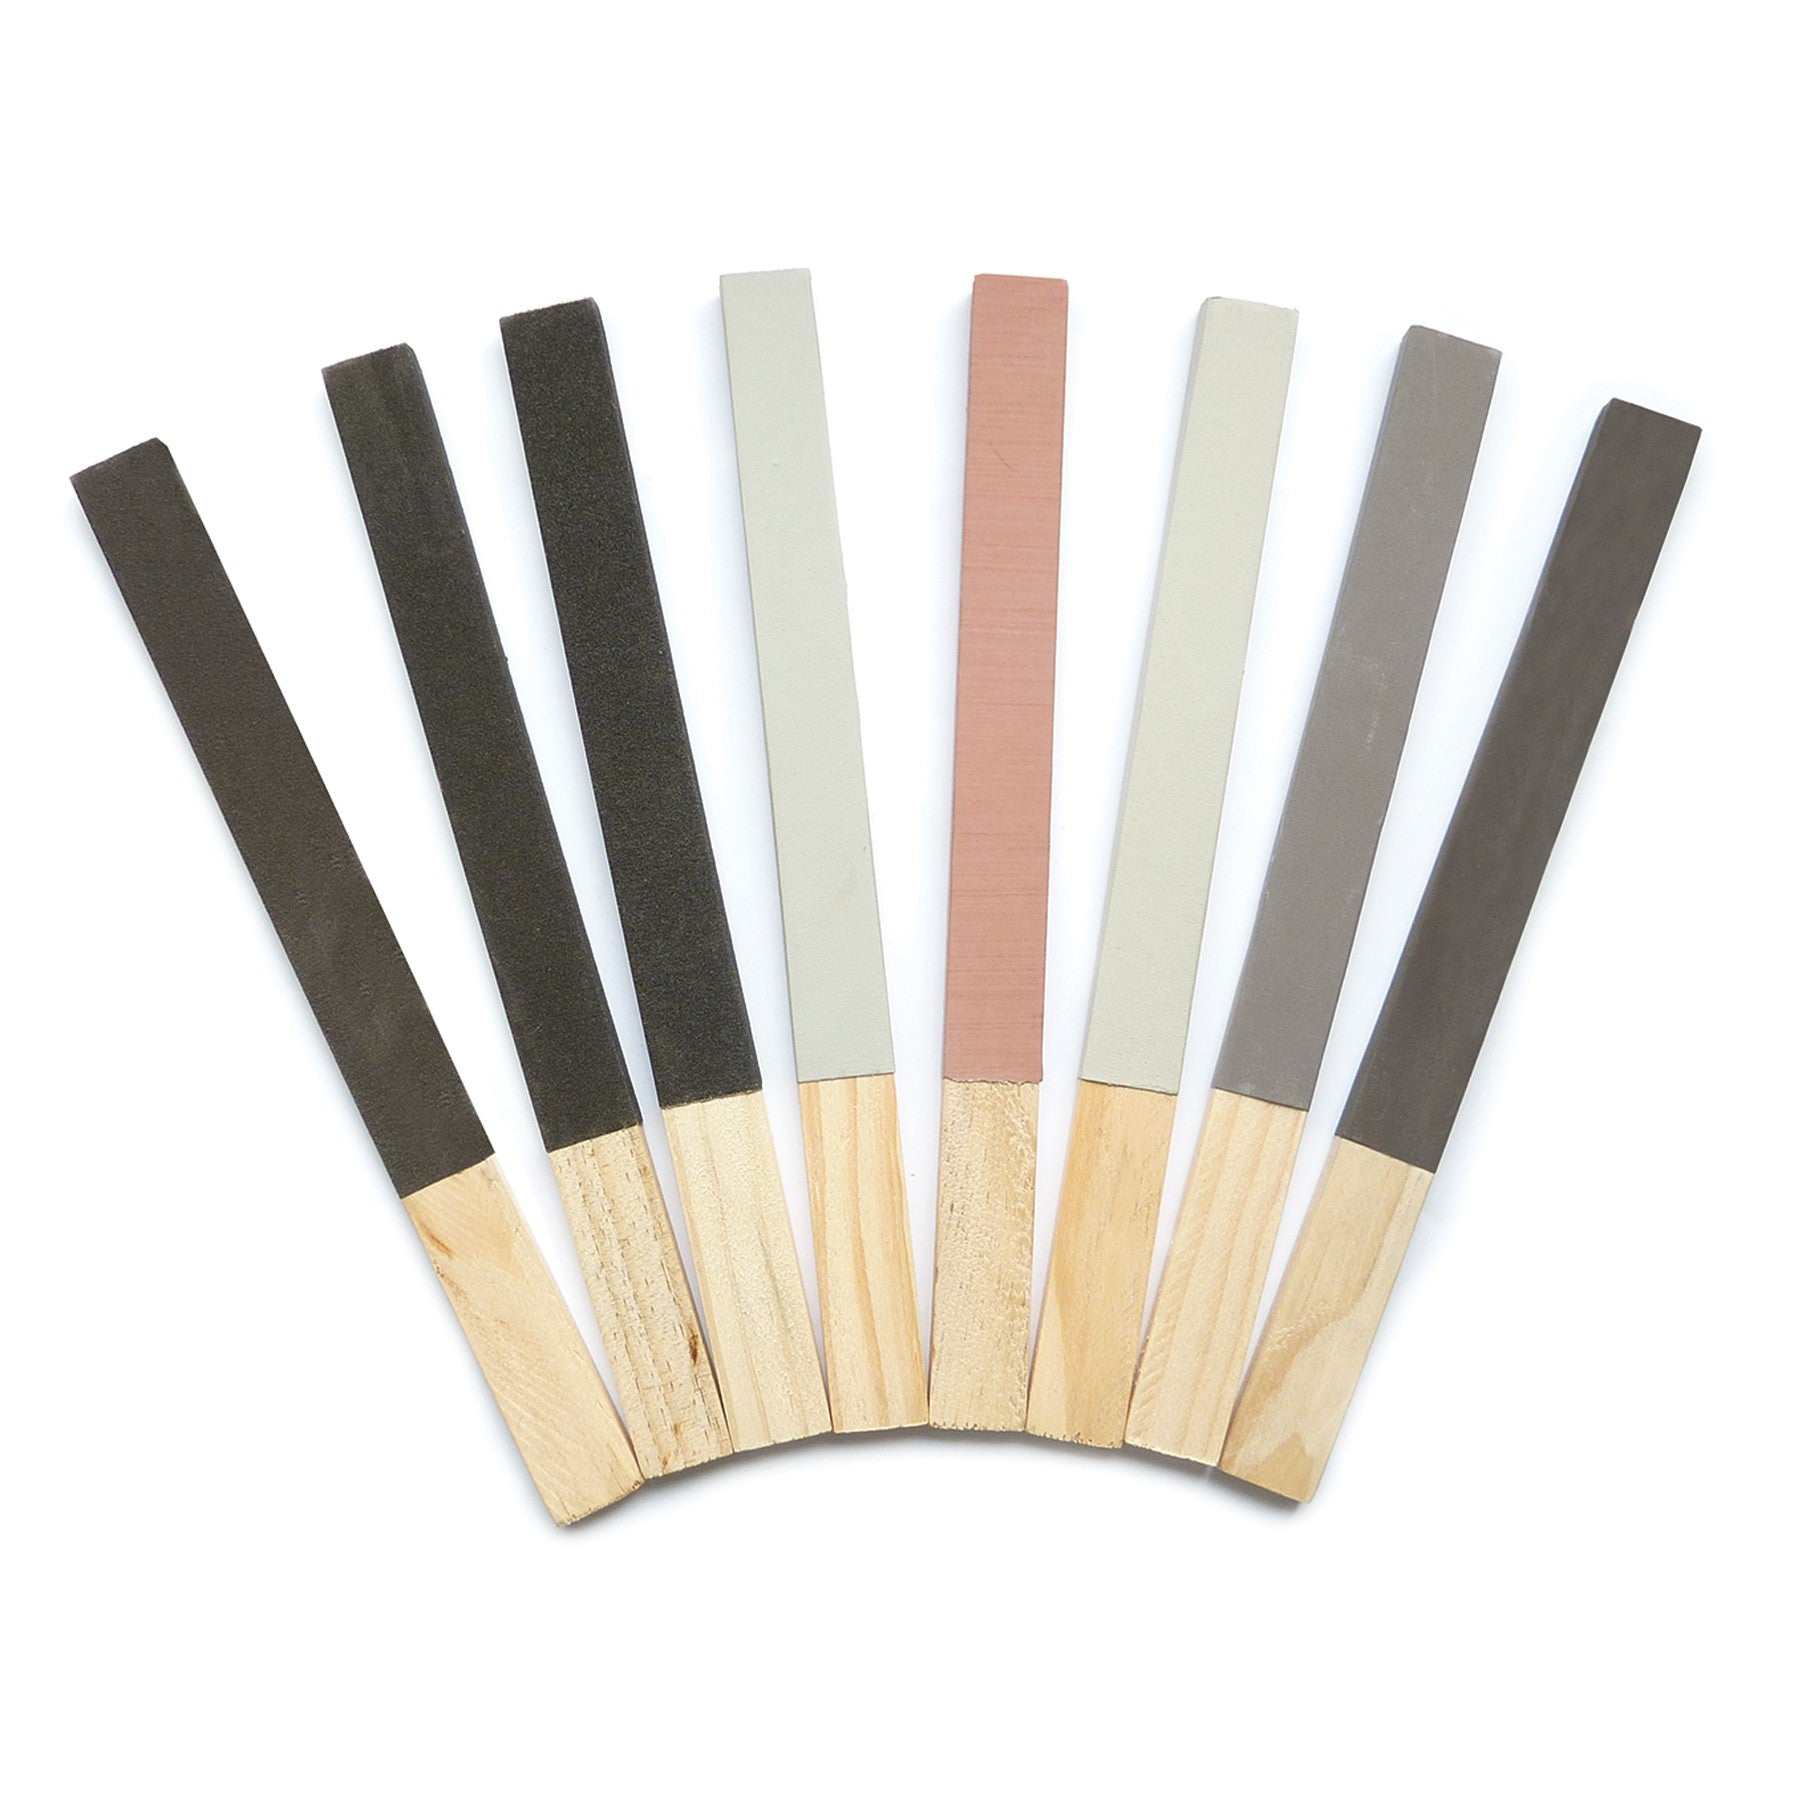
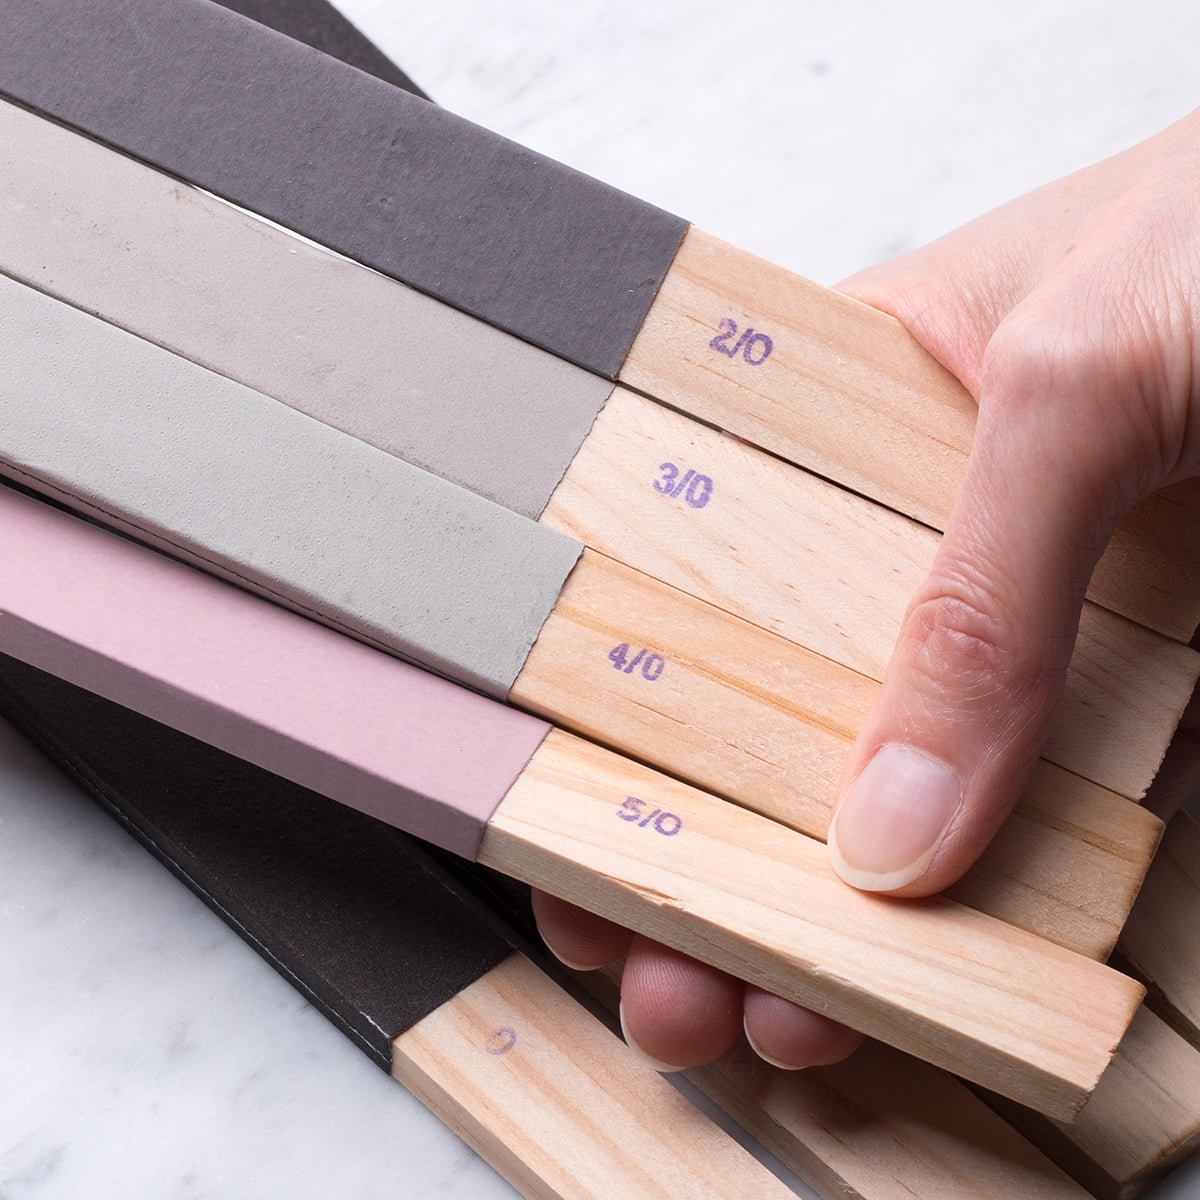
Another alternative is to use our sanding and polishing sticks, consisting of sanding and polishing paper in a variety of grades from 3, the coarsest, to 5/0, the finest, already secured to flat pieces of wood.
Start with the coarse grade and work all around your piece until every surface is sanded and smooth. Work through all the grades from coarse to fine in the same way. Changing the direction in which you sand between grades also helps to show any marks which could cause issues later on.
Step 3: Take a critical view
Now is the time to take a really critical view of your piece and make sure that there are no deep marks or scratches. The whole piece will now have a satin appearance and it may look different as you look at it from different directions. Any obvious marks left at this stage are very likely to show more after the piece is polished.
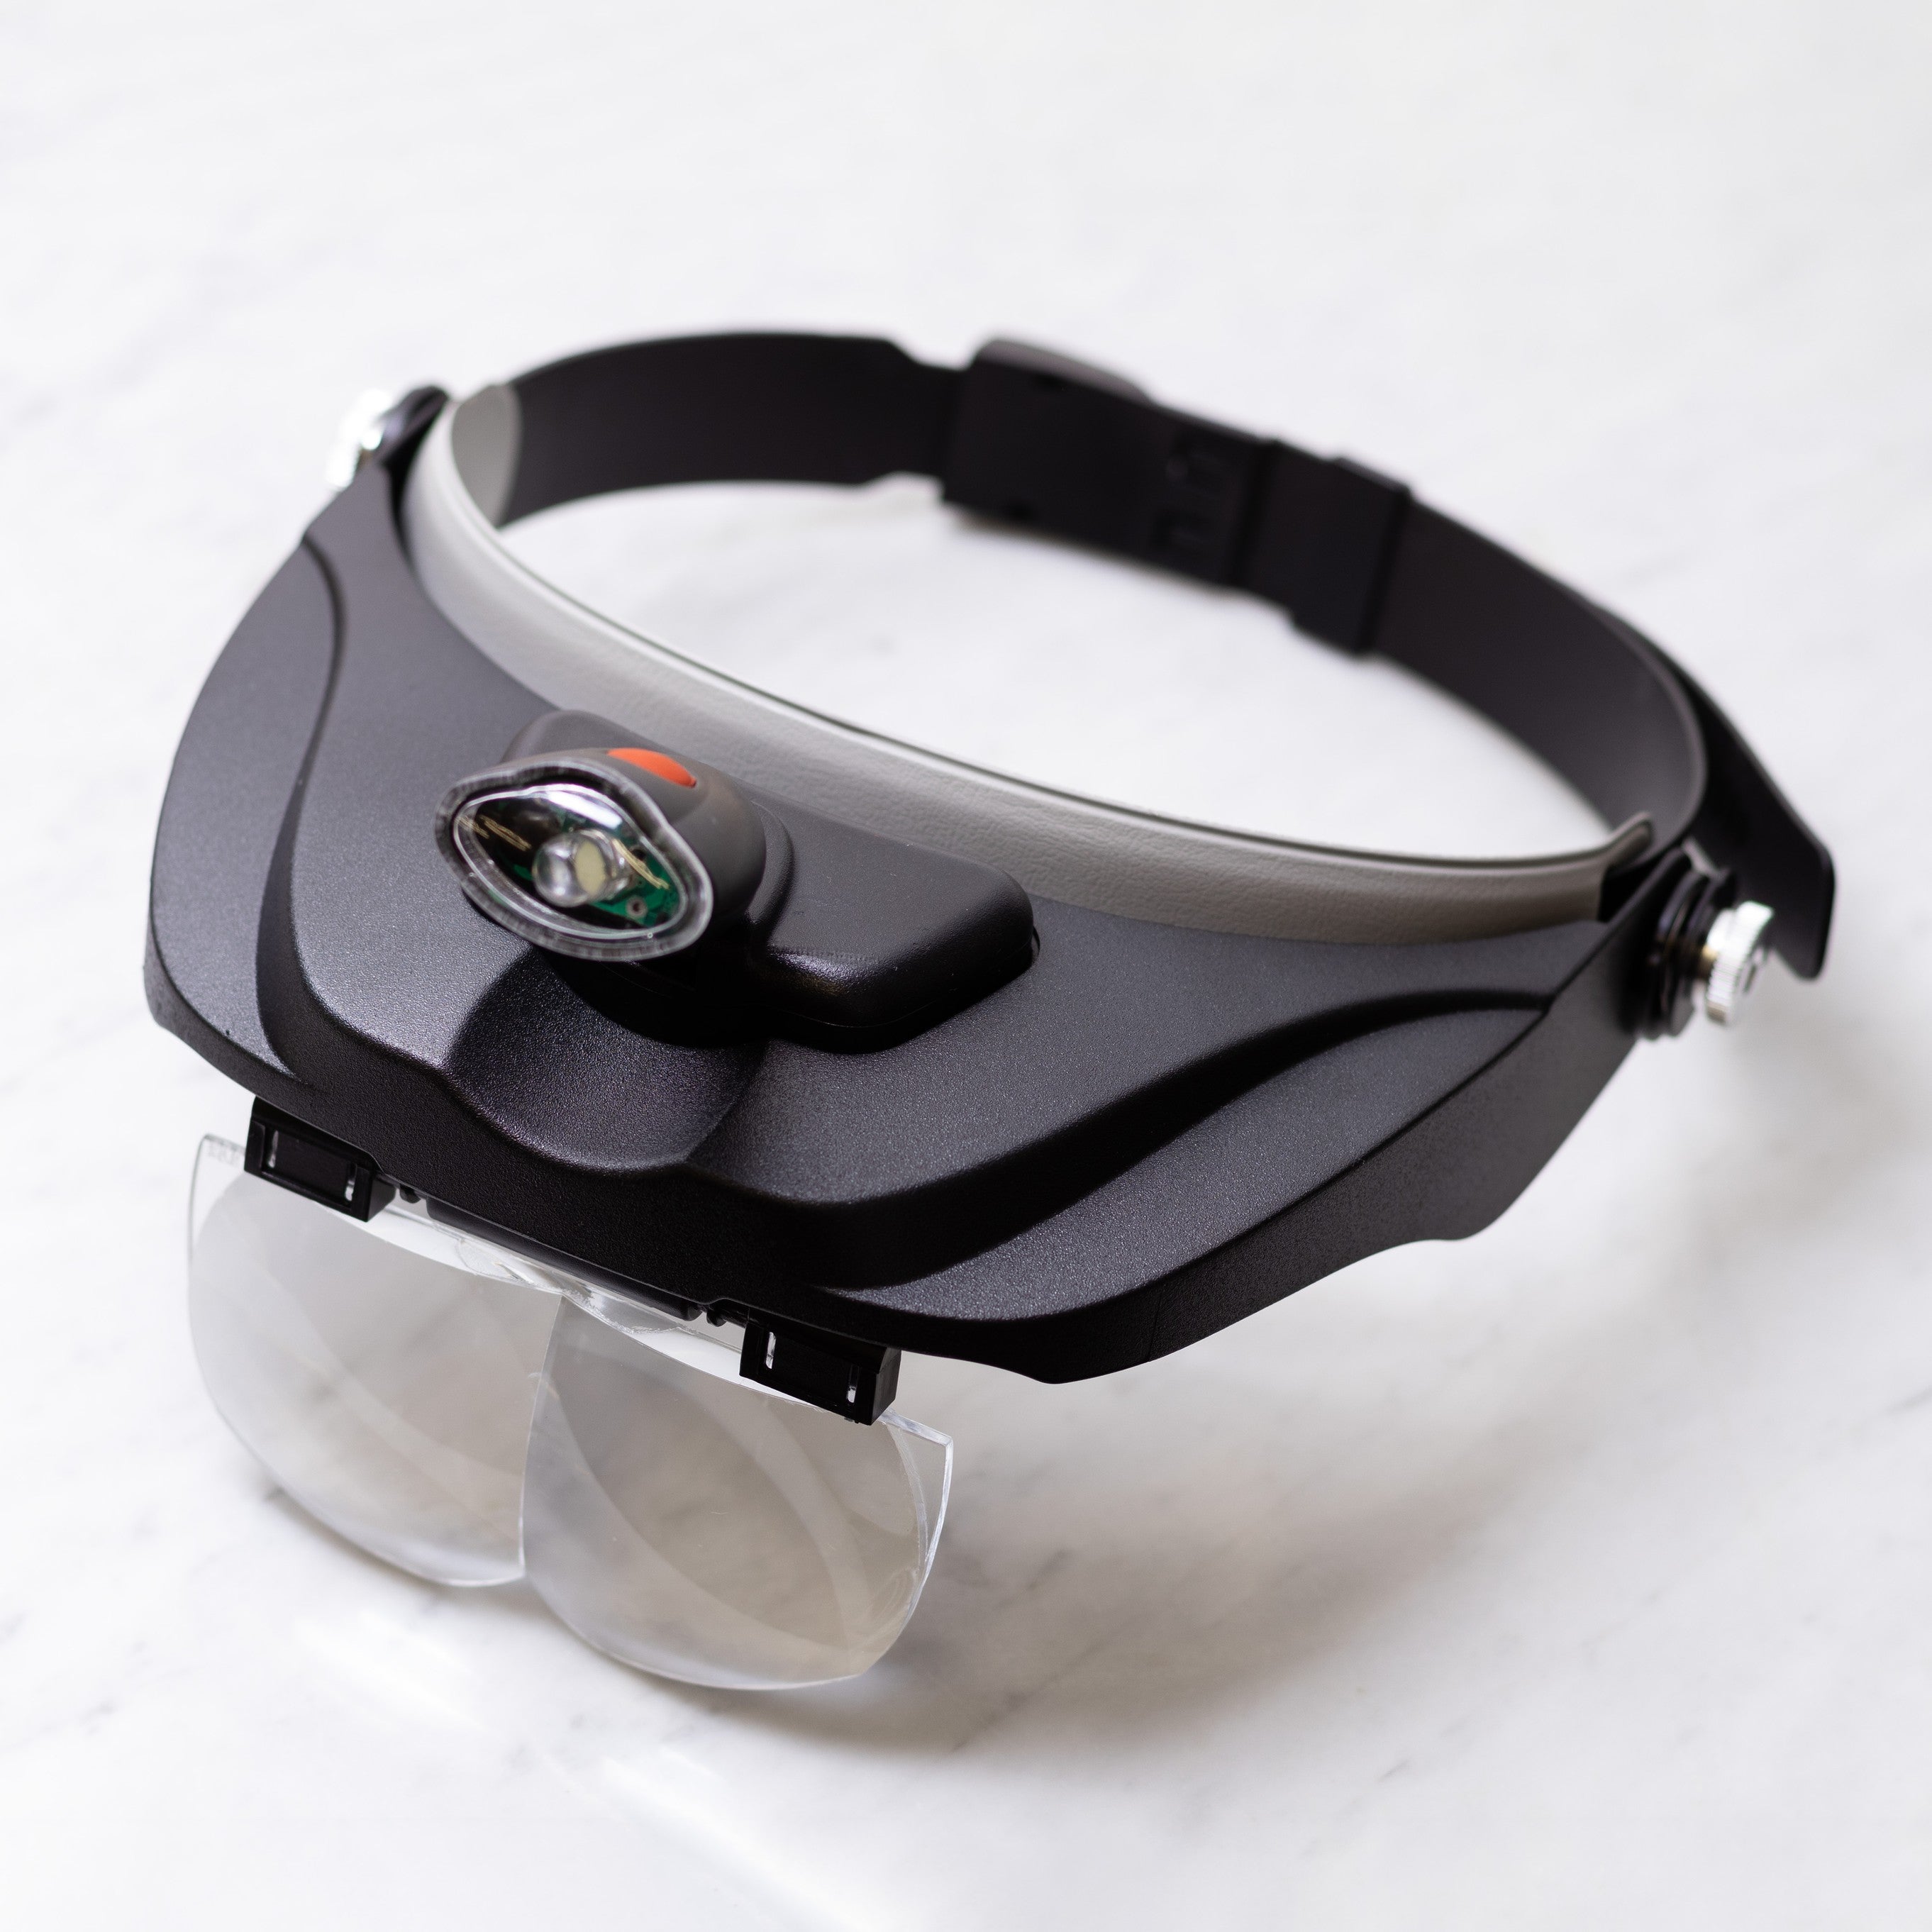
 A headband magnifier can be a very useful tool to have at this stage as scratches which may not be visible to the naked eye can be much more obvious with magnification. It's great for all types of jewellery making as well as other crafts which include fiddly jobs.
Sand & polish with silicon carbide polishers
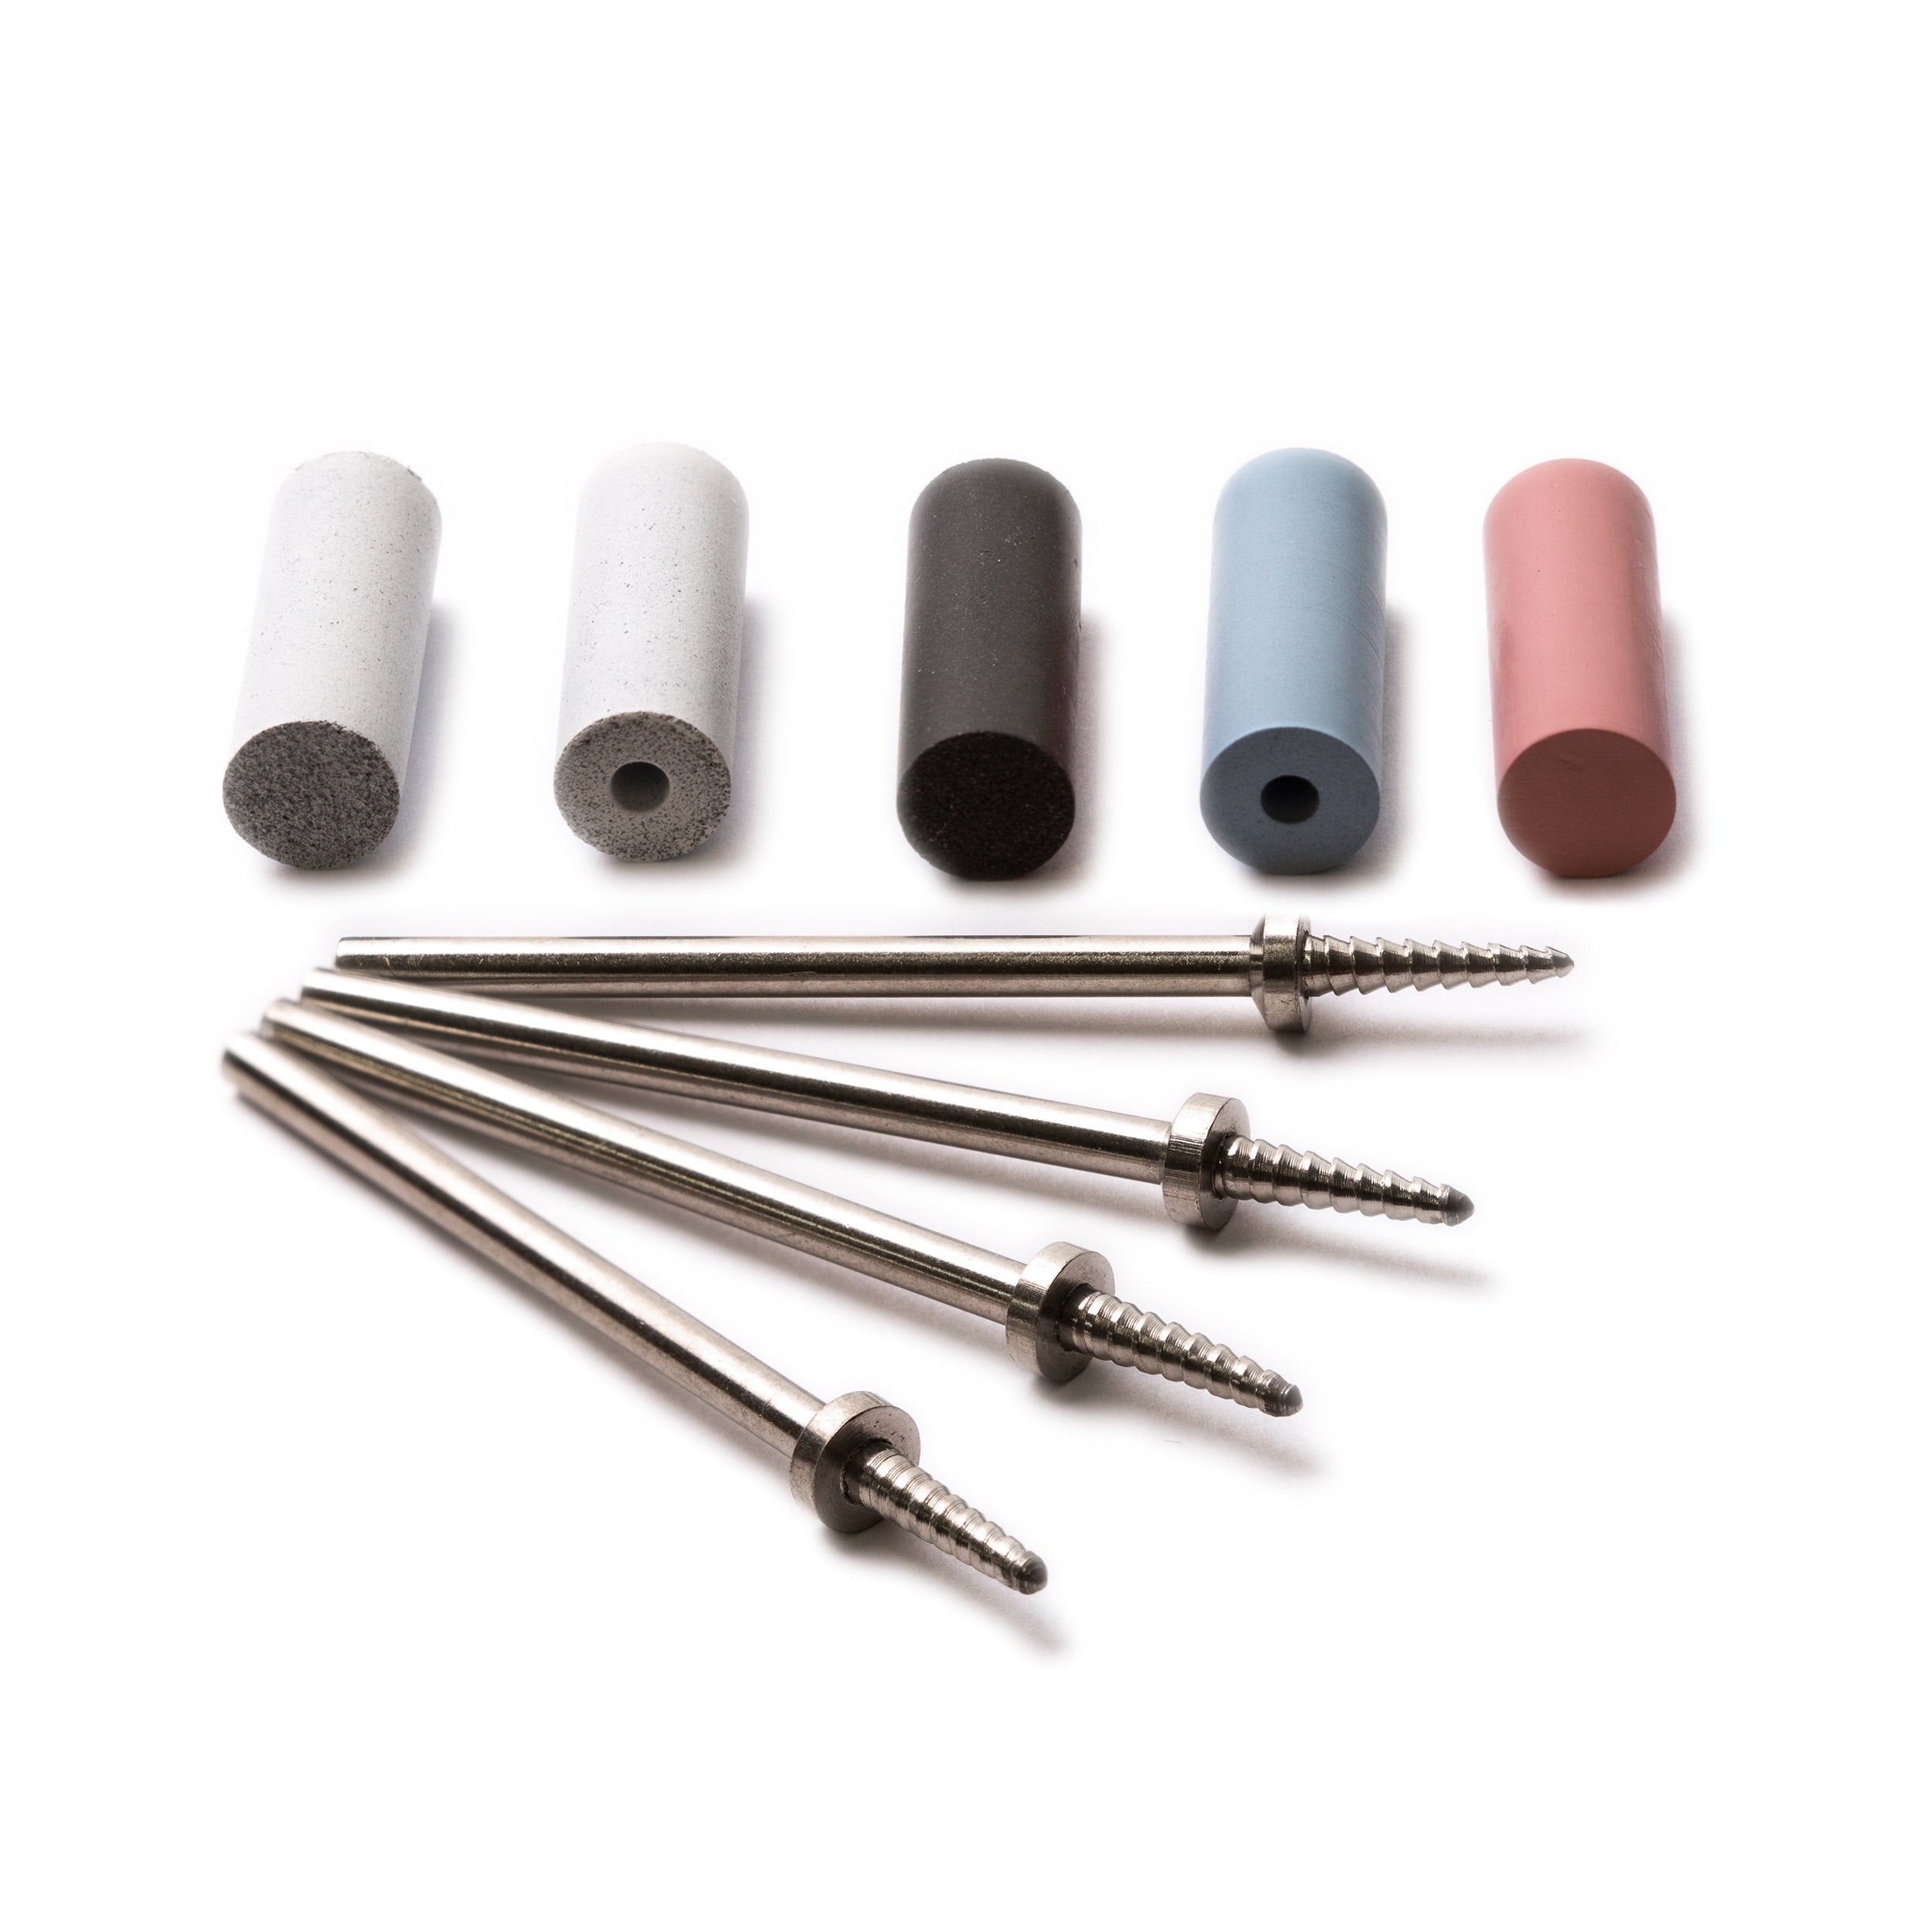
If you find the process of sanding and polishing laborious and you are looking for a quicker, easier method, these silicon carbide polishing points and wheels may be for you. They provide a fast, neat and effective way to finish metals and on most projects they can greatly reduce the need for filing and sanding.
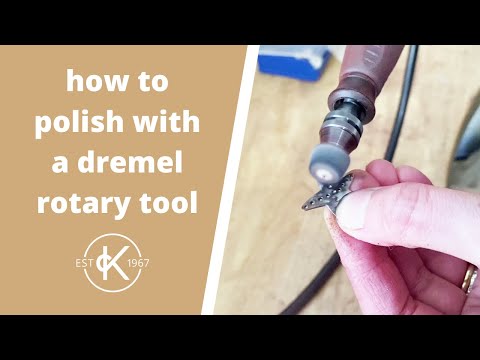
They are designed for use at high speeds in a hobby or pendant drill, such as our Dremel Multi Tool, with the addition of a multi chuck.
- Coarse (white) - for grinding away excess metal and pre-polishing
- Medium (black) - for smoothing and refining edges and surfaces
- Fine (blue) - for high sheen polishing
- Extra fine (pink) - for ultra-high sheen polishing

Dremel Multi Tool
If you are serious about making jewellery this is one tool you simply can't do without. As well as being invaluable for high speed polishing, this compact tool enables you to carry out detailed sanding, carving, engraving, cutting, grinding and cleaning.

Step 4: Polishing
A well polished, good finish can be achieved either by hand or with a rotary tool such as a Dremel. Using a power tool will speed things up and make things a little easier, however doing things by hand can give you more control, precision and convenience. Often a combination of the two is best.

Hand polishing with polishing papers
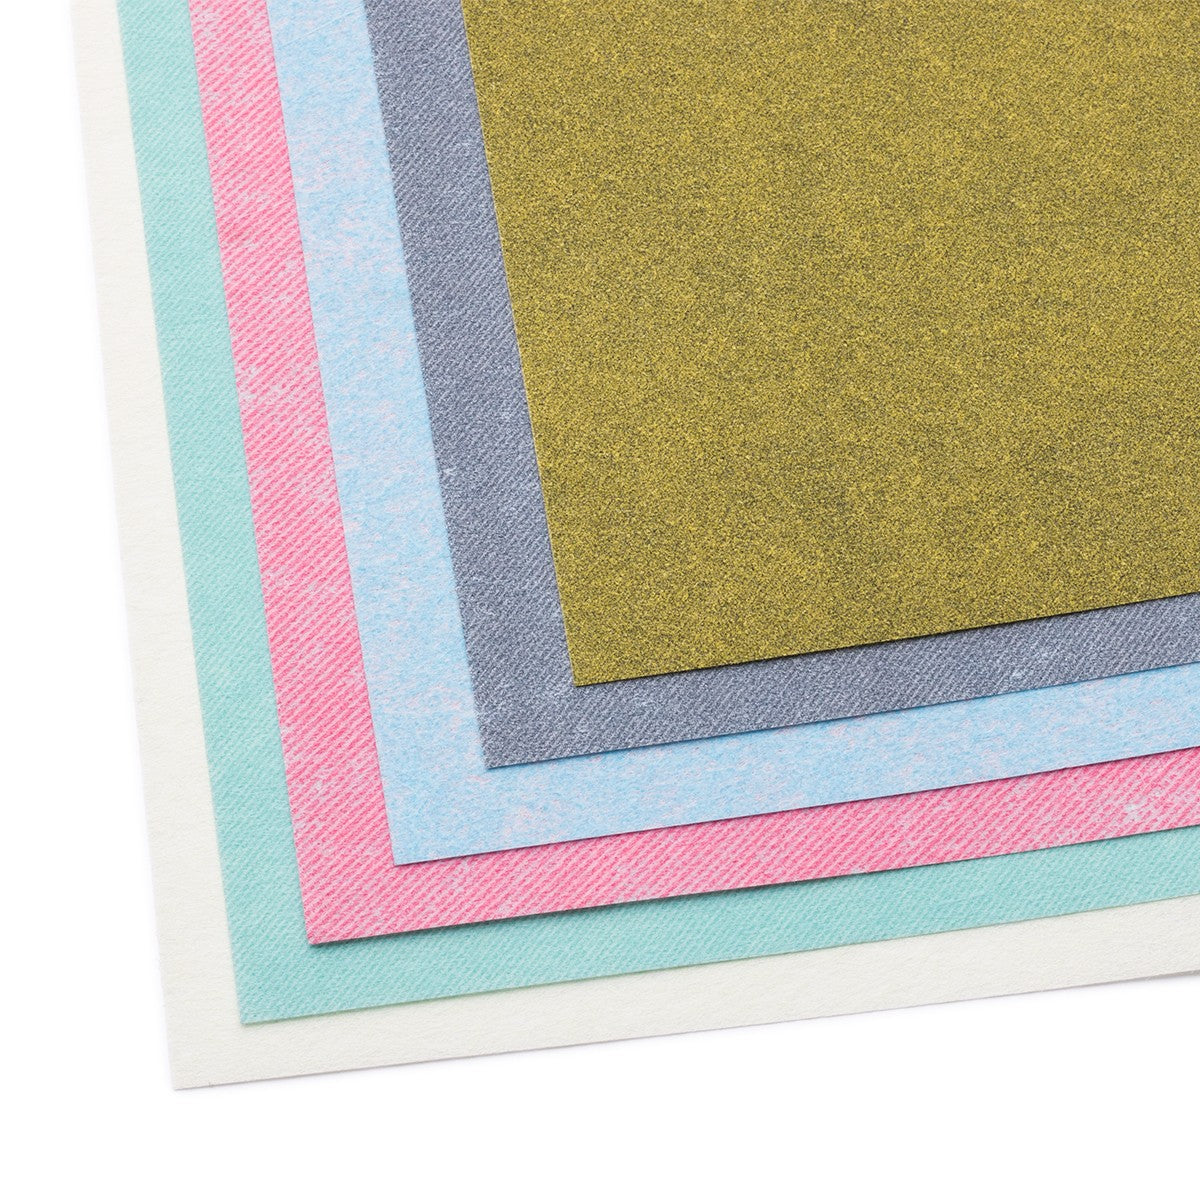
If you're a jewellery making beginner or you simply prefer working by hand, our polishing papers are a great choice to achieve a high sheen and get into hard to reach places.
After you have filed and sanded, work through the colour grades of the polishing papers, starting with number 1, the coarsest, and ending with number 6, the finest, ensuring that you change the direction of your polishing action between grades for more even results.
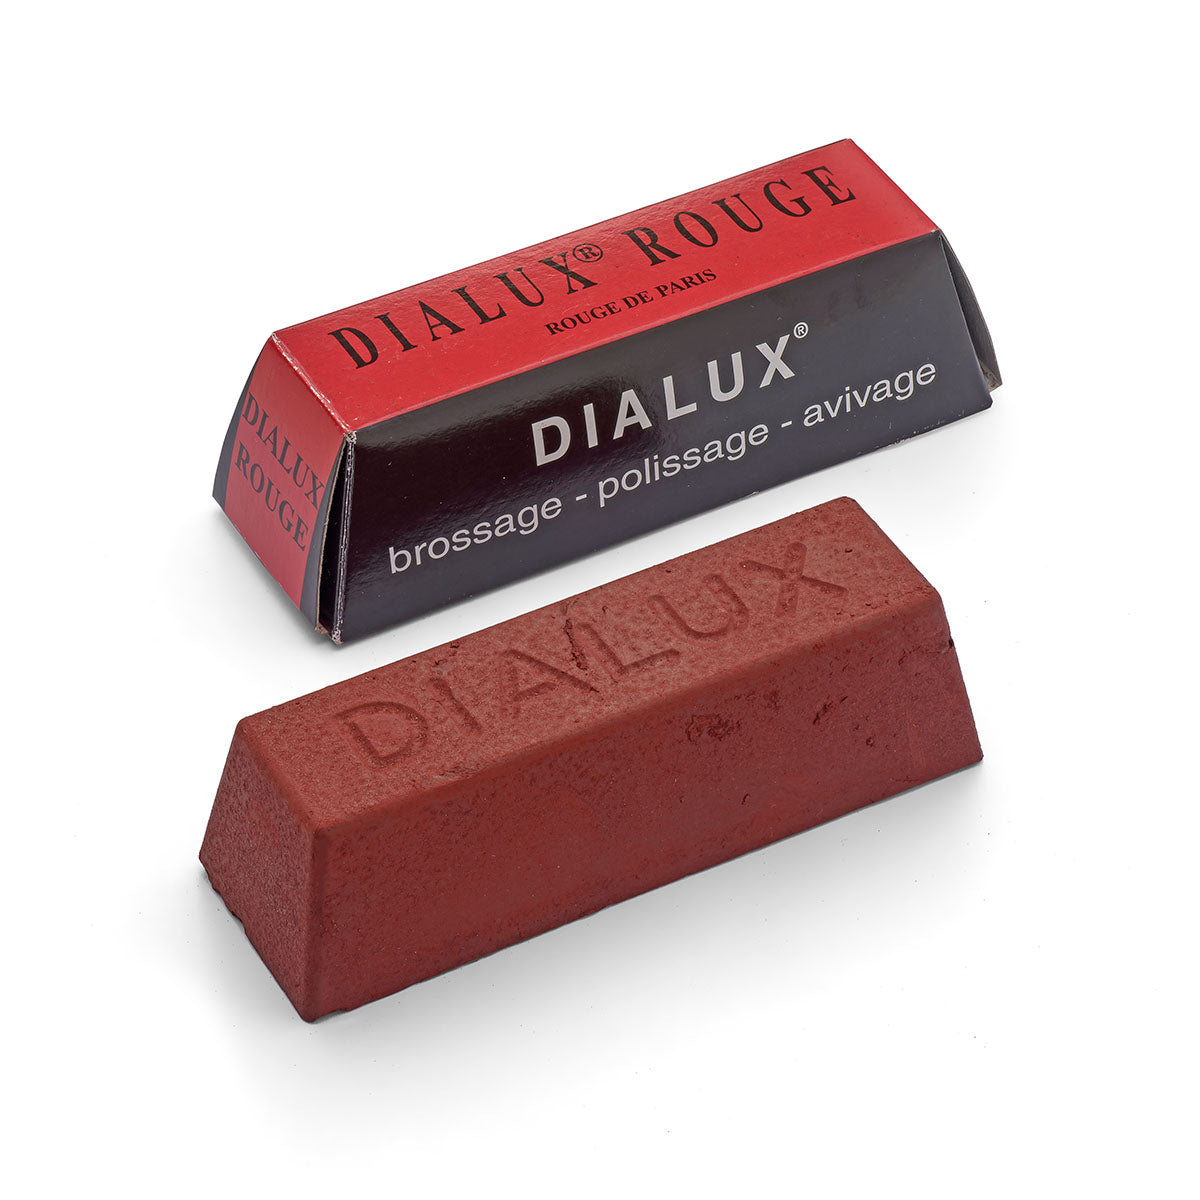
Using tripoli & rouge polishing compounds
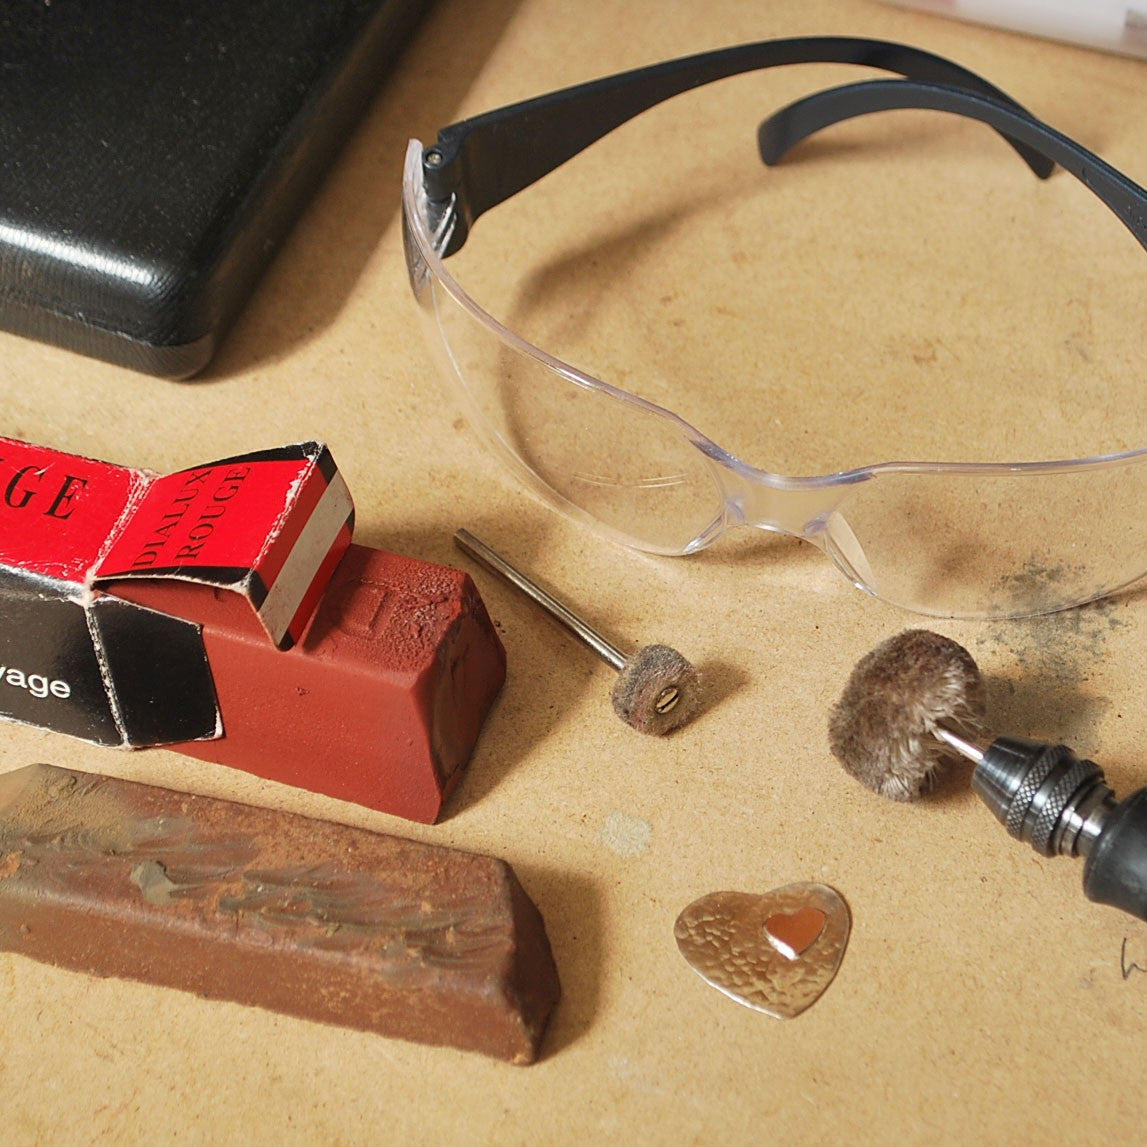
One of the most widely used methods for polishing is to use polishing compounds which have minuscule abrasive particles held together in a binder for easy application. These are best used at high speeds so the polish can be applied to small polishing mops, wheels and points and used with a Dremel Multi Tool or a similar hobby drill.
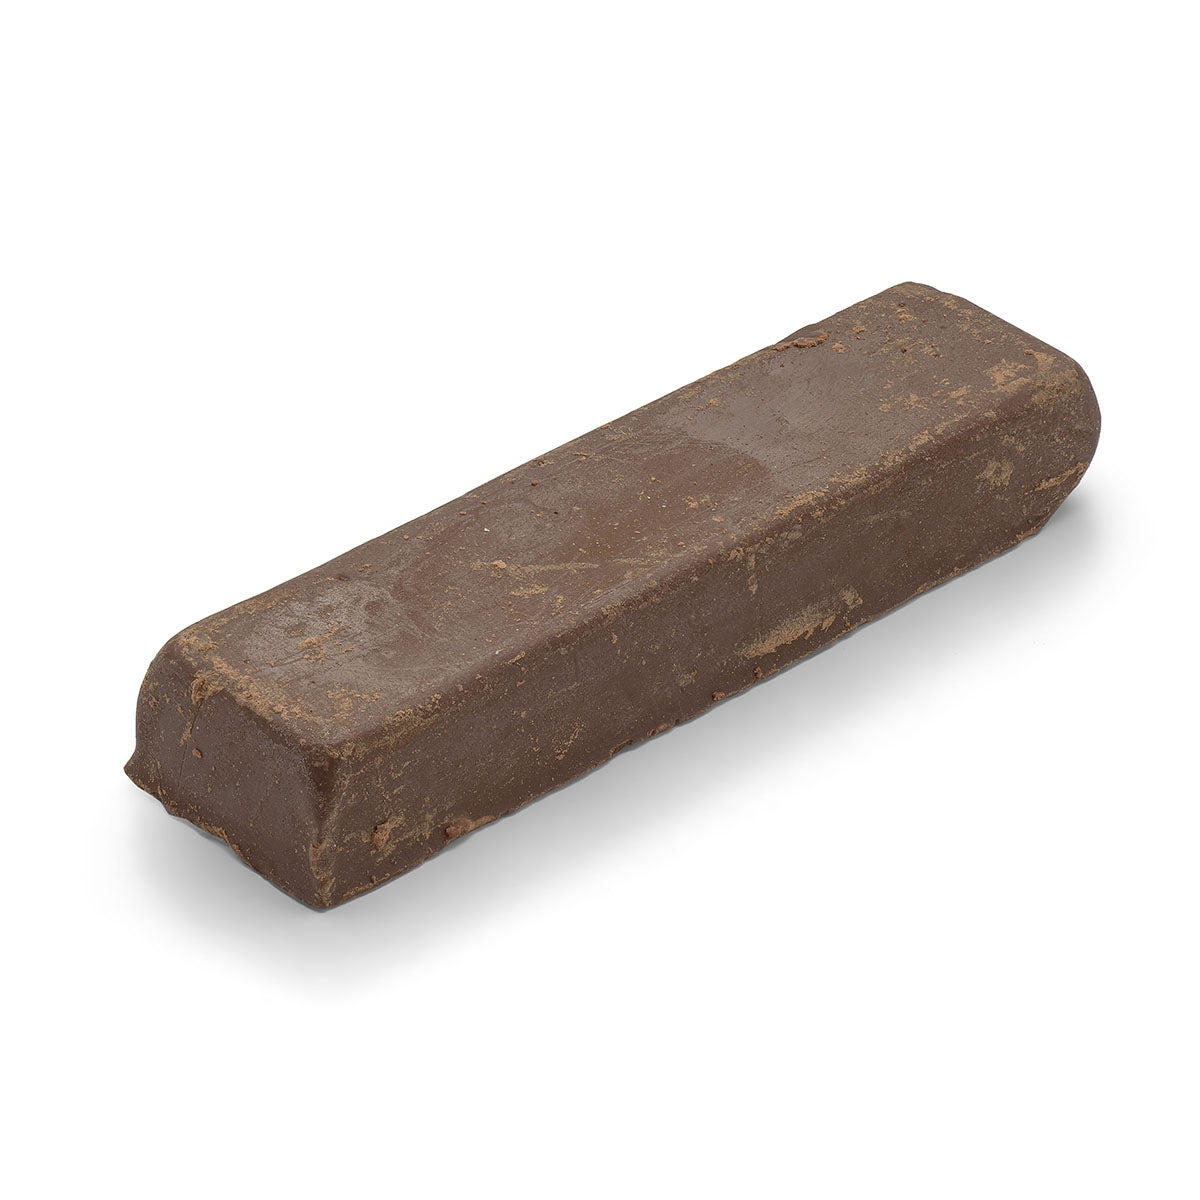
Start with tripoli pre-polish and apply the compound to your polishing mop. Firmly grip your piece and gently use the spinning mop all over the piece, keeping the mop moving to change the direction of the polish.
Top tip - do not cross contaminate mops
It is vital not to cross-contaminate your polishing mops as even a small amount of tripoli mixed with rouge can compromise the mirror shine effect. Have separate mops for tripoli and rouge and make sure all traces of tripoli are removed from the piece before moving on to rouge.
Next, apply rouge
Follow the same process using rouge and watch your beautiful mirror finish appear.

Shop polishing mops, wheels & points
Avoiding & removing fire stain
If dark shadows appear on your piece during polishing, it is probably fire stain or fire scale. Fire stain mainly affects sterling silver due to the copper content but it can also appear on gold if the copper content is high.
If fire stain appears, go back and sand and polish the piece again. Don't be tempted to try to use polishing compound to remove the stain as you may polish away the softer silver around the harder copper deposits, which will exaggerate the problem.
A top tip is that using argotect as a flux can help to reduce fire stain occurring in the first place.

Step 5: The final finish
Whilst a very high shine can still be achieved in the polishing stage, there are certain products that can add that extra glistening touch.

Burnishing
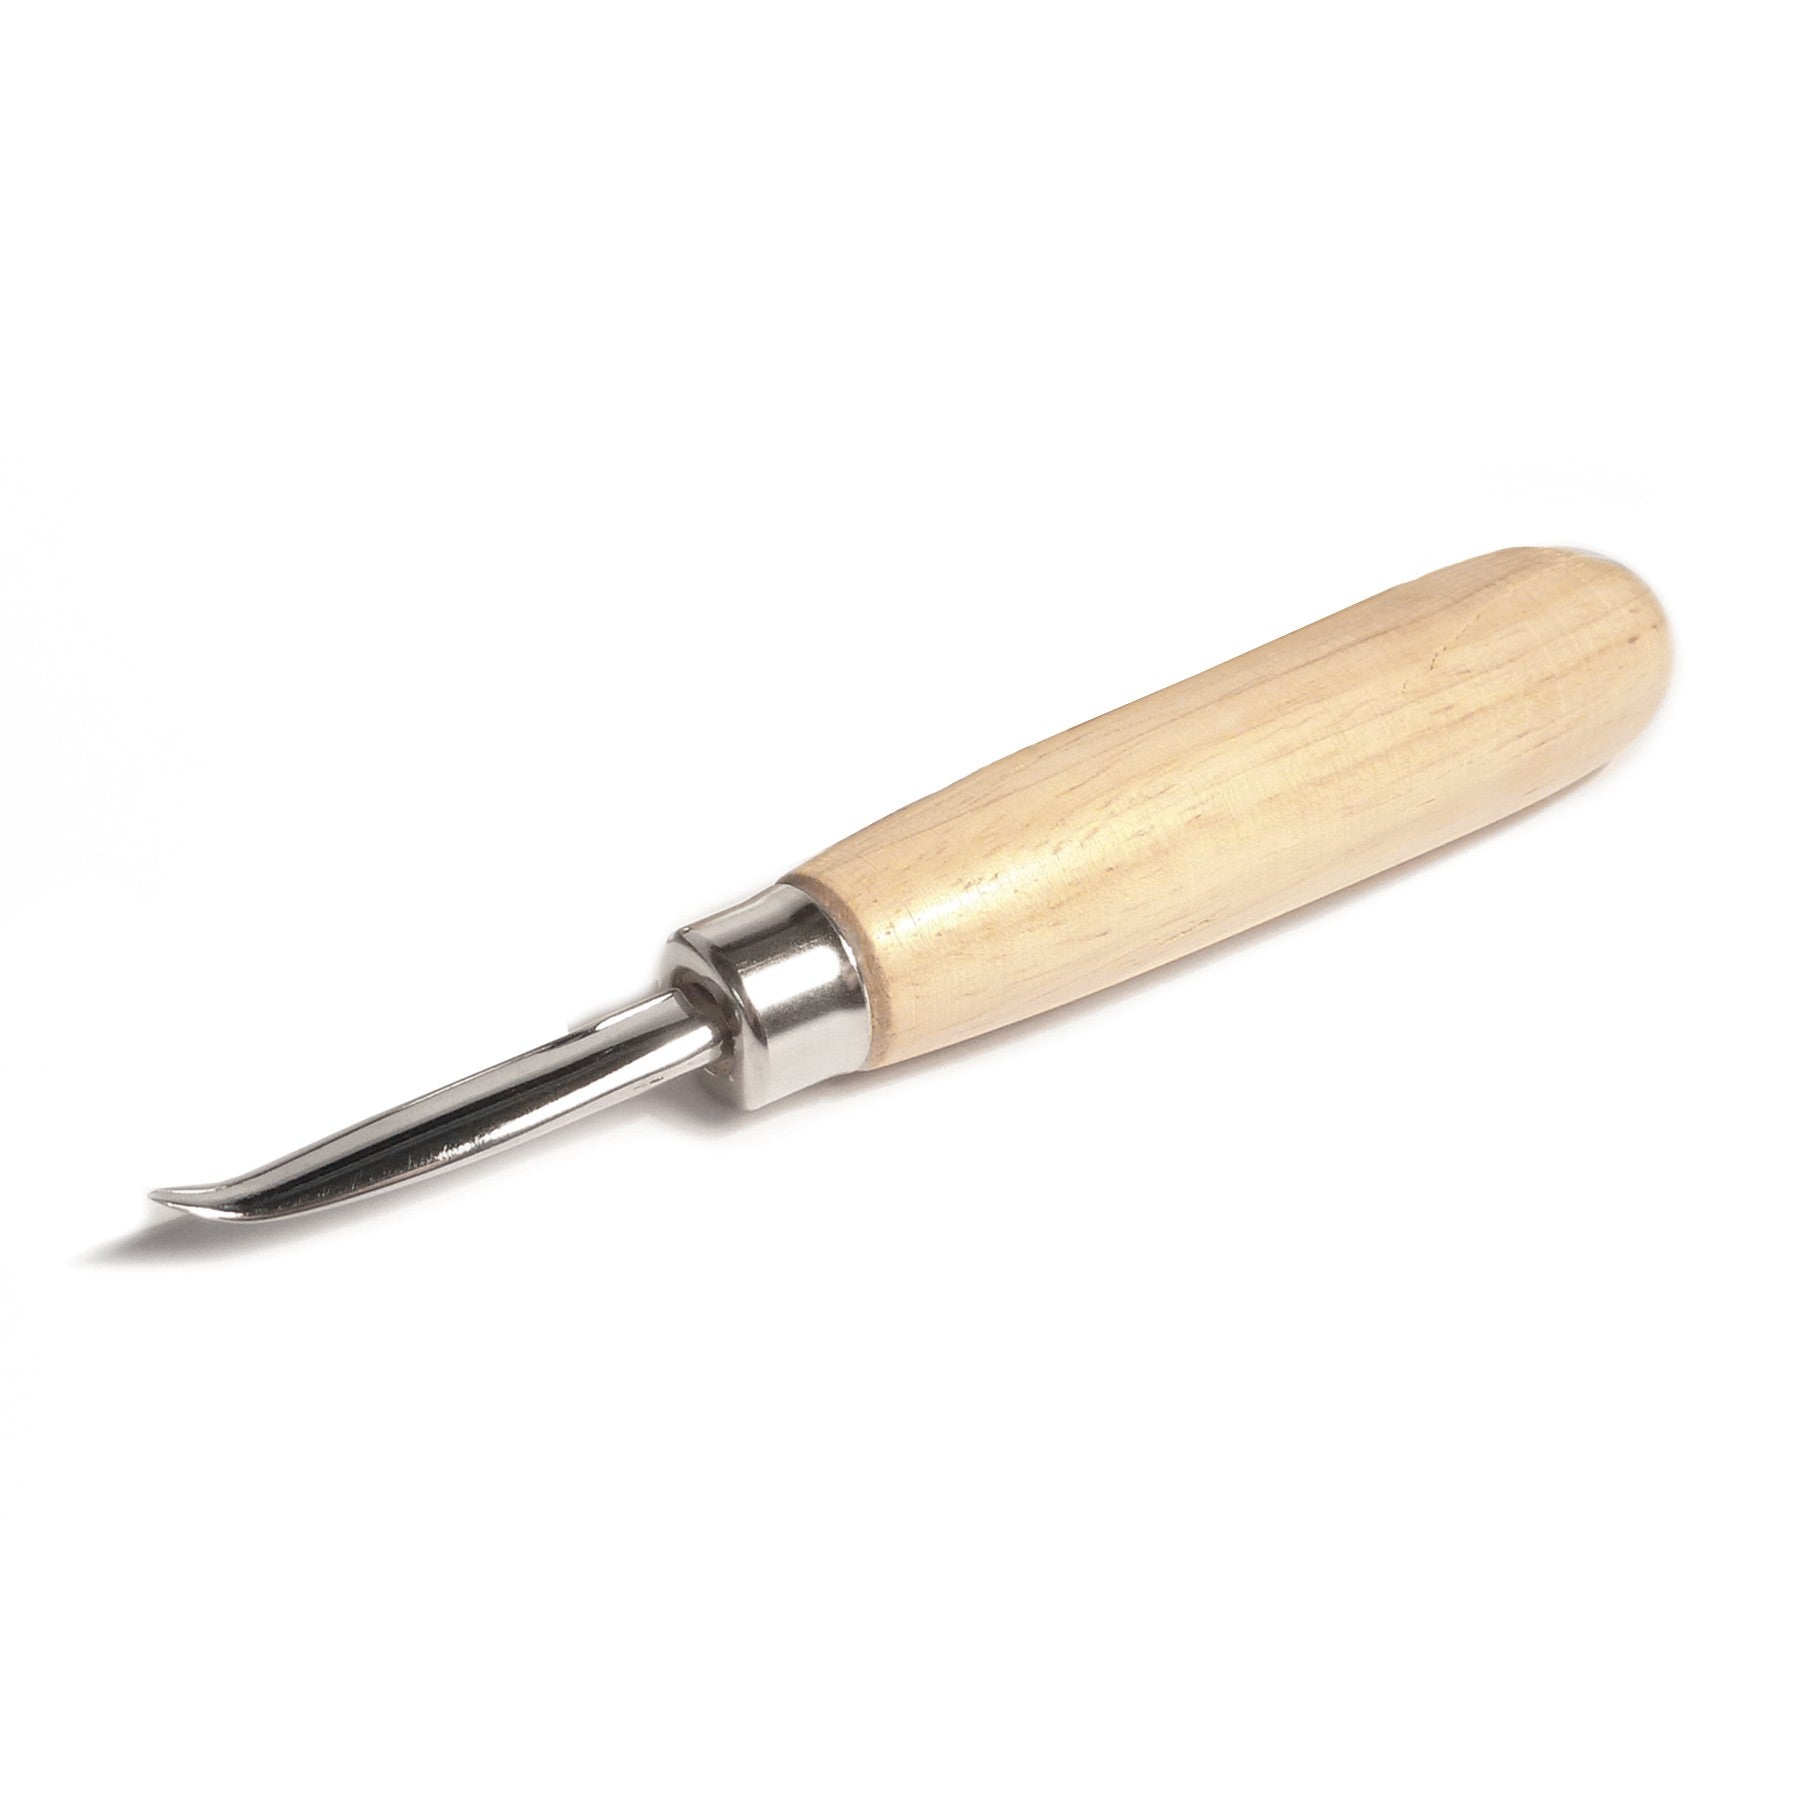
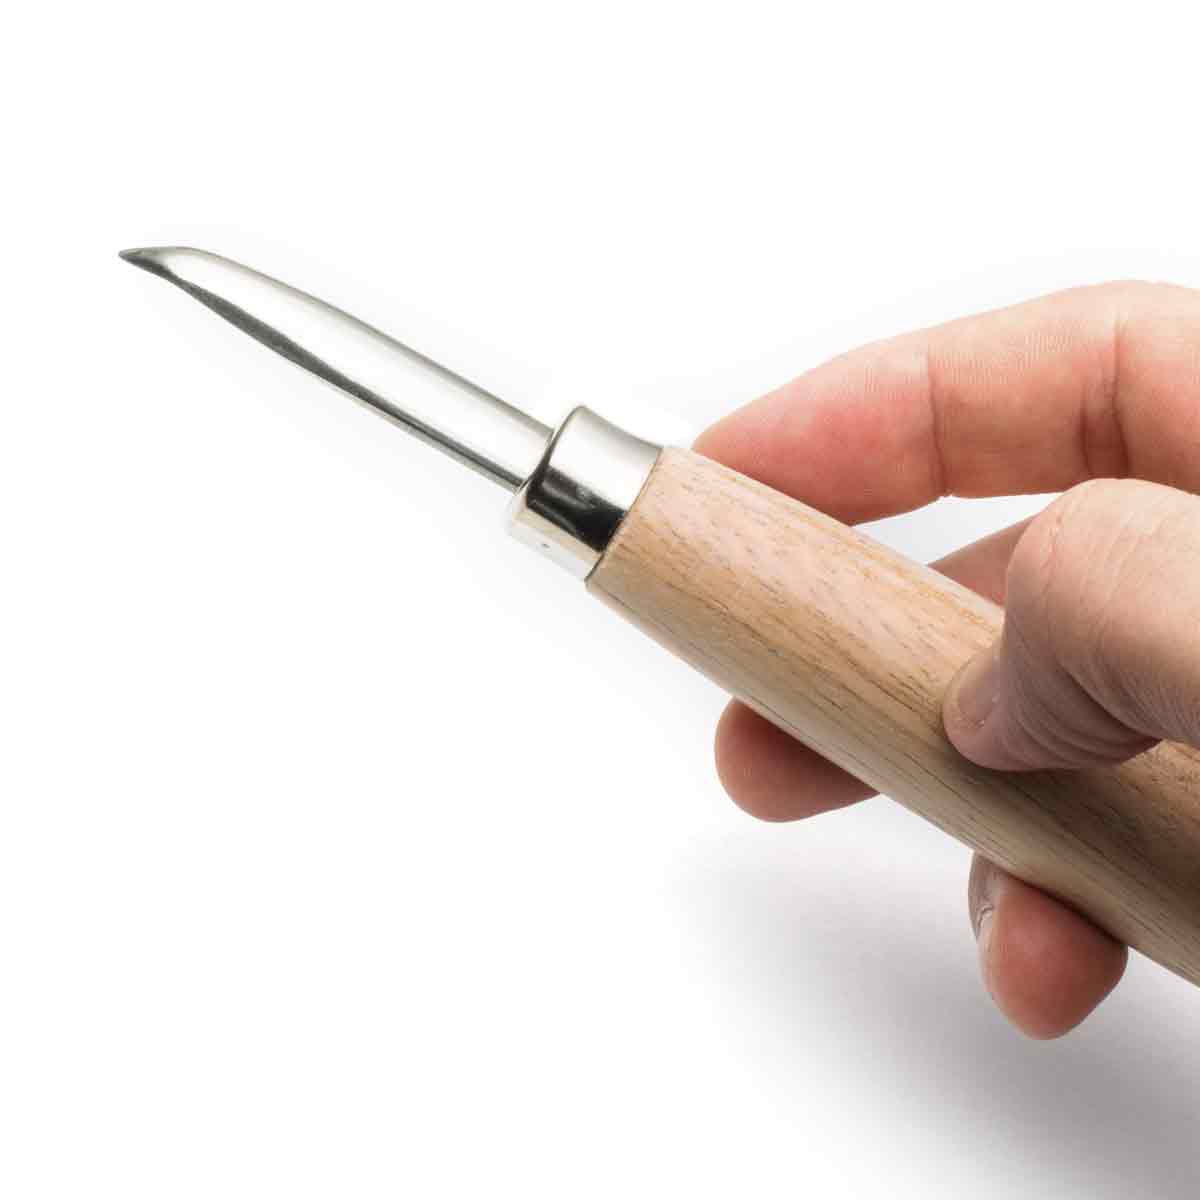
Burnishing is an ancient technique where hard materials such as steel are rubbed against softer metals such as silver and gold to smooth rough metal particles down, leaving a shiny surface.
A burnisher is useful for smoothing bezel settings over gemstones and giving the top edge a lasting, shiny finish. It can also be used for removing scratches caused by setting slips which may be difficult to remove without damaging your stone.
Polish multiple pieces with a barrelling machine
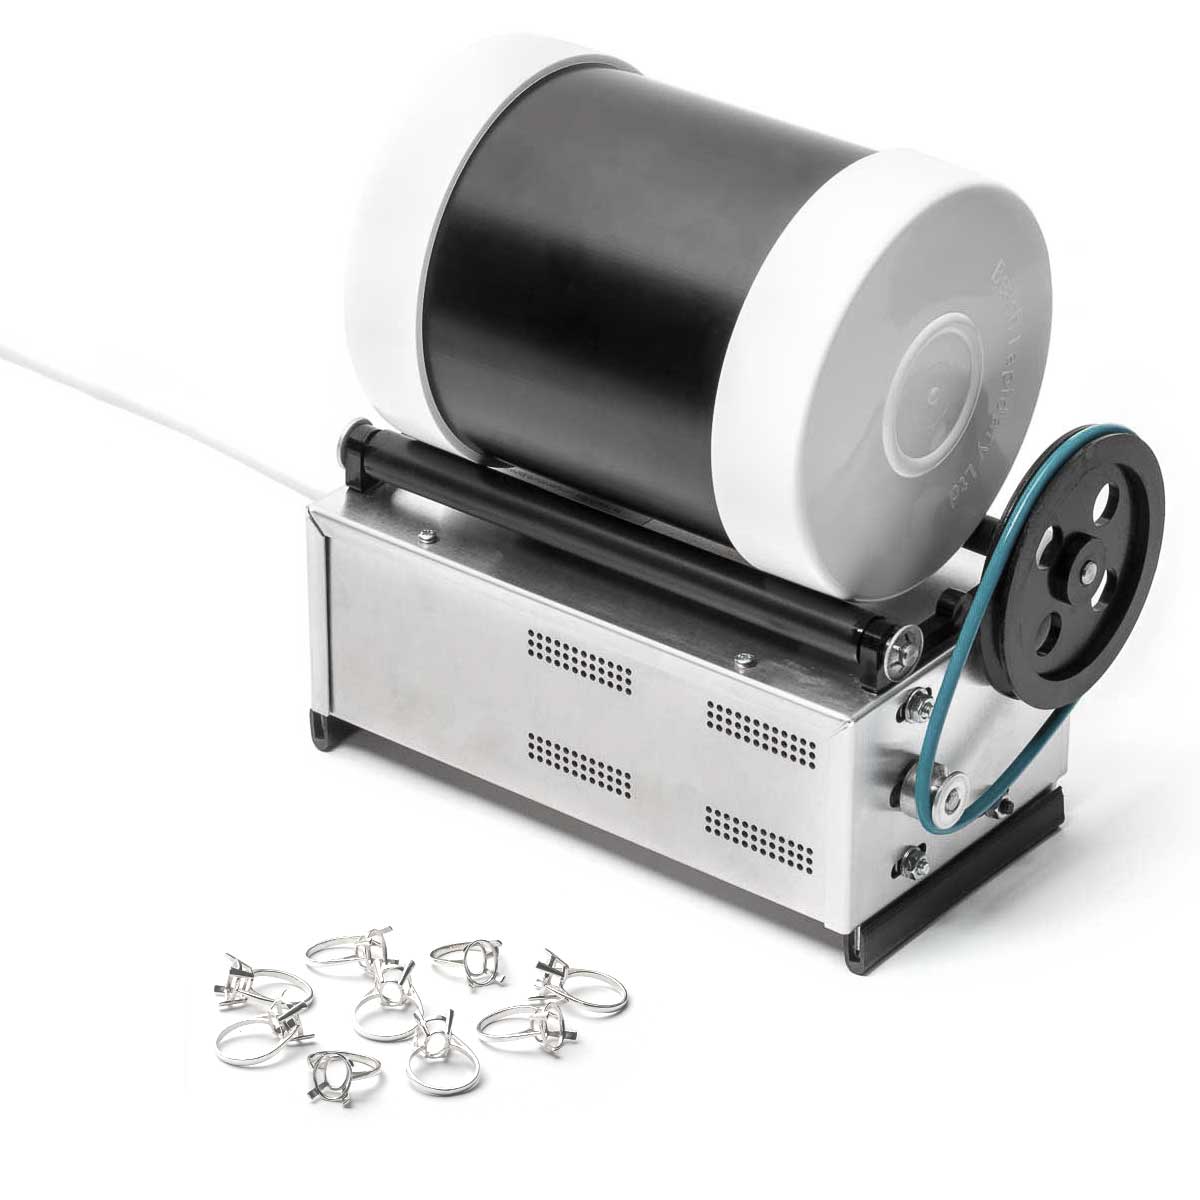
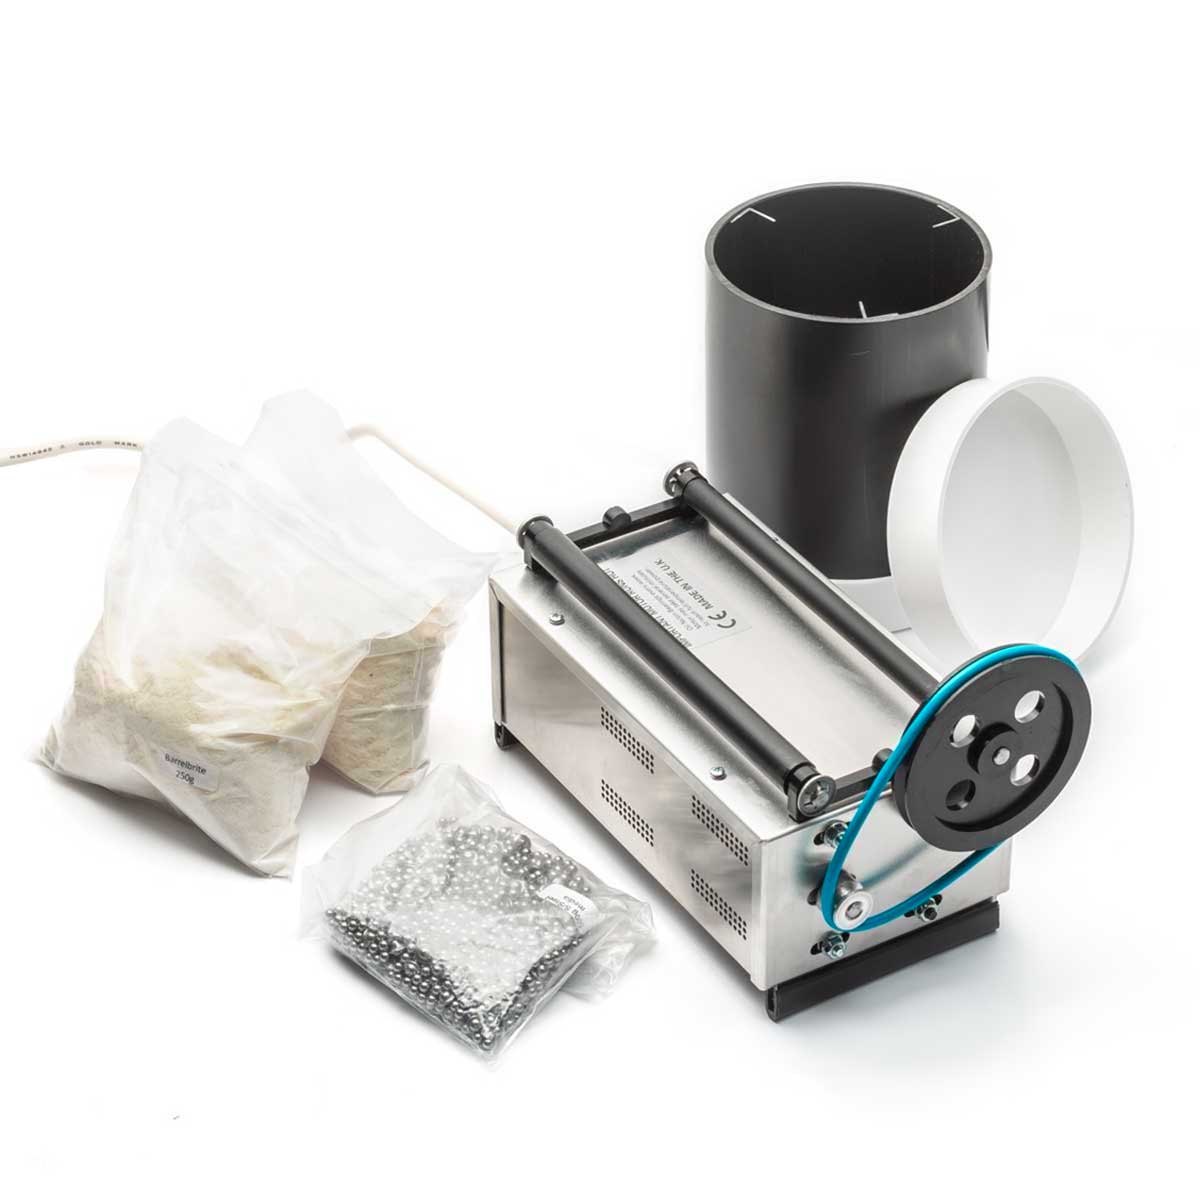
If you are polishing multiple pieces or often make pieces which are hard to polish using a mop, it is worth investing in a rotary tumbler kit. These machines use steel shot, water and barrelling solution to gently burnish your jewellery pieces while you get on with something else.

The kits we sell have everything you will need to get polishing and we even have a complete kit for polishing stone and glass as well as metals.
Jewellery polishing cloths
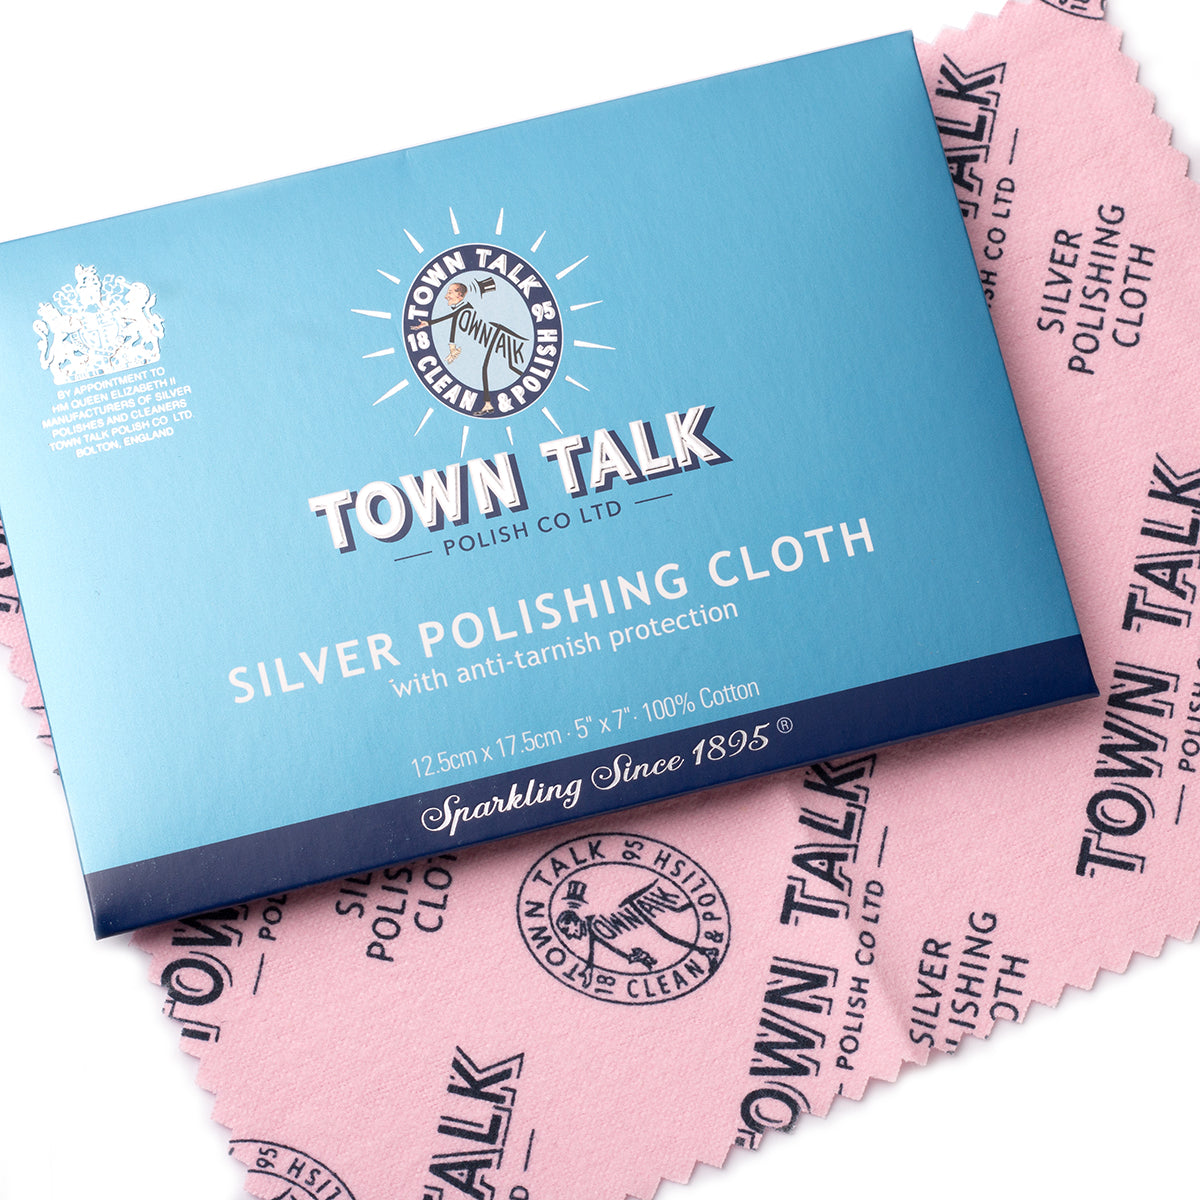
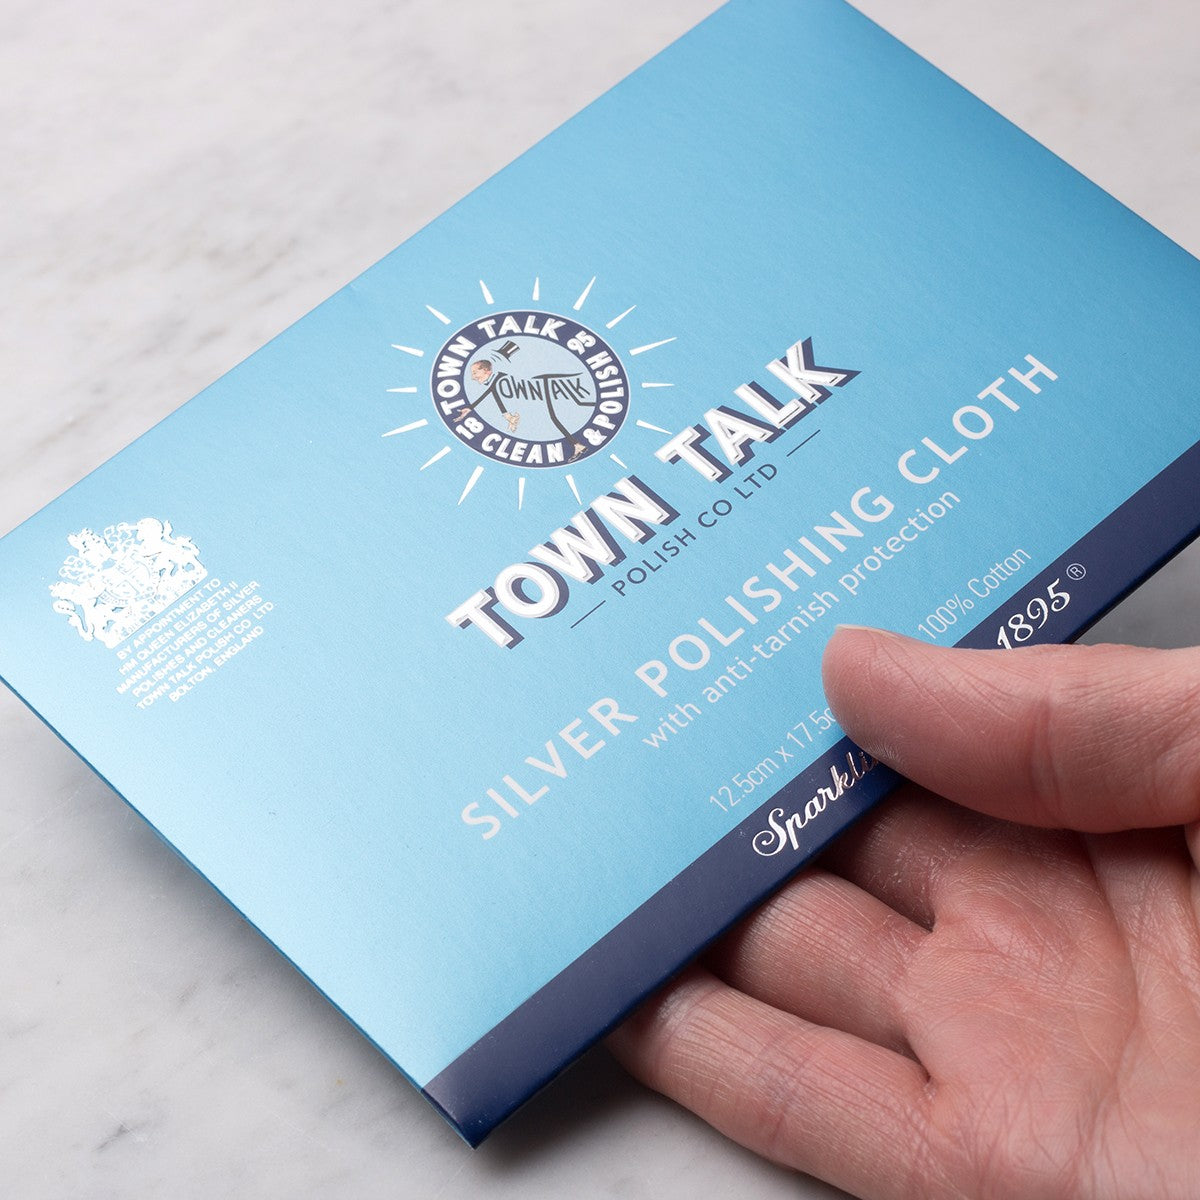
A must have for all jewellery makers or jewellery owners. Simply buff the metal surface with the cloth and bring back the sparkle. No extra polishing compound is necessary as the cloth is impregnated using micro-abrasive technology.

Inspired to learn more?
Polishing and finishing for jewellers by Stephen M Goldsmith
Polishing and finishing is a highly skilled specialist craft. This practical book is an invaluable guide to the process, explaining the traditional techniques and sharing the secrets of this often under-rated craft.

A note on safety
Keeping eyes and fingers protected during polishing is a must.
Anti mist eye goggles
These eye protection goggles have a tough polycarbonate lens suitable for protection against medium energy impact from high speed particles and a vented body to help prevent misting.

Alligator tape
Alligator tape is a clever self-adhering fabric tape that will protect your fingers from minor cuts, abrasions and burns during jewellery making. It is thin and flexible and provides great grip when filing, sanding, polishing, buffing, grinding, assembling and stone setting.