Sea Glass Jewellery Making Projects For Beginners
Do you have a collection of sea glass but not sure what to do with it? Make beautiful handmade jewellery!
It couldn't be easier to transform your treasures into something you can cherish and wear every day or give as a special gift. In this post, we share with you some easy jewellery making projects that are perfect for beginners.
Whether you want to create simple sea glass earrings, a necklace or even a bracelet, you can use these techniques to help achieve the design you wish. All you need is a bit of creativity!
At Kernowcraft, we supply all the jewellery making supplies you need to create your own handmade designs - apart from the sea glass, that is something you'll have to hunt for yourself! Most of the projects featured below are available as kits, which makes it so easy to find the supplies you need.
WHAT IS SEA GLASS?
Sea glass is produced through man-made bottles and glass being thrown into the ocean, which has then been tumbled smooth by the waves. It can take years for this process to happen and for a good piece of sea glass you want it to be frosted with smooth edges. The best thing about sea glass is that is it costs nothing - even if you do have to go on a little search to find them!
WHERE DO I FIND SEA GLASS?
Sea glass can be found all over the world, especially in locations where there are more people. All you have to do is find your nearest beach, walk along the shore and beach comb your way along until you find sea glass among the pebbles. The best time to go is when the waves have been rougher!
ORGANISING YOUR SEA GLASS
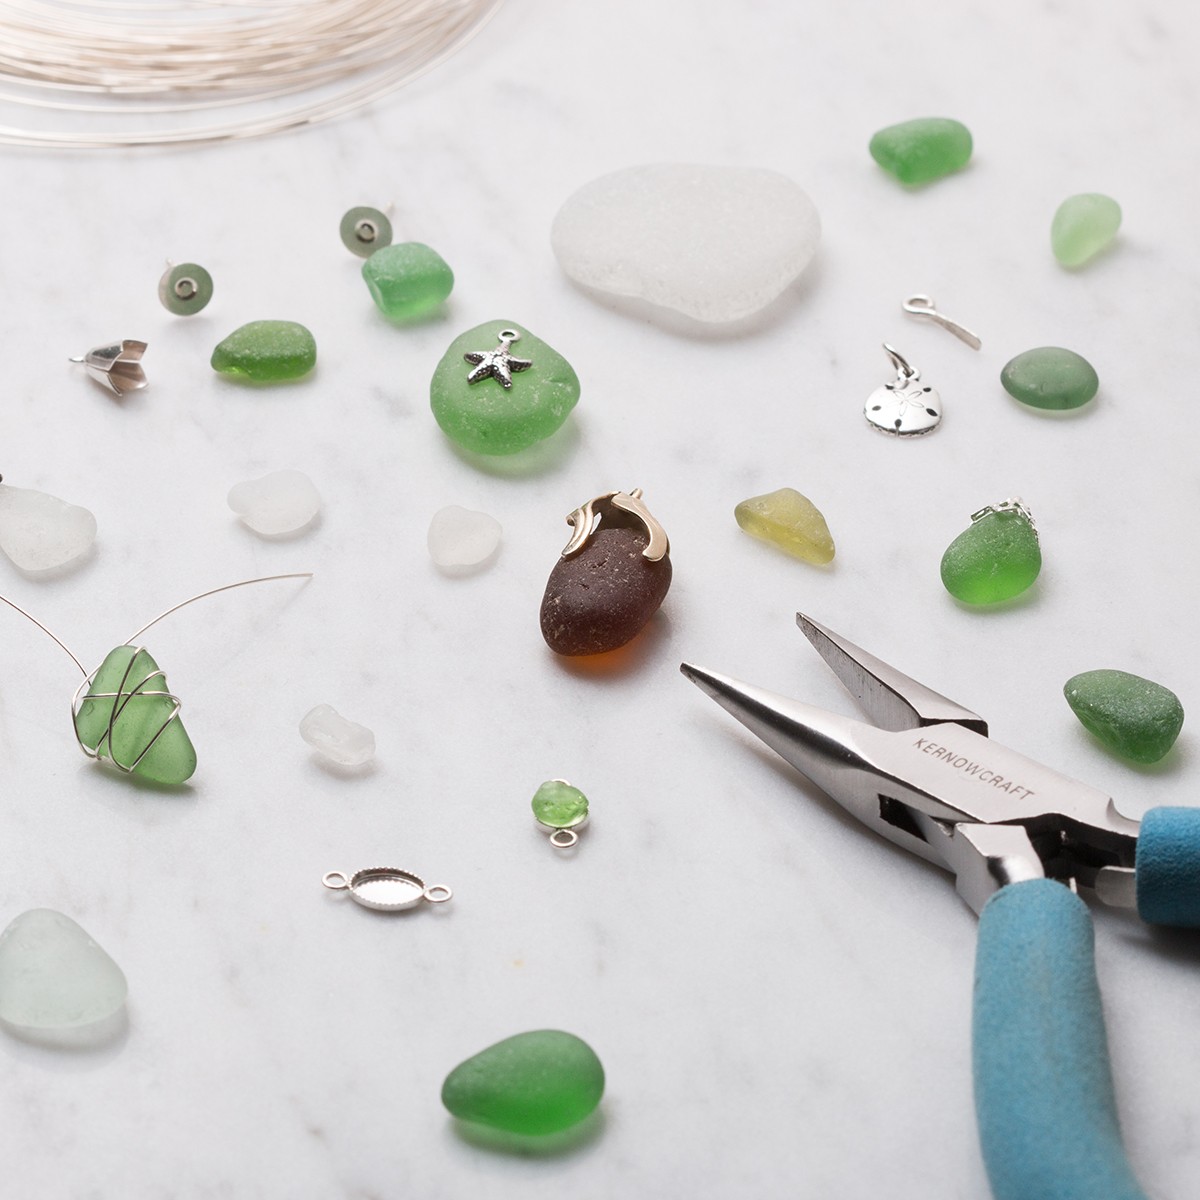
Before starting the design process, it is always helpful to sort your collection of sea glass for different jewellery designs. Some shapes suit certain ways of setting better than others. For
Watch These Beginner-Friendly Sea Glass Jewellery Projects Below...
Make Easy Sea Glass Jewellery Using Glue
You will find our jewellery making kits below, with all the supplies you need to make the designs featured. Each kit has online step by step instructions and a handy one-click shopping list.
Please note the kits do not include sea glass, if you don't have access to sea glass you could experiment using gemstones instead!
Our Recommended Glue For Jewellery Making
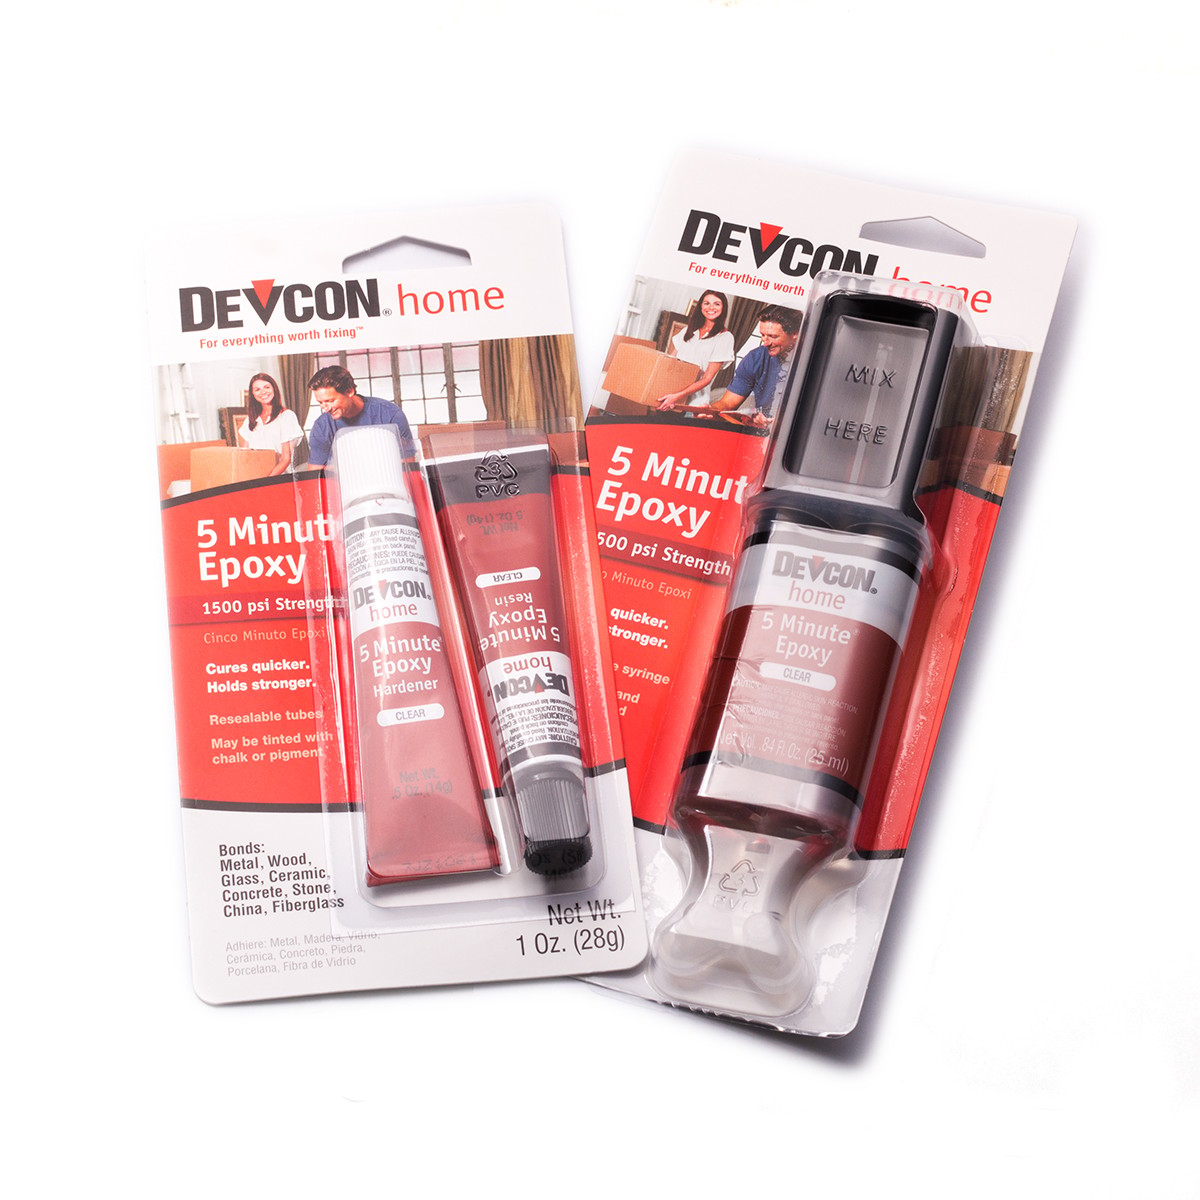
Devcon 5 Minute Epoxy glue is Kernowcraft's most recommended and reliable glue for jewellery making. This glue can be used to bond glass, metal, gemstones, ceramics and wood, making it ideal for various crafting sessions.
It's available as a syringe or tubes - simply mix equal amounts of resin and hardener to use within 5 minutes.
Sea Glass Bail Necklace
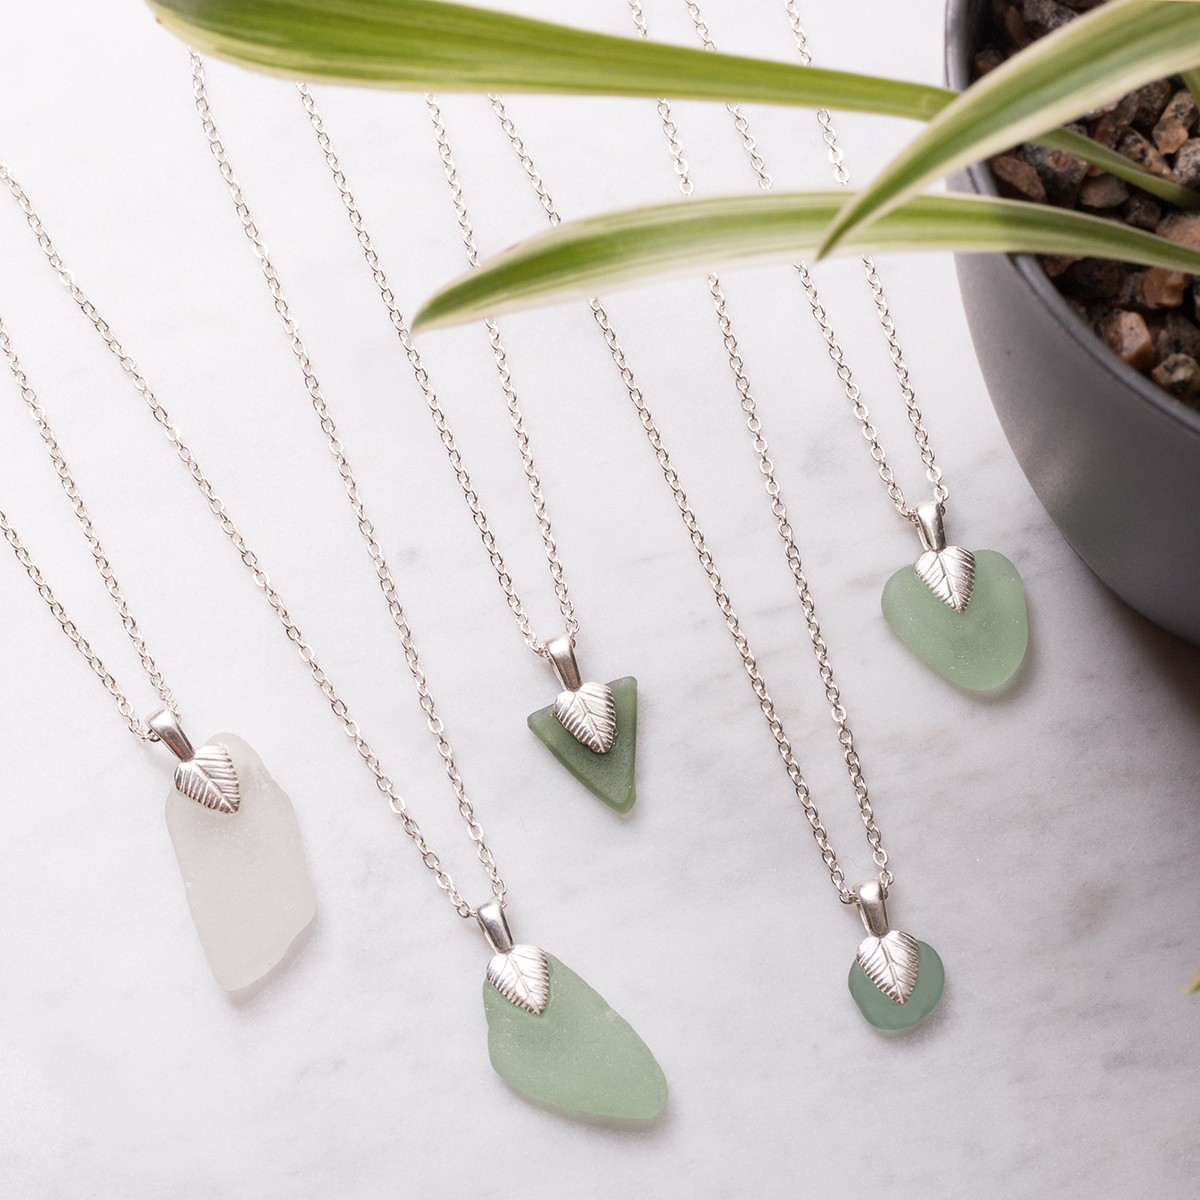
Our glue on leaf bails (available in sterling silver & silver plated) are one of our best sellers! They are so easy to use and are great for using with irregularly shaped pieces, such as sea glass, metal clay creations, polymer clay designs and more to create instant necklaces in no time at all.
Glue-On Sea Glass Earstuds
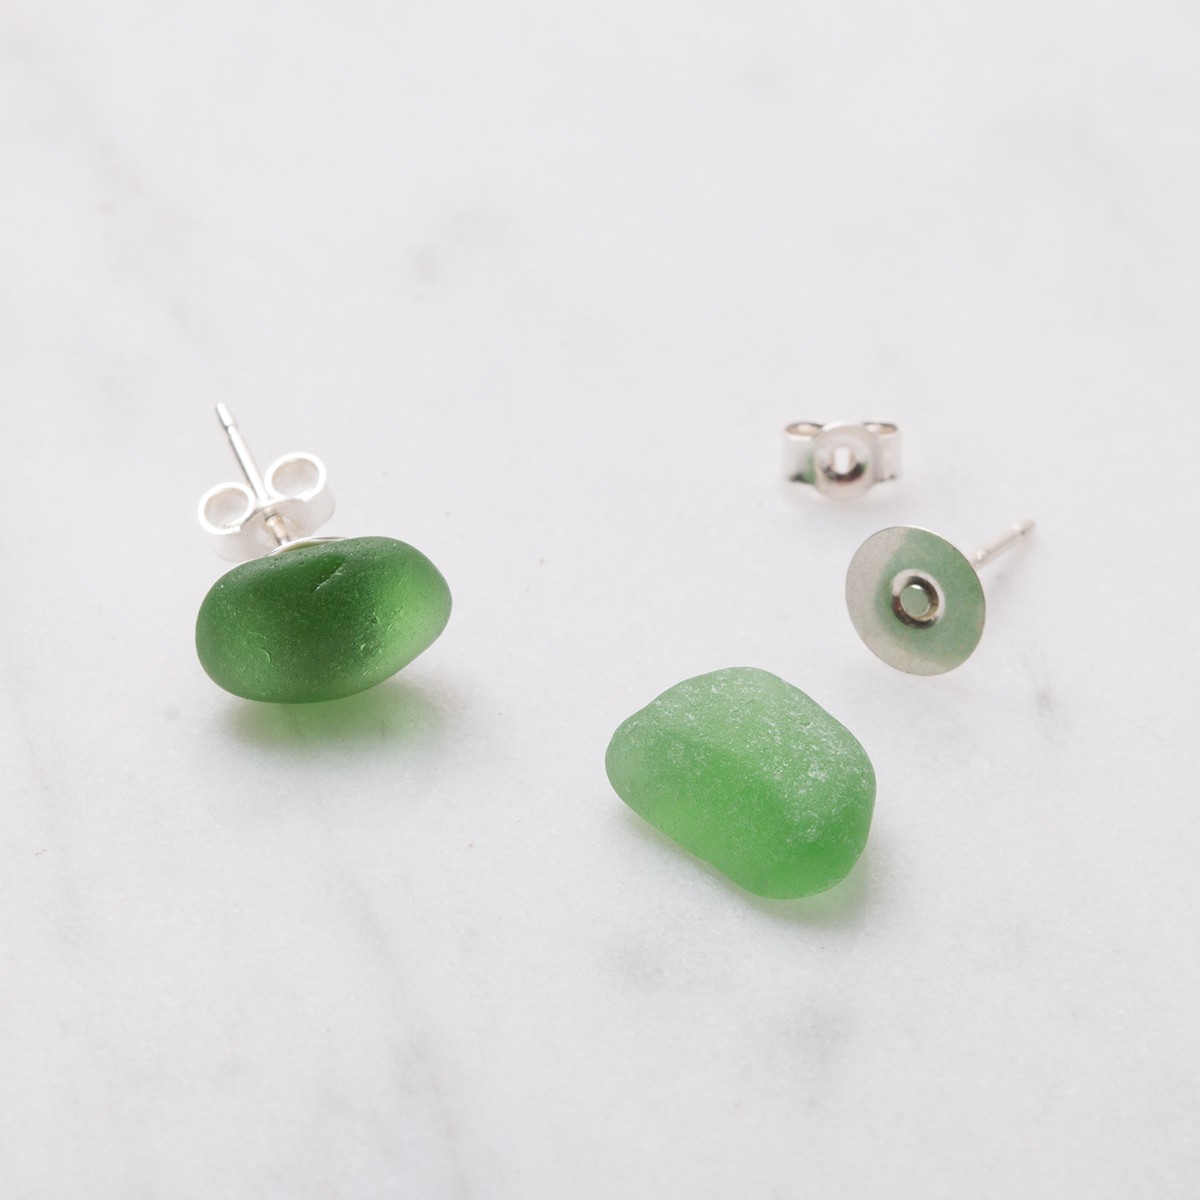
If you're just starting out with jewellery making, it is great to start with designs using glue. Flat plates are incredibly easy to use and are great for instant designs.
Once you've found two similar pieces of sea glass, simply scratch the surface of your glass with sandpaper (this will make the glue stick better). Place a little bit of glue onto the flat plate, set your sea glass and leave to firmly set before wearing.
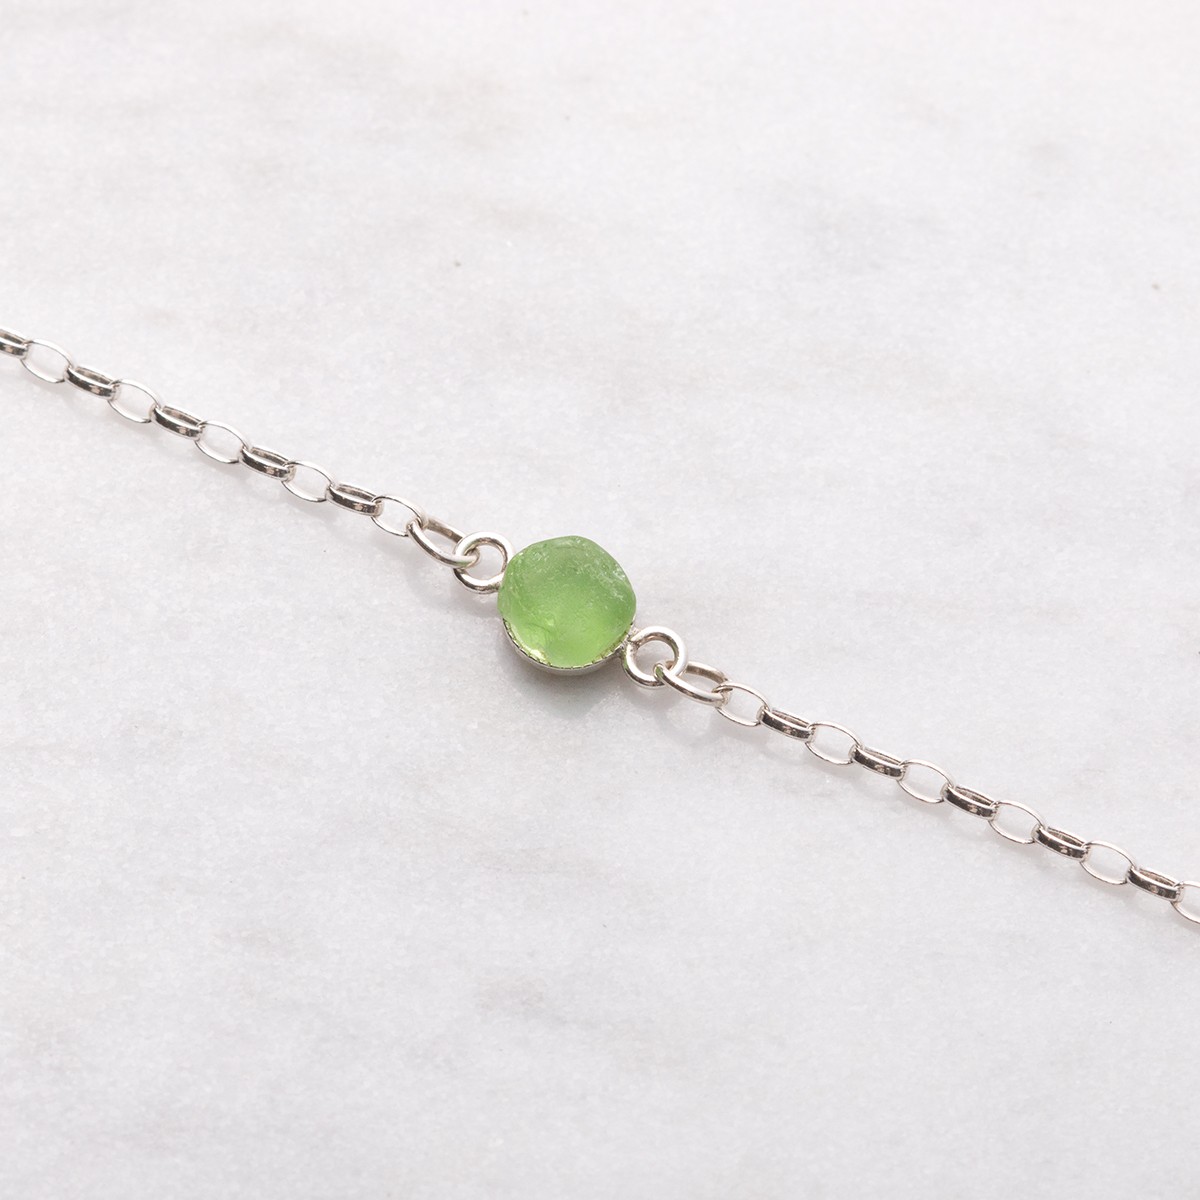
Sea Glass Bracelet With Link Setting
We have many link settings available, in this particular design, we've used our sterling silver milled edge link setting and simply glued a small piece of sea glass onto the setting.
To attach the chain, simply cut a bracelet chain in half using side cutters, attach two jump rings (by using a pair of snipe nose or flat nose pliers) on the open ends and attach to the link setting.
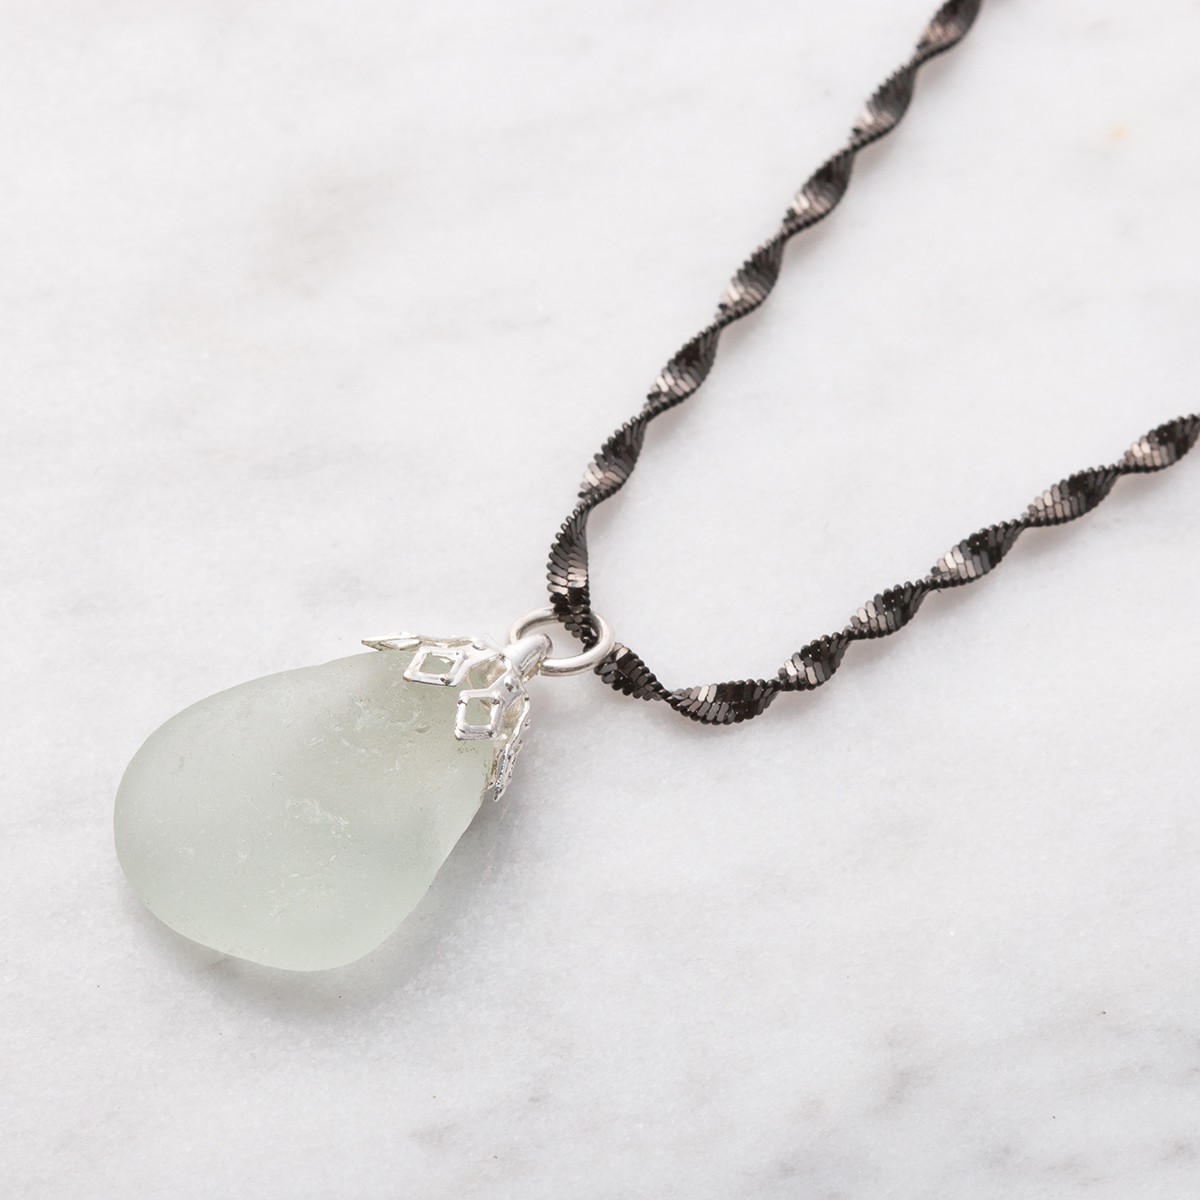
Use Bell Caps For Sea Glass Earrings & Necklaces
Bell caps are perfect to use with rough, tumbled polished stones or crystals which are awkwardly shaped or undrilled. This means they're great for using with sea glass too for creating pendants, charms and earring drops.
For the necklace featured, we glued the bell cap onto the sea glass, attached a jump ring and added our favourite ready to wear chain to complete the look.
All you need to do is use Devcon Epoxy glue to stick the bell cap onto the sea glass, and adjust the bell cap to cover the stone using your fingers or a bezel rocker. We would also recommend using sandpaper to scratch the surface of your sea glass before glueing for a more secure setting.
At Kernowcraft, we have a whole range of bell caps to choose from including sterling silver, plated and 9ct gold.
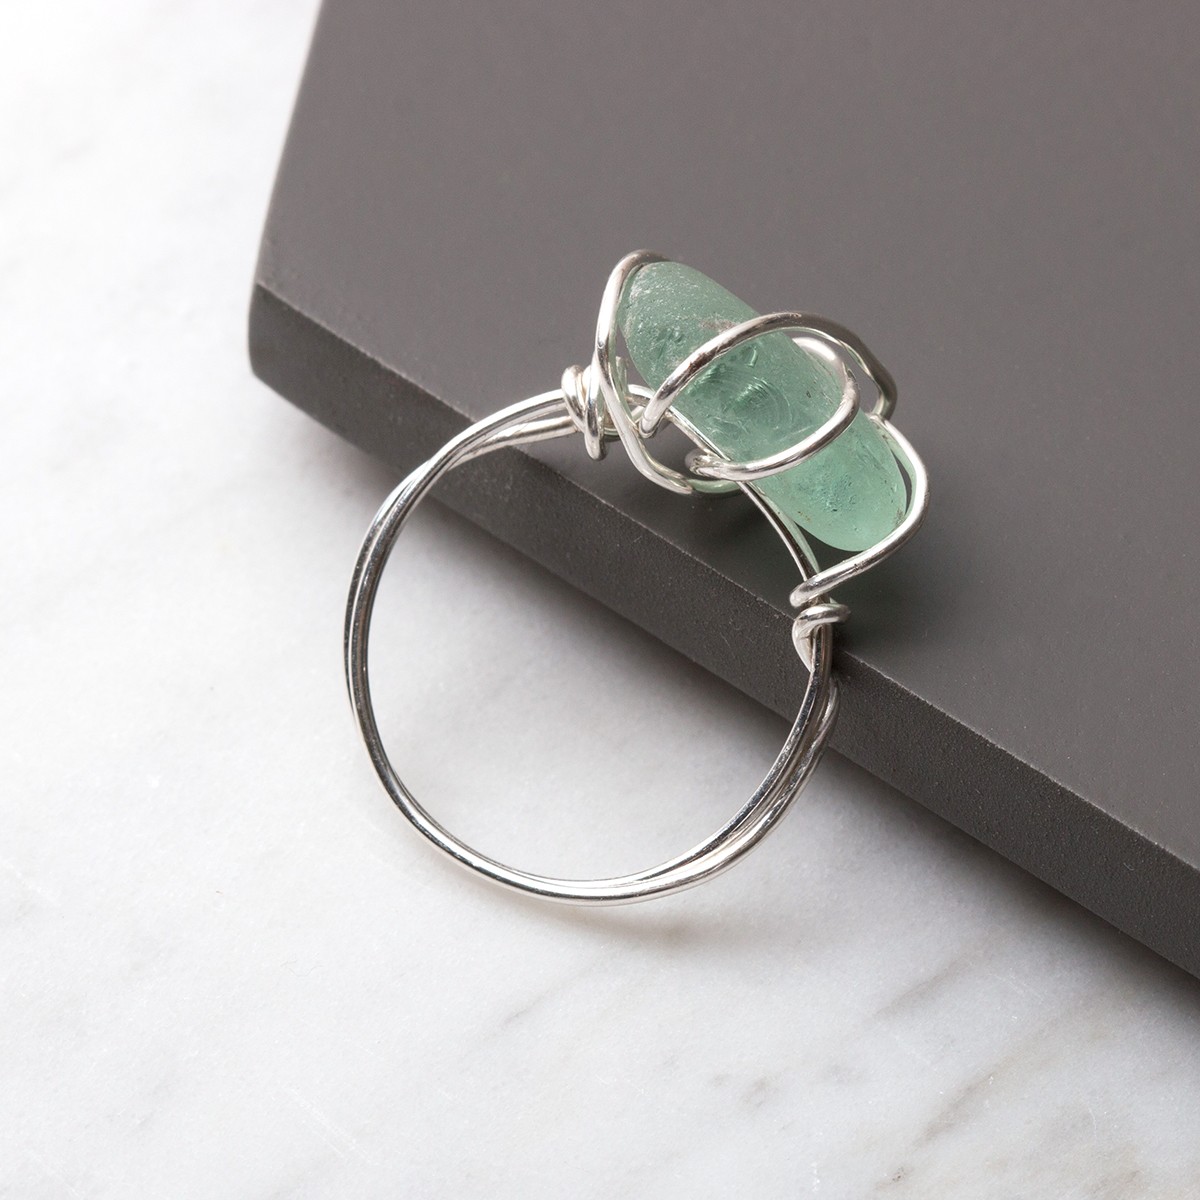
Learn How To Wire Wrap A Piece Of Sea Glass
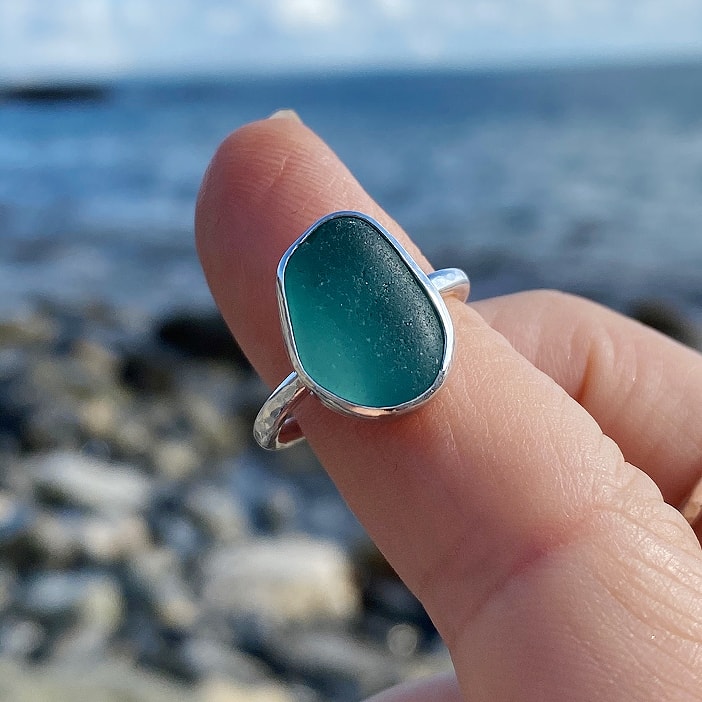
We love the look of wire wrapped rings, and the beauty of this design is that it works wonderfully with sea glass, crystals and cabochons - so you can experiment with using different gemstones.
There are no real rules when it comes to wire-wrapping stones other than ensuring a secure fit! It's all about experimenting and practising your wire-wrapping technique, so our best tip is to experiment and keep practising!
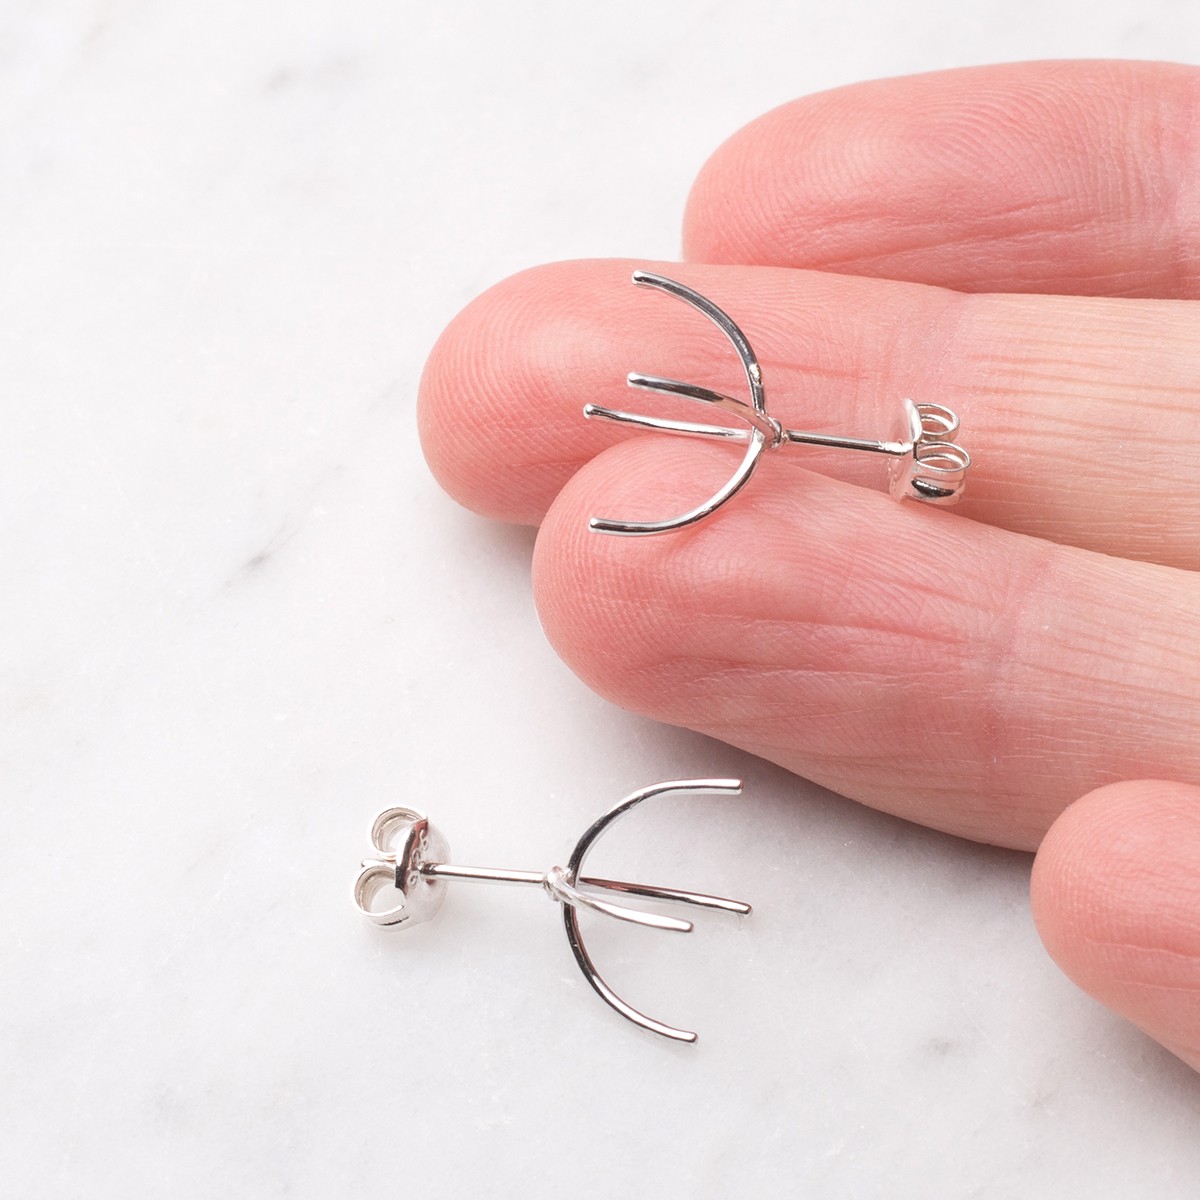
Use Huggie Claw Settings
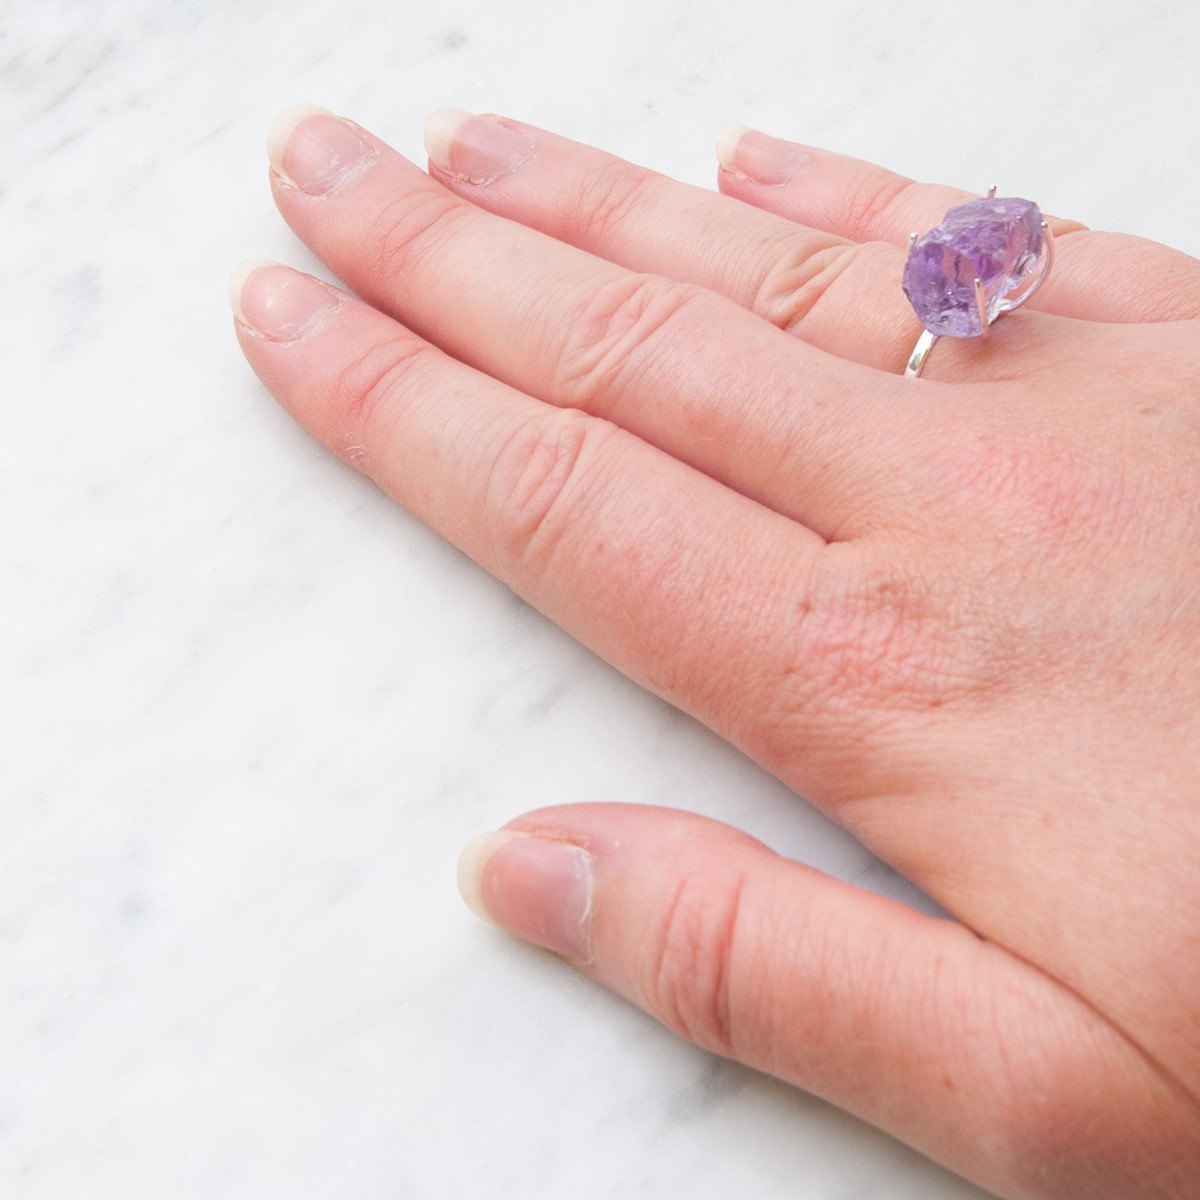
Our Huggie claw settings are beginner-friendly settings that have flexible claws, which easily grab your favourite stones. We love using them with irregularly shaped stones such as crystals and sea glass, which are usually difficult to create a setting for by hand.
Watch our video tutorial on how to set our Huggie claw settings and find out more
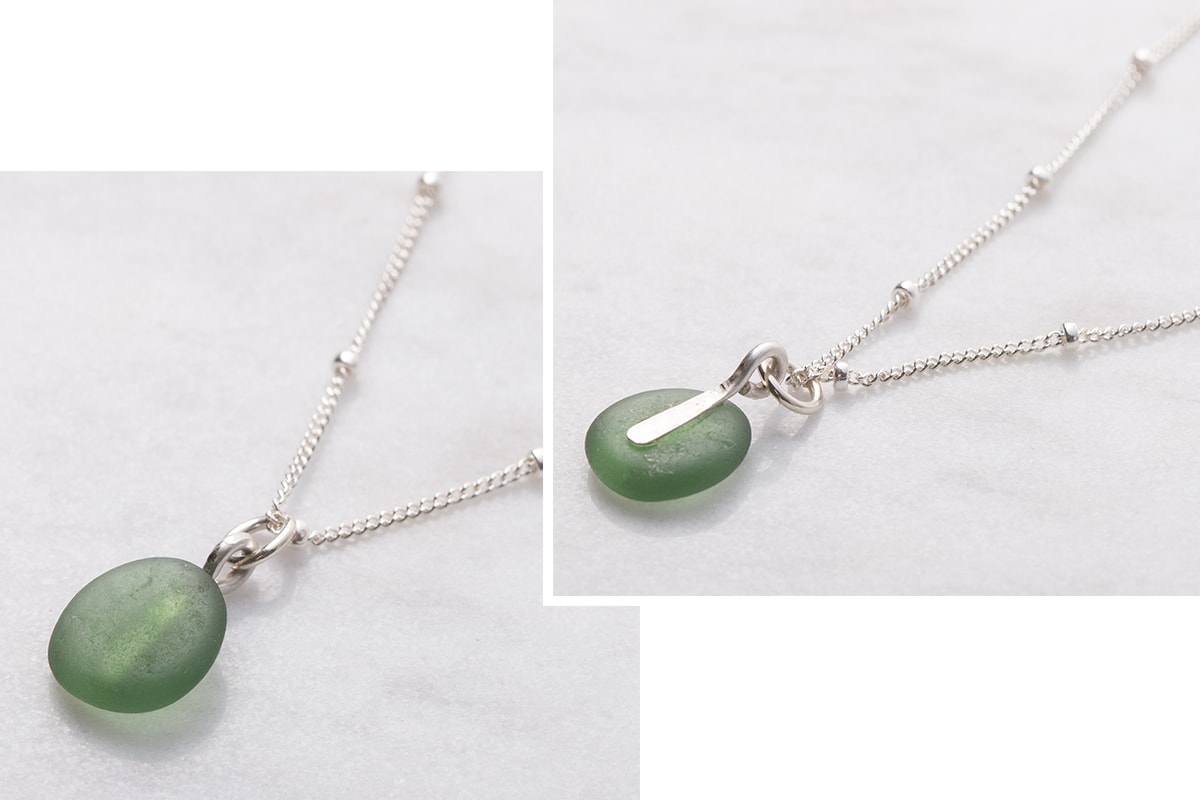
Create A Minimal Sea Glass Pendant Using Wire
This sea glass project involves a few more tools but it a great way to create a professional-looking pendant that you can be proud of. Watch our video at the top of this page to see how we made it.
Begin by forming a loop in wire using round nose pliers and use our premium Swiss jewellers hammer to flatten the end of the wire which will form the setting for your sea glass.
Scratch the surface of your sea glass using sandpaper, and place glue onto the back of the wire and set.
Attach a jump ring and your chosen chain and you're ready to go! To personalise the necklace, you could also attach your favourite charm!
Supplies needed:
- Wire - we have used 1mm
- Swiss Jeweller Hammer & steel block
- Devcon Epoxy glue
- Jump ring
- Snipe nose pliers or flat nose pliers for opening and closing the jump rings
- Your choice of chain
Learn How To Drill Sea Glass
This project is great for a jewellery making beginner who wants to push themselves a bit further! Drilling a hole in sea glass gives you so many possibilities for jewellery designs and all you need is a simple set up to get started. Working with sea glass does take some trial and error to get it right, so being patient is key!
Watch our video tutorial above or for more information and step by step photos of how to drill sea glass, read our advice page with all the tools you need to get started here.
Find More Inspiration...
Follow Advanced Sea Glass Tutorials
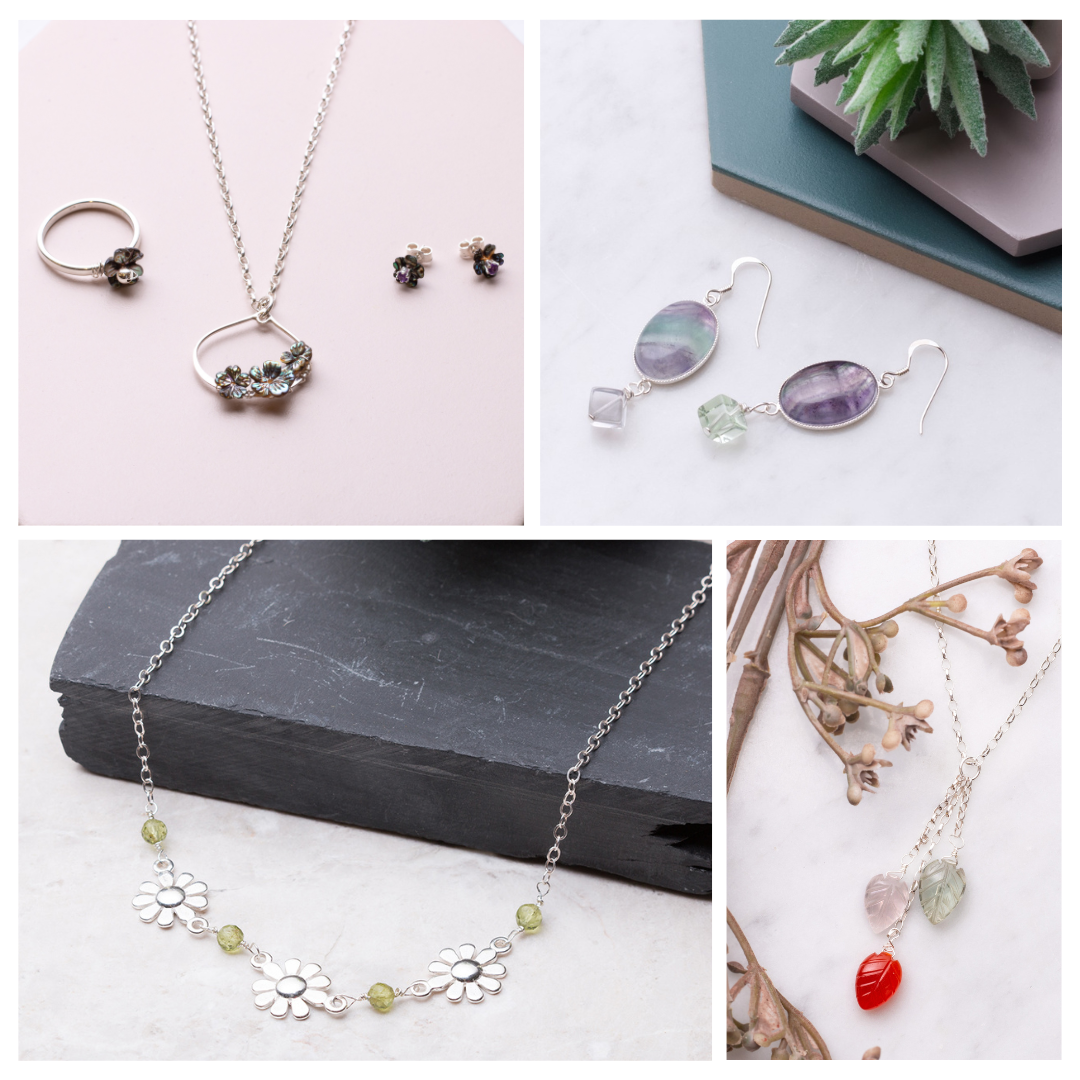
Ready to take it to the next level? Explore more sea glass jewellery making tutorials aimed at experienced jewellers. These projects include soldering and metalsmithing techniques - each project has step by step instructions with photos and a handy shopping list, so you can easily have a go at home for yourself.
The products used in this project are suggestions to inspire you. Products used were compatible at the time of making but do be aware that stocks can vary, so do use your own judgement as to the compatibility of each item when making.

