


Bezels are an essential component to jewellery making when learning to set gemstones. A
The following step by step instructions will help you to get started with basic bezel setting.
Shop Recommended Supplies
Follow These Simple 3 Steps On How To Set A Cabochon In A Bezel Cup

Step 1
Ensure that you have roughly the same sized bezel cup and gemstone cabochon and then make sure that the gemstone sits level (not too tall) on the base of the setting. If not, remove a small amount of the metal using a needle file or graver until the setting is the correct size for the stone.

Step 2
File down around the edge of the bezel to an angle and remove any file marks using sanding sheets. The aim here is to ensure that the edges of the bezel lay flat against the gemstone and there is no lip. This way your stone will be nice and secure as well as ensuring the finished piece looks nice and neat.

Step 3
Using a pusher, ease down a small amount of bezel on opposite sides of the gemstone until it is secure in the center of the mount. Then ease over the rest of the bezel until it is flush with the gemstone.
Finishing The Bezel Setting
Smooth off the top of the bezel using a burnisher, taking great care not to mark the stone. Your setting is now complete and the gemstone should be held securely in place.
Loose bezel cups are ready to solder onto any design, whilst other pre-made settings have bezels already incorporated.
Shop Essentials


Watch How To Make A Ring With A Bezel Cup...
This video is part of our 12 Months Of Metal tutorial series with Kim Thomson!
Also in this section:
- The Essential Tools For Setting Gemstones
- Your Guide To Stone Setting Burrs For Jewellery Making
- What Is A Bezel Rocker?
- Types Of Settings & How To Use Them
- Types Of Settings For Calibrated Cabochon Stones
- Types Of Settings For Faceted Stones
- Types Of Settings For Free-Form Stones & Crystals
- Calibrated Gemstones & Size Tolerance In Jewellery Making
- Ready Made Settings vs Making Your Own Settings
- 7 Ways To Make Your Own Gemstone Ring
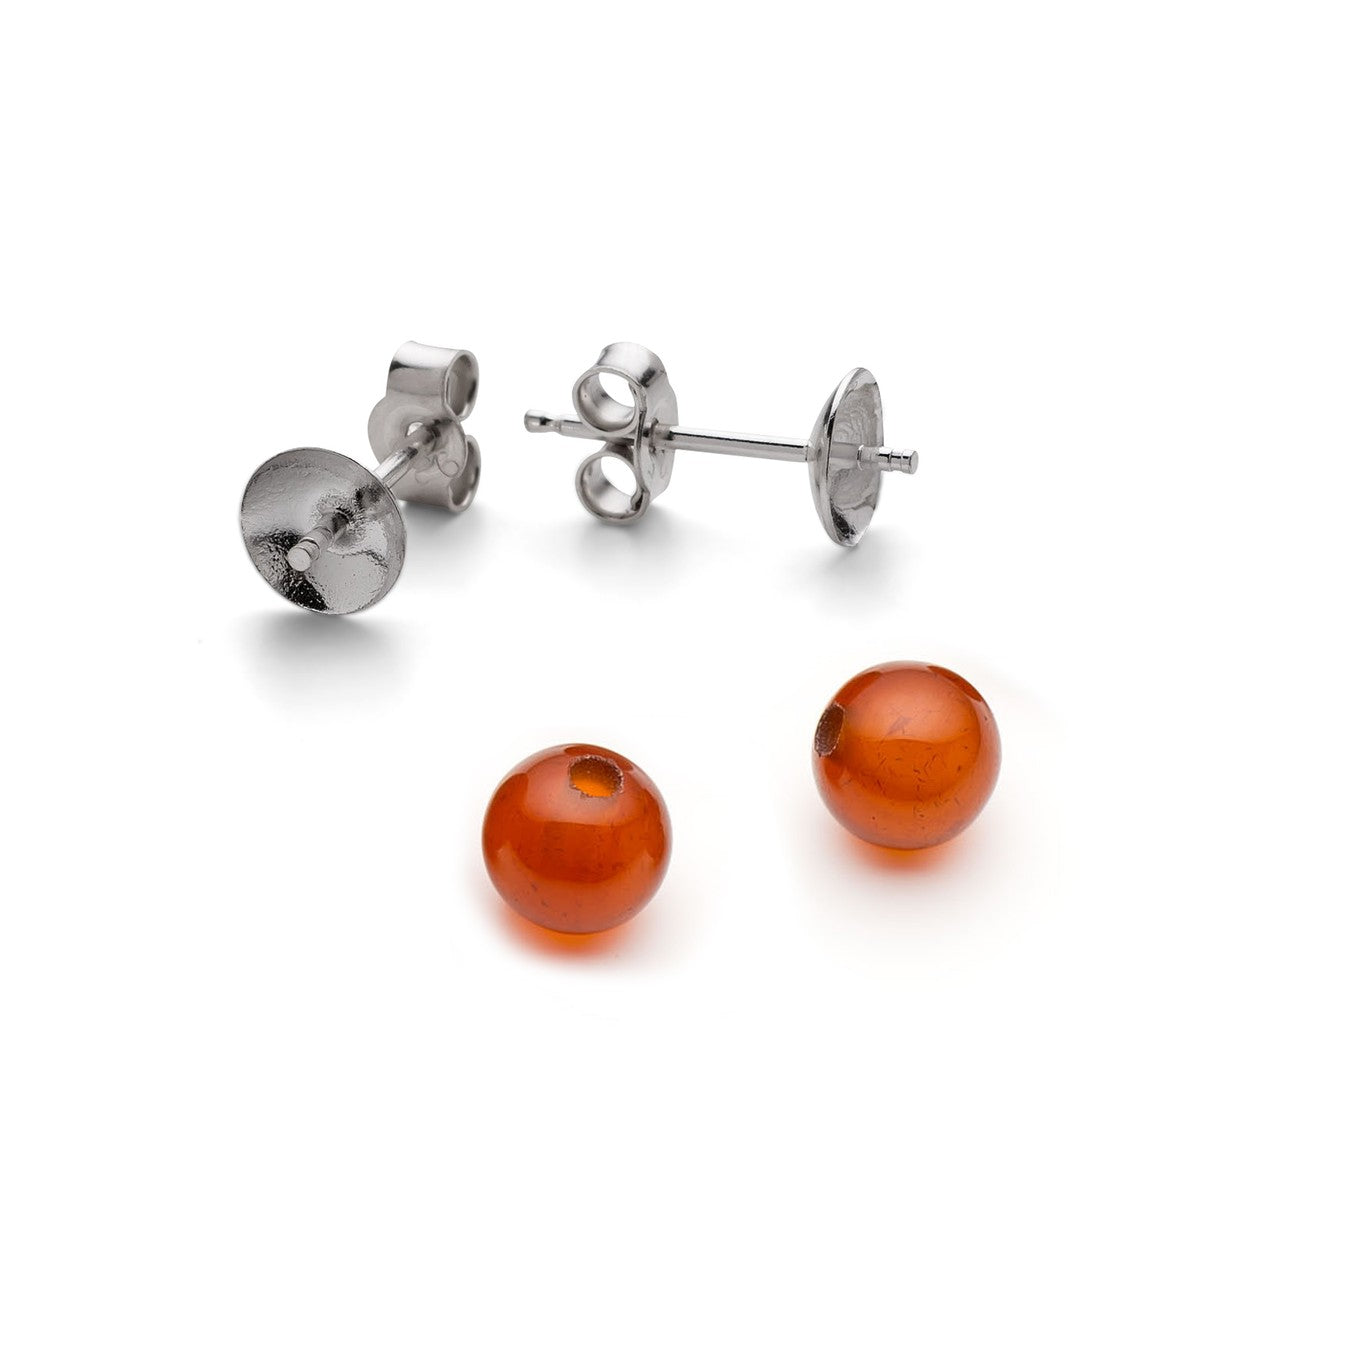
- How To Set Earstuds For Half Drilled Beads
- How to Set Flat Plates and Milled Edge Jewellery Settings
- How To Set Snaptite Settings
- How To Set Gemstones In Gallery Wire Settings
- How To Set Backset Settings
- How To Set Wraptite Settings
- How To Use Huggie Claw Settings For Crystals & Sea Glass
- What Are Bell Caps For Jewellery Making?
- How To Set A Pre-Notched Setting
- How To Set Claw Settings
- How To Make A Decorative Ring Setting For A Free Form Cabochon
- How To Make A Tube Setting For A Faceted Stone
- 4 Drilled Sea Glass Earring Projects
- Jewellery Making With Sea Glass: Drilling & Stone Setting Tutorials
- How To Drill Sea Glass For Jewellery Making
- How Much Bezel Strip/Gallery Wire Do I Need?
- Types Of Bezel Cups
- How to Adjust Bezel Settings to Fit Cabochons
- How To Set A Cabochon In A Bezel Setting
- How To Make A Gemstone Ring With A Bezel Cup
- How To Make A Bezel Set Cabochon Ring With 'Made By Oonagh'
- How To Make A Sea Glass Ring With Bezel Setting
- How To Make Bezel Set Cabochon Earstuds
- How To Make A Sea Glass Necklace With Backless Bezel Setting
- How To Bezel Set A Free Form Cabochon Onto A Textured Silver Pendant
- How To Make A Textured Pendant With A Freeform Gemstone Slice
- How To Make A Claw Set Cabochon Pendant
- How To Make A Prong/Claw Setting For Irregular Shapes Stones
- How to Make A Wire Edged Setting
- How To Make A Balled Claw Ring Setting
- Making An Australian Boulder Opal Pendant With Stardust Mine
- The Process Of Remodelling A Gemstone Ring With 'Honey Bee Design'
HAVE A QUESTION?
If you have any questions, feel free to get in touch with our friendly team who will be more than happy to give you advice over email or on the phone.
You can learn more and find inspiration by visiting our Jewellery Making Tutorials, Jewellery Making Kits and YouTube Channel. Don't forget to follow us on social media and tag us in your designs on Instagram & Facebook, we would love to see!