How To Make A Prong/Claw Setting For Irregular Shapes Stones
This step by step tutorial teaches you how to make a prong or claw setting for irregular shaped stones such as sea glass or a freeform stone, the process can also be replicated for calibrated cabochons as well.
Recommended tools & supplies
- Your choice of stone, we've used a piece of sea glass found on our local beach
- 1mm sterling silver wire - or most suitable size for your chosen stone
- Side cutters
- Sterling silver solder paste
- Gas torch
- Insulated tweezers
- Safety pickle
- Needle files, wet & dry sanding sheets or a cup burr
- Polishing equipment
- Nylon jawed pliers
Follow Step By Step Photo Tutorial
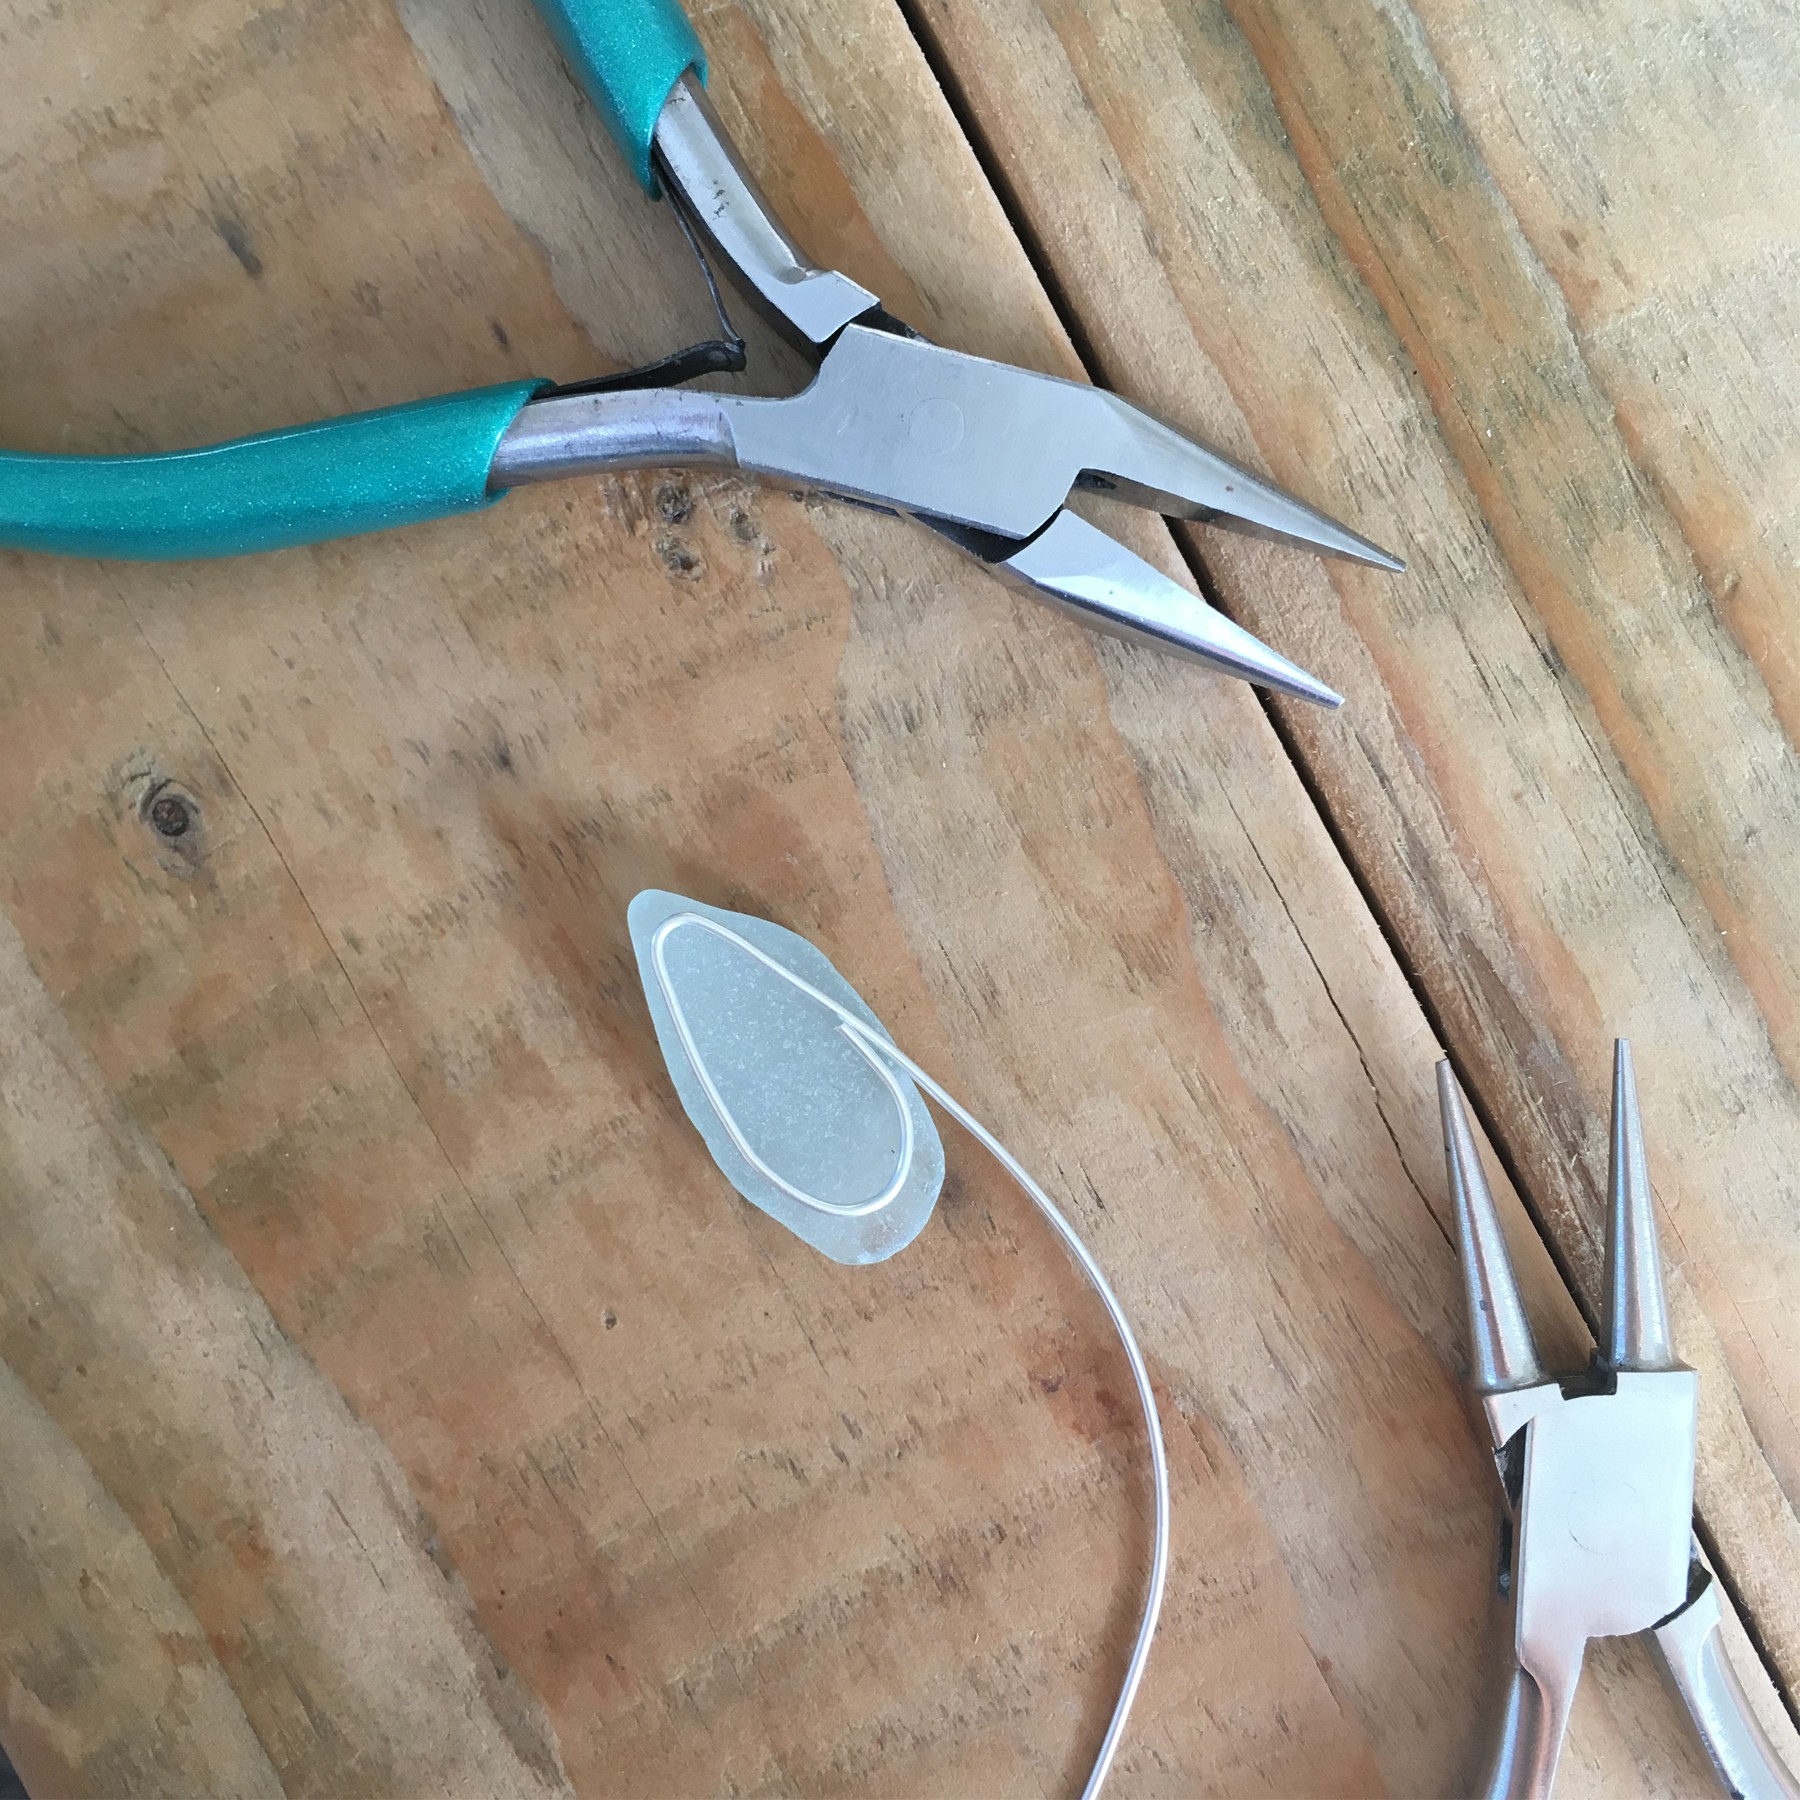
Step 1
Create a wire ring a bit smaller than your stone, you want it to be about 1-2mm in from the outside edge of the stone. This will be the backing for your setting.
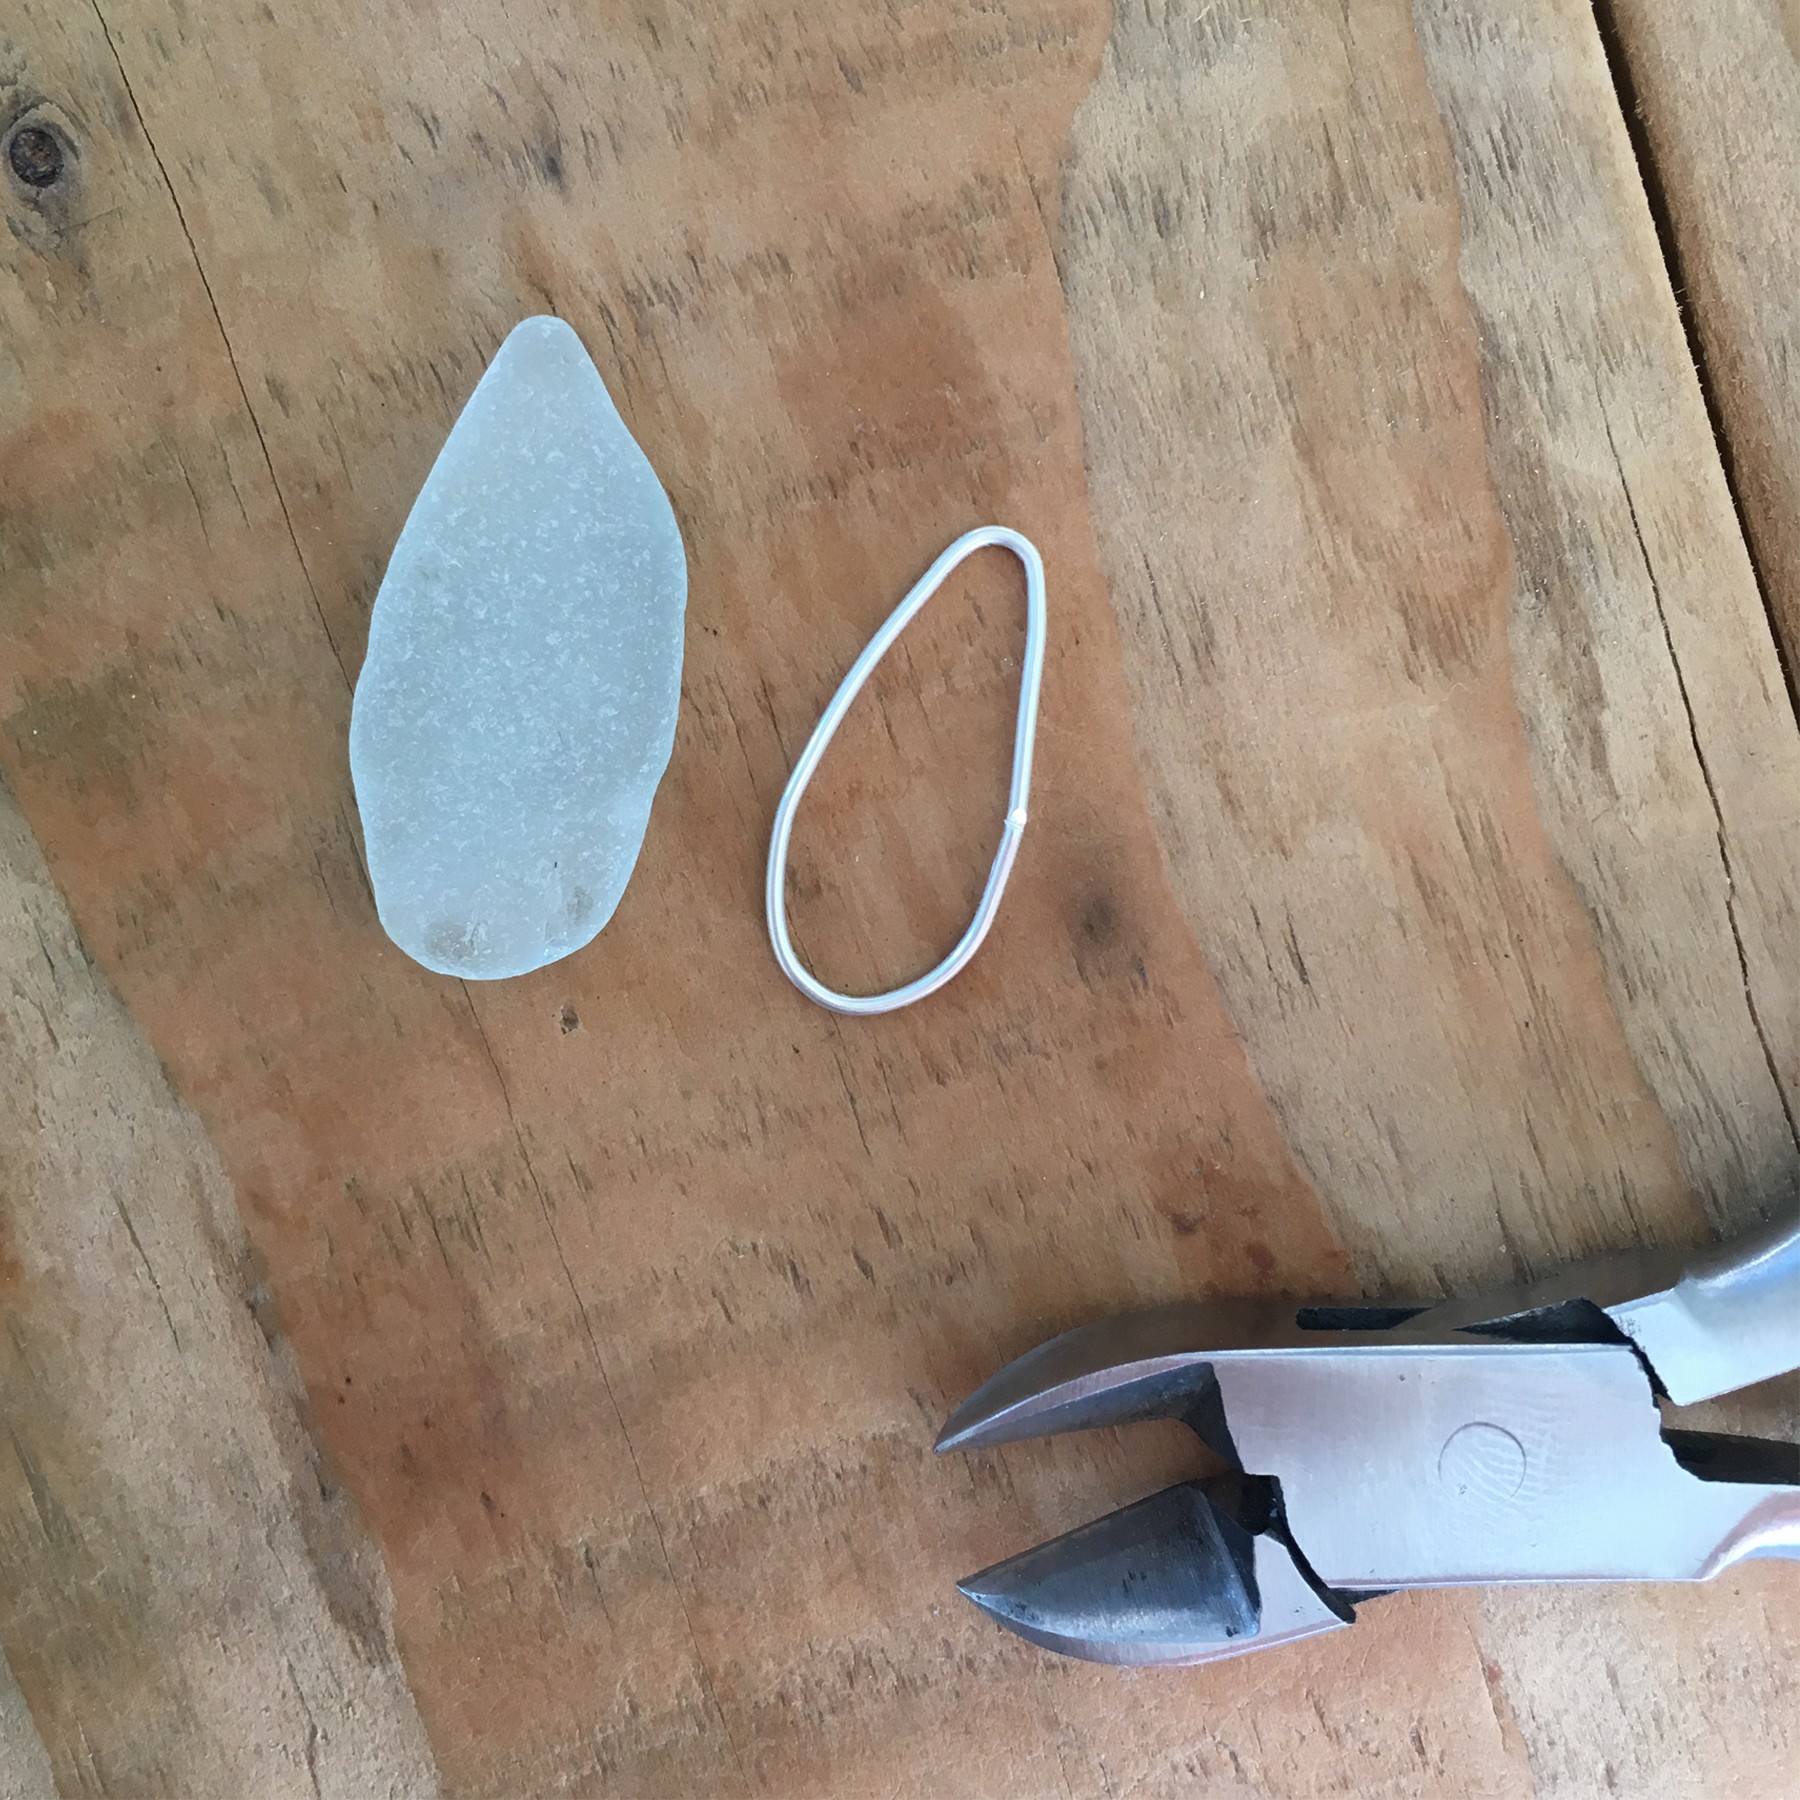
Step 2
Cut away any excess wire with side cutters then file the ends of the wire to make sure they sit flush ready for soldering.

Step 3
Next you need to cut the lengths of wire for your prongs (you need them long enough to wrap around the edges of your stone so as a gauge make sure they are about double the height of the stone). It's always handy to have a bit extra as you can cut it down to size later. you can add as many prongs as you like but we recommend at least 4 to make sure your stone is held in securely.
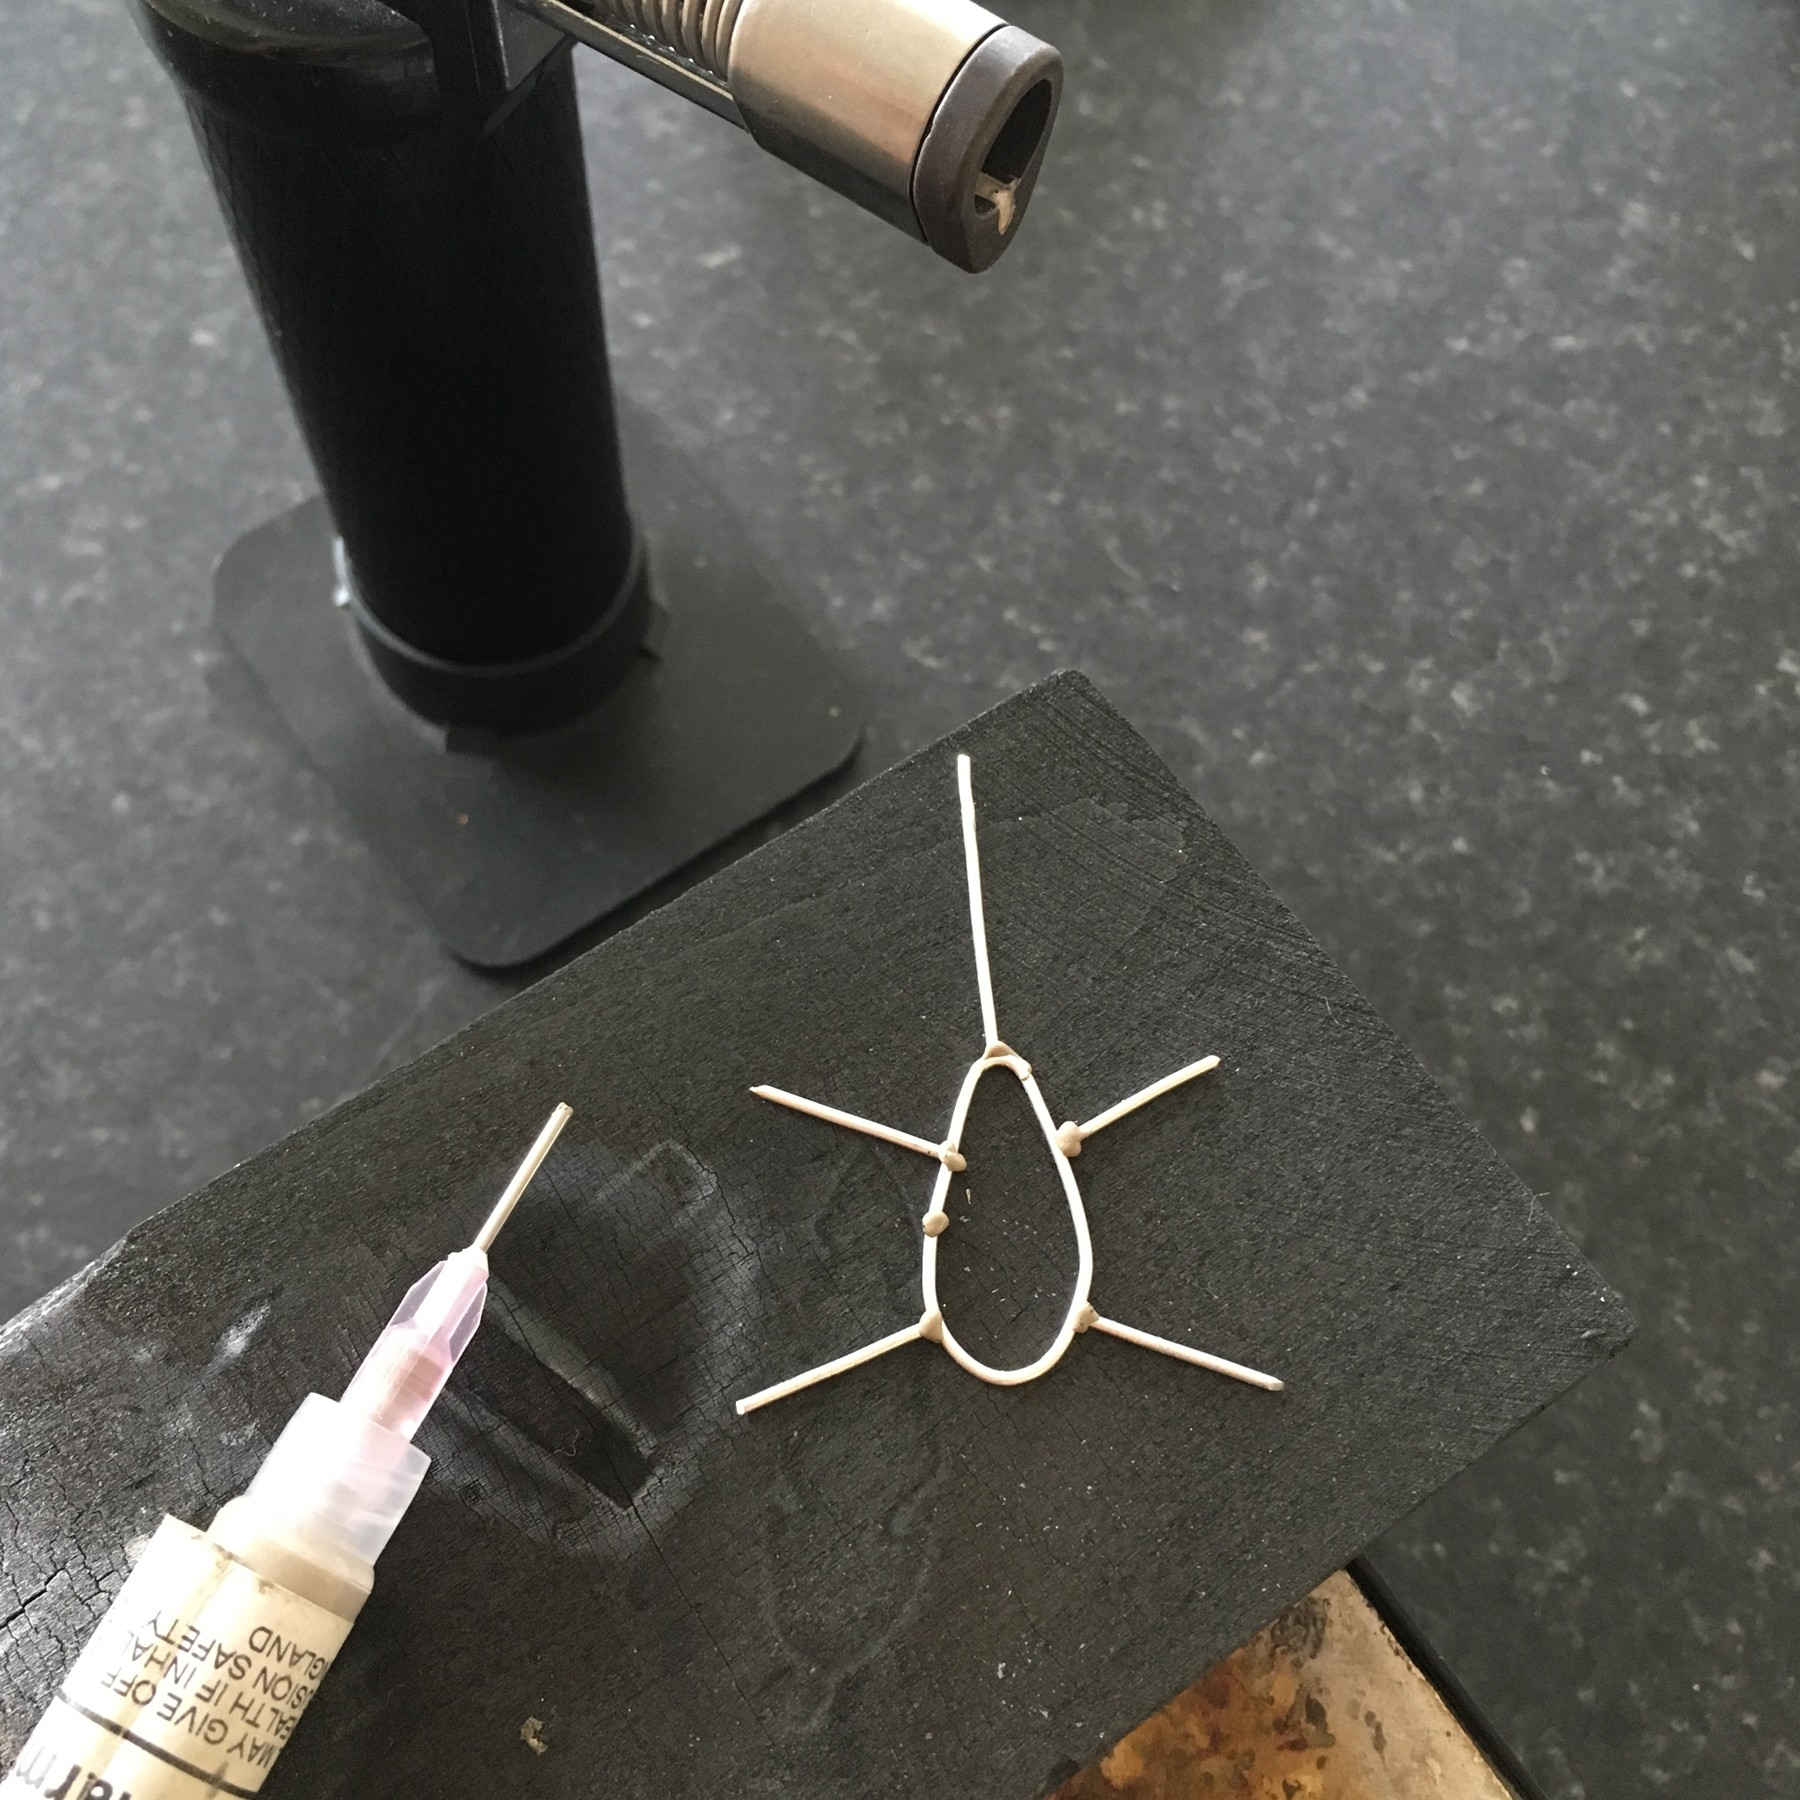
Step 4
Place the wire ring on a solder block then arrange your prongs around it in the positions you want them - try to ensure the arrangement will keep the stone safe. Once in the right place add your solder paste (any grade will be ok) or pallions and flux* to the joins. (If you're making your design into a pendant or earrings you may want to also add a bail at this point too, you can do this using a jump ring or another length of wire and then later form it into a ring with some round nose pliers - this is the method we have chosen).
*We do find the solder paste better for this job as its easier to apply it to the positions you want without the possibility of it moving once you apply the heat.
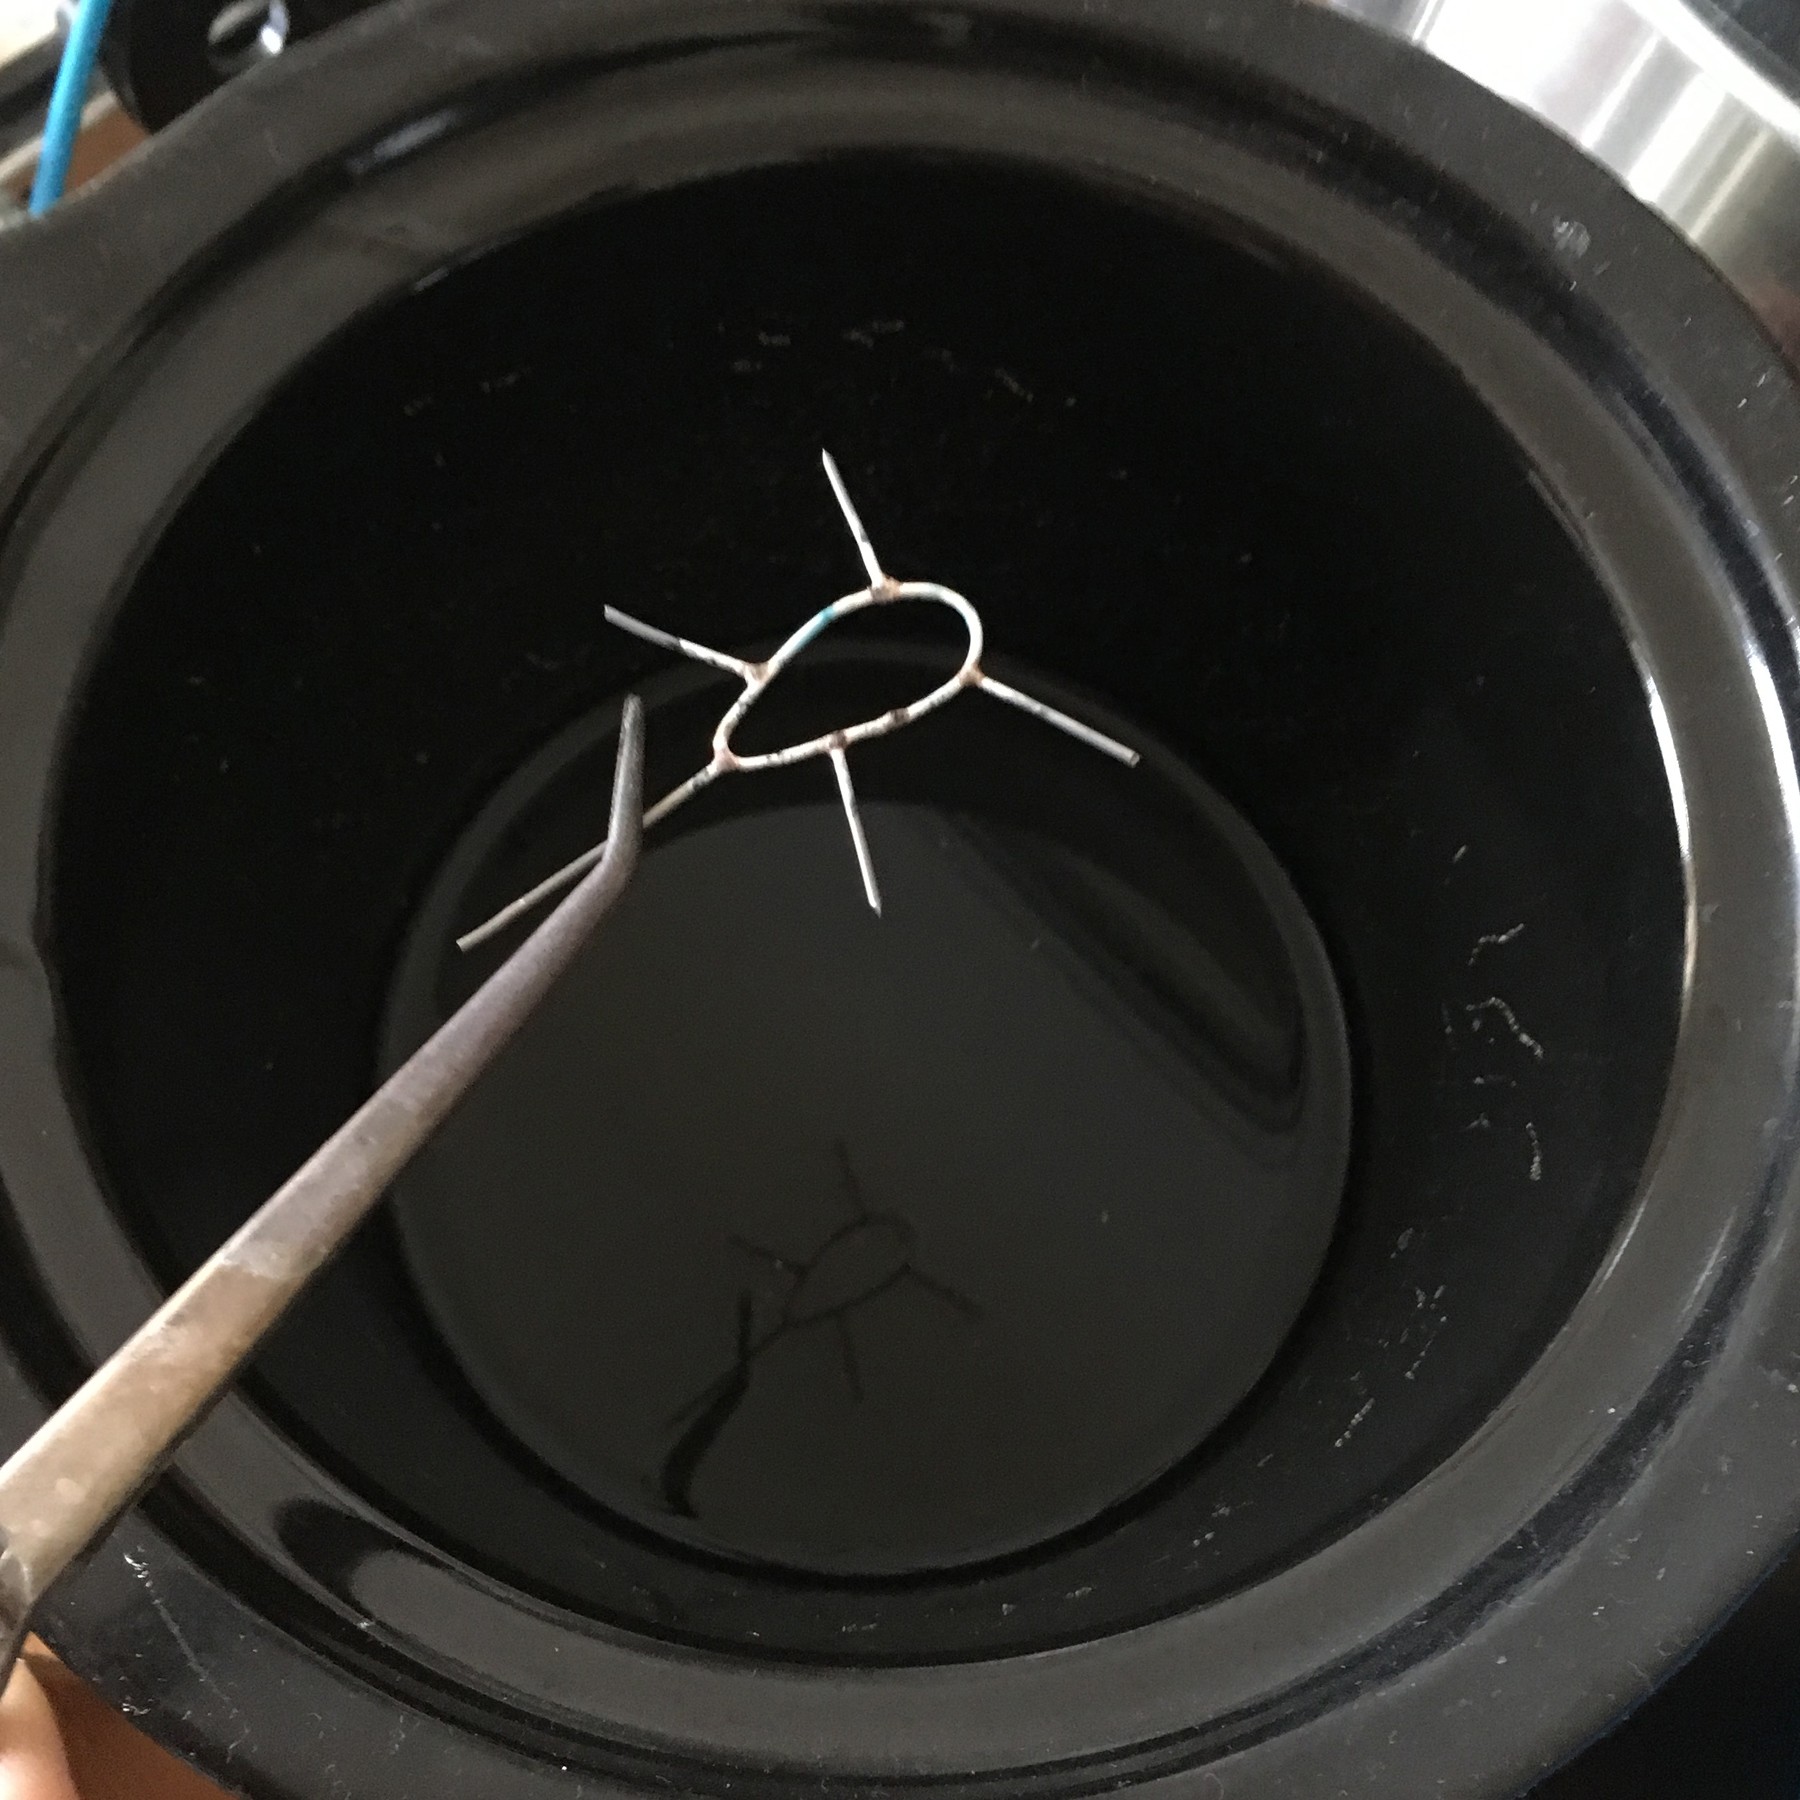
Step 5
Once you've applied your solder, take your gas torch and heat the piece until the solder flows, when all the joins have been soldered use some insulated tweezers to transfer the piece to your safety pickle and leave for a few minutes to remove the fire residue.
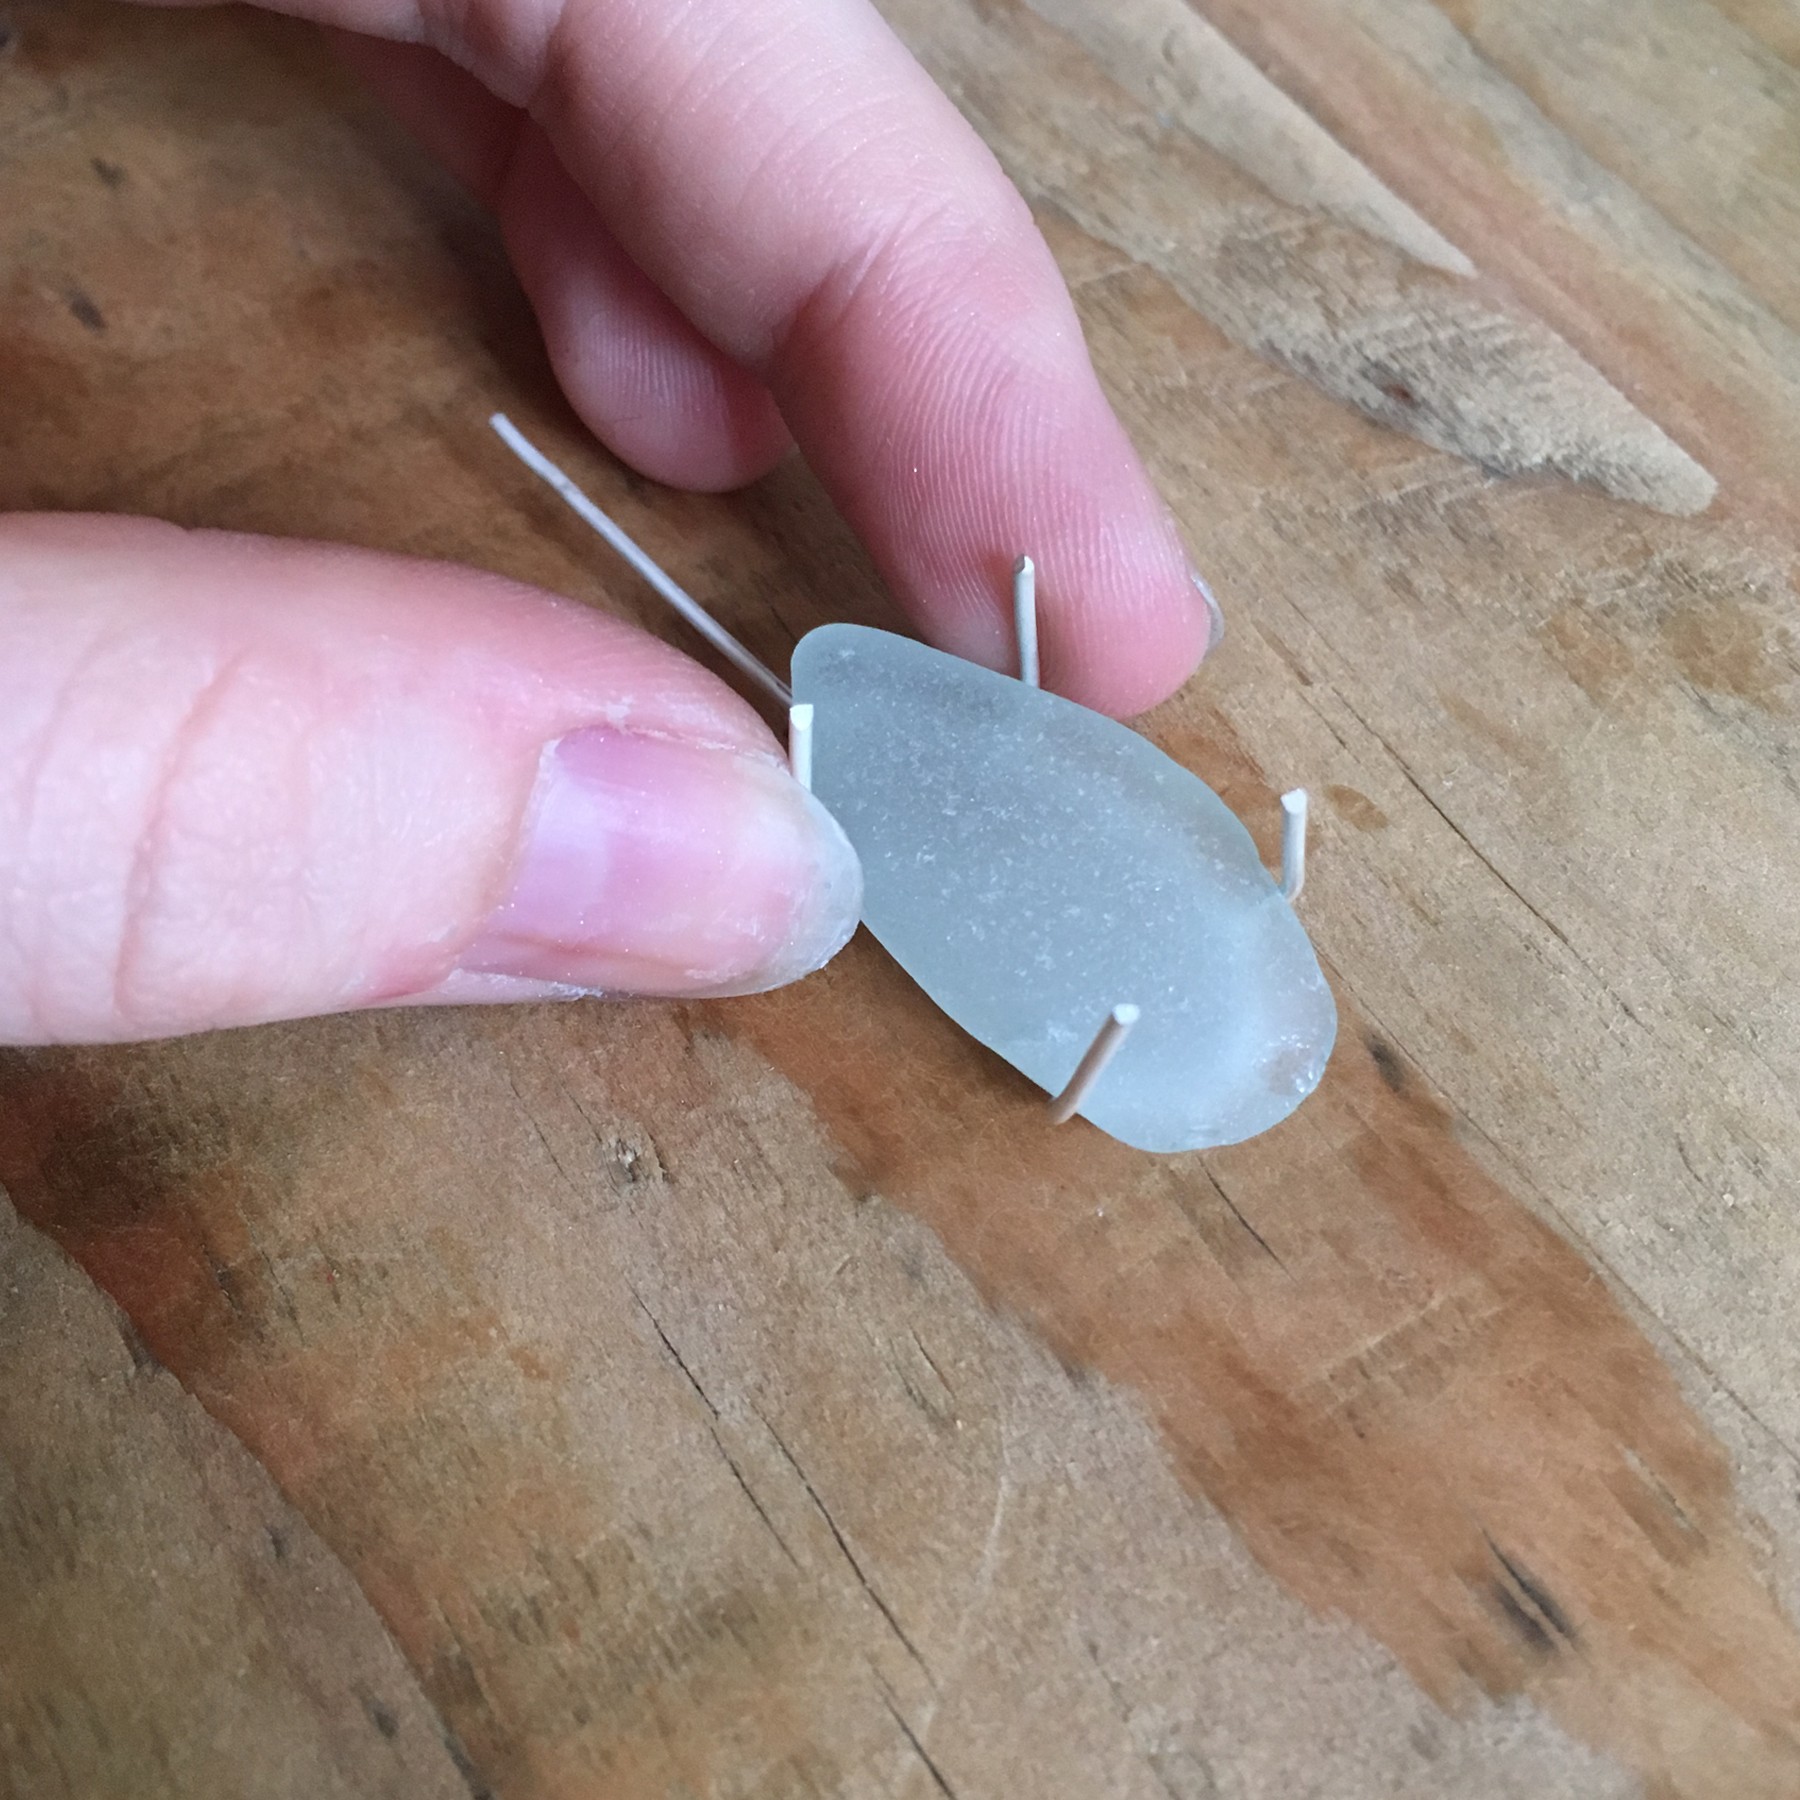
Step 6
Place your stone in the centre of your wire ring. Keeping it central, gently bend the prongs so they are sitting at a 90 degree angle. This should be quite easy to do as the wire will be annealed from the soldering process. You can use some flat nose pliers to help if you're finding it difficult to shape. Ensure your stone fits snugly between the prongs.
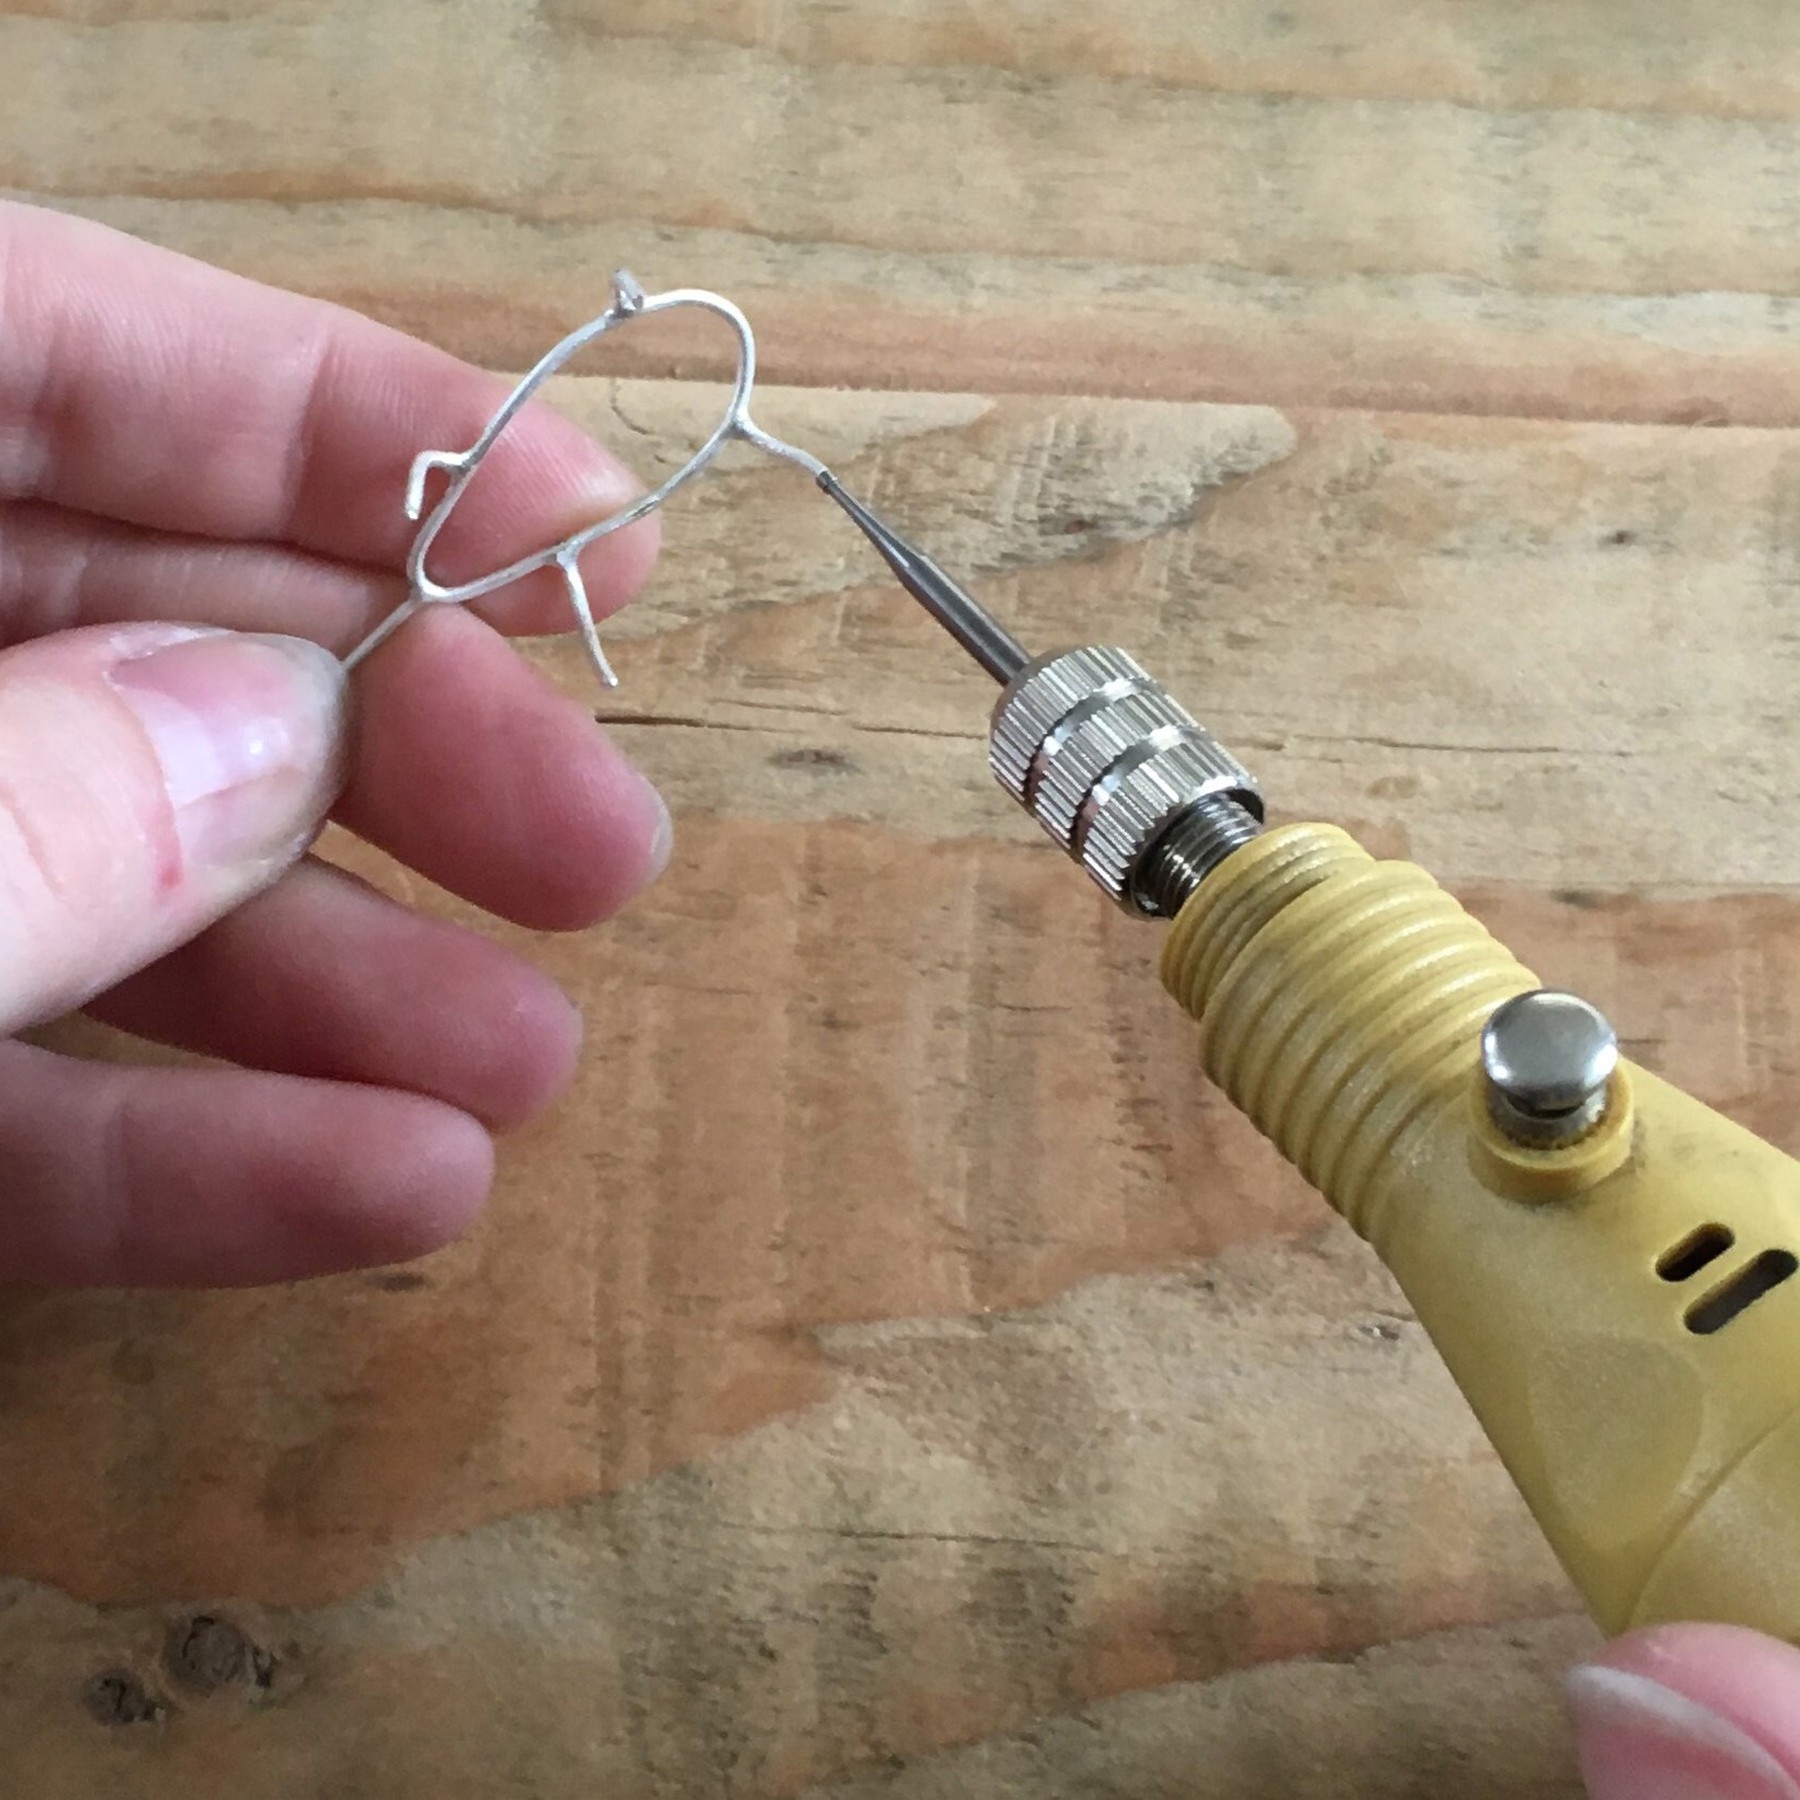
Step 7
Cut off your prongs to your desired length, you want these to be long enough to neatly fold over the top of the stone to secure it in place. At this point you will also want to round off the end of your wire prongs, you can so this with needle files or wet and dry sanding paper but we recommend using a cup burr to easily round the ends of the wire.
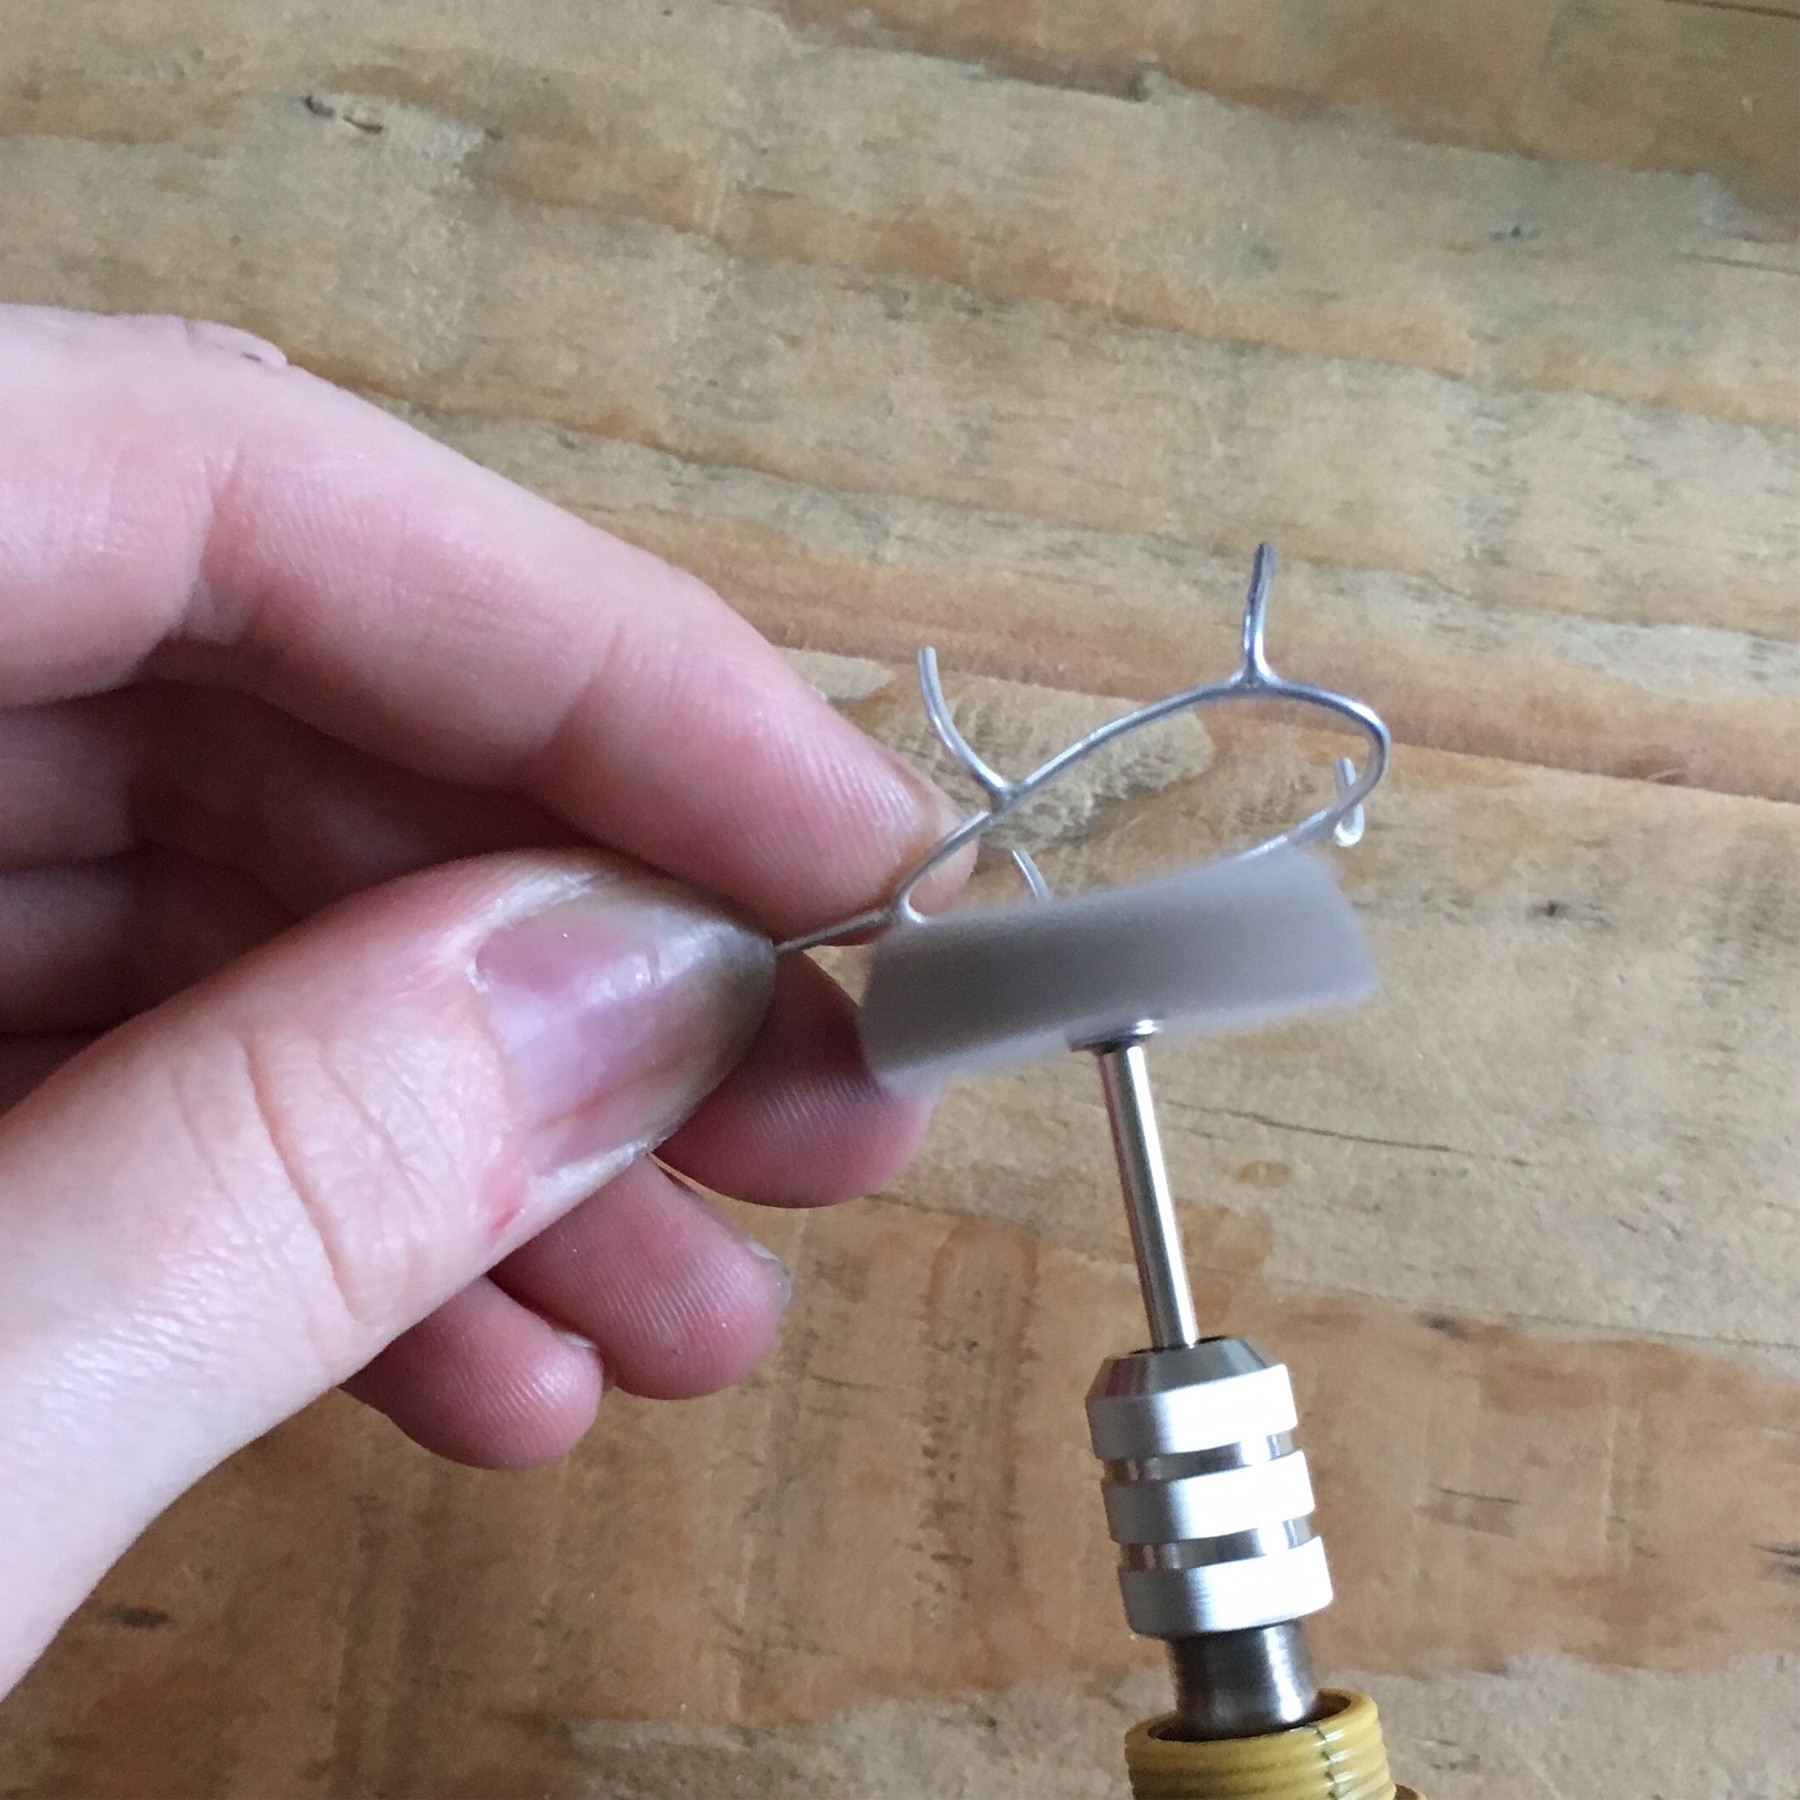
Step 8
Once you've finished neatening up your prongs check all your solder joins are neat and free of any excess solder. You can now polish up the setting - there are a few methods to polish up your setting, you can use some polishing attachments on an electric hobby drill, you can put them into a barrel tumbler or you can do it manually and use some polishing papers. If you would like your design have a satin finish polish with a wire brass brush. (One thing to note here is that if you have made your setting to be used on a ring you will want to solder the complete setting onto the ring band before polishing it up and setting the stone).
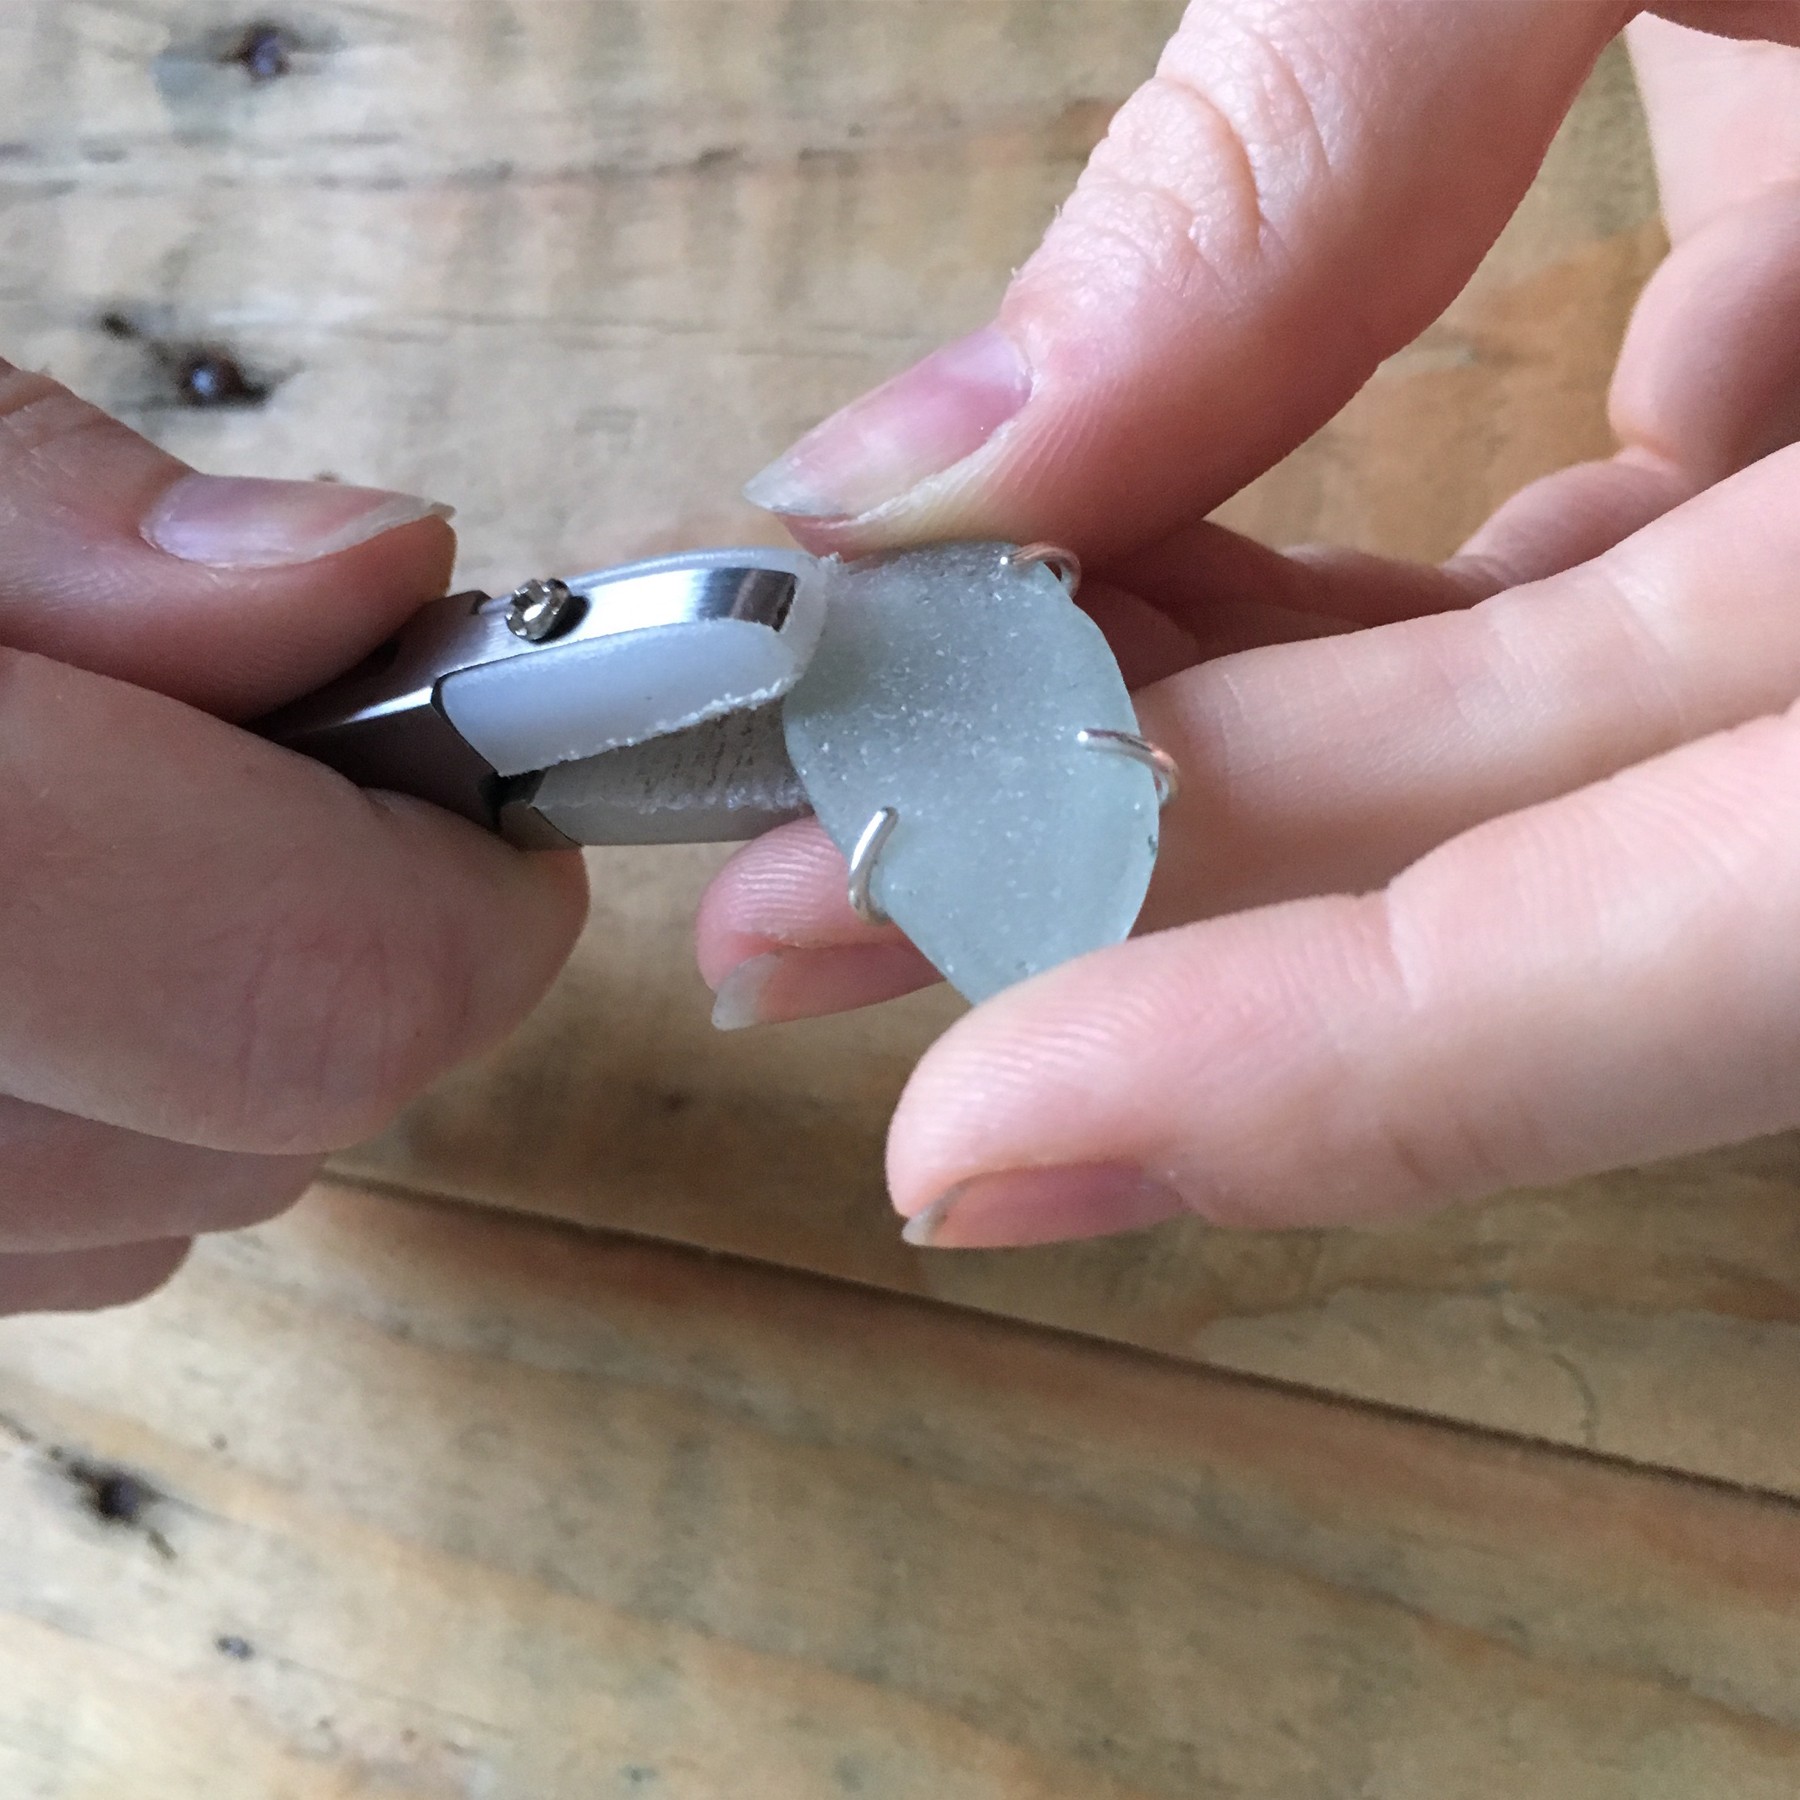
Step 9
Last step is to set your stone! Take your time to push the prongs over the edges of your stone, a pusher or some nylon jawed pliers can be used to help you do this. You want to make sure your stone is securely in place and does not move in the setting. You may wish to add a small amount of glue to the back of the setting under the stone for added security.
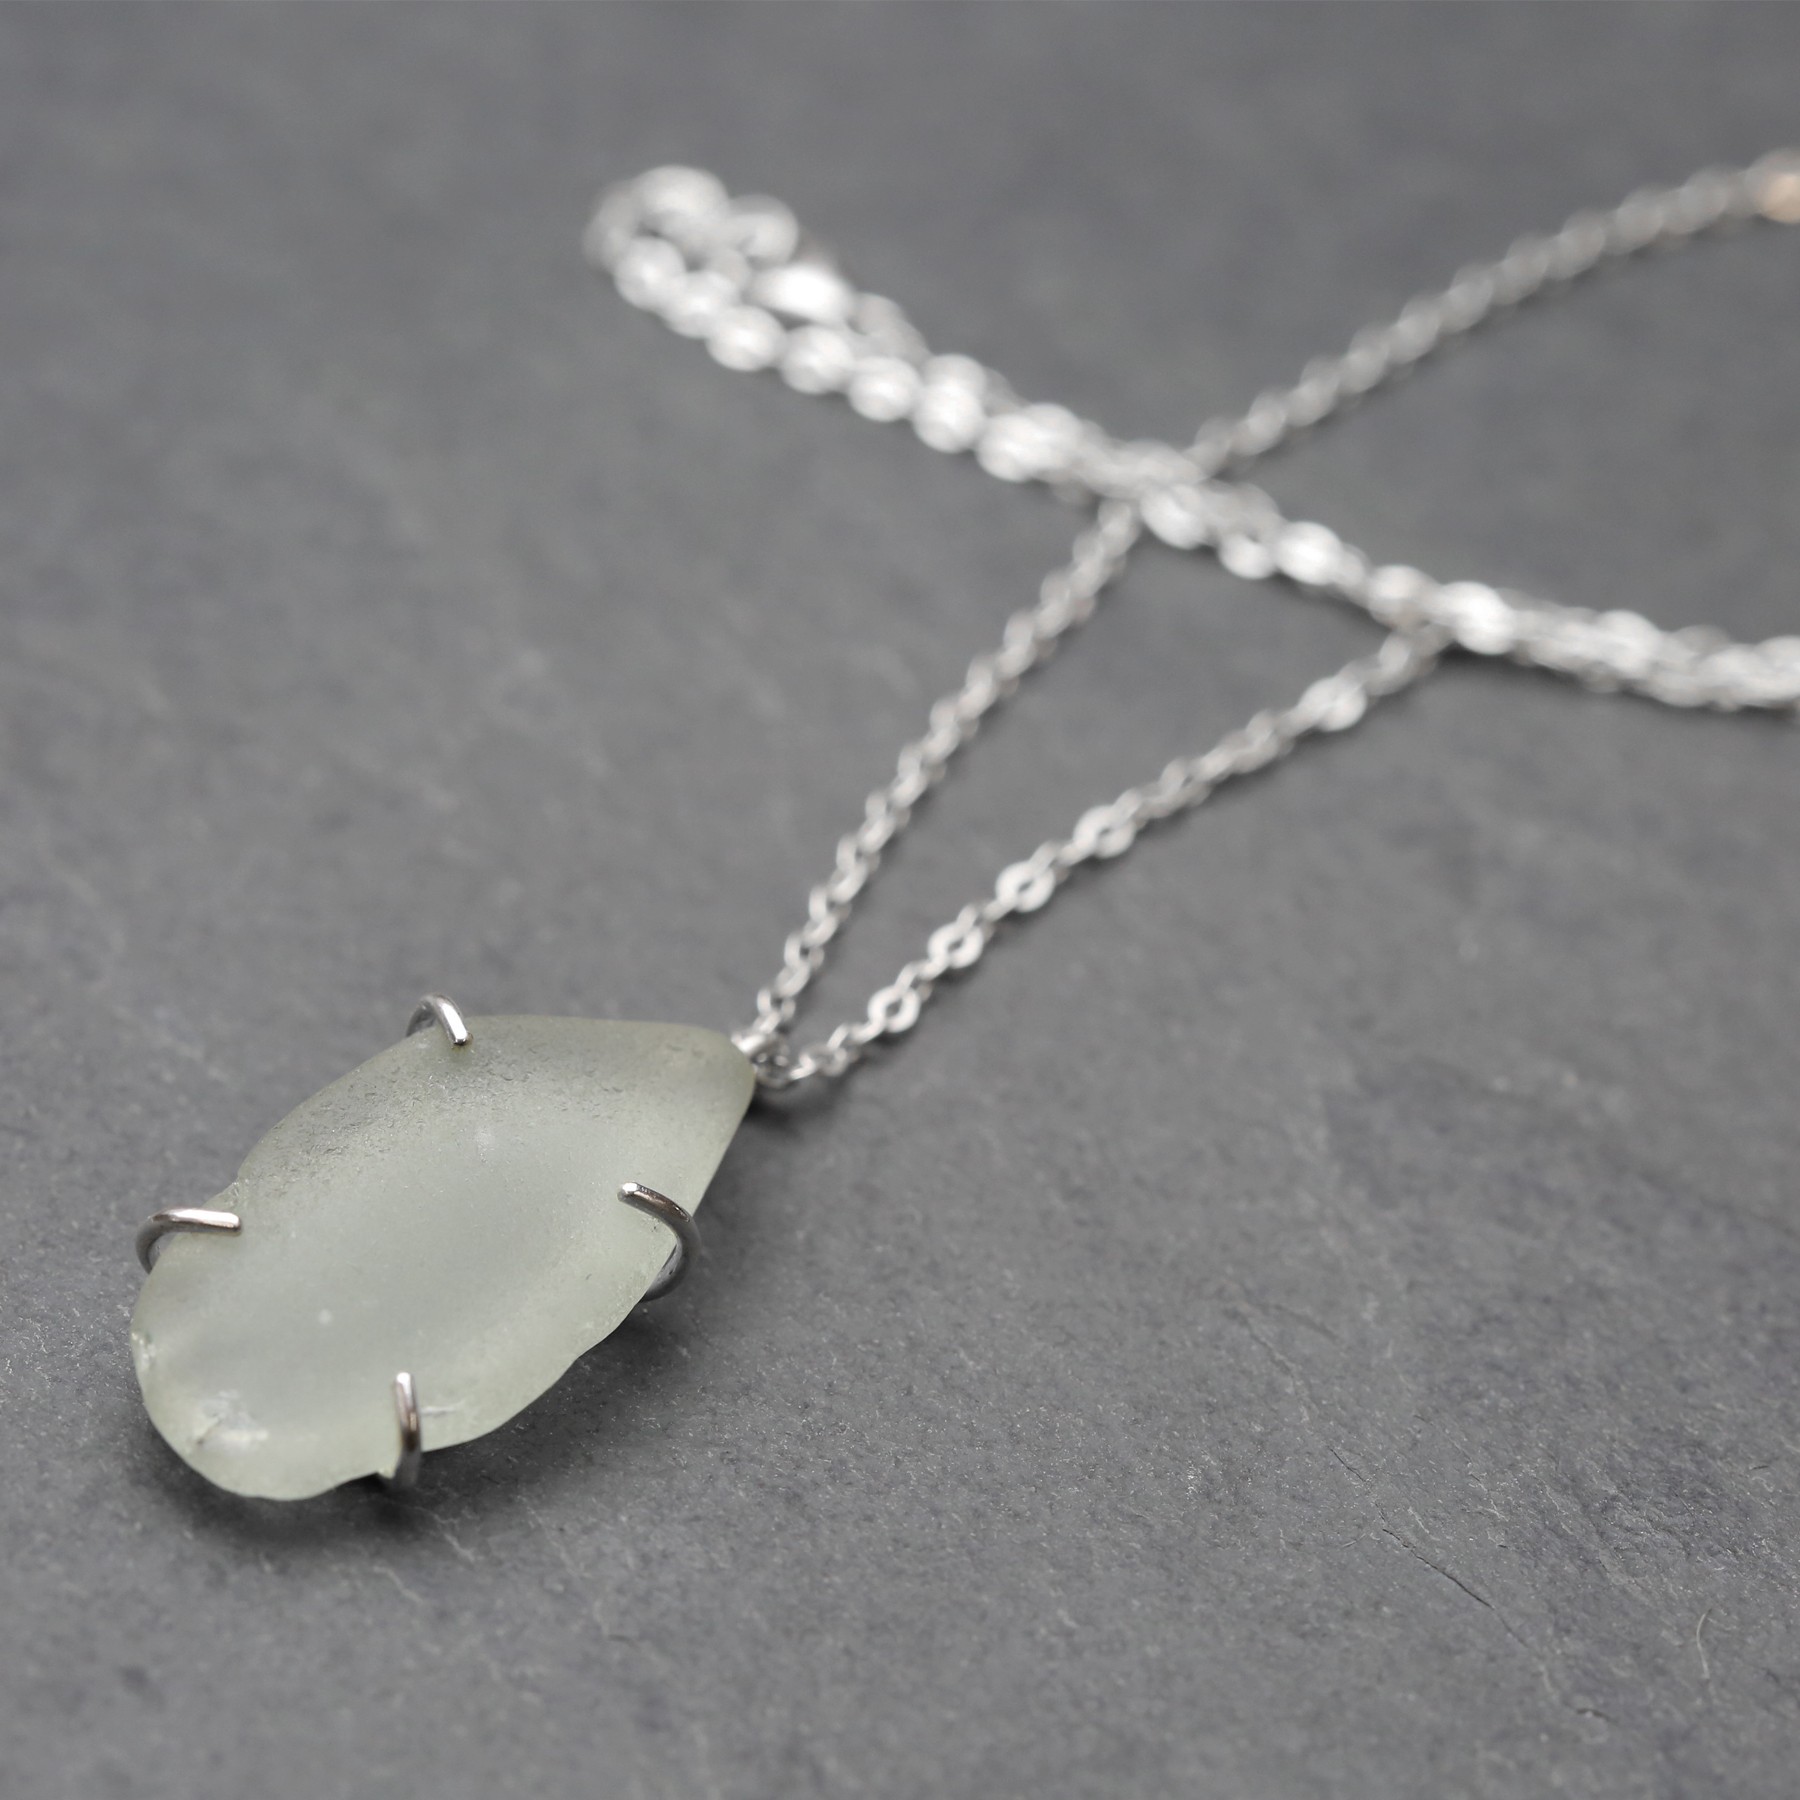
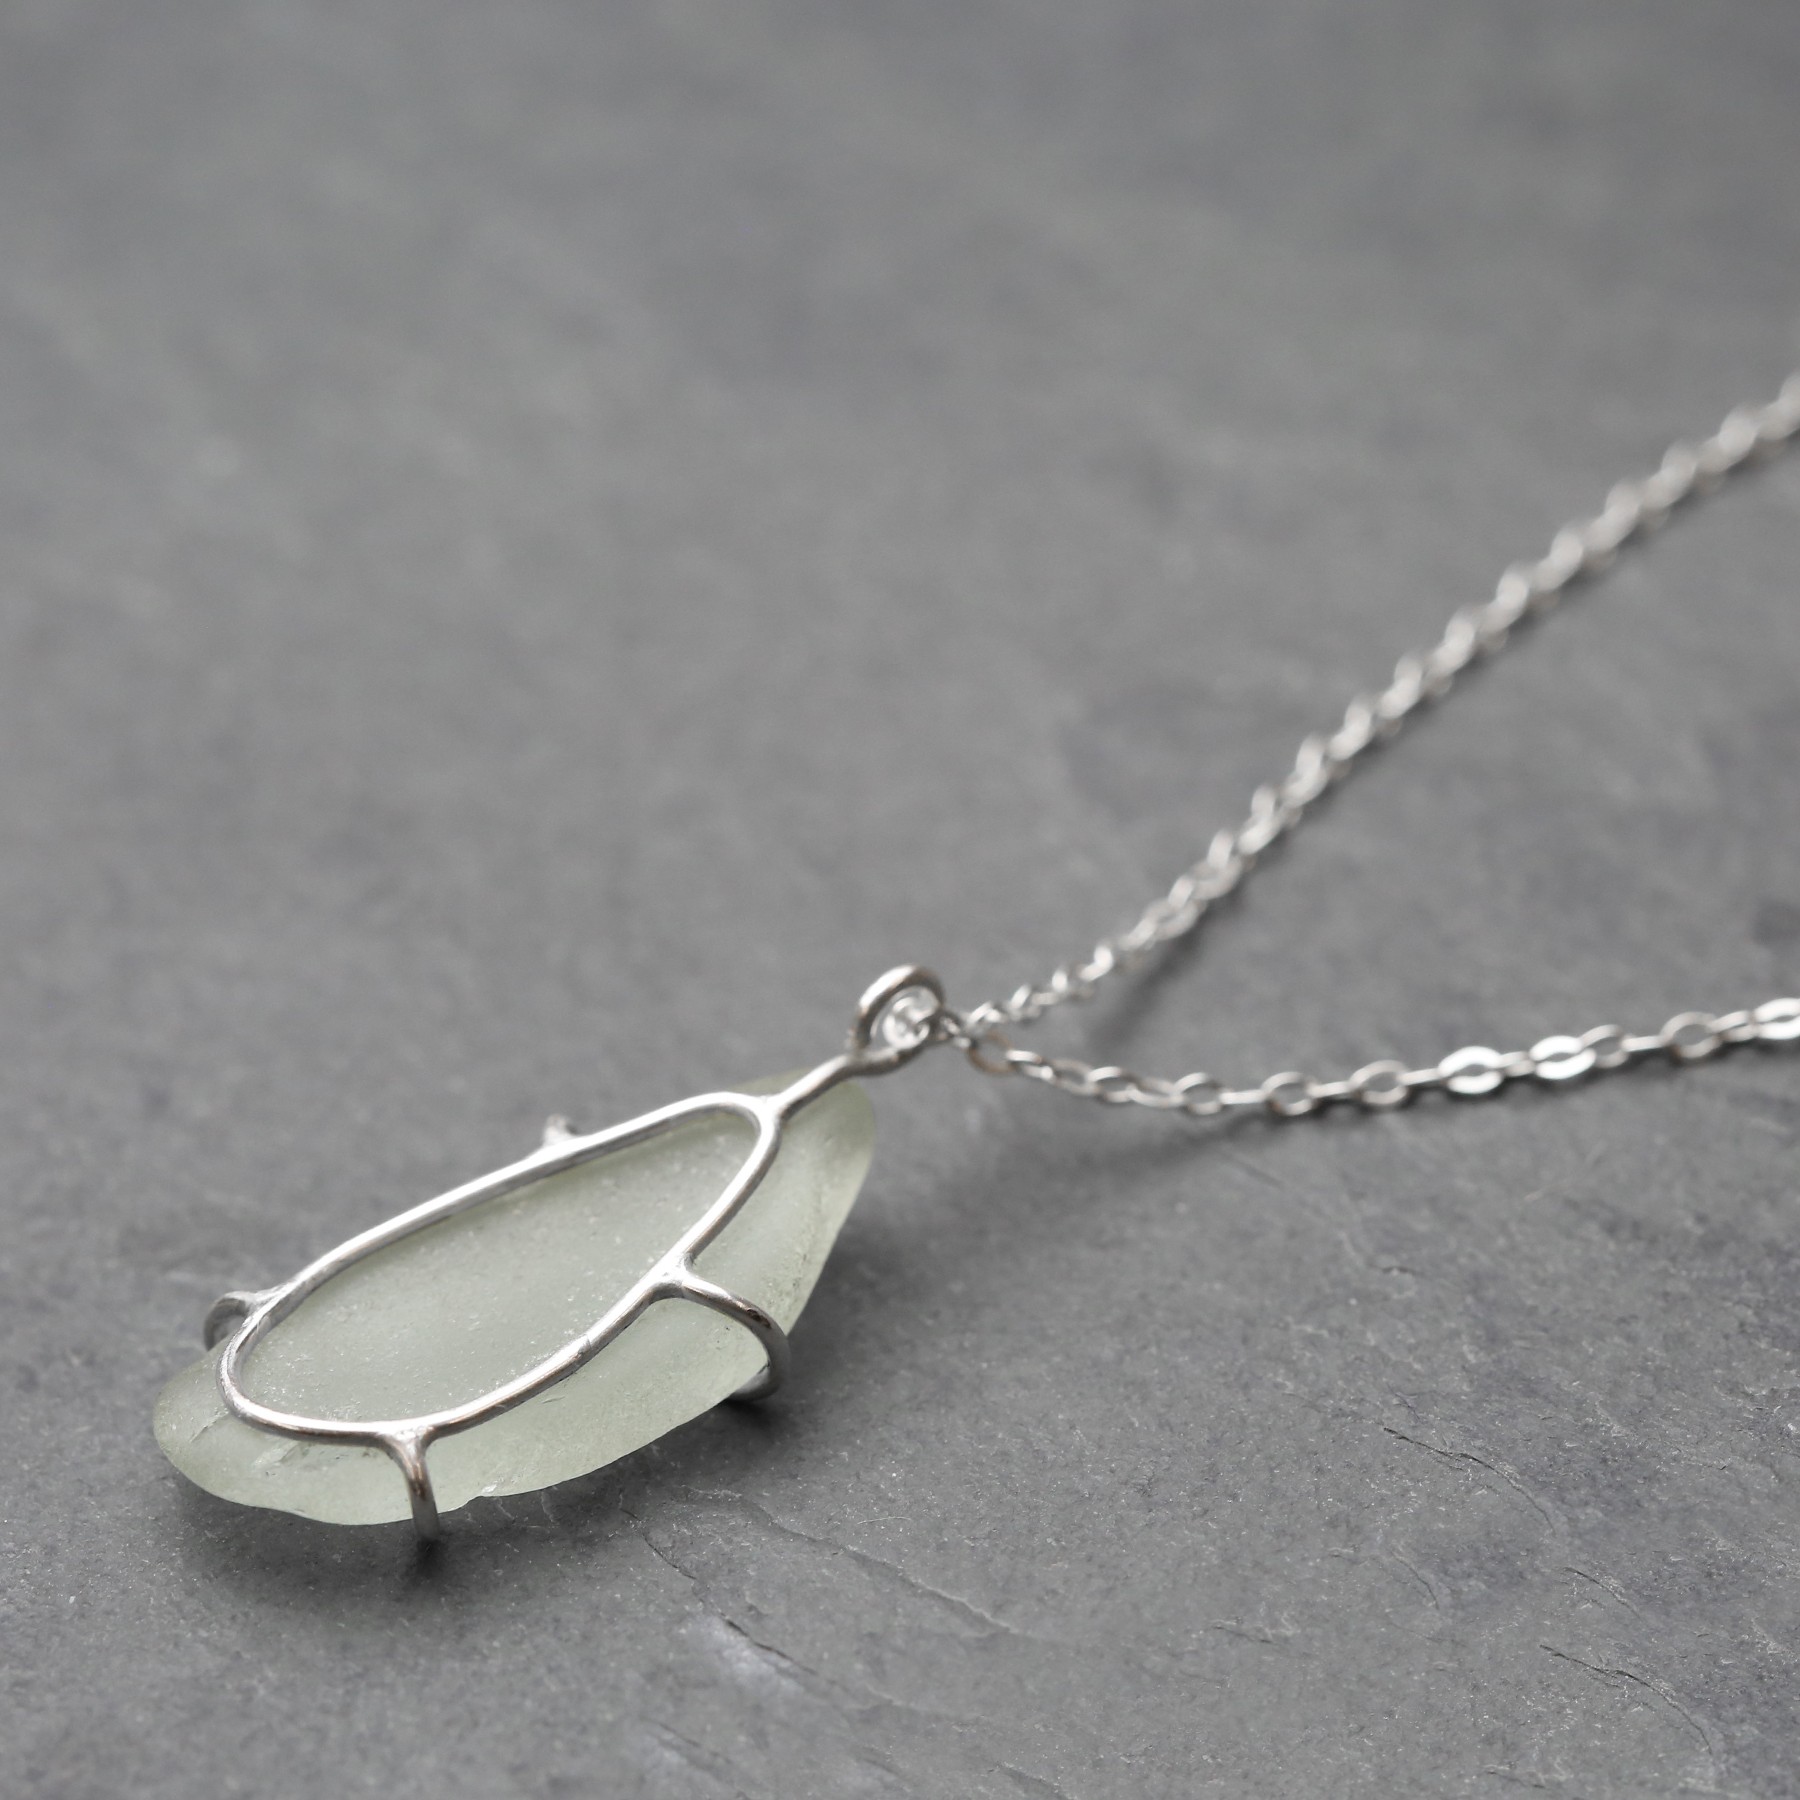
Your setting is now complete!
The products used in this project are suggestions to inspire you. Products used were compatible at the time of making but do be aware that stocks can vary, so do use your own judgement as to the compatibility of each item when making.
Also in this section:
- The Essential Tools For Setting Gemstones
- Your Guide To Stone Setting Burrs For Jewellery Making
- What Is A Bezel Rocker?
- Types Of Settings & How To Use Them
- Types Of Settings For Calibrated Cabochon Stones
- Types Of Settings For Faceted Stones
- Types Of Settings For Free-Form Stones & Crystals
- Calibrated Gemstones & Size Tolerance In Jewellery Making
- Ready Made Settings vs Making Your Own Settings
- 7 Ways To Make Your Own Gemstone Ring
- How To Set Earstuds For Half Drilled Beads
- How to Set Flat Plates and Milled Edge Jewellery Settings
- How To Set Snaptite Settings
- How To Set Gemstones In Gallery Wire Settings
- How To Set Backset Settings
- How To Set Wraptite Settings
- How To Use Huggie Claw Settings For Crystals & Sea Glass
- What Are Bell Caps For Jewellery Making?
- How To Set A Pre-Notched Setting
- How To Set Claw Settings
- How To Make A Decorative Ring Setting For A Free Form Cabochon
- How To Make A Tube Setting For A Faceted Stone
- 4 Drilled Sea Glass Earring Projects
- Jewellery Making With Sea Glass: Drilling & Stone Setting Tutorials
- How To Drill Sea Glass For Jewellery Making
- How Much Bezel Strip/Gallery Wire Do I Need?
- Types Of Bezel Cups
- How to Adjust Bezel Settings to Fit Cabochons
- How To Set A Cabochon In A Bezel Setting
- How To Make A Gemstone Ring With A Bezel Cup
- How To Make A Bezel Set Cabochon Ring With 'Made By Oonagh'
- How To Make A Sea Glass Ring With Bezel Setting
- How To Make Bezel Set Cabochon Earstuds
- How To Make A Sea Glass Necklace With Backless Bezel Setting
- How To Bezel Set A Free Form Cabochon Onto A Textured Silver Pendant
- How To Make A Textured Pendant With A Freeform Gemstone Slice
- How To Make A Claw Set Cabochon Pendant
- How To Make A Prong/Claw Setting For Irregular Shapes Stones
- How to Make A Wire Edged Setting
- How To Make A Balled Claw Ring Setting
- Making An Australian Boulder Opal Pendant With Stardust Mine
- The Process Of Remodelling A Gemstone Ring With 'Honey Bee Design'
HAVE A QUESTION?
If you have any questions, feel free to get in touch with our friendly team who will be more than happy to give you advice over email or on the phone.
You can learn more and find inspiration by visiting our Jewellery Making Tutorials, Jewellery Making Kits and YouTube Channel. Don't forget to follow us on social media and tag us in your designs on Instagram & Facebook, we would love to see!