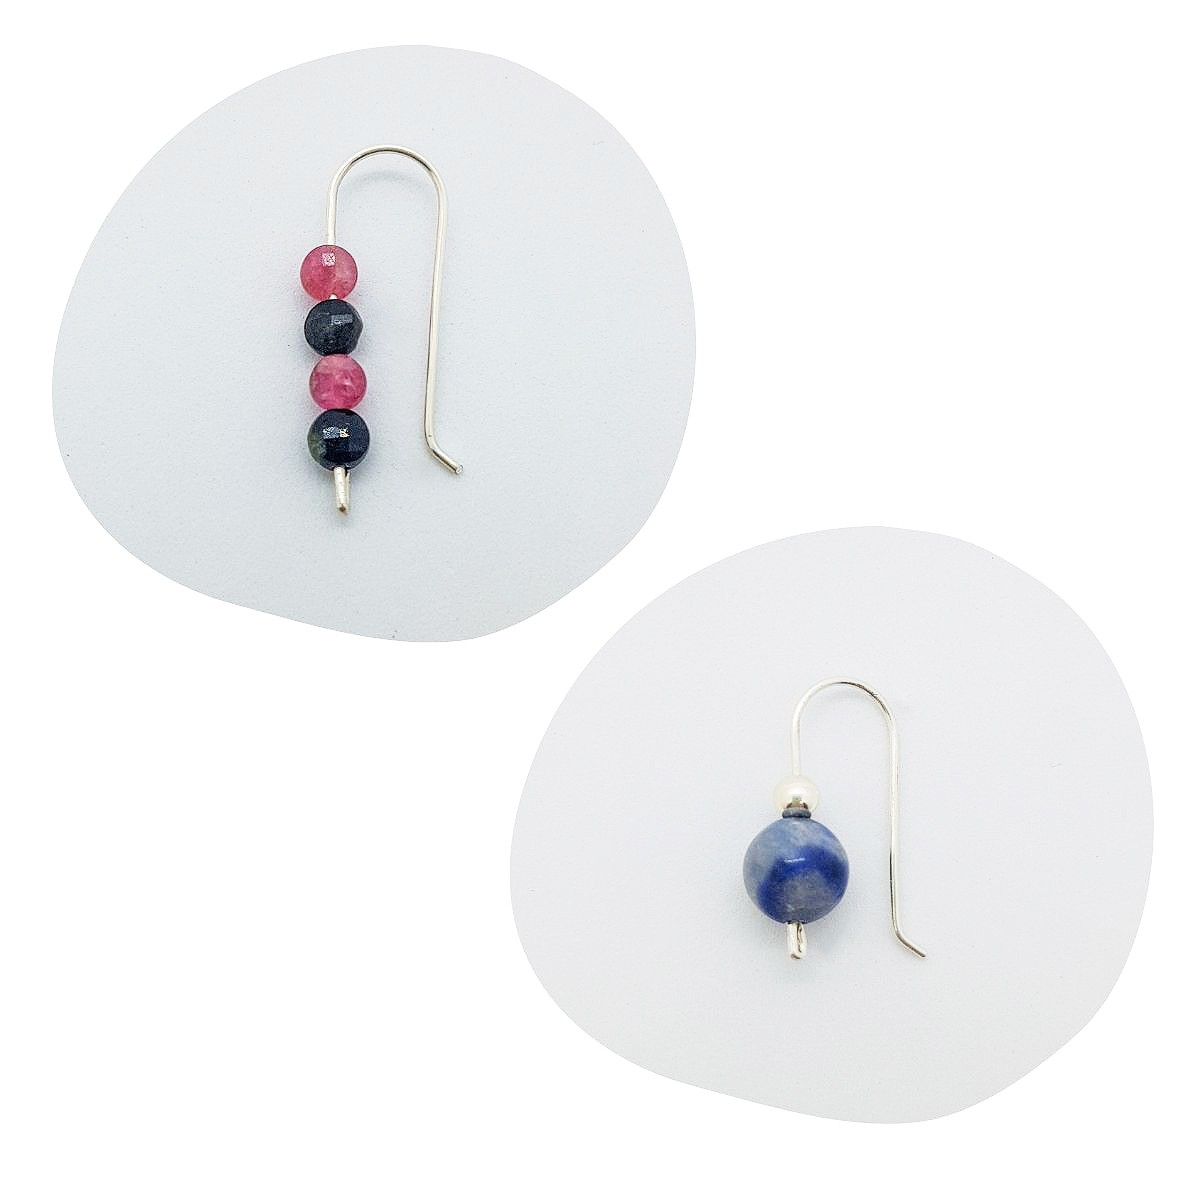
How To Make Earwires With Gemstone Beads
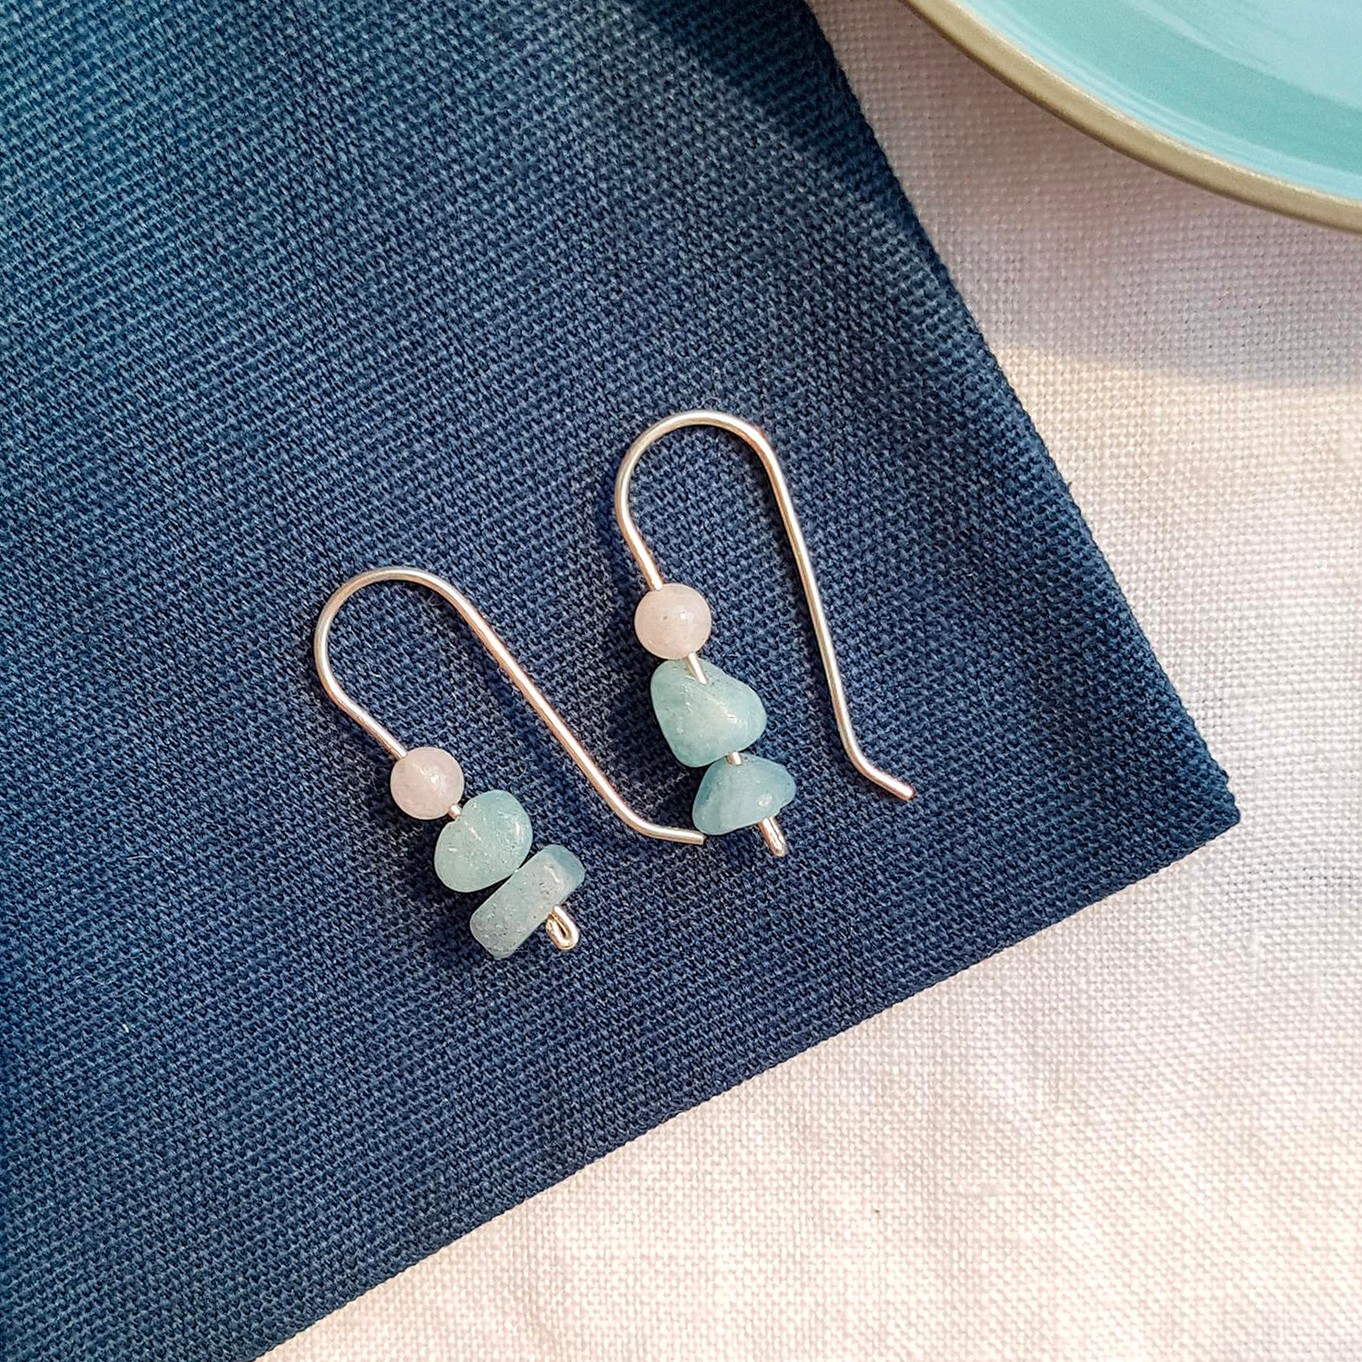
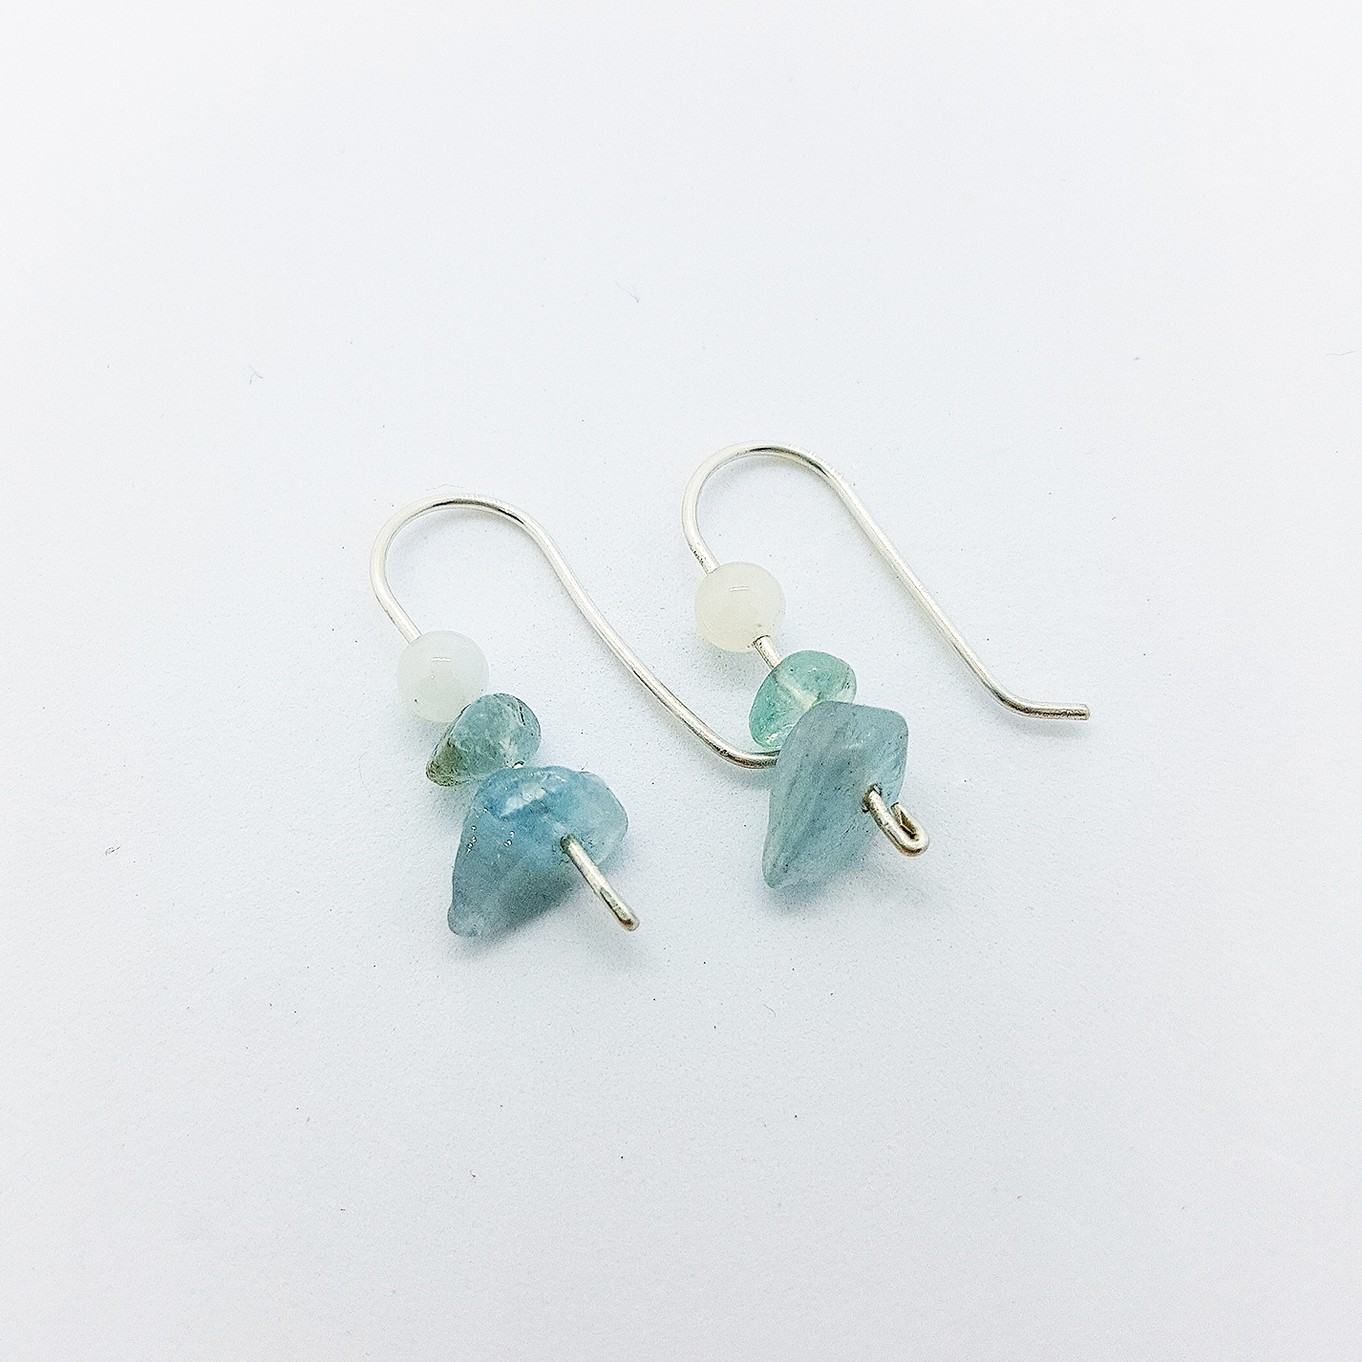
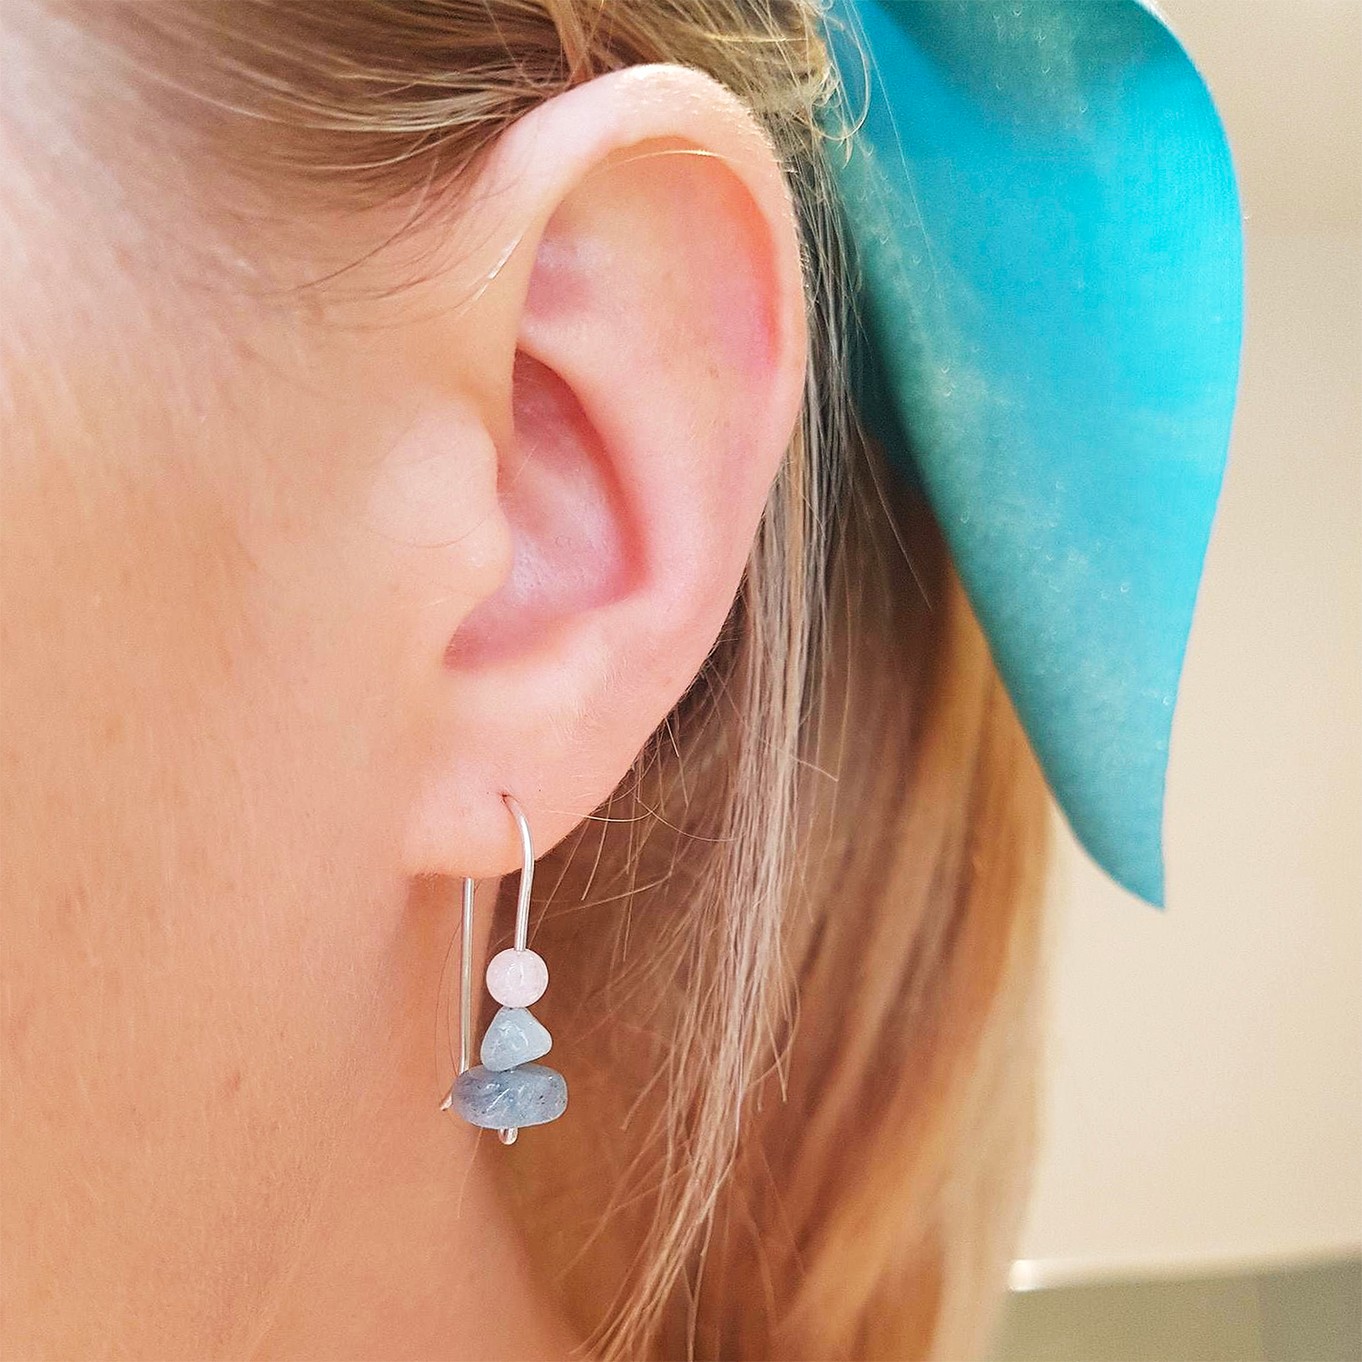
Guest tutor, Emma from Evren Blue shows you how easy it is to create your own earwires featuring beautiful gemstone beads!
This is a great beginner-friendly project! You need relatively few tools and the end result is something you can make over and over again, with any combination of beads and adapted to any style you like.
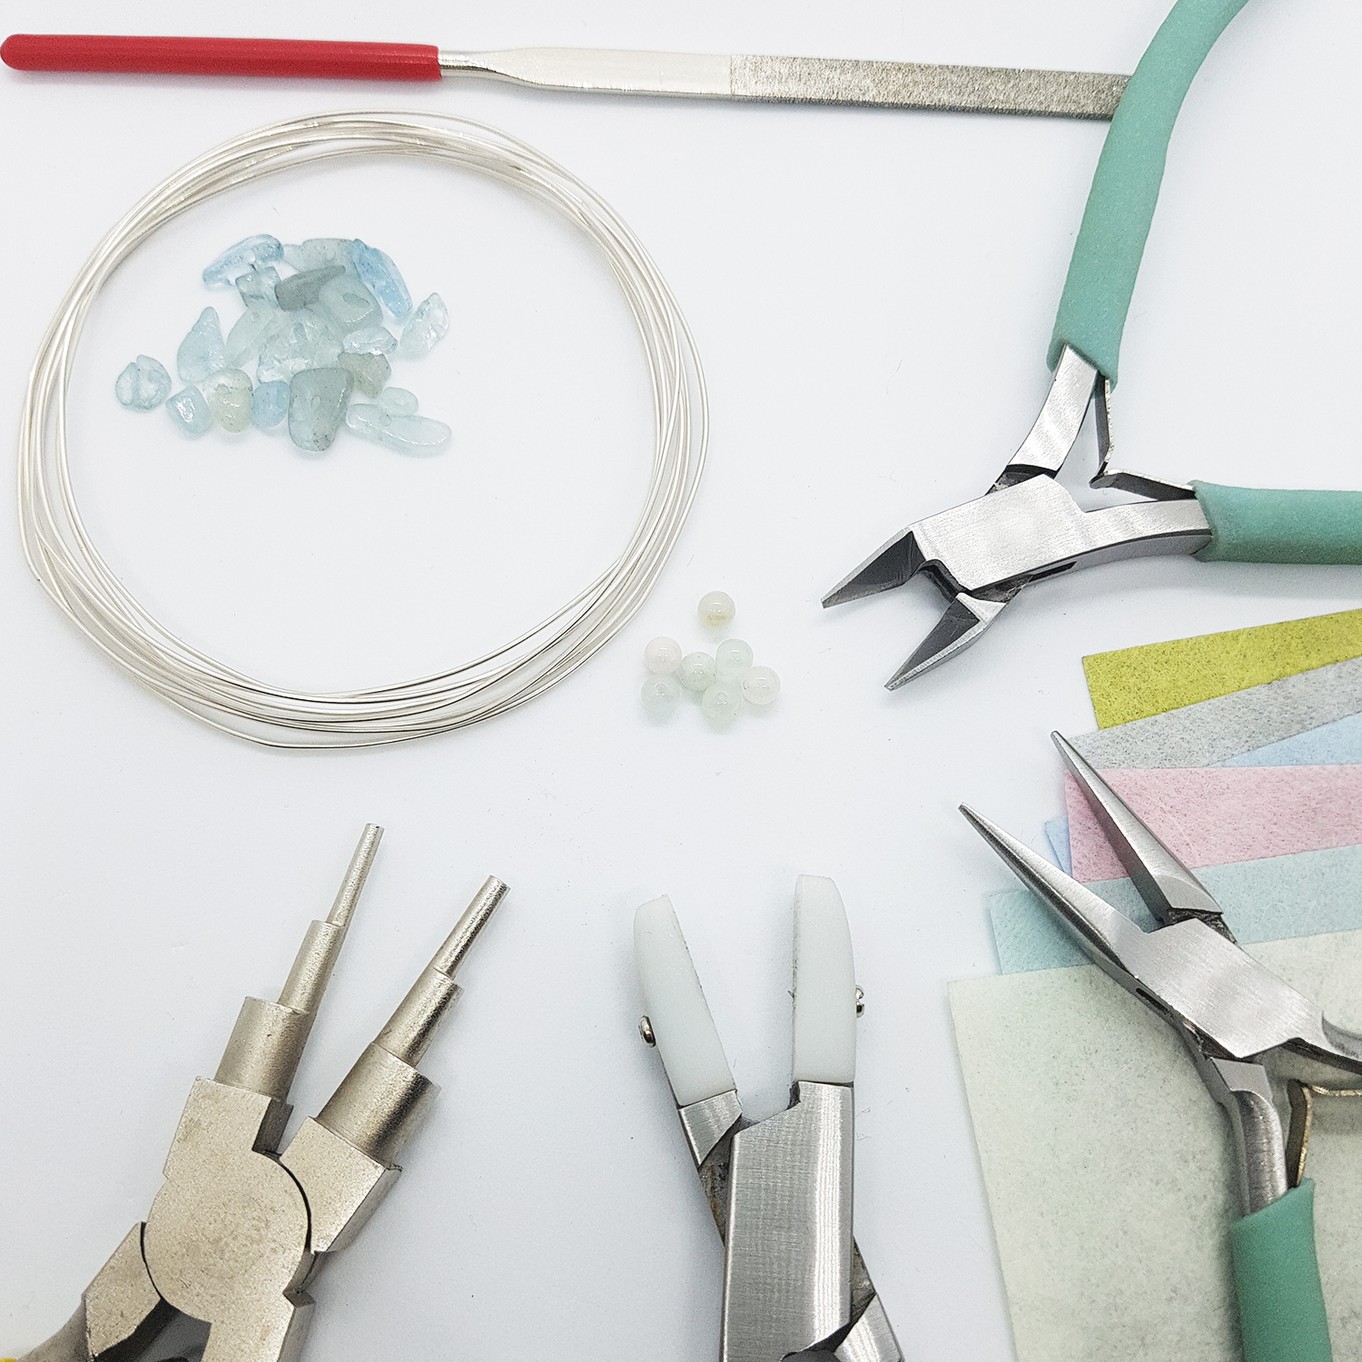
Recommended tools & supplies
- Side cutters
- Nylon jaw flat nose pliers
- Snipe nose pliers
- Needle file
- Polishing papers
- Bail making pliers or a pen
- 0.8mm (recommended size for earwires) metal round wire - I've used sterling silver
- Your choice of beads (ensure their hole is large enough to fit onto 8mm wire) I’ve used aquamarine chip beads and 4mm morganite and amazonite beads.
1. Measure
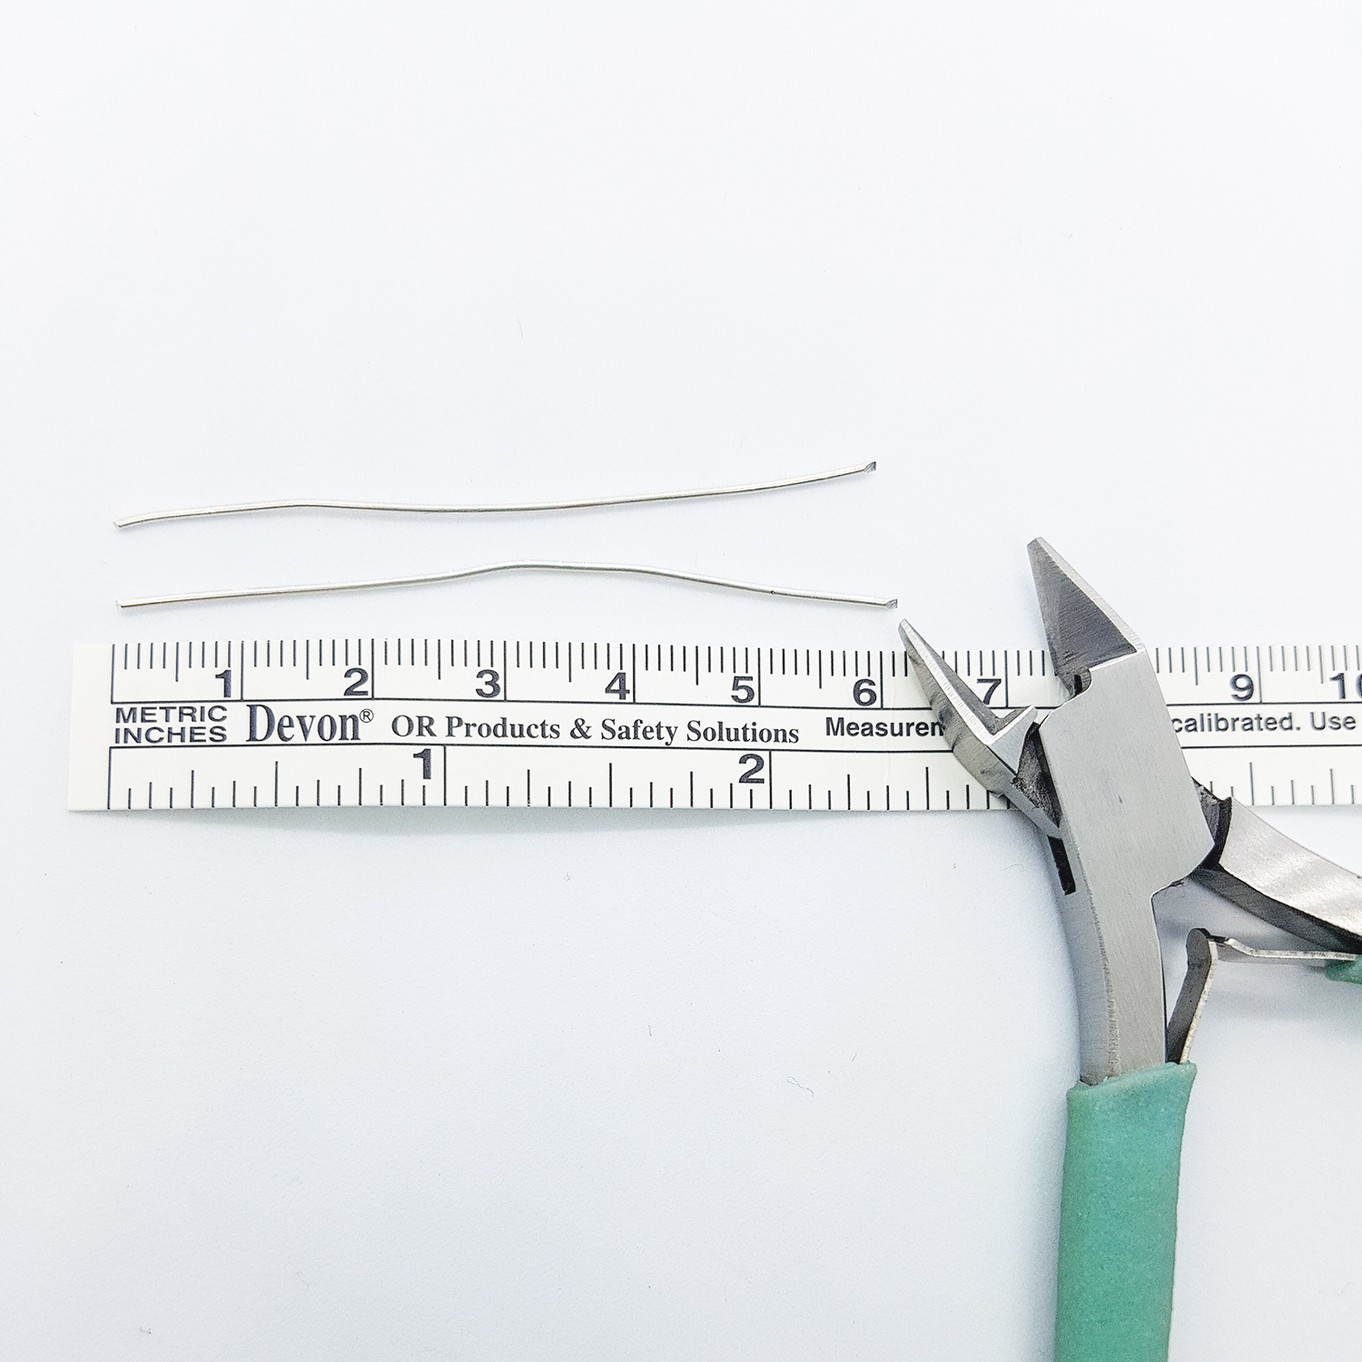
Measure approximately 2 lengths of 6-7cm of 0.8mm metal wire and cut with your side cutters.
2. Straighten & Work Harden
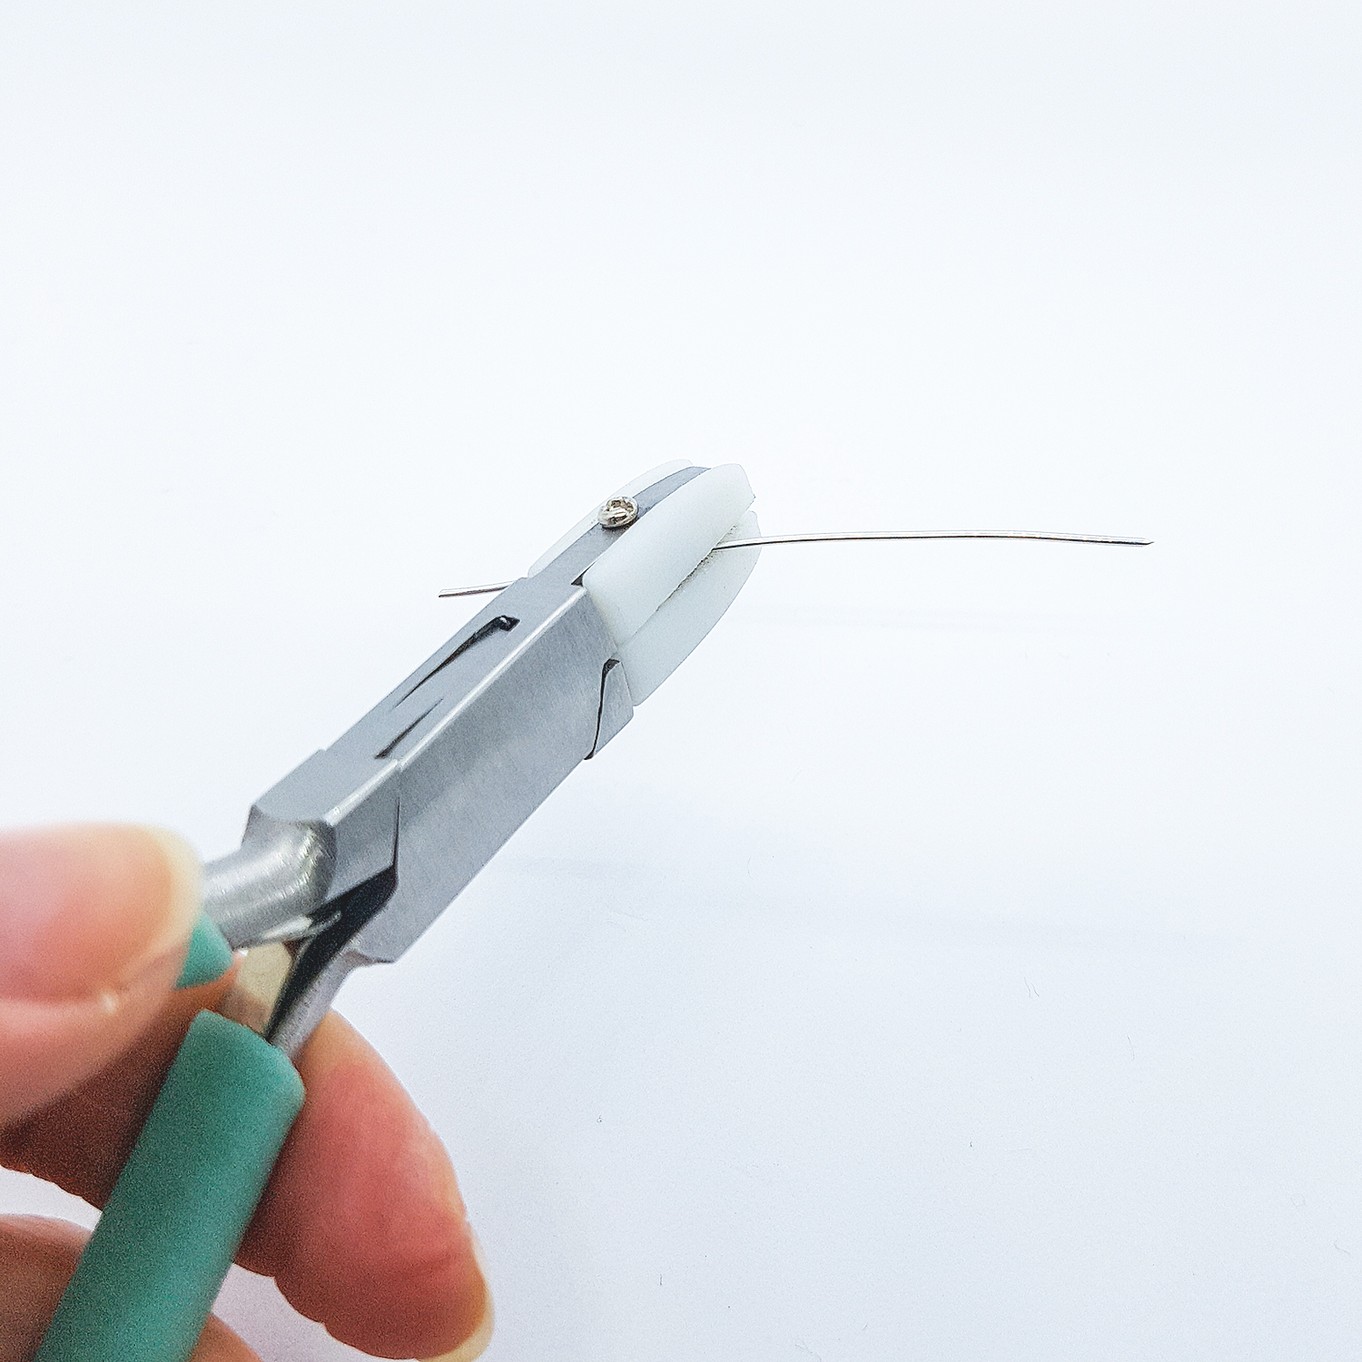
Holding one end of the wire in one hand, run the length of the wire through the nylon jaw flat nose pliers until the wire is straight. This also work hardens the wire to stop it from bending out of shape too much. Repeat for each wire length.
3. Polish
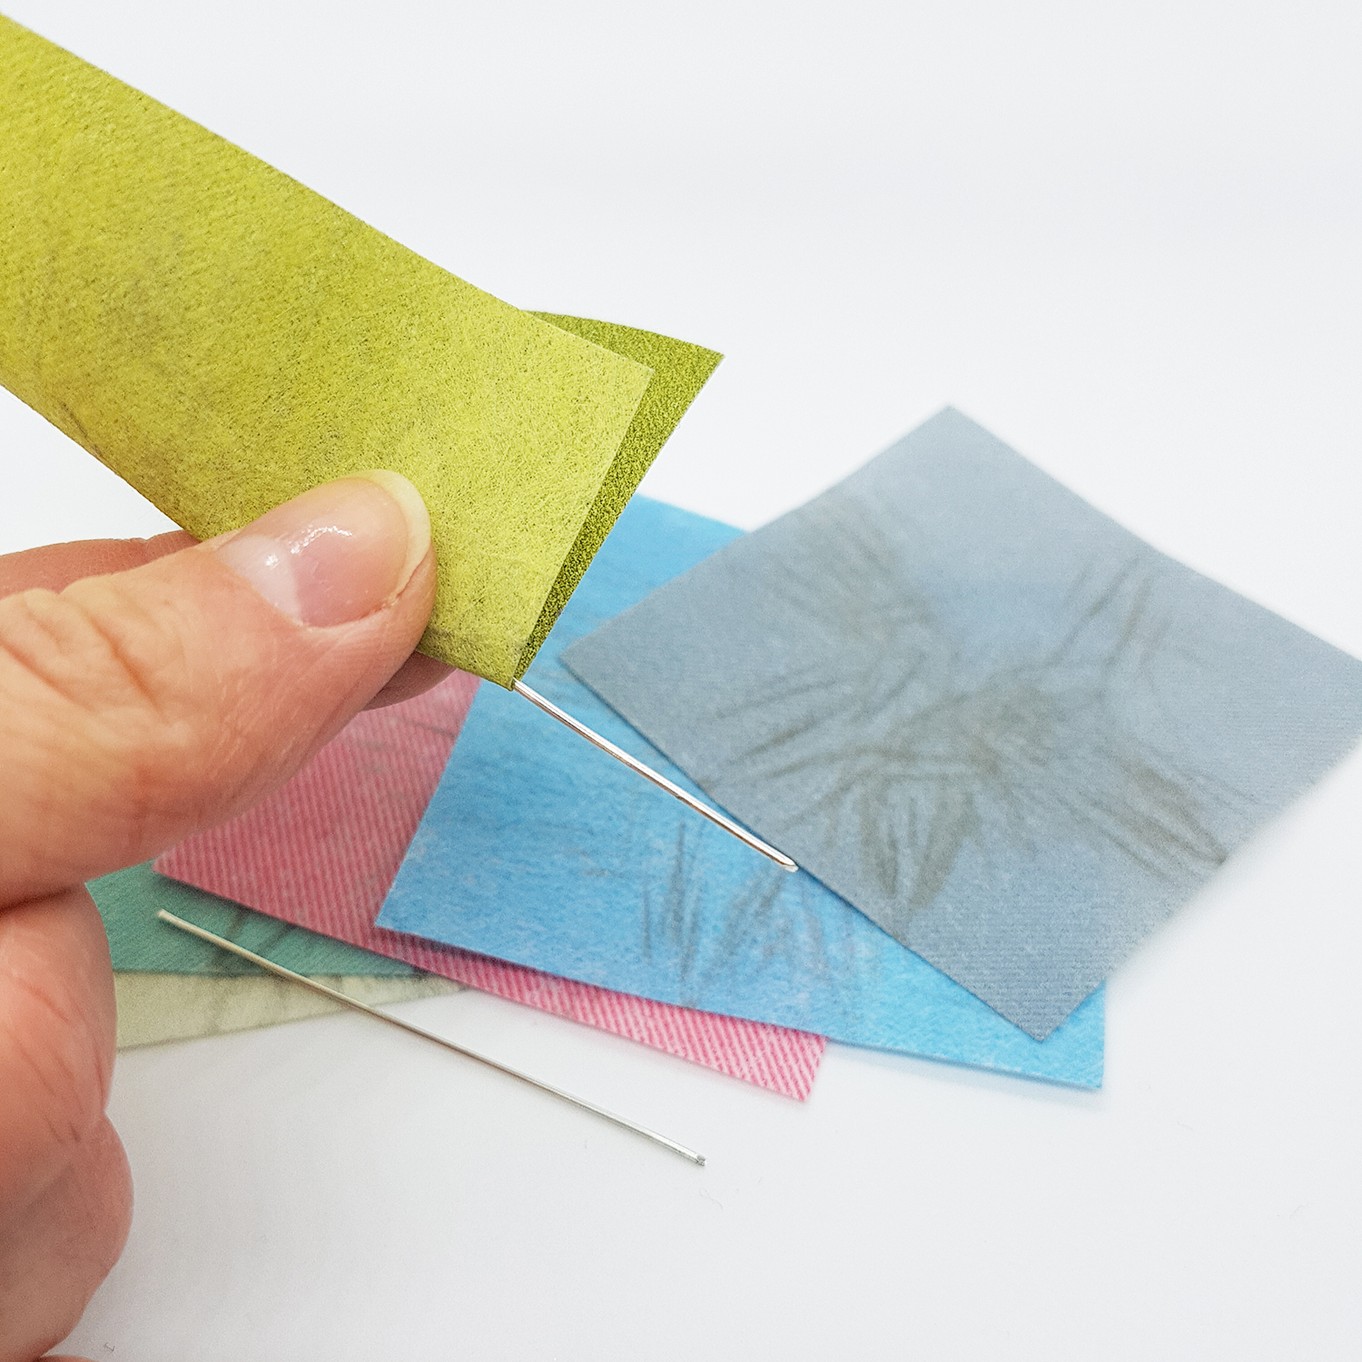
Use the polishing papers to polish up each piece of wire until they shine.
4. Create A Stopper
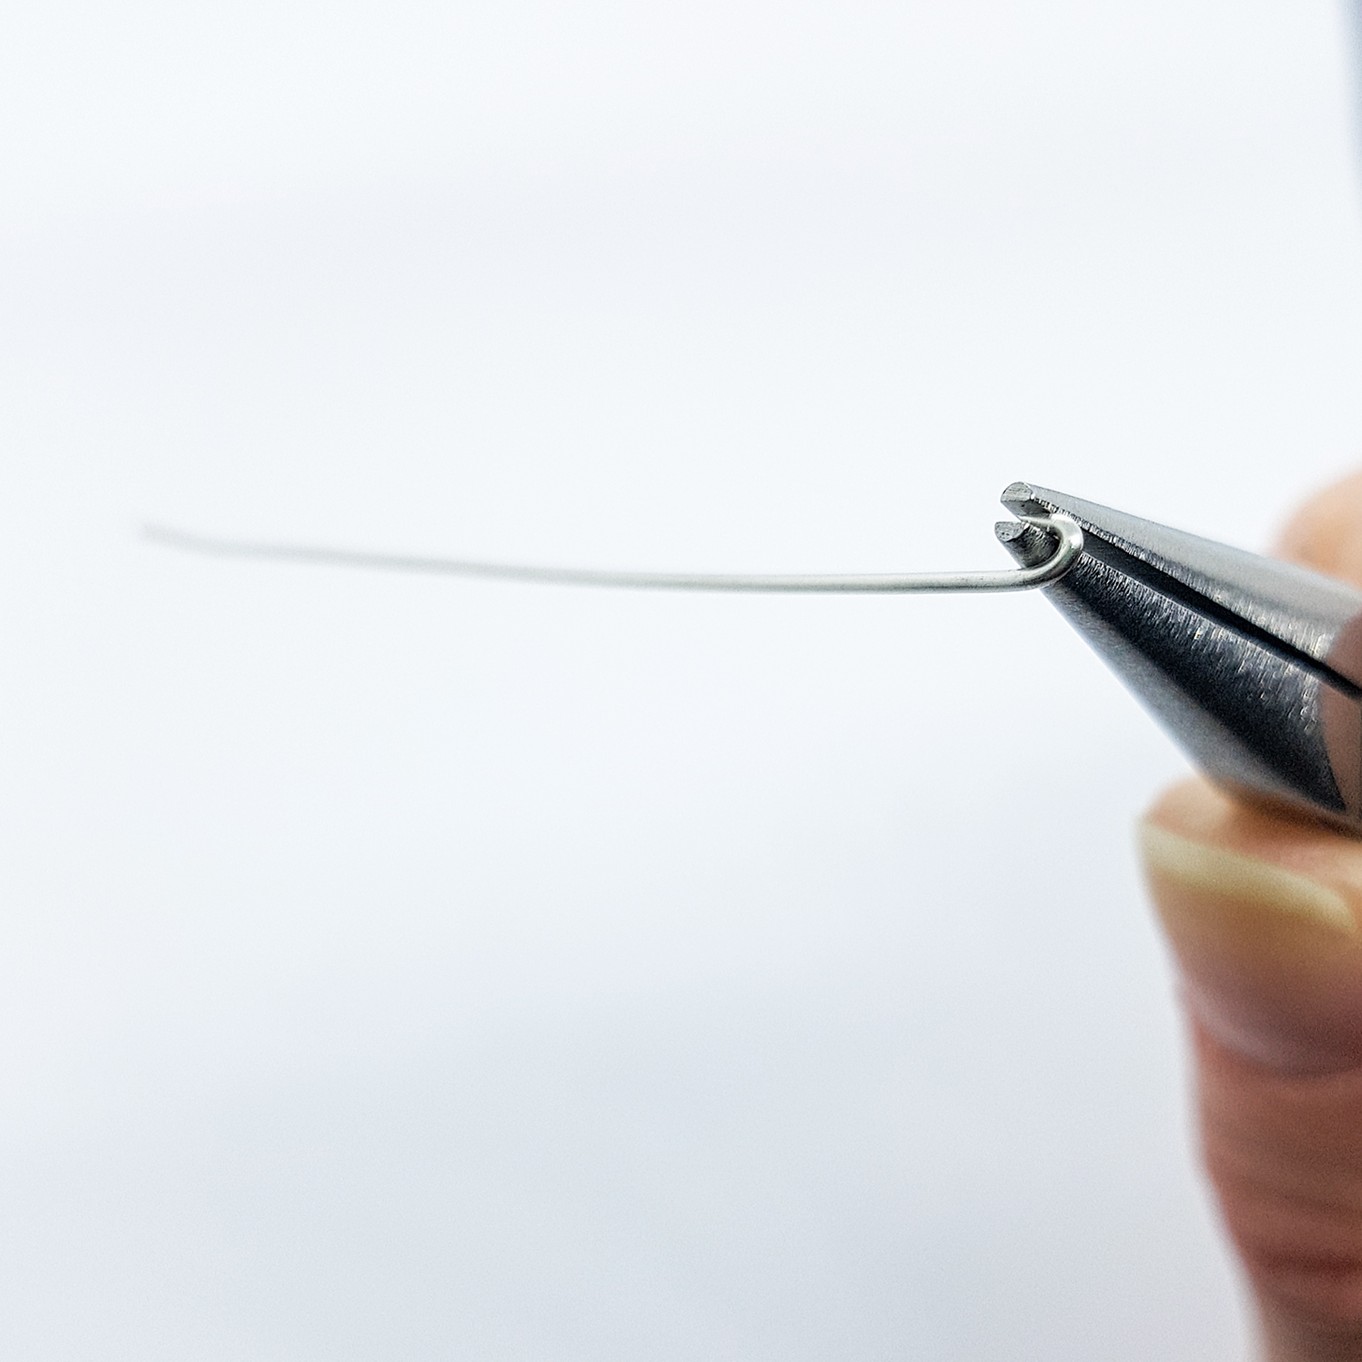
Using your snipe nose pliers, place the very tip of one of the wires in them and bend all the way round so it’s folded back on itself.
6. Add your favourite beads
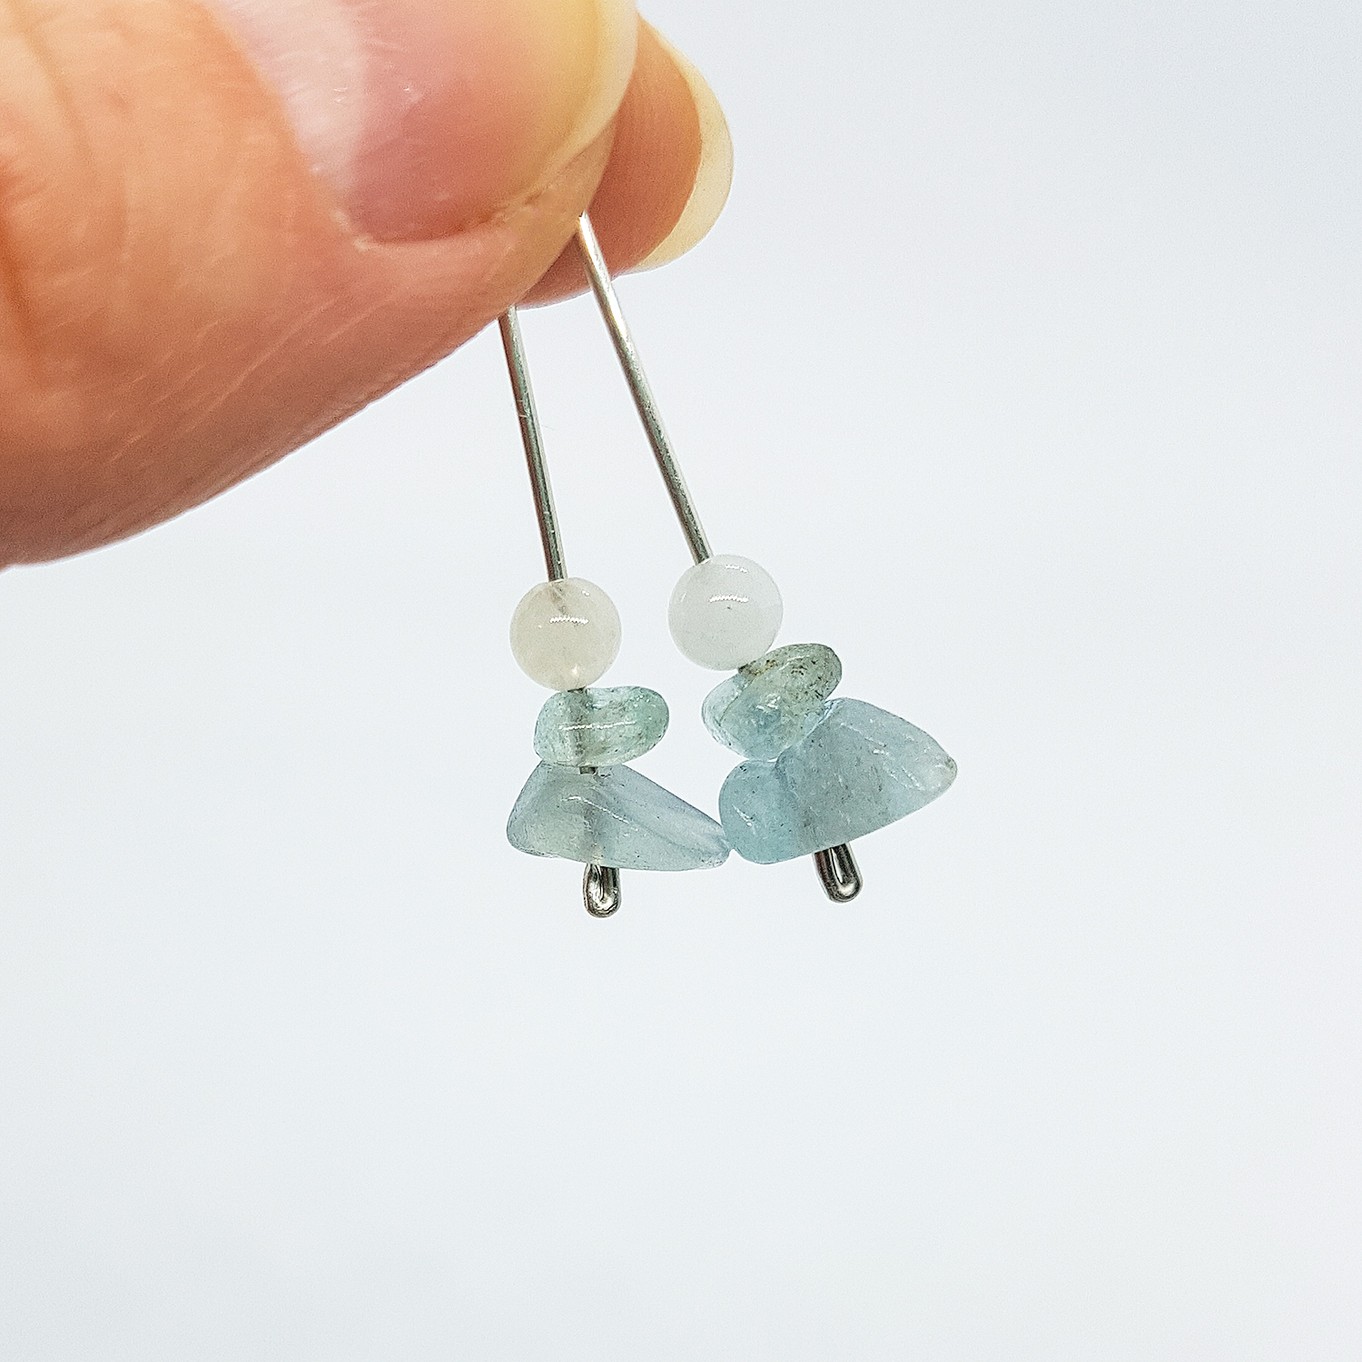
Place your beads on to the wire in whatever pattern you like, but make sure you’ve left about two-thirds of the wire free to create the bend.
7. Bend Into Shape
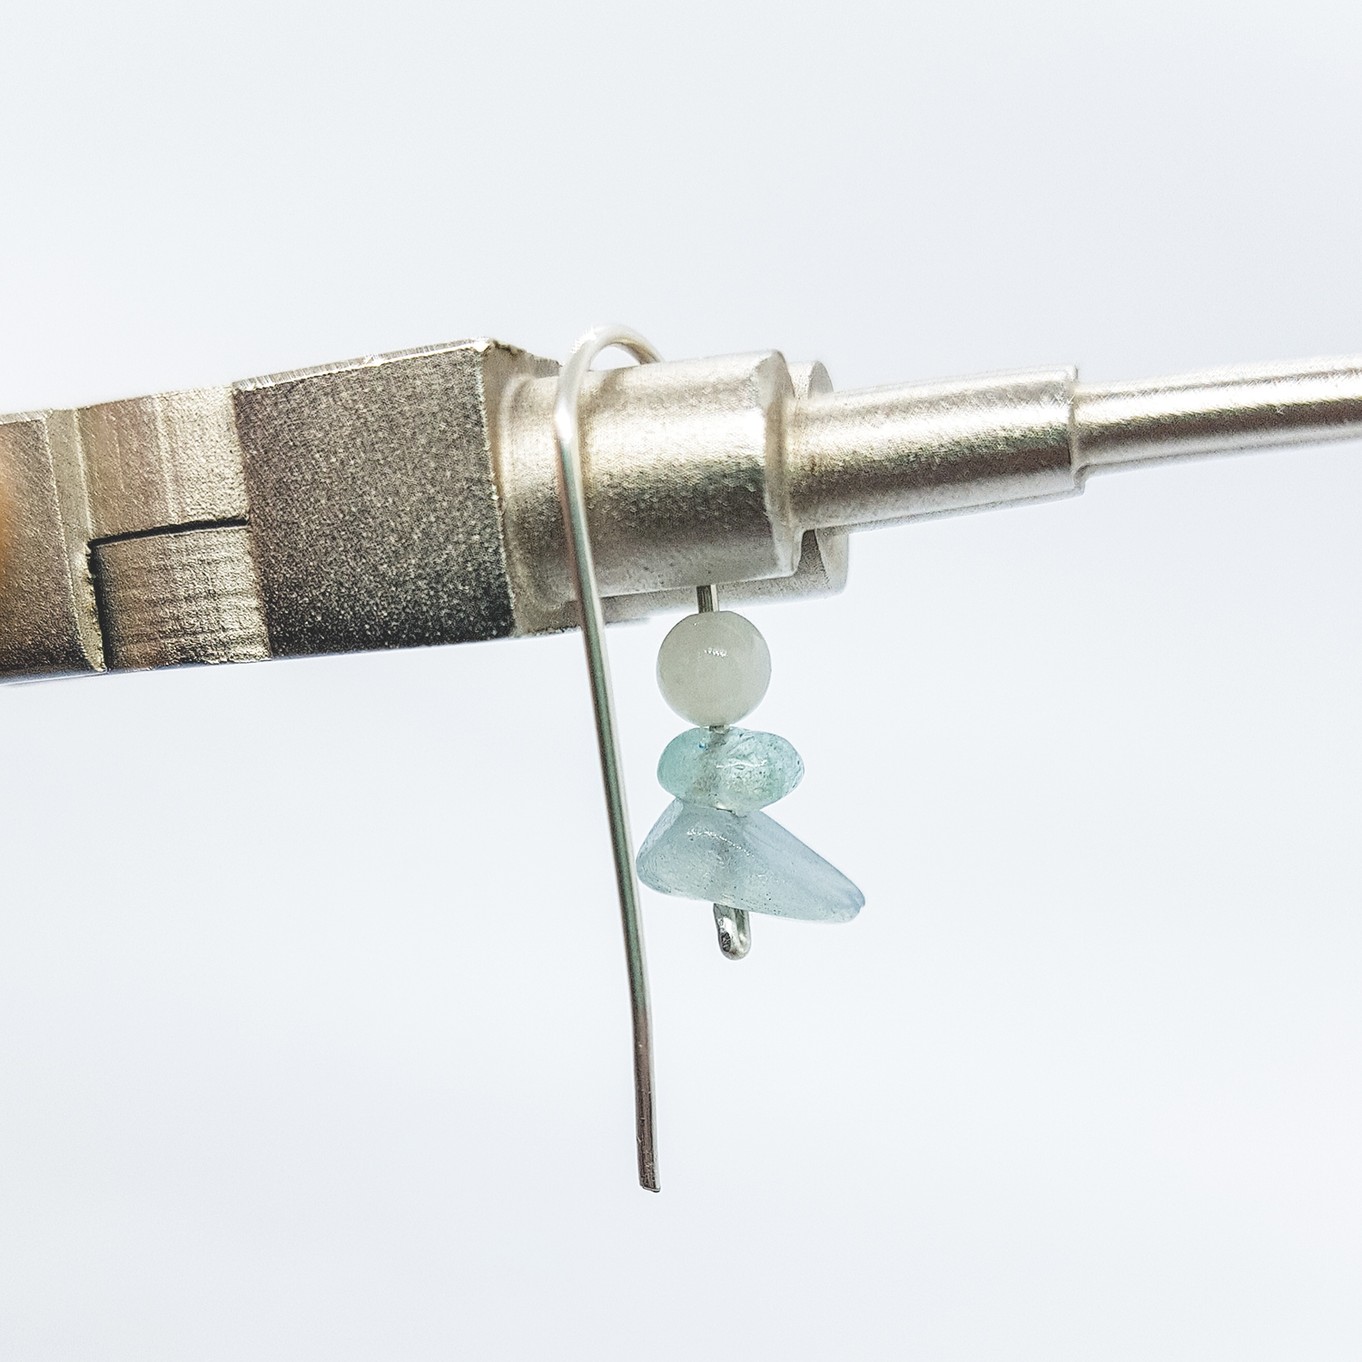
With either your bail making pliers or a pen, place the wire in between the pliers so the pliers are just above the beads. Fold the wire over the pliers or pen until it’s straight down next to your beads. With your side cutters, cut the excess wire so it’s level with the opposite side.
8. Create Little Bend
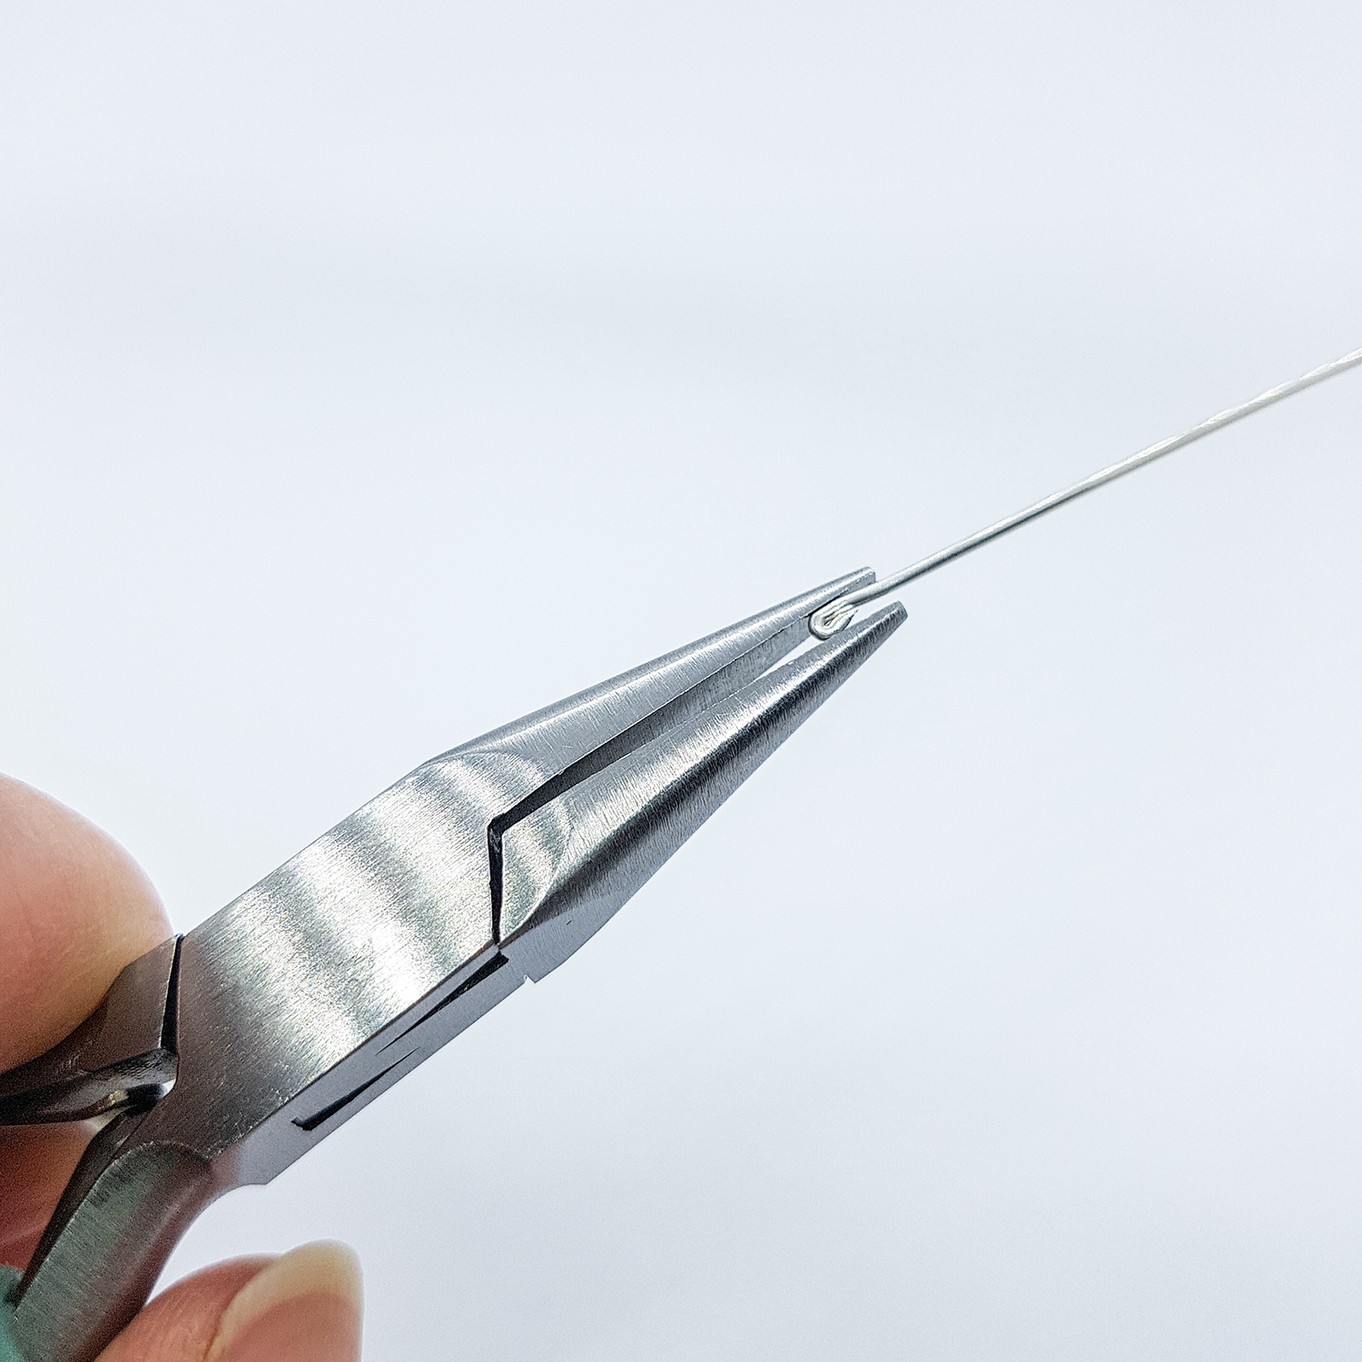
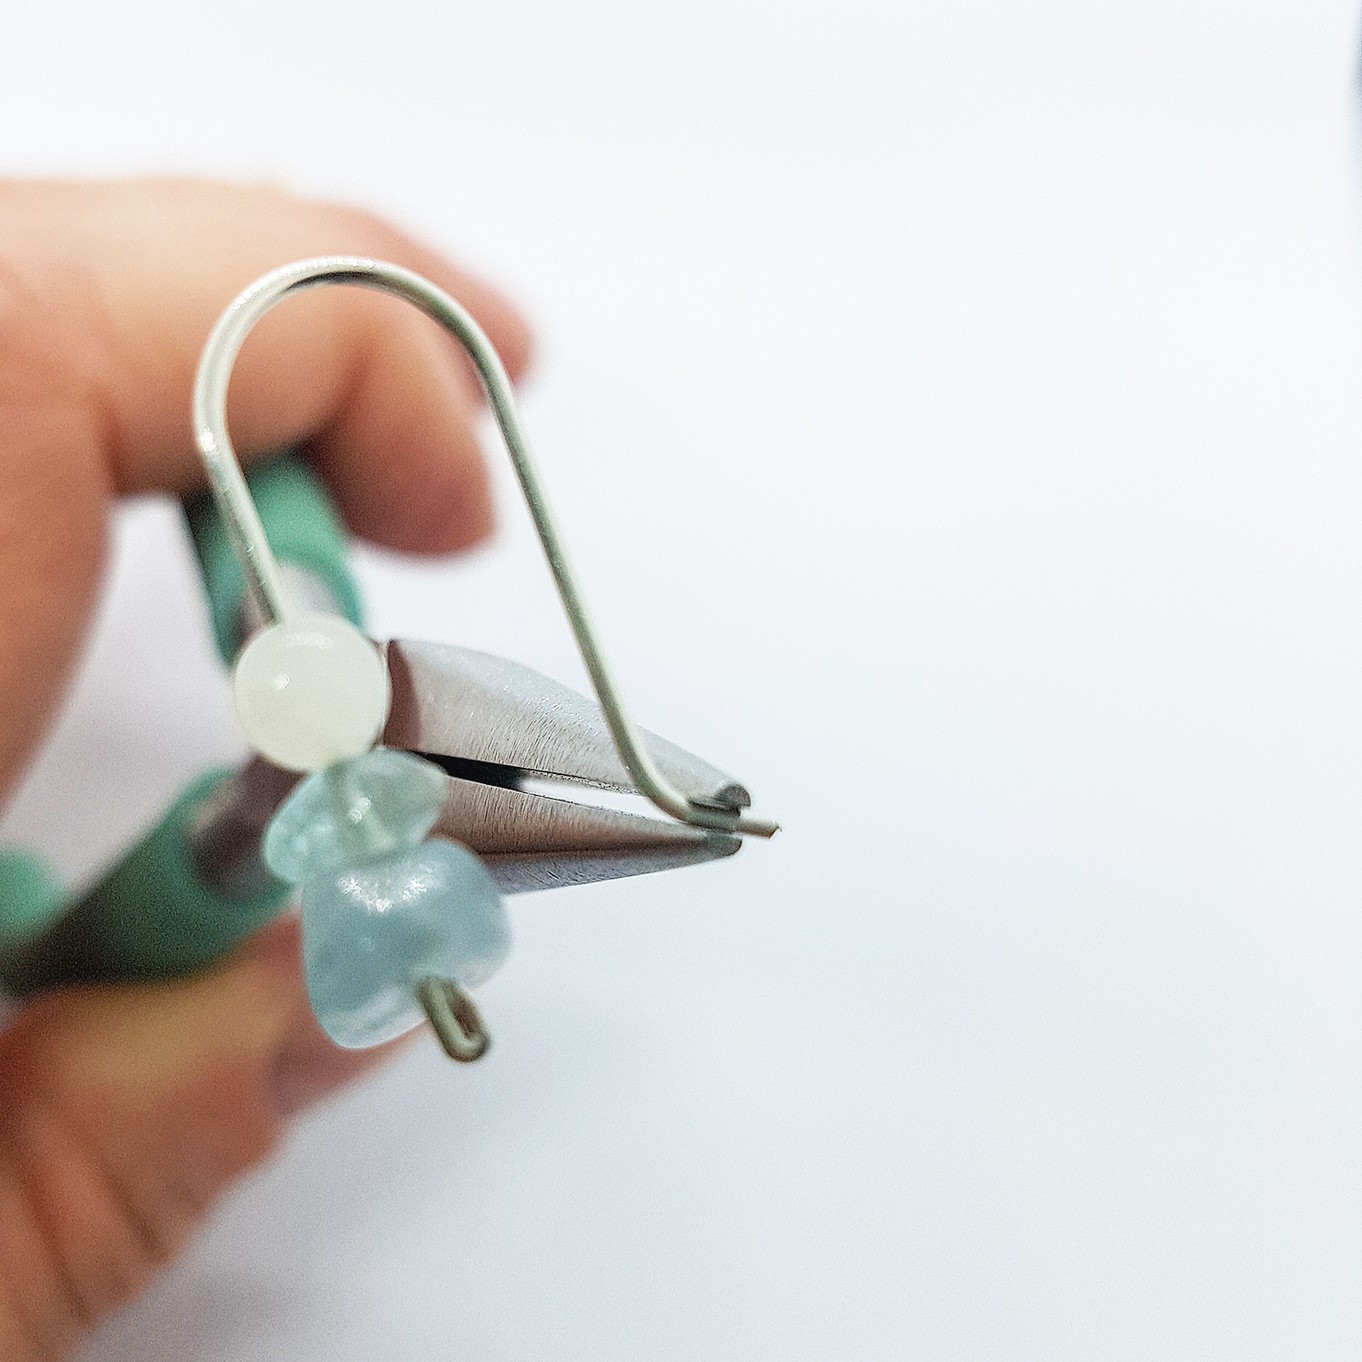
Use snipe nose pliers to make a little bend in the wire so it fits easily into the ear.
9. File Edges Smooth
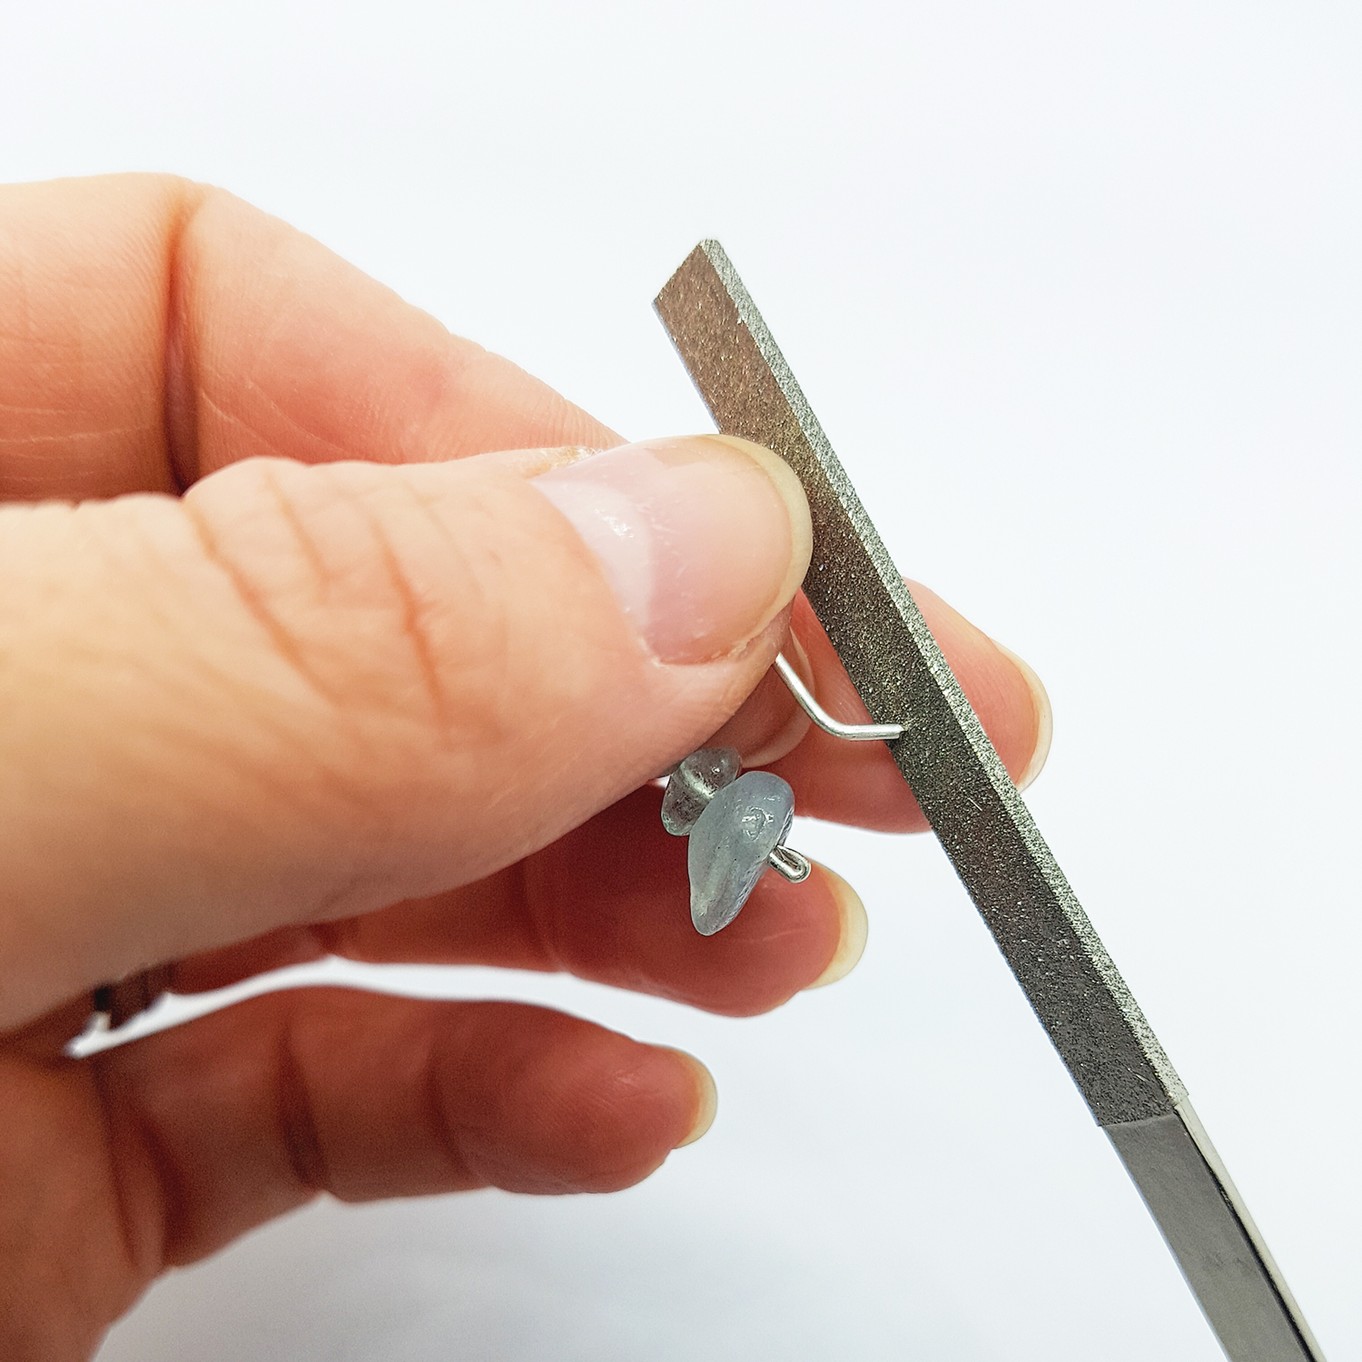
This end will be a bit sharp from being cut, so use a needle file to gently file it so it is smooth. Repeat for the other earwire and your design is complete! Optional: If your earwires are easy to bend out of shape you can work harden them slightly by squeezing them with your nylon jaw pliers or placing them on a steel block and tapping them gently with a rawhide hammer.
This technique is great for experimenting with different beads and designs
Meet The Guest Tutor
Hello! My name is Emma, I live in Derbyshire with my husband and 2 young children. I have always been a magpie for jewellery; it's my favourite thing to buy, to gift people and to just stare at! I have followed a career in the criminal justice system which I enjoy, but my passion remains jewellery. I thought it was too late for me to do anything about my real dream, which is to make my own and run my own business. And then lockdown hit and I just thought "why not?", if not now, then when!
I watched all the tutorials on Kernowcraft and other jewellery training providers, I learnt as much as I could, practised every spare minute I had, and then took the plunge onto Instagram and then opened my shop on Etsy. My ambition is to learn more silversmithing techniques which will hopefully be the focus of 2021 as rings are my all-time favourite along with working with the most beautiful gemstones, definitely making my inner magpie happy! I absolutely love making jewellery and sharing the love with others as they hopefully love my jewellery too.
Follow Evren Blue
Also in this section:
- Macrame Bead Bracelet Tutorial
- Your Guide To Bead Stringing Materials For Jewellery Making
- The Essential Tools For Beading
- Beading: How To Start Jewellery Making With Lyndsey
- Answering Commonly Asked Beading Questions
- Types Of Beads For Jewellery Making
- The Difference Between Half Drilled, Top Drilled And Head Drilled Beads
- How To Use Top Drilled Beads
- Jewellery Making With Half Drilled Beads
- What Are Briolette Beads & How To Use Them
- Stringing Beads With Small Holes
- How To Make Your Bead Holes Bigger With A Bead Reamer
- Types Of Clasps For Jewellery Making
- 8 Reasons You Need A Bead Board
- How To Make A Sliding Knot
- Advice On Knotting Elastic Stretch Magic Thread
- How To Use Flex-Rite Jewellery Wire
- How To Use Crimps
- How To Make A Silkon Thread Briolette Necklace
- How To Use Beading Chain
- 4 Ways To Use Gemstone Donuts
- 4 Gemstone Chip Bead Project Ideas
- How To Use End Caps For Jewellery Making
- How To Make Earwires With Gemstone Beads
- How To Make A Memory Wire Bracelet
- How To Make Gemstone Bead Earrings
- How To Make A Bead Bar Necklace
- How To Make Beaded Bracelet With Flex-Rite Wire & Wire Guardians
- DIY Gemstone Friendship Bracelets
- How To Make A Beaded Bracelet With Knot Covers
- How To Make Polymer Clay Earrings
- How To Make Felt Jewellery
- DIY Mini Tassels & Jewellery Projects
HAVE A QUESTION?
If you have any questions, feel free to get in touch with our friendly team who will be more than happy to give you advice over email or on the phone.
You can learn more and find inspiration by visiting our Jewellery Making Tutorials, Jewellery Making Kits and YouTube Channel. Don't forget to follow us on social media and tag us in your designs on Instagram & Facebook, we would love to see!

