How To Make A Beaded Bracelet With Knot Covers
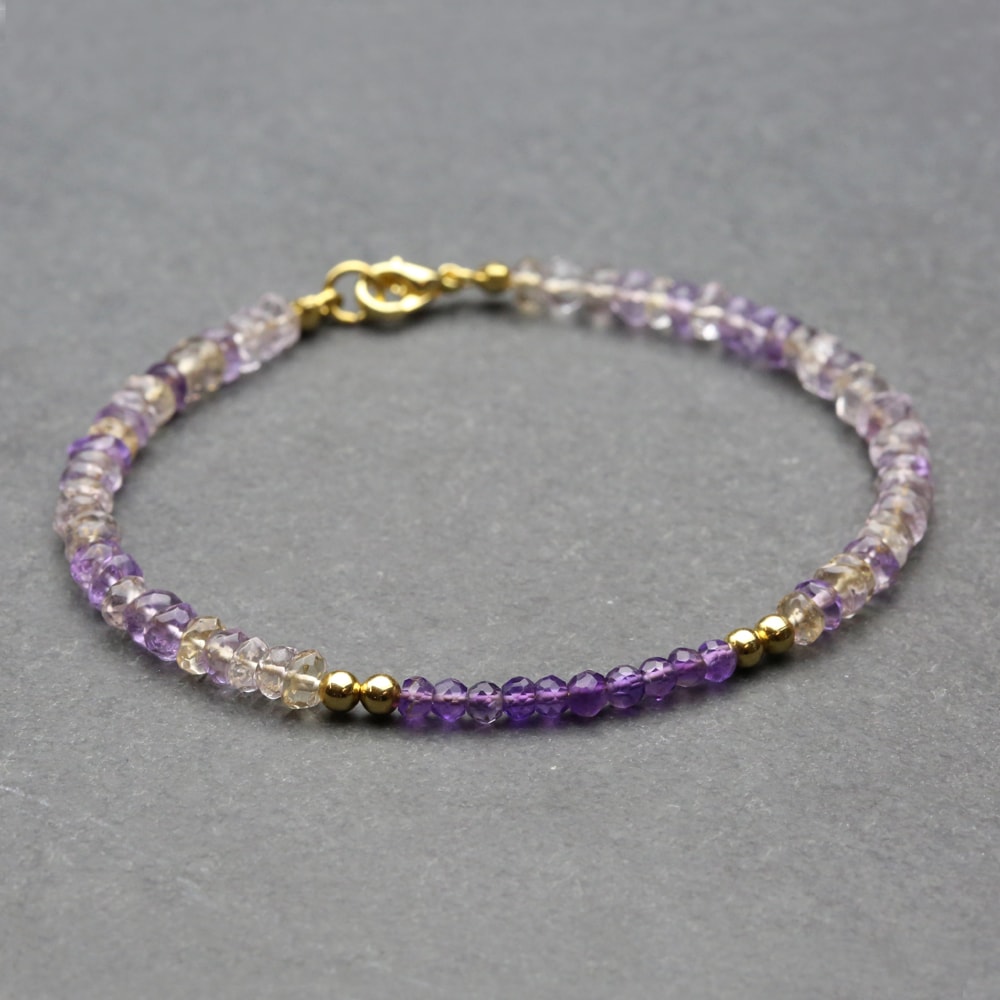
We've been having fun coming up with some pretty beaded projects for you to try at home! We love this simple and elegant ametrine bracelet with amethyst accent beads, the tonal shades really compliment each other.
Below we show you how to piece this easy project together and get a beautiful professional finish. Get experimenting with your favourite gemstone and metal beads and find everything you need online with Kernowcraft.
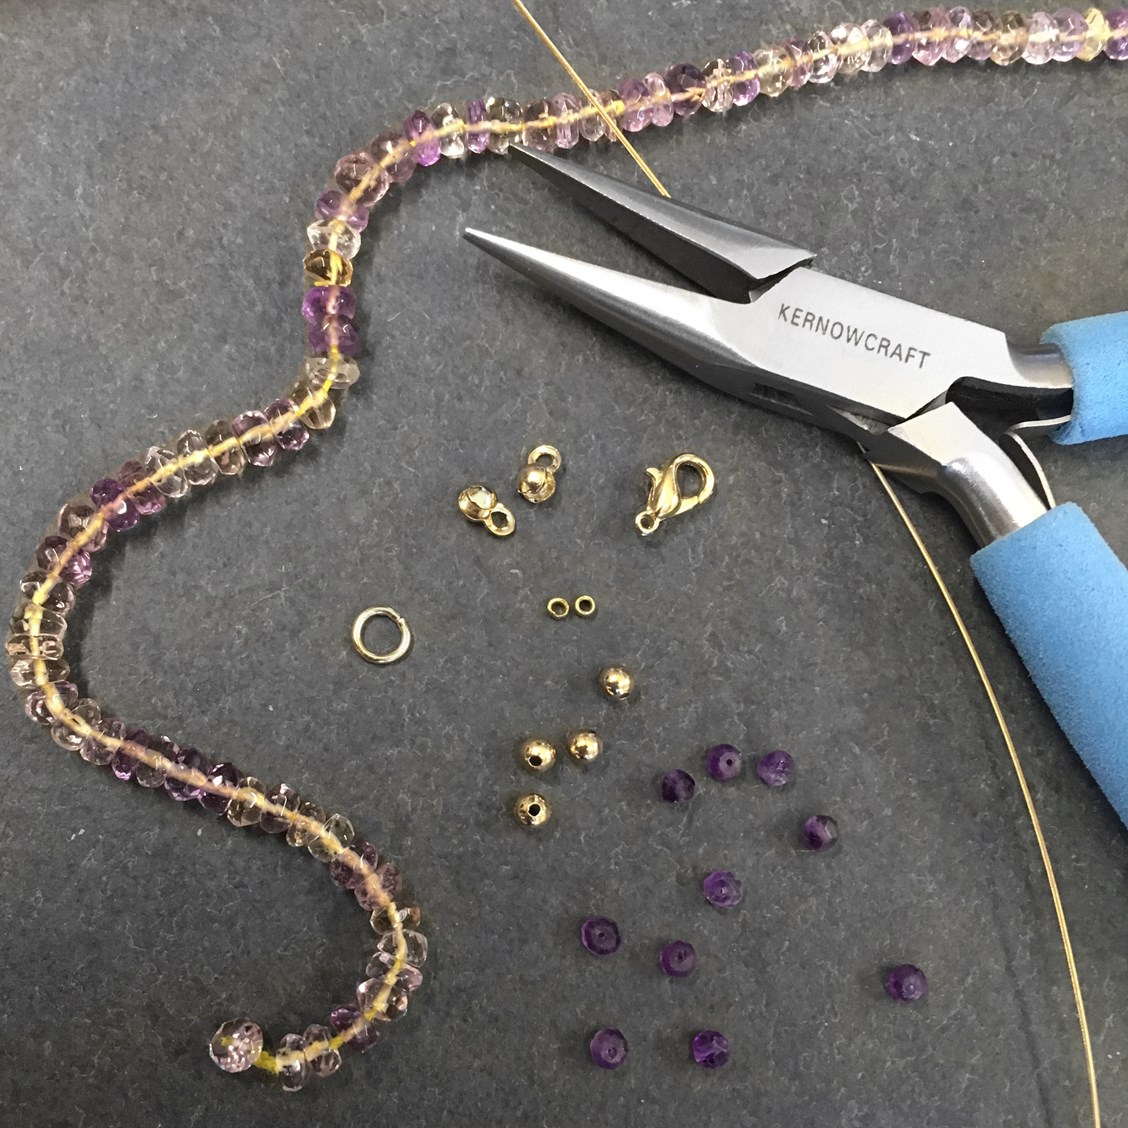
Supplies we used for this project
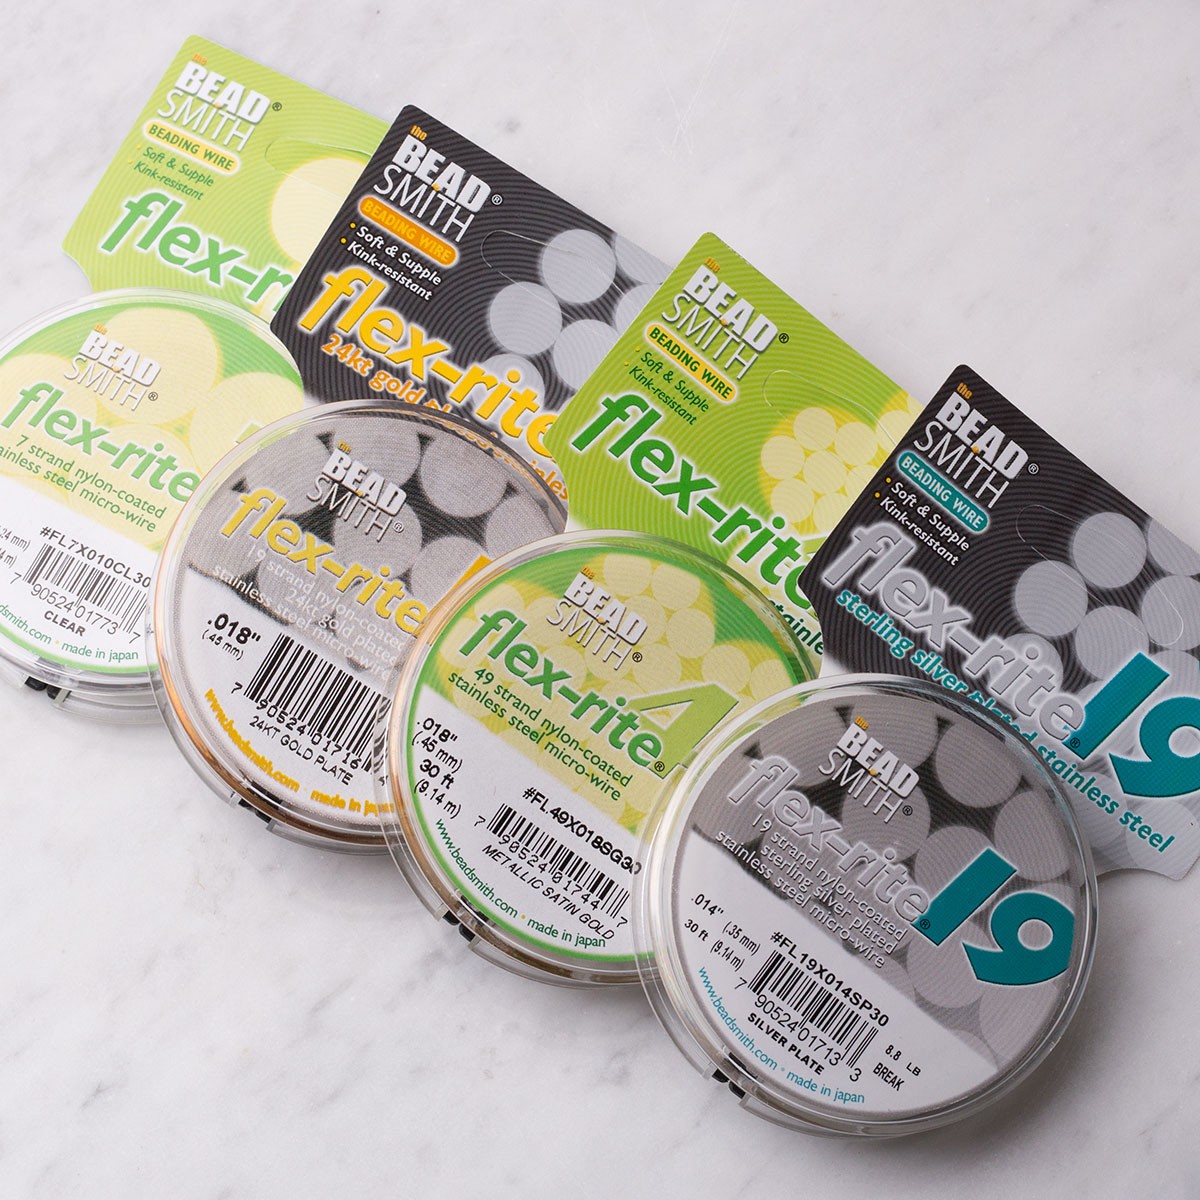
- 24ct gold plated flexrite wire (0.45mm)
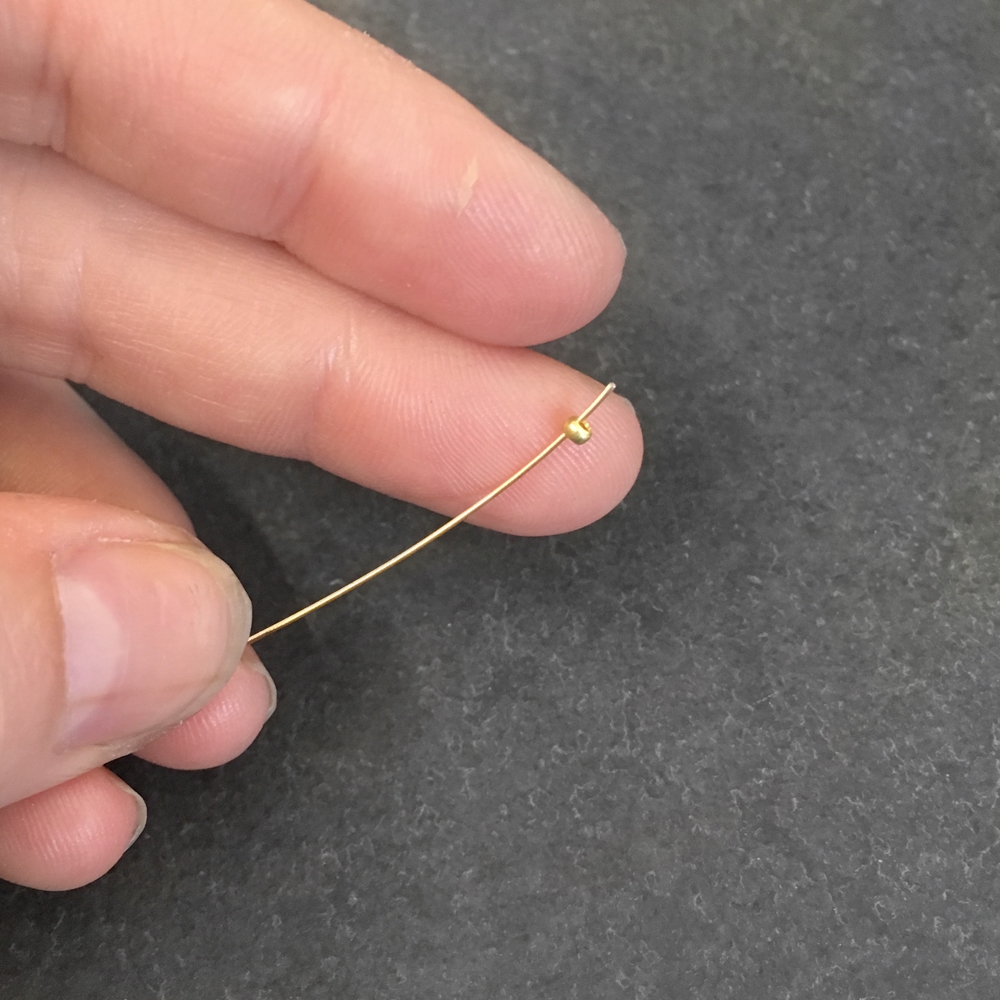
- 2 x gold plated crimps
- Small gold plated caribiner clasp
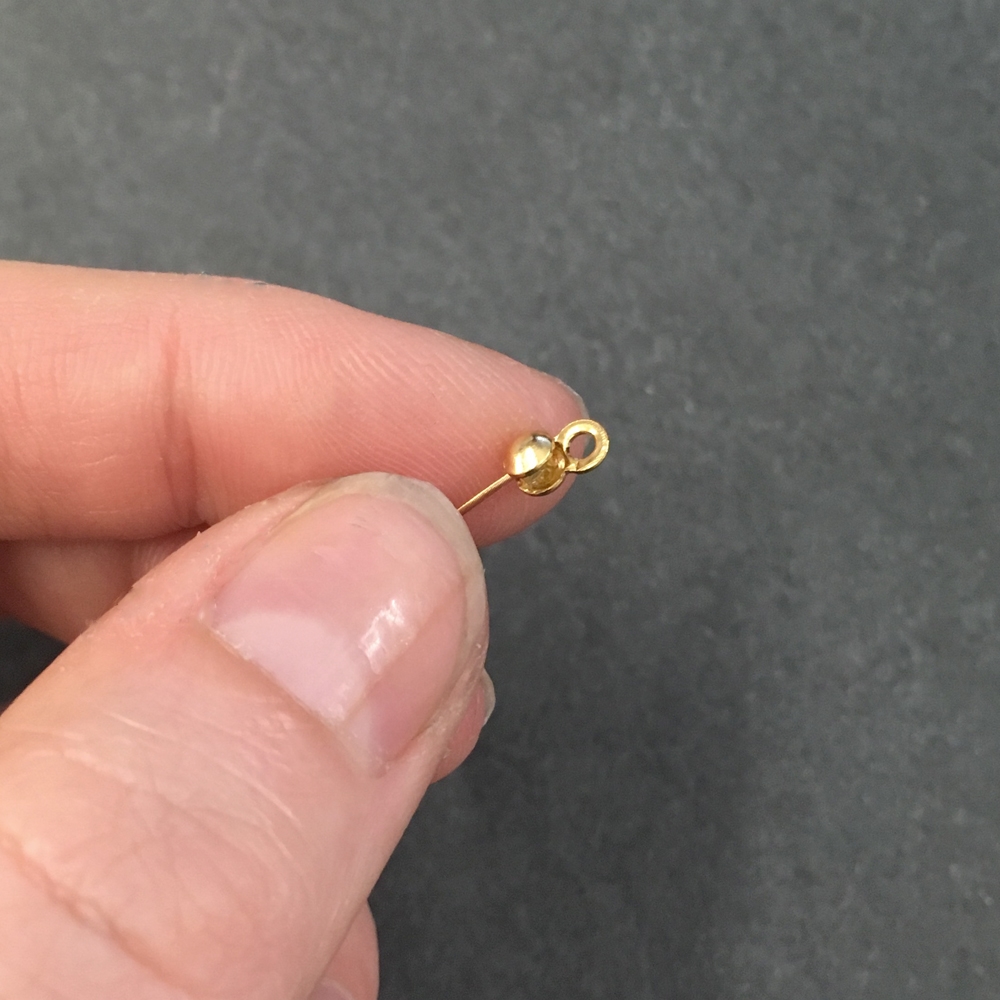
- 2 x gold plated knot covers
- 4 x 3mm gold plated beads
- 2 x 5mm gold plated jump rings
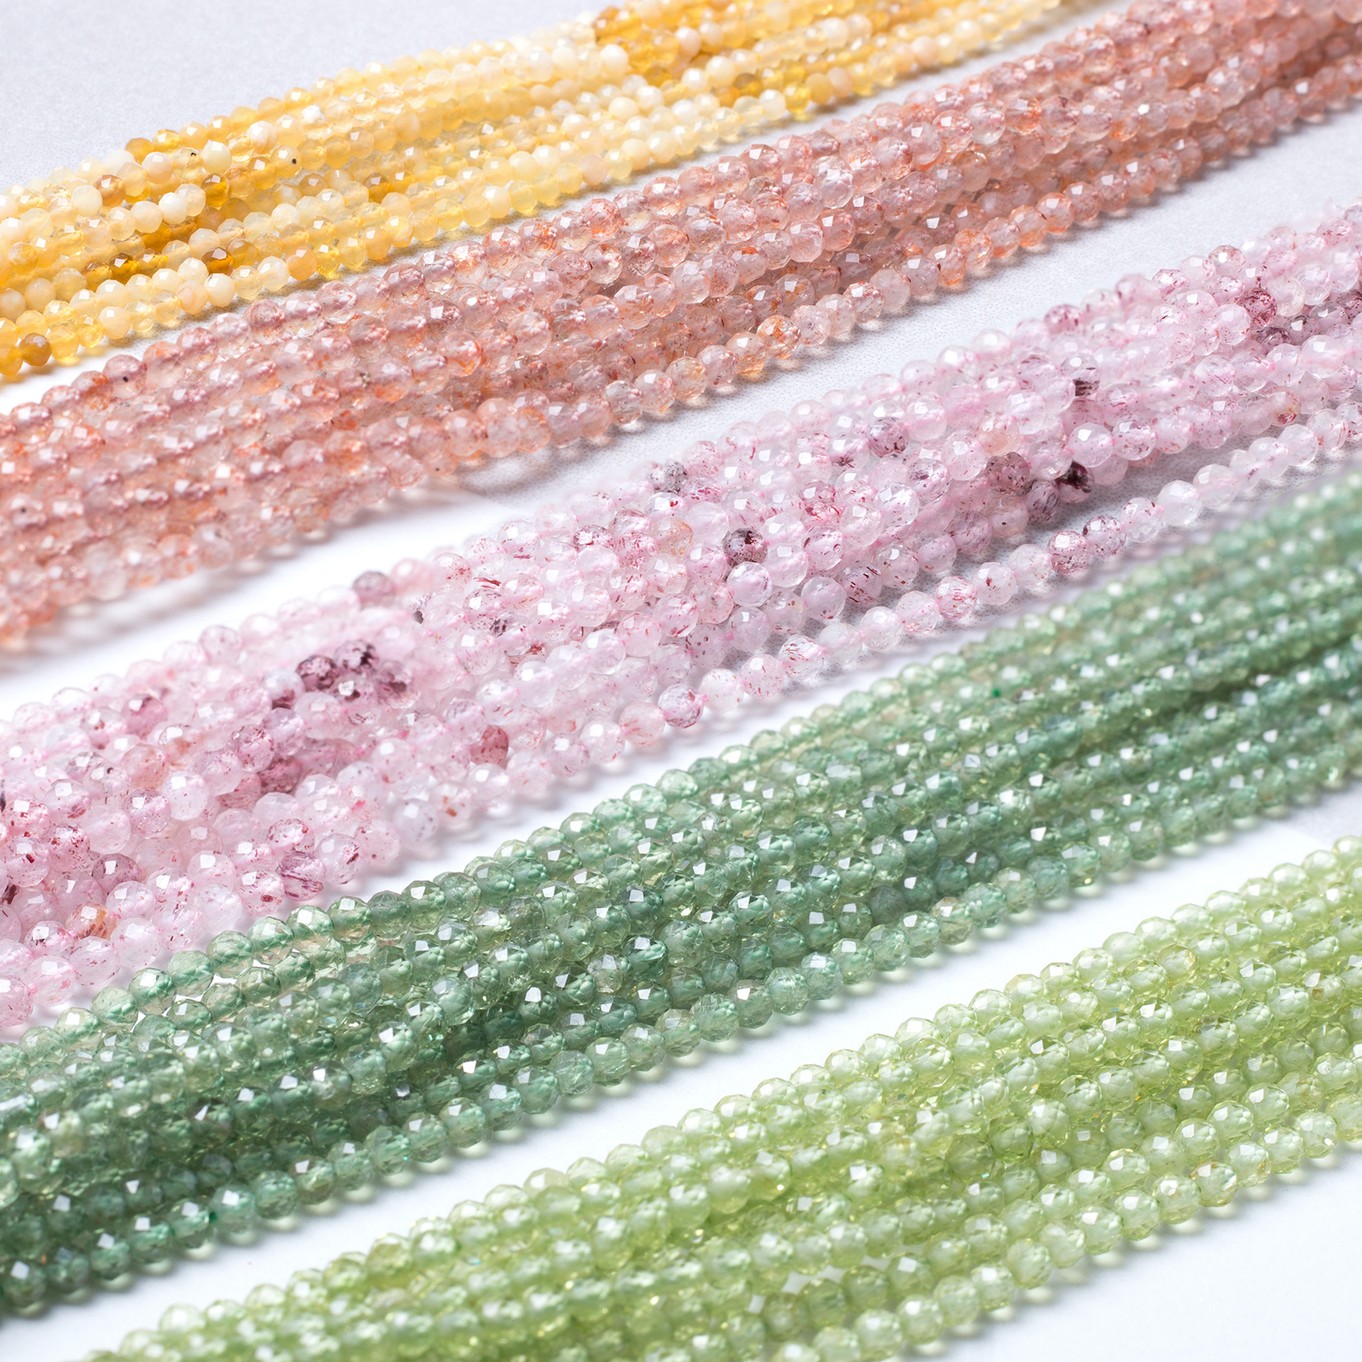
- 1 pack of 10 amethyst faceted rondelle beads
- 1 strand of ametrine faceted rondelle beads - out of stock, but you can choose your favourite rondelle beads to complete the look!
- Snipe nose pliers
- Side cutters
Follow Our Step By Step Tutorial
Step 4
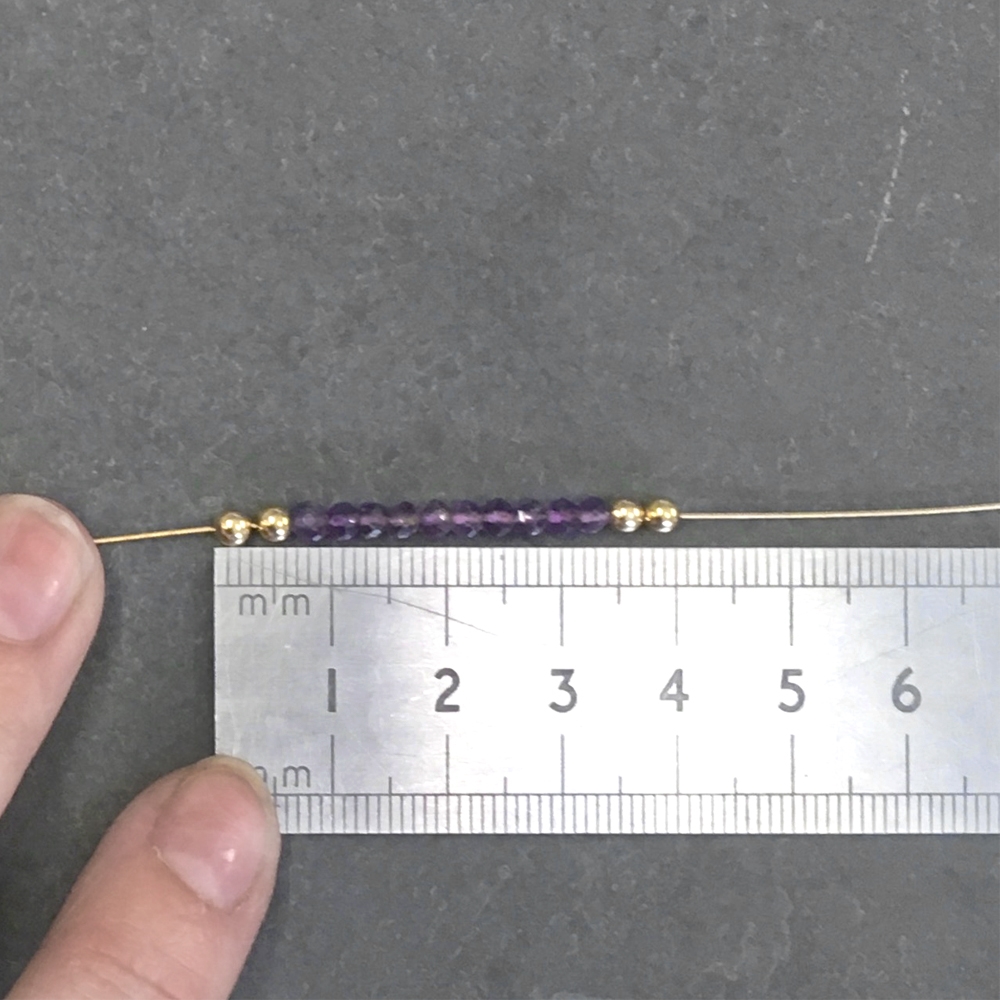
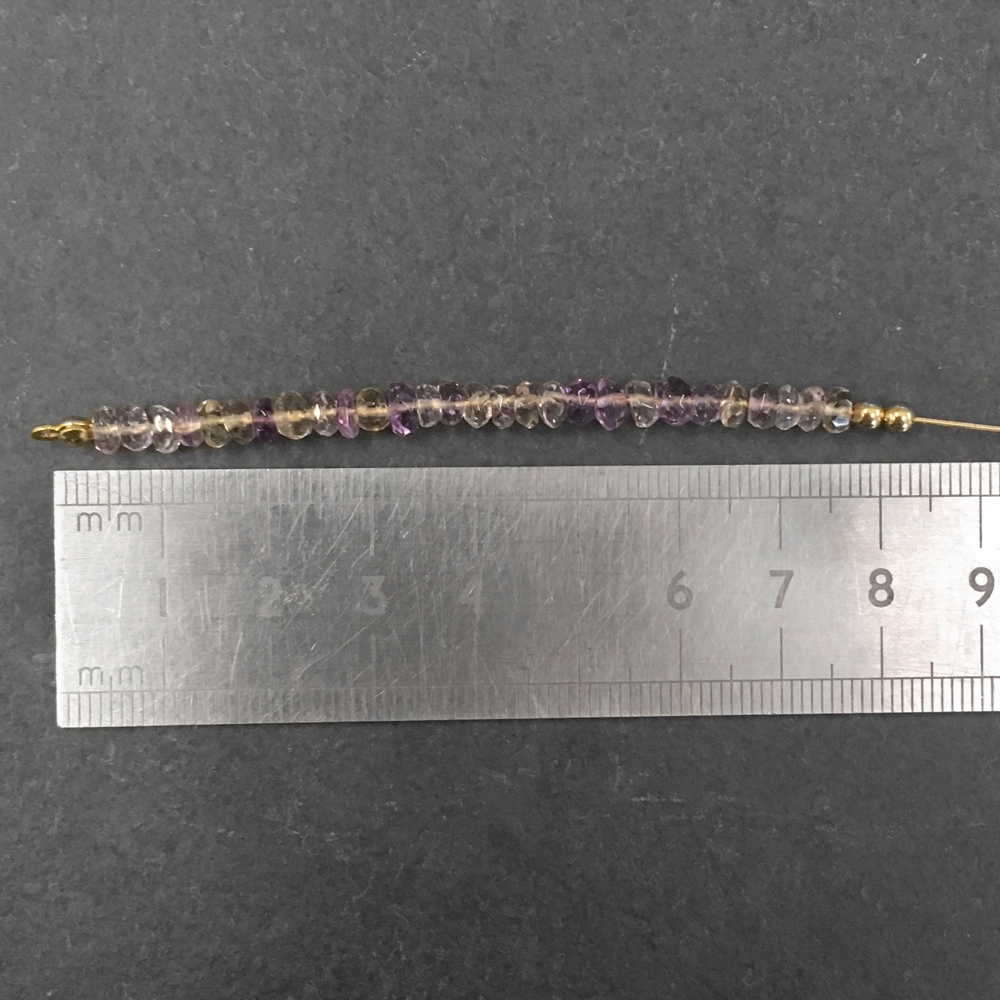
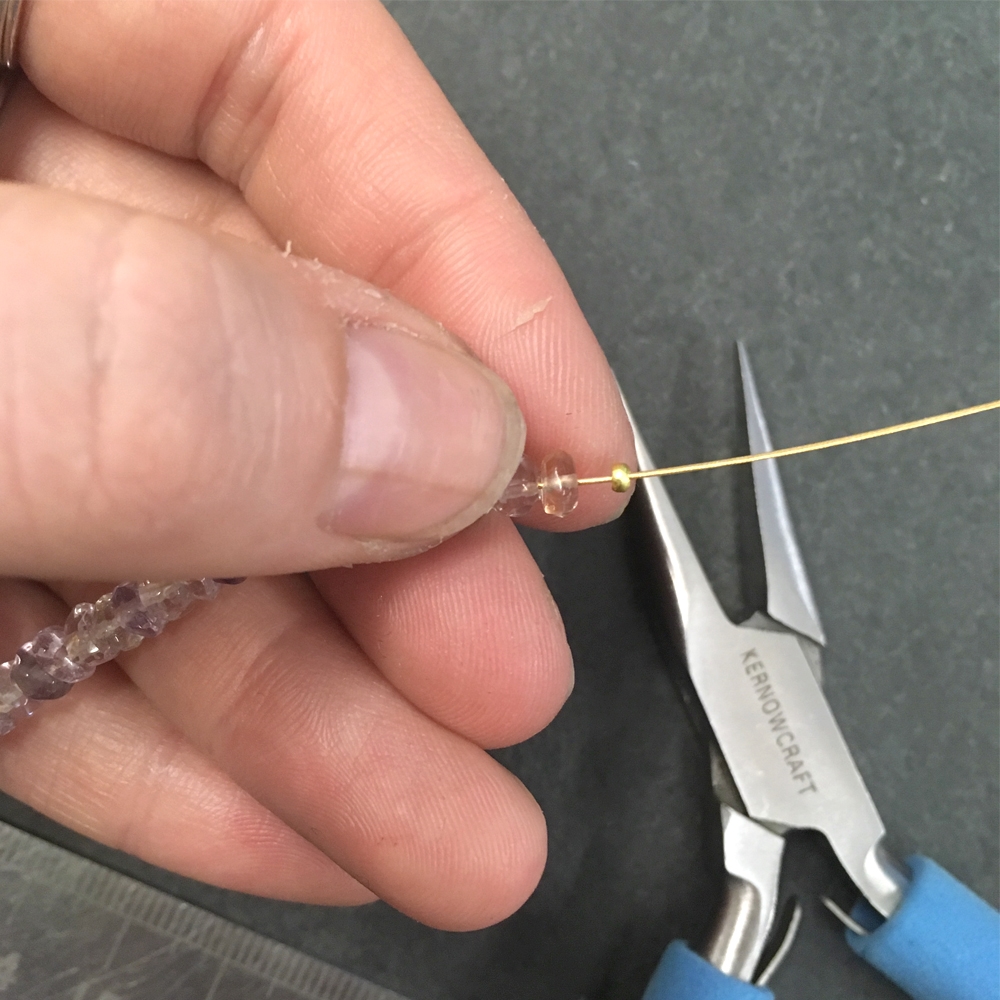
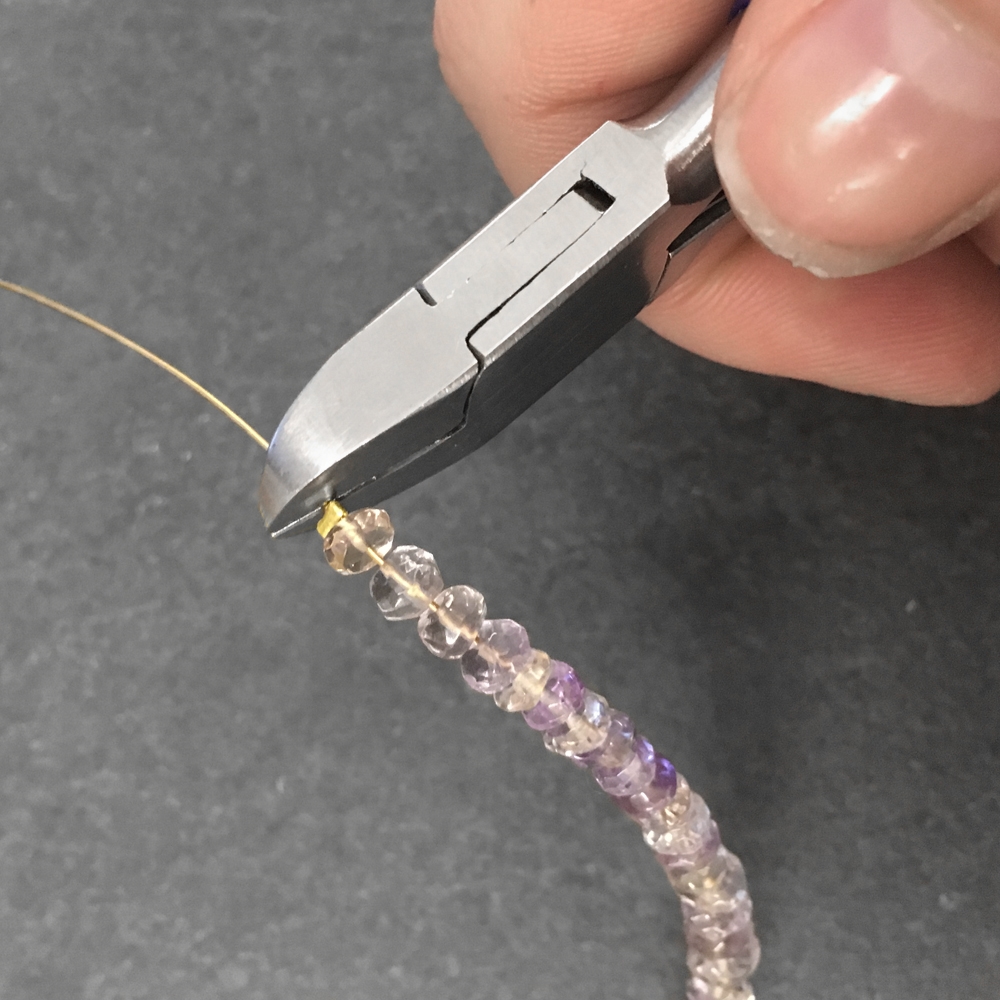
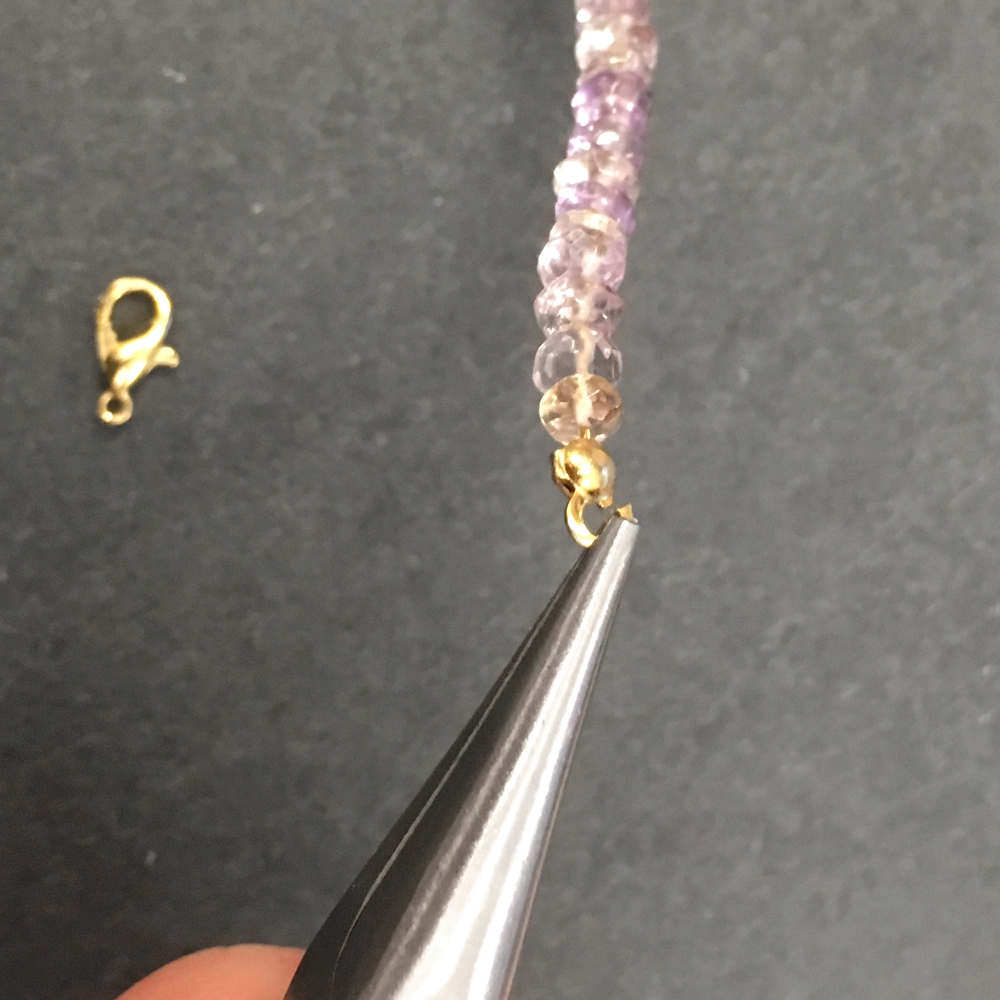
Before starting to thread your main beads, measure the length of the gold beads and chosen 10 accent beads. You want to minus this off the total length you want your bracelet (19cm is a standard bracelet size) then divide that number by 2, this will give you the length of the main beads that you will need. Remember to include the knot cover in this length.
Explore Supplies
There are so many bead combination possibilities for this design, allowing you to customise it to your tastes! Browse our huge collection of gemstone beads to choose your favourites. If have any questions regarding this design or any other jewellery related question get in touch, we'd love to hear from you.
Flex-Rite Jewellery Wire
This jewellery wire is a popular choice for all bead stringing, offering high strength. Available in a choice of colours including gold, silver, black and white. Remember it is cheaper to buy our threads by the reel instead of per metre, especially if you are doing a few designs.
Gemstone & Metal Beads
Explore over 300 types of beads for your jewellery designs! Including precious and semi-precious gemstone beads in a range of shapes and sizes, plus a gorgeous range of metal beads.
Jewellery Findings
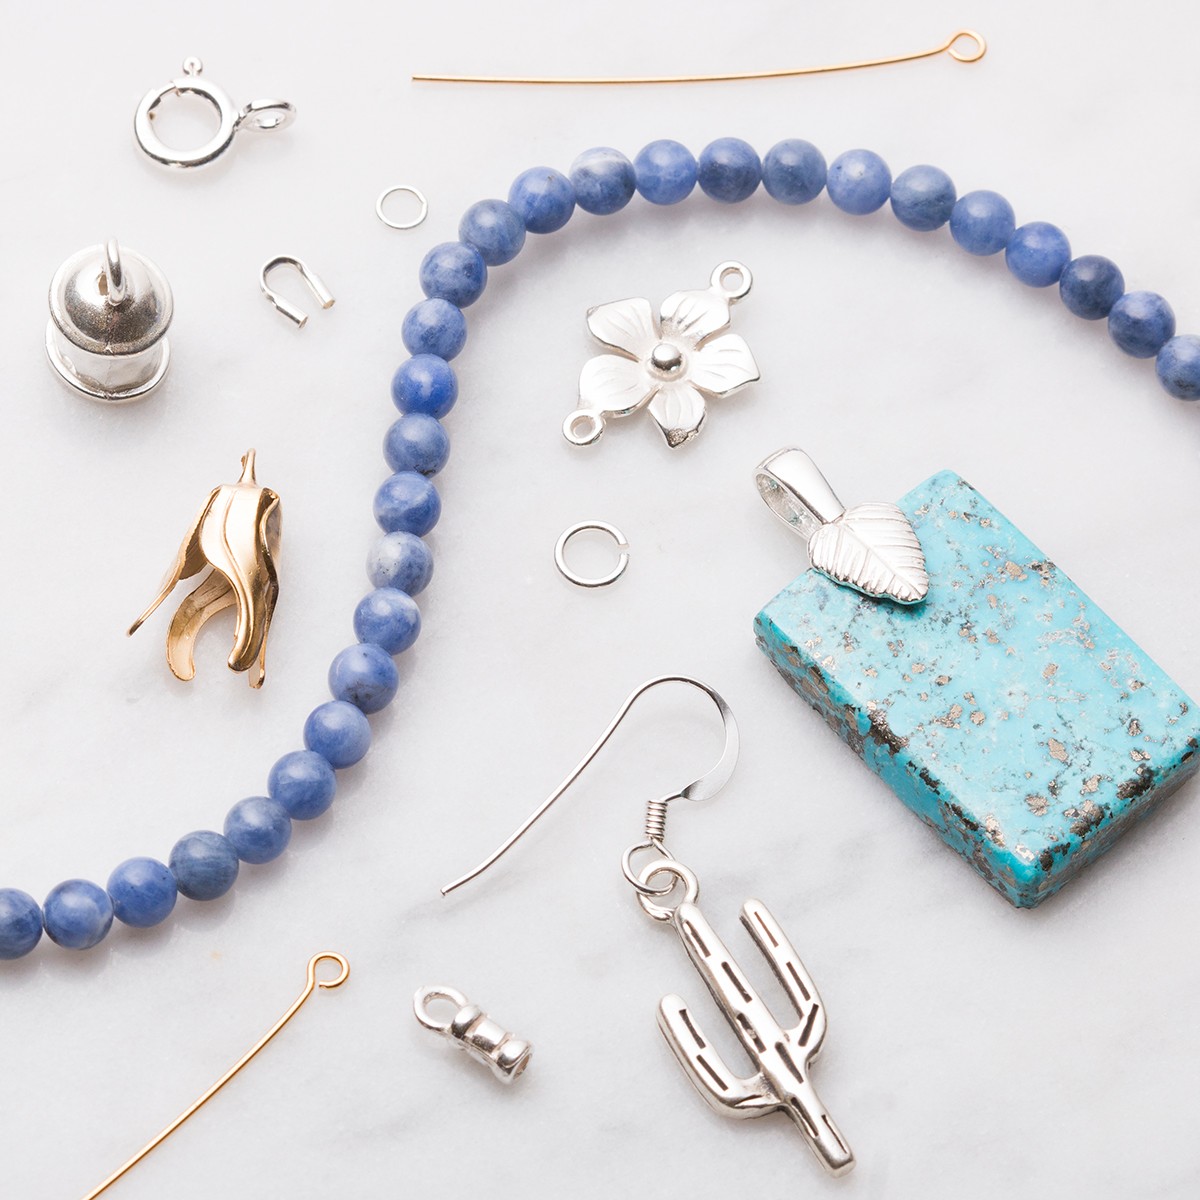
Shop our huge range of high quality jewellery findings including clasps, jump rings, crimps, clasps, earwires and more to help give a professional finish to your designs.
Jewellery Pliers
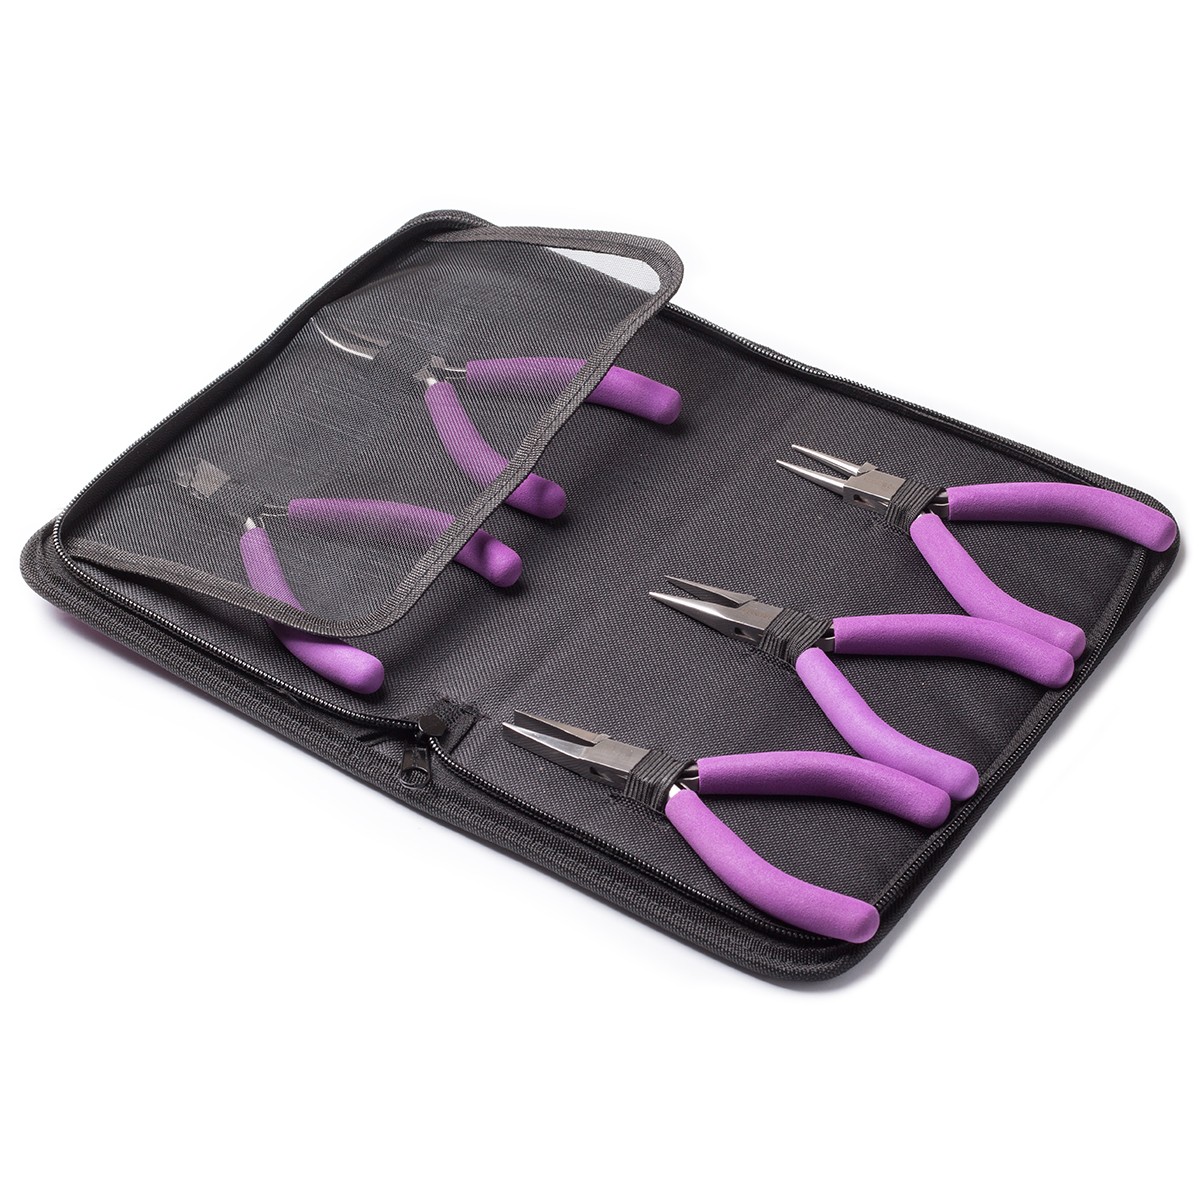
Shop all the jewellery making pliers you need, plus find our popular pack of pliers which contains essential pliers and comes in a beautiful zip up case, to keep your tools safe and easy to store.
The products used in this project are suggestions to inspire you. Products used were compatible at the time of making but do be aware that stocks can vary, so do use your own judgement as to the compatibility of each item when making.
Also in this section:
- Macrame Bead Bracelet Tutorial
- Your Guide To Bead Stringing Materials For Jewellery Making
- The Essential Tools For Beading
- Beading: How To Start Jewellery Making With Lyndsey
- Answering Commonly Asked Beading Questions
- Types Of Beads For Jewellery Making
- The Difference Between Half Drilled, Top Drilled And Head Drilled Beads
- How To Use Top Drilled Beads
- Jewellery Making With Half Drilled Beads
- What Are Briolette Beads & How To Use Them
- Stringing Beads With Small Holes
- How To Make Your Bead Holes Bigger With A Bead Reamer
- Types Of Clasps For Jewellery Making
- 8 Reasons You Need A Bead Board
- How To Make A Sliding Knot
- Advice On Knotting Elastic Stretch Magic Thread
- How To Use Flex-Rite Jewellery Wire
- How To Use Crimps
- How To Make A Silkon Thread Briolette Necklace
- How To Use Beading Chain
- 4 Ways To Use Gemstone Donuts
- 4 Gemstone Chip Bead Project Ideas
- How To Use End Caps For Jewellery Making
- How To Make Earwires With Gemstone Beads
- How To Make A Memory Wire Bracelet
- How To Make Gemstone Bead Earrings
- How To Make A Bead Bar Necklace
- How To Make Beaded Bracelet With Flex-Rite Wire & Wire Guardians
- DIY Gemstone Friendship Bracelets
- How To Make A Beaded Bracelet With Knot Covers
- How To Make Polymer Clay Earrings
- How To Make Felt Jewellery
- DIY Mini Tassels & Jewellery Projects
HAVE A QUESTION?
If you have any questions, feel free to get in touch with our friendly team who will be more than happy to give you advice over email or on the phone.
You can learn more and find inspiration by visiting our Jewellery Making Tutorials, Jewellery Making Kits and YouTube Channel. Don't forget to follow us on social media and tag us in your designs on Instagram & Facebook, we would love to see!

