How To Make Wire Wrapped Bead Necklace With Handmade Clasp
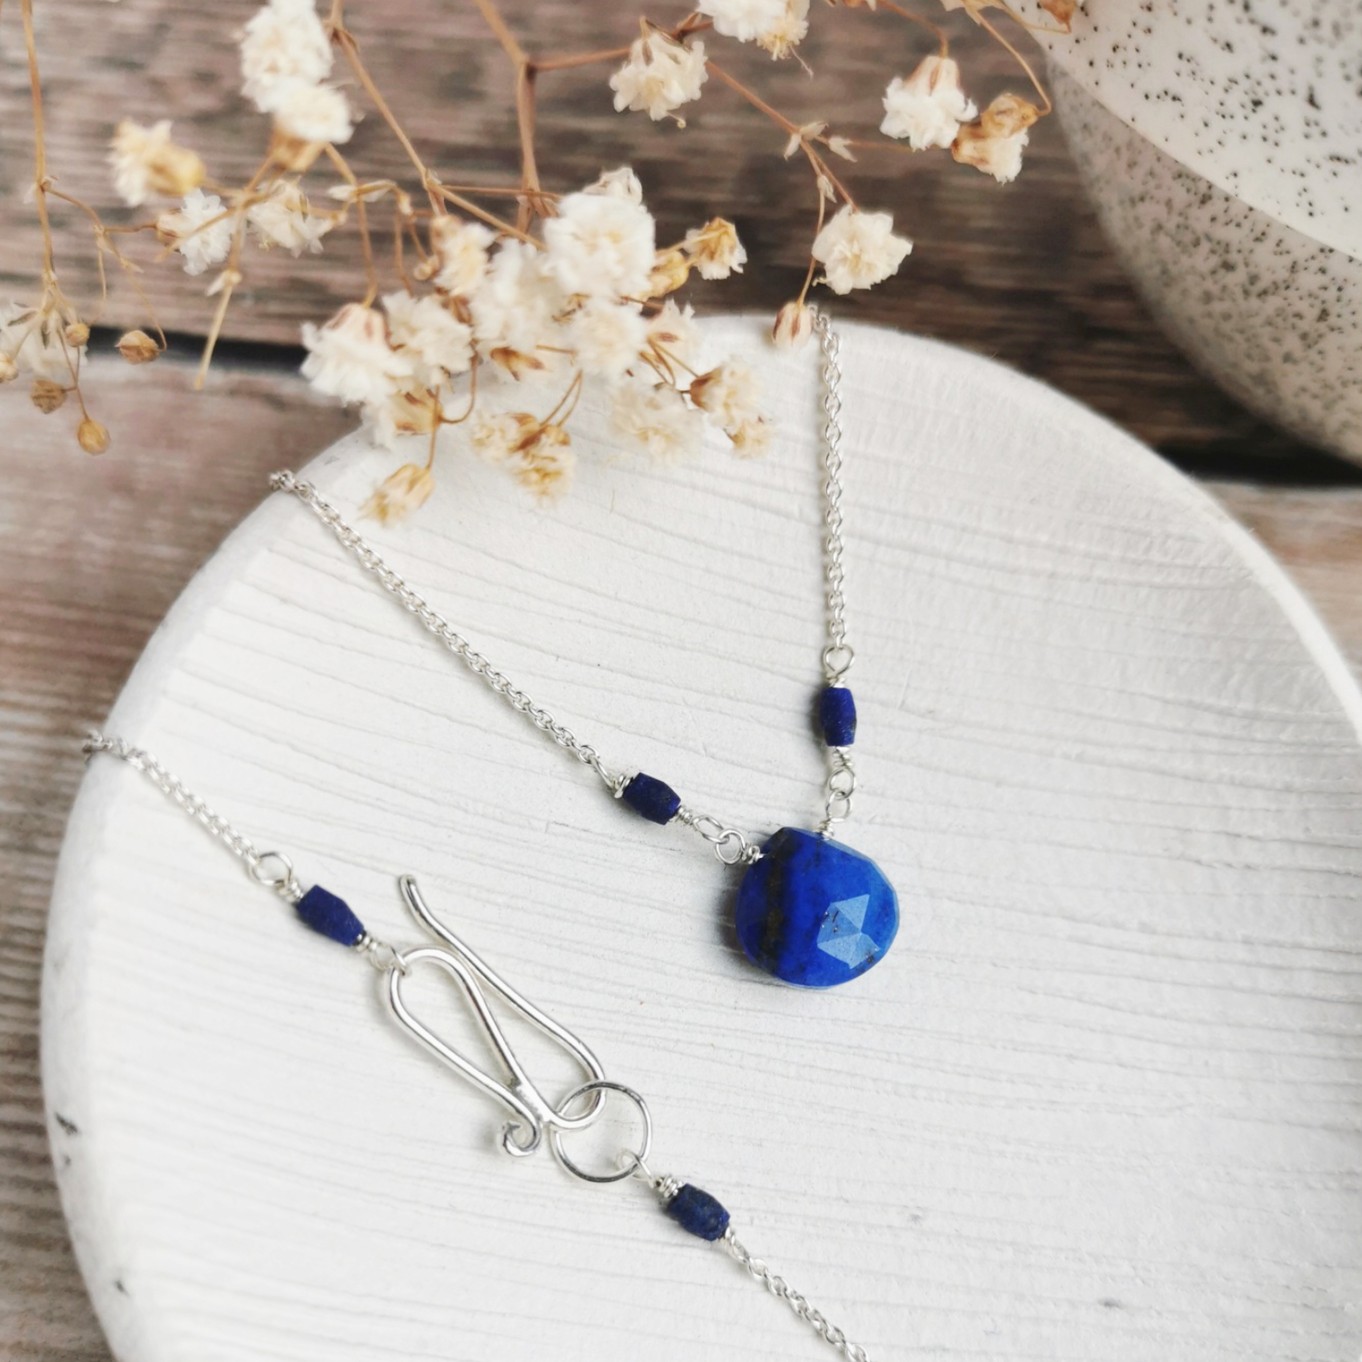
Make your own wire wrapped bead necklace with handmade clasp thanks to guest tutor Cat!
Cat Birch Jewellery joins us to bring you an exciting jewellery making project which is suitable for beginners and those wanting to try their hand at wire work techniques. It also includes how to make your own handmade clasp which requires some soldering techniques, which could be a great place to start if you're a beginner in this area.
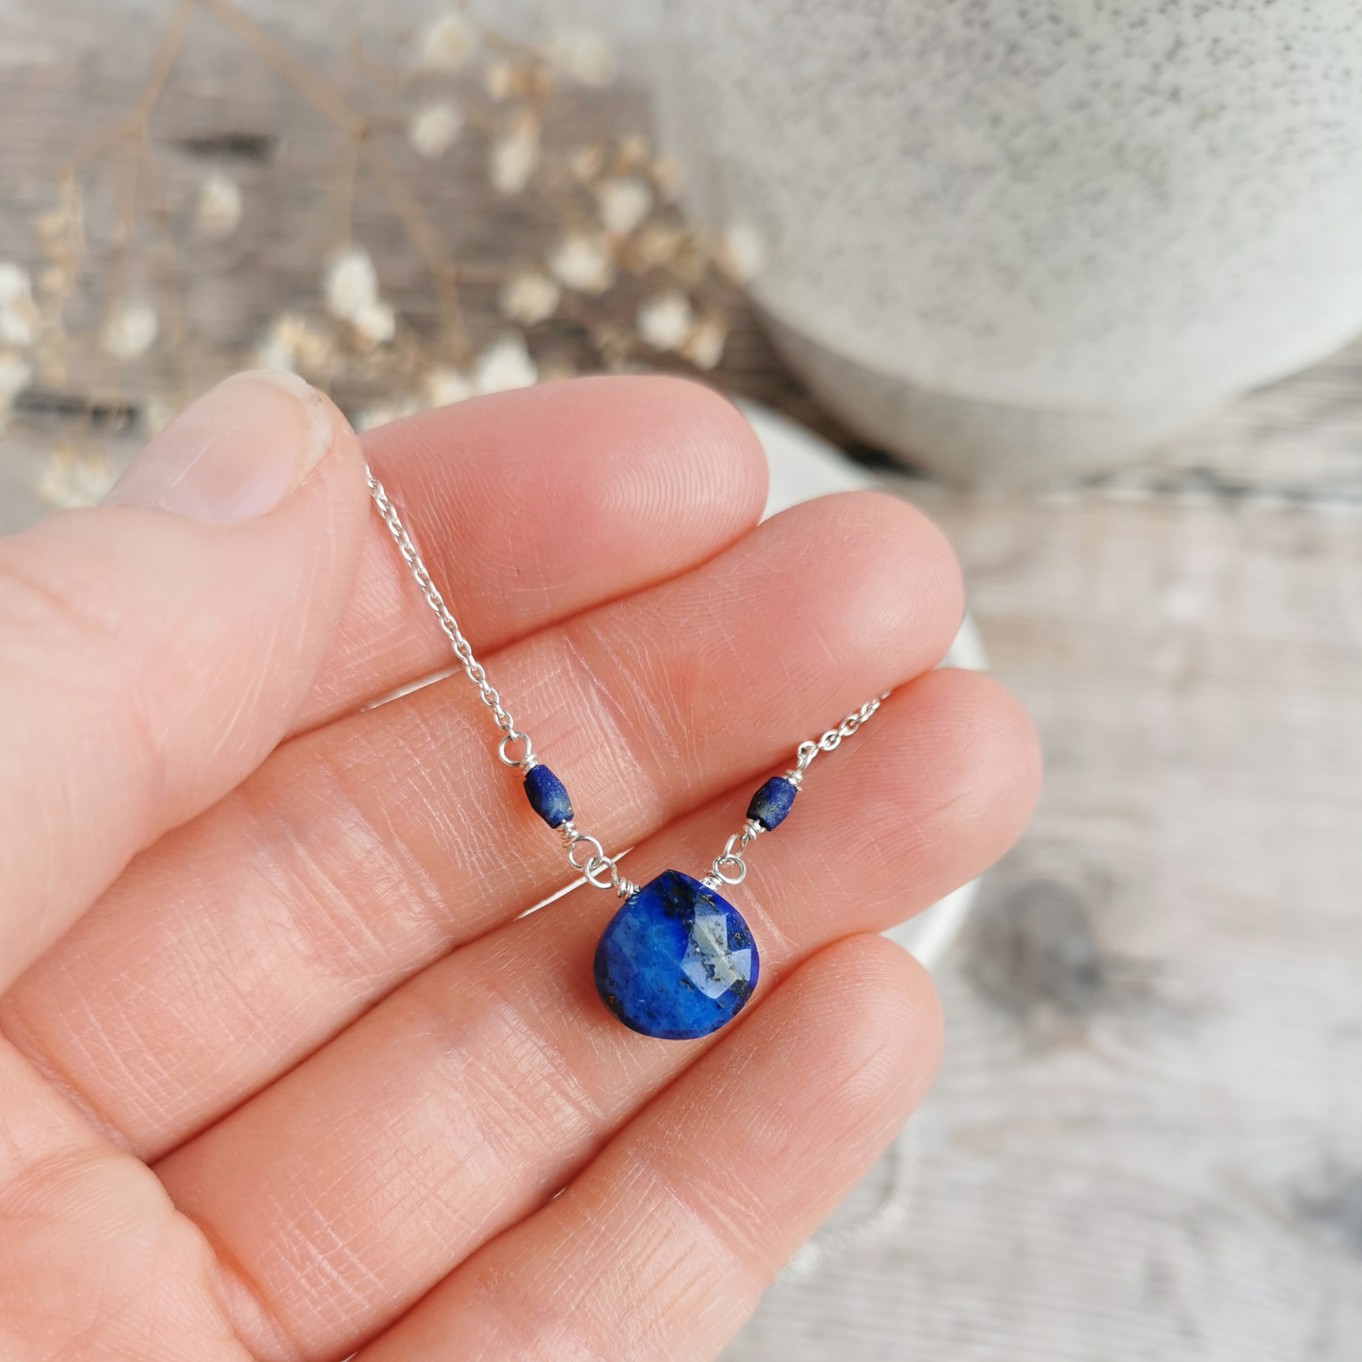
You can get creative with your own take on this design by combining your favourite metals and gemstones! This design features our elegant lapis lazuli beads and we are obsessed with what Cat has created.
Watch Cat's video tutorial below and find all the recommended tools and supplies, so you can easily recreate your own unique necklace for yourself.
Recommended Project Tools & Supplies
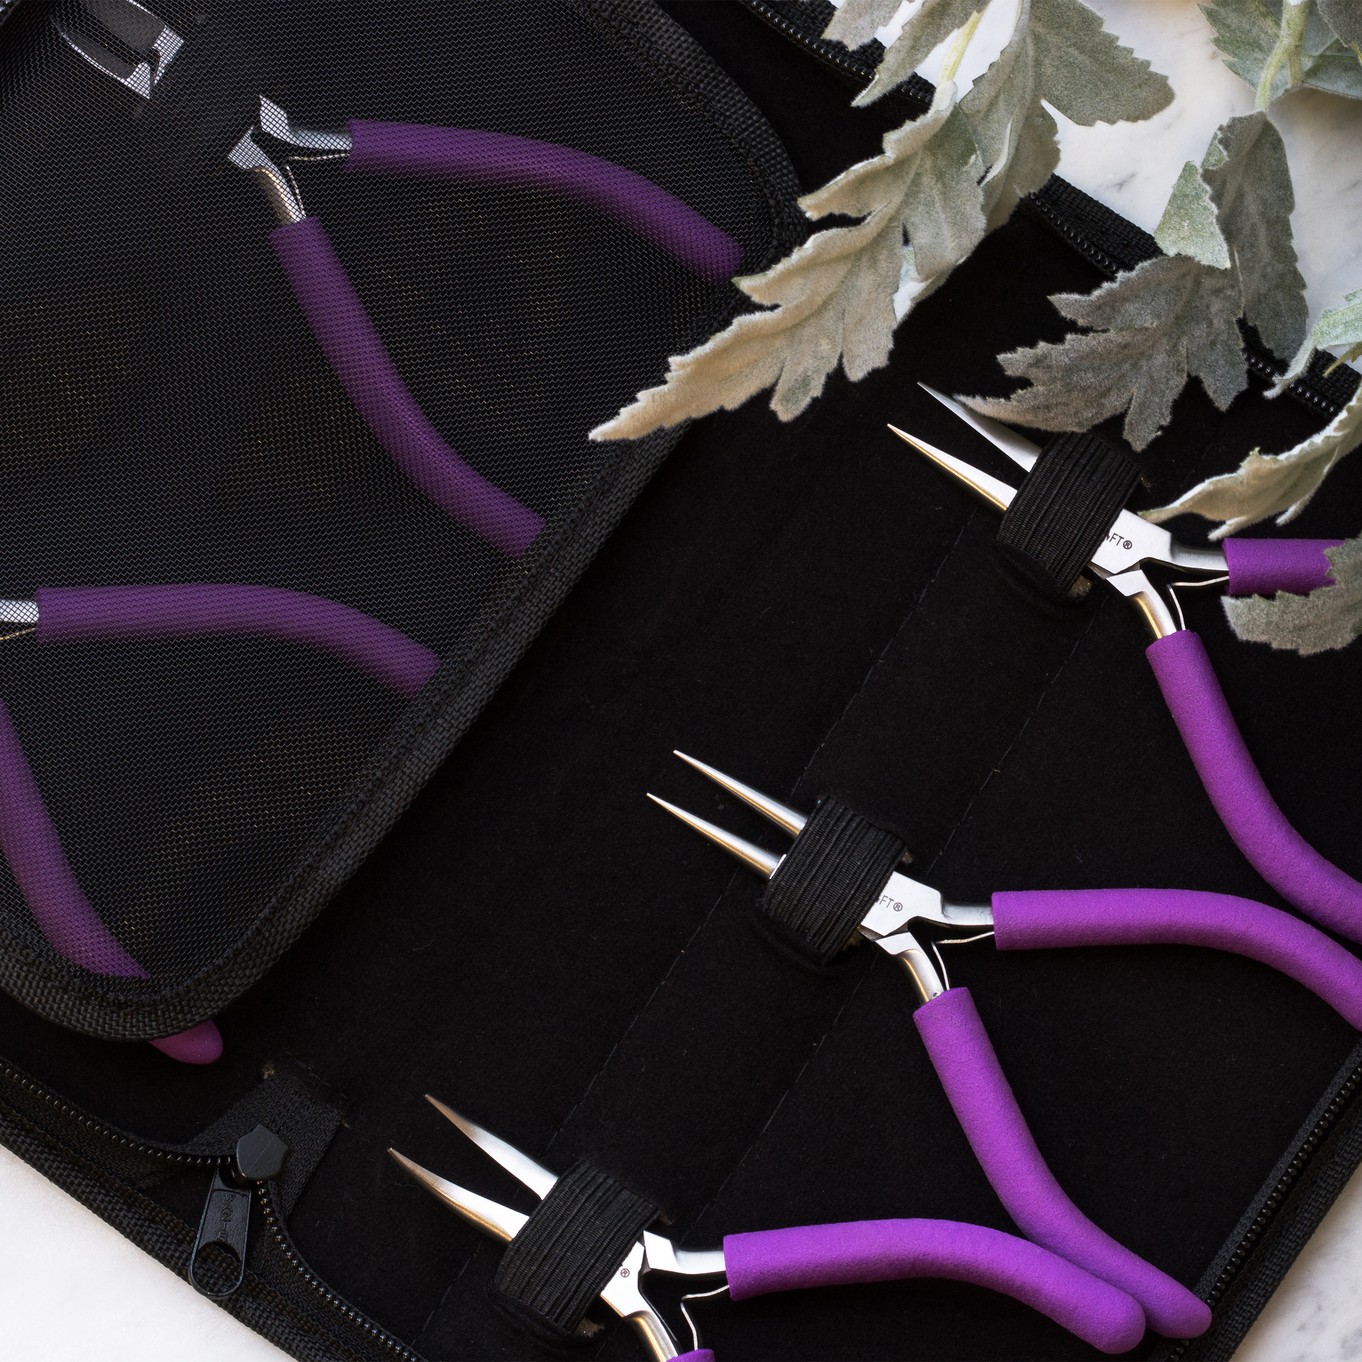
- Pliers – snipe nose (also known as straight), bent nose (available in our pliers pack) and round nosed pliers
- Wire cutters
- Ruler/tape measure
- Set of files (metal or emery style)
- Soldering block
- Gas torch
- Solder & flux (or soldering paste)
- Brass or plastic tweezers
- Pot of water for quenching
- Pickle
- Your chosen polishing method: polishing papers/barrelling machine/polishing mops etc for Dremel
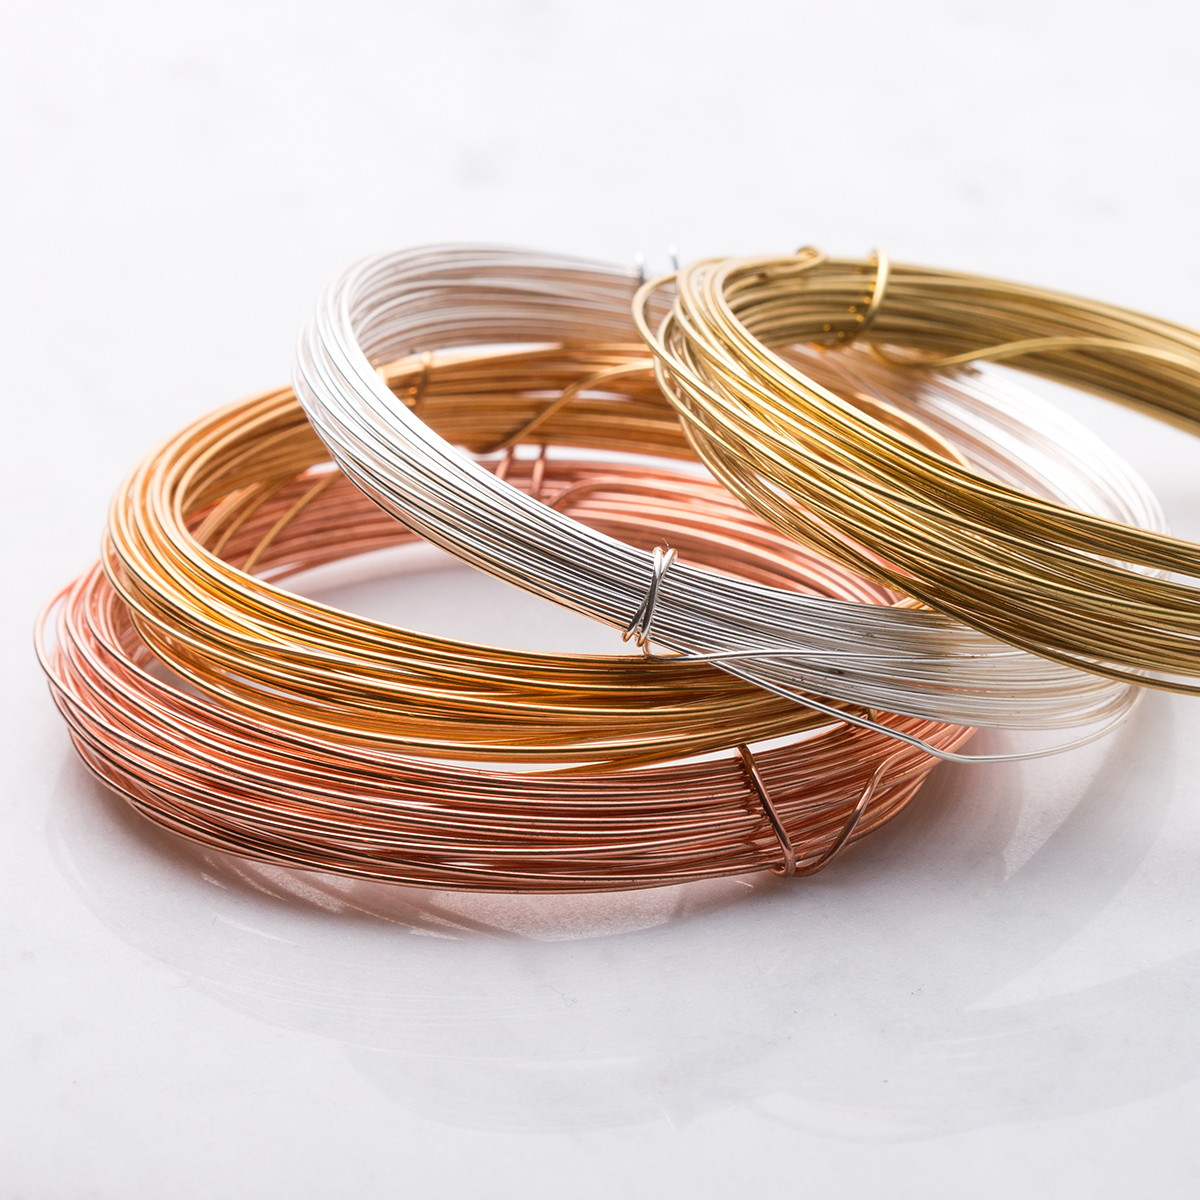
- Sterling silver wire - 0.4 mm or similar (hard hard if possible) for wire wrapping the beads
- Sterling silver wire – 1.0 mm (soft) for the clasp – adjust thickness as preferred for the style and size of the clasp - you may also like to use a jig to help form your clasp shape
- Sterling silver chain – featuring fine cable chain
- Focal bead / briolette bead – featuring lapis lazuli briolette
- Accent beads – featuring lapis lazuli barrel shaped beads
- Sterling silver jump ring 6mm or similar for the clasp receiver
Watch Cat's Tutorial On How To Make Wire Wrapped Bead Necklace With Handmade Clasp
Basic Step By Step Instructions
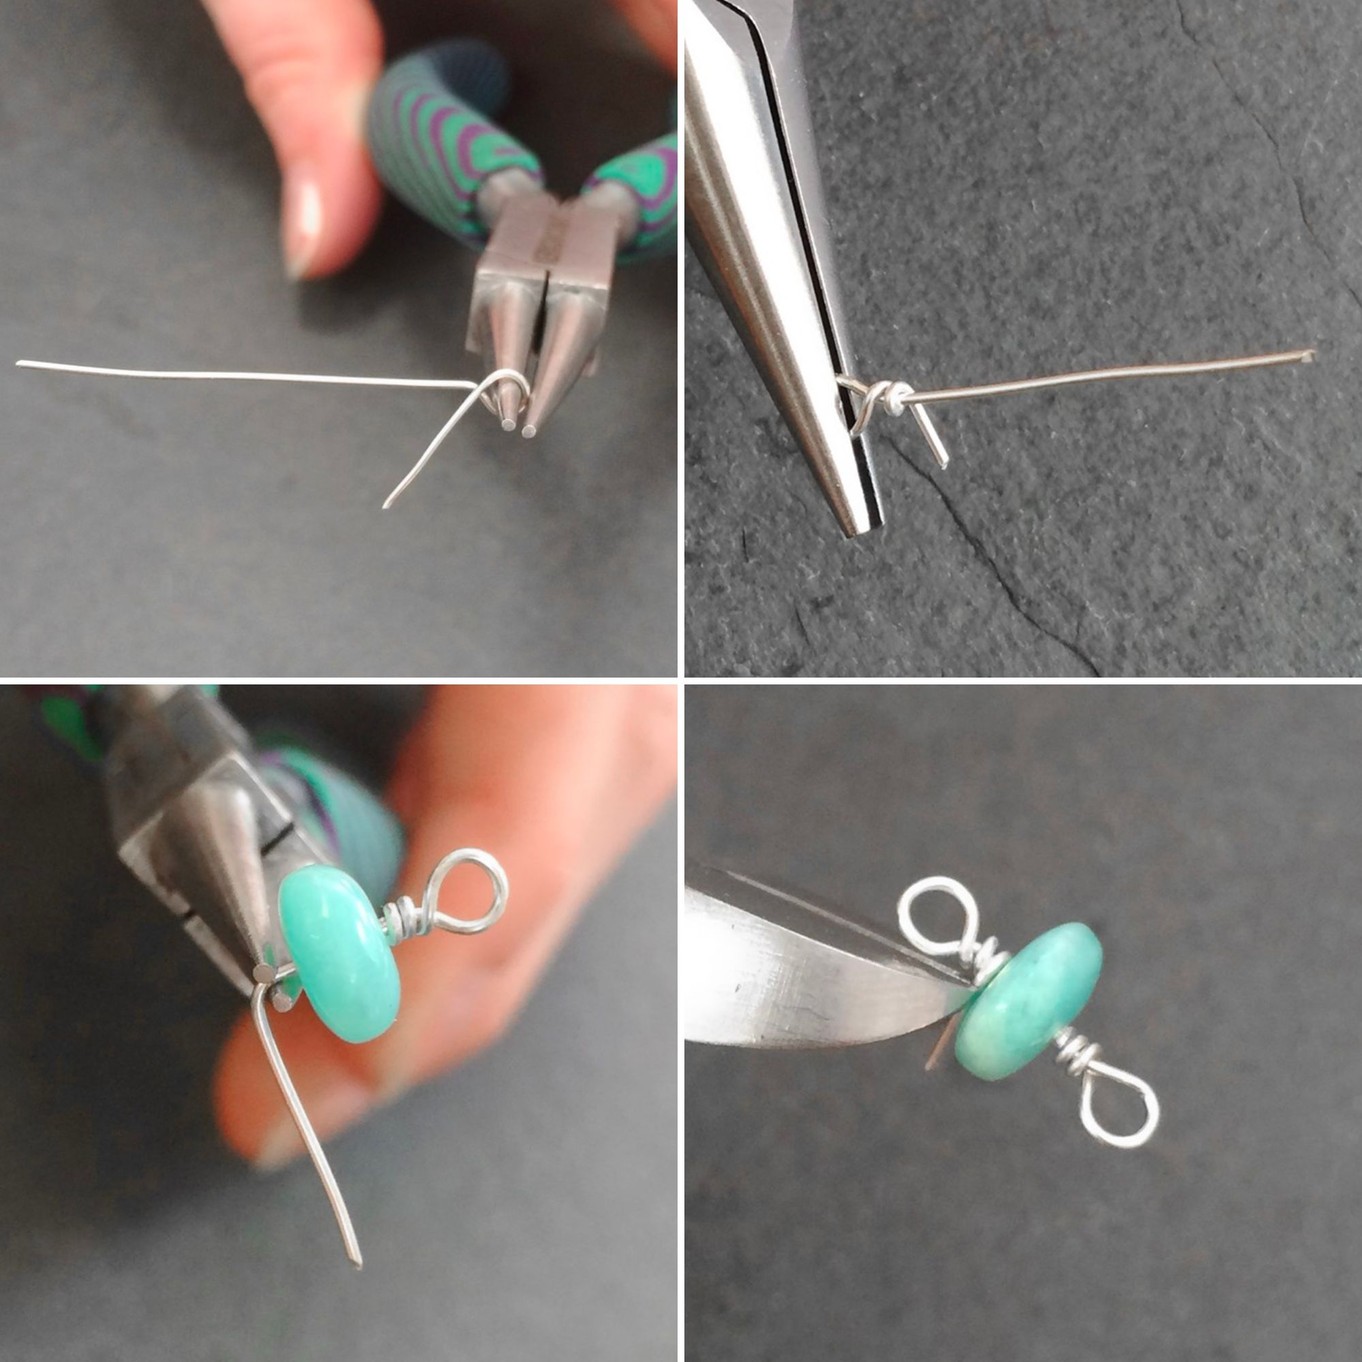
The wire wrapping techniques used in this project are the same as creating a bead chain as shown above. Click here to follow our detailed step by step photo tutorial if you need a more visual guide.
1. First use 0.4mm wire to wire wrap each side of the briolette – bend the loops slightly upwards so they are perpendicular to the sides of the briolette and so they will be in line with the chain when it is added.
2. Cut the chain to length – remember, if you want the final necklace to be, for example, 16 inches, subtract the clasp length plus the finished length of all the wrapped beads from that length. Cut to size, then cut again in half.
TIP: If you’re not sure about the length, wait until the briolette and accent beads are almost wrapped and for the final loops (for accent beads) to be joined to the chain. At this point, wire wrap to each end of your long, full length of chain. The final adjustment to chain length can be done at the end of the tutorial once the clasp has been made. Cut to length at Step 11 instead when you add the final accent beads to the clasp-end of the chain.
3. Wire wrap an accent bead onto one loop of the wire-wrapped briolette. Add the chain onto the other side of this accent when you complete the wire-wrapping to join all these elements together.
4. Repeat on the other side of the briolette. This will form the main part of the necklace.
5. Use your round nosed pliers (or a jig) to form the shape of the clasp. I create an S-shape, and on one of the ends of wire, I enjoy adding a tight little circle before snipping the excess, to add a little flourish. Feel free to be as elaborate or minimal with your design as you wish! Just keep one of the cut ends plain as this is the functional end to thread onto the receiver part.
6. For this functional, open end of the clasp, it can help to add a shallow bend towards the end to help when threading the receiver ring on.
7. Use your pliers to ensure the clasp is sitting flat. Check any cut ends are tucked in if shaped as part of the design, and/or filed smooth if sticking out.
8. Ensure the parts to be soldered are sitting flush next to each other ready for soldering.
9. Add your solder paste or pallion and flux and solder the non-functional section closed.
10. Quench, pickle and polish as normal.
11. Cut chain to the correct length now if you haven’t already.
12. Take your remaining detail rondelles for completing the necklace. Wrap the first rondelle to join one end of the chain to the clasp (the end that is soldered closed).
13. Repeat to join the remaining length of chain with the receiver for the clasp (jump ring).
14. Ensure all ‘tails’ of wire are tucked in from the wire wrapping.
Enjoy your new necklace!
Explore More Supplies With Kernowcraft
Gemstone Briolettes >
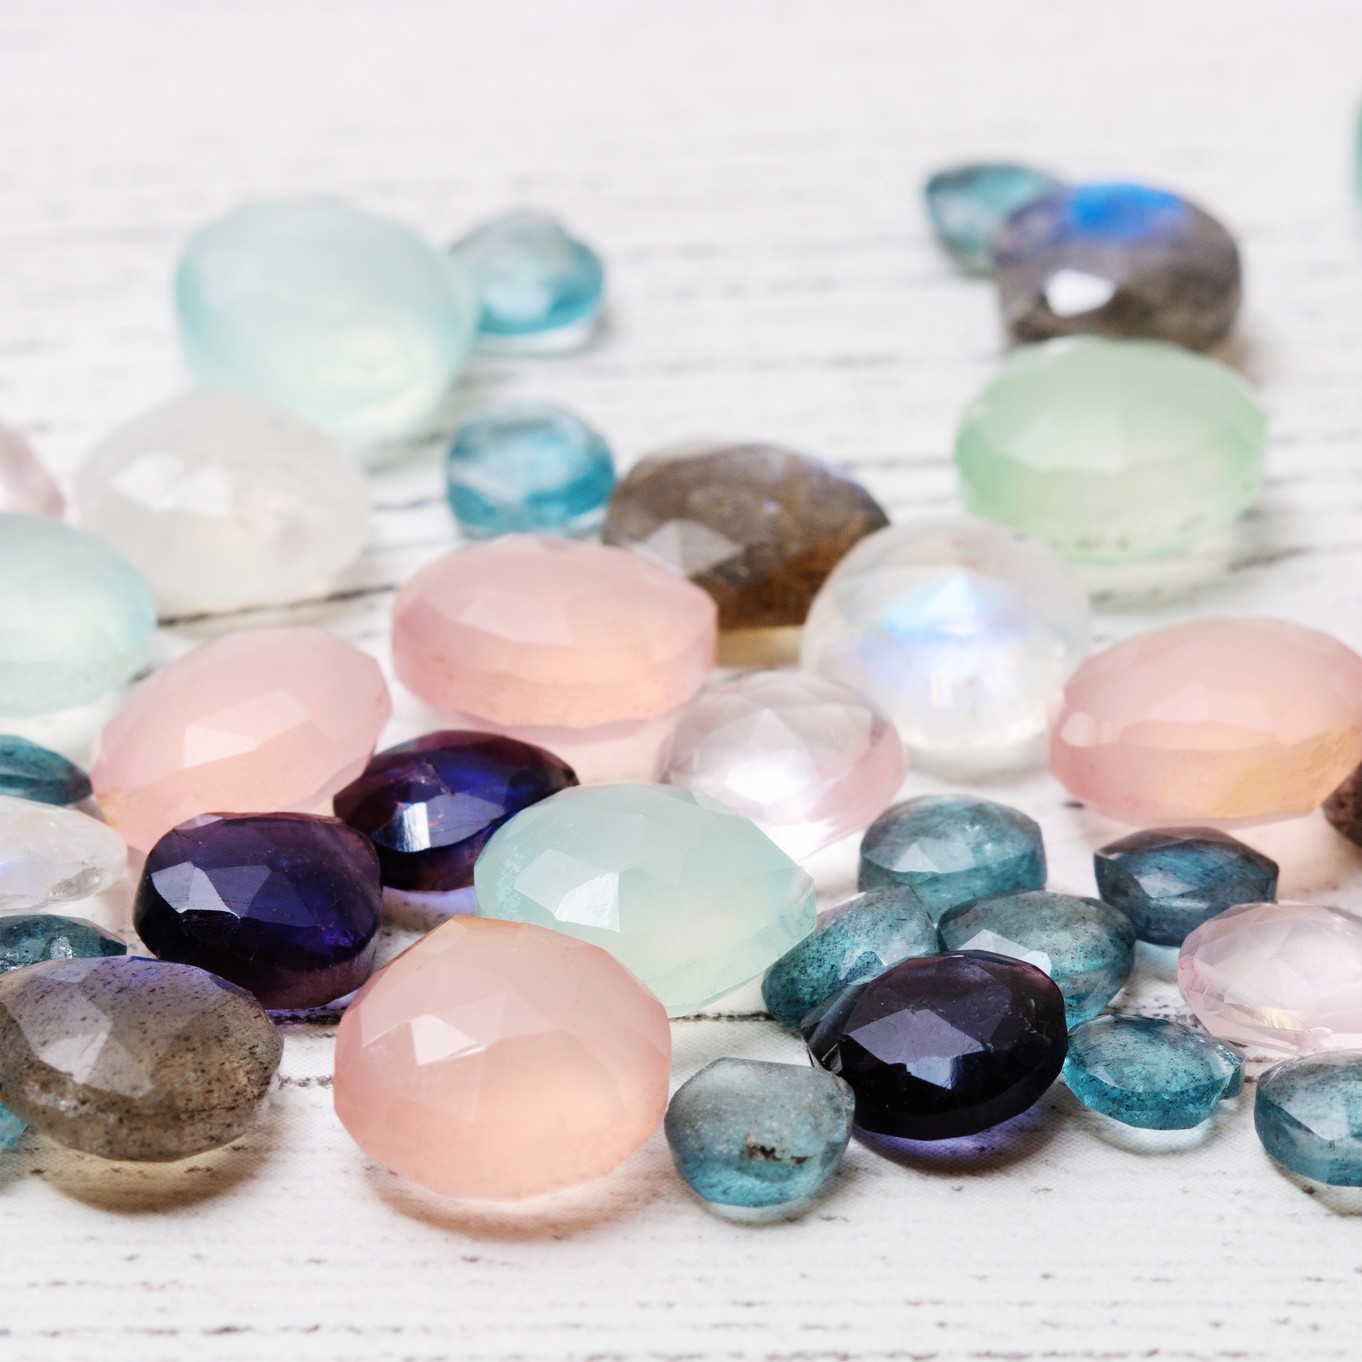
Briolettes are a pear shaped cut of stone that is usually head drilled and generally covered in facets! We love using them to create statement pendant and earring drop designs.
Customise With Your Favourite Beads >
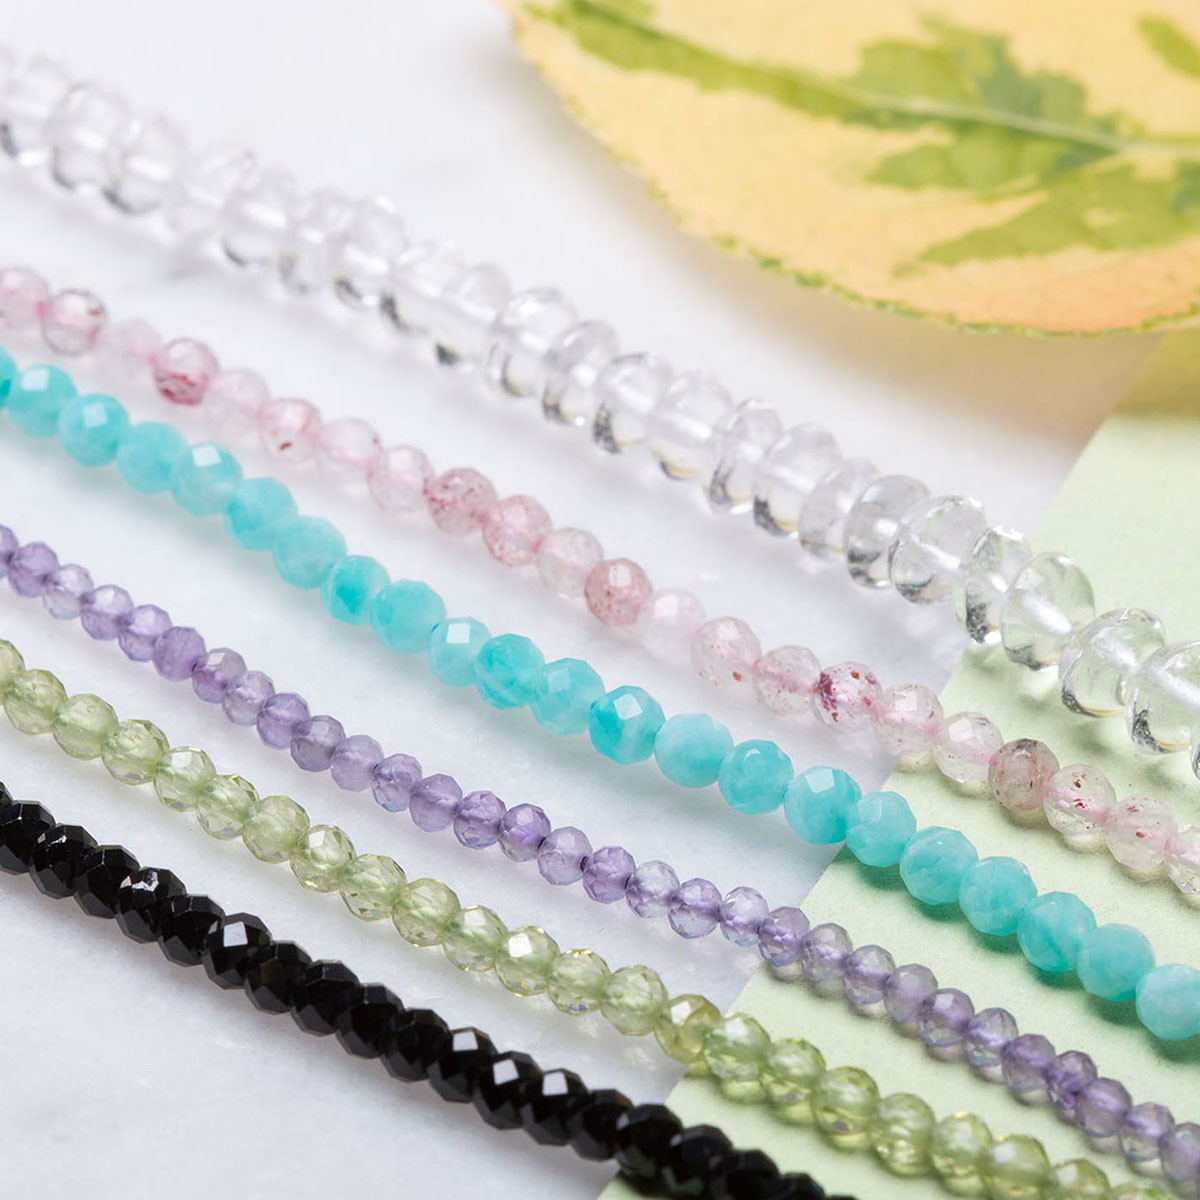
Choose from our huge selection of gemstone beads to use as your accent beads! You want to choose beads that are smaller than your focal/feature bead to compliment the design.
Pliers Pack With All The Pliers You Need To Get Started >
Our pliers pack contains round nose pliers, snipe nose pliers, flat nose pliers, bent nose pliers and side cutters. All the basic pliers you need, in a handy zip up case to keep them organised.

MEET GUEST TUTOR, CAT BIRCH
I have been making jewellery for over 10 years, and in 2019 I made the decision to take it officially from hobby to business. My jewellery has been an intrinsic part both my personal life and my customers’ lives, accompanying through the ups and downs, bringing strength and grounding through the tough times, celebrating the achievements and the highs, and cherishing the people we love and the memories once they’re gone.
My jewellery is to celebrate and mark these moments – and people – that make our lives so rich and multifaceted. I believe jewellery should be made with love – because jewellery is always given with love.
FOLLOW CAT
We have been so lucky to collaborate with Cat on lots of projects to inspire you! Check them out below
Also in this section:
- How To Make A Wire Wrapped Nest Necklace
- How To Make Your Own Teardrop Bead Earrings
- Tools For Making Jewellery Using Wire
- Your Guide On Choosing Wire For Jewellery Making
- Compare Jewellery Designs Using Different Sized Wire
- Wire Gauge Coversions
- How To Work Harden Jewellery Making Wire
- How To Use Nylon Jaw Pliers For Jewellery Making
- How To Use A Thing-A-Ma Jig For Jewellery Making
- How to Wire Wrap a Bead With a Headpin
- How To Wire Wrap A Bead
- How To Make A Wire Wrapped Bead Chain
- How To Wire Wrap A Briolette
- Wire Wrapped Cluster Briolette Earring Tutorial
- How To Make Wire Wrapped Bead Necklace With Handmade Clasp
- How To Wire Wrap A Rough Crystal
- How To Make Valentine's Day Earrings: Wonky Wire Hearts
- How To Make A Wire Wrapped Crystal Necklace
- 6 Wire Wrapped Ring Projects & Essential Tools
- How To Make A Wire Wrapped Bead Ring
- How To Make An Anxiety Ring
- How To Make A Wire Wrapped Gemstone Ring
- How To Make A Wire Wrapped Cabochon Pendant
- How To Make A Tree Of Life Pendant
- How To Wire Wrap A Gemstone Donut
- How To Make Christmas Tree Earrings
- Simple Sterling Silver Wire Scroll Earrings
- Soldered Circle Hoop Earrings With Beads Tutorial
- How To Make Wire Hoop Earrings & Customise Them
- Metal Charm Hoop Earring Tutorial
- How To Make A Wire Word Necklace
- 4 Wire Wrapped Gemstone Tube Bead Projects
- Festival Inspired Crystal Necklace Tutorial

