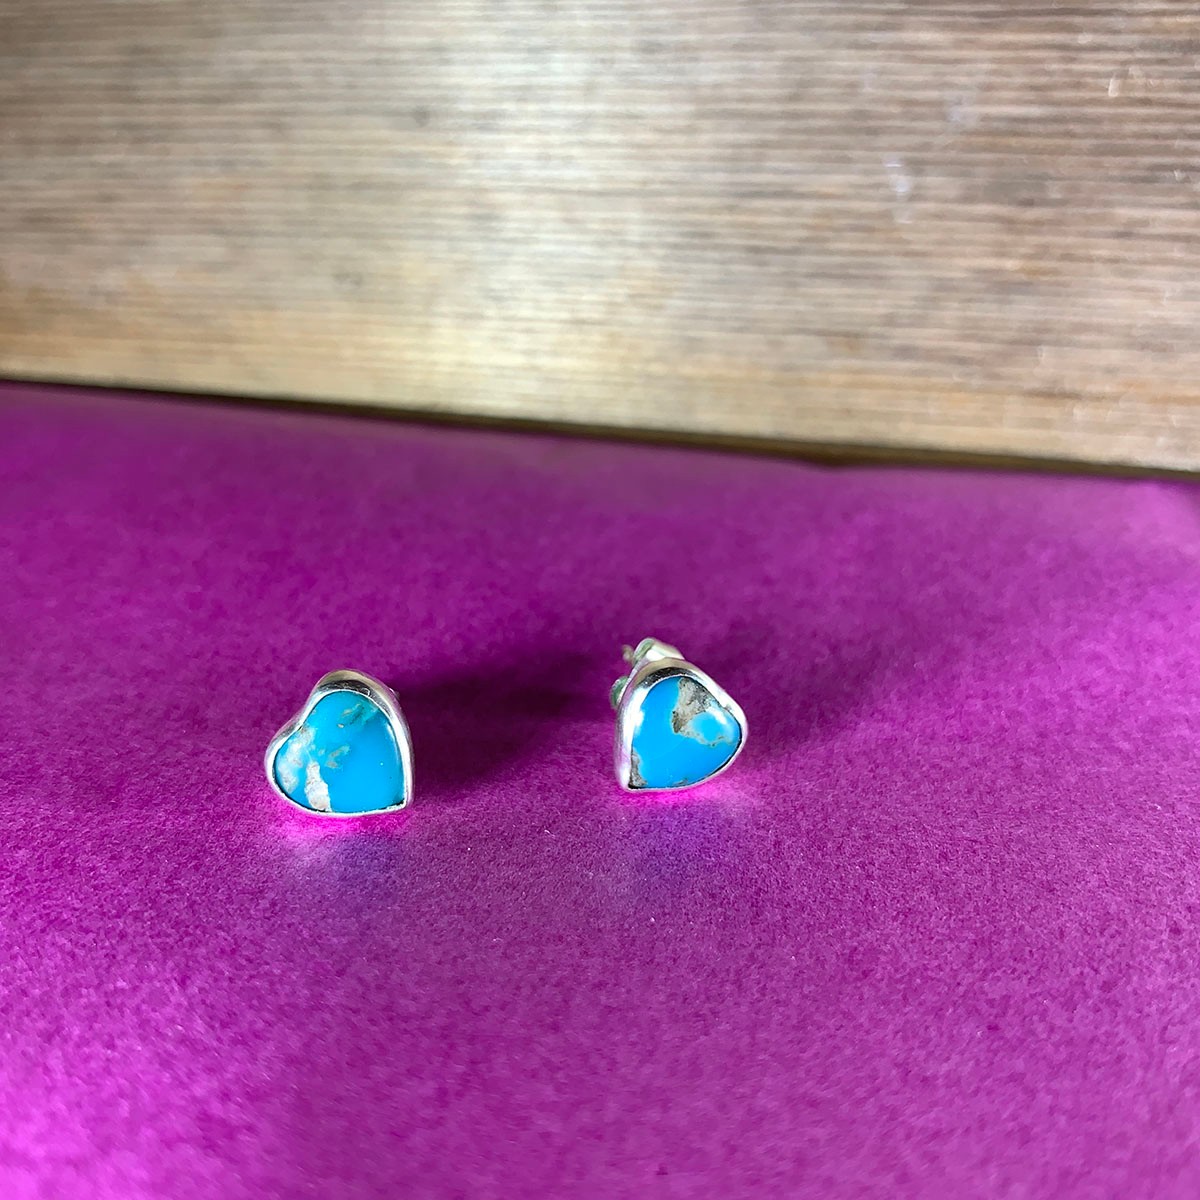
How To Make Bezel Set Heart Cabochon Earrings
Make Your Own Heart Earrings With Guest Tutor, Amie from Be More Me Designs!
Setting a cabochon stone may seem like quite a scary prospect if you’ve not tried it yet, but it was the very technique I learnt in my first ever jewellery-making lesson and it opens so many design possibilities!
Using a heart-shaped stone follows much of the same concept as a round or oval shaped stone, you just need to be more aware of the height of the stone when you prepare your bezel cup. Perseverance is key – give it a go!
Recommended project tools and supplies:
- 2 x heart cabochons (This project uses 8mm turquoise matrix in this project but there are many gorgeous gemstones to choose from)
- Bezel strip
- 0.5mm sterling silver sheet
- Solder strip or solder paste (hard, easy and extra easy)
- Earstud posts OR 0.8mm silver wire and cup burr
- Ear scrolls
- Scribe
- Metal cutters
- Round nose pliers (or a pencil/knitting needle)
- Flux
- Hand torch
- Rawhide hammer
- Steel block
- Plastic or brass tweezers
- Pickle
- Reverse action tweezers
- Third hand
- Pusher
- Bezel rocker
- Burnisher
- Files
- Wet and dry sanding papers
- Polishing papers, power tool (such as Dremel Multi Tool) with silicone burrs or barrelling machine
Follow Amie's Step By Step Instructions
Step 1: Prepare The Bezel Strip
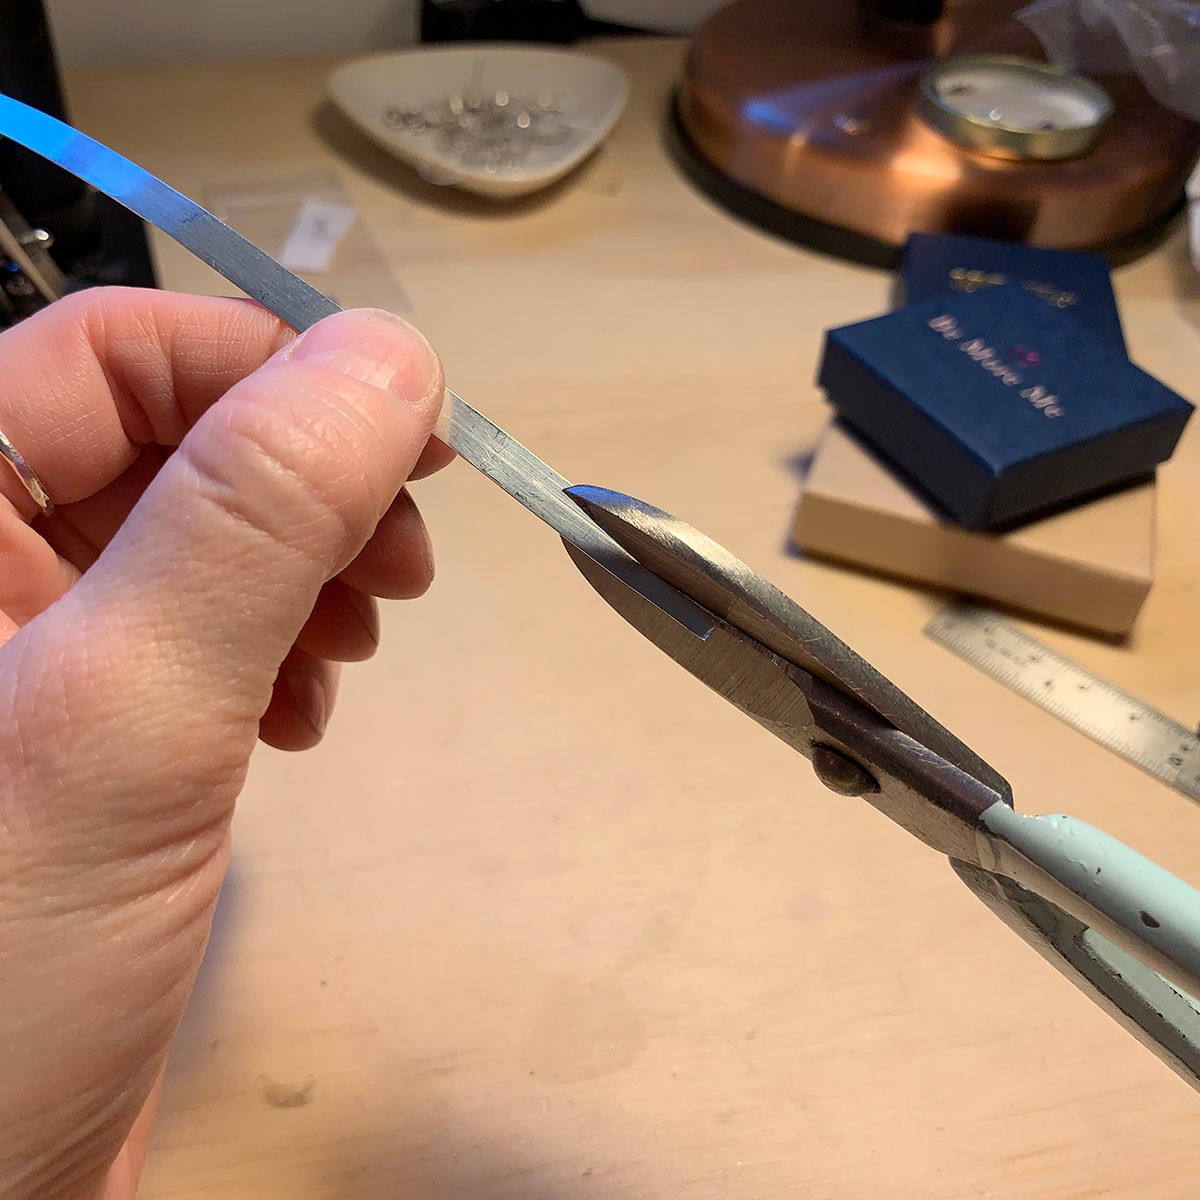
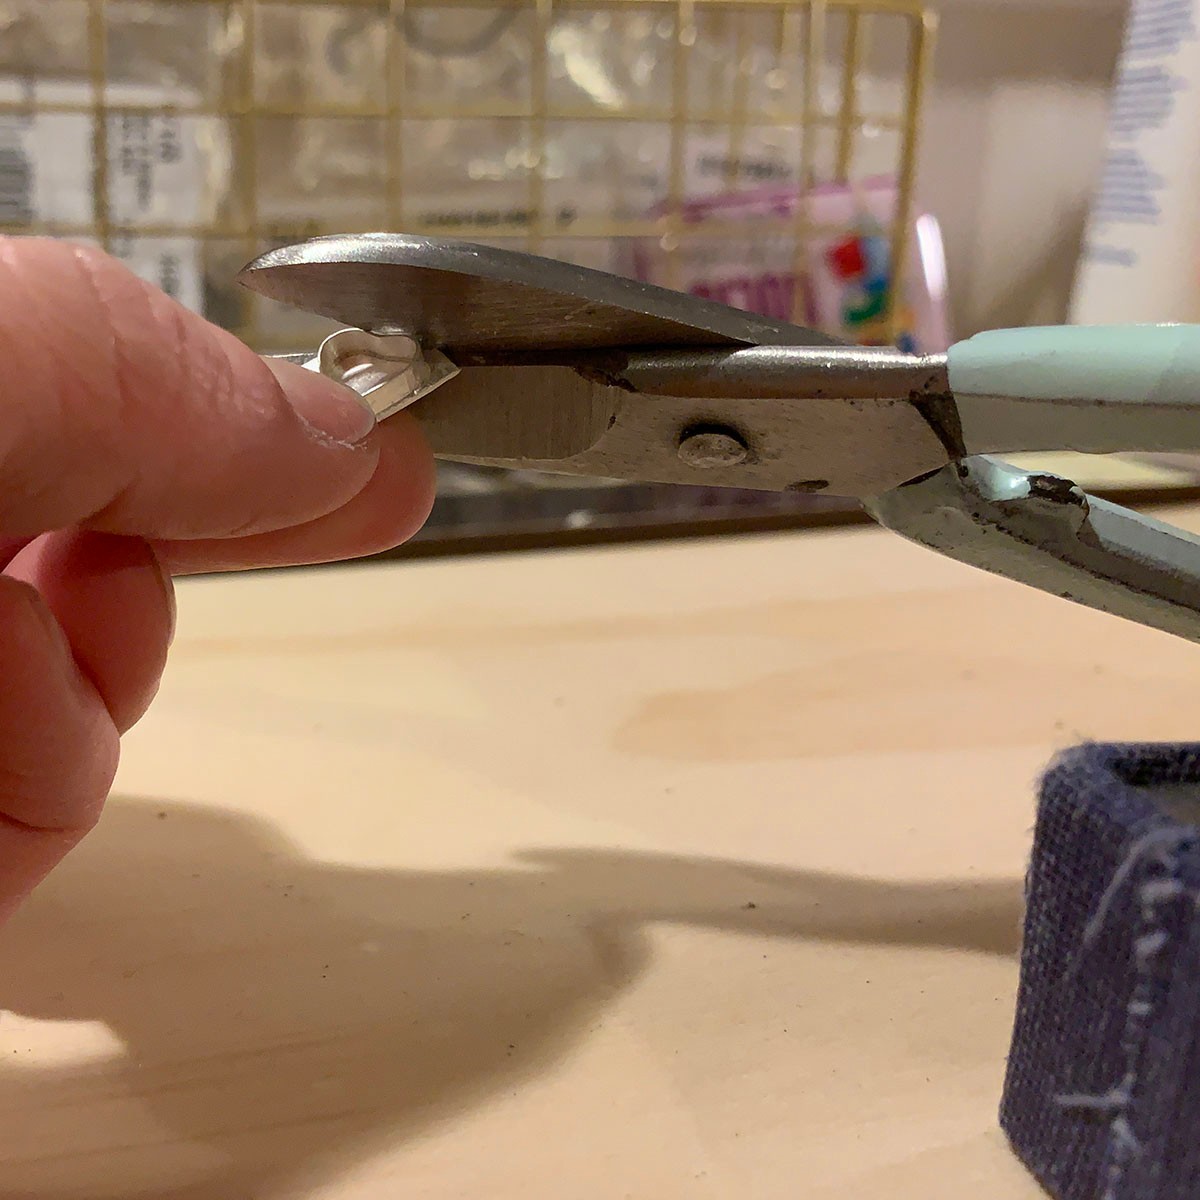
Firstly, prepare your fine silver bezel strip for the stone setting. Choose a depth of bezel strip that sits slightly taller than the height of the stone at its curved edges, so that there will be enough silver to push over the edges of the stone later. If the bezel strip is too deep then you may want to use a scribe to draw a line at the correct depth and carefully adjust its size using metal snips, before you begin. (Or alternatively you can sand the bezel height down once the setting is made by rubbing it on emery paper).
Step 2: Wrap The Strip Around The Stone
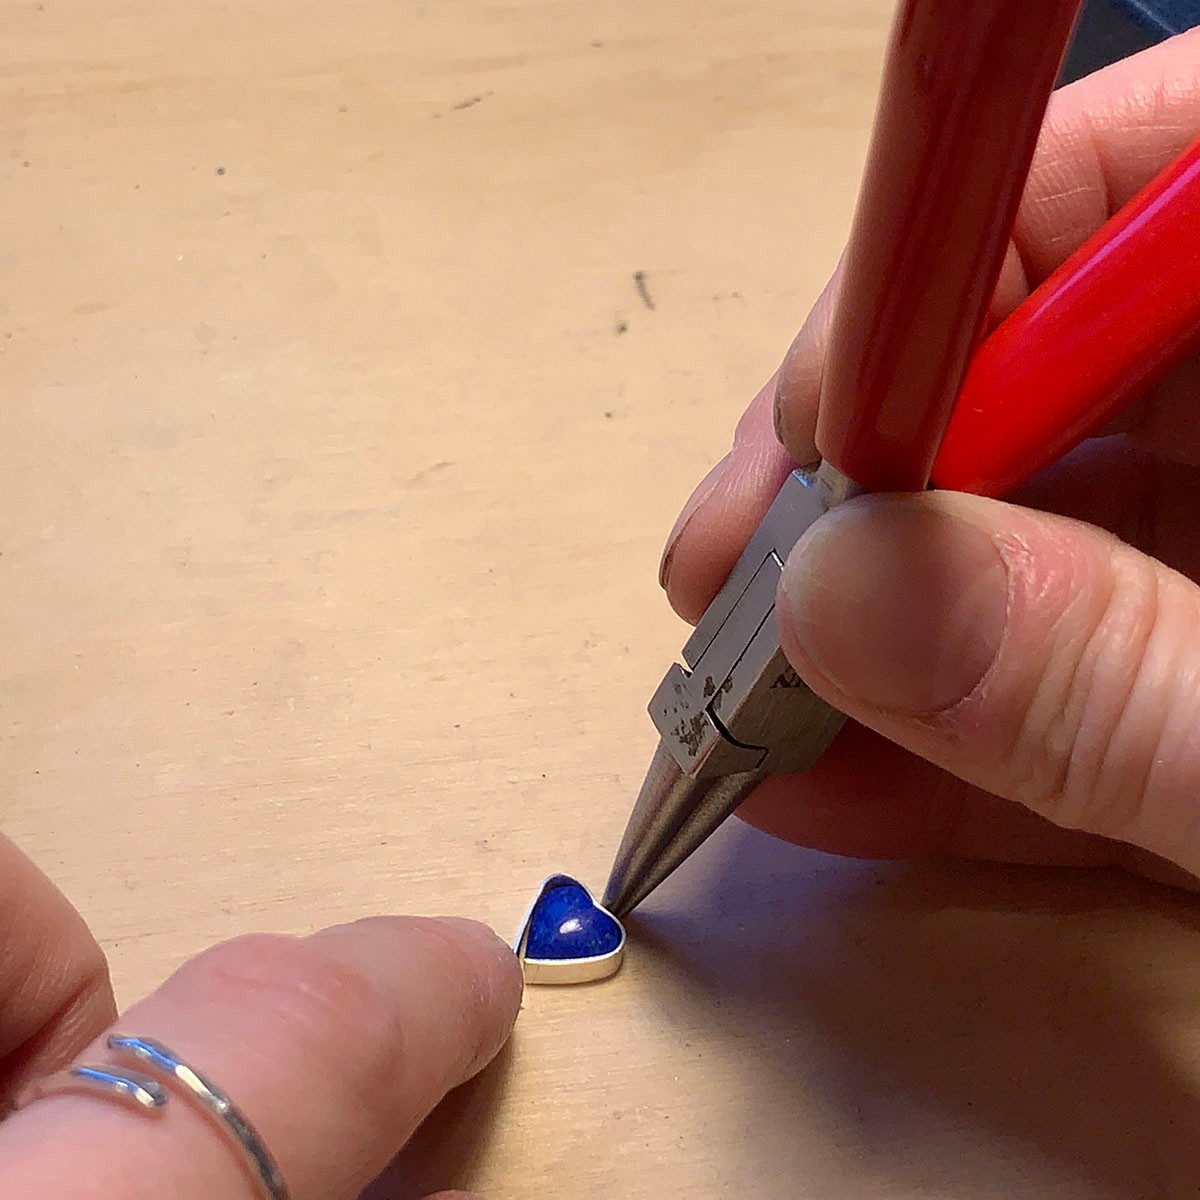
Wrap the bezel strip right around the edge of the heart cabochon. Ensure the end of the bezel strip is filed flat so it sits flush where it meets at the join. There should be no gap as solder will not fill it. (You may prefer to have your join along one side of the heart if you’ll find it easier to solder). You can use round nose pliers, or maybe a pencil or knitting needle, to create the kink at the curvature of the heart.
Step 3: Flux & Solder The Join
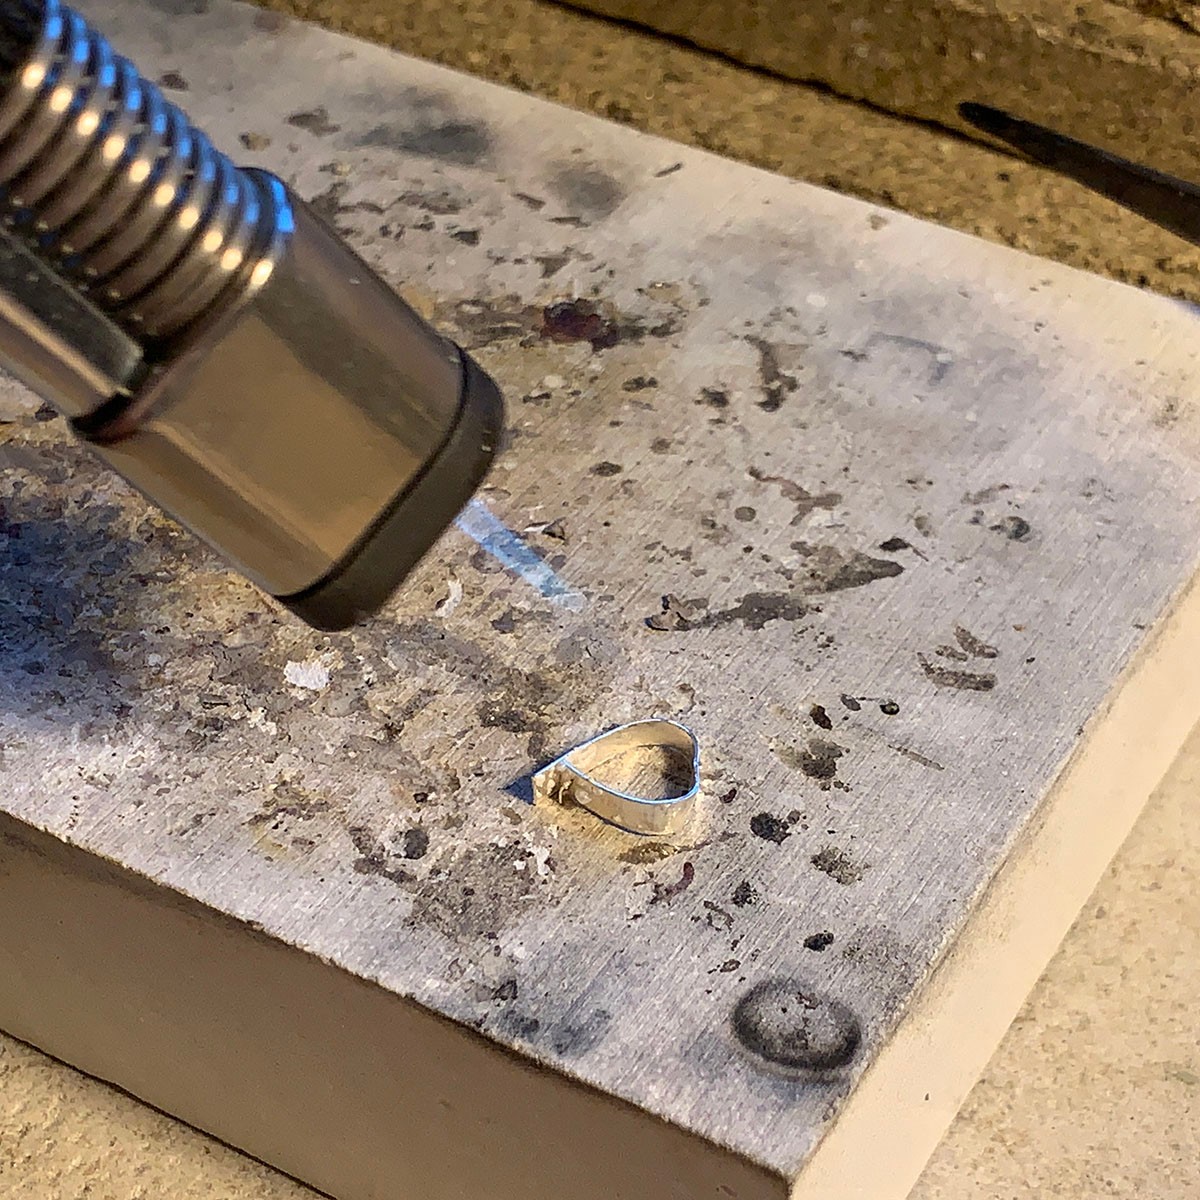
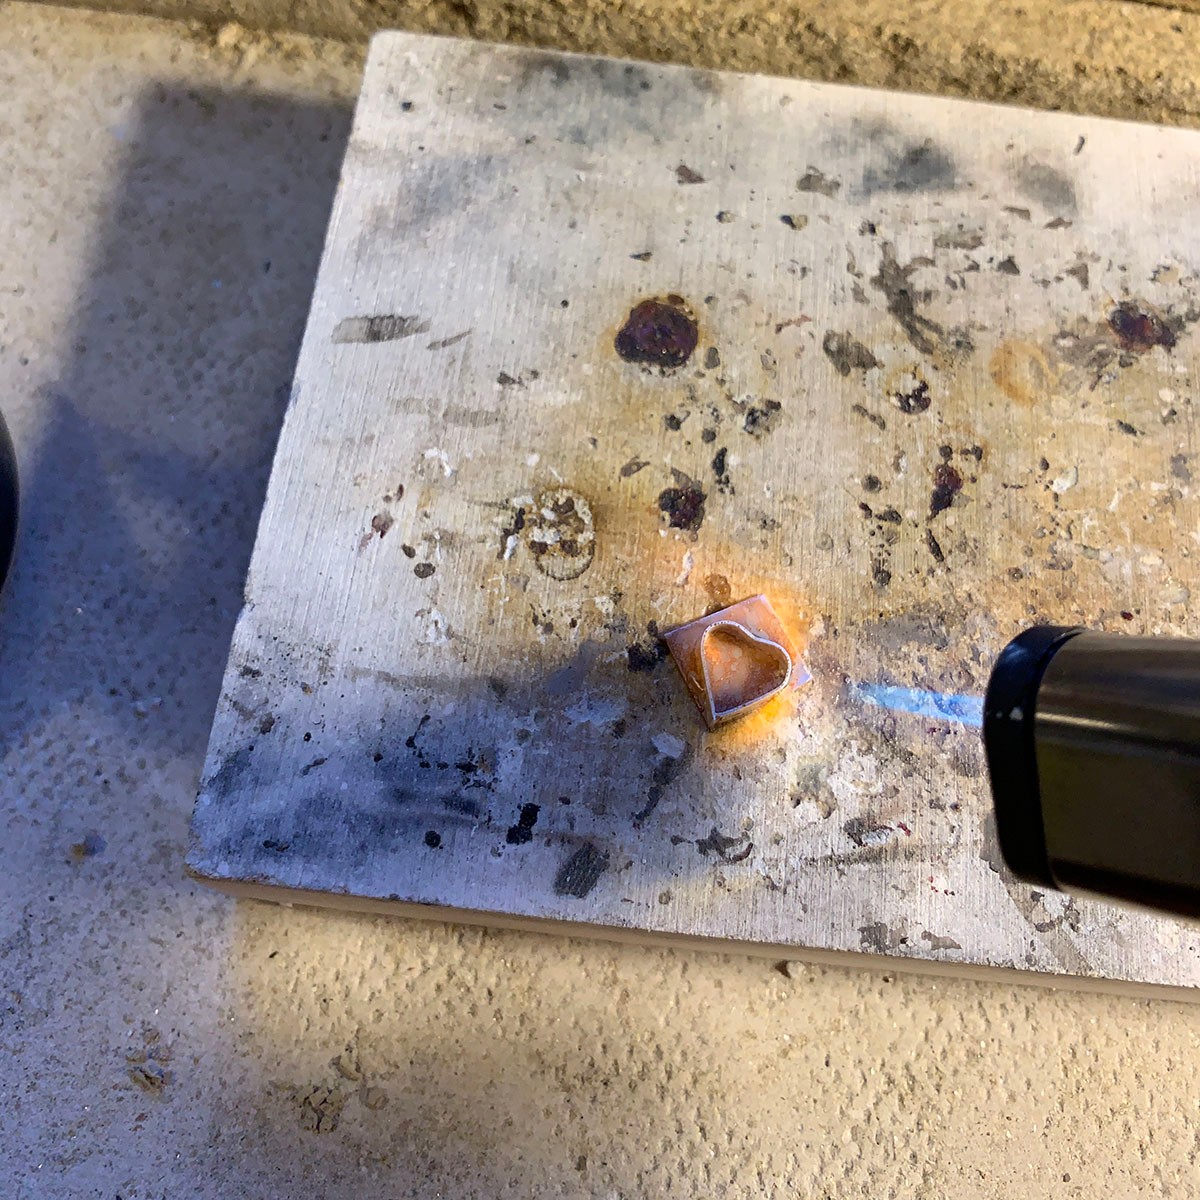
Once you are happy with the fit, apply flux at the join. The compound prevents oxides and helps solder to flow. Use metal snips to cut a small pallion of hard solder and place it on the join, or you can use a small amount of hard solder paste. Firstly, using a soft flame, begin to heat the bezel strip with a hand torch. Start movement of the flame at the opposite side to the join, this helps to avoid the join opening. Then slowly move the flame gently around the bezel shape in a gentle motion until the flux starts to bubble. Now, using a more pointed flame, continue the same movement. As the bezel begins to change colour as it gets hotter, focus the flame more towards the join until the solder runs. Note: bezel strip is fine silver and it will melt quickly if it’s over-heated, so try to keep gently moving the flame and not to focus it on one point for too long. Quench in water with stainless steel tweezers and snip away the excess bezel at the join with metal snips.
Step 4: Solder Onto Sheet
Check the bezel still fits around your stone correctly (you may need to manipulate it slightly if it has misshapen during the previous steps). Then place it on to silver sheet, with a thickness of 0.5mm, which will be the base of your stone setting. It should sit flush to the silver sheet with no gaps. If it isn’t flush, you can use a rawhide hammer to flatten out the sheet on a steel block and/or gently rub the bezel on wet and dry sanding sheets to make it the same level all the way around. Once you are happy, flux both the bezel and silver sheet. Place three or four small pallions of easy solder, or small amounts of easy solder paste, at equal points around the outside of the join. Move a soft flame gently around the whole piece until the flux starts to bubble (the bezel may lift as the flux bubbles, and your pallions may move, you can use your stainless steel tweezers to push it back down flat and adjust the placements of your pallions). For the solder to run, the silver sheet will require slightly more heat than the fine silver bezel to bring them both to the same temperature. So, using a pointed flame, focus firstly on the middle and edges of the silver sheet and then move gently around the whole piece to further heat the bezel as well, until the solder runs. Quench in water with stainless steel tweezers. Pickle the bezel setting for a few minutes to remove any fire stain. (Only use plastic or brass tweezers in the pickle).
Step 5: Cut Excess Sheet & File
Snip away the overhanging silver sheet using metal cutters and use a file to remove any excess silver around the stone setting. If the solder has run correctly there should be no line or gap evident where the bezel and sheet join.
Step 6: Attach the ear pins
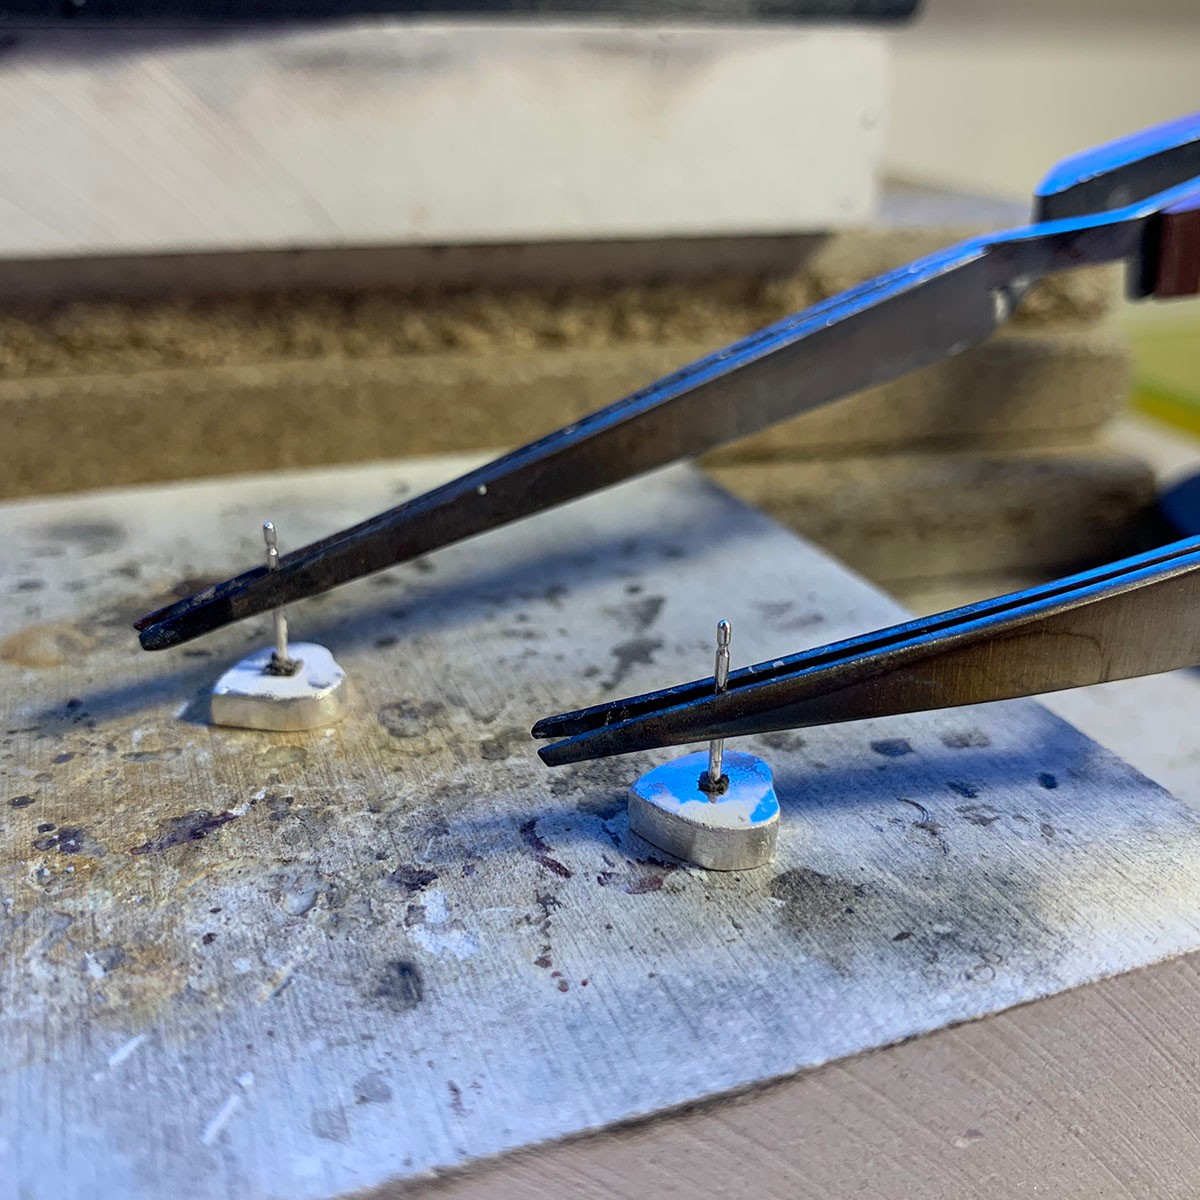
You can purchase ready-made earstud posts, or you can make your own using 0.8mm silver wire and rounding the end with a cup burr or files. Flux the back of the stone setting and the ear pin. Using reverse action tweezers and a third hand, place the earstud post into position so it is flat against the back of the stone setting. Place a small pallion of extra easy solder, or small amount of extra easy solder paste, at the base of the ear pin. Using the same flame techniques as steps 3 and 4 focus the heat firstly on the back of the earring and gently move the flame up the ear pin until the solder runs. Quench in water and pop back in the pickle for a few minutes, until any fire stain is removed.
Step 7: File & Clean
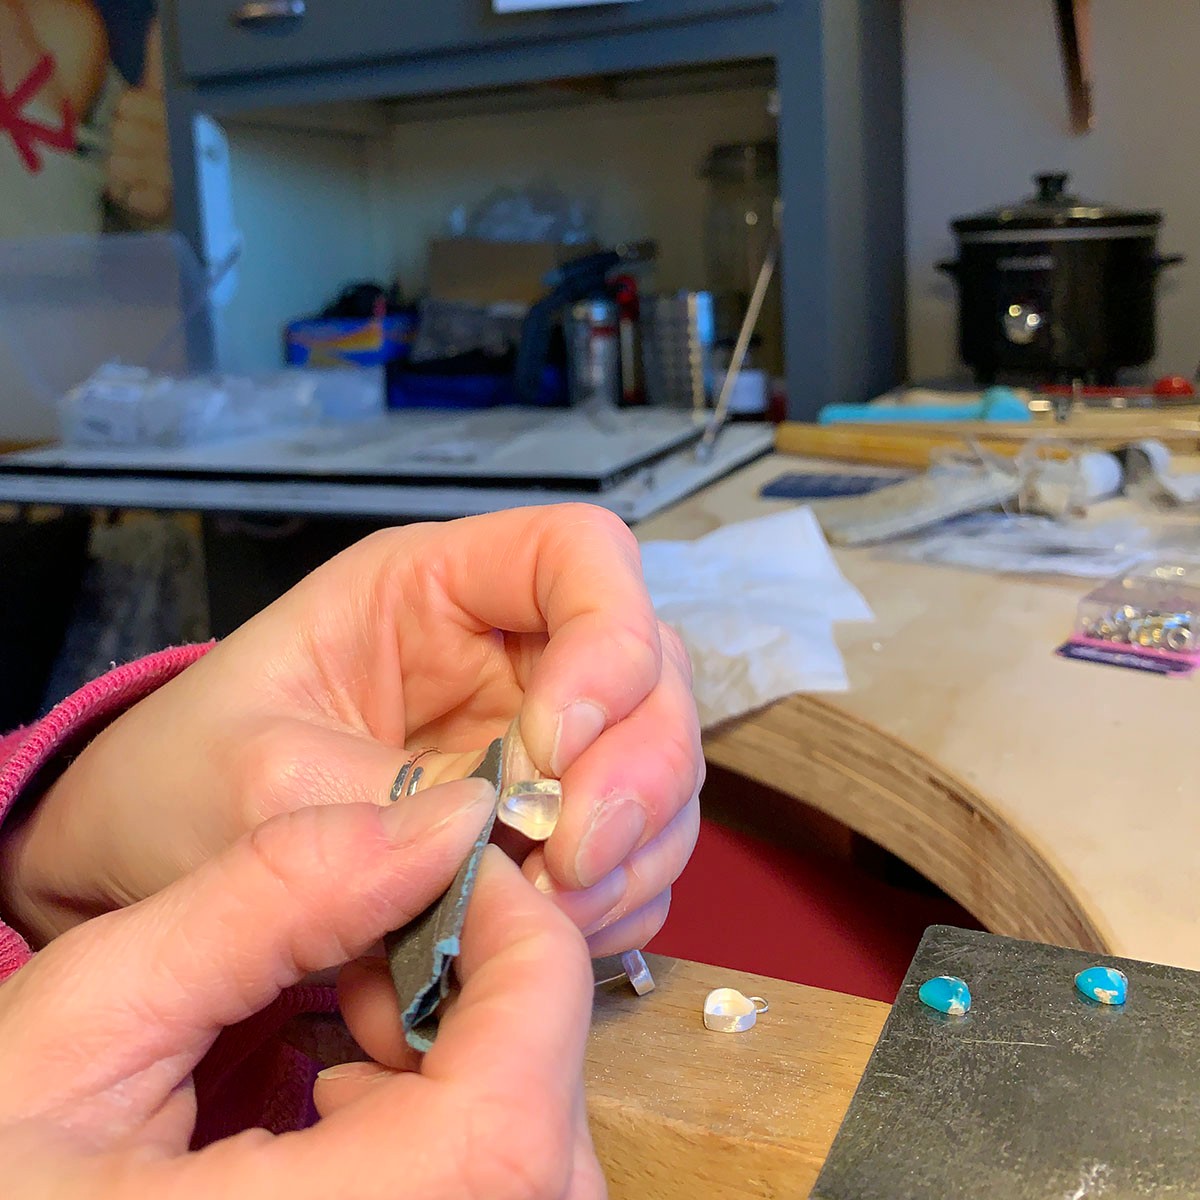
File and clean up the solder joins using files, wet and dry sanding sheets or polishing papers.
Step 8: Set The Stone
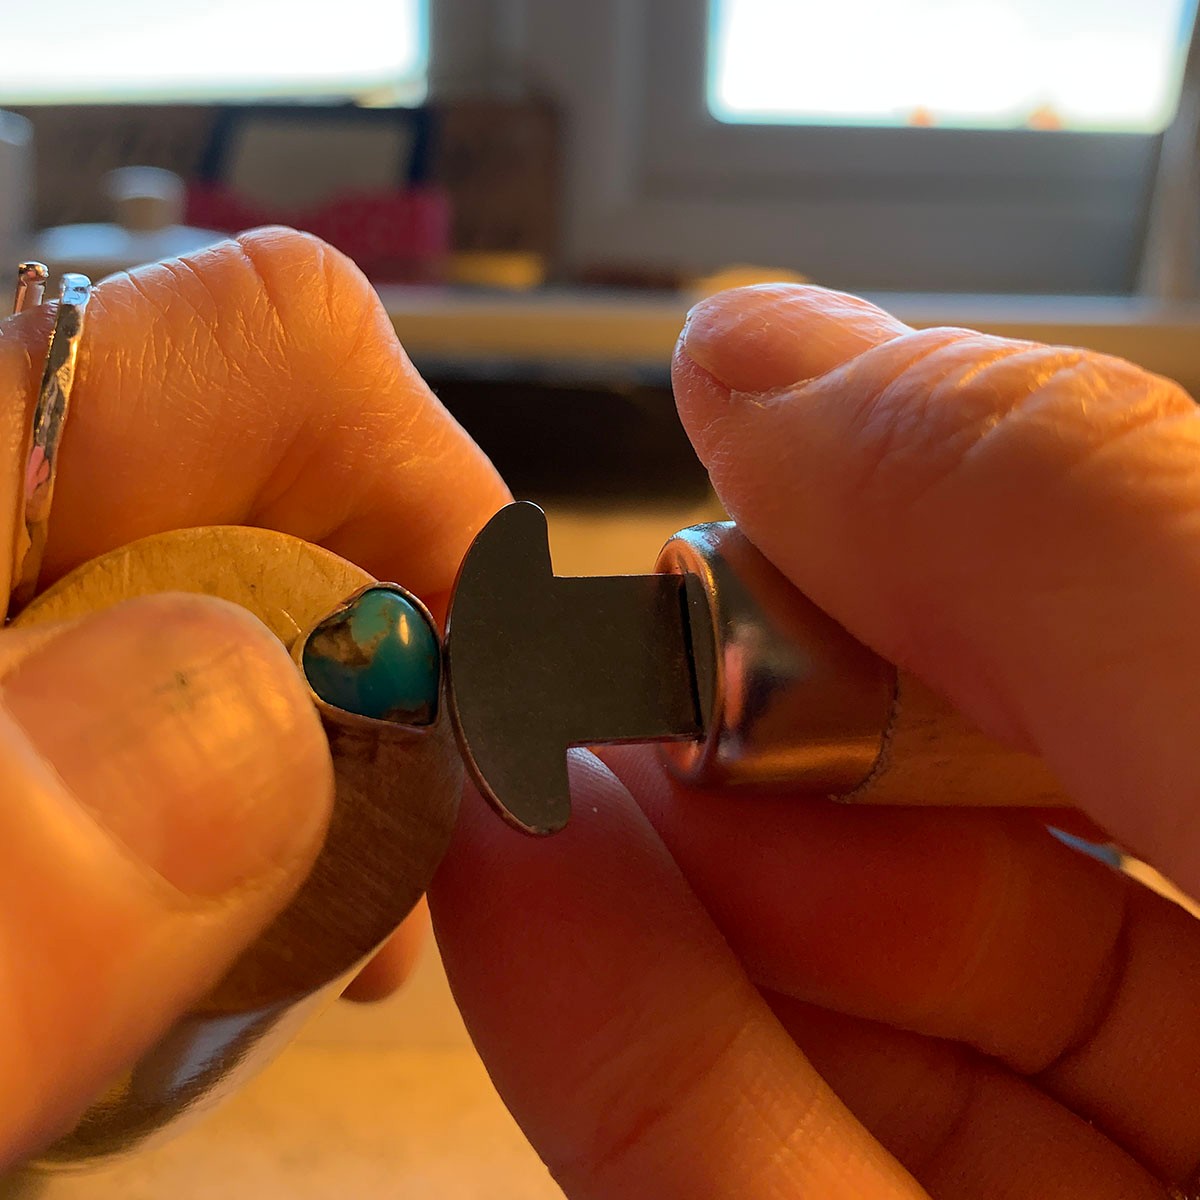
Time to set the heart cabochon! It’s worth testing that the stone fits and sits correctly into the setting by putting a lengthy thread of cotton or dental floss underneath it before pushing it into the seat. You can lift it back out pulling at the cotton/floss. Once you are happy with its position (and have removed the thread), use a pusher or bezel rocker to push the top edge of the bezel over the curved edge of the stone. Start with a single push on one side and then the same on the opposite side and continue around the edge in a similar form. (Eg. North, South, East, West). This technique helps to keep the stone central and push down the bezel equally all the way around. Once you have pushed the entire edging over the stone, you can smooth it out by running a burnisher around and this will help tighten the stone setting. It also helps to polish the silver.
Step 9: Polish
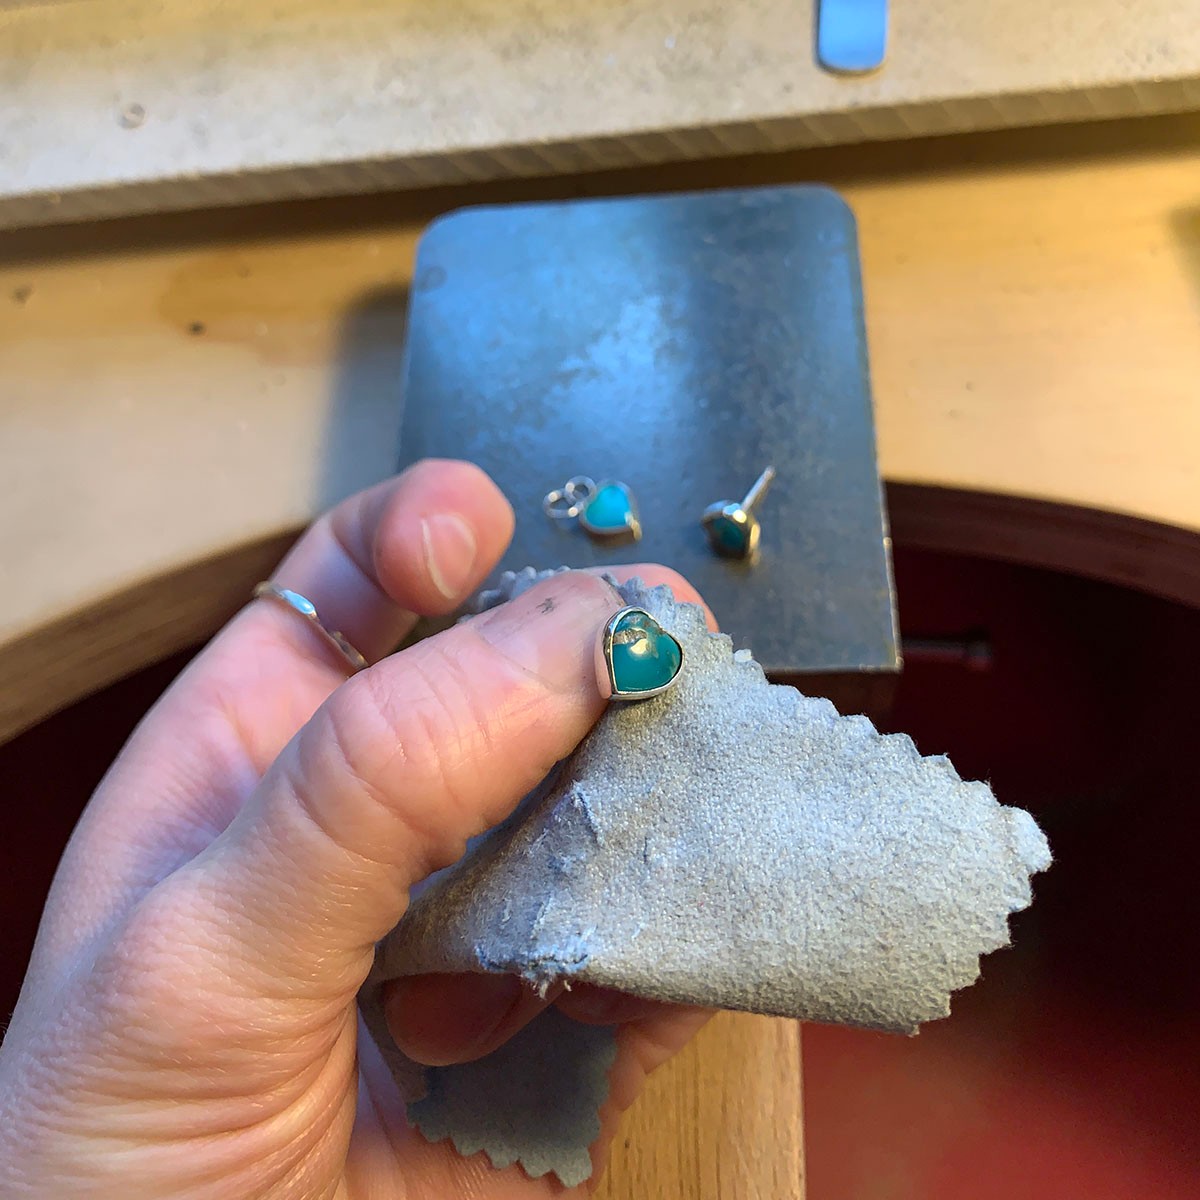
Now it's time to polish the earring settings to give them a high shine but be careful not to scratch your stones in the process! You can do this by using polishing papers or a power tool such as Dremel 4000 Multi Tool with silicone polishers. you can give it a final rub with a polishing cloth to bring it to its final shine.
Finished!
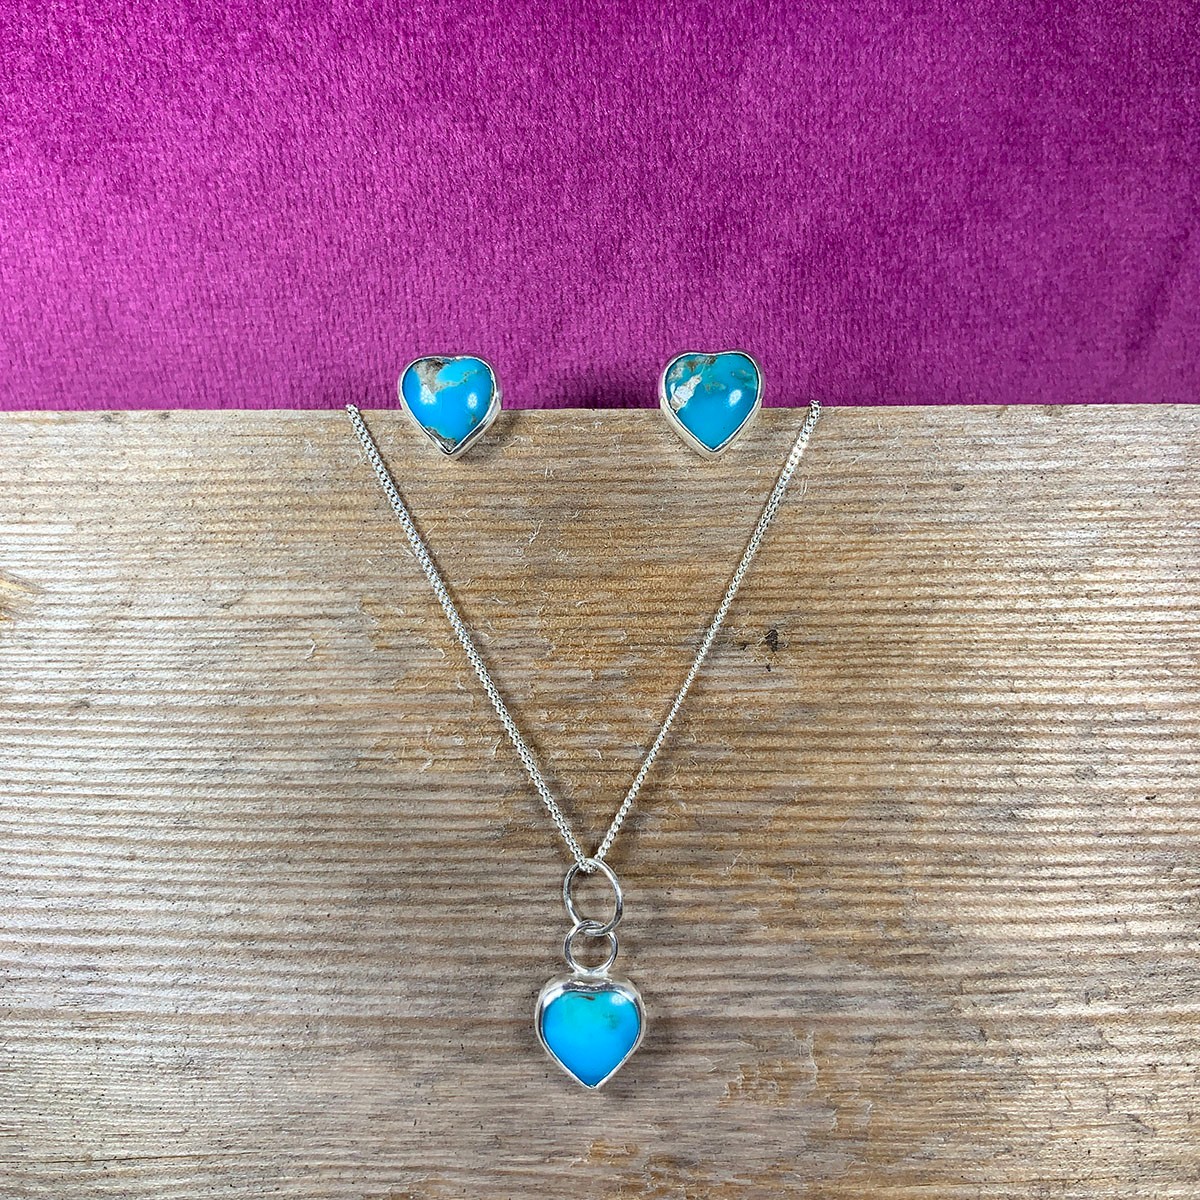
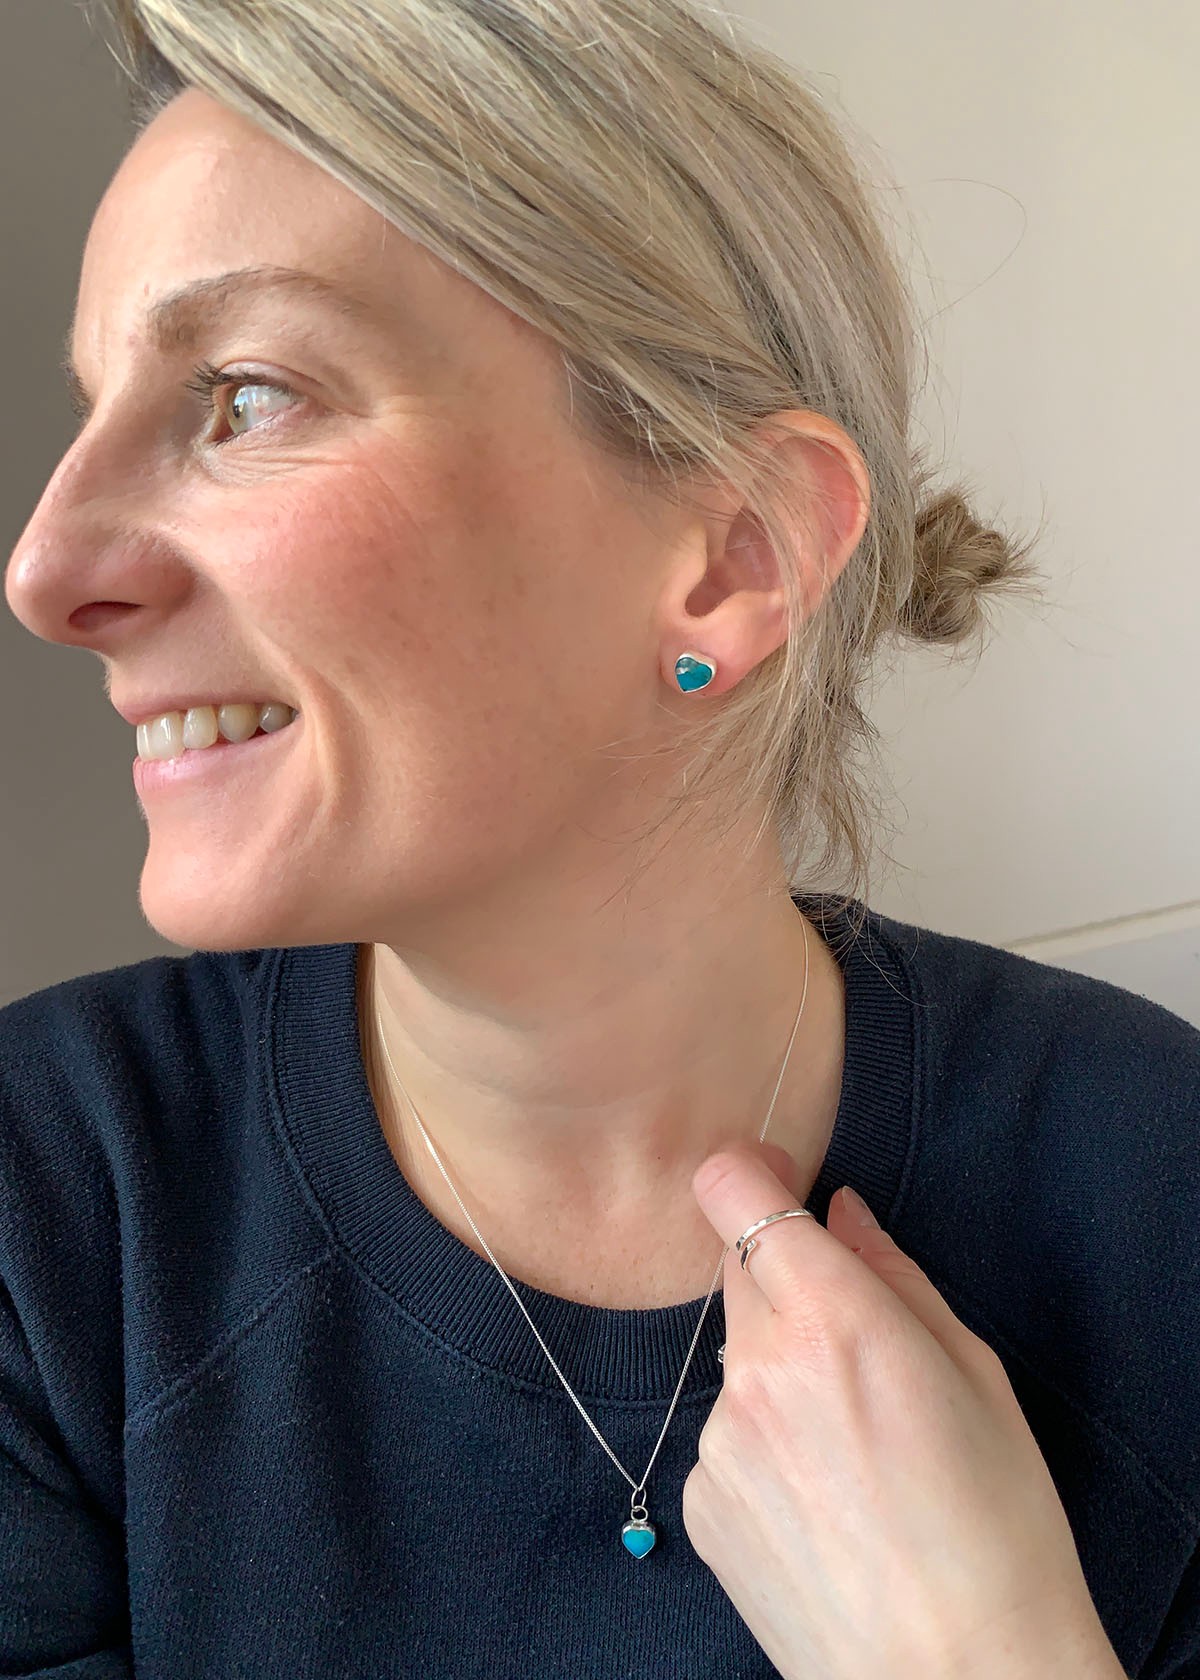
We hope this tutorials shows you that using an irregular shaped cabochon isn't as scary as you first thought! In the photo above, you can see Amie has also made a beautiful heart pendant to match the earrings too.
Share your minimal ring designs with us on social media, tagging Kernowcraft and Amie from Be More Me Designs for a chance to feature.
About The Jeweller
Hi I’m Amie, and I handcraft bespoke and personalised jewellery, influenced by my own love for dainty sparkles and marking moments for others.
I took my first ever silversmithing lesson in January 2018, following the sad experience of a missed miscarriage in late 2017. I was lost, and needed to do something for me... to ‘be more me’. I’d contemplated the idea of jewellery making for years, but believed it was way out of reach… but one lesson in and that was it! I’ve been learning and making ever since, and it became such a healthy outlet for me that I decided to leave my career in broadcasting and project management in August 2019 to focus more on my new-found creative passion.
My teeny weeny new business is called ‘Be More Me Designs’ and I currently make to order through my Facebook and Instagram pages, where I share my jewellery journey and other behind the scenes insights into life and the difficulties of trying to start a family. I’d love you to come and share the journey with me.
Follow Amie
Shop Heart Cabochons
Kernowcraft is your destination for gemstones and jewellery making! With all the supplies you need to make your own handmade jewellery.
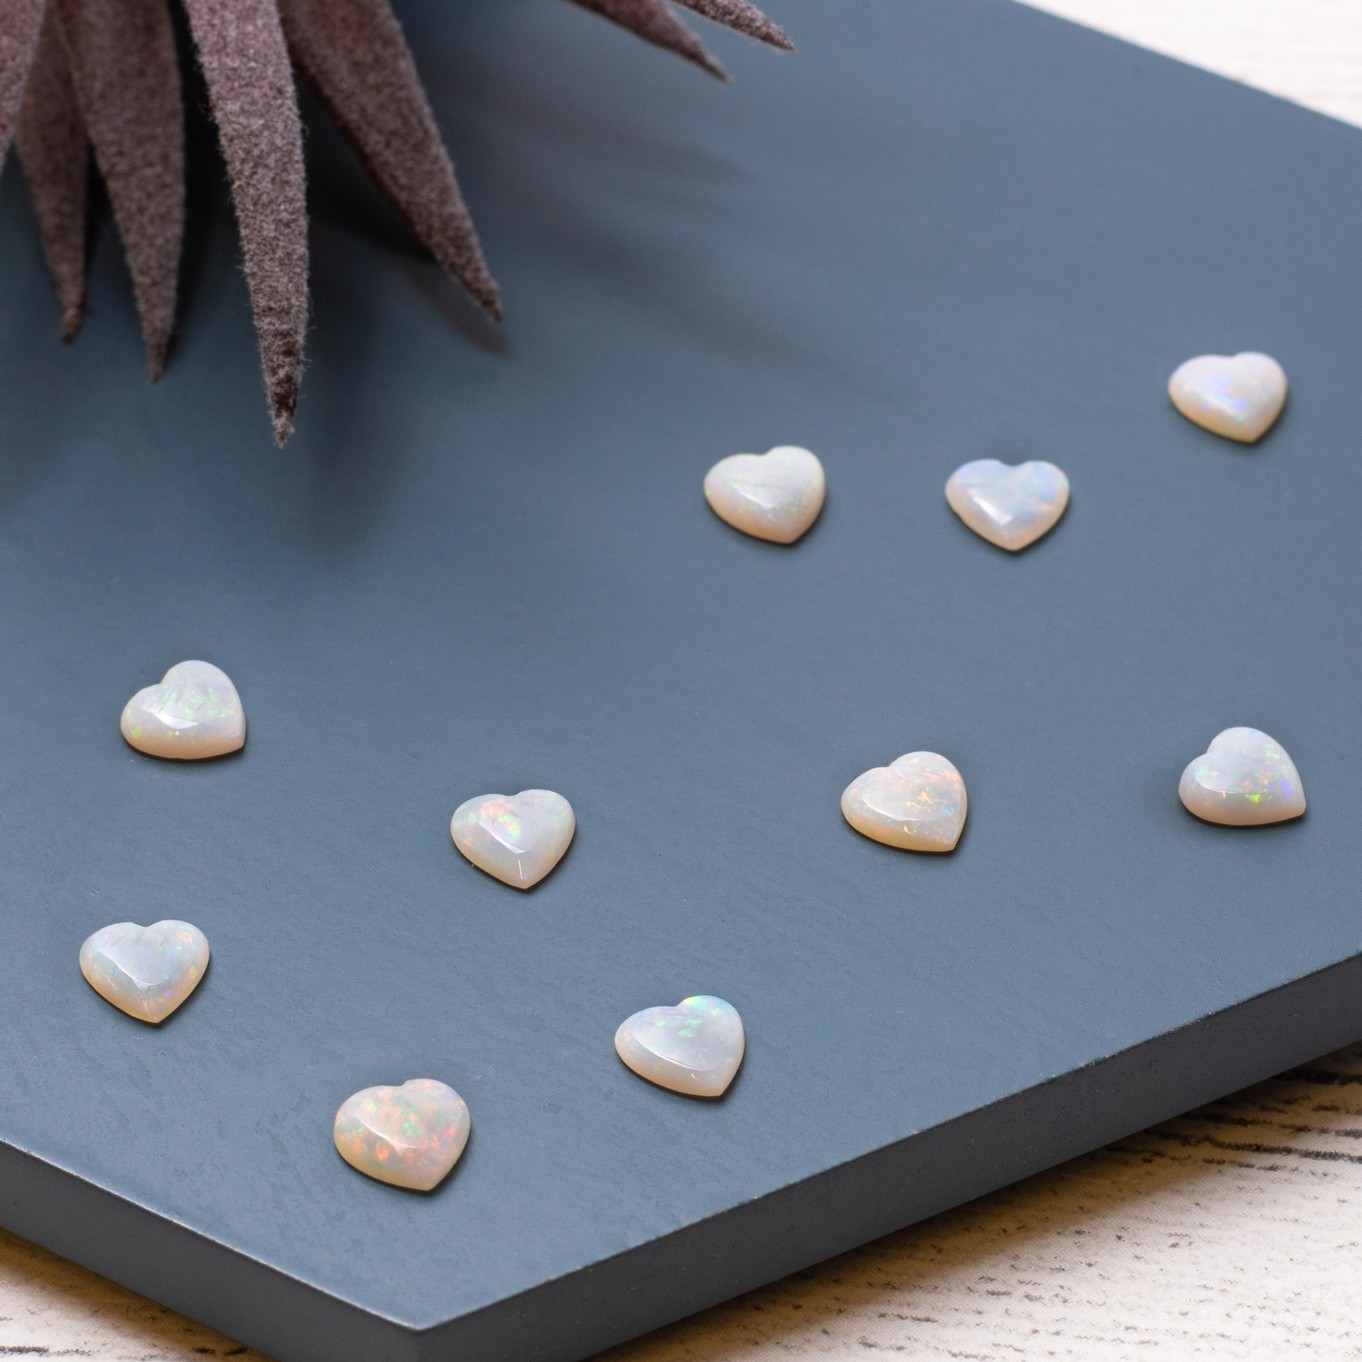
These elegant solid opal heart cabochons are so flashy! They are a little smaller than the turquoise featured which may be a little more fiddly but the end result would be beautiful.
We also have over 500 high quality gemstone cabochons to get your hands on!
Also in this section:
- Metalsmithing and Soldering General Advice
- How To Make Granulated Hoop Earrings
- Wax Carving & Granulation Process With Rockpool Jewellery
- Common Soldering Problems & Solutions For Jewellers
- The Essential Jewellery Tools & Supplies For Soldering
- Types Of Tweezers For Jewellery Making & Their Uses
- 10 Jewellery Tools For Supporting Your Work
- Using A Third Hand For Jewellery Making
- Using A Charcoal Block For Jewellery Making
- How To Use A Jewellers Piercing Saw
- How To Use Needle Files For Jewellery Making
- Soldering Flux For Jewellery Making Explained
- How To Use Safety Pickle & The Importance Of Using Plastic Tweezers
- How To Prevent & Remove Fire Scale & Fire Stain
- What Is Thermo-Gel Heat Barrier?
- What Is A Multi Chuck & Essential Accessories For Your Dremel Multi Tool
- How To Use Your Scrap Silver For Jewellery Making
- How To Make Scrap Silver Earstuds
- What Is A Ring Mandrel & How To Use It
- How To Adjust Ring Sizes
- How To Make A Ring Band
- How To Make A Wishbone Ring
- How To Make A Spinner Ring
- How To Make A Spaghetti Ring With Kim Thomson
- How To Make A Textured Ear Cuff With Searose Jewellery (No Soldering!)
- How To Use A Bangle Forming Die Tool
- How To Make Bezel Set Heart Cabochon Earrings
- 10 Reasons You Need A Headband Magnifier For Jewellery Making
- What Is Alligator Tape & How To Use It For Jewellery Making
HAVE A QUESTION?
If you have any questions, feel free to get in touch with our friendly team who will be more than happy to give you advice over email or on the phone.
You can learn more and find inspiration by visiting our Jewellery Making Tutorials, Jewellery Making Kits and YouTube Channel. Don't forget to follow us on social media and tag us in your designs on Instagram & Facebook, we would love to see!

