How To Adjust Ring Sizes
Adjusting a ring size may not be as complicated as you think. In many cases it is possible for small adjustments to be made without the need for soldering and larger adjustments can be made using basic soldering skills.
On this page we share the different options available when needing to make a ring either smaller or larger. Any adjustments in size are best carried out on ring blanks (before any stones have been set in them) so always try to accurately size rings before you add any gemstones as this makes the whole process much easier.
We have included some advice on adjusting rings with stones set in them further down the page.
How To Increase Ring Sizes With A Mandrel
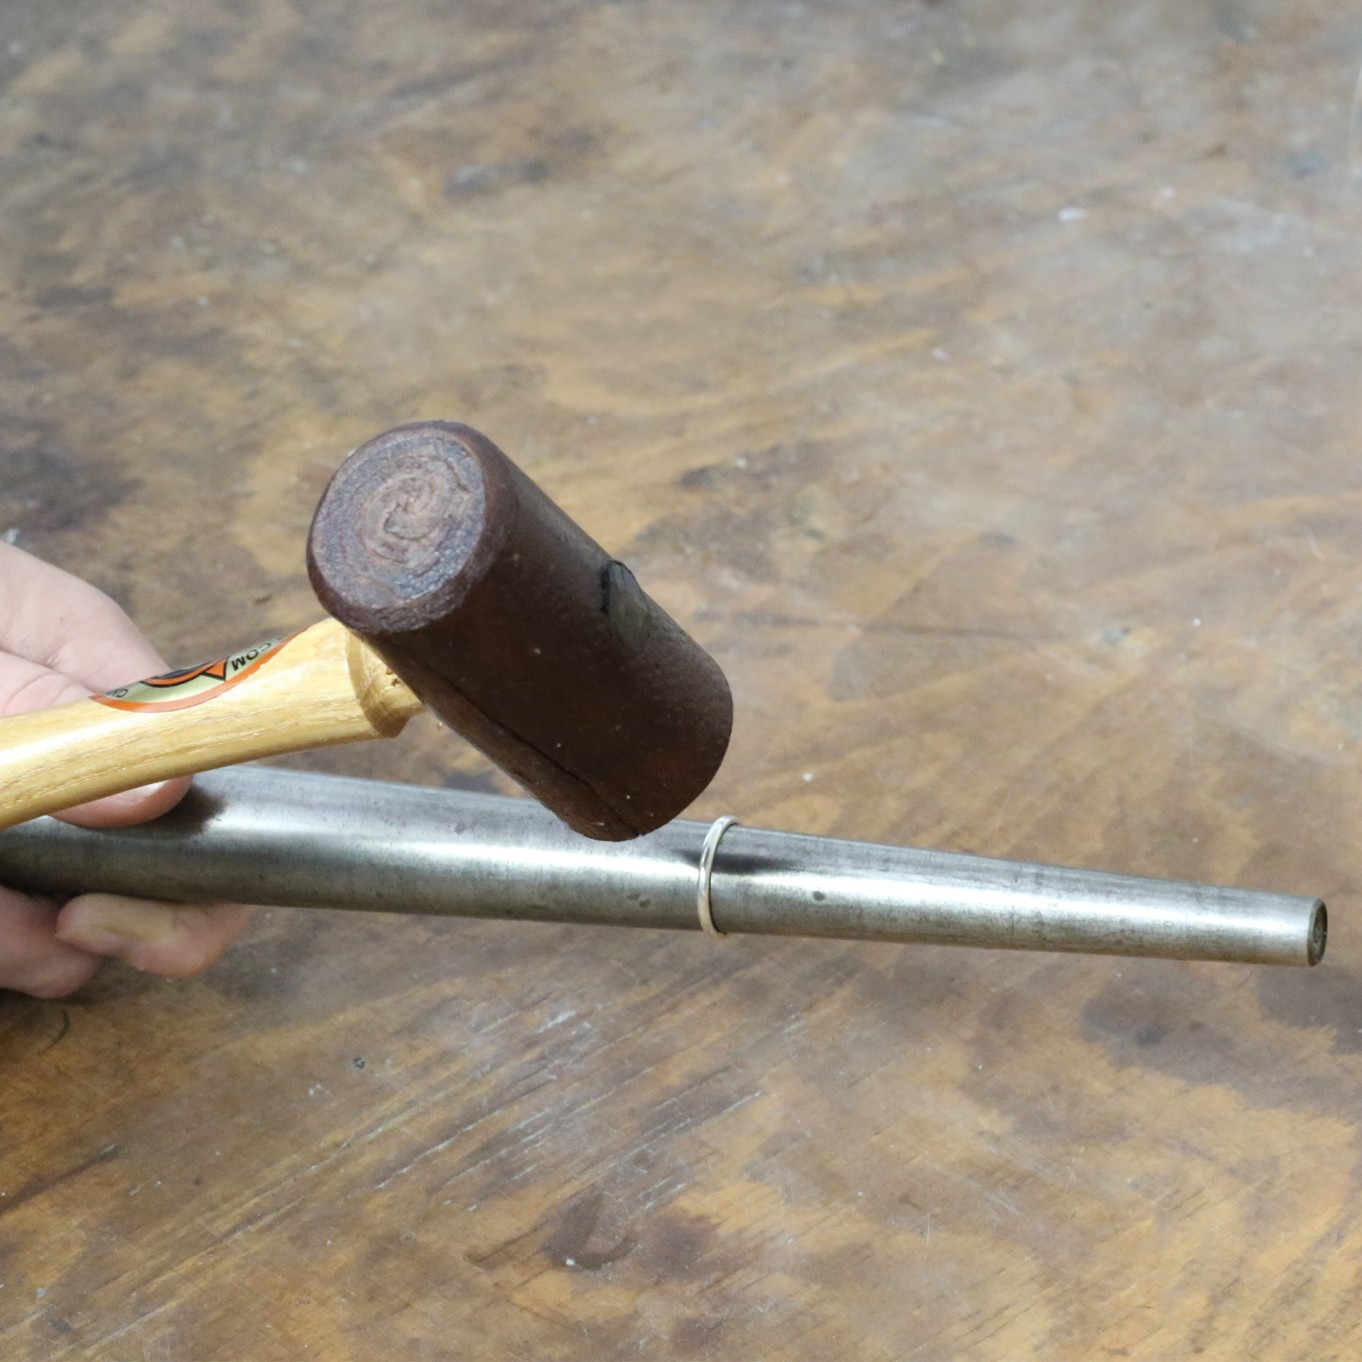
If the ring only needs increasing by a size or two and depending on its style, it can usually be adjusted using a mandrel (also known as a triblet) and a rawhide mallet. The mandrel ensures that the band keeps its shape and a rawhide mallet will not mark your metal as the head is made from leather.
Step 1
Simply put the ring onto the mandrel, if your ring has a claw or bezel mount, place your finger over it to protect it.
Step 2
Use the rawhide mallet to strike the metal around the back of the band. Do this in a downwards motion if possible so that the ring is pushed further down the triblet and the metal stretches to the size required.
Step 3
Frequently turn the ring (take it off the triblet and replace it the other way up) to ensure that the metal stretches evenly.
Step 4
Keep checking the size until the desired size is achieved.
Step 5
There will be very little re-polishing to do after this thanks to the rawhide mallet. A quick buff with rouge on a polishing mop will easily restore the sparkle or if you do not have an electric multi-tool then you can use polishing papers or a polishing cloth.
Tools For Increasing Ring Sizes
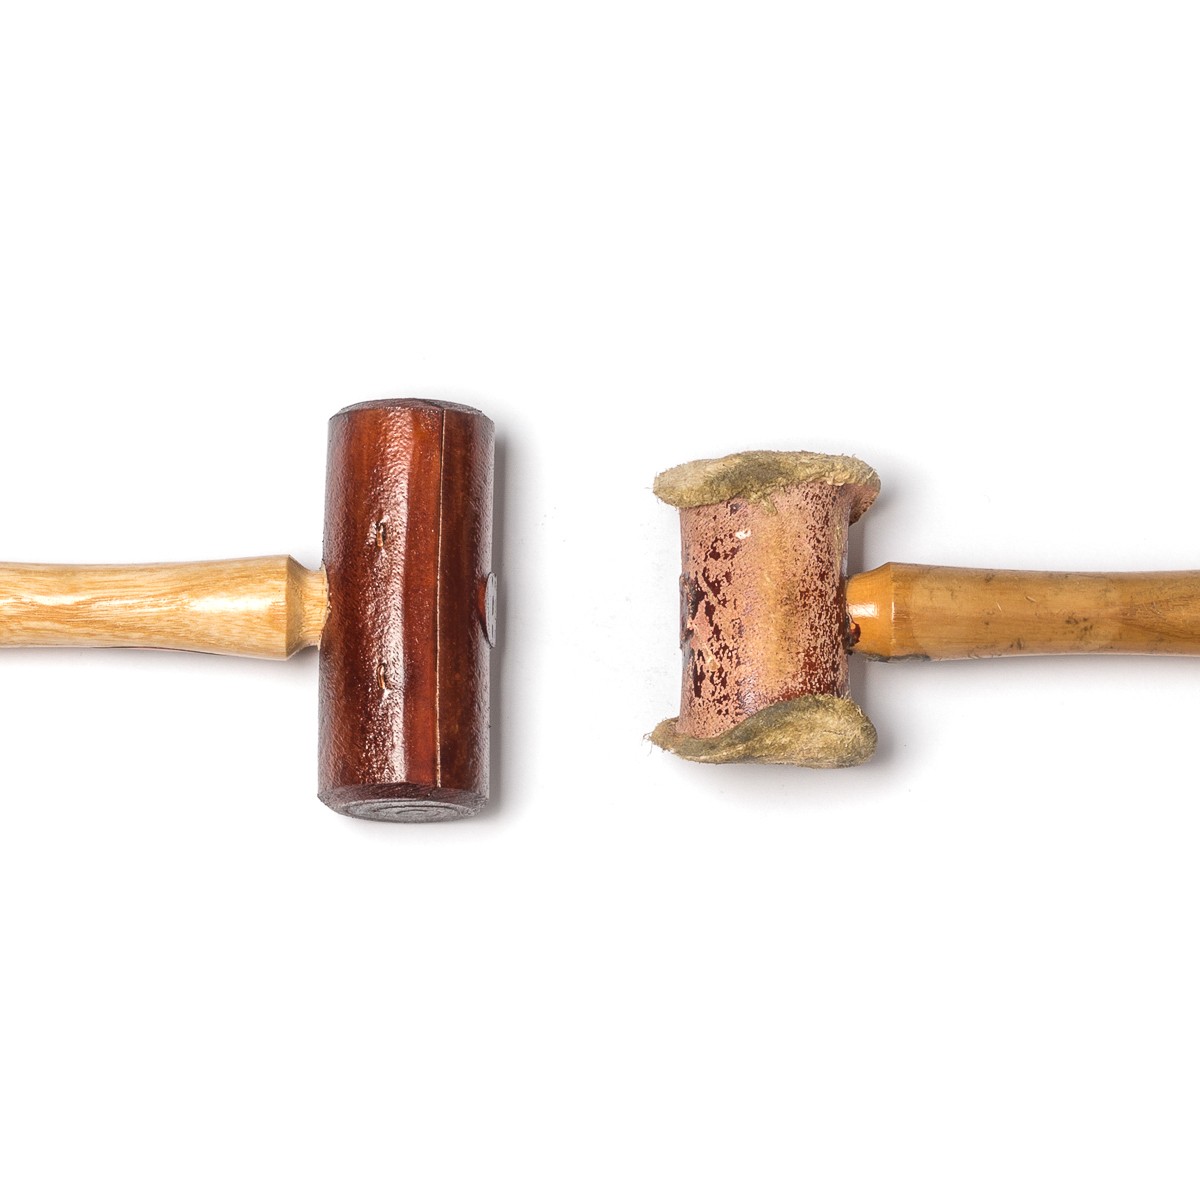
Raehide Mallet
As stated above, the rawhide mallet is a must when shaping and reshaping rings on a ring mandrel as it doesn't leave any hammer marks. Conversely, it is also invaluable for forming and truing textured metal shapes where hammering could spoil the surface.
The rawhide hammer we sell at Kernowcraft is manufactured in the UK and made of compressed rawhide. The hammer will feel hard as wood when you first use it but will soften with age, as you can see from the photo.
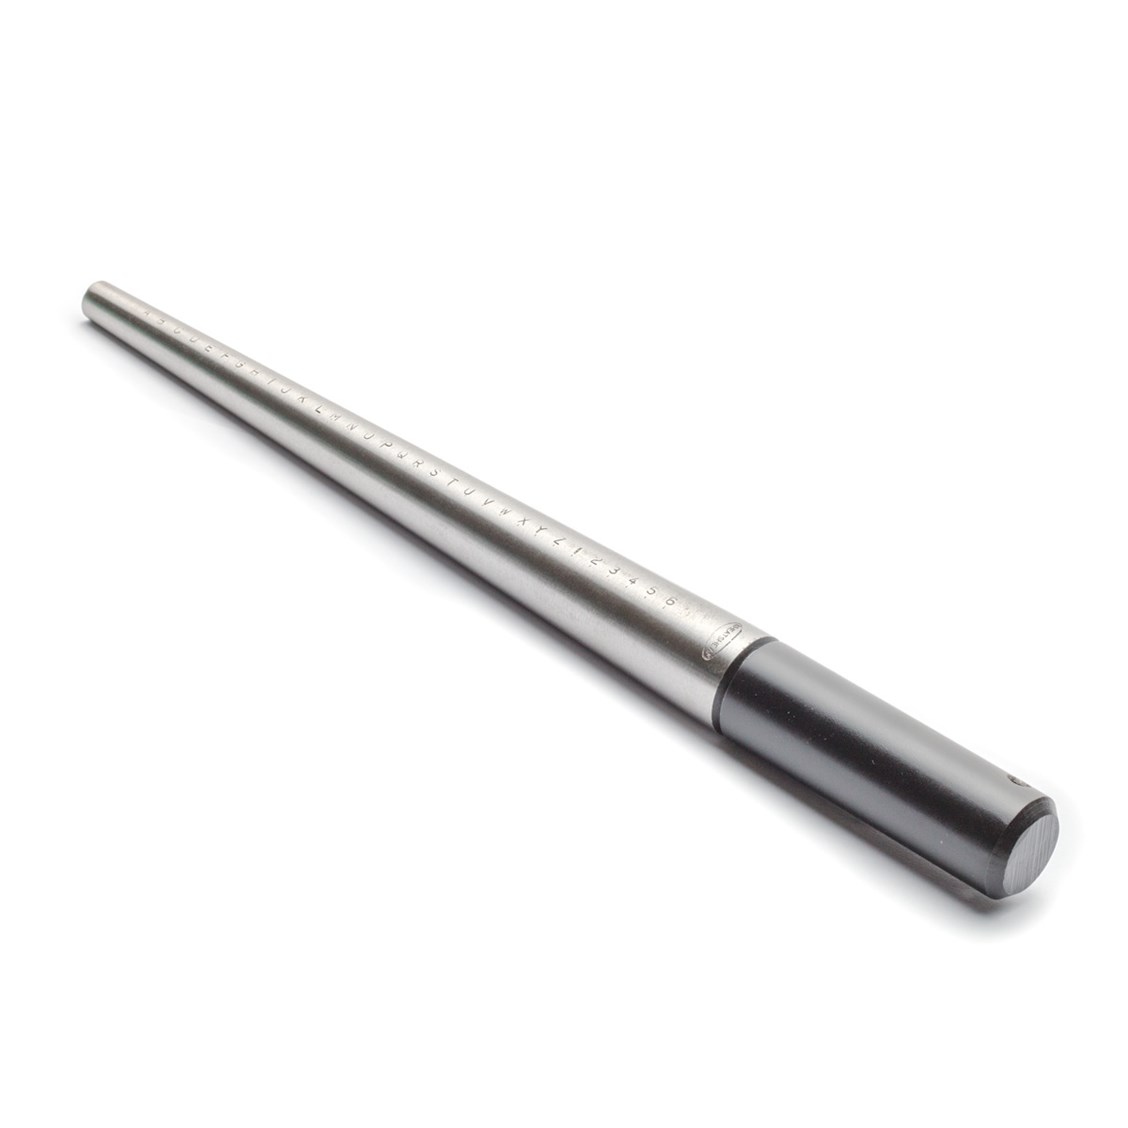
Mandrel (Also Known As A Triblet)
A ring mandrel, also known as a triblet is a large, tapered tool made from steel which is perfect for forming, shaping and reshaping rings on. Most mandrels will also have ring sizes on, so you can ensure you are forming the correct sized ring. It's also great for creating wire wrapped rings too.
A mandrel should not be mistaken for a ring size stick, which is solely intended for measuring rings.
For Larger Increases In Ring Size...
Add Metal To The Ring Band
If the ring needs increasing by more than a couple of sizes and depending on the style, a piece of metal will need to be inserted in the shank (the band around the back of a ring).
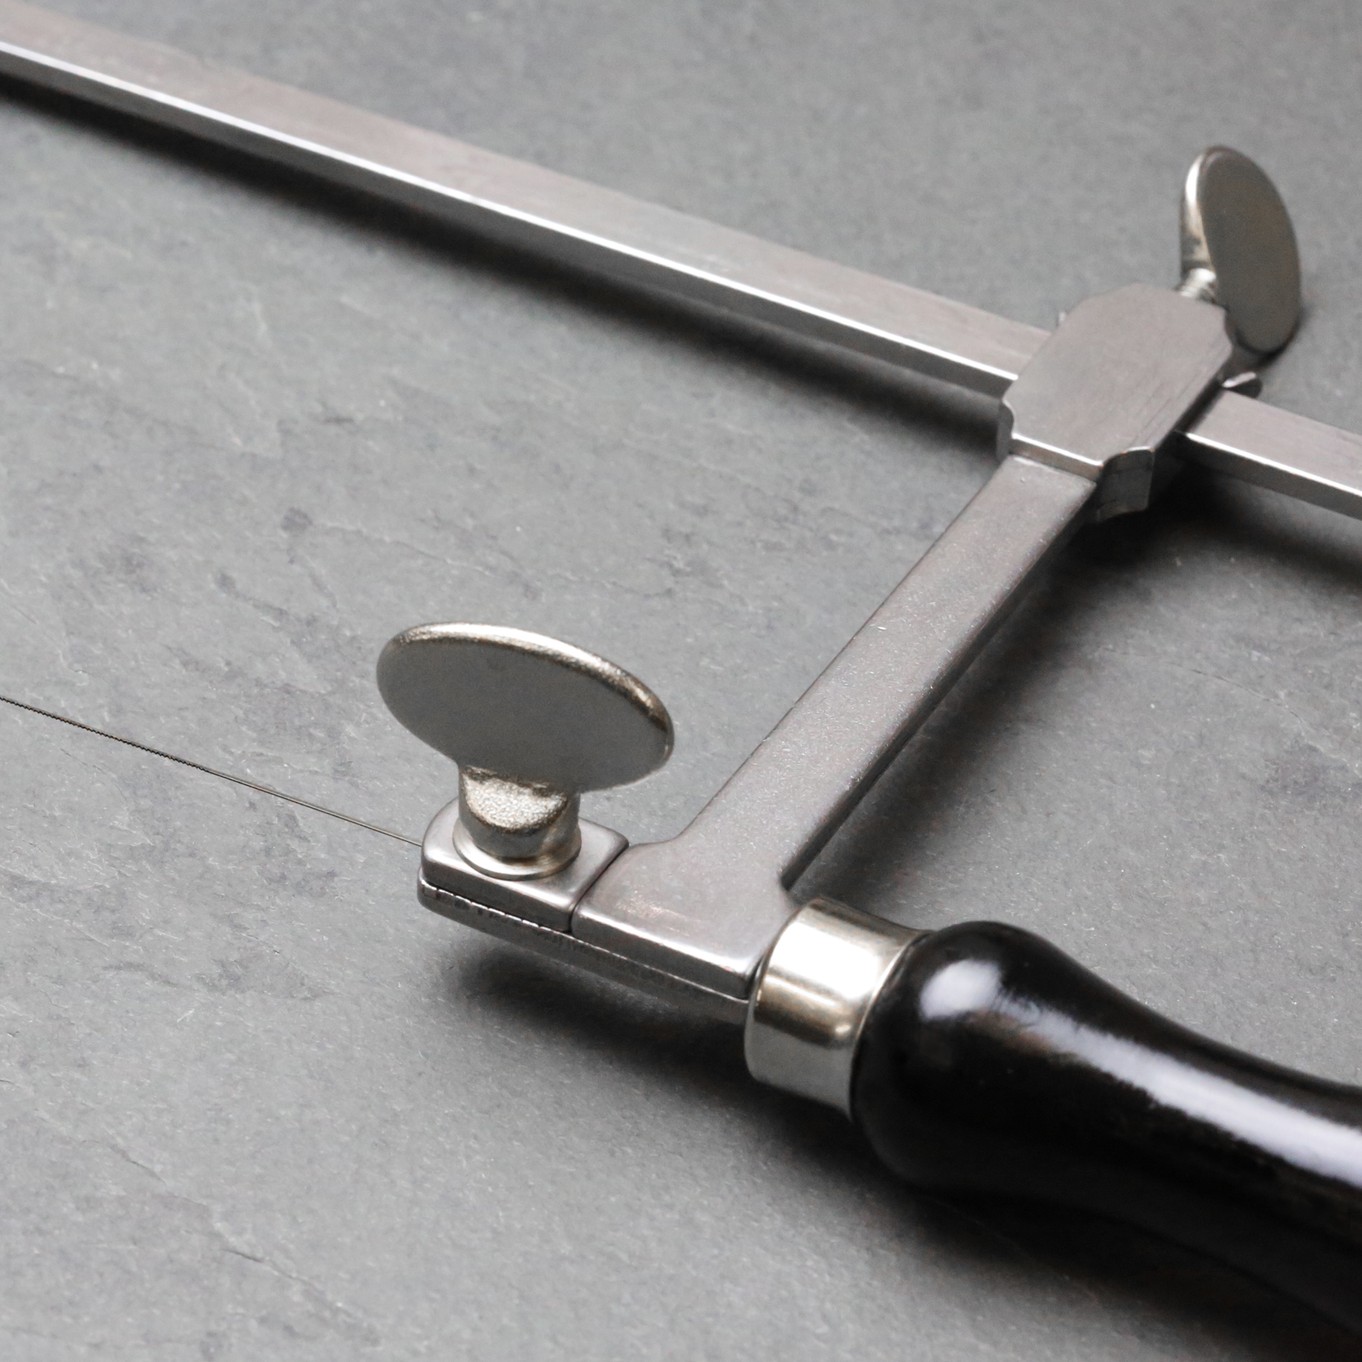
Using a jewellers piercing saw and saw blades simply cut the band right at the back - be sure to look out for any hallmarks which could be accidentally filled with solder. You may wish to insert the piece of metal slightly away from these in order to preserve them.
Take a suitably sized piece of metal, trying to match the cross-section as closely as possible (e.g. d-shape wire, rectangular wire, round wire or sheet metal). It is likely that you will only need a small piece so it is always worth a search in your scrap pot first.
Once you have obtained a suitable piece, this will need to be inserted and soldered in place. As the band will inevitably lose its shape during the solder work it, you will need a rawhide mallet and a triblet to knock it back into shape again before re-polishing it.
Remove Metal From The Ring Band With Silicon Carbide Polishing Cylinder
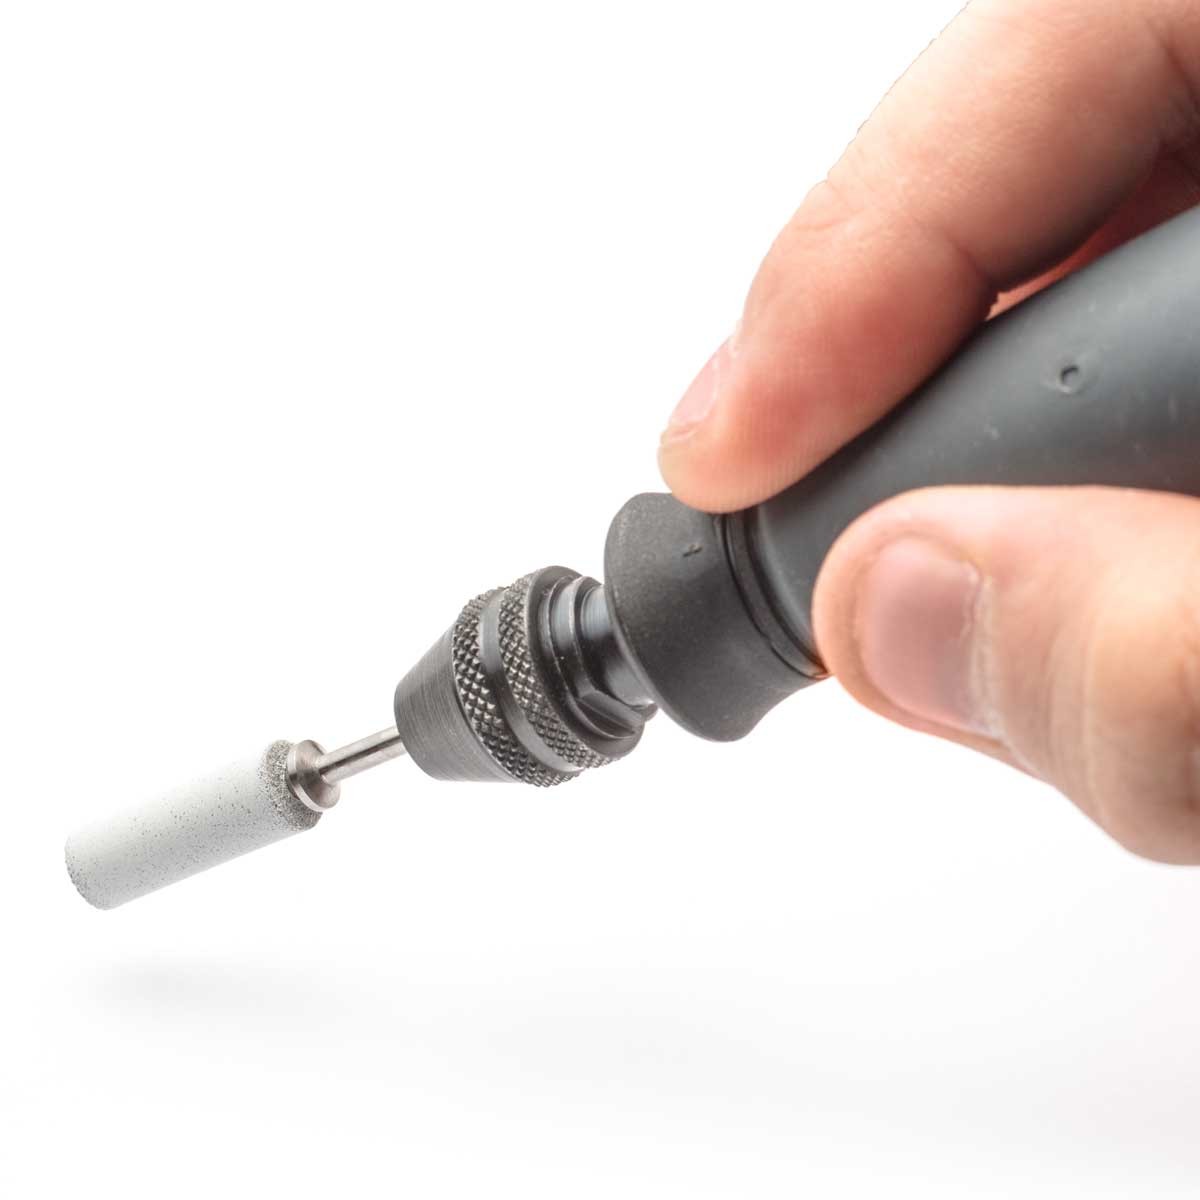
Another way to make a ring bigger is to make the ring band thinner. You can use a white, coarse silicon carbide polishing cylinder which is impregnated with fast cutting abrasives for grinding away metal around the inside of the ring band.
Once you're happy with the piece, you can work your way through the other cylinder polishers to polish the band to a high shine. We then like to give a final polish with rouge as we don't think it can be beaten for that sparkling mirror finish.
At Kernowcraft, we have a great range of cylinder shaped high grade silicone carbide polishers that can be easily attached to your pendant or hobby drill such as our Dremel Multi Tool with the addition of a multi chuck.
How To Make A Ring Smaller
Use A Ring Size Adjuster
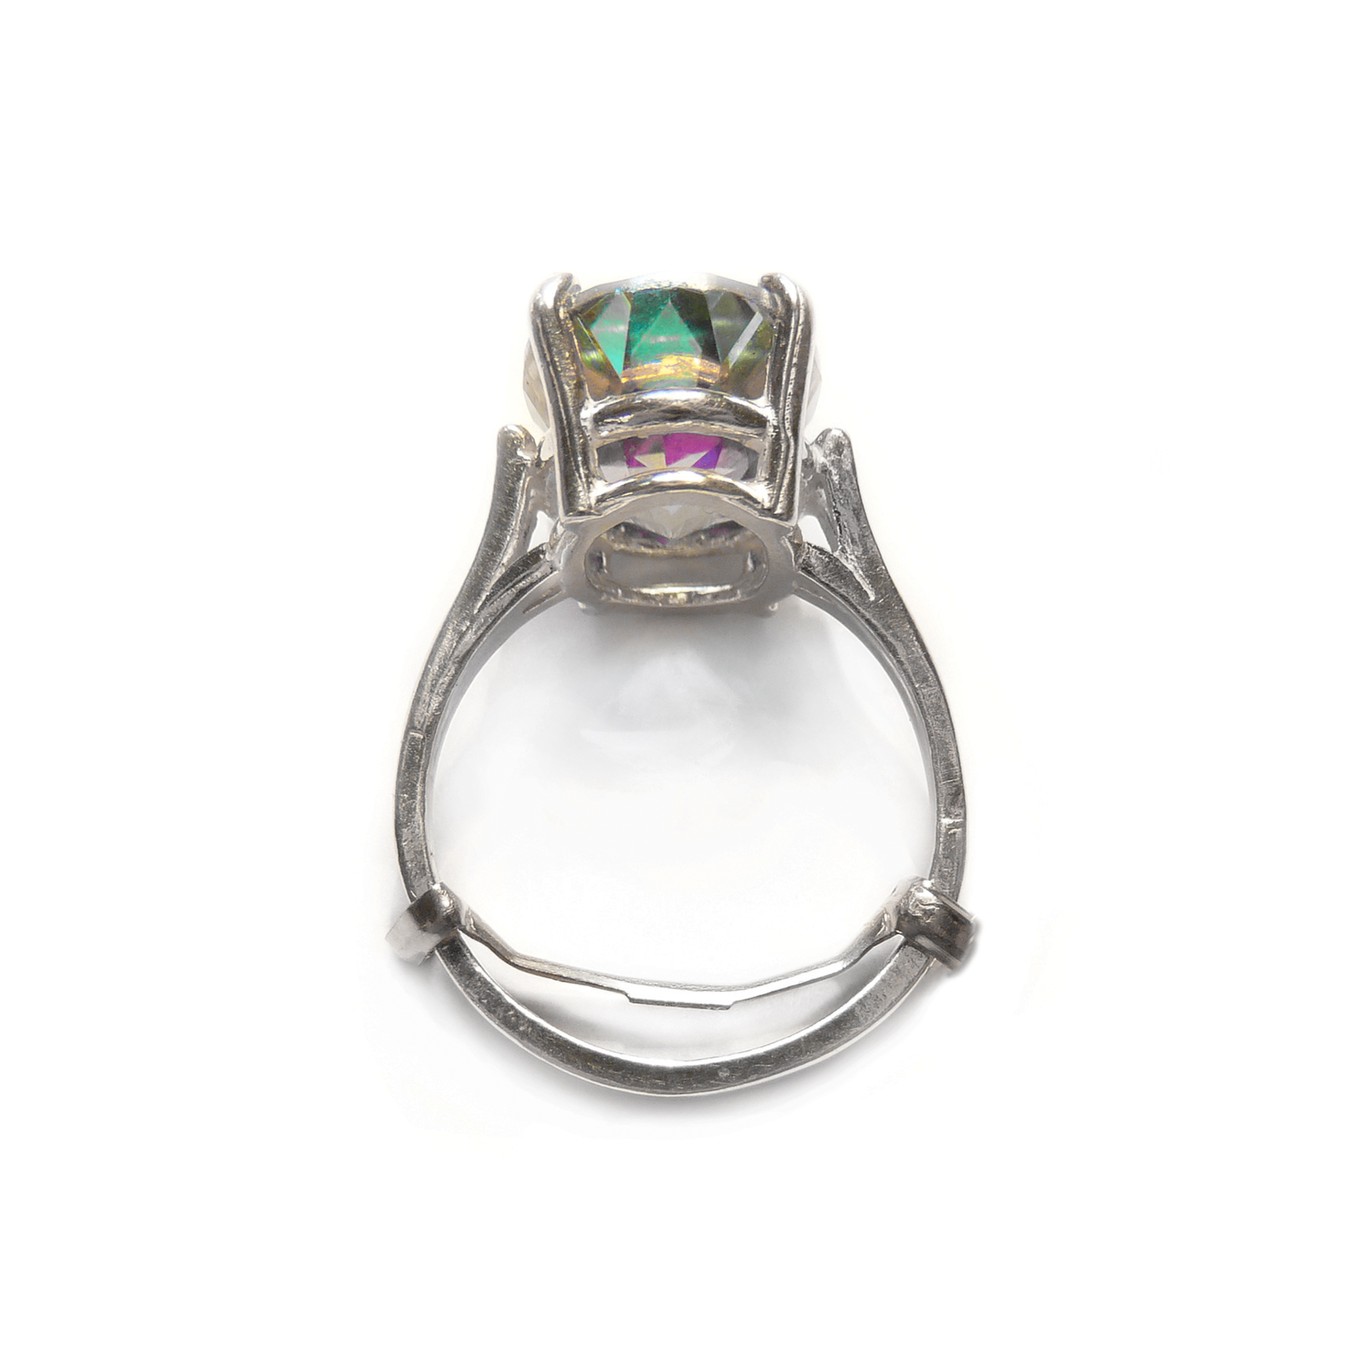
If you need a ring to be made smaller without having to cut and solder it, there is the option of using a ring size adjuster which neatly and discreetly bends around the band at the back to make the finger hole smaller.
These are particularly useful if you have gemstones set into your ring which would need to be protected from heat (or even removed) during soldering.
Read our advice page: how to use a ring size adjuster with step by step instructions
Remove A Small Piece From The Band
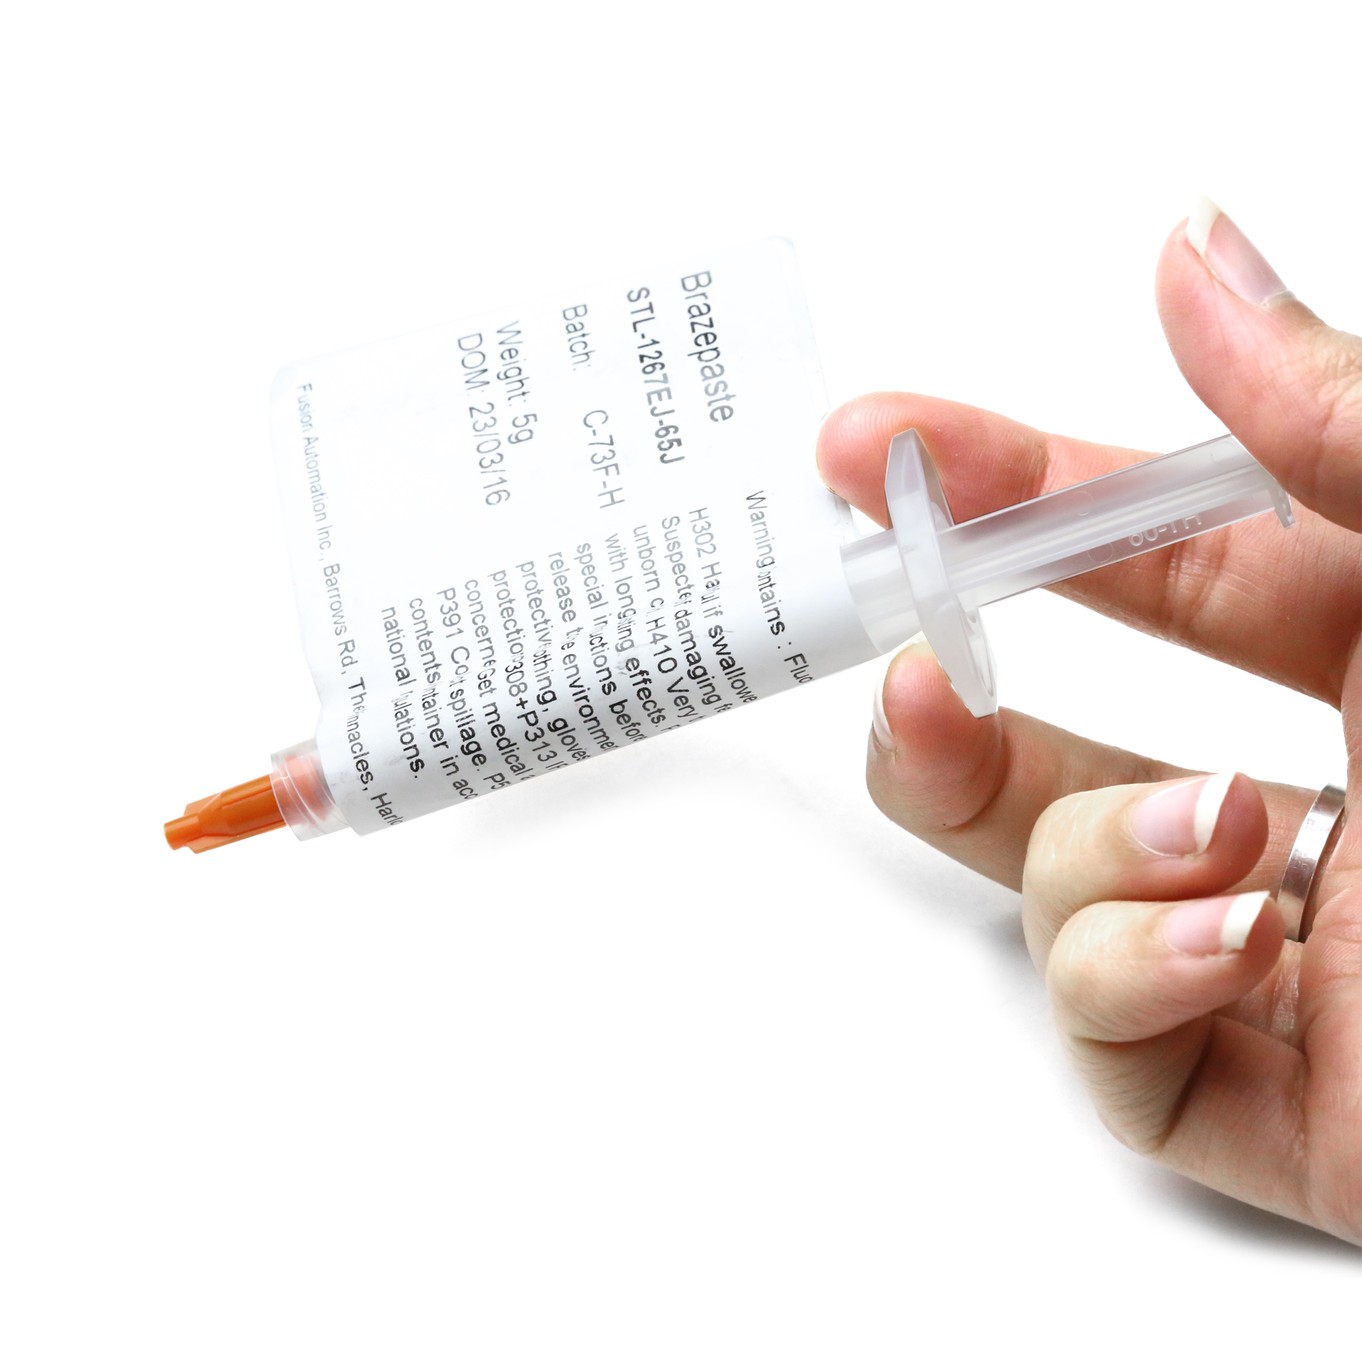
If you want to make a more permanent adjustment, you will need to remove a small piece of the band from the back using a saw and solder the ring back together again with solder paste.
Again, take care to avoid losing any hallmarks by thinking carefully about where you remove the piece of metal from.
As the band will inevitably loose its shape, you will need a rawhide mallet and a mandrel to knock it back into shape before polishing it.
If your ring has gemstones set into it this can make adjusting the size a little more complicated as gems can be damaged by heating.
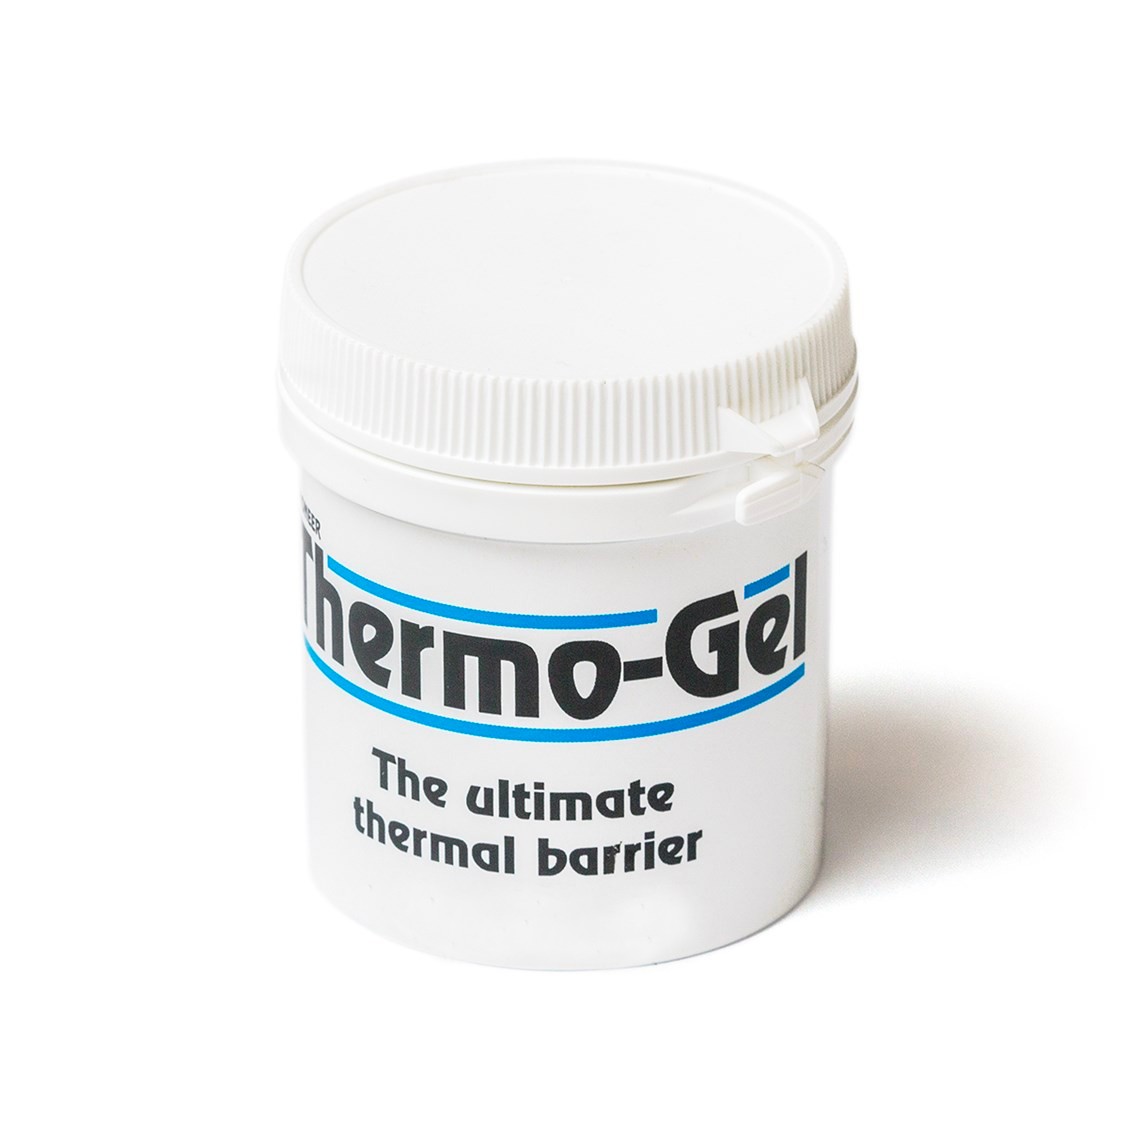
If you do need to resize your ring using a solder it is advisable to always use a heat barrier such as thermo-gel. This gel helps to protect the stones and areas you do not want the heat to get to. Stones which are particularly hard and therefore score highly on the Mohs scale such as diamonds, rubies and sapphires can often be heated without worry but care must be taken to heat and cool them slowly to avoid fractures which can give a 'crackled' appearance.
Softer stones will need to be removed before soldering the ring as they are highly likely to be damaged.
More Pages in This Category
- Metalsmithing and Soldering General Advice
- How To Make Granulated Hoop Earrings
- Wax Carving & Granulation Process With Rockpool Jewellery
- Common Soldering Problems & Solutions For Jewellers
- The Essential Jewellery Tools & Supplies For Soldering
- Types Of Tweezers For Jewellery Making & Their Uses
- 10 Jewellery Tools For Supporting Your Work
- Using A Third Hand For Jewellery Making
- Using A Charcoal Block For Jewellery Making
- How To Use A Jewellers Piercing Saw
- How To Use Needle Files For Jewellery Making
- Soldering Flux For Jewellery Making Explained
- How To Use Safety Pickle & The Importance Of Using Plastic Tweezers
- How To Prevent & Remove Fire Scale & Fire Stain
- What Is Thermo-Gel Heat Barrier?
- What Is A Multi Chuck & Essential Accessories For Your Dremel Multi Tool
- How To Use Your Scrap Silver For Jewellery Making
- How To Make Scrap Silver Earstuds
- What Is A Ring Mandrel & How To Use It
- How To Adjust Ring Sizes
- How To Make A Ring Band
- How To Make A Wishbone Ring
- How To Make A Spinner Ring
- How To Make A Spaghetti Ring With Kim Thomson
- How To Make A Textured Ear Cuff With Searose Jewellery (No Soldering!)
- How To Use A Bangle Forming Die Tool
- How To Make Bezel Set Heart Cabochon Earrings
- 10 Reasons You Need A Headband Magnifier For Jewellery Making
- What Is Alligator Tape & How To Use It For Jewellery Making
If you have any further questions, feel free to call our friendly team who will be more than happy to give you some advice through Facebook, Twitter, Email or simply calling us on 01872 573888 8.30am-4.30pm.
Alternatively, for more information and how to's on all areas of jewellery making visit our other Gemstone Setting Advice pages.

