How To Make A Hammered Copper & Silver Heart Pendant
A beautiful gift idea, or something special for yourself...
This is a great beginner's jewellery project if you would like to practise soldering and using metal. This simple design features a silver heart and small copper heart, creating an adorable pendant with an additional skill of texturising.
Hayley, our Buyer is the creative behind this design and we think it's just lovely! You can experiment with all sorts of textures and tools - don't forget to scroll to the bottom of the page for jewellery supplies you might like to use in your jewellery projects.
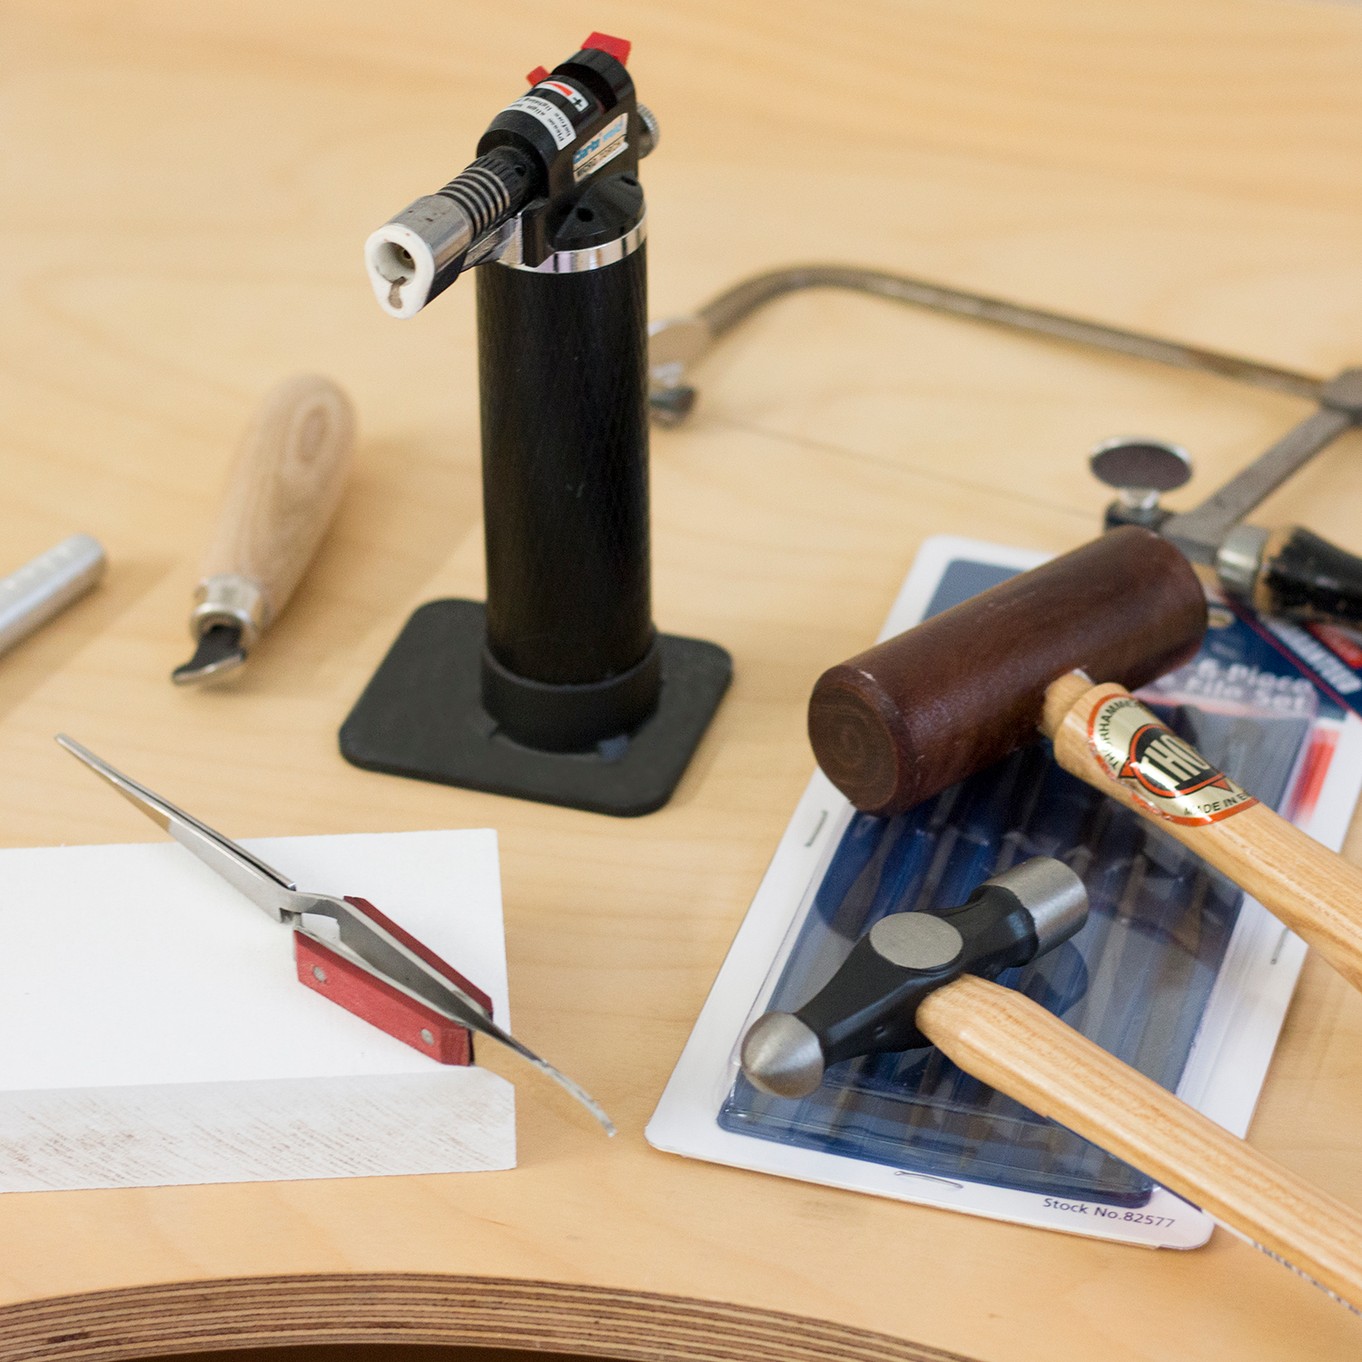
Project Tool & Supplies
- Gas torch
- Soldering block
- Pickle
- Centre punch
- Mallet
- 1mm twist drill bit with hand drillstock or power tool (such as Dremel Multi Tool)
- Polishing papers (or if you have a power tool, you can use silicon polishers)
- 7mm jump ring
- Chain
Step 1: Cut & File
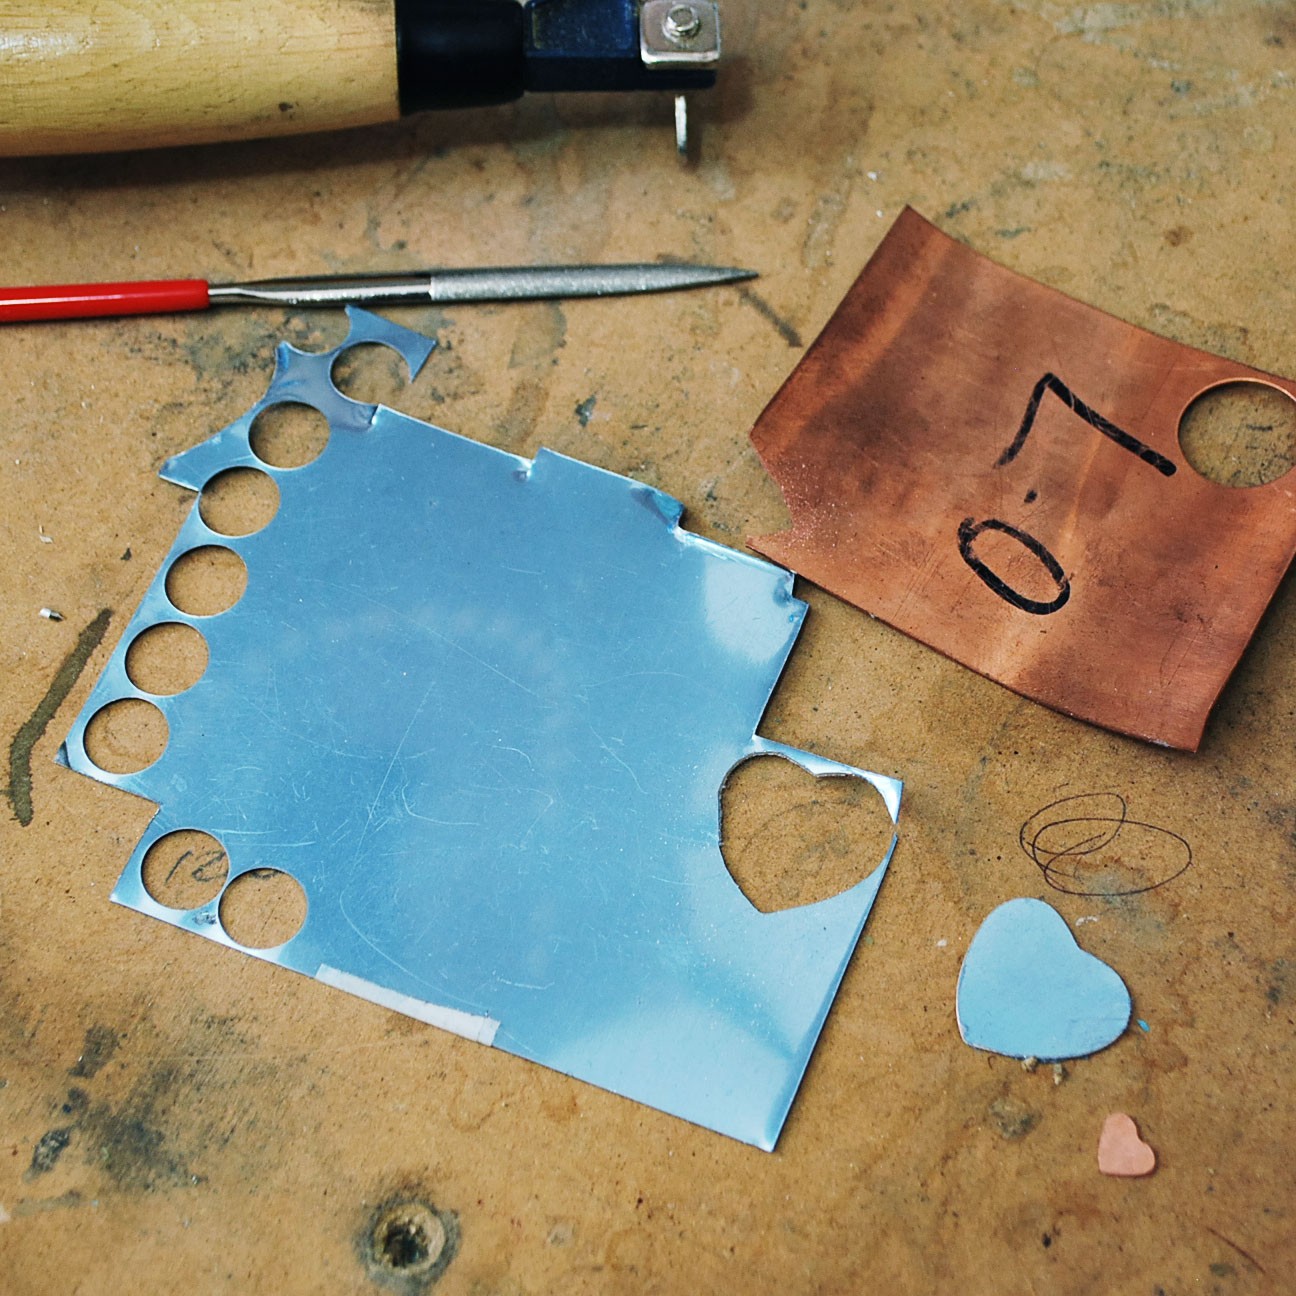
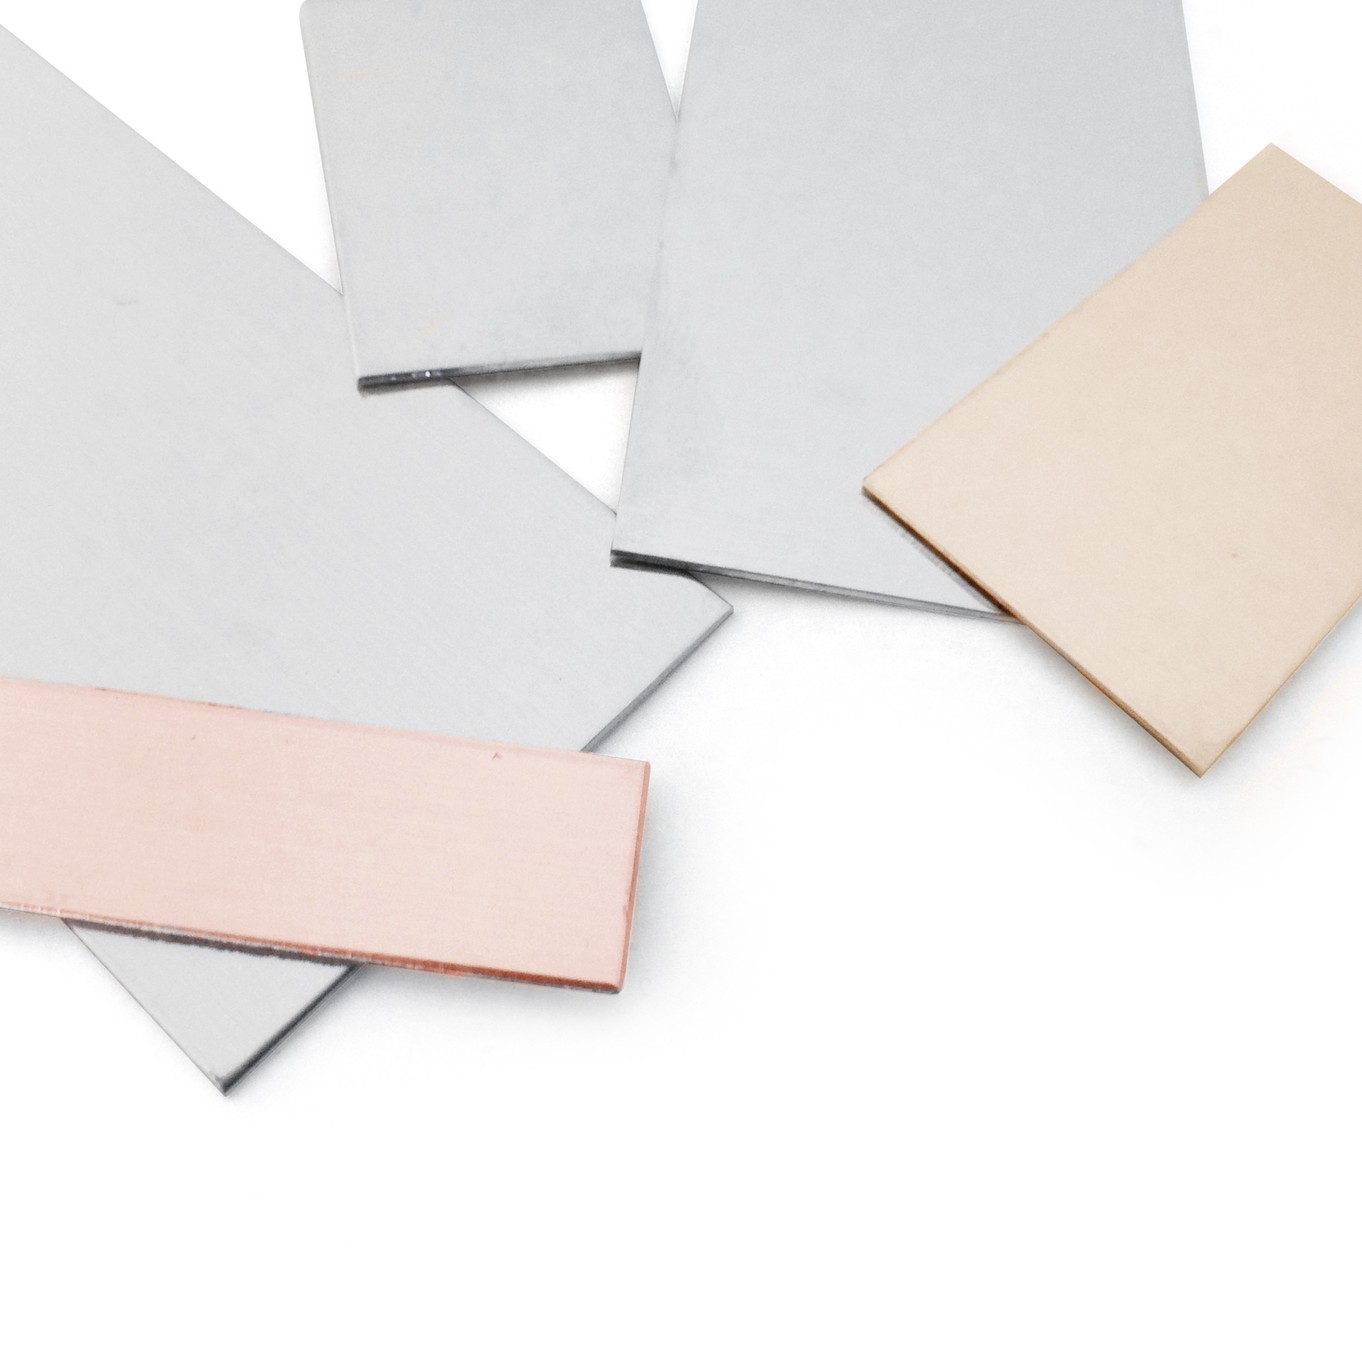
From 0.5mm sterling silver sheet cut out a heart shape using a jewellers piercing saw and from 0.7mm copper sheet cut out another heart smaller than the first. File off the rough edges from both hearts using files and wet and dry papers.
Step 2: Texturise
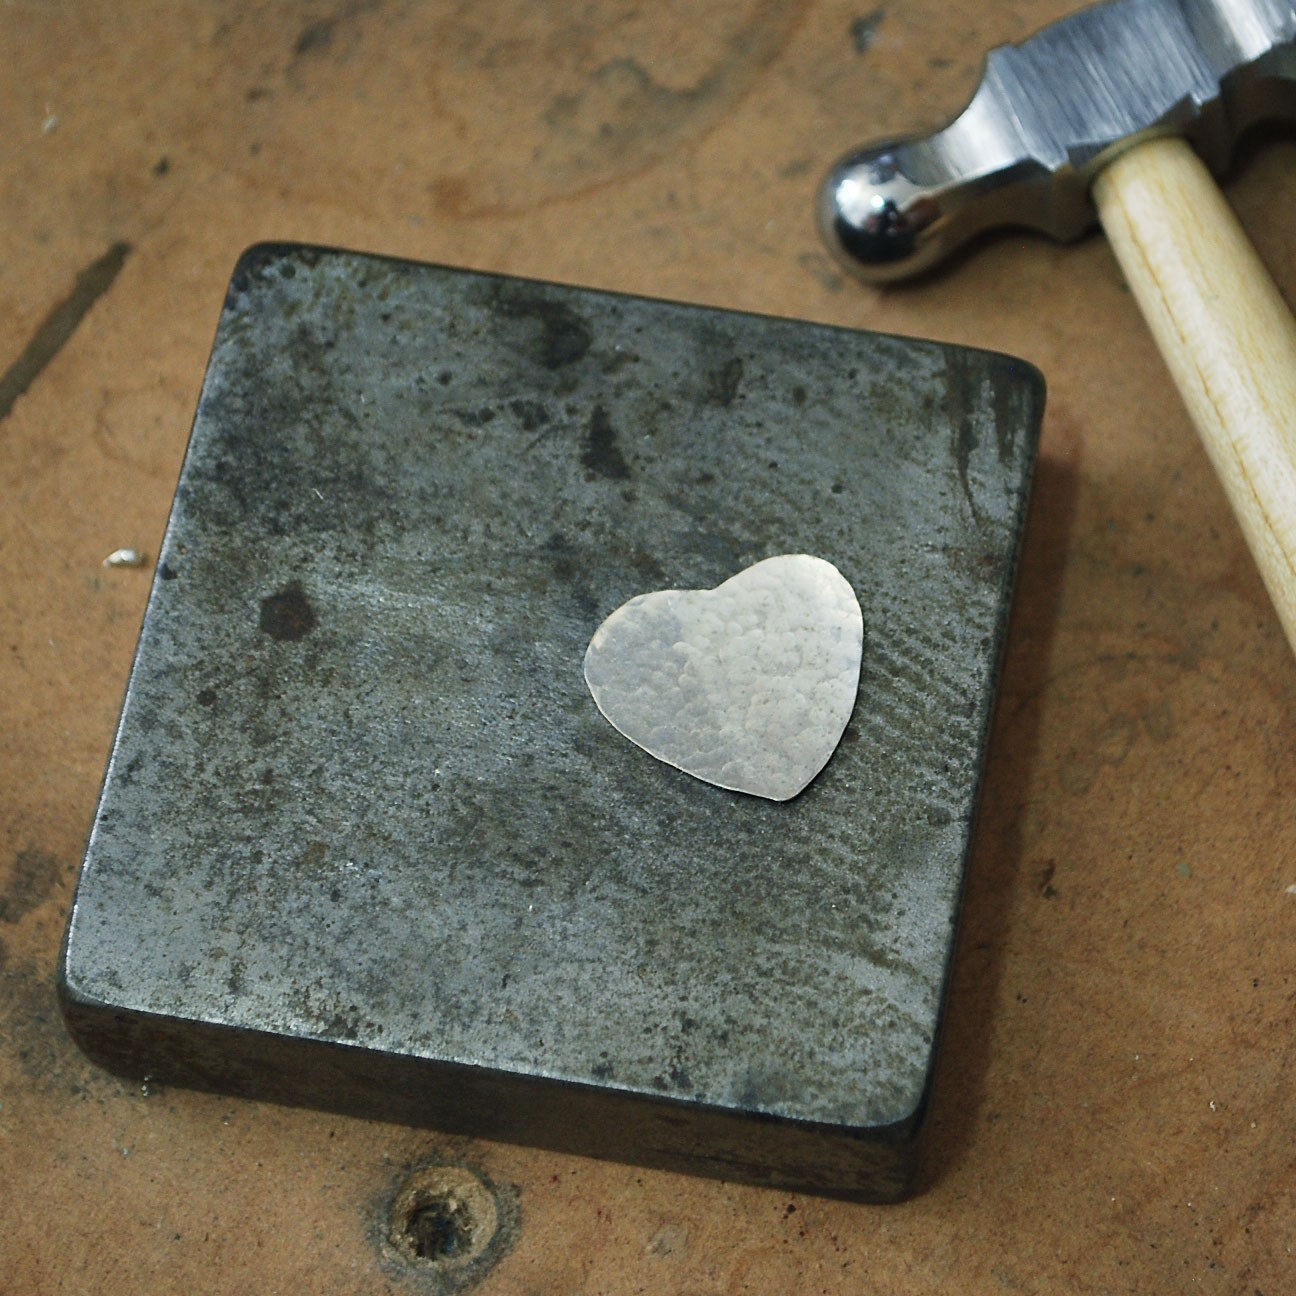
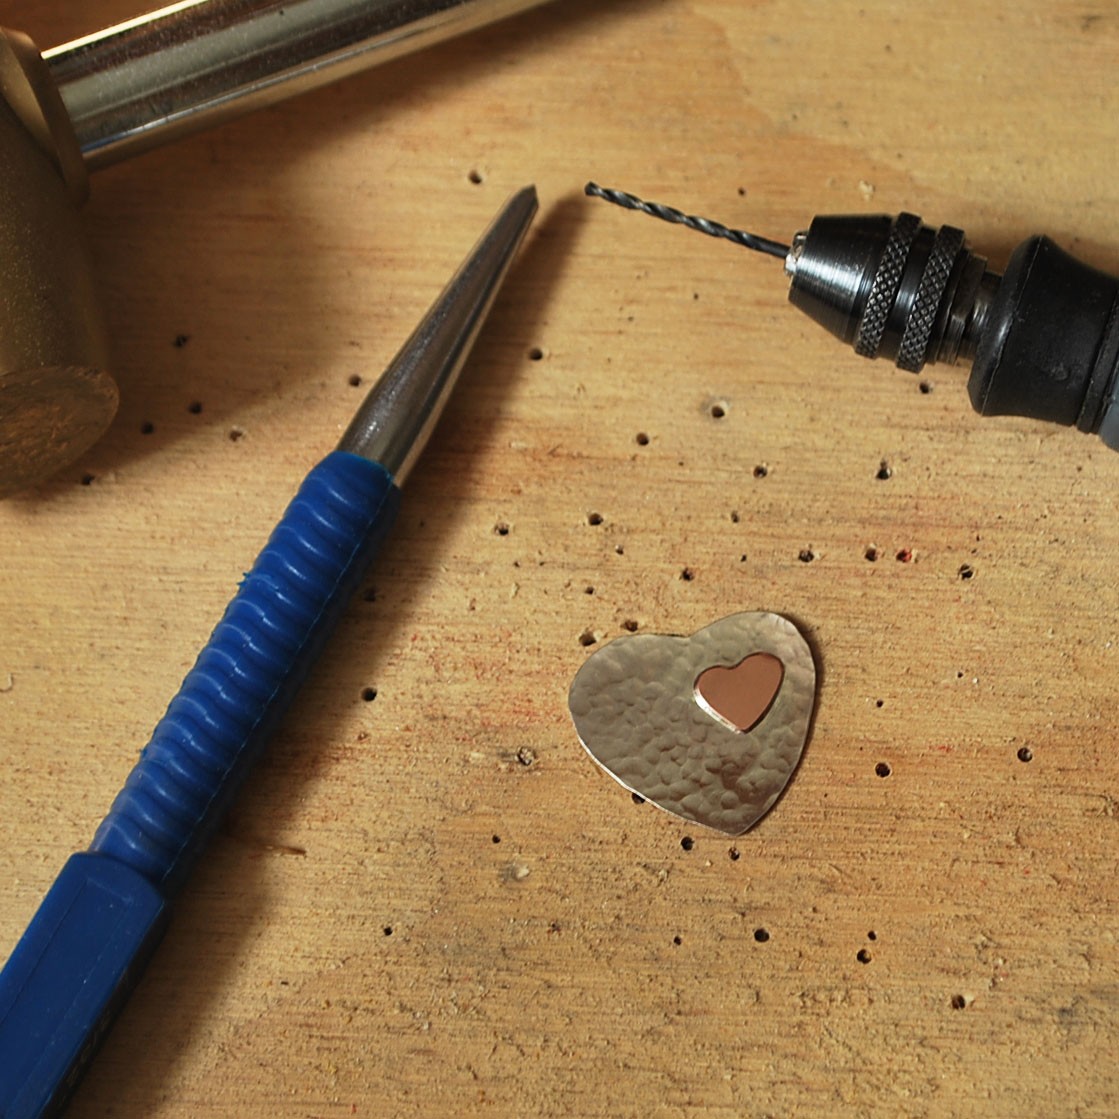
Next it's time to texturise the silver heart. Place the heart on a steel block and use the round end of a repousse hammer to create a hammered effect on the heart.
Step 3: Solder Hearts Together
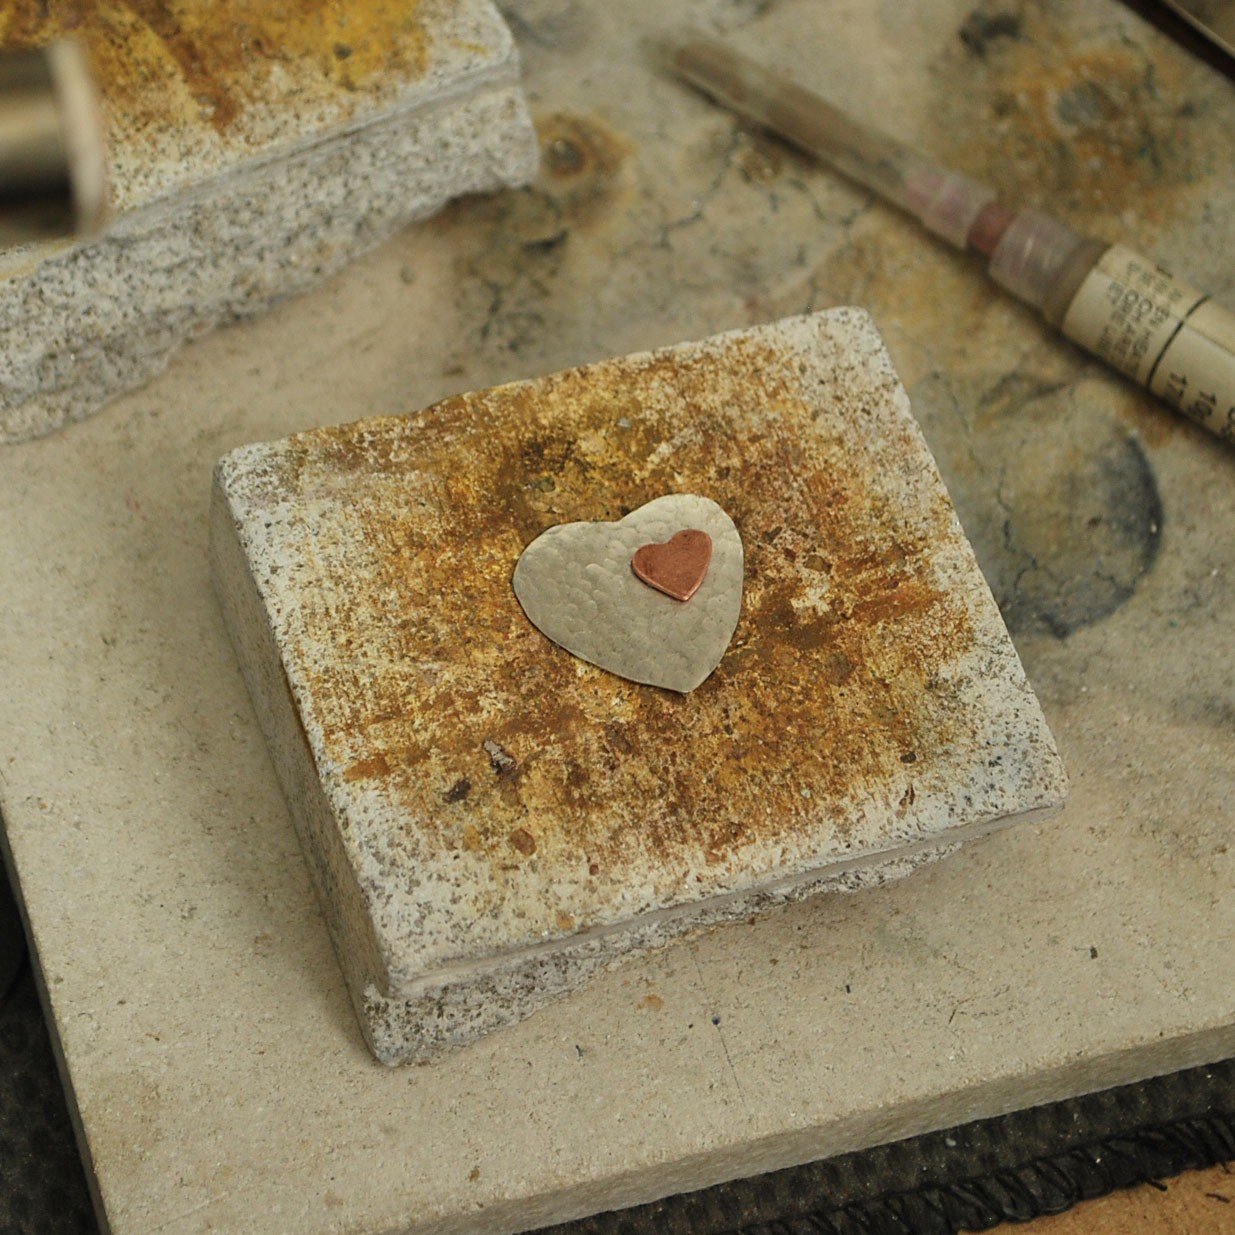
Using medium solder either paillons or paste (you will need flux the pieces of metal if you are using paillons but as there is already flux incorporated in solder paste you can omit this stage) solder the two hearts together. Make sure that the copper heart is flush with the silver heart for a good join.
Step 6: Drill The Hole
Using a centre punch and mallet, mark your silver heart where you will be drilling the hole. Doing this will make it easier to keep the drill point steady and remain in one spot when initially drilling the hole. Drill the hole by using a 1mm twist drill bit with either a hand drillstock or with a power tool, such as the Dremel Multi Tool.
Once the drill hole has been made,
Step 6: Attach Jump Ring
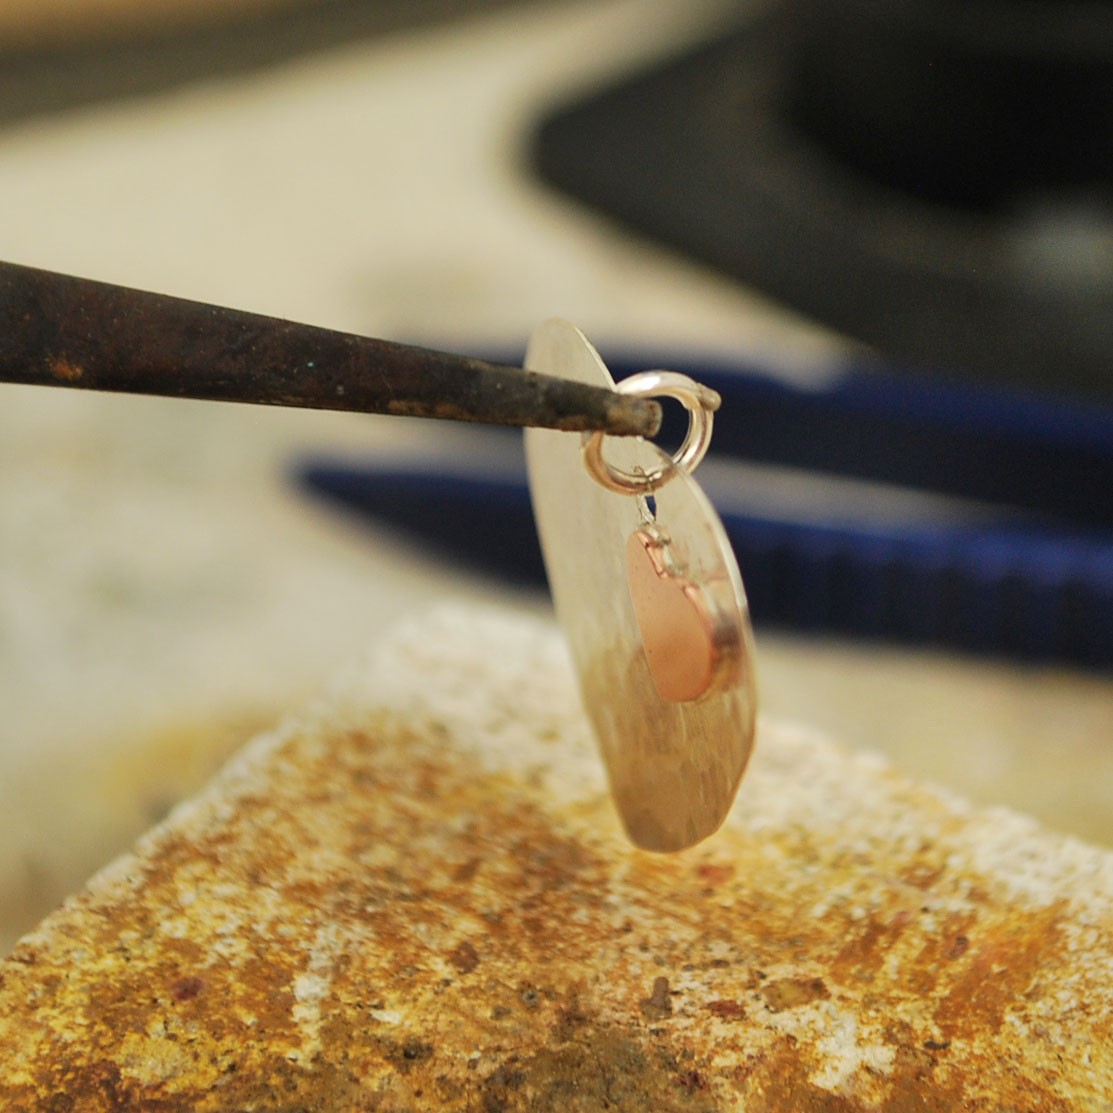
Open a jump ring and attach it through the hole and close it again. The jump ring will need to be closed so that the ends are flushed with each other. Once the jump ring is closed use easy solder either paillon or paste. Solder paste is much easier to use on smaller findings and as it already contains flux, the soldering process is much easier. Use a small amount of solder as this will give you less to clean up after firing with a torch. Hold the jump ring in a third hand and allow the hearts to dangle below. Using a small jewellers torch, heat the jump ring using a circular motion and solder the join together.
Step 7: Pickle & Polish
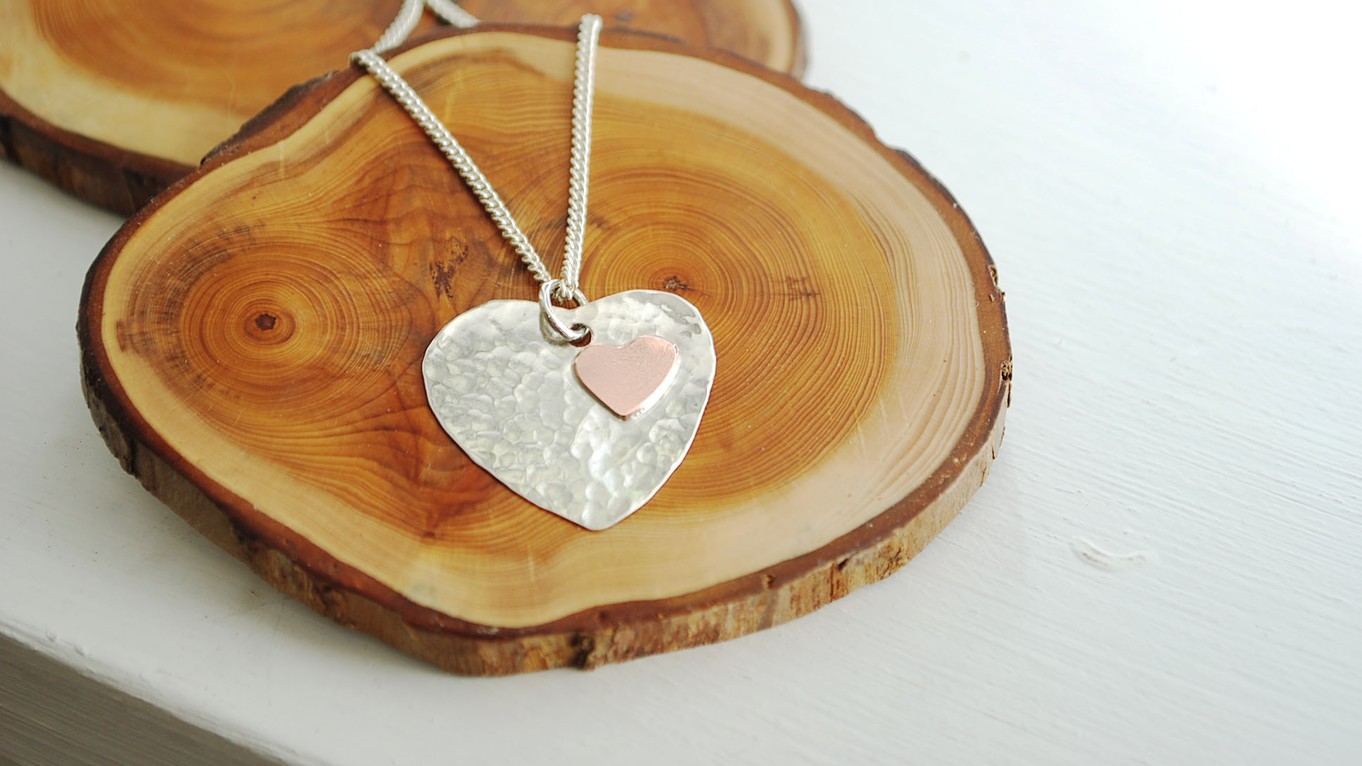
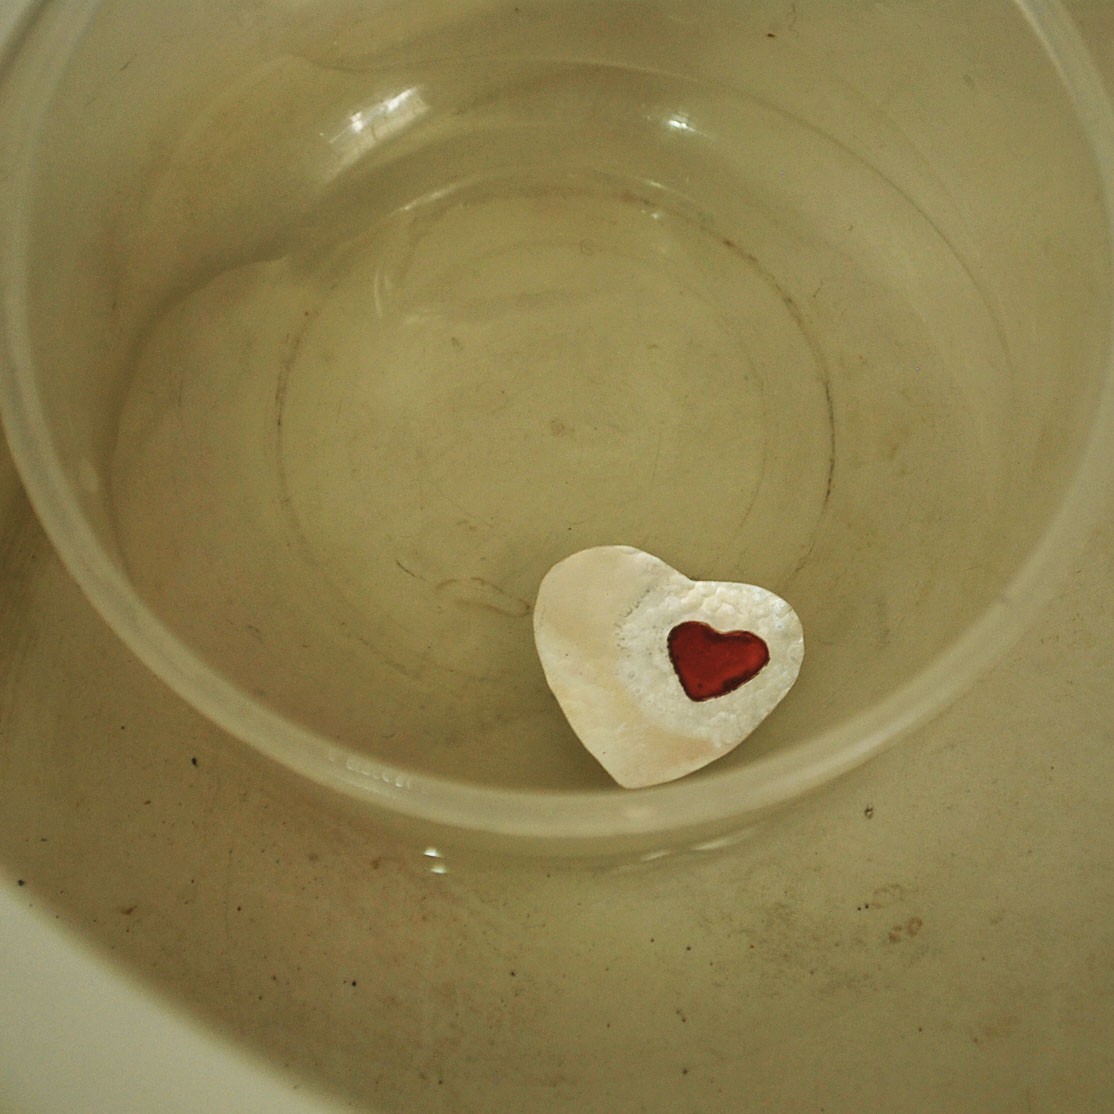
Pickle the whole piece and remove and clean up any excess solder on the jump ring with files or wet and dry papers. Before fixing onto your desired chain, polish the hearts. Polishing can be done using either silicon polishers, tripoli and rouge with soft mops or soft wheels. Both can be used with a hand tool or a hand drill however you can do this by hand with polishing papers. You can polish your finished piece on a bench polisher but never polish anything with a chain on a bench polisher.
Explore Supplies With Kernowcraft
Shop Metal Sheet
Shop our full range of metal sheet for jewellery making, including sterling silver, eco-friendly silver, 9ct gold, copper, brass and mokume gane in a range of thickness.
Shop All Jewellery Tools
Explore our wide range of high quality jewellery making tools - all tried and tested in our workshop! From jewellery pliers, gas torches, hammers to polishing equipment.
More Pages In This Category
- Guide To Sanding & Polishing For Jewellery Making
- Hand Polishing Your Jewellery With Polishing Papers
- A Guide To Texturing Metals For Jewellery Making
- Top Tools For Making Textures On Metal
- Beginner's Guide To Chasing & Repoussé
- How To Make Easy Textured Earrings
- How To Make A Hammered Copper & Silver Heart Pendant
- How To Make A Textured Cuff Bracelet
- How To Make A Metal Leaf Decoration
- How To Use Doming Block & Punches For Jewellery Making
- How To Make Domed Metal Earrings With A Doming Block
- How To Engrave Your Drawings On Art Clay Copper
- Textured Washer Bracelet Tutorial With Guest Jeweller Laura Grey
- Barrelling Machine For Polishing Metal - Everything You Need To Know
- Tumbling Machine For Polishing Stones and Glass- Everything You Need To Know
- Polishing Jewellery Q&A With Stephen M Goldsmith
- Town Talk Products For Cleaning & Caring For Jewellery
- Creating A Resin Bird Pendant With Designer Sarah Hoare
- VIDEO: How To Create Patina With Liver Of Sulphur
- 2 Ways To Apply Liver Of Sulphur
- VIDEO: How To Use Silver Plating Solution
- How To Clean & Prevent Tarnished Jewellery
- Why You Need Anti Tarnish Paper Strips
- How To Use Midas Finish Seal Lacquer
- How To Use Renaissance Wax To Prevent Tarnished Jewellery
- VIDEO: Working With Crinkle Metal Sheet
- A Guide To Using Mokume Gane Metal For Jewellery Making
HAVE A QUESTION?
If you have any questions, feel free to get in touch with our friendly team who will be more than happy to give you advice over email or on the phone.
You can learn more and find inspiration by visiting our Jewellery Making Tutorials, Jewellery Making Kits and YouTube Channel. Don't forget to follow us on social media and tag us in your designs on Instagram & Facebook, we would love to see!

