Textured Washer Bracelet Tutorial With Guest Jeweller Laura Grey
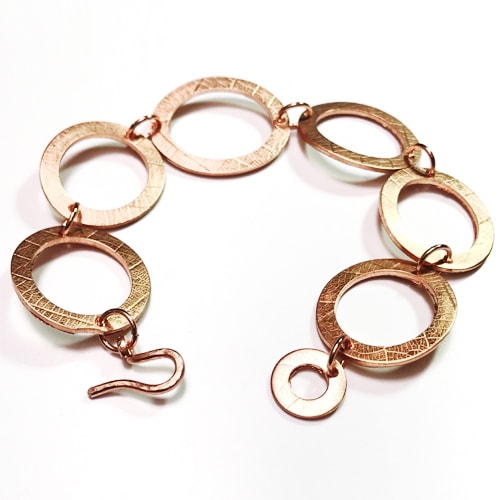
Create this beautiful washer bracelet with guest writer Laura Grey from MMM Jewellery!
This statement project is a great way to experiment with texturising your handmade jewellery pieces.
Recommended Tools & Supplies
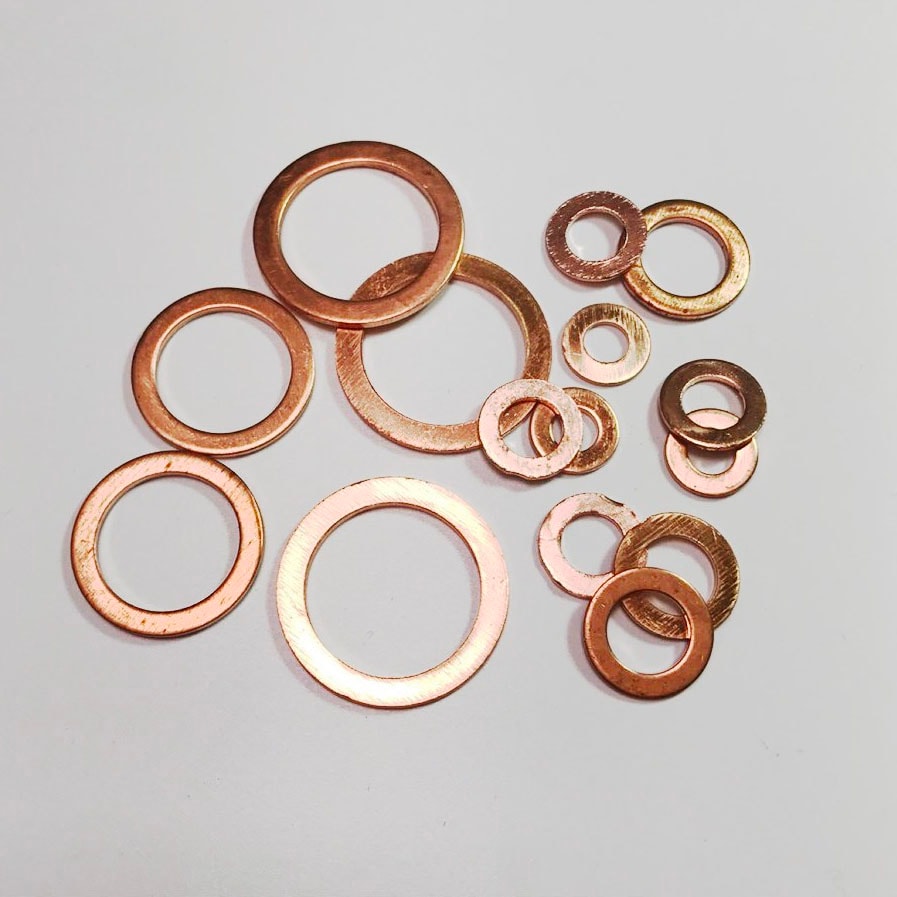
- Washers - you can make your own with metal sheet and a disc cutter
- Jump rings for attaching washers
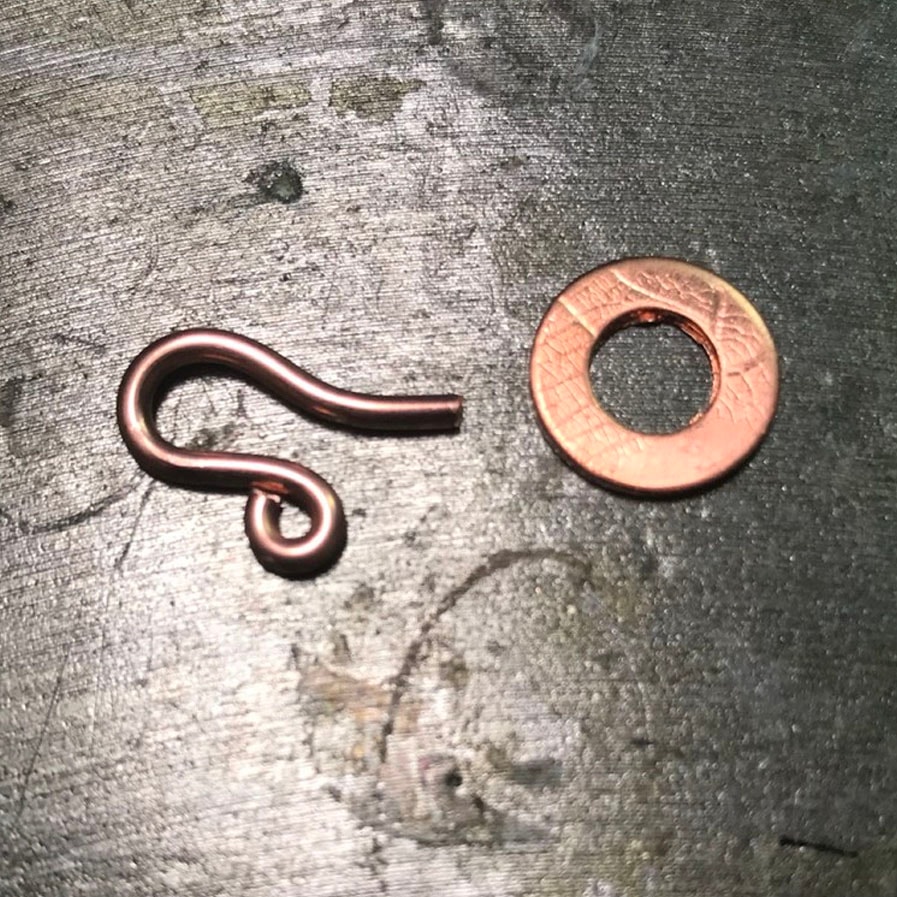
- Wire to form the clasp
- Rolling mill or texturing hammers such as ball pein hammer and cross pein hammer
- Snipe nose pliers
- Metal sheet and wire cutters
- Steel block
- Centre punch
- Pendant drill or Dremel Multi Tool
- Drill bit (make sure it'll create a hole big enough for your jump rings to fit)
- Files and sanding sticks
- Tumbler or polishing papers
- Liver of sulphur
Click the links above to shop with Kernowcraft!
Follow Laura's Step By Step Instructions
Step 1
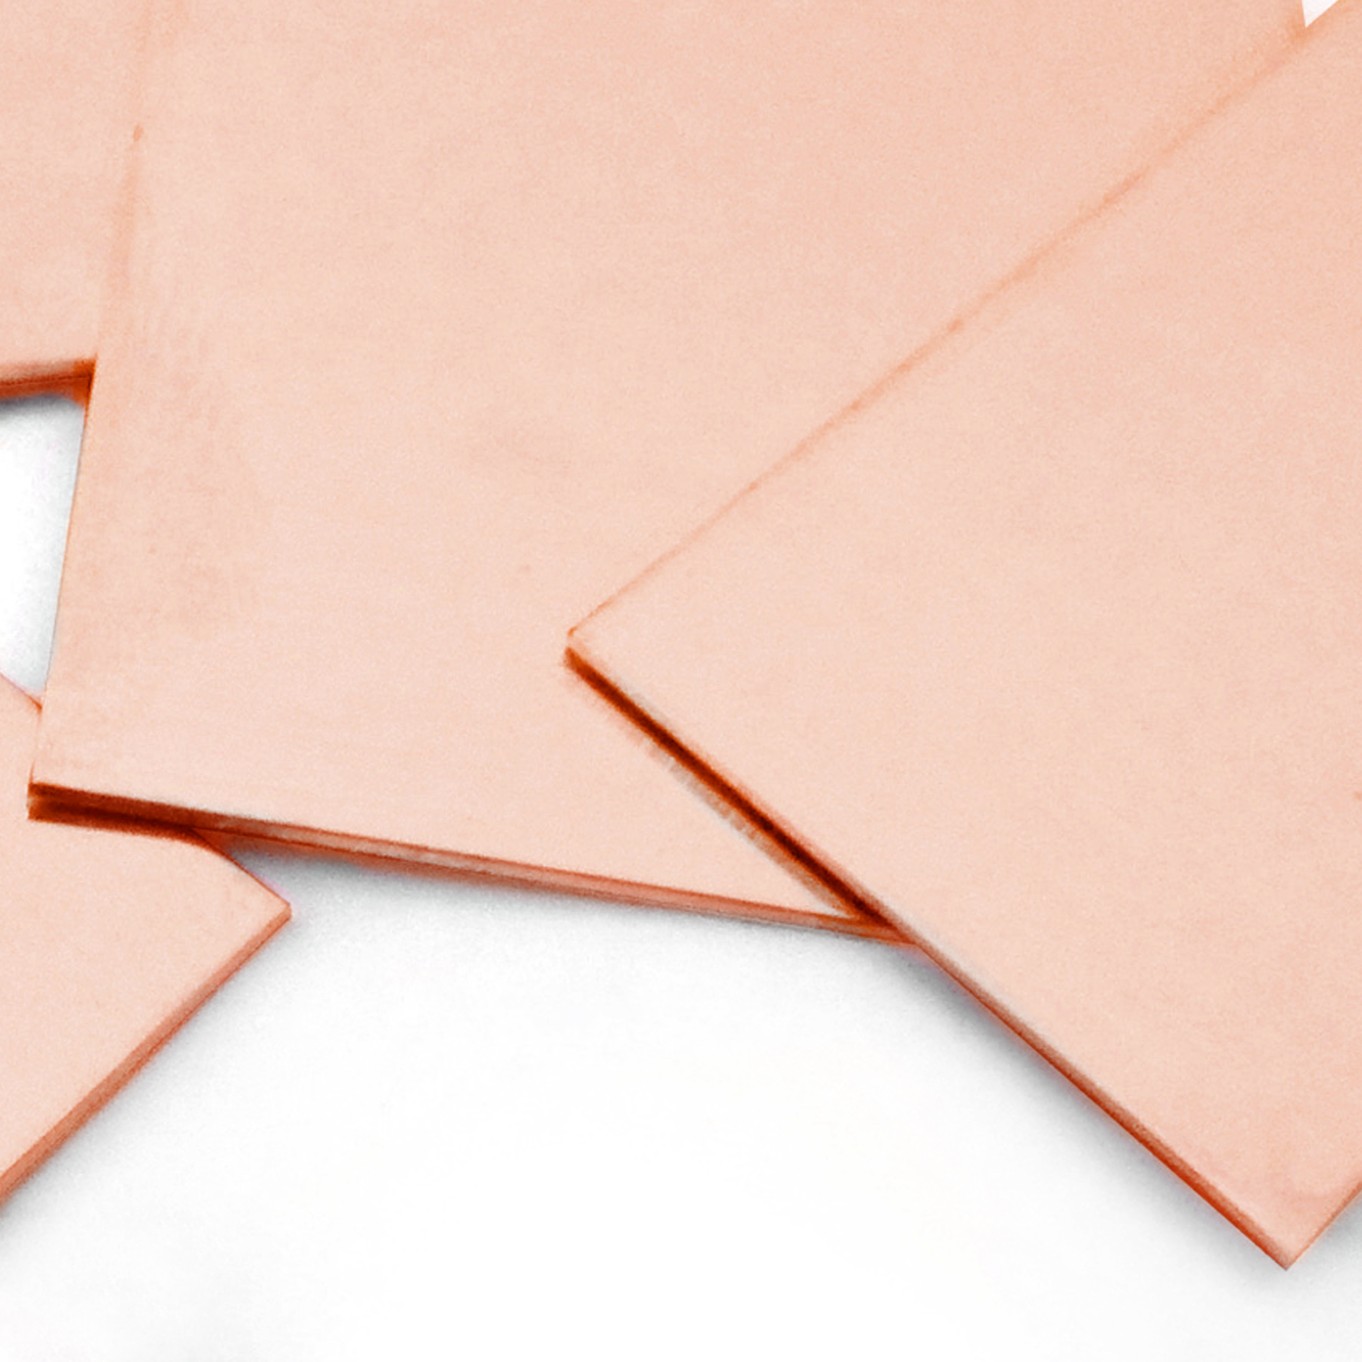
Firstly, select your washers. You'll need enough to fit your wrist comfortably - if you have a disc cutter you can cut your own from metal sheet. Make sure that you have one smaller than the rest to form part of your clasp.
Step 2
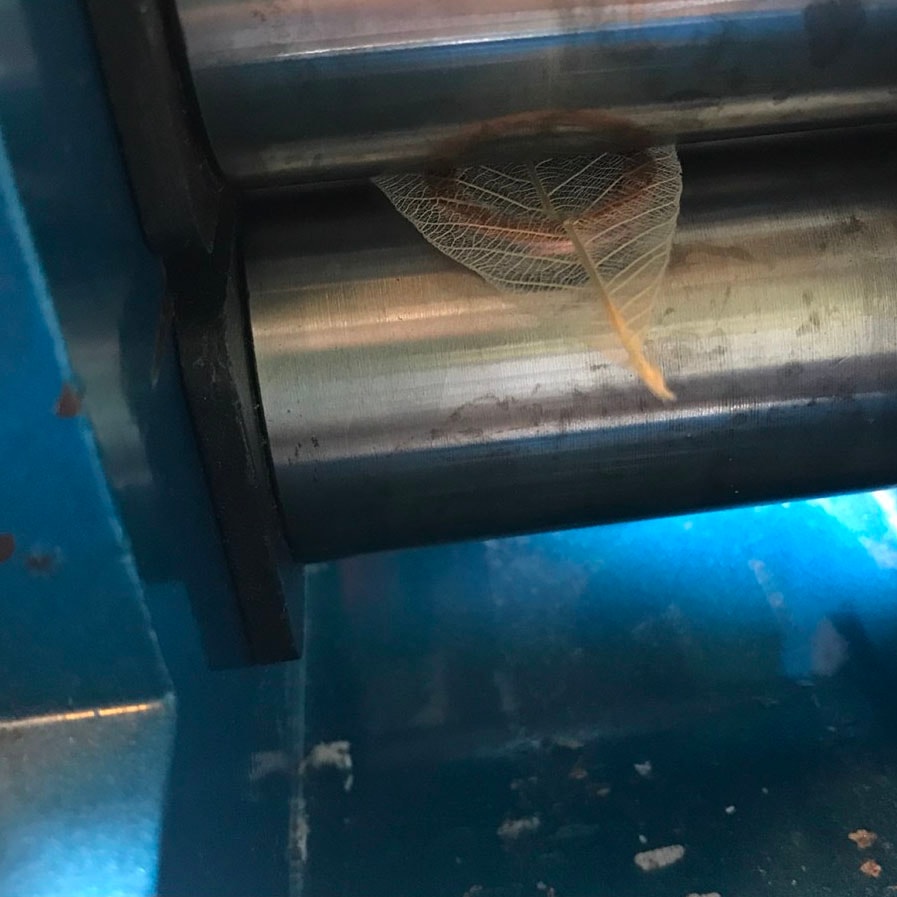
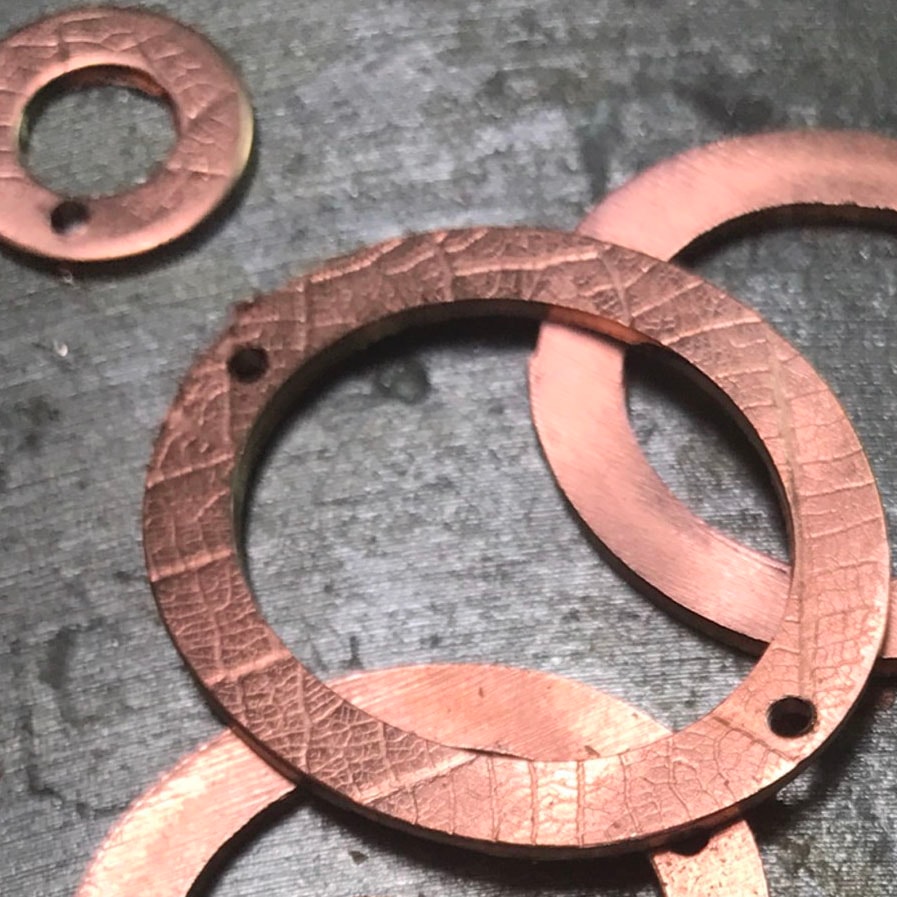
Choose your texturing method - in this tutorial I used a rolling mill and a skeletal leaf, but you can use texturing hammers.
To texture with a rolling mill, sandwich your metal and texturing media in some normal paper (this protects your rollers) set your roller gap to the same depth as your metal then roll away! Setting your roller gap like this means you still get a great impression, but you get less distortion.
Apply your chosen texture and check the sizes of your washers again - texturing metal will alter the shape and size.
Step 3
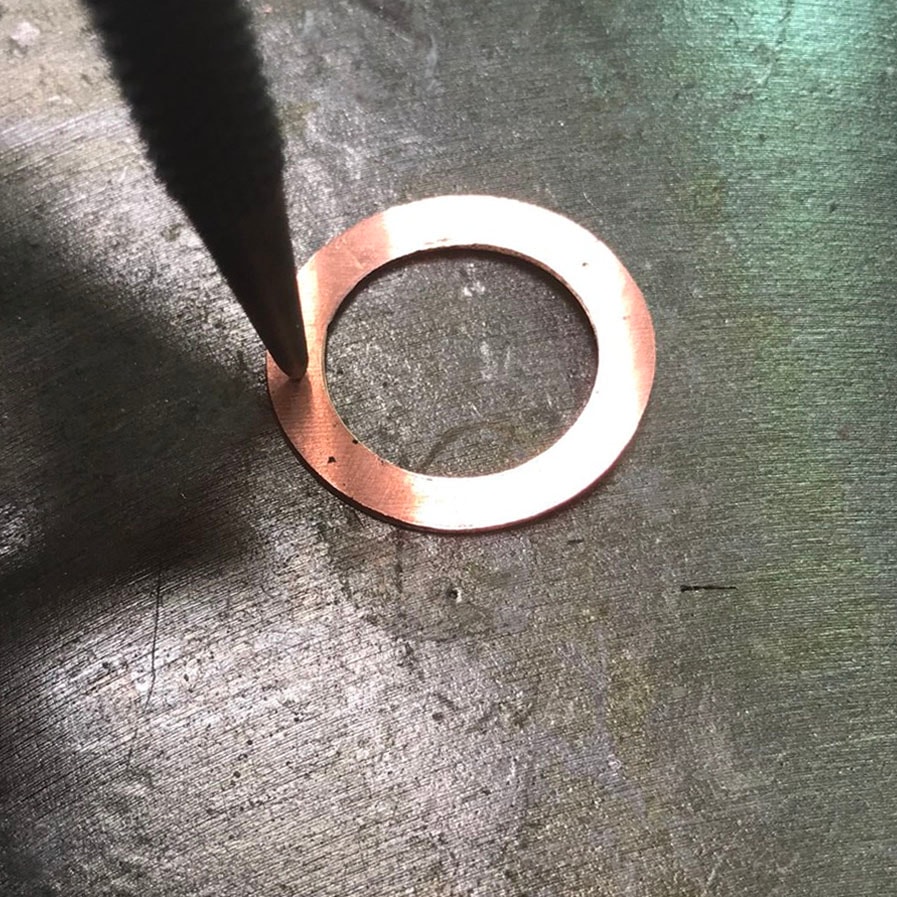
Move your washers to your steel block. Using a centre punch and hammer to mark each washer where you'll drill for attaching your jump rings - this will stop your drill from skittering across your metal when drilling the hole. Remember you only need one hole in the small washer as it's for your clasp.
Step 4
Move your washers to your bench peg and drill your holes - you can use a ball burr to remove any sharp metal or if you don't have one, use needle files. Now is also a good time to remove any sharp edges from your washers with a sanding stick.
Step 6
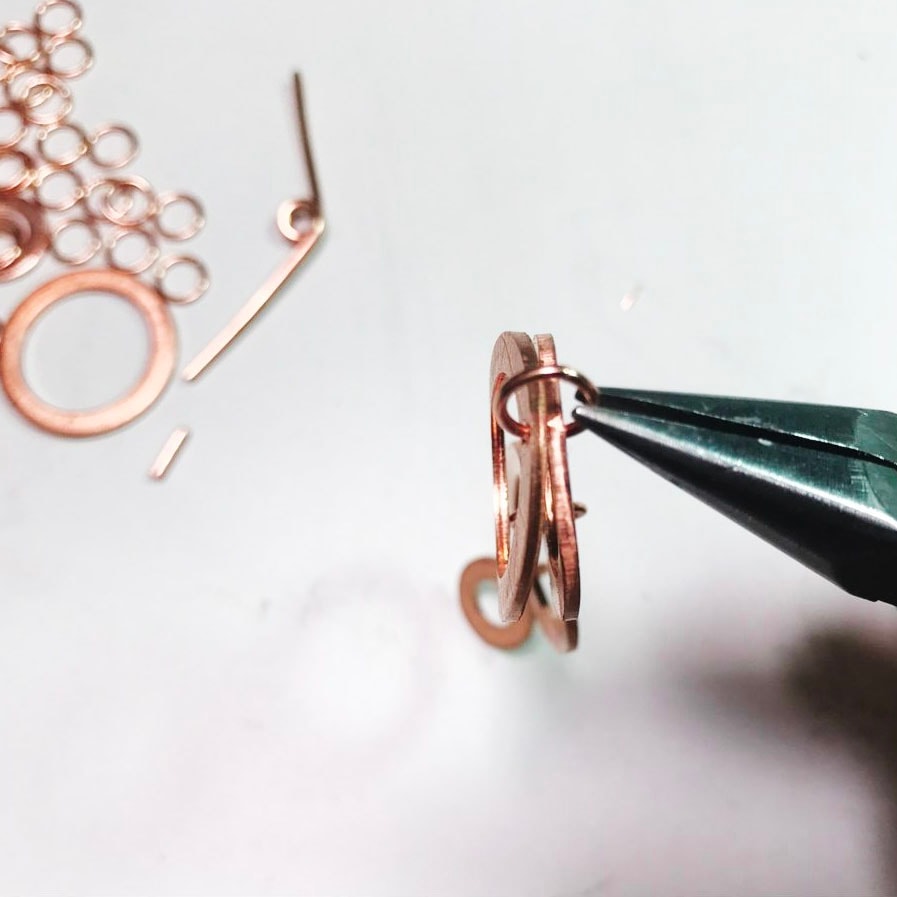
Connect your washers together with your jump rings to create your bracelet.
You can darken your finished bracelet with liver or sulphur to bring out the gorgeous texture or leave it with a bright finish.
If you would like to, you could also tumble your bracelet to finish it further or polish it using polishing papers - this will give a sparkling finish to your bracelet. Other options are to mix and match sterling with copper or brass, set small cabochons in bezel cups onto the washers or add wire wrapped dangling briolettes to your jump rings - the only limit is your imagination! You can also make a necklace in the same way - just make a section of washers then add chain to your desired length.
Shop Copper With Kernowcraft
Protect your copper washer bracelet
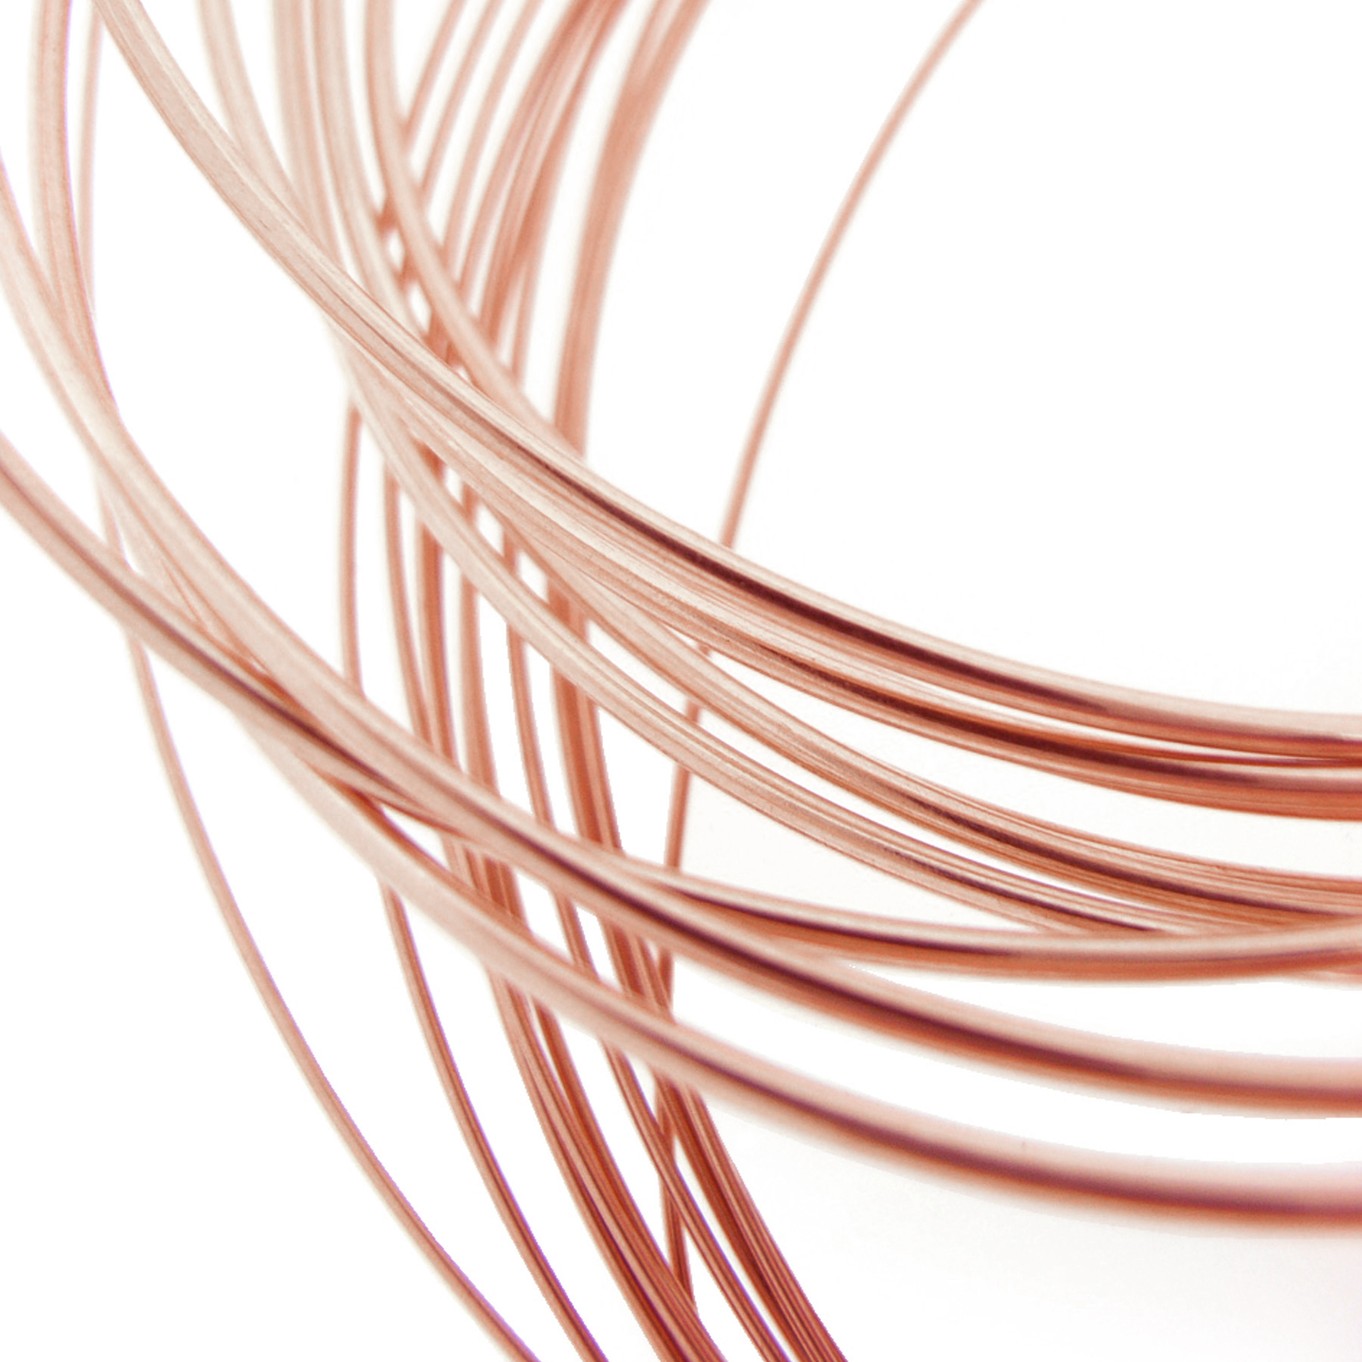
Copper is a really popular metal and used throughout jewellery designs but it can cause your skin to go green without adding a protective coating. Using the following products from Kernowcraft ensure the quality of your copper is maintained and you also protect your skin in the process.
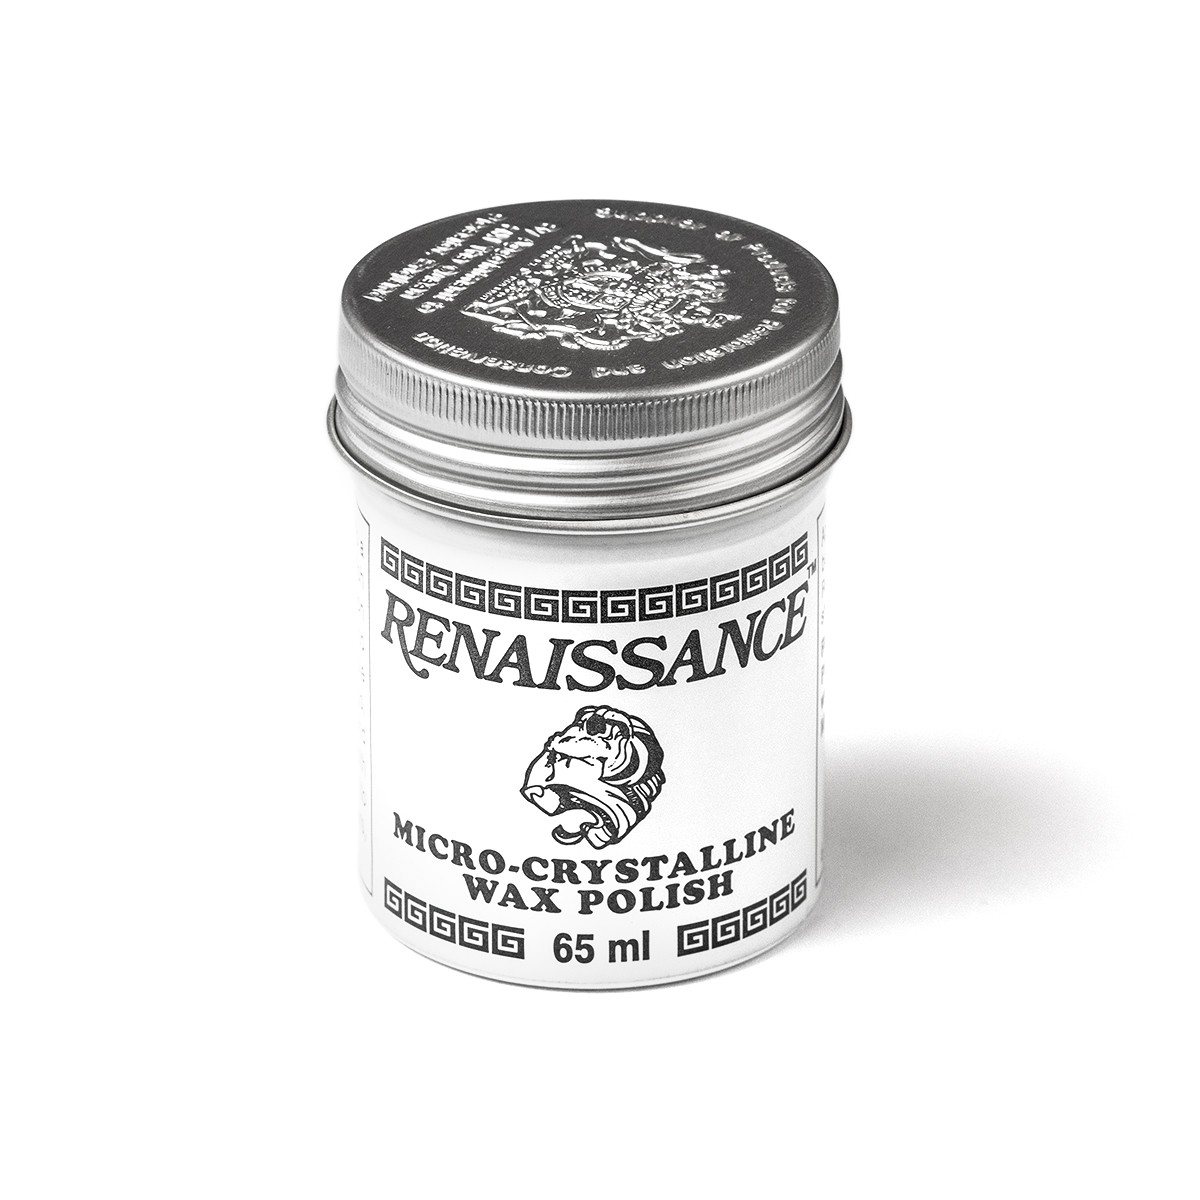
Renaissance Wax
Use Renaissance Wax to protect your jewellery against tarnishing. When you apply this wax with a cloth it will reveal a clear surface, and with a natural PH, it won't damage materials.
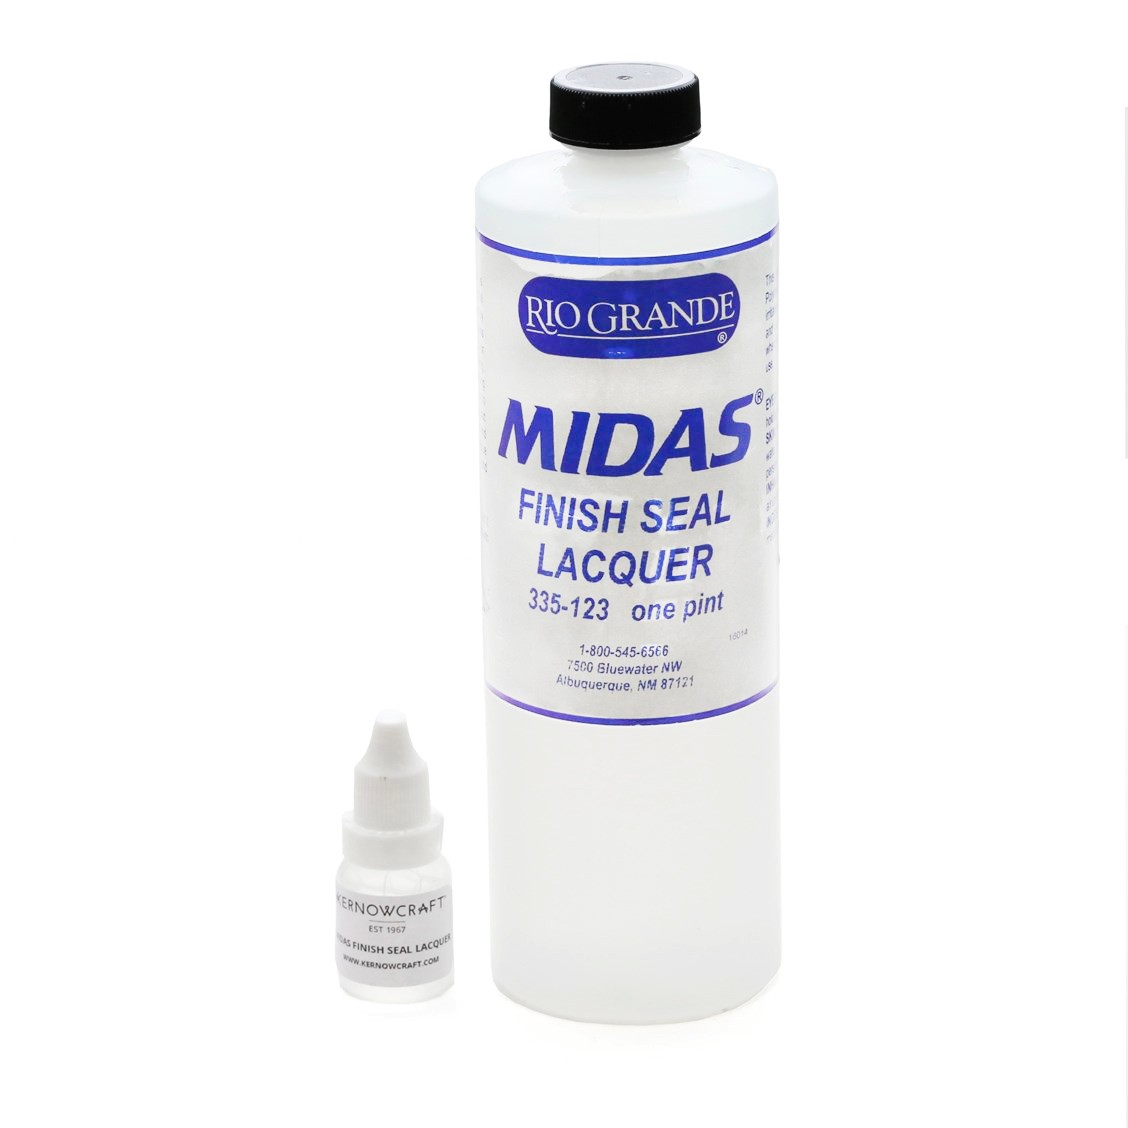
Midas Finish Seal Lacquer
You can also use Midas finish seal lacquer to create a clear, protective finish to your jewellery and will prevent your copper from oxidising over time.
Also in this section:
- Guide To Sanding & Polishing For Jewellery Making
- Hand Polishing Your Jewellery With Polishing Papers
- A Guide To Texturing Metals For Jewellery Making
- Top Tools For Making Textures On Metal
- Beginner's Guide To Chasing & Repoussé
- How To Make Easy Textured Earrings
- How To Make A Hammered Copper & Silver Heart Pendant
- How To Make A Textured Cuff Bracelet
- How To Make A Metal Leaf Decoration
- How To Use Doming Block & Punches For Jewellery Making
- How To Make Domed Metal Earrings With A Doming Block
- How To Engrave Your Drawings On Art Clay Copper
- Textured Washer Bracelet Tutorial With Guest Jeweller Laura Grey
- Barrelling Machine For Polishing Metal - Everything You Need To Know
- Tumbling Machine For Polishing Stones and Glass- Everything You Need To Know
- Polishing Jewellery Q&A With Stephen M Goldsmith
- Town Talk Products For Cleaning & Caring For Jewellery
- Creating A Resin Bird Pendant With Designer Sarah Hoare
- VIDEO: How To Create Patina With Liver Of Sulphur
- 2 Ways To Apply Liver Of Sulphur
- VIDEO: How To Use Silver Plating Solution
- How To Clean & Prevent Tarnished Jewellery
- Why You Need Anti Tarnish Paper Strips
- How To Use Midas Finish Seal Lacquer
- How To Use Renaissance Wax To Prevent Tarnished Jewellery
- VIDEO: Working With Crinkle Metal Sheet
- A Guide To Using Mokume Gane Metal For Jewellery Making
HAVE A QUESTION?
If you have any questions, feel free to get in touch with our friendly team who will be more than happy to give you advice over email or on the phone.
You can learn more and find inspiration by visiting our Jewellery Making Tutorials, Jewellery Making Kits and YouTube Channel. Don't forget to follow us on social media and tag us in your designs on Instagram & Facebook, we would love to see!

