


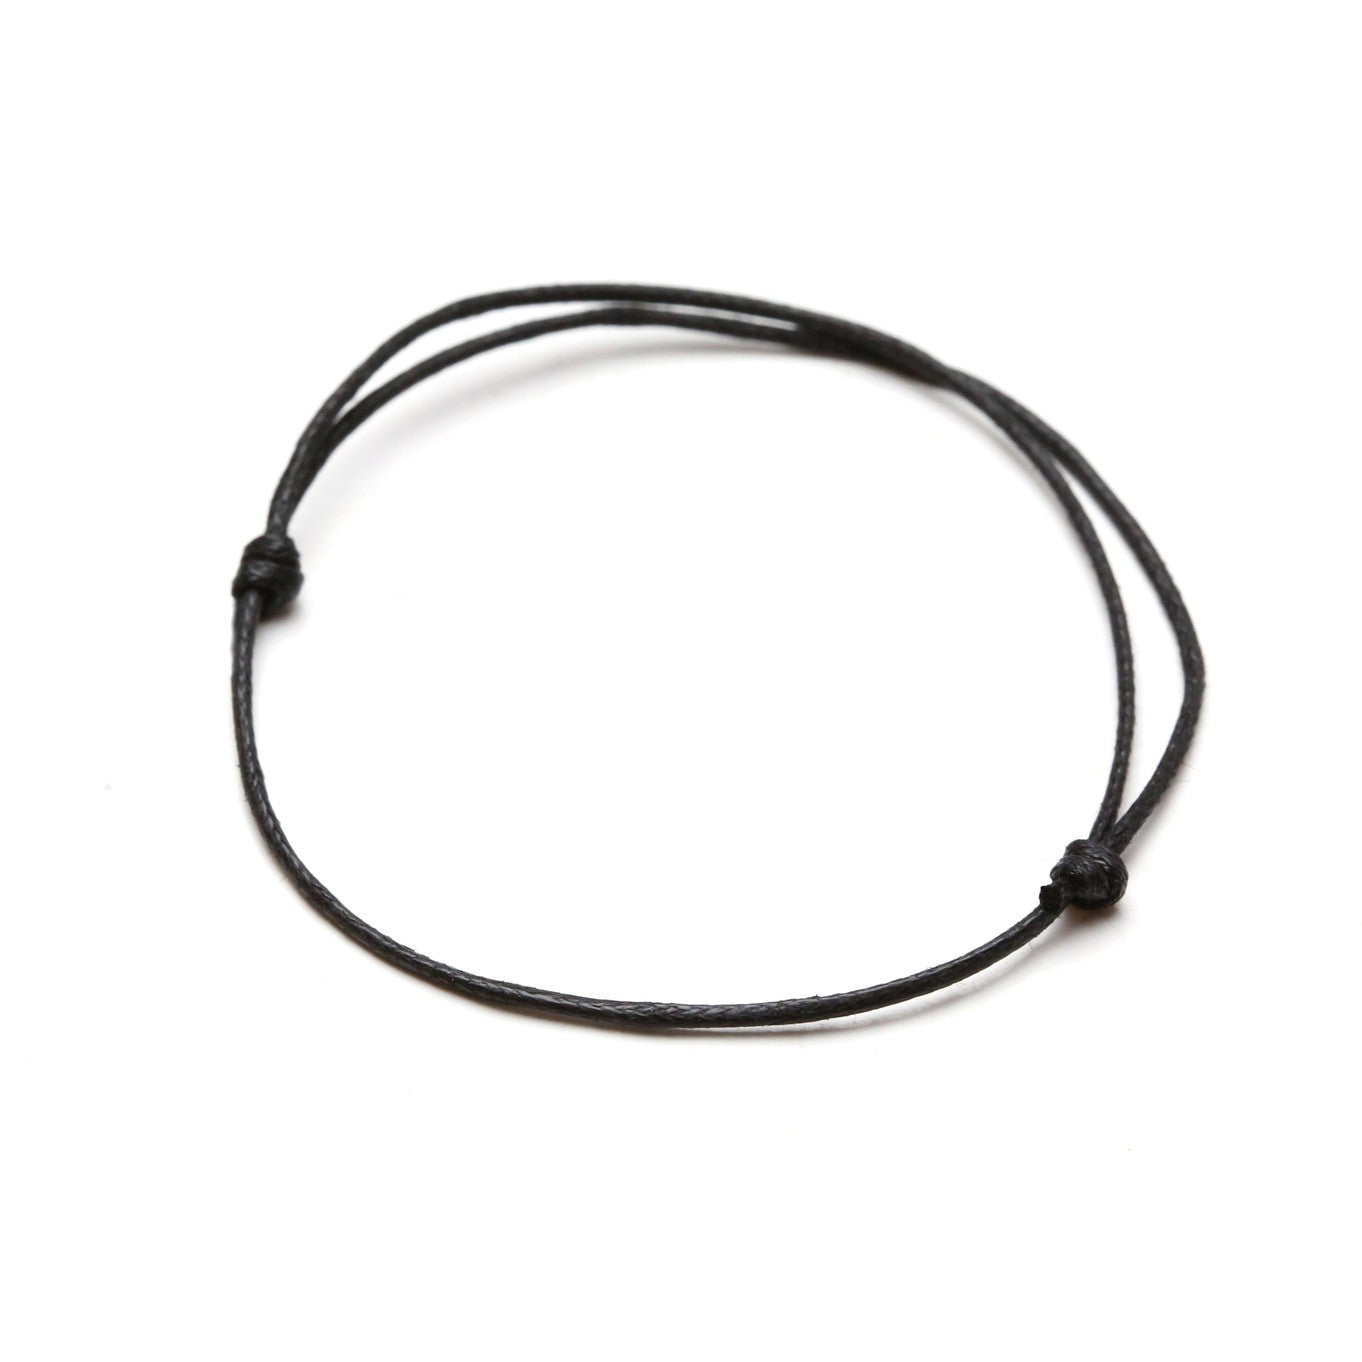
Sliding knots are a great way of making an adjustable and tidy fastening to a variety of jewellery designs.
This knot be created using cotton cord, leather cord, silk cord, suede cord or hemp cord! It is a great way for making multi-fit pieces.
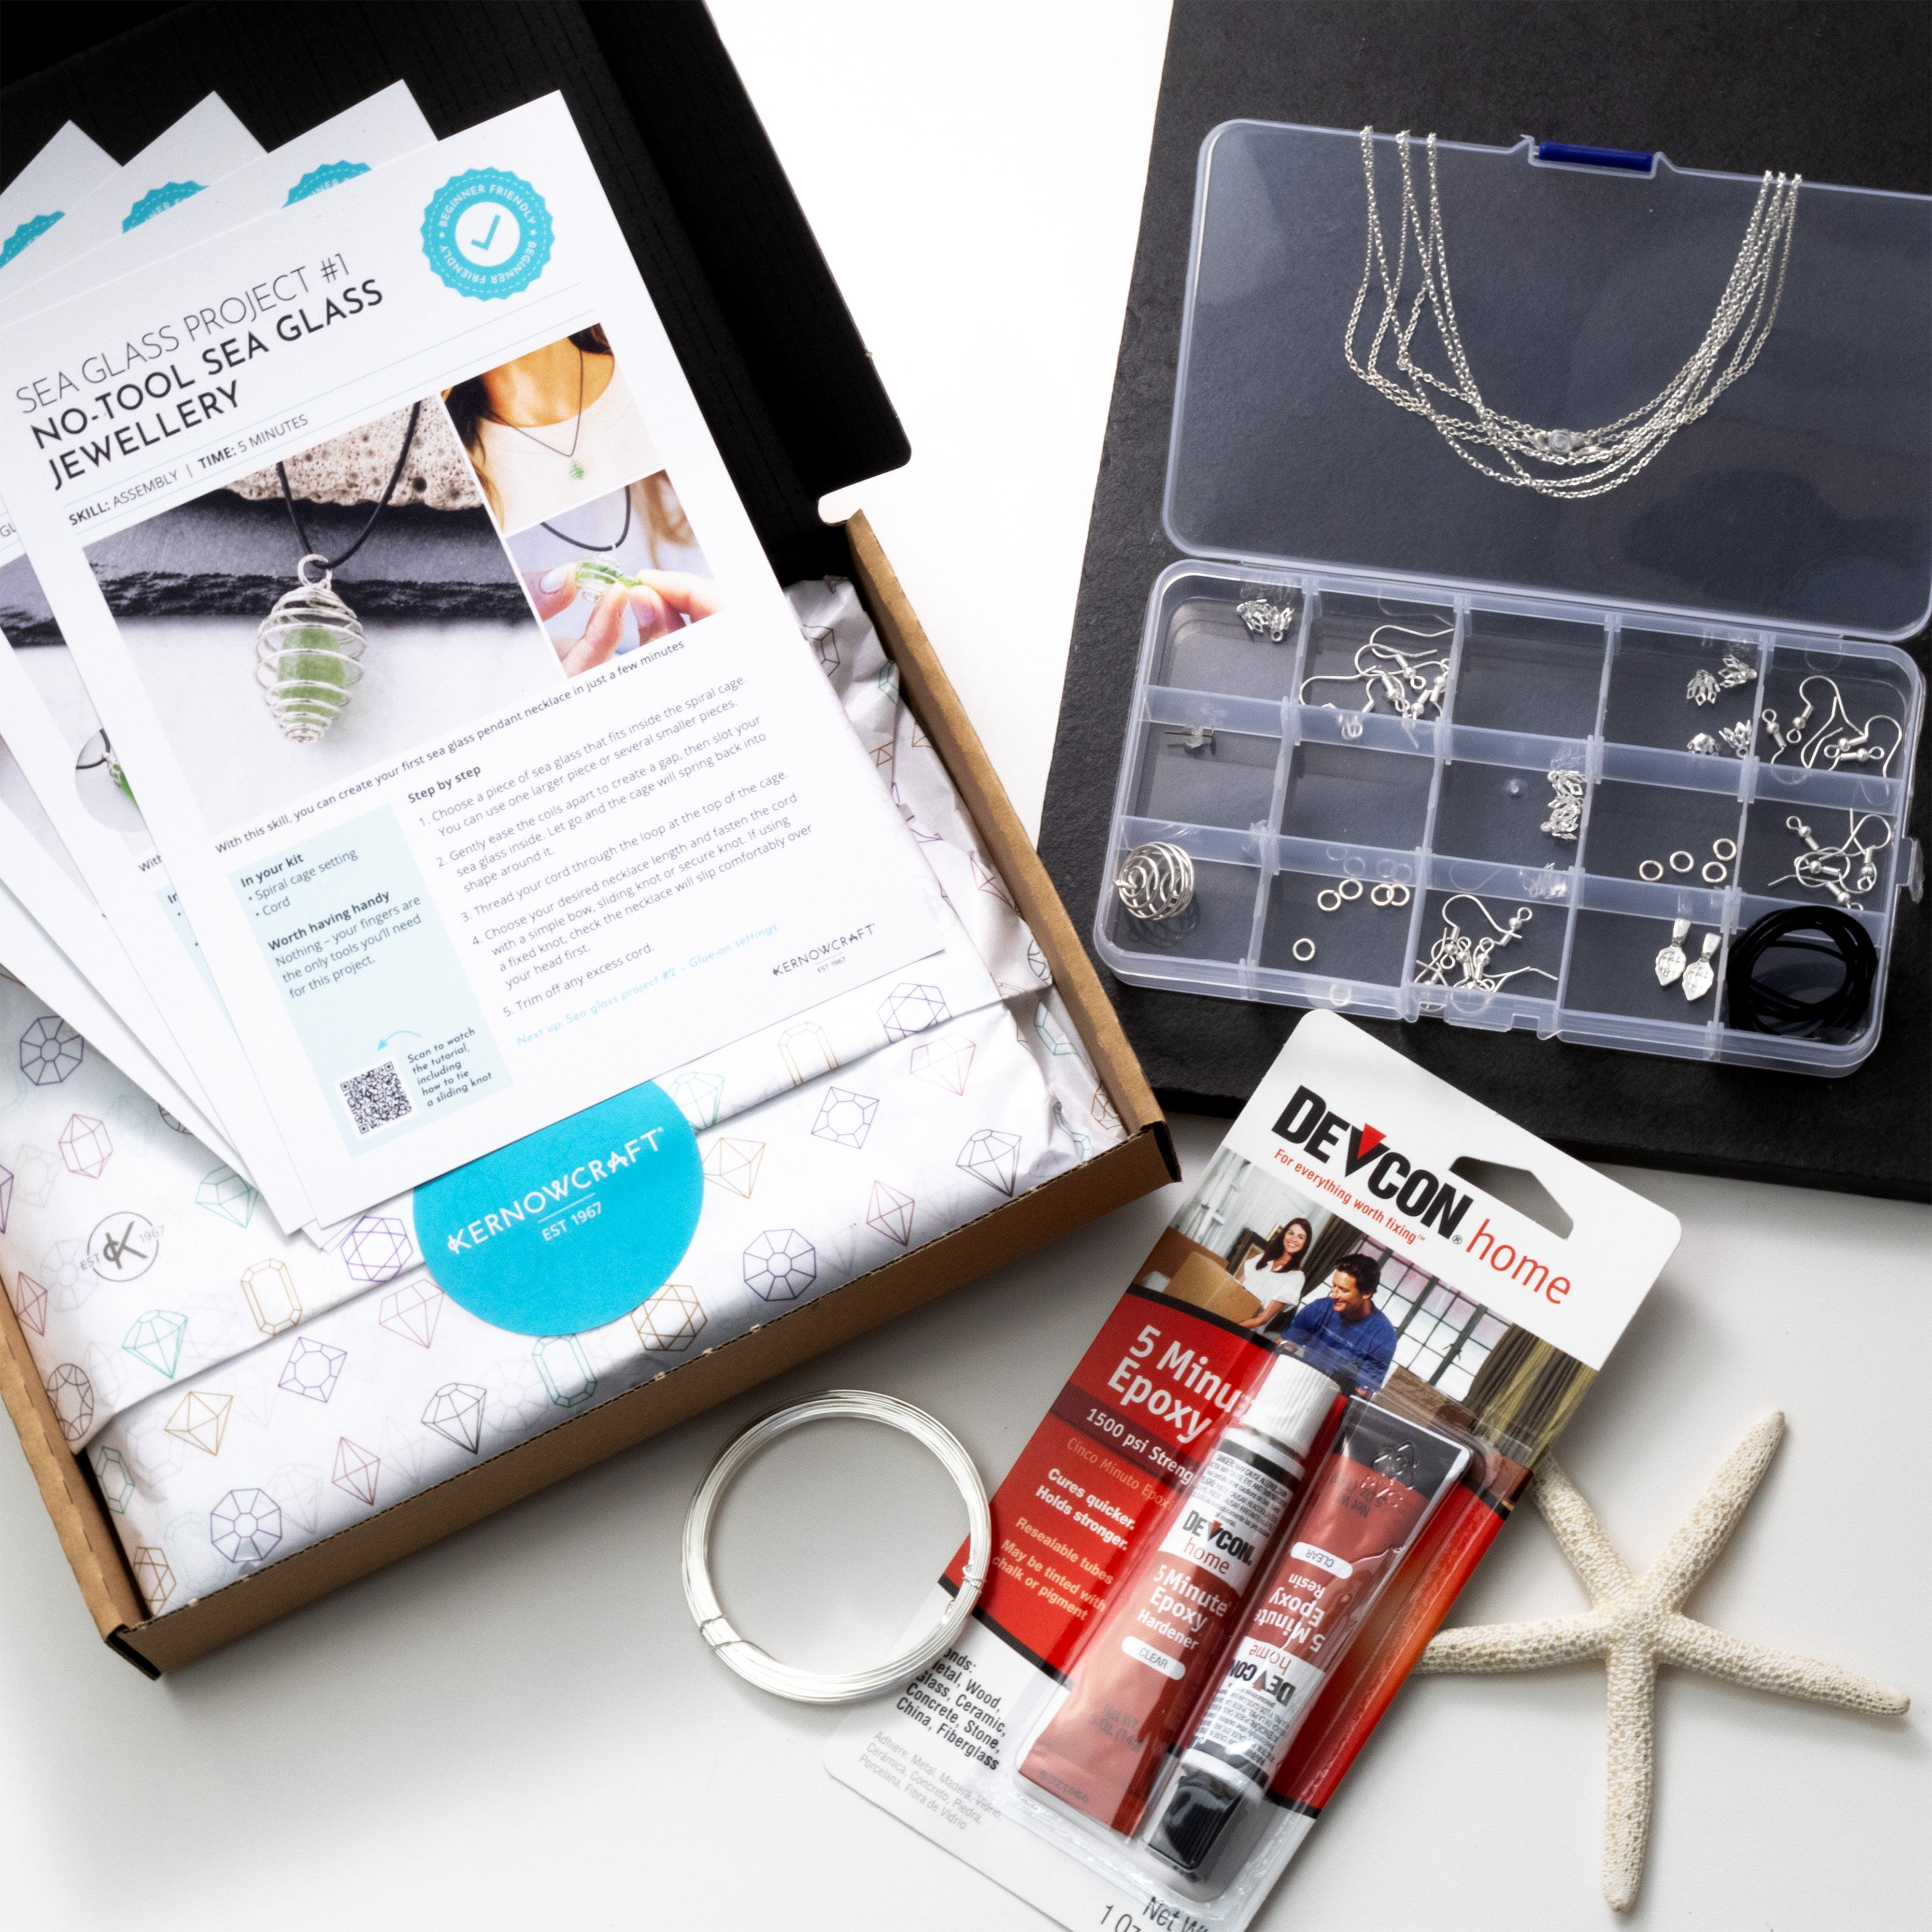
What you'll need to make a sliding knot bracelet
- Your choice of cord
- Your choice of large hole beads of charms for decoration
- A pair of scissors
Top tips for a prefect sliding knot …
The length of your cord needs to be around double the finished length of your bracelet or necklace. Any beads or charms need to be threaded on the cord before you tie the knots.
Follow Our Step By Step Photos On How To Create A Sliding Knot

Step 1
Cross the left cord over the right cord.

Step 2
Thread the left cord around and under so that it is coming back towards you.

Step 3
Threat the cord back over to create a loop.

Step 4
Repeat this process to create two loops – try to ensure your second loop is to the left of your first loop.

Step 5
Thread the end of the cord through the loops.

Step 6
Pull the cord so the loops close tight.

Step 7
Repeat this process with the other end of the cord.

Step 8
Ready to get started? Get your essential supplies for Sliding Knot Jewellery

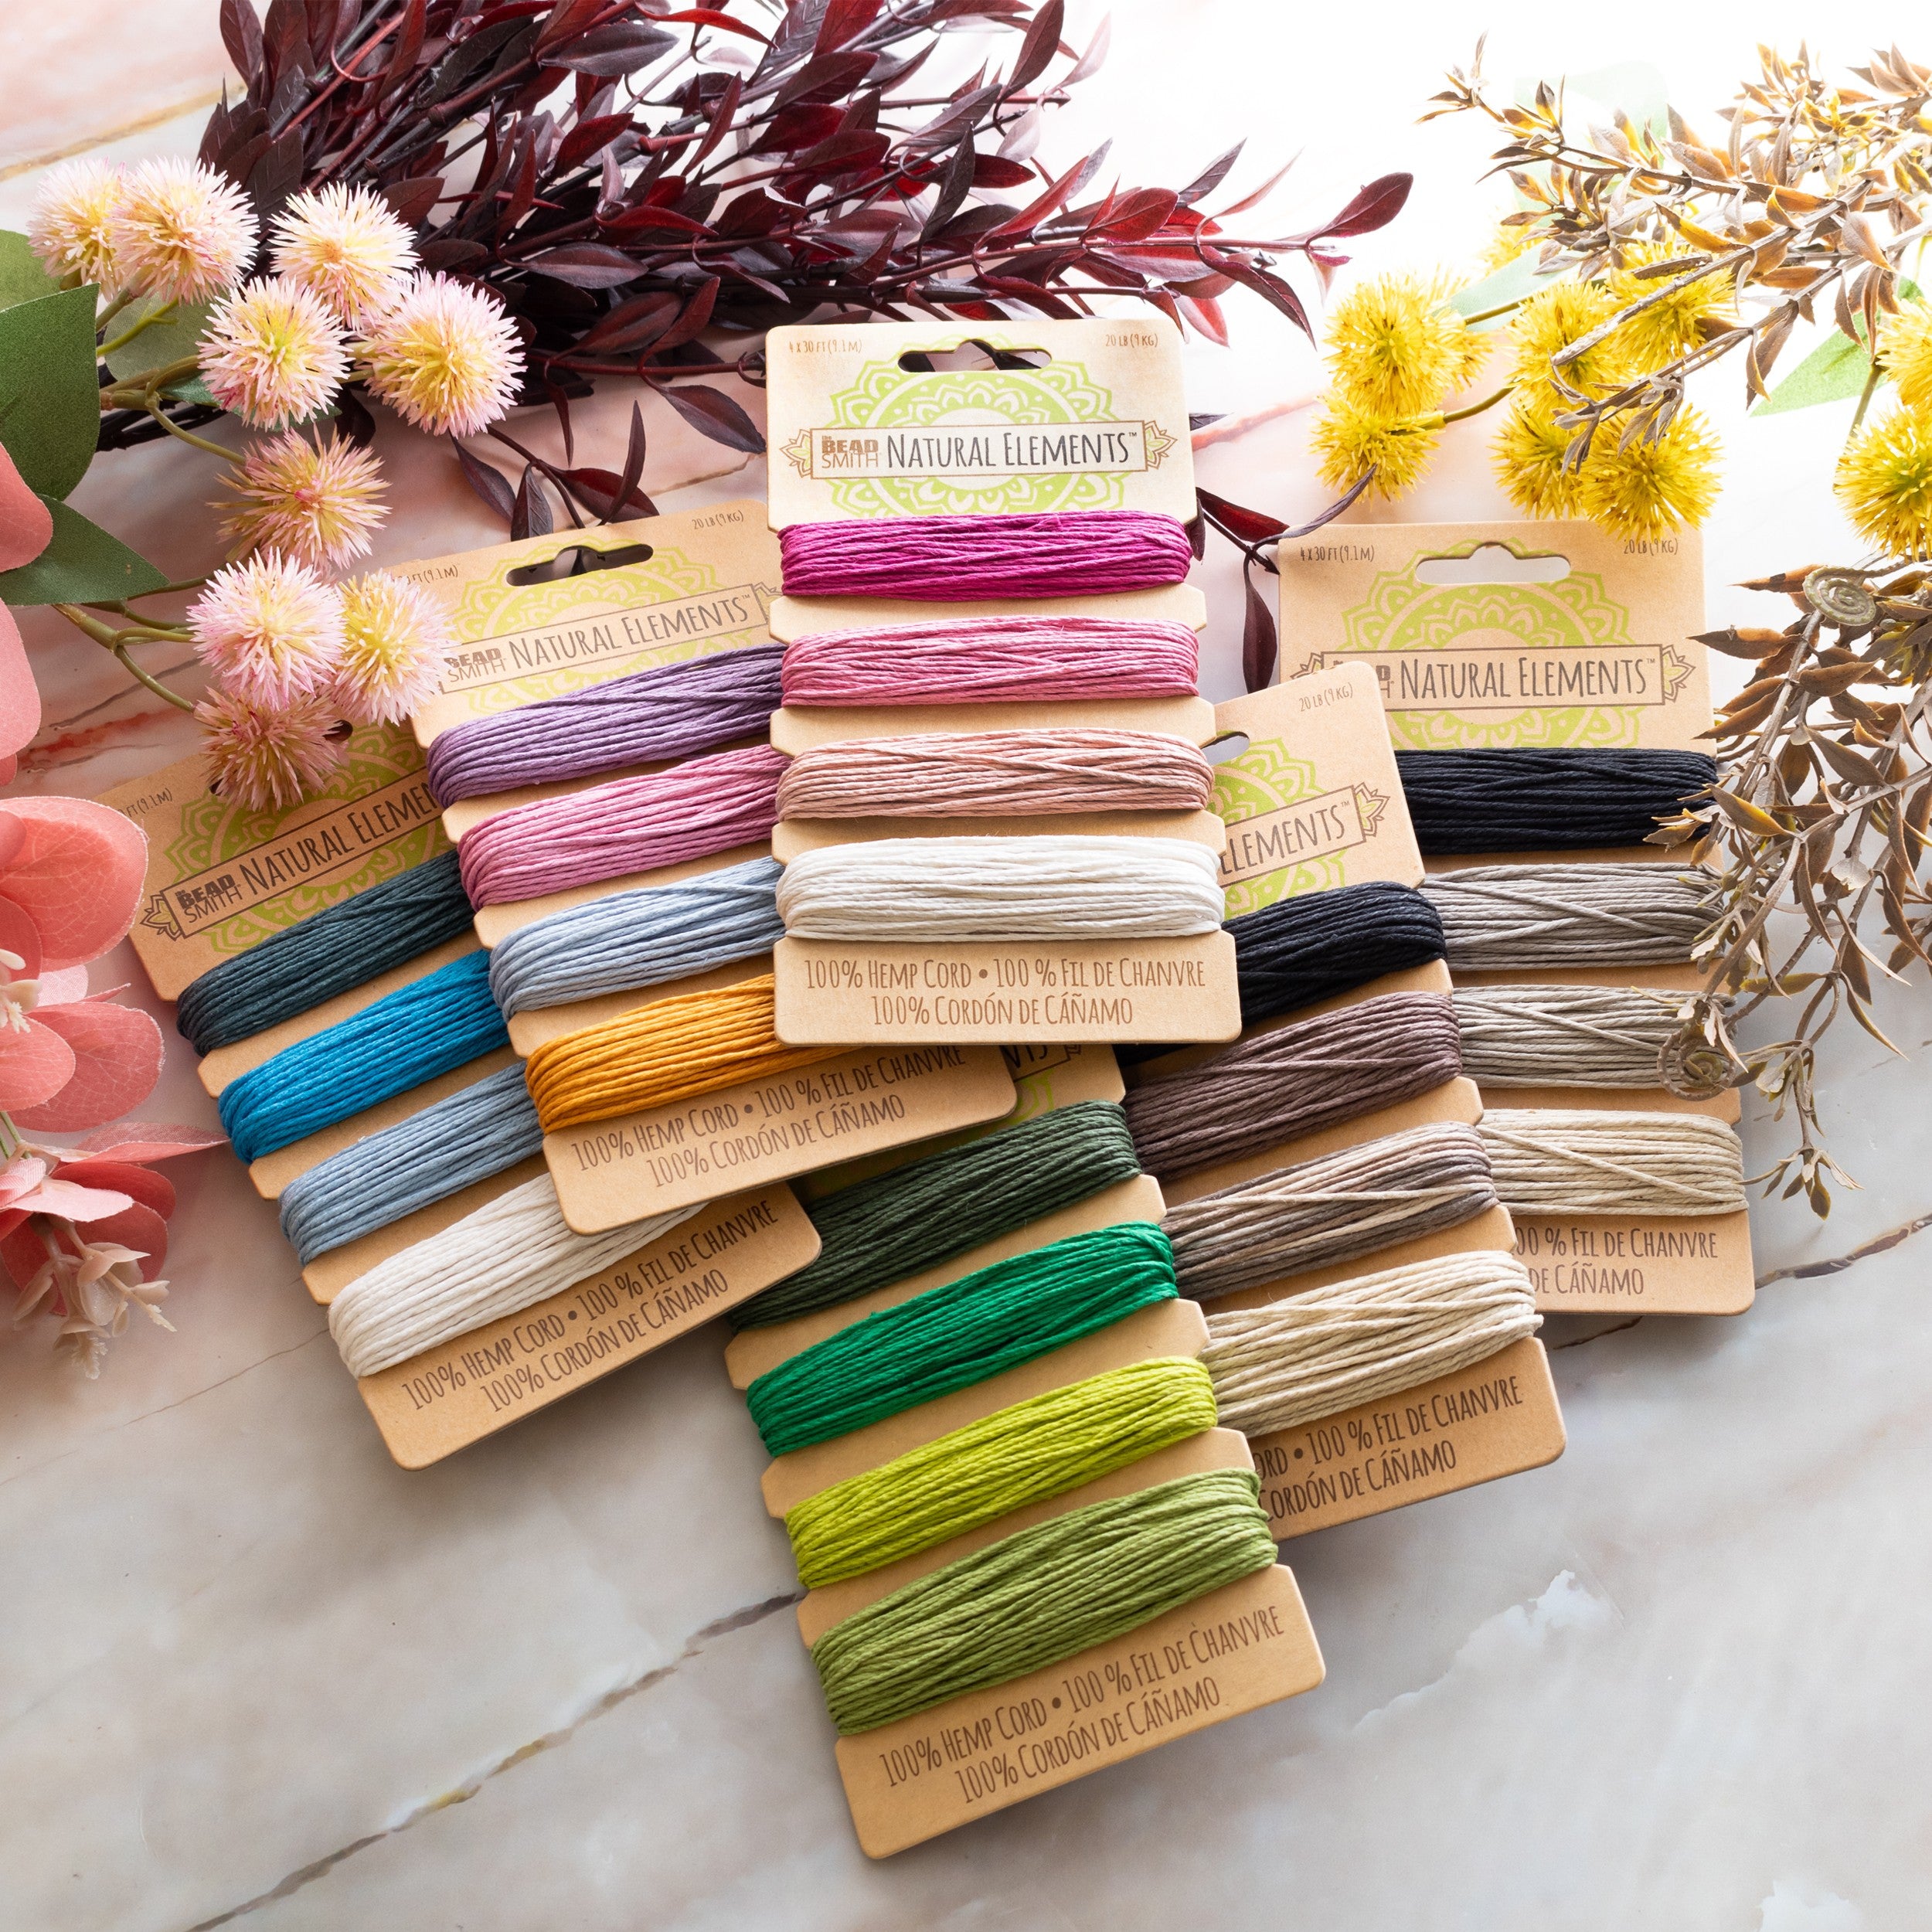
Choose Your Thread
At Kernowcraft, we have a beautiful and colourful range of threads including silk cords, hemp cord, cotton cord, suede cord to leather thonging!

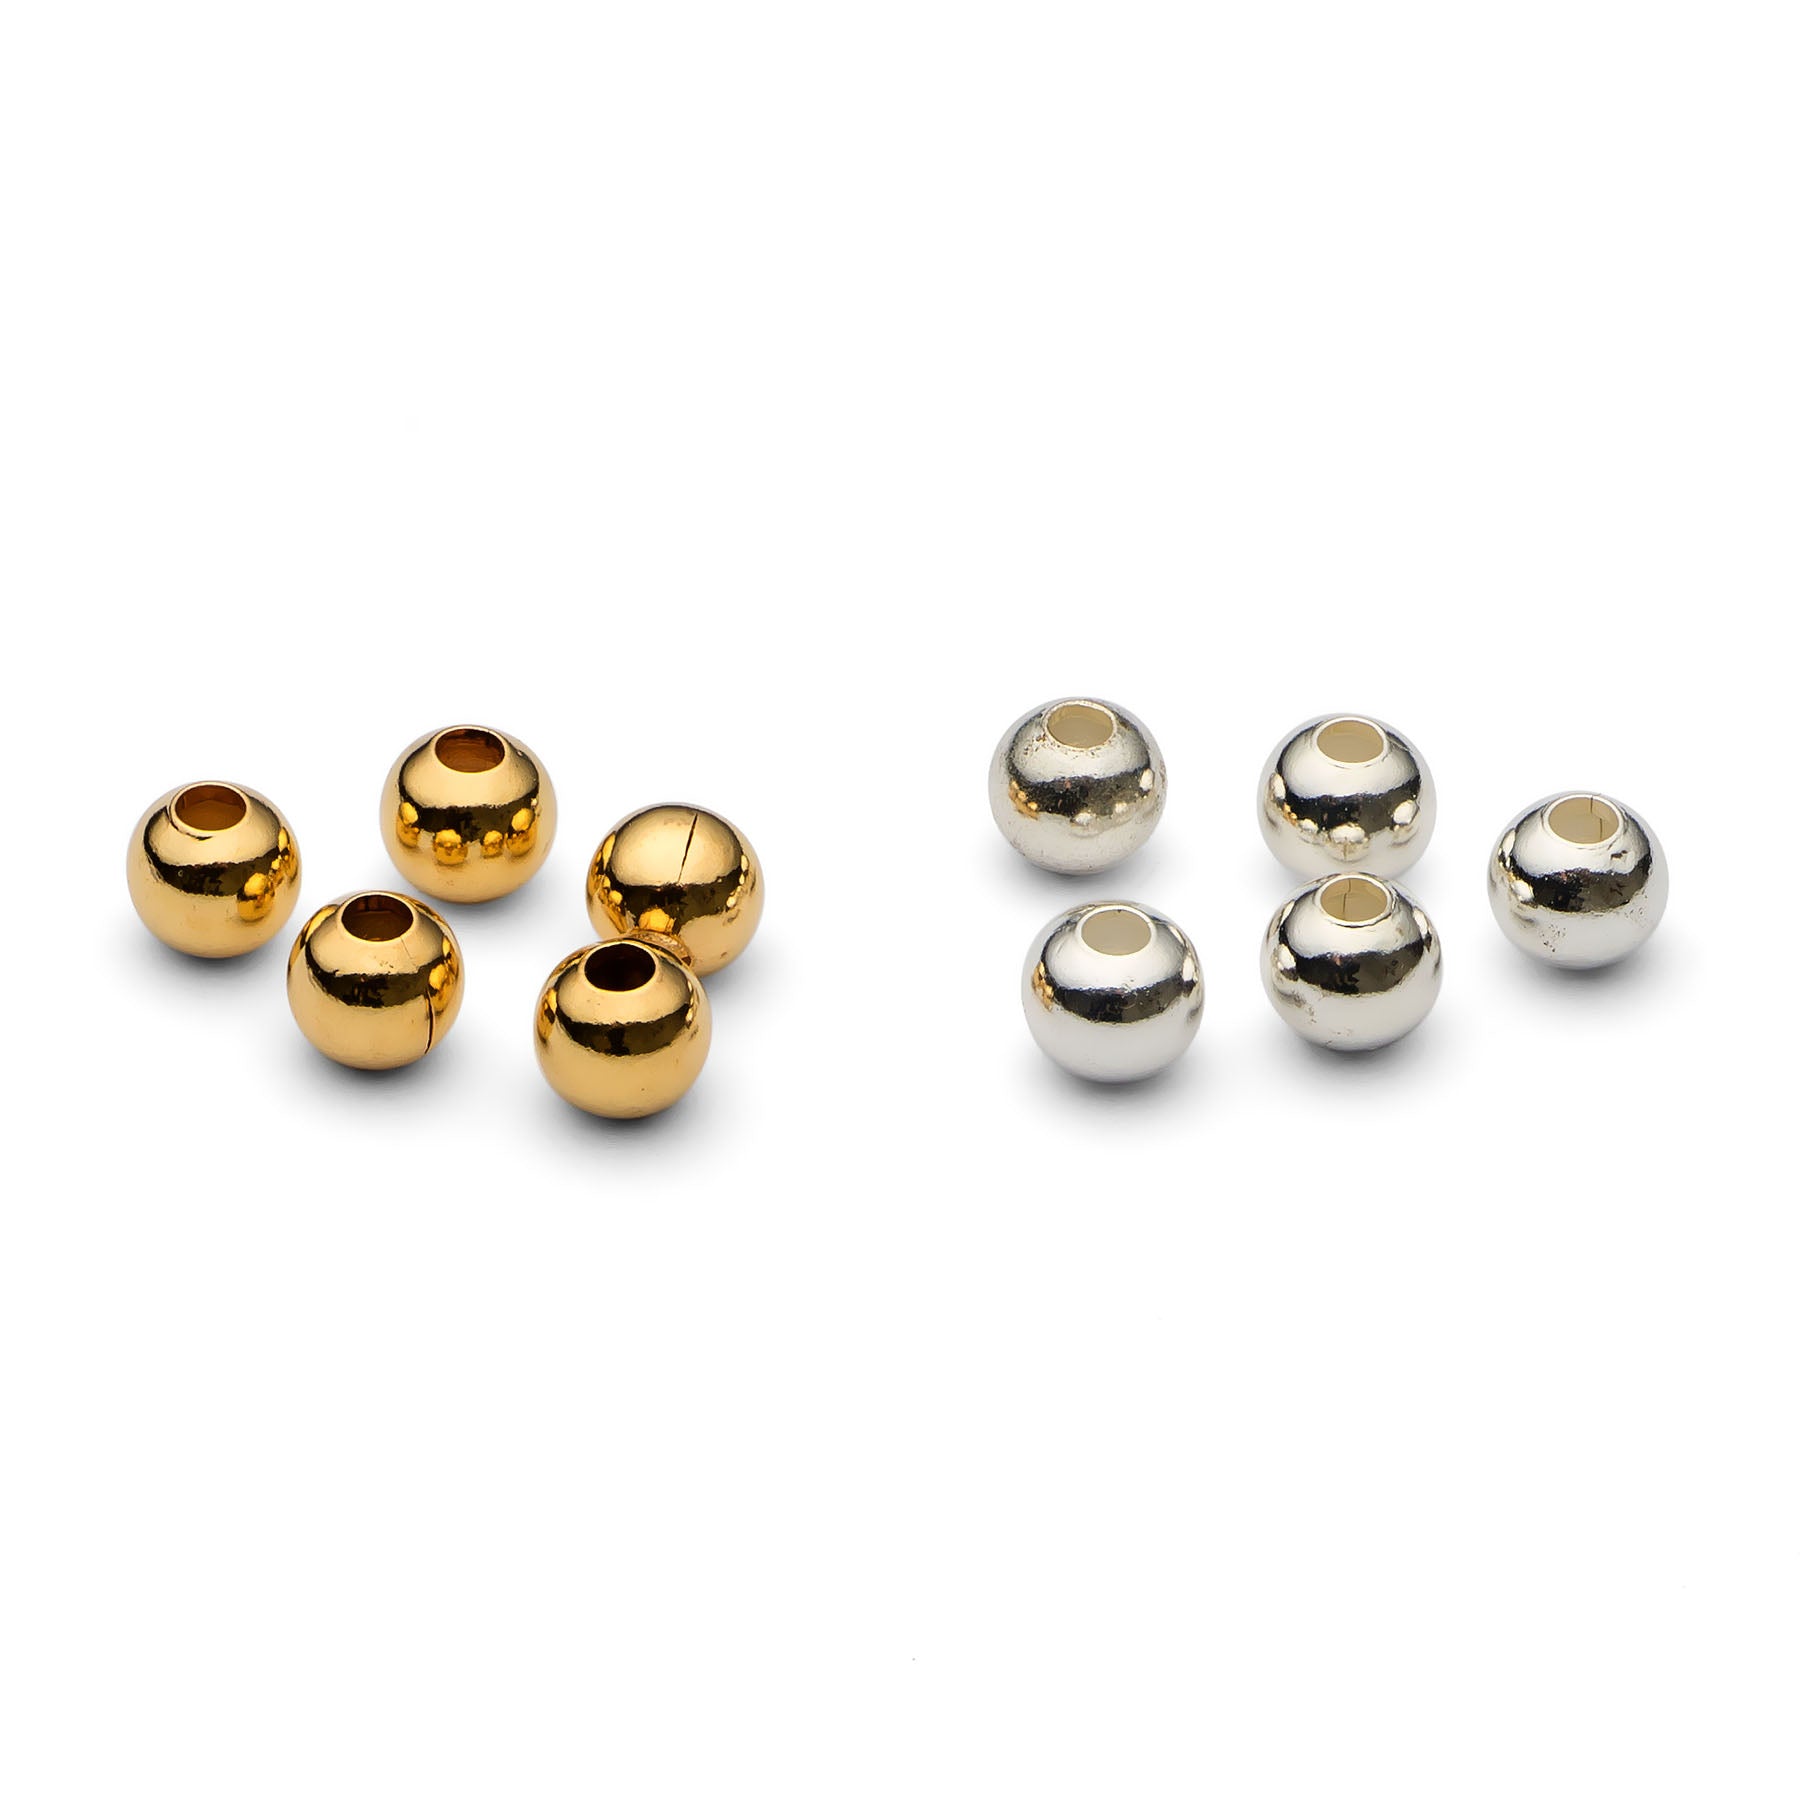
Explore Large Holed Beads
Combine your sliding knot bracelet with large hole gemstone and metal beads for interesting and colourful designs. Perfect for adding to charm bracelets as well as incorporating on to thicker cords and wires for your beading designs and macrame.

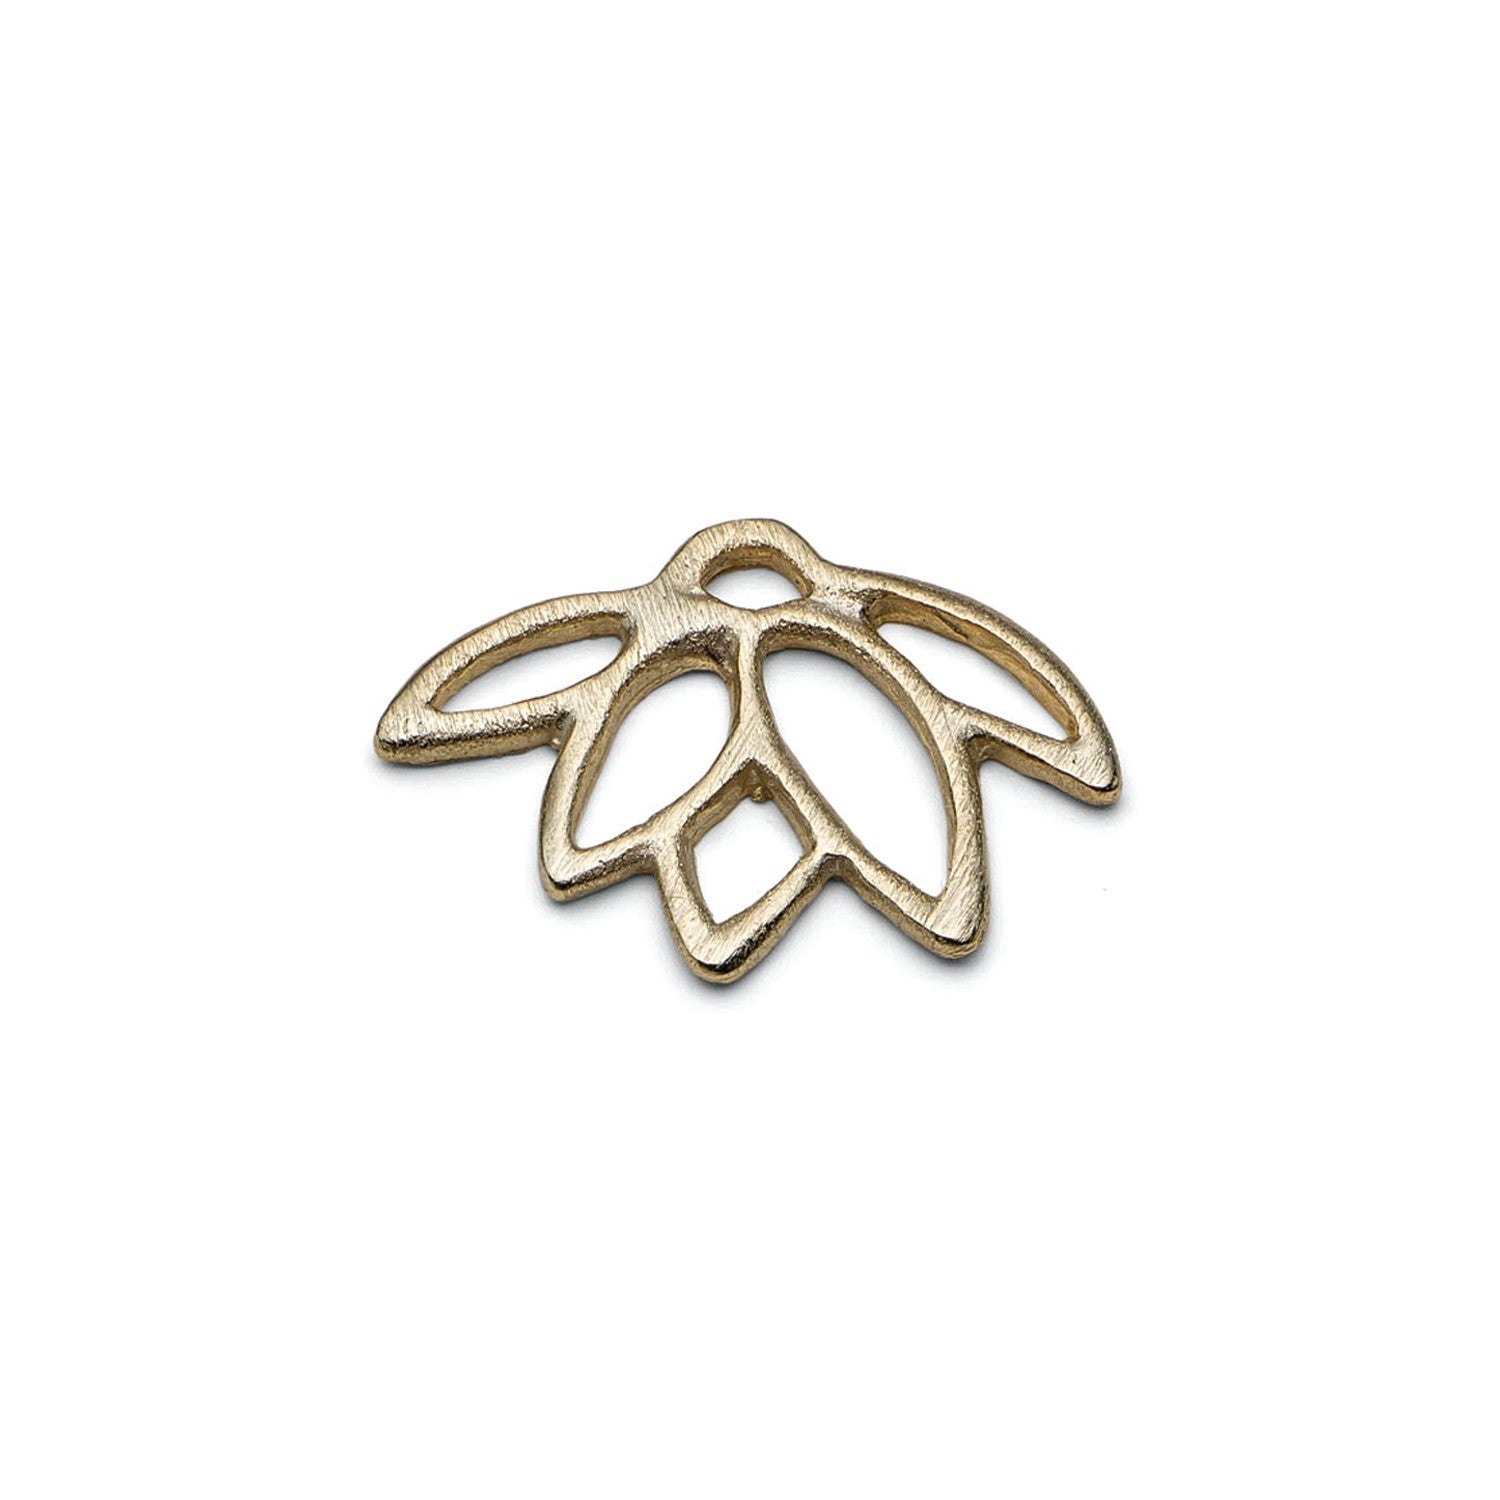
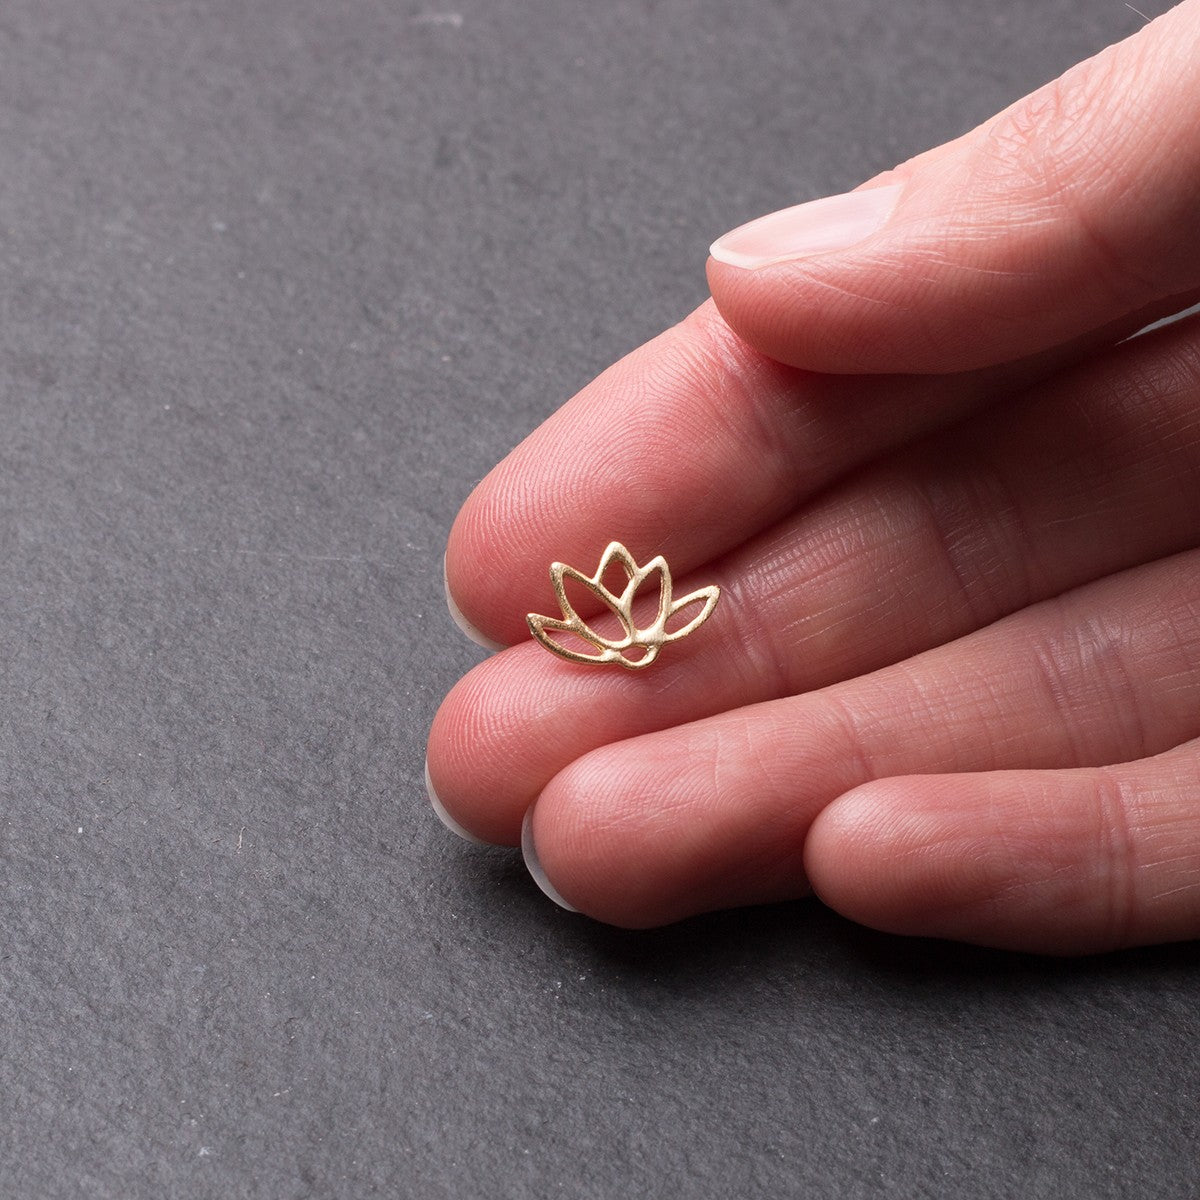
Charms
Explore our range of beautiful charms for jewellery making in a range of themes from nature, romance to geometric shapes. Great for adding to earrings, necklaces and bracelets.

Keep Reading
'The Basics of Bead Stringing: A Complete Illustrated Approach for Beginner and Advanced Designers' by Debbie Kanan is a brilliant guide to all the techniques you are likely to need for beading and stringing.
The products used in this project are suggestions to inspire you. Products used were compatible at the time of making but do be aware that stocks can vary, so do use your own judgement as to the compatibility of each item when making.
Also in this section:
- Macrame Bead Bracelet Tutorial
- Your Guide To Bead Stringing Materials For Jewellery Making
- The Essential Tools For Beading
- Beading: How To Start Jewellery Making With Lyndsey
- Answering Commonly Asked Beading Questions
- Types Of Beads For Jewellery Making
- The Difference Between Half Drilled, Top Drilled And Head Drilled Beads
- How To Use Top Drilled Beads
- Jewellery Making With Half Drilled Beads
- What Are Briolette Beads & How To Use Them
- Stringing Beads With Small Holes
- How To Make Your Bead Holes Bigger With A Bead Reamer
- Types Of Clasps For Jewellery Making
- 8 Reasons You Need A Bead Board
- How To Make A Sliding Knot
- Advice On Knotting Elastic Stretch Magic Thread
- How To Use Flex-Rite Jewellery Wire
- How To Use Crimps
- How To Make A Silkon Thread Briolette Necklace
- How To Use Beading Chain
- 4 Ways To Use Gemstone Donuts
- 4 Gemstone Chip Bead Project Ideas
- How To Use End Caps For Jewellery Making
- How To Make Earwires With Gemstone Beads
- How To Make A Memory Wire Bracelet
- How To Make Gemstone Bead Earrings
- How To Make A Bead Bar Necklace
- How To Make Beaded Bracelet With Flex-Rite Wire & Wire Guardians
- DIY Gemstone Friendship Bracelets
- How To Make A Beaded Bracelet With Knot Covers
- How To Make Polymer Clay Earrings
- How To Make Felt Jewellery
- DIY Mini Tassels & Jewellery Projects
Have a Question?
If you have any questions, feel free to get in touch with our friendly team who will be more than happy to give you advice over email or on the phone.You can learn more and find inspiration by visiting our Jewellery Making Tutorials, Jewellery Making Kits and YouTube Channel. Don't forget to follow us on social media and tag us in your designs on Instagram & Facebook, we would love to see!
