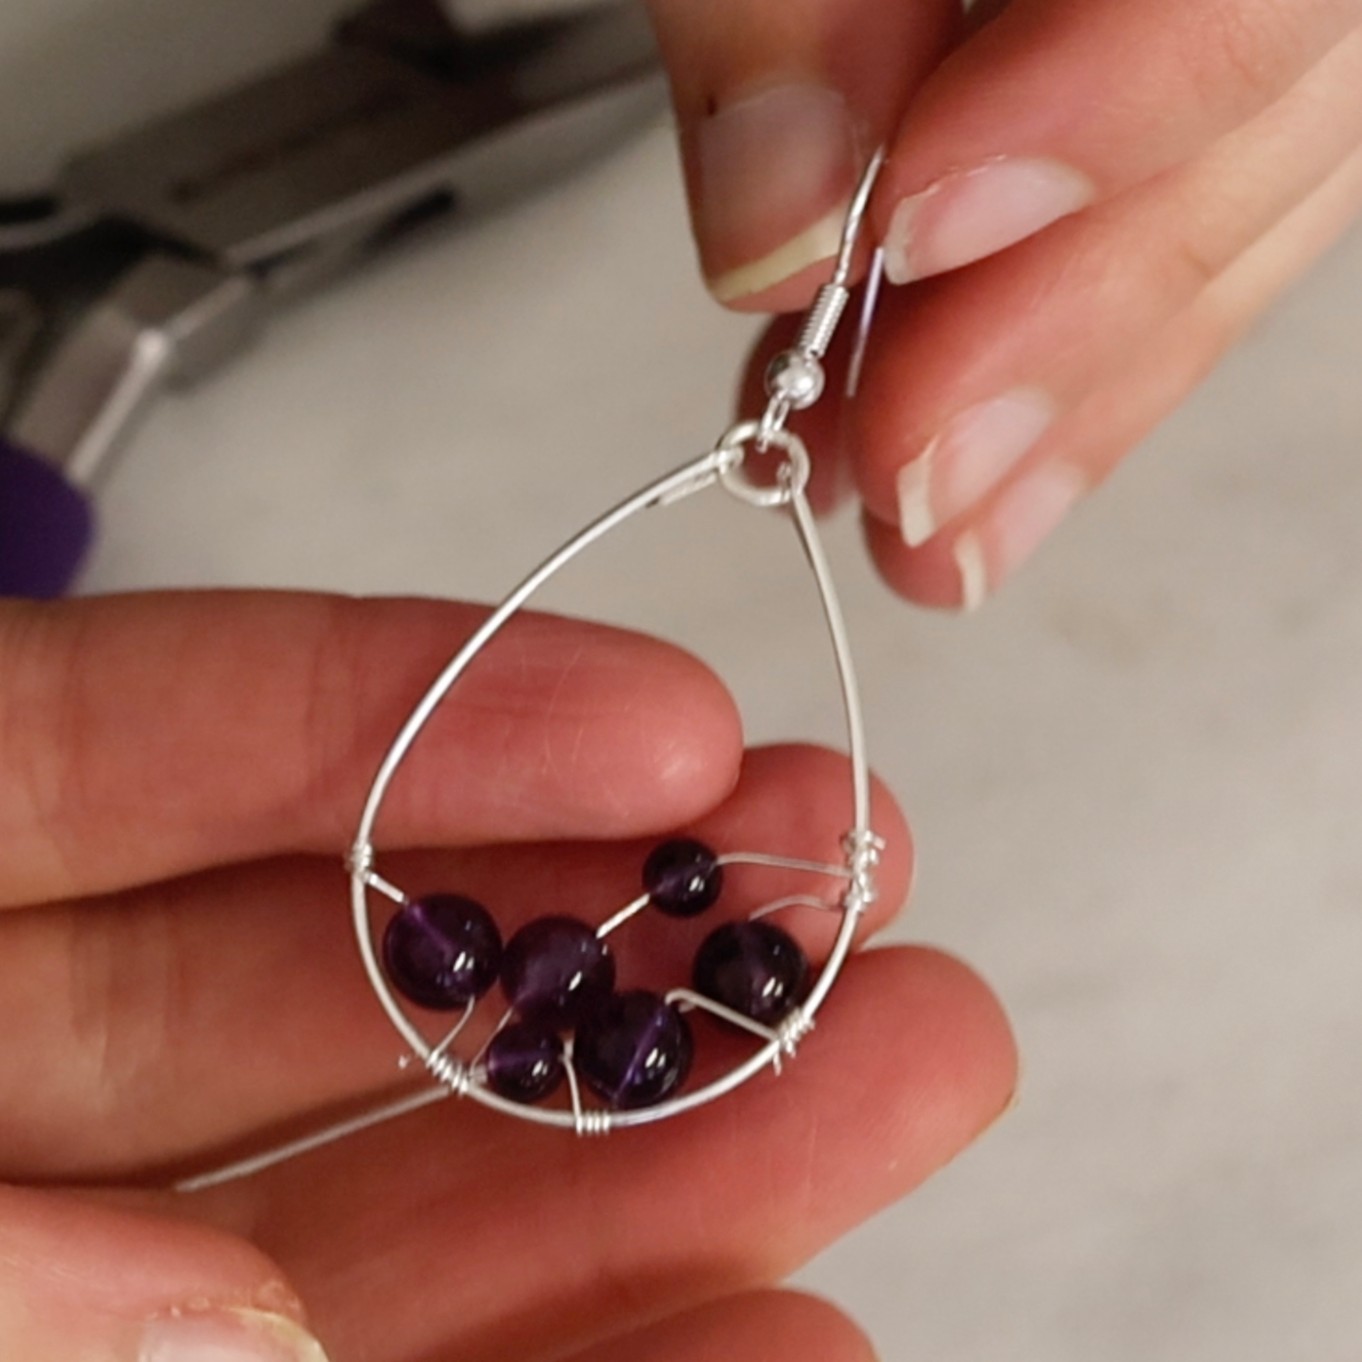
How To Make Your Own Teardrop Earrings
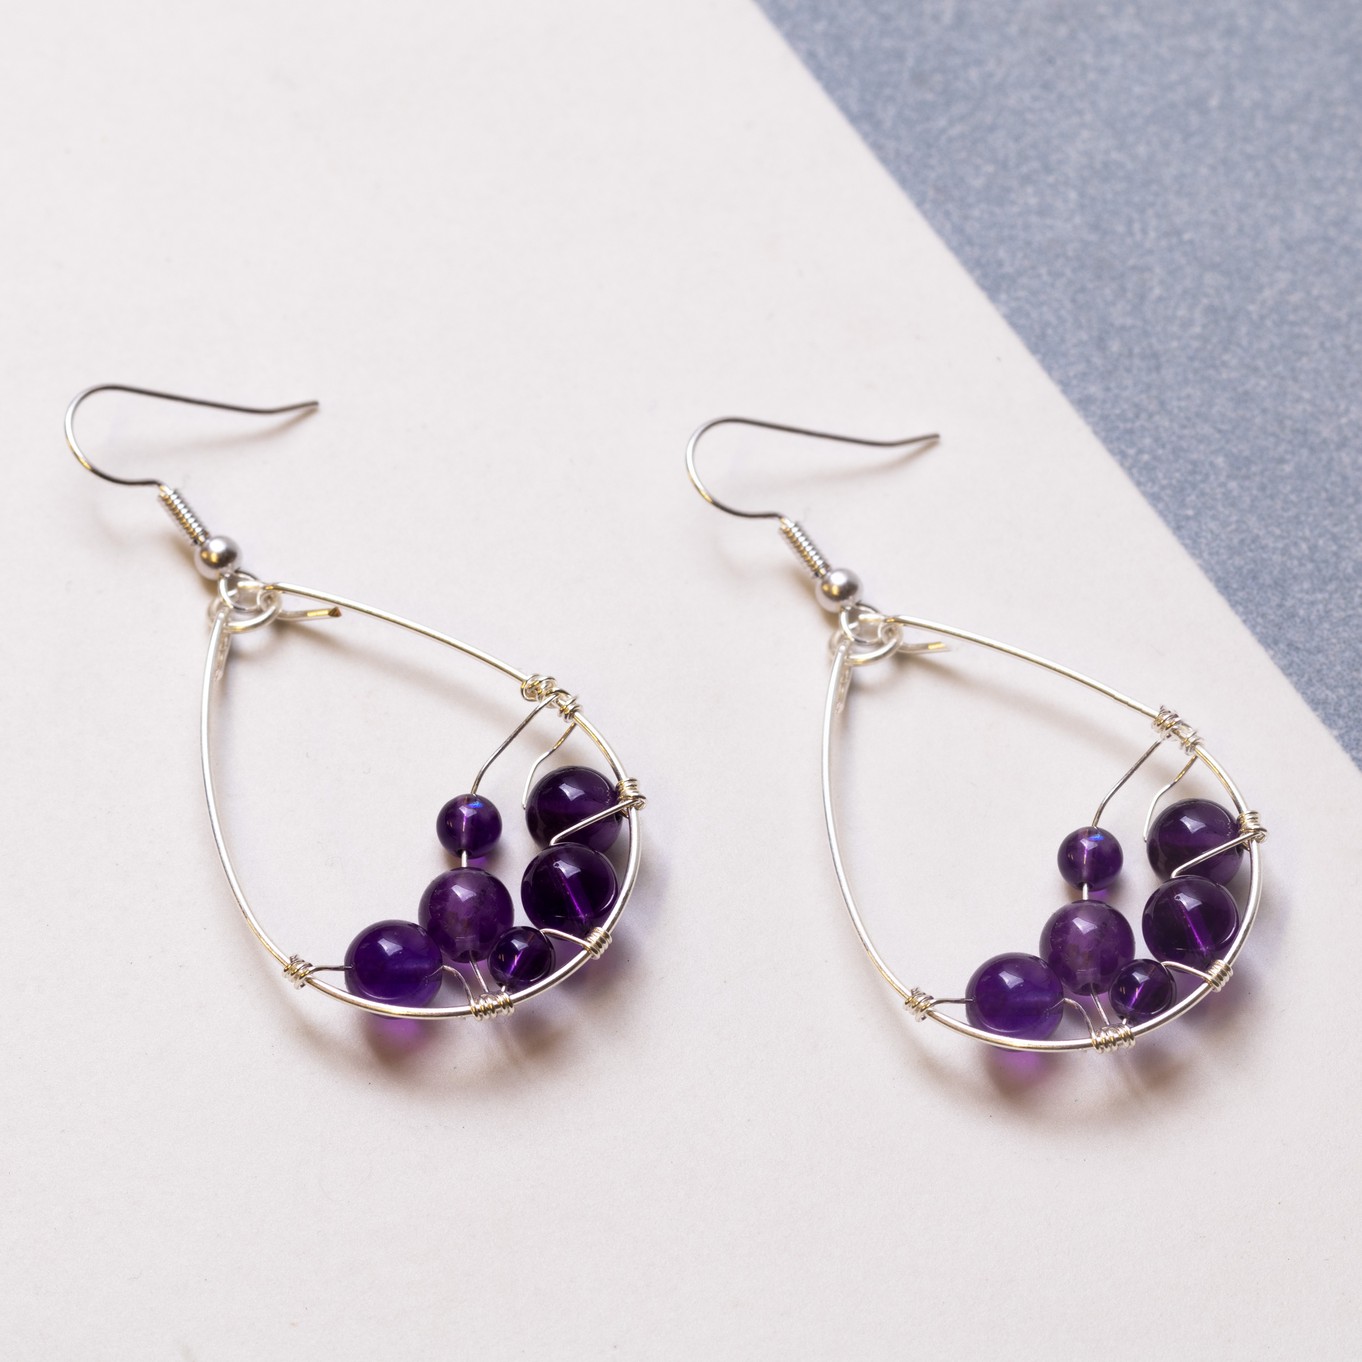
This project can be made using your favourite gemstone beads and your choice of wire, whether that's silver, gold, brass or copper.
We've made our teardrop bead earrings using 4mm and 6mm round amthyst beads.
To make this design personalised, we chose to use birthstone gem beads.
Follow along with our step by step process below and buy all the tools and supplies you need online to get making. Please share and tag us in your teardrop earring designs over on Instagram and Facebook.
Recommended Tools & Supplies
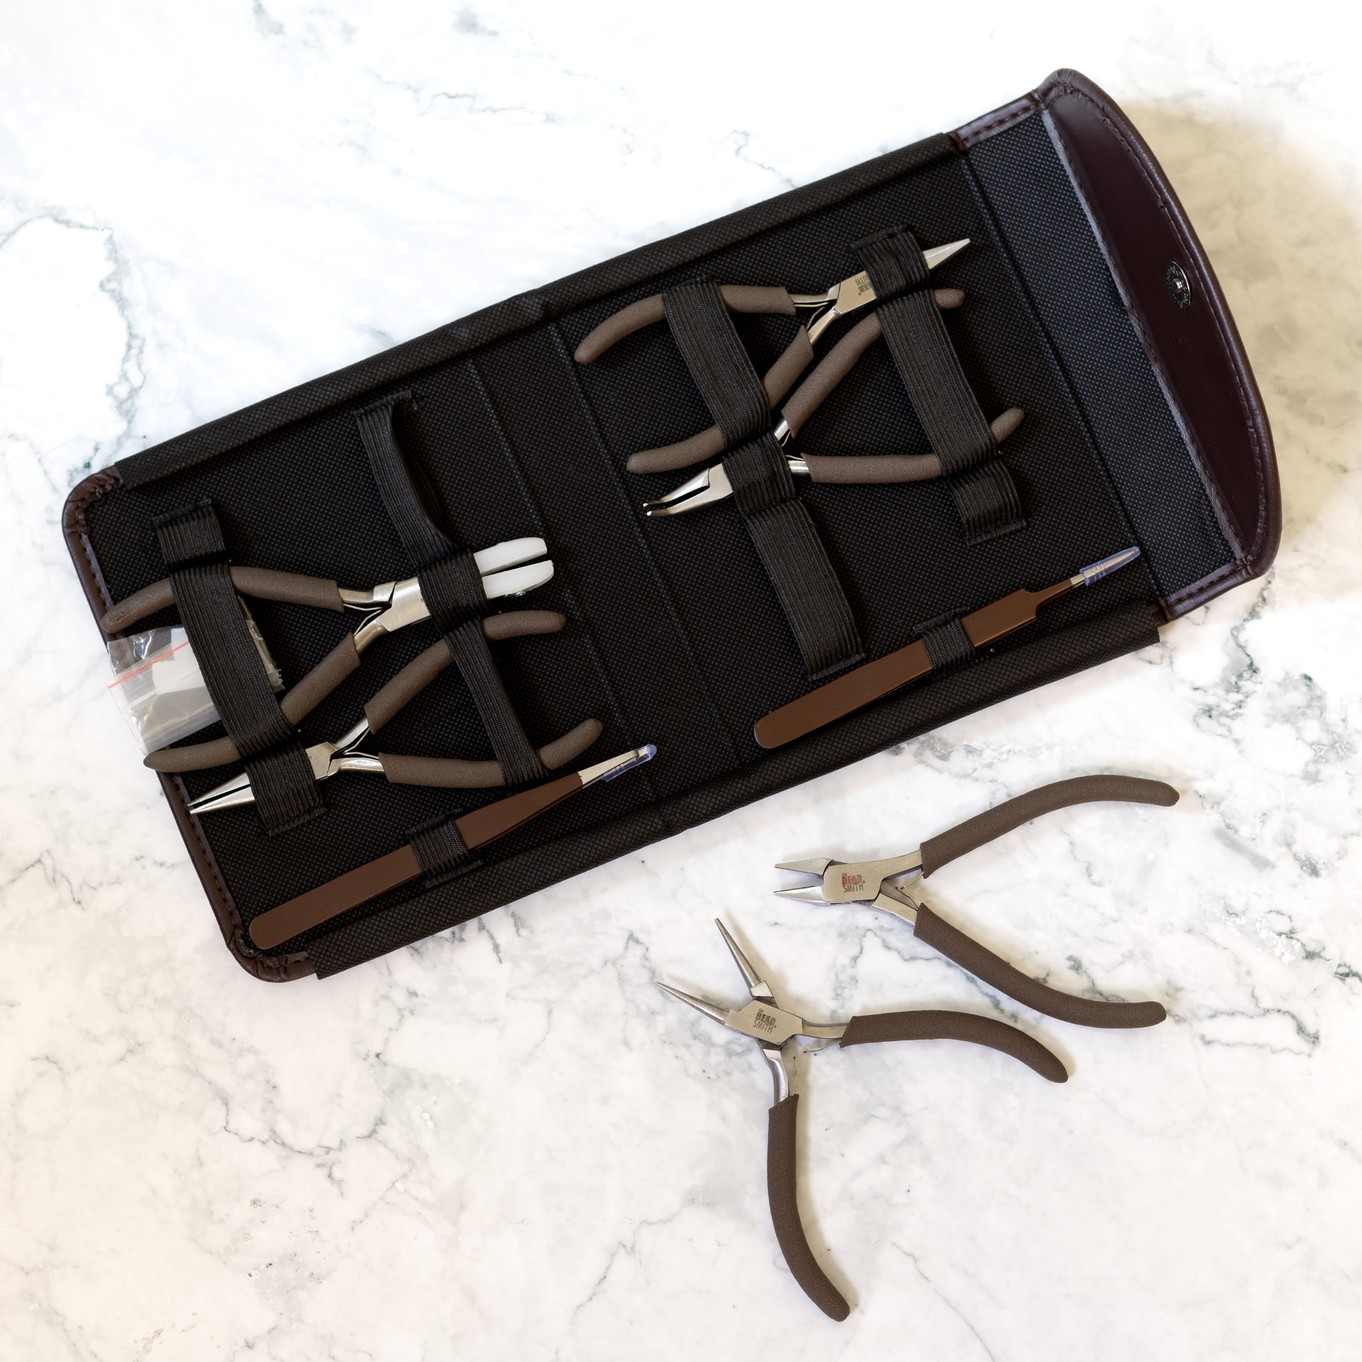
- Flat nose pliers
- Round nose pliers
- Wire cutters
- Snipe nose pliers
- Wheatsheaf Mandrel (if you don't have one you could use a large cotton reel or even a lip balm pot!)
- 2 x 15cm of 0.8mm wire
- 2 x 30cm of 0.3mm wire
- Gemstone beads - always check your chosen beads fit the wire comfortably
- 5mm jump rings
- Ready made earwires
- File (optional for a softer, cleaner finish)
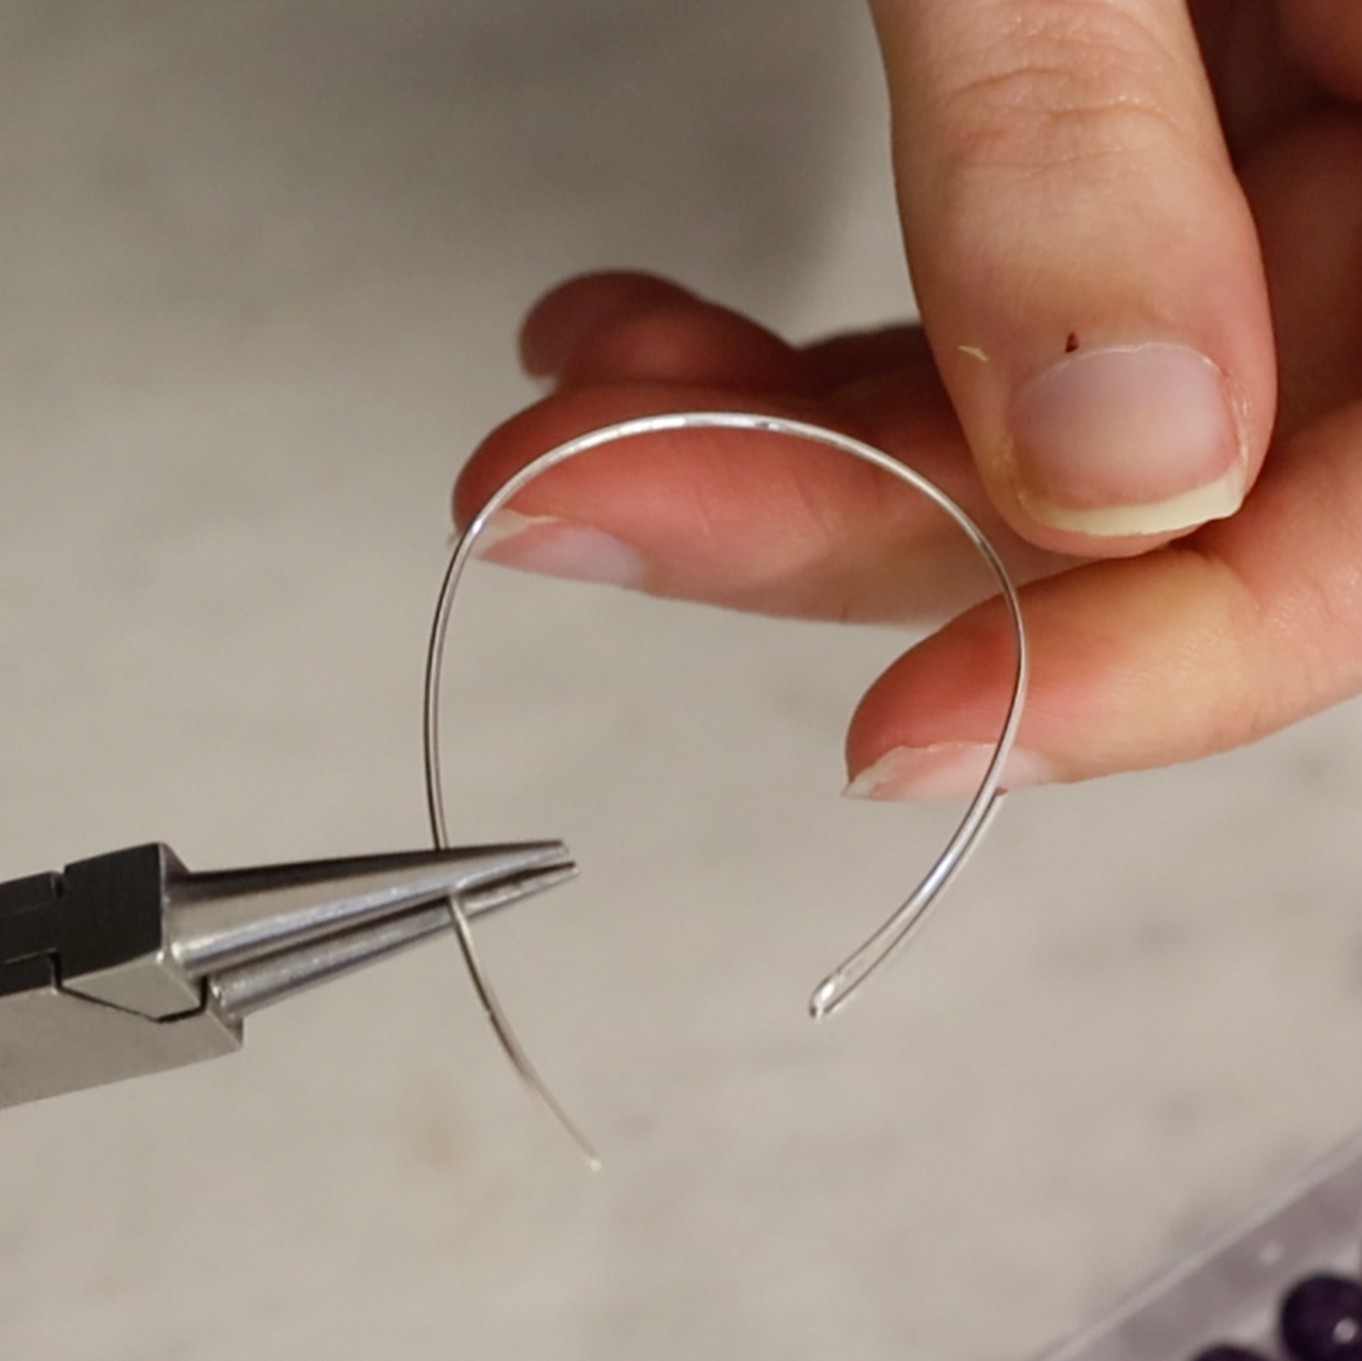
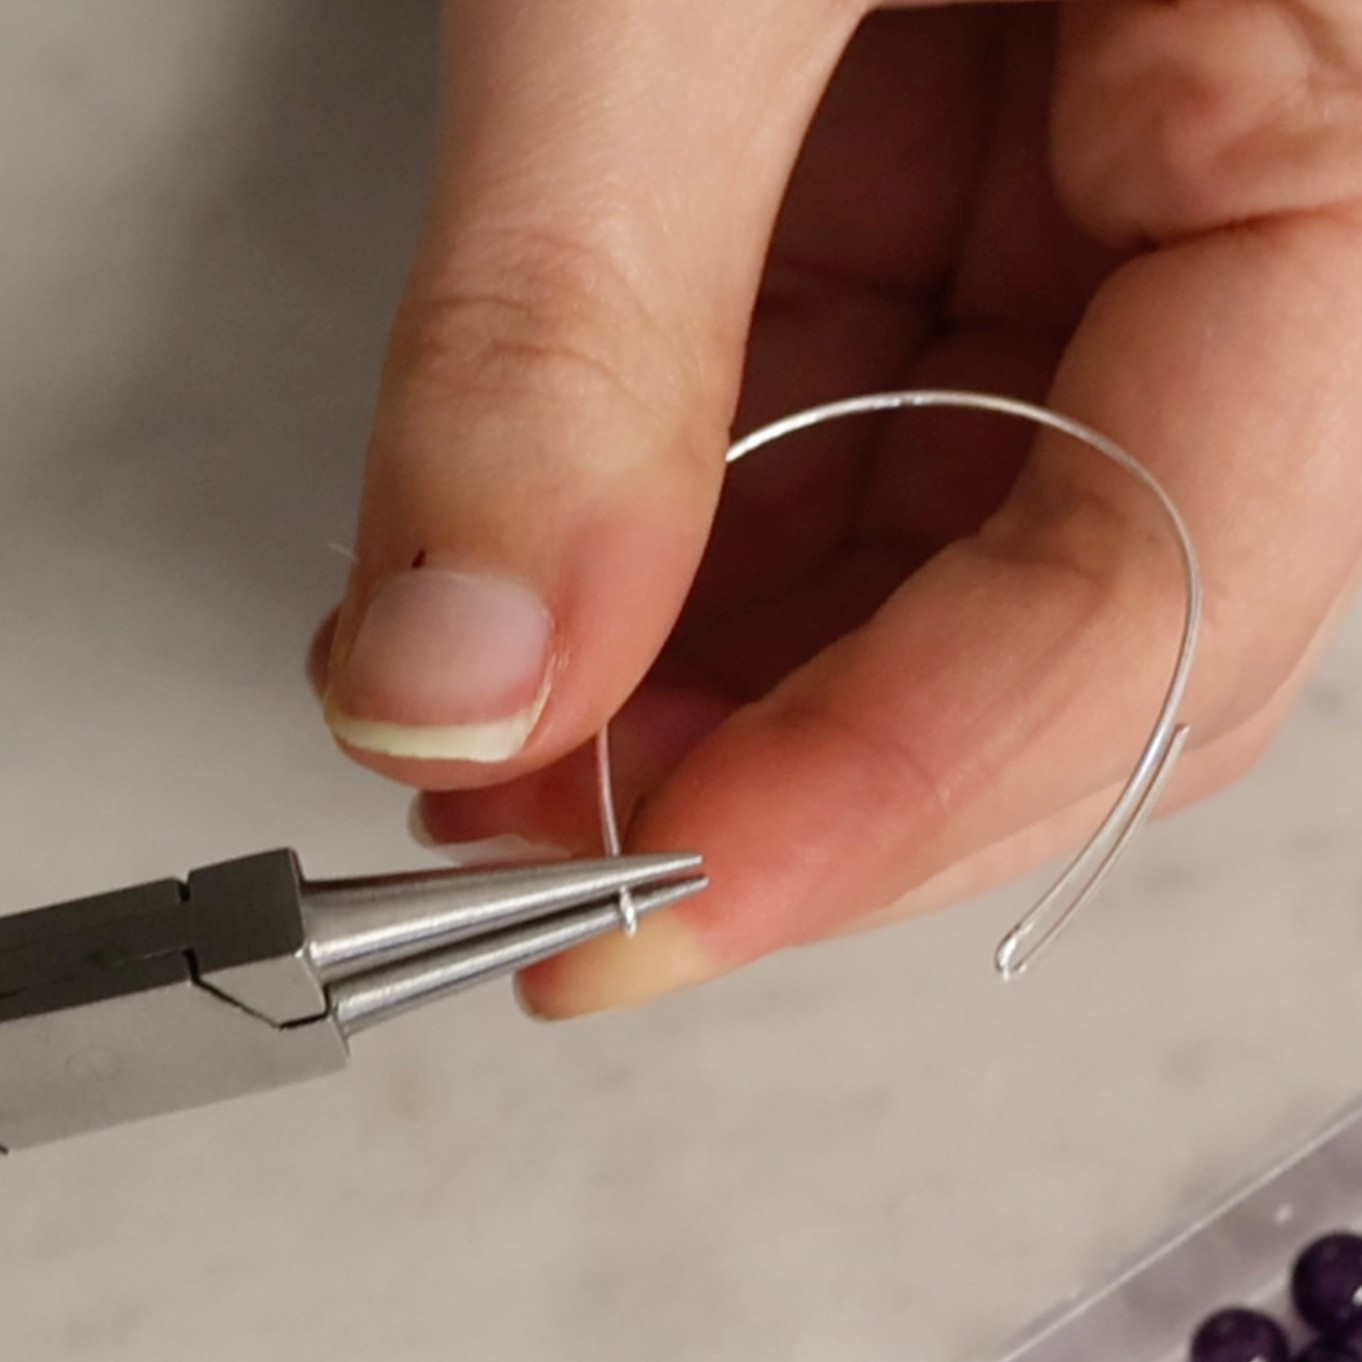
1. Using one of your 15cm lengths of 0.8mm wire, wrap around the wheatsheaf mandrel to create a smooth curve for the base of your teardrop earring.
Bend the ends of the wire with a pair of snipe nose pliers.
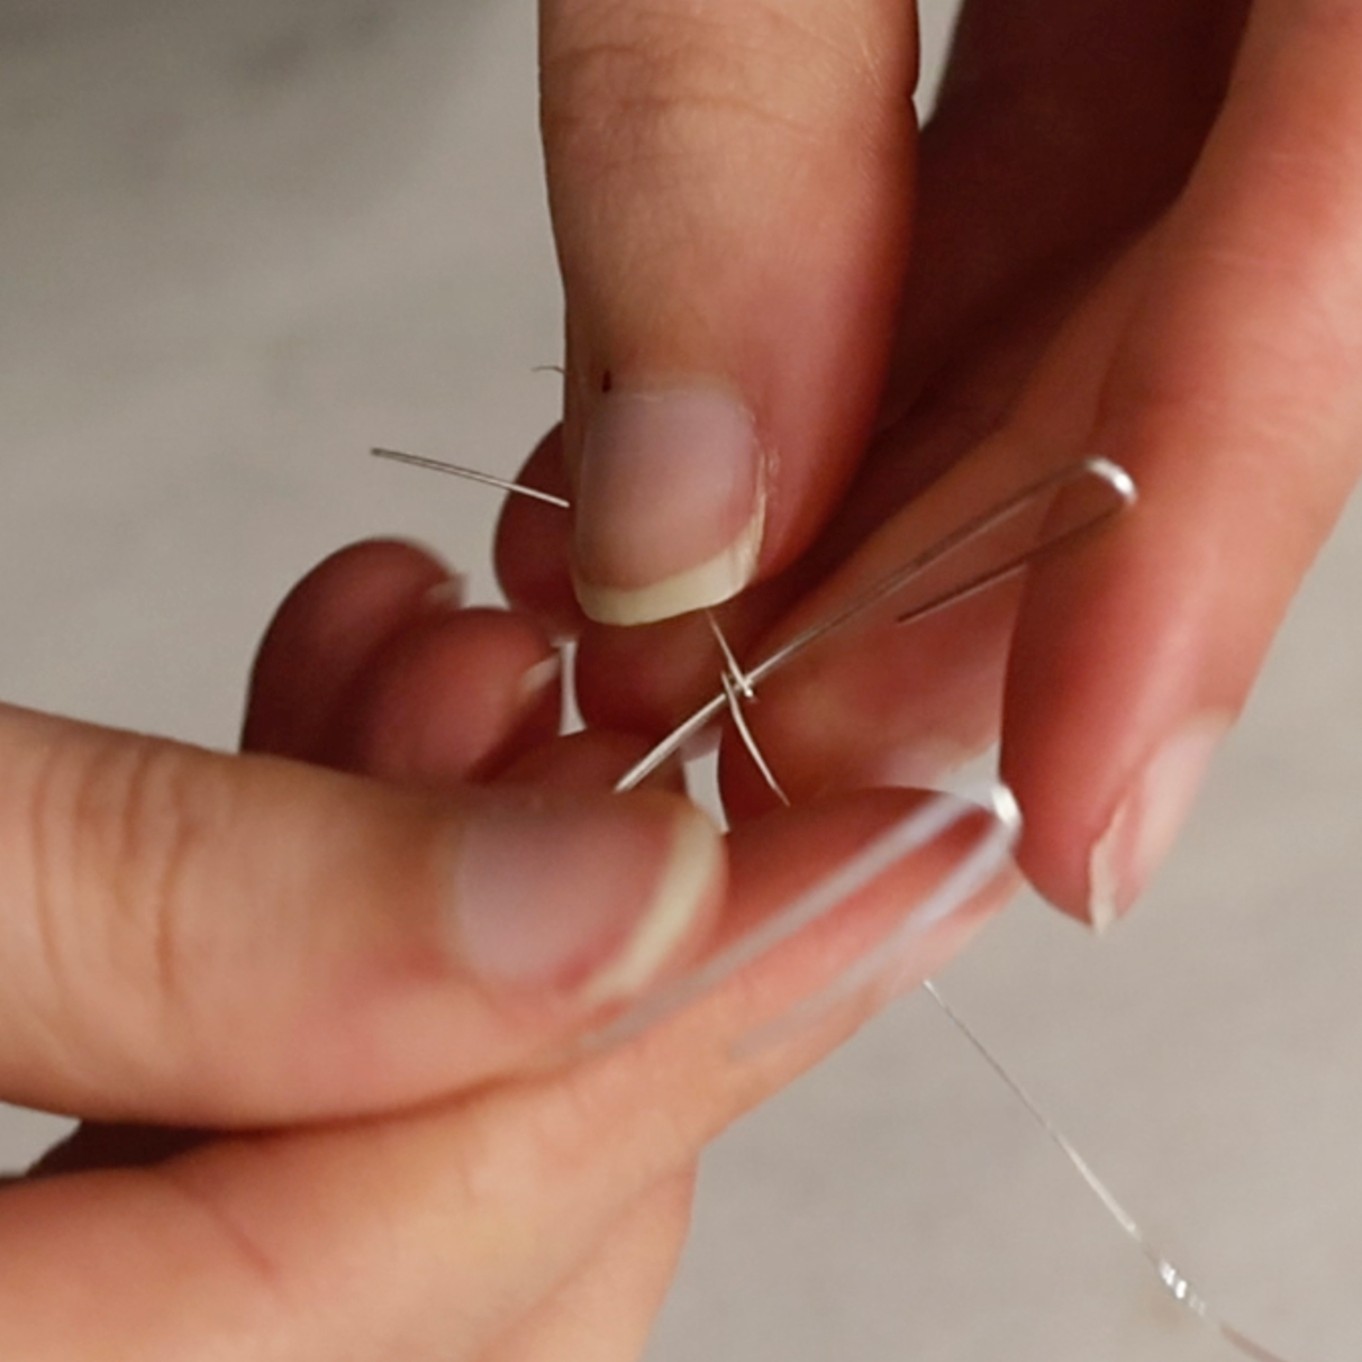
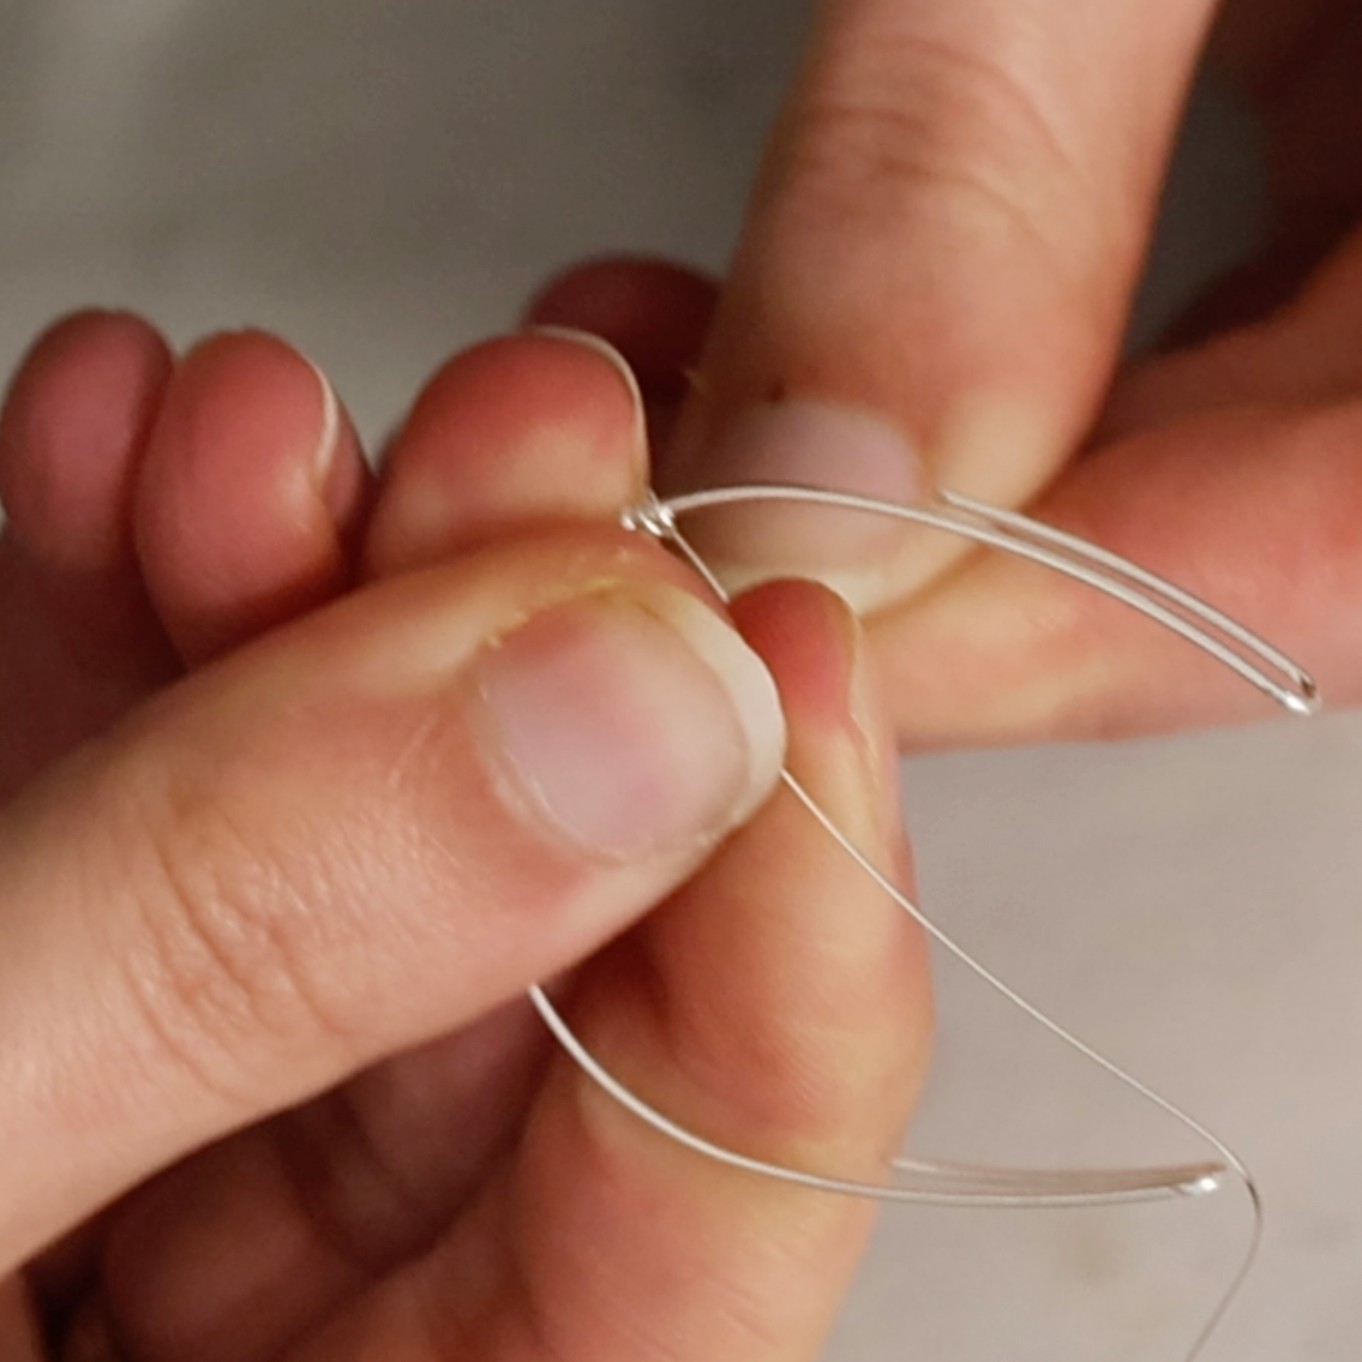
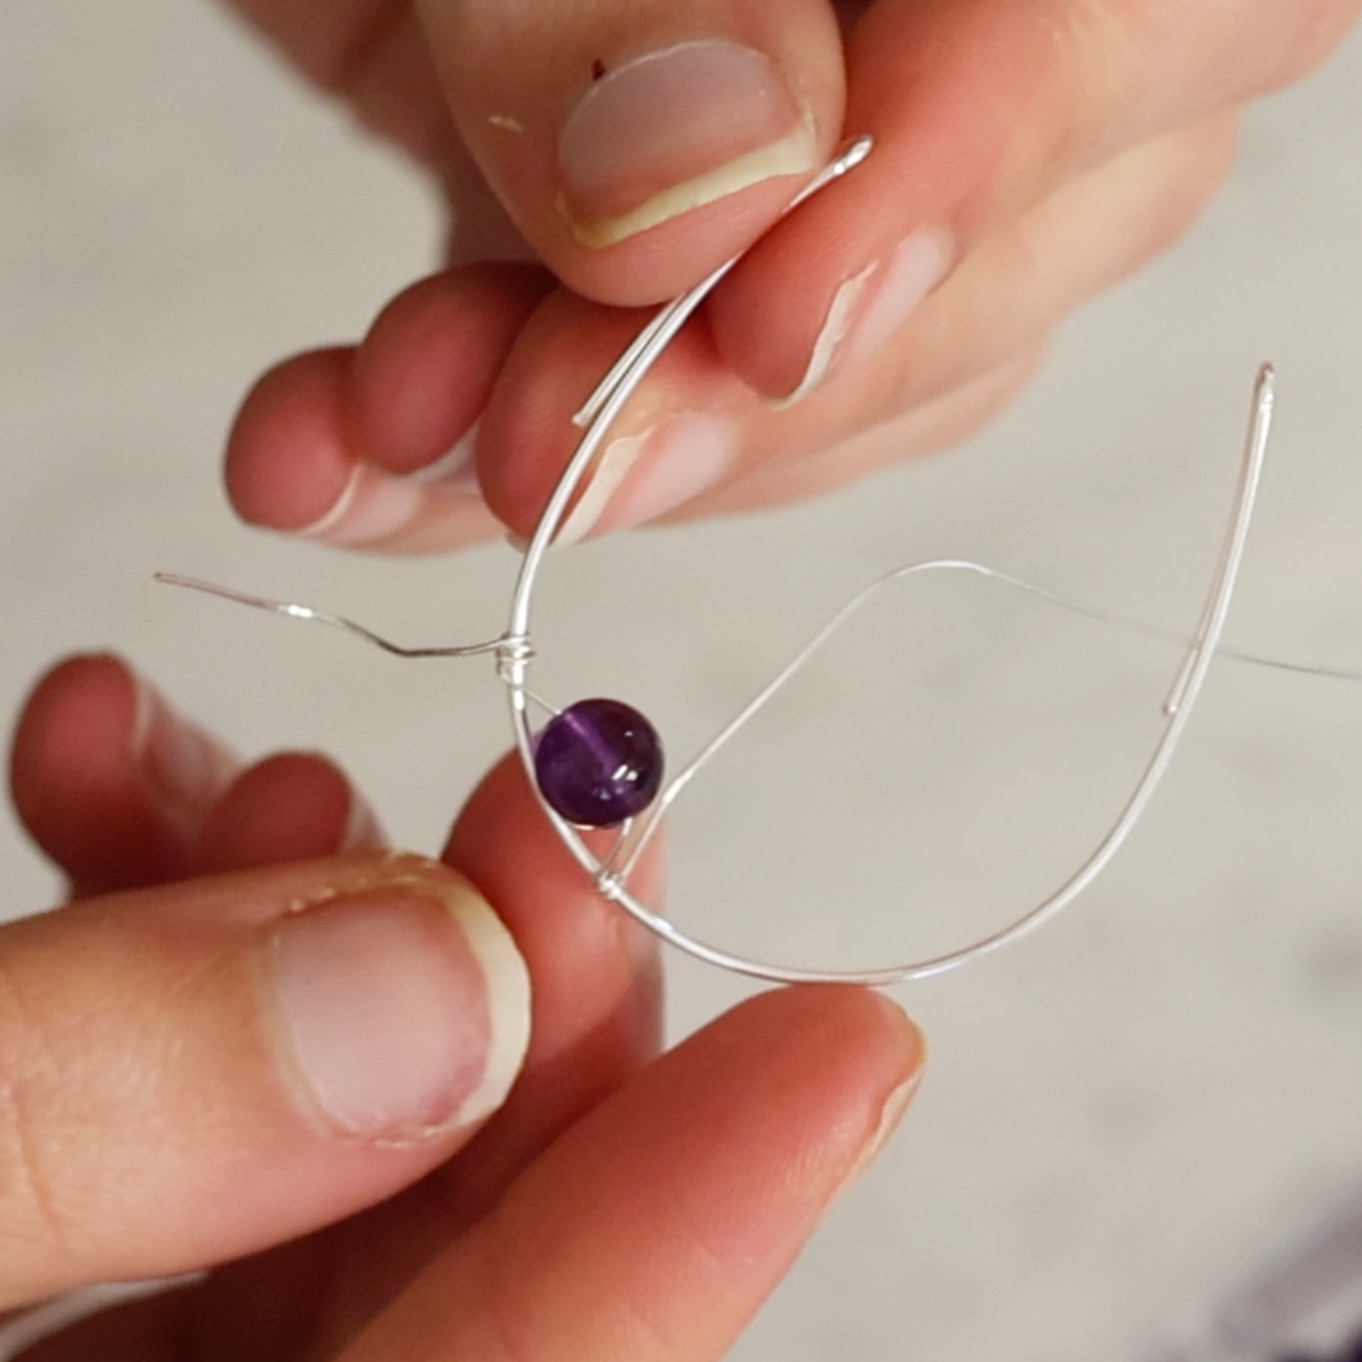
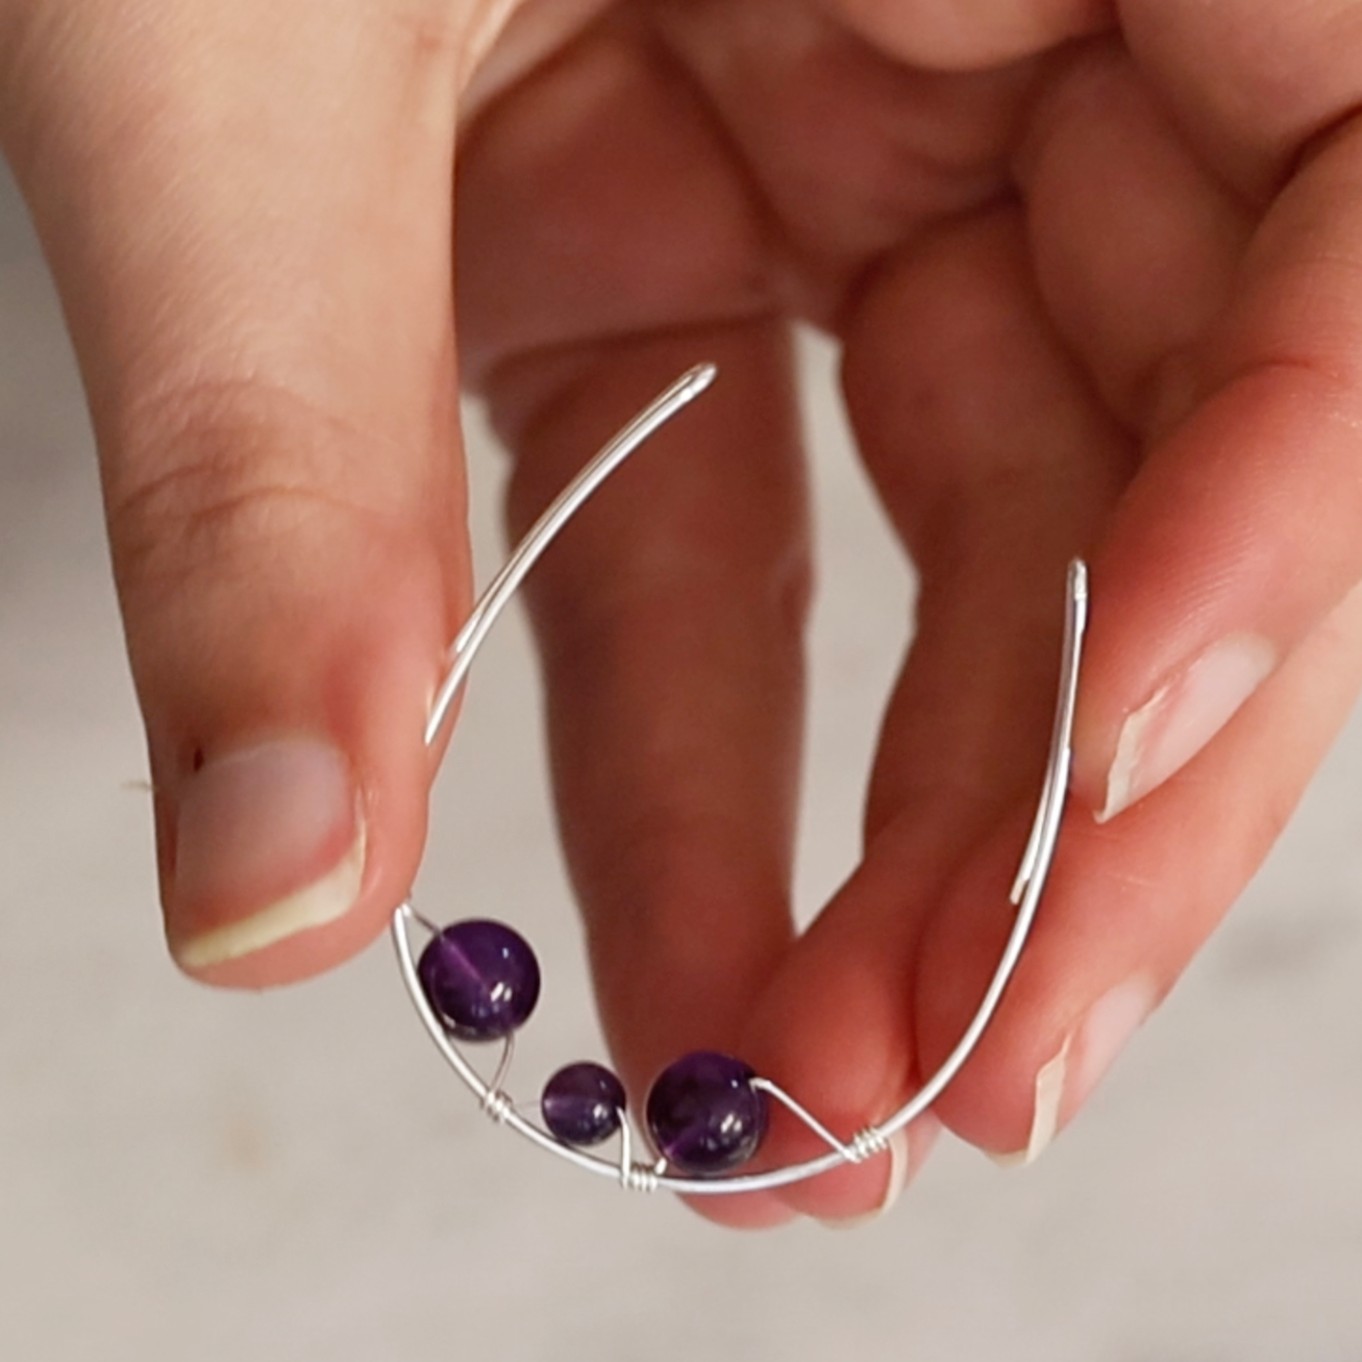
2. Take one of your 30cm lengths of 0.3mm wire and wrap one end around the teardrop frame.
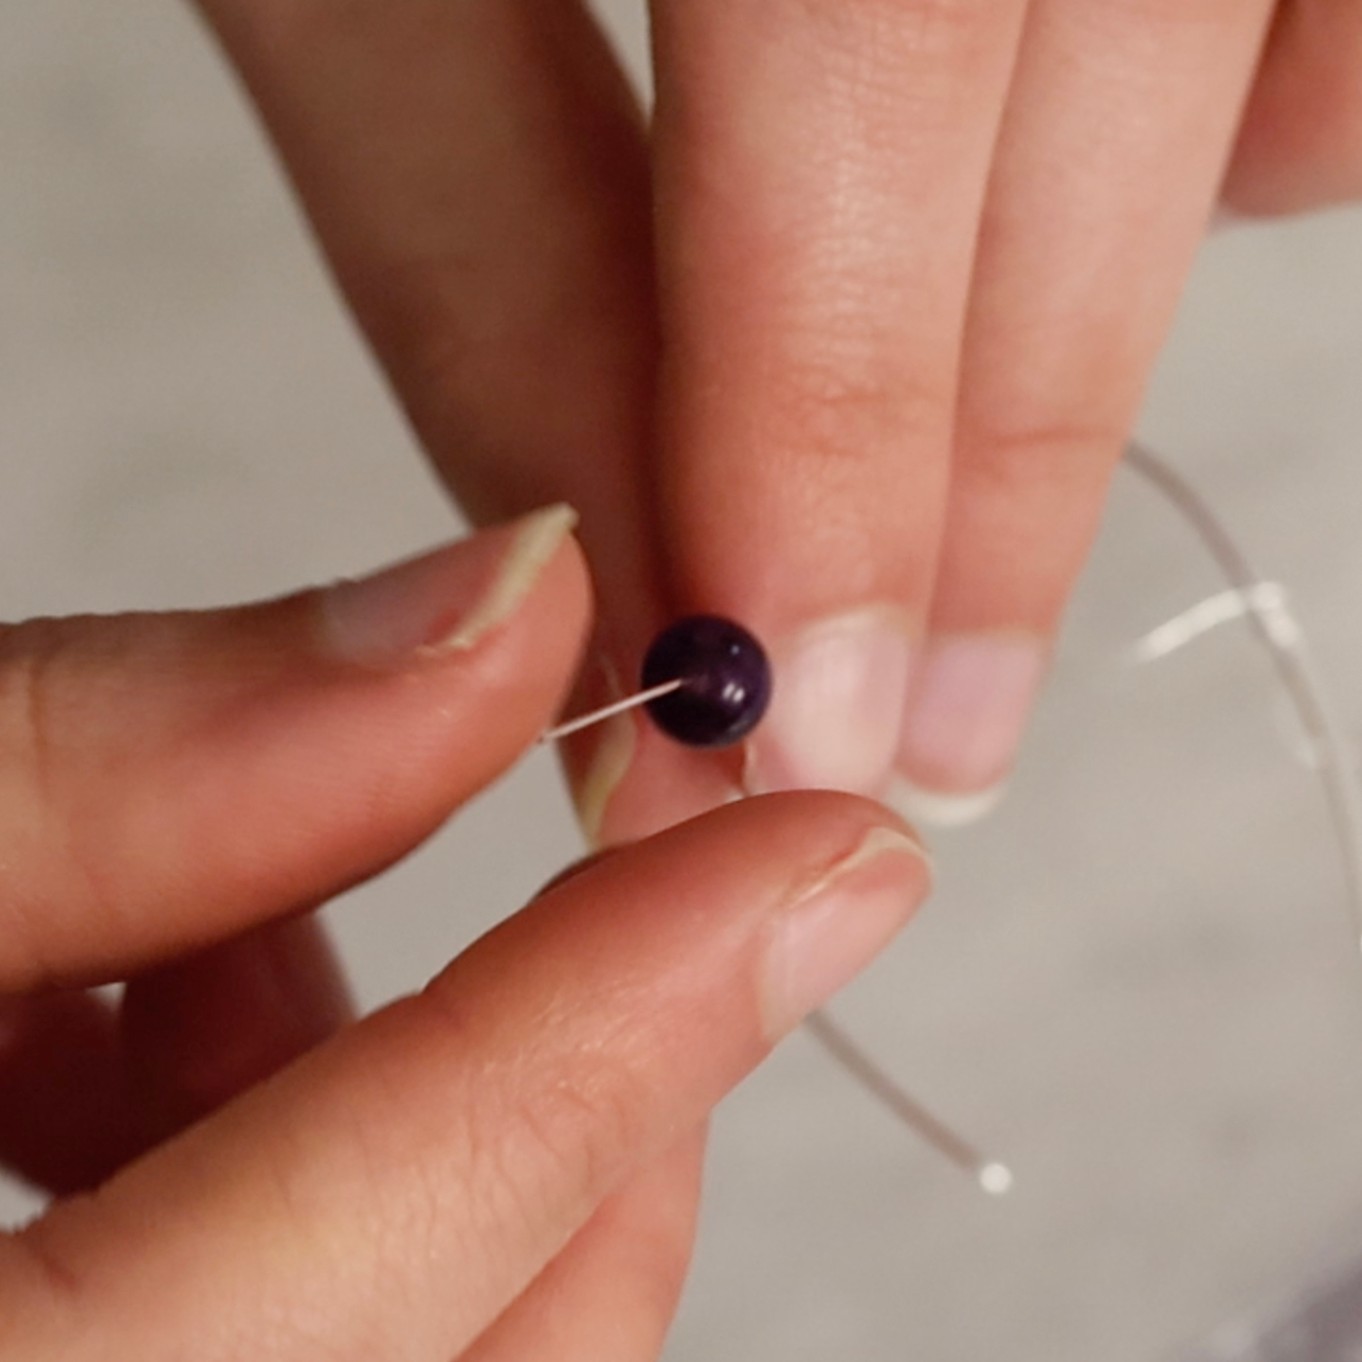
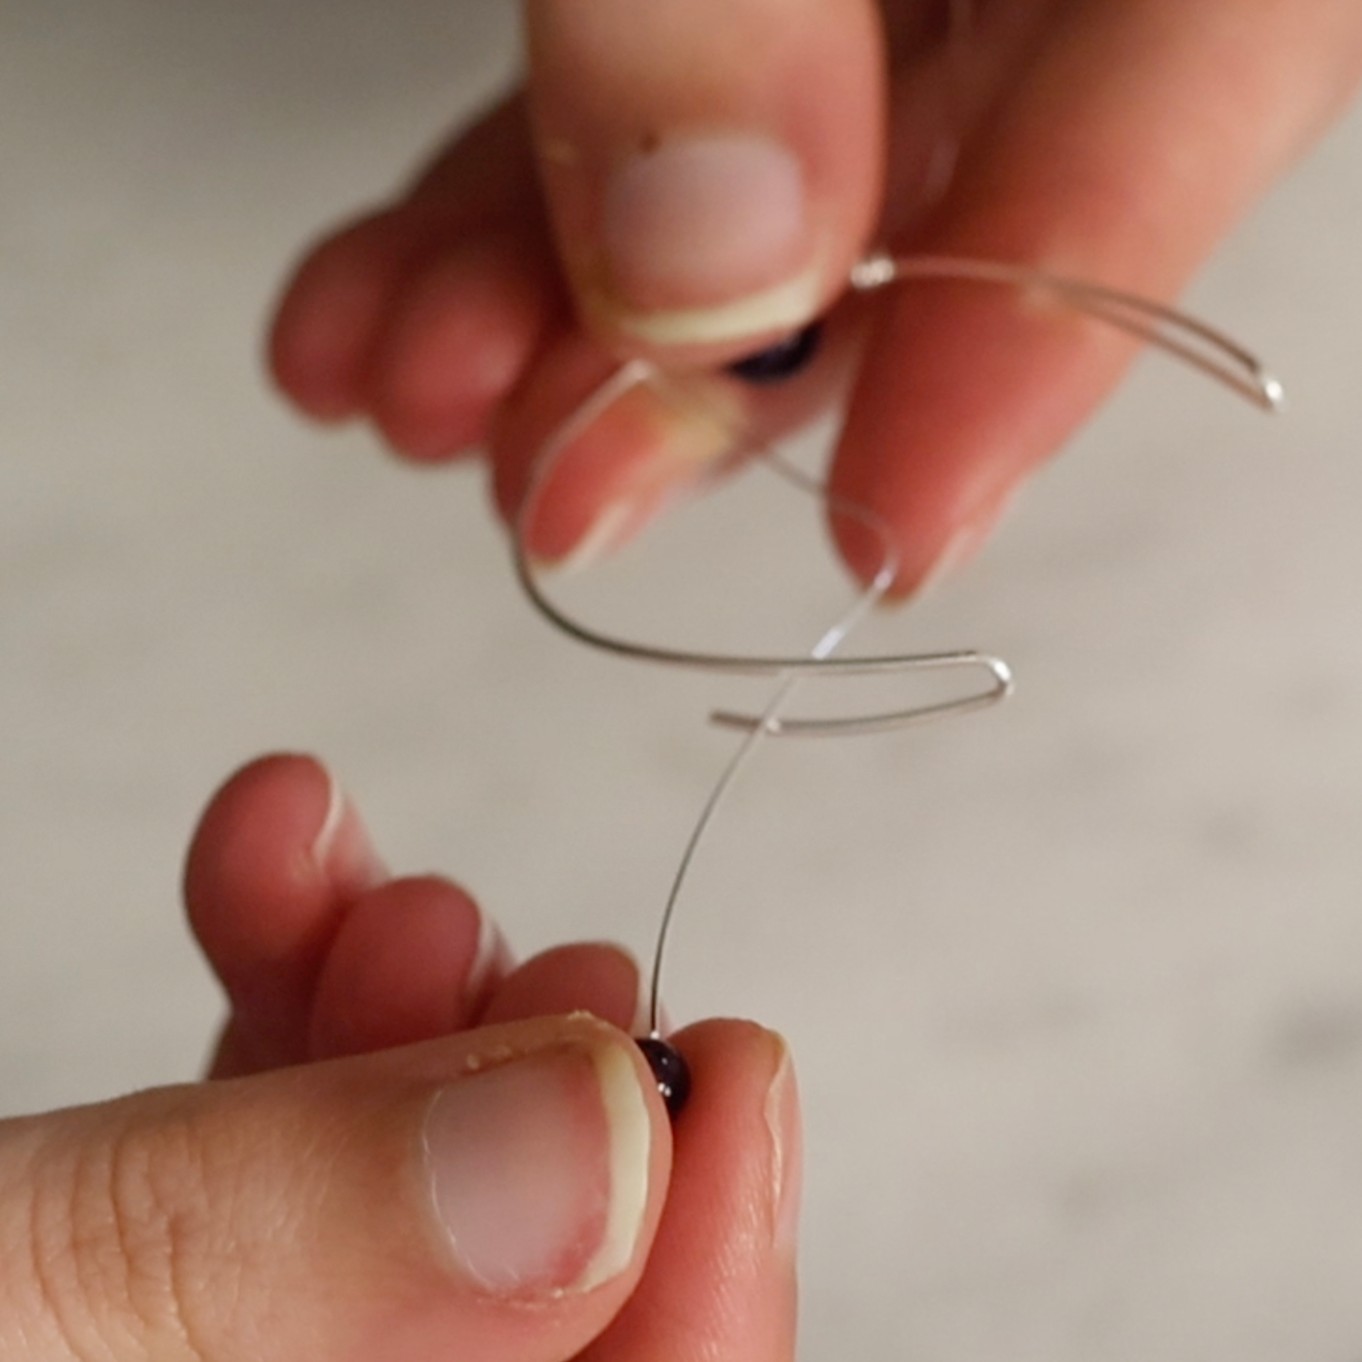
3. Thread one of your chosen 6mm beads onto the 0.3mm wire.
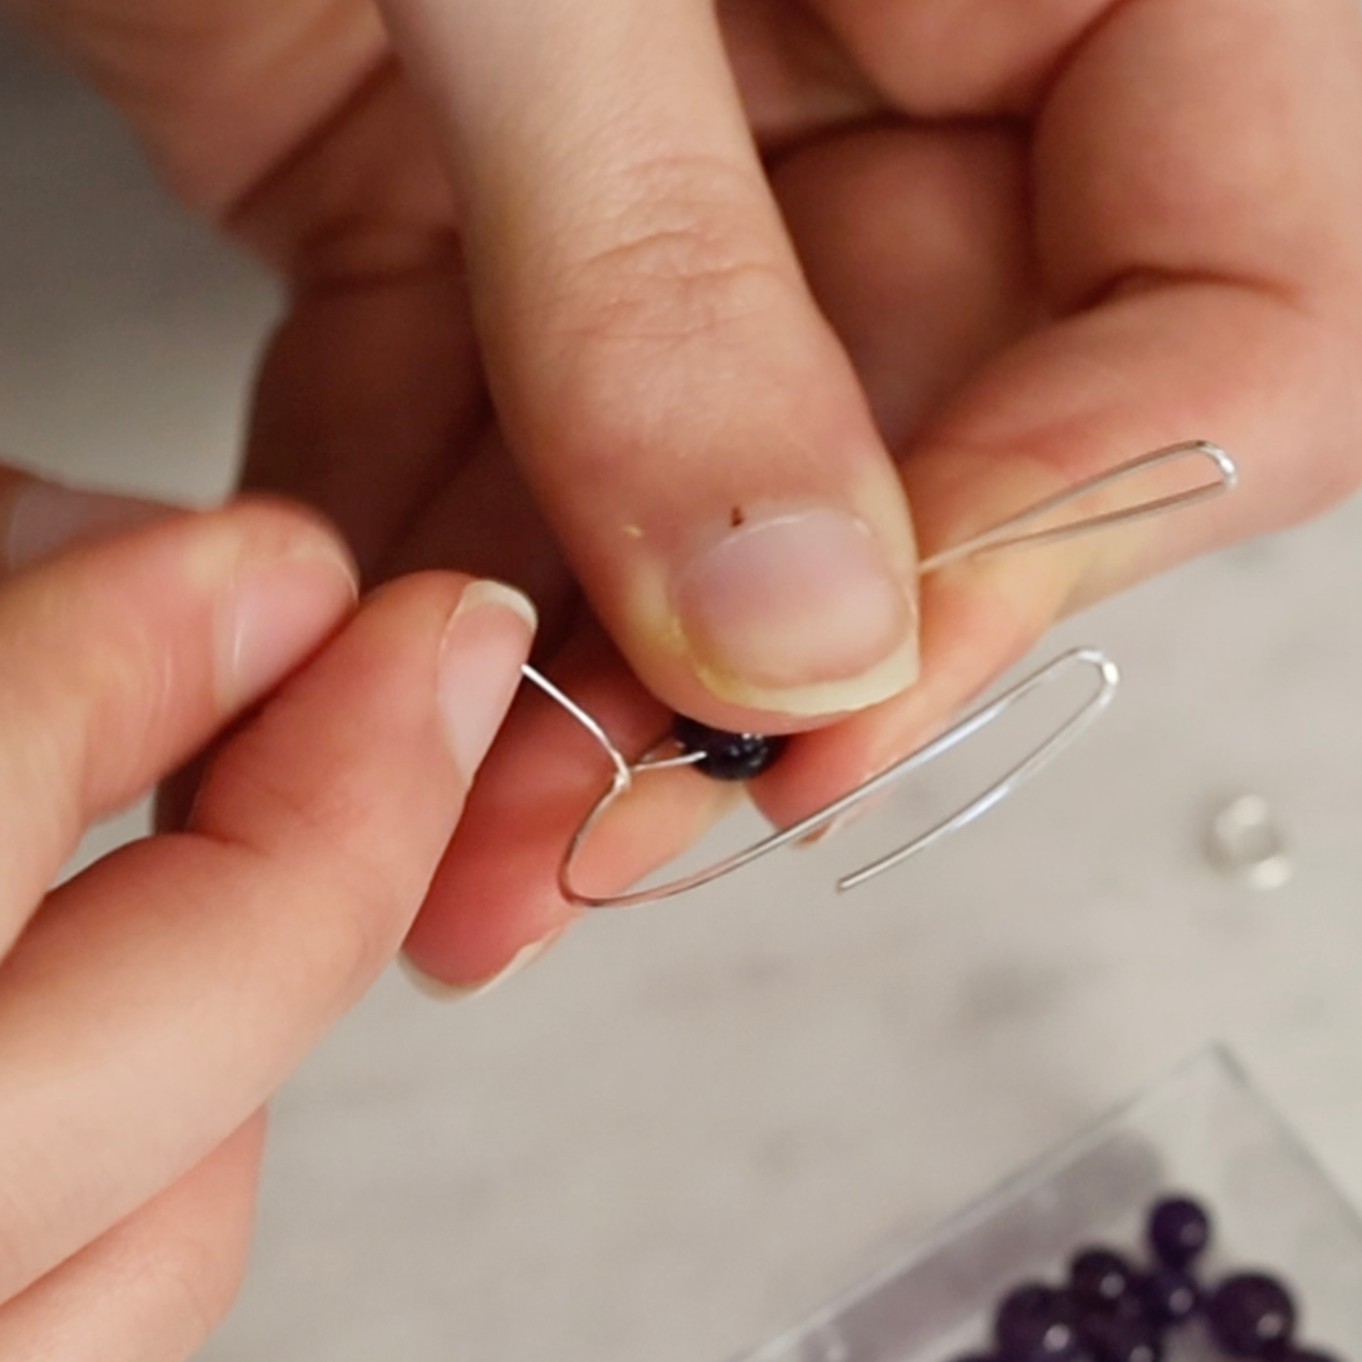
Wrap the 0.3mm wire around the teardrop frame to secure the bead in place.
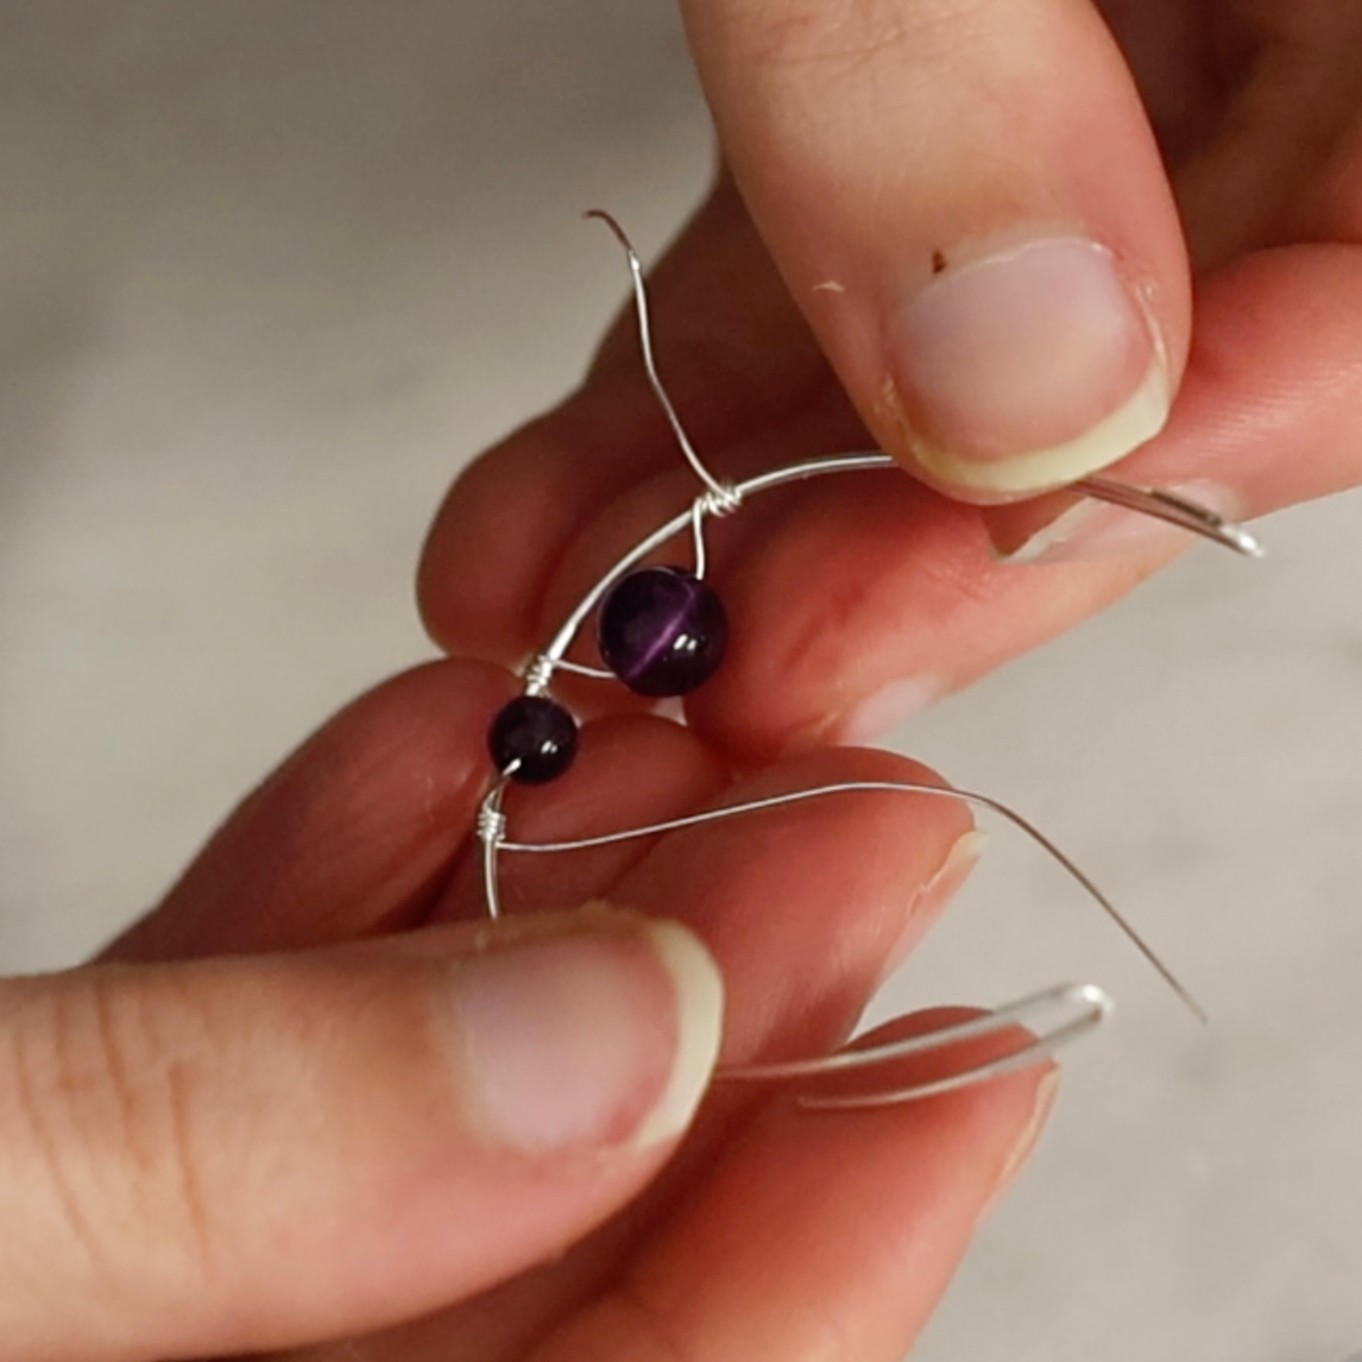
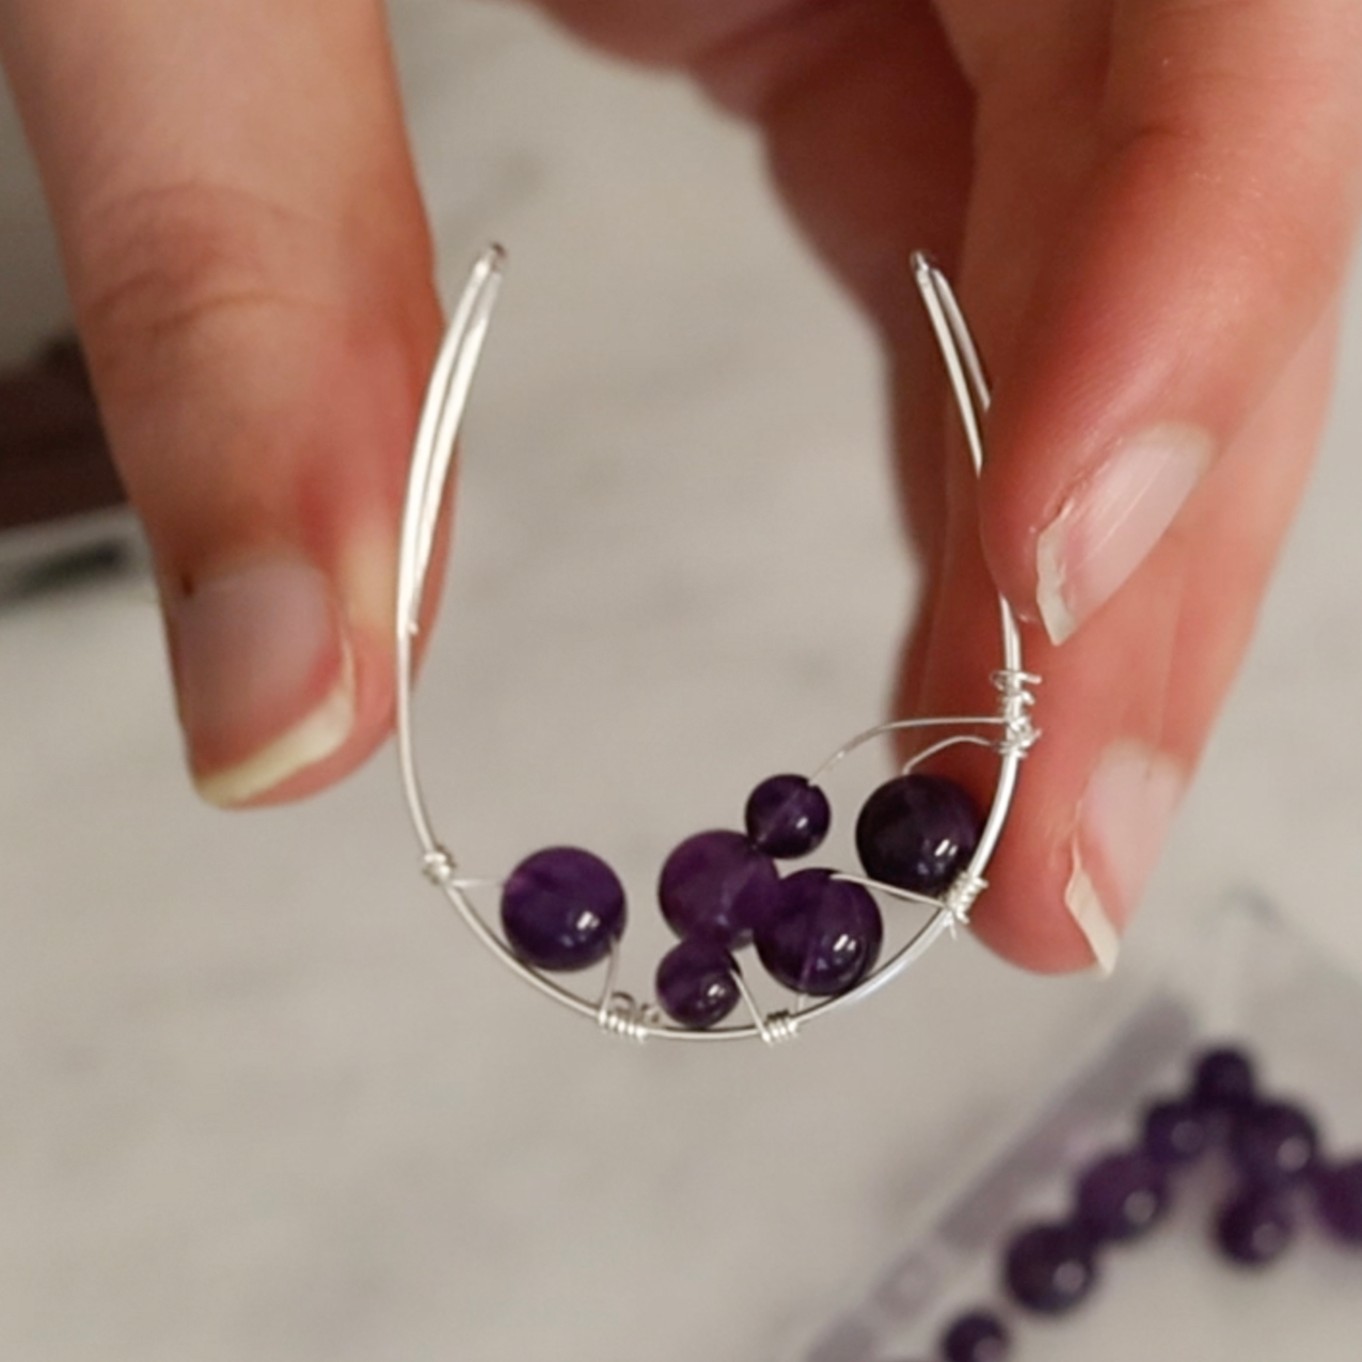
4. Thread one of your 4mm beads onto the 0.3mm wire so that it sits next to the 6mm with the wire wrapped in the middle of them both.
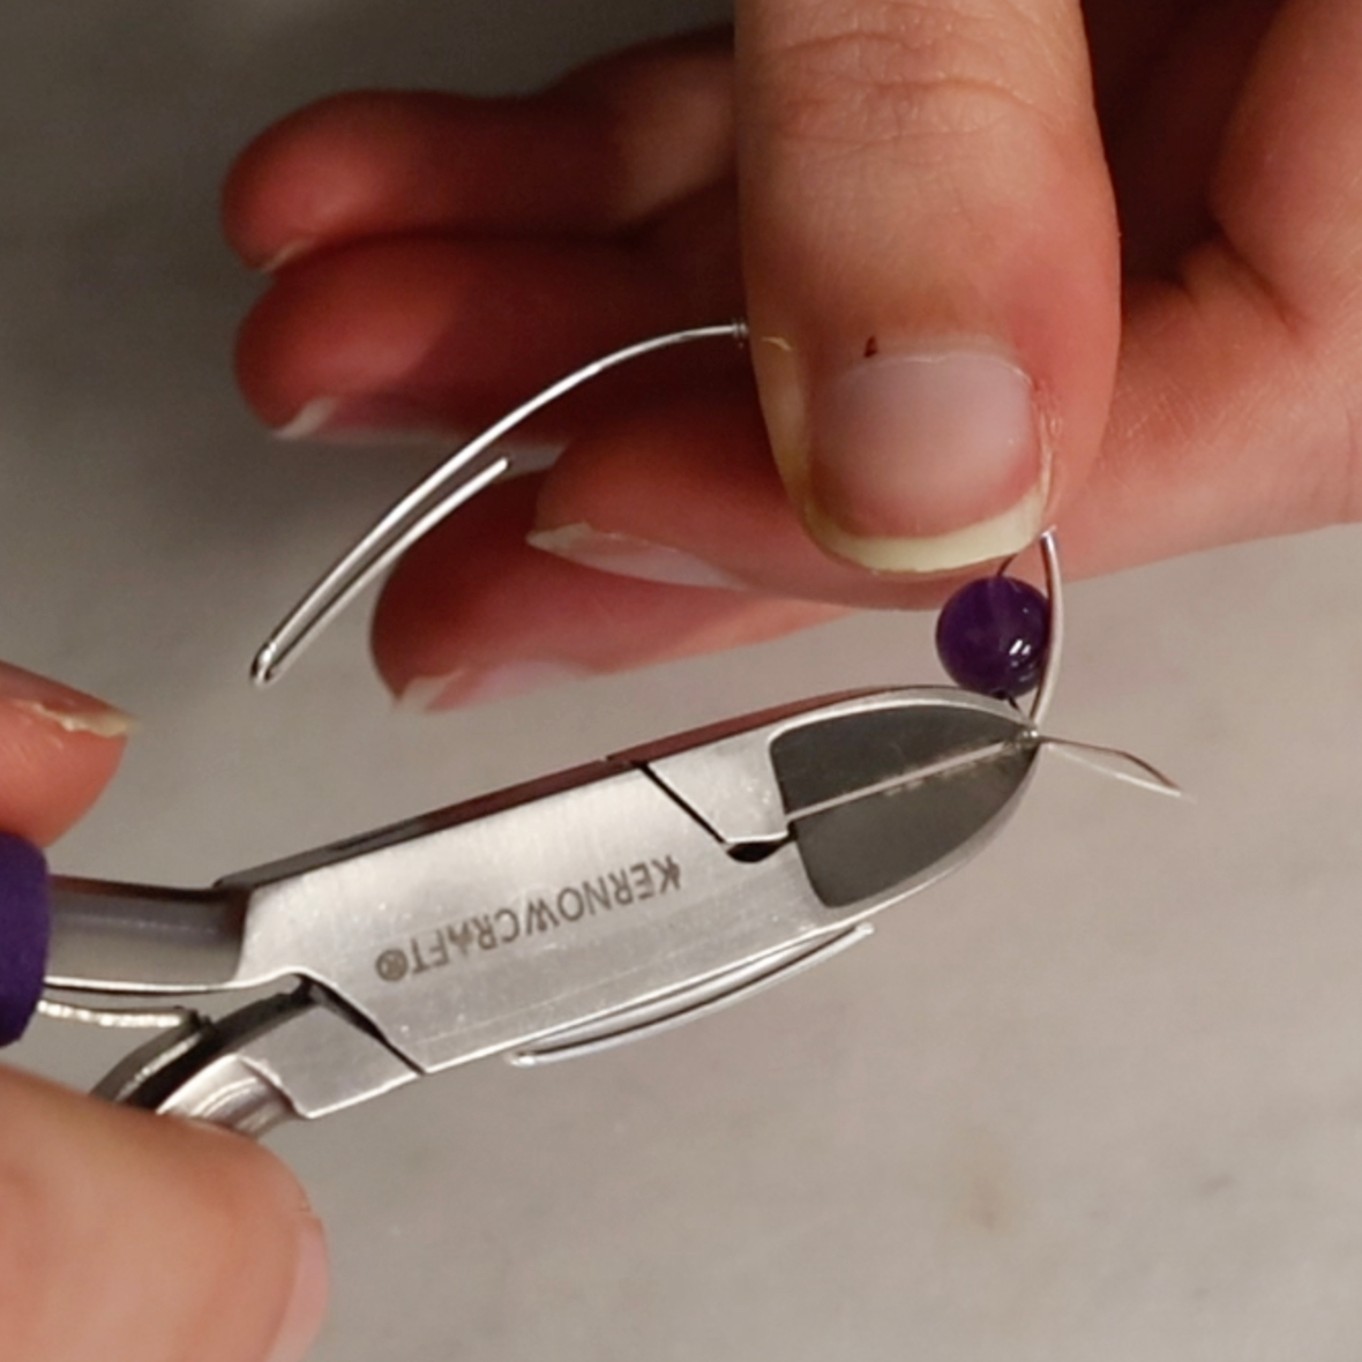
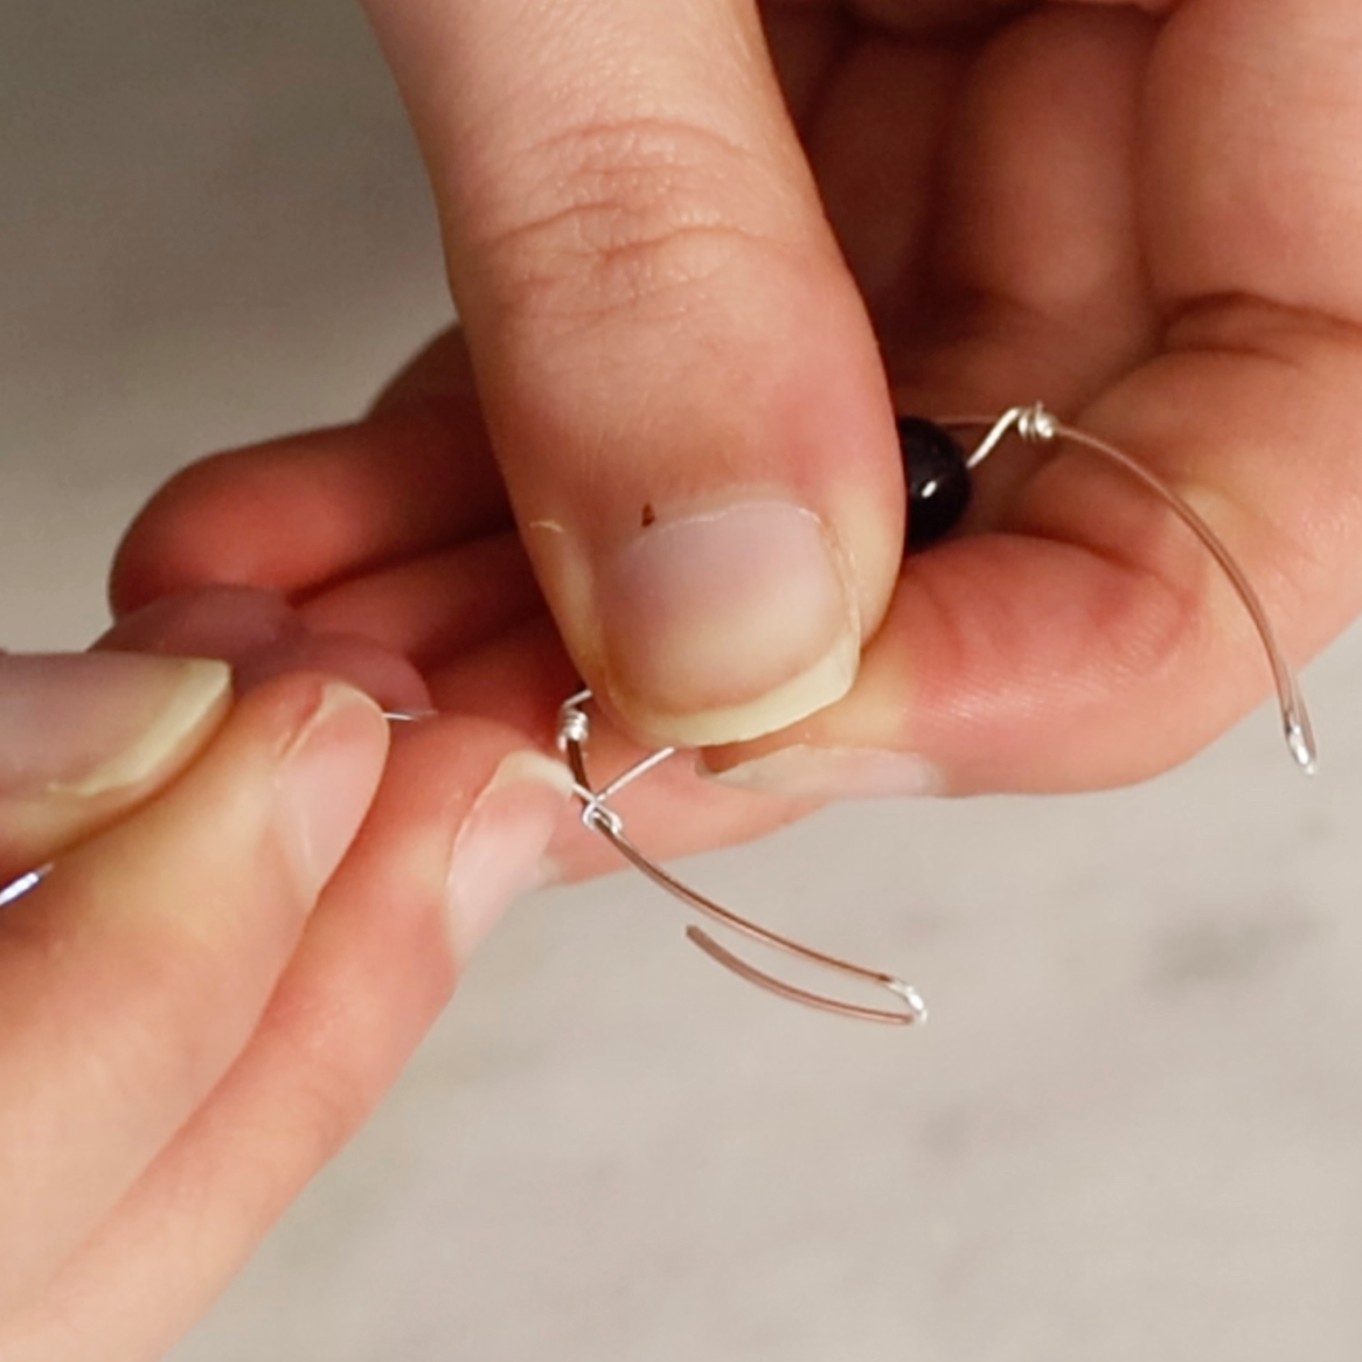
5. Fasten the bead in place and snip away any loose wire using your side cutters.
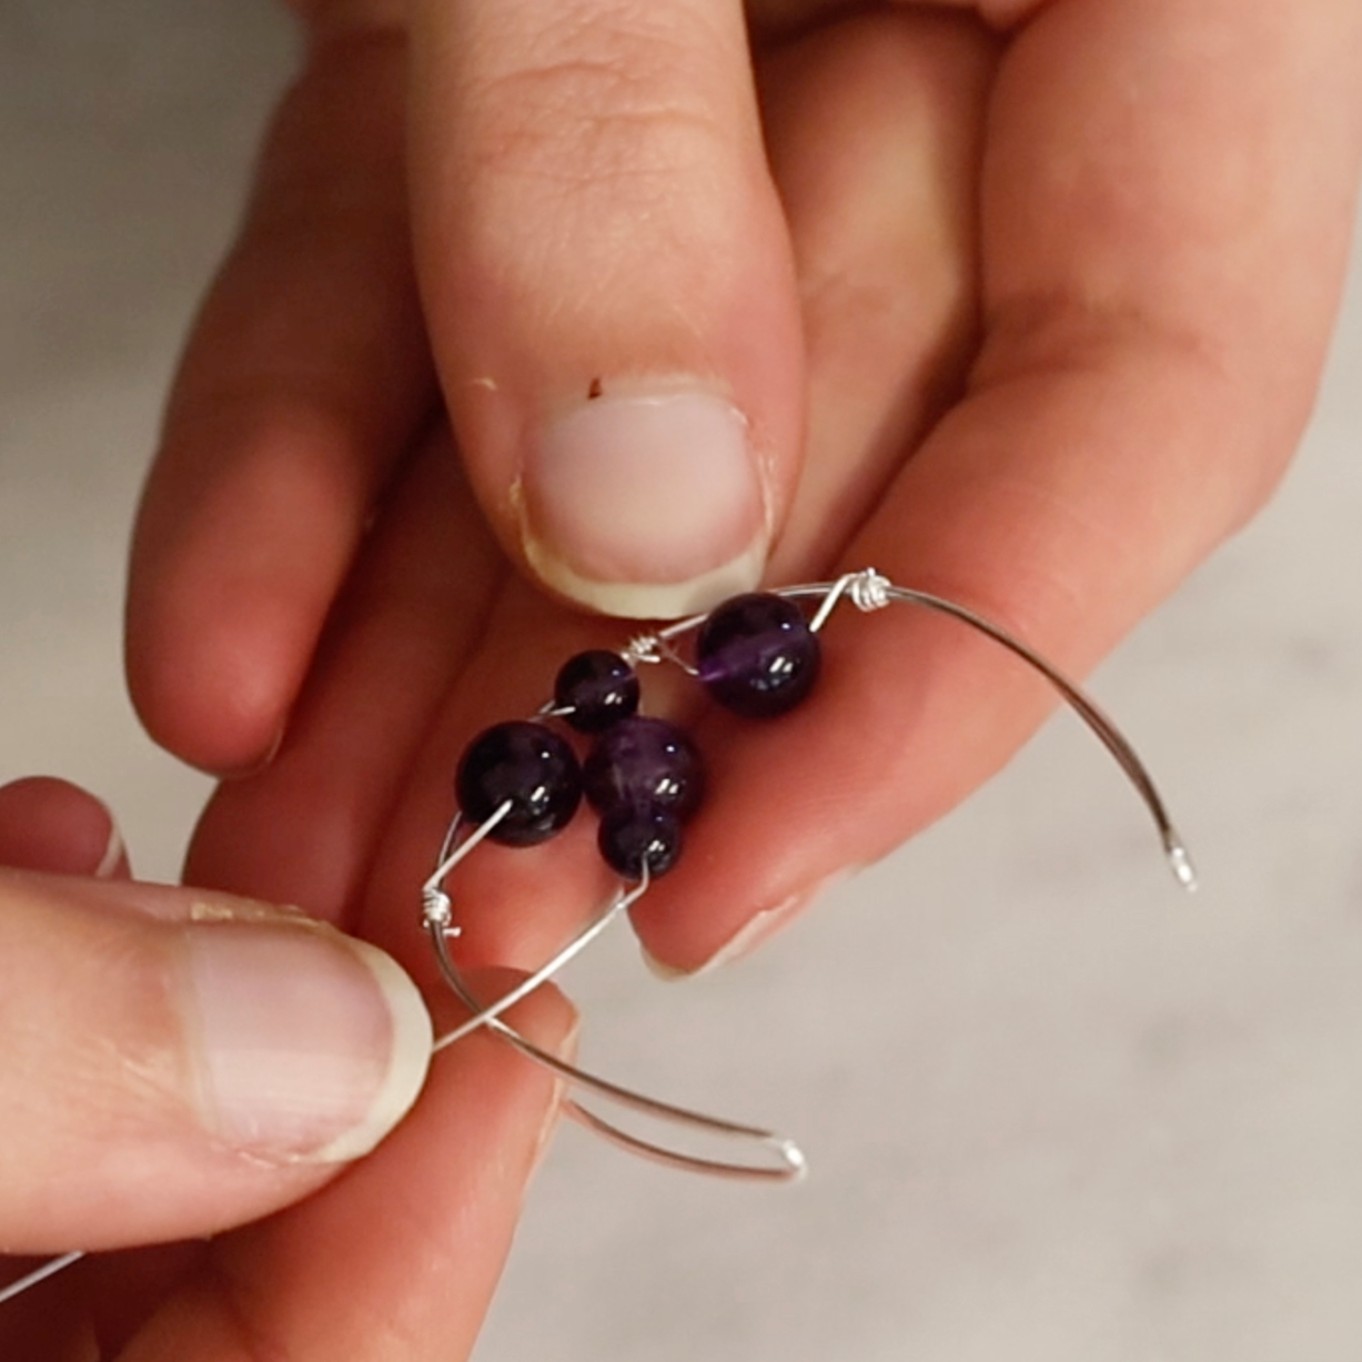
6. Finish the bottom row within the teardrop by repeating steps 4 and 5, while alternating bead sizes.
Save your cut wire.
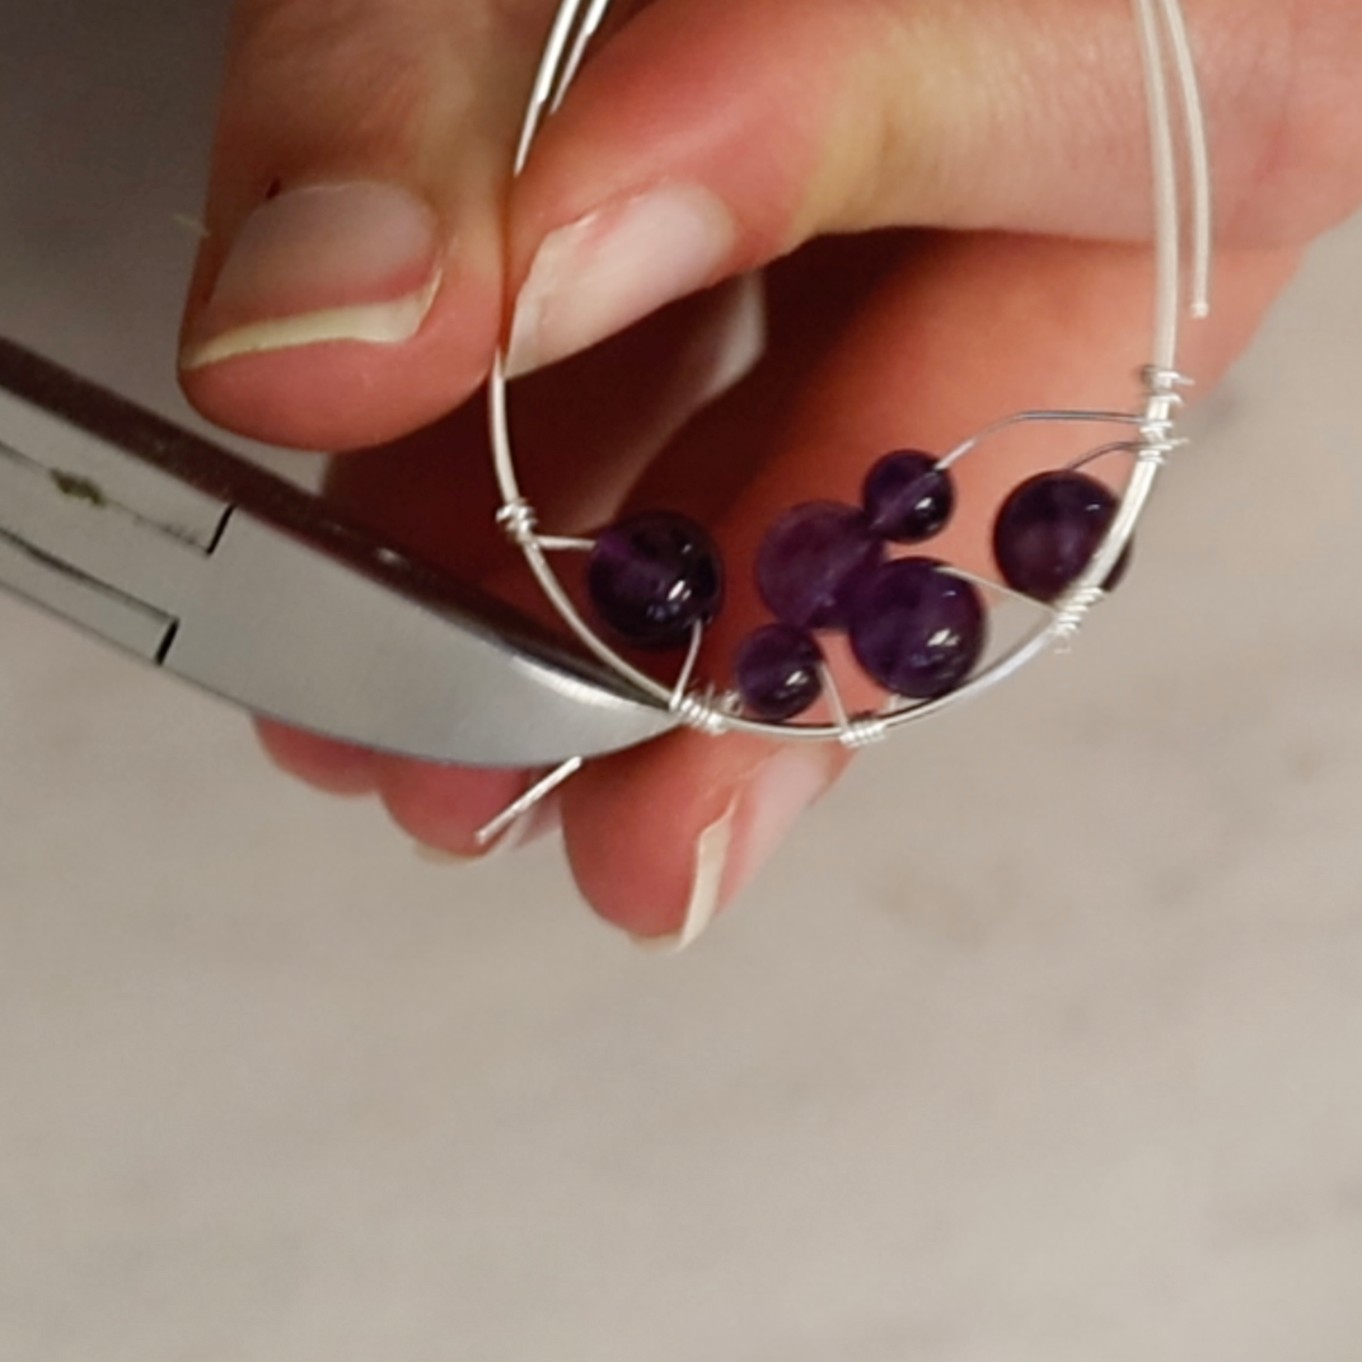
7. Add more rows of beads using the 0.3mm wire that you've saved by repeating steps 4 and 5.
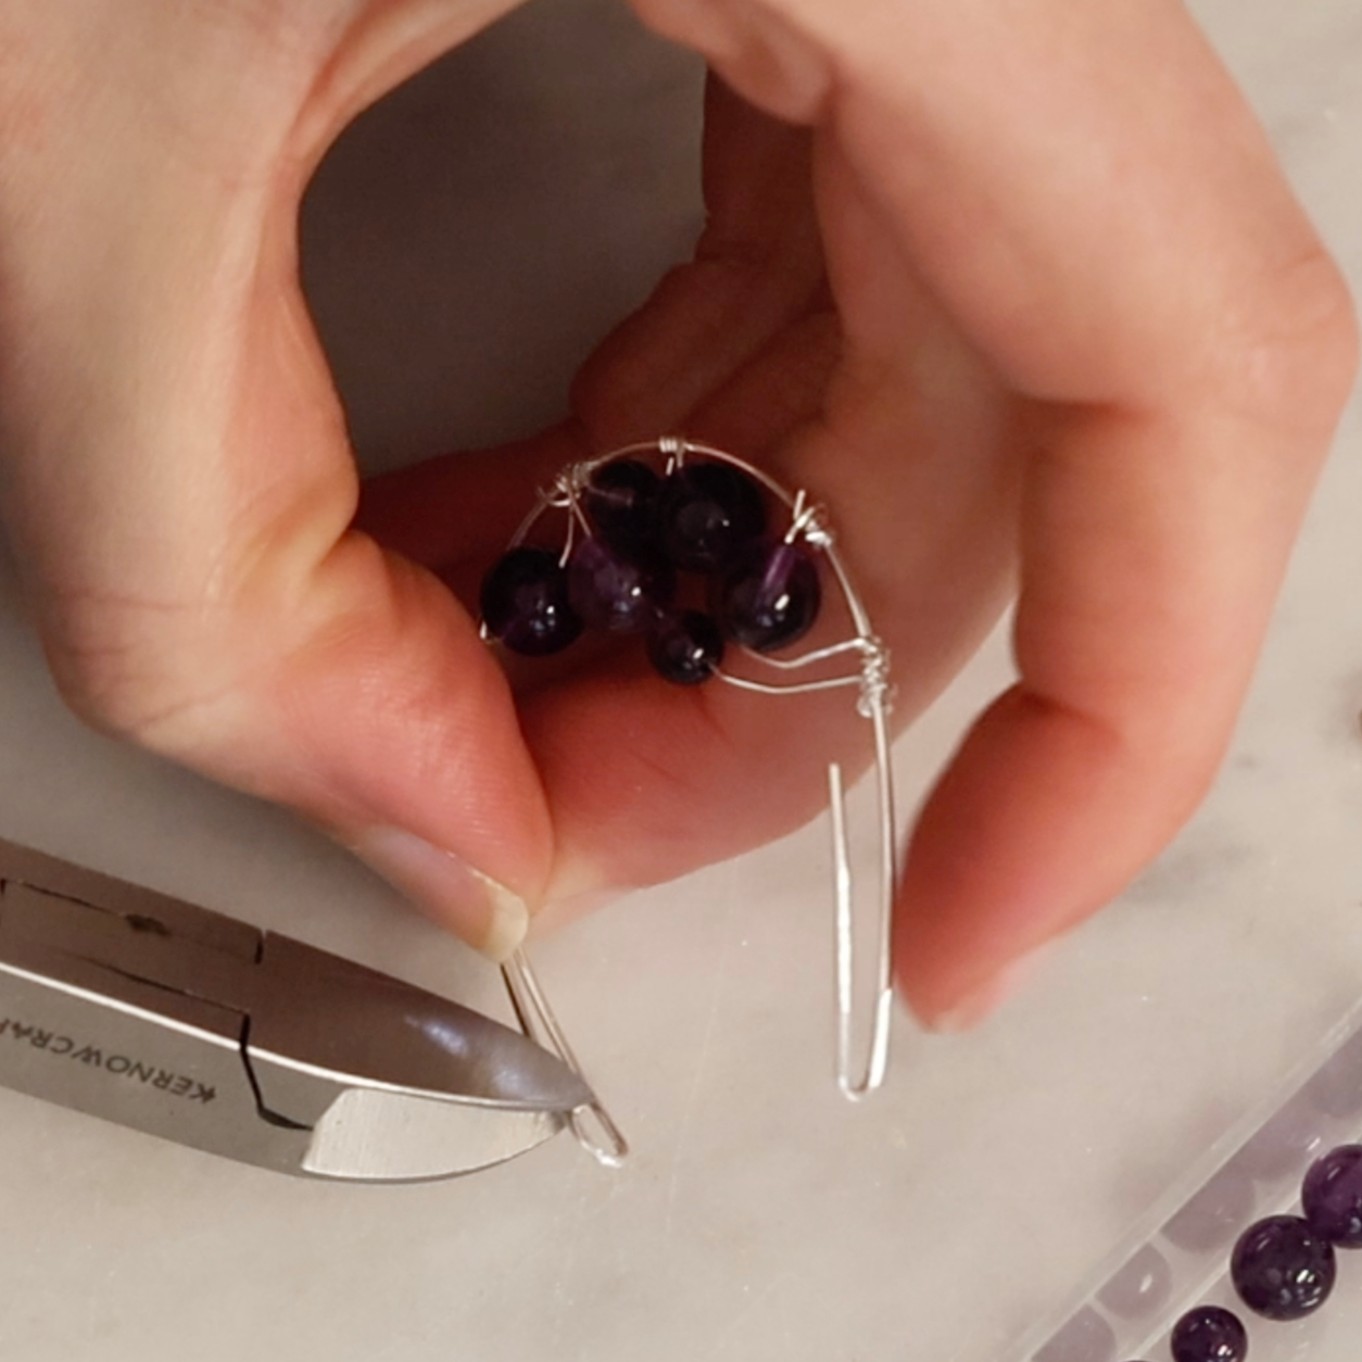
8. Cut the ends of wire at the top of your teardrop frame.
This should leave you with two small loops.
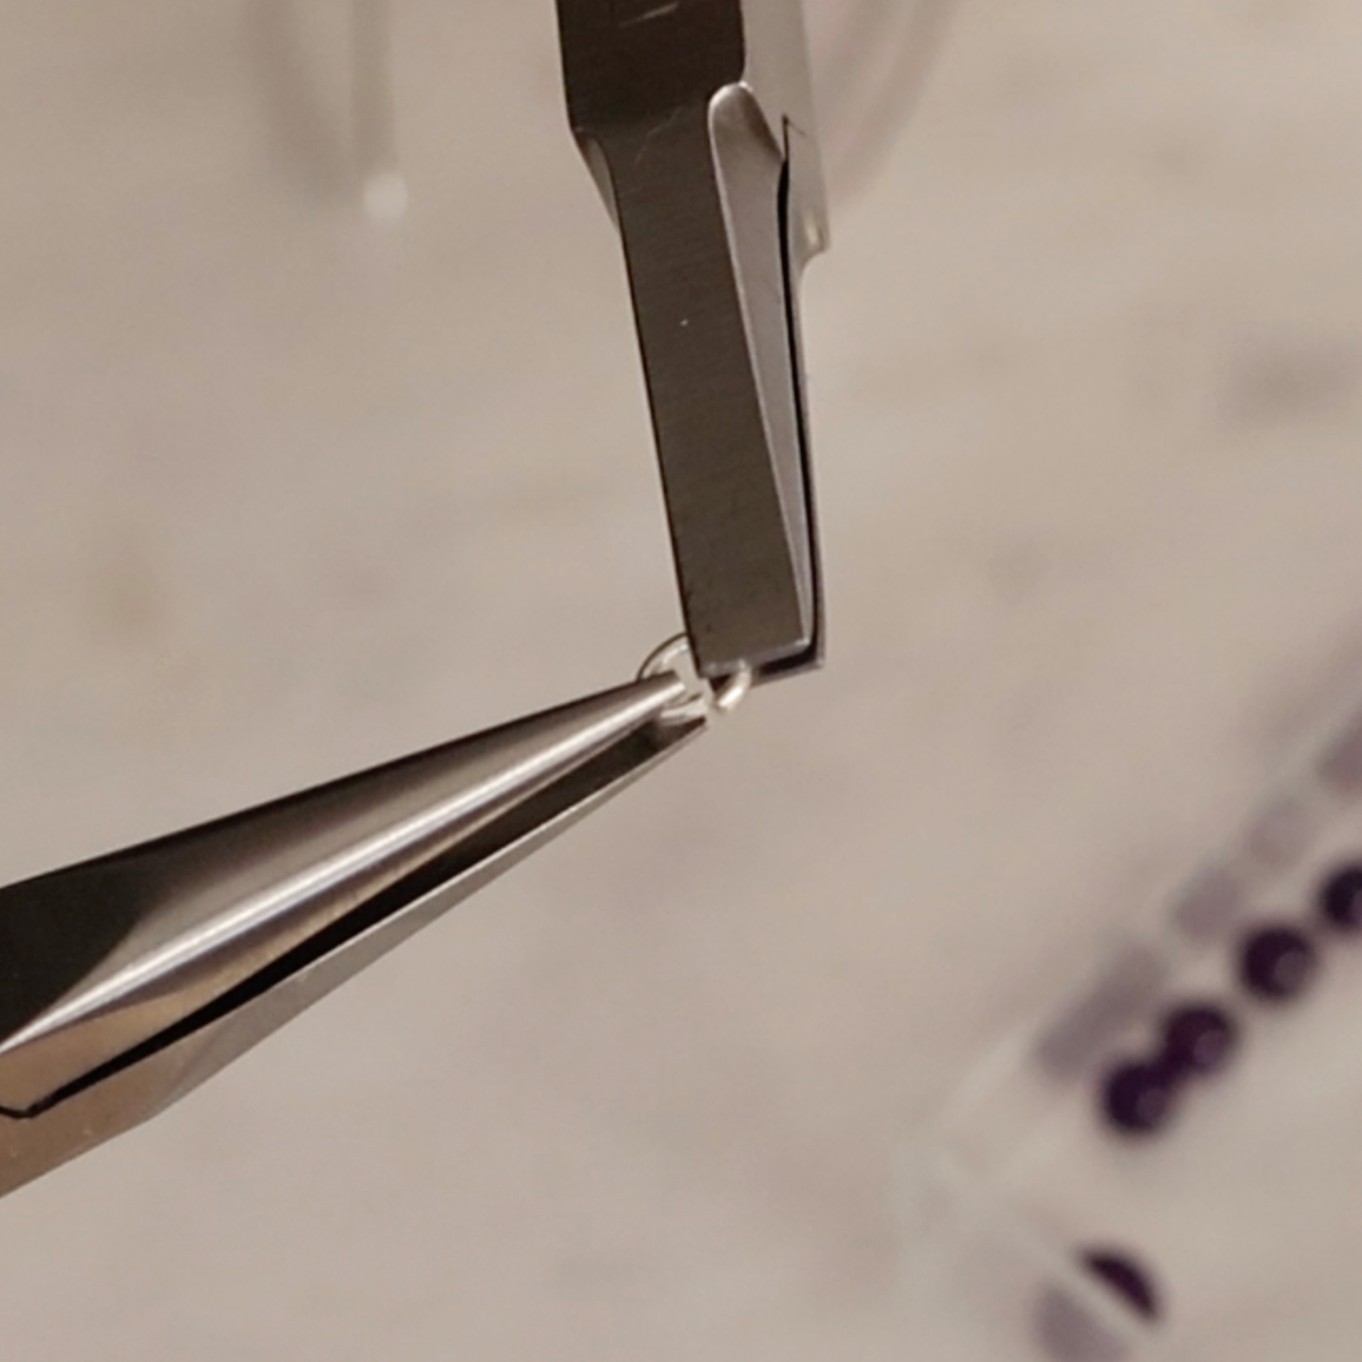
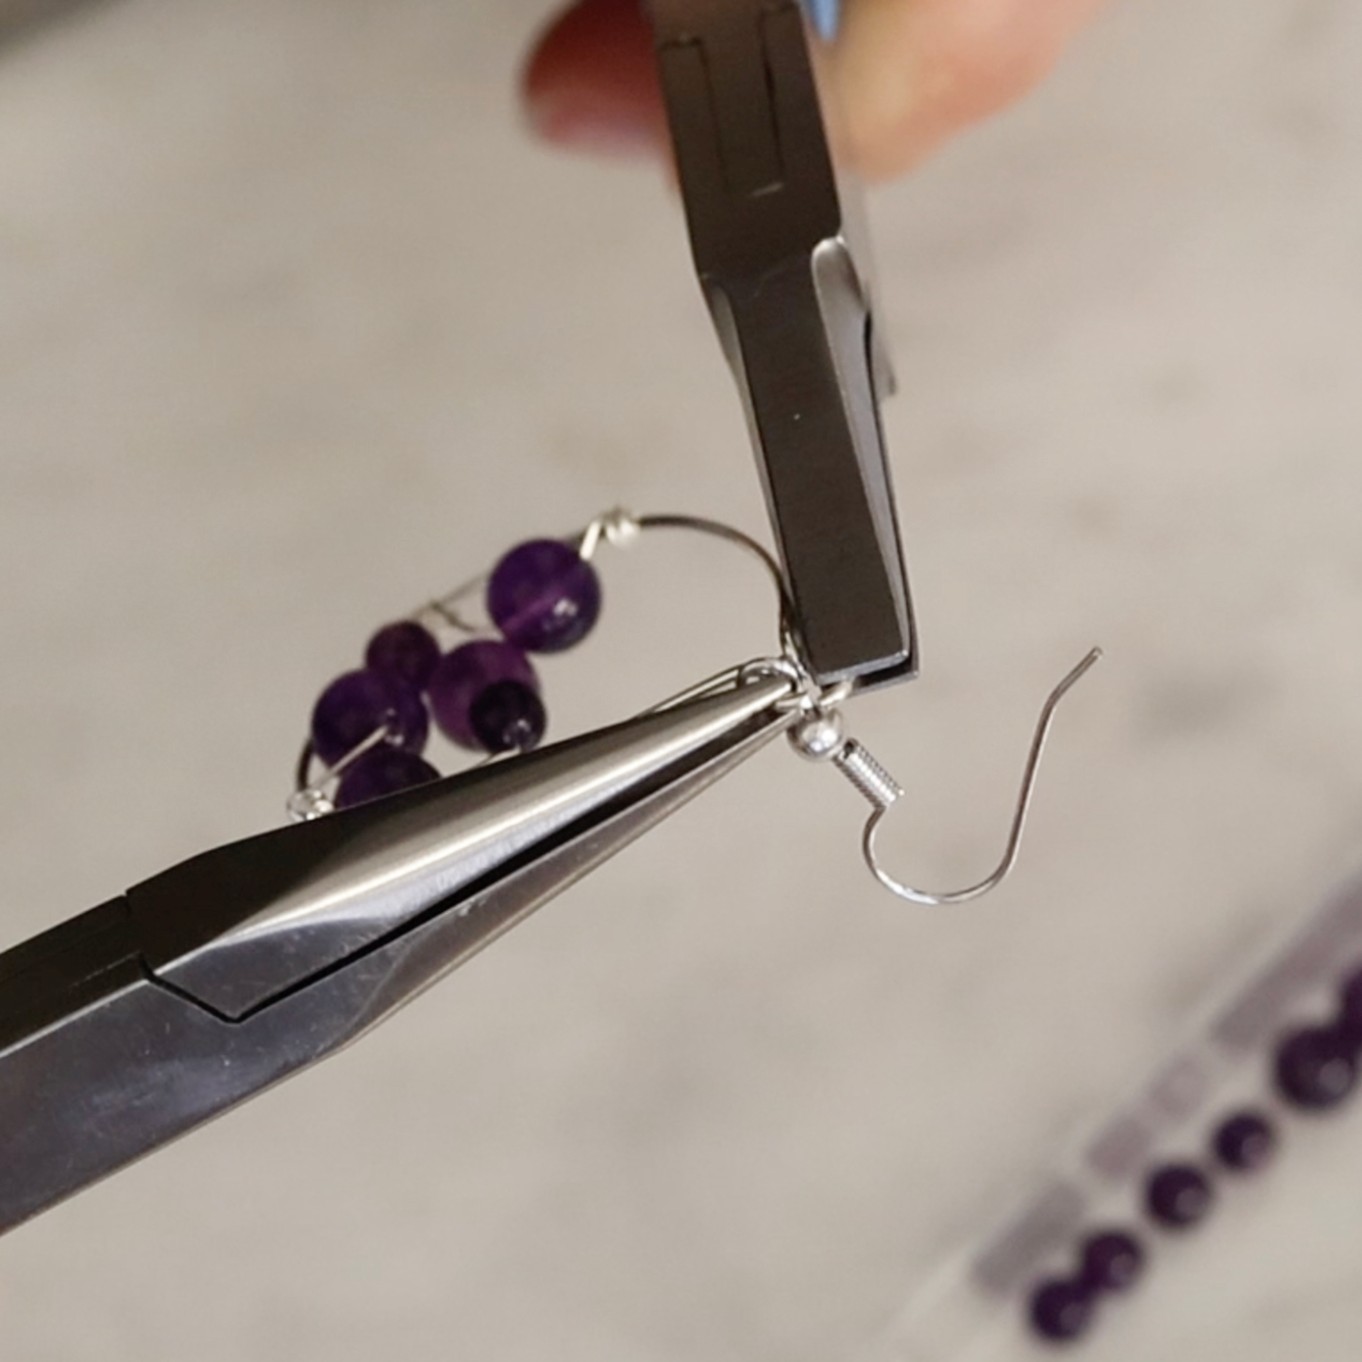
9. Using your snipe nose and flat nose pliers, twist open a jump ring and attach an earwire before twisting the jump ring closed.
10. Your earring is finished. Repeat whole process to create the other.
Also in this Section
- How To Make A Wire Wrapped Nest Necklace
- How To Make Your Own Teardrop Bead Earrings
- Tools For Making Jewellery Using Wire
- Your Guide On Choosing Wire For Jewellery Making
- Compare Jewellery Designs Using Different Sized Wire
- Wire Gauge Coversions
- How To Work Harden Jewellery Making Wire
- How To Use Nylon Jaw Pliers For Jewellery Making
- How To Use A Thing-A-Ma Jig For Jewellery Making
- How to Wire Wrap a Bead With a Headpin
- How To Wire Wrap A Bead
- How To Make A Wire Wrapped Bead Chain
- How To Wire Wrap A Briolette
- Wire Wrapped Cluster Briolette Earring Tutorial
- How To Make Wire Wrapped Bead Necklace With Handmade Clasp
- How To Wire Wrap A Rough Crystal
- How To Make Valentine's Day Earrings: Wonky Wire Hearts
- How To Make A Wire Wrapped Crystal Necklace
- 6 Wire Wrapped Ring Projects & Essential Tools
- How To Make A Wire Wrapped Bead Ring
- How To Make An Anxiety Ring
- How To Make A Wire Wrapped Gemstone Ring
- How To Make A Wire Wrapped Cabochon Pendant
- How To Make A Tree Of Life Pendant
- How To Wire Wrap A Gemstone Donut
- How To Make Christmas Tree Earrings
- Simple Sterling Silver Wire Scroll Earrings
- Soldered Circle Hoop Earrings With Beads Tutorial
- How To Make Wire Hoop Earrings & Customise Them
- Metal Charm Hoop Earring Tutorial
- How To Make A Wire Word Necklace
- 4 Wire Wrapped Gemstone Tube Bead Projects
- Festival Inspired Crystal Necklace Tutorial

