8 Reasons To Do A Jewellery Making Course
Jewellery making is such a wonderful hobby! At Kernowcraft we have all attended jewellery classes and experienced the course experience first-hand. We wanted to share the joy of learning a new skill, meeting likeminded people and how you can fall in love with a new hobby.
1. Learn a new skill
There are many jewellery making courses available and whether you’re a complete beginner or perhaps have more experience than others, you can choose a course which suits your skill level. Doing an evening course is a great idea if you want to learn a new skill and try something different!
2. Have the support from a tutor
Having a jewellery tutor has so many benefits. If you’re a complete beginner, the tools, materials and jewellery lingo can be a little overwhelming. A tutor is brilliant for getting started, explaining the fundamentals and being there to support you throughout the course when you get stuck.
Many jewellery making courses gives you the chance to be independent and get on with your own projects. Having a tutor by your side when needed can make such a difference, especially if something isn’t going to plan (which is often the case!). A tutor can tell you alternative methods or techniques to achieve your desired design. Even if you're an experienced jeweller, doing a course can be a great way to build upon your skills and learn from other makers.
3. Meet like-minded people
If you want to learn how to make jewellery, there are many options available such as learning by yourself at home using resources such as YouTube and jewellery making books. One of our favourite things about doing a course is the social aspect, a course environment is a great place to meet like-minded people with the same interests.
4. Save money on jewellery tools
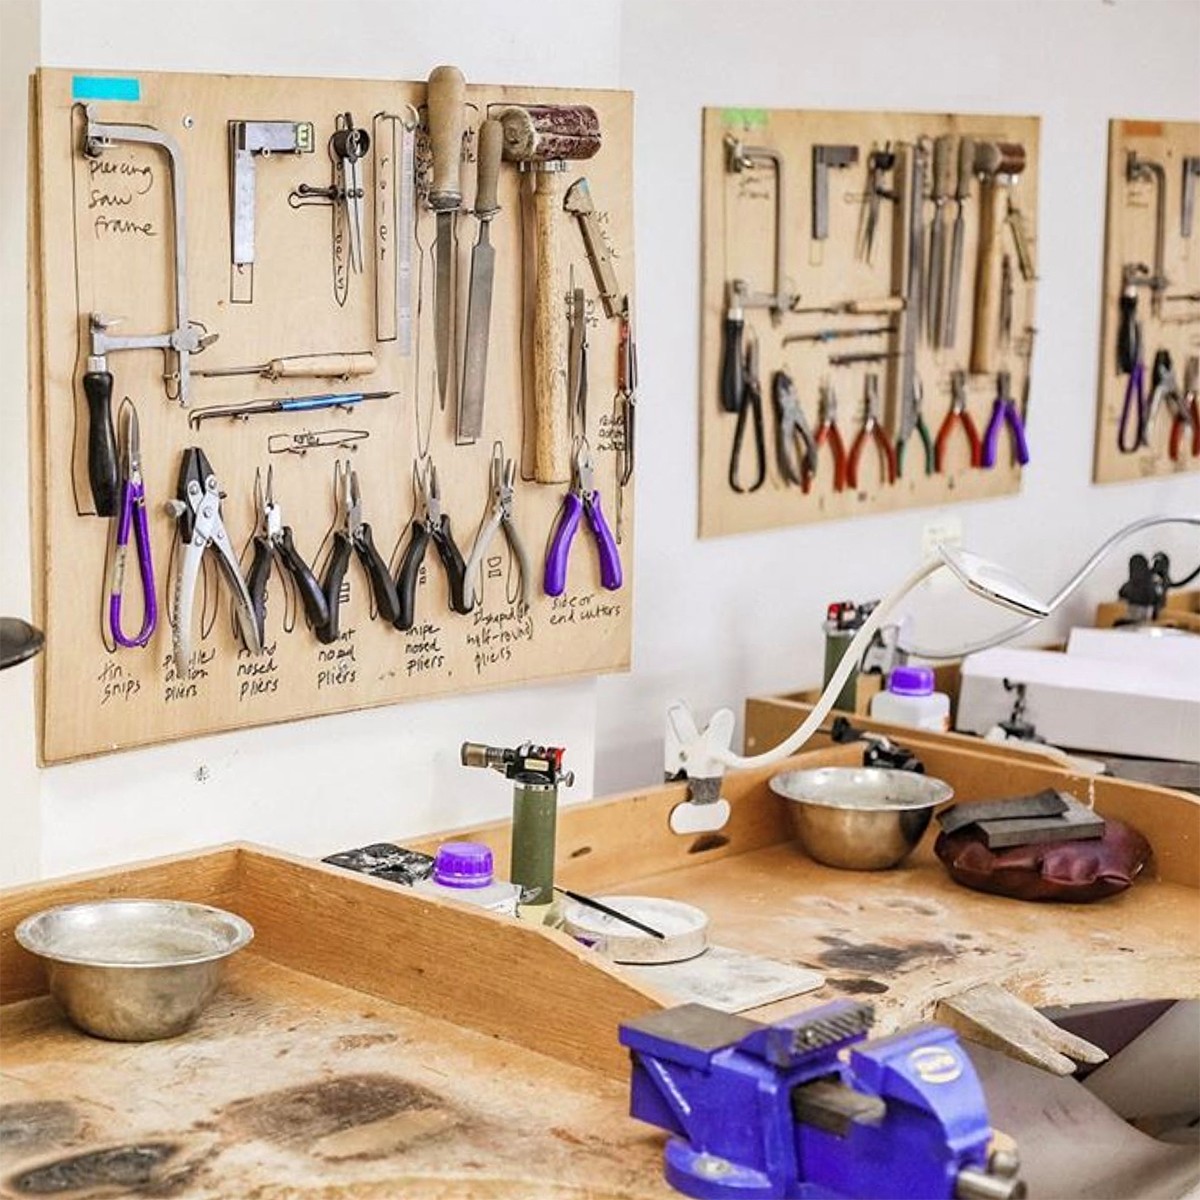
Getting your hands on all the jewellery making tools is certainly an investment, so getting started in a course environment is a great place to start to make sure it's right for you. All of the jewellery tools you need should be available by the course so you can save money and focus on learning the craft.
5. Get out of the house
We love attending courses and workshops as it gets you out of the house doing something different. If you don’t have a creative job, this can be a great way to express your creativity and escape the bore of the day job – who knows, a jewellery career could be on the horizon...
6. Learn best practices
Learning how to make jewellery at home is cost-effective however if you don’t have a tutor guiding you, you could risk developing techniques that are not best practice. There are also many health and safety risks that need to be taken into consideration when jewellery making and a tutor can be there to show you the correct techniques as well as sharing basic health and safety information.
7. Increase your confidence
Doing a course in any subject is a big step for many people. Choosing to do a course means you’re jumping into the deep end, learning a new skill and meeting new people. This is a great chance to reach out of your comfort zone and build upon your confidence.
8. It could be a money maker
We must warn you – jewellery making is addictive, once you’ve caught the making bug, it may be hard to stop! Many jewellery makers sell their handmade jewellery online or at craft fairs to earn money on the side and some are lucky enough to have it as a full-time job.
A jewellery making course could lead you to an incredible future, whether you want to make your own gifts for friends and family or you want to start selling your handmade creations.
Happy Making!
Read our experiences
Hannah and Sarah from our team share their experience of trying out an evening course at a local college. Read the blog posts below…
Beginners Course With Hannah
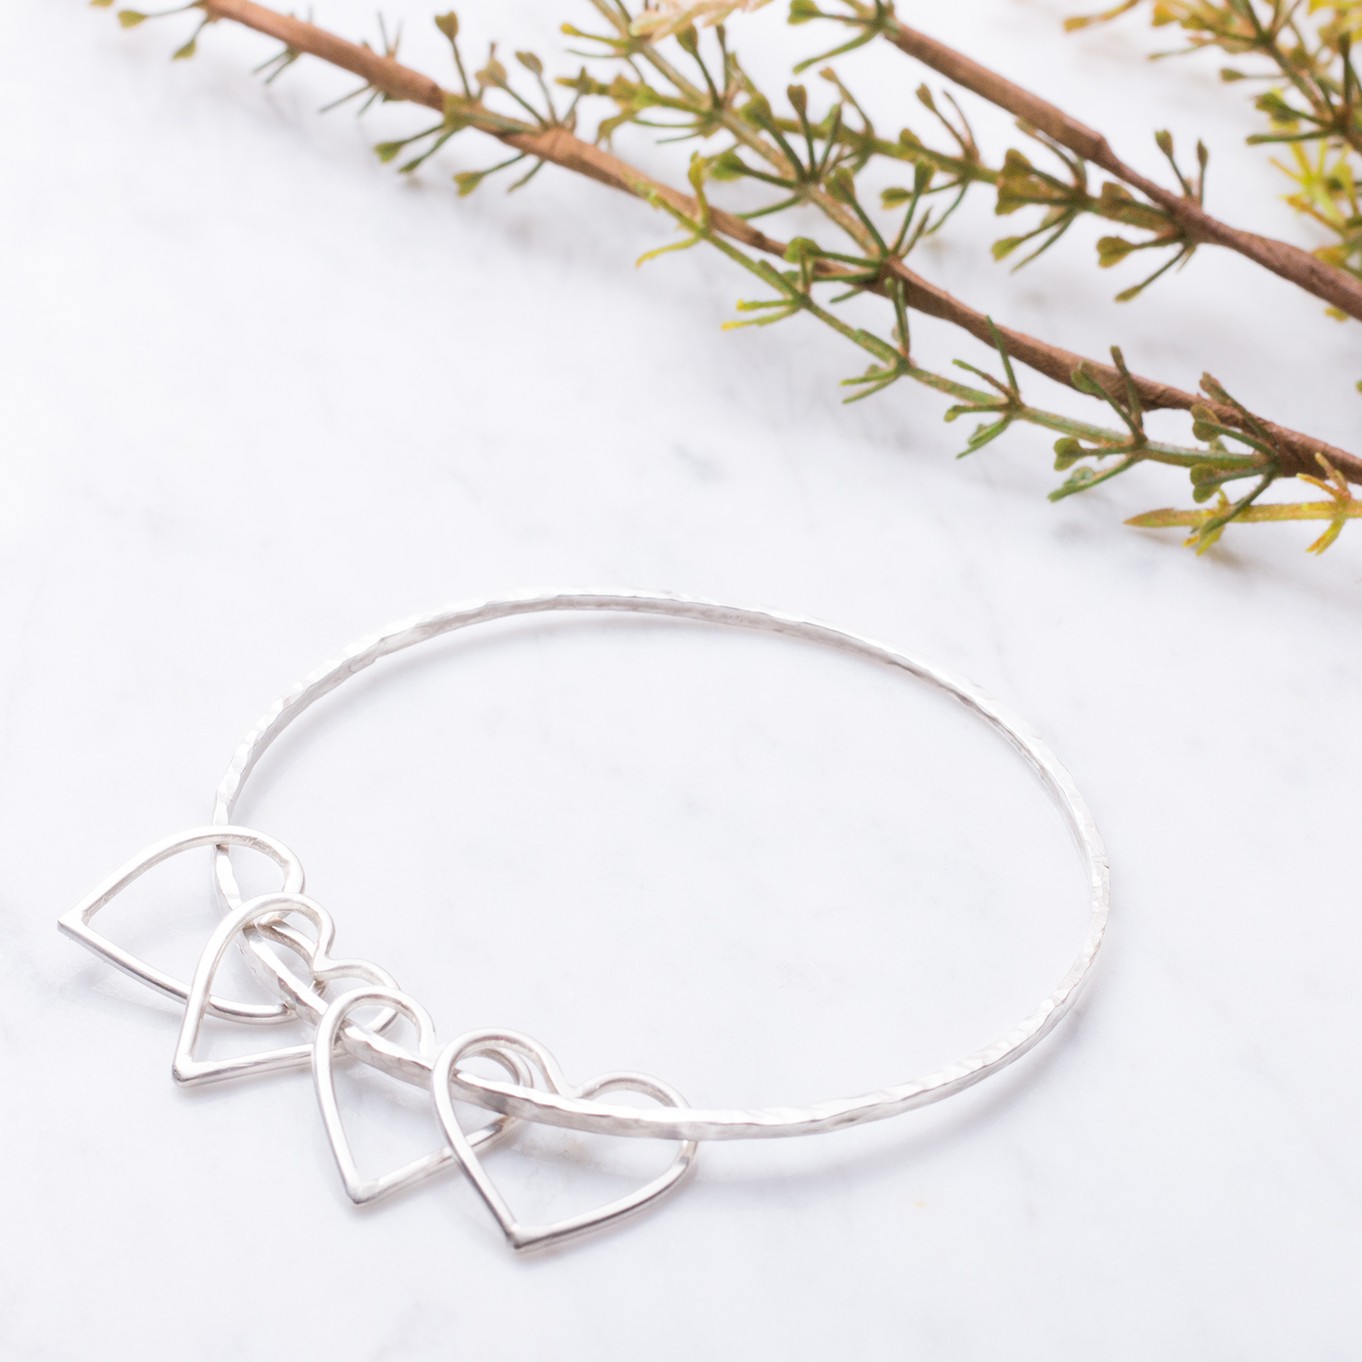
Follow Hannah's experience as she enrols on an 11-week course aimed at beginners. She makes a few designs from a spinner ring, cactus earstuds to a dangling heart bangle!
Intermediate Jewellery Course With Sarah
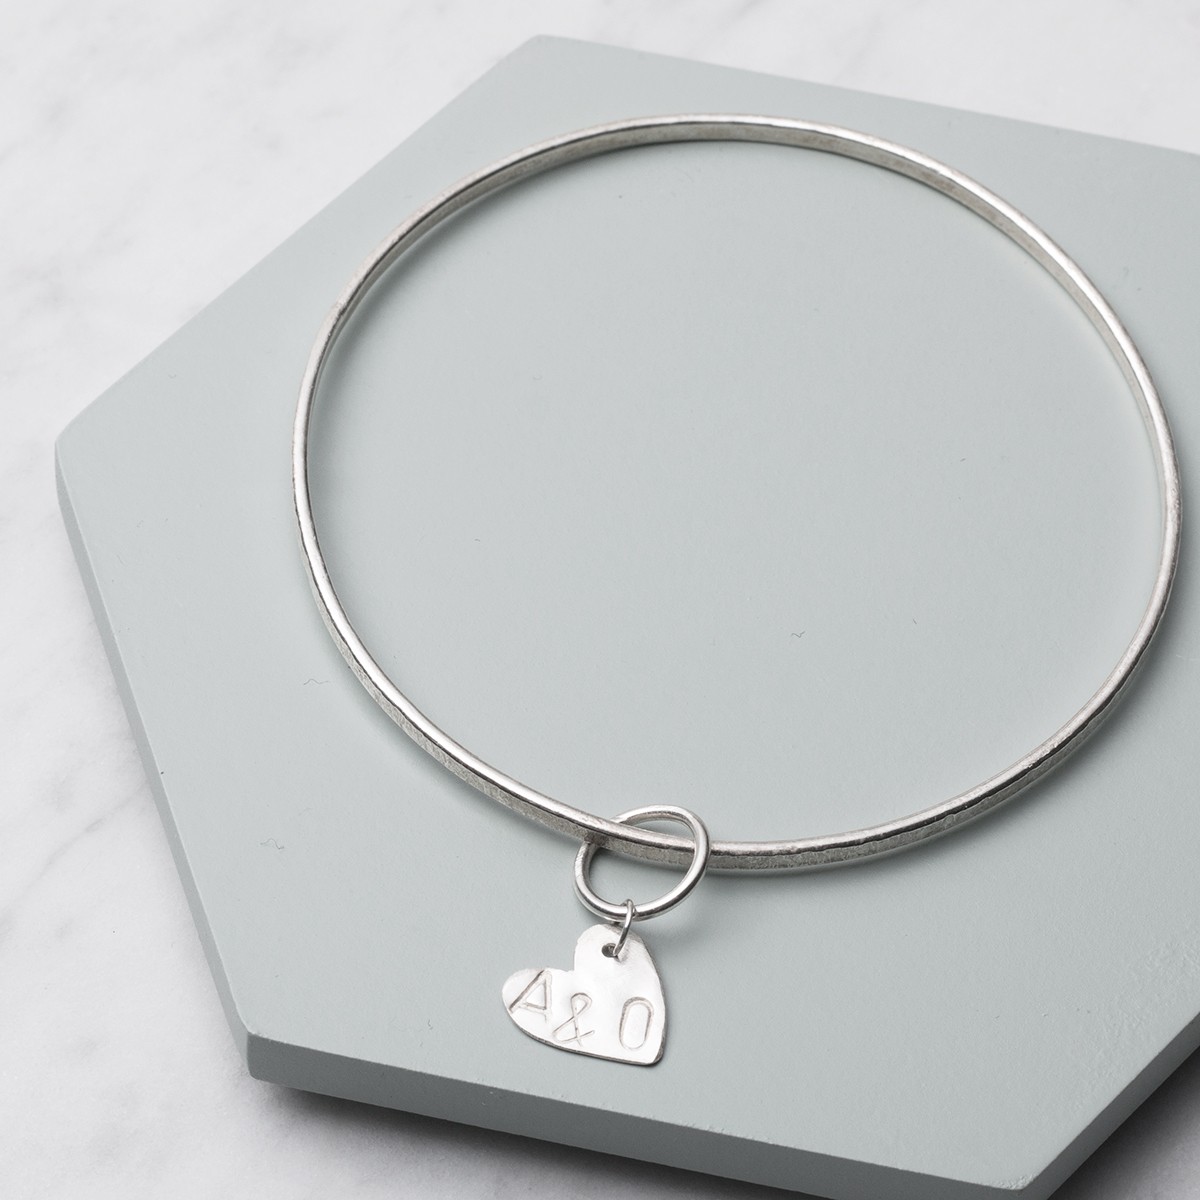
Sarah is the Photographer at Kernowcraft and recently completed an evening jewellery course aimed at those with previous experience in jewellery making. Sarah made a textured ring, bezel setting for a piece of sea glass, a bangle and more.
Also in this section:
- 8 Reasons To Do A Jewellery Making Course
- 5 Steps To Creating A Profitable Jewellery Business
- Jewellery Photography Guide
- 12 Tips When Taking Photos Of Jewellery On Your Phone
- 5 Tips for Photographing Your Jewellery
- Jewellery Packaging Ideas
- 10 Packaging Tips For Your Handmade Jewellery
- All Your Questions Answered On Hallmarking Jewellery By London Assay Office
- The Power of The Jewellery Making Community
- Jewellery Making, Copyright & Being Unique
- 6 Ways To Support A Small Business
- Running A Handmade Jewellery Business On A Budget
- Preparing Your Jewellery Craft Stall
- Jewellery Craft Market Vlog & Packing List With Mareike
- 21 Tips For A Successful Craft Stall
- 10 Reasons Your Jewellery Business Needs Social Media
- How To Use Instagram For Your Handmade Jewellery Business
- How To Set Up An Etsy Shop For Your Handmade Jewellery Business
- Creating A Brand For Your Handmade Jewellery Business
- Branding Your Jewellery Business
- 11 Marketing Tips For Your Handmade Jewellery Business
- 16 Website Tips For Your Handmade Jewellery Business
- Choosing A Brand Name For Your Handmade Jewellery Business
- Creating A Logo For Your Jewellery Business
- How To Price Your Handmade Jewellery
- Top Tips For Designing A Business Card For Your Handmade Jewellery Business
- Sending Newsletters For Your Handmade Business
- How To Run A Social Media Giveaway For Your Handmade Jewellery
- How To Work With Influencers To Sell Your Handmade Jewellery
- 3 Ways To Measure A Customer's Ring Size As A Jeweller
- The Handmade Jewellery Business Christmas Checklist
- 26 Blog Post Ideas for Jewellery Makers
- 4 Ways To Refresh Your Handmade Business
- Top Tips For Selling Handmade Jewellery Online With Carole Allen
- 15 Tips To Stay Safe In The Workshop


