5 Tips For Photographing Your Jewellery
Is Photography Really That Important?
If, like many of us jewellers, selling your jewellery to an admiring customer is the goal behind your craft and hard work, then photography cannot be over looked.
A well photographed piece of jewellery is paramount to compete in both the online and offline world, helping to get your jewellery noticed, respected and desired.
In the online world good photography not only gives you more chance of being noticed, but it also gives you more chance of ranking further up in the results pages of selling platforms such as Etsy, Instagram, Not On The Highstreet, Ebay and Amazon, as well as being great for SEO results on google if you have your own website.
In the offline world, good photography gives a really professional and high standard feel for printed materials to advertise yourself such as business cards and leaflets. It also gives you plenty to work with to catch peoples eye at events and exhibitions.
Through watching the handmade jewellery scene here at Kernowcraft, we have noticed huge shifts in the standard of photography and this is not only due to better equipment. Photography has become yet another reflection of your brand and your work and it is now almost always the deciding factor in purchase decisions.
So... whether you are using a DSLR camera and a light box or a camera phone and an editing app, this blog gives our top 5 tips on photographing your jewellery...
1. Choose your style and stay consistent
Creating a style to adhere to when photographing your jewellery will make a huge difference to the overall look of your brand and jewellery.
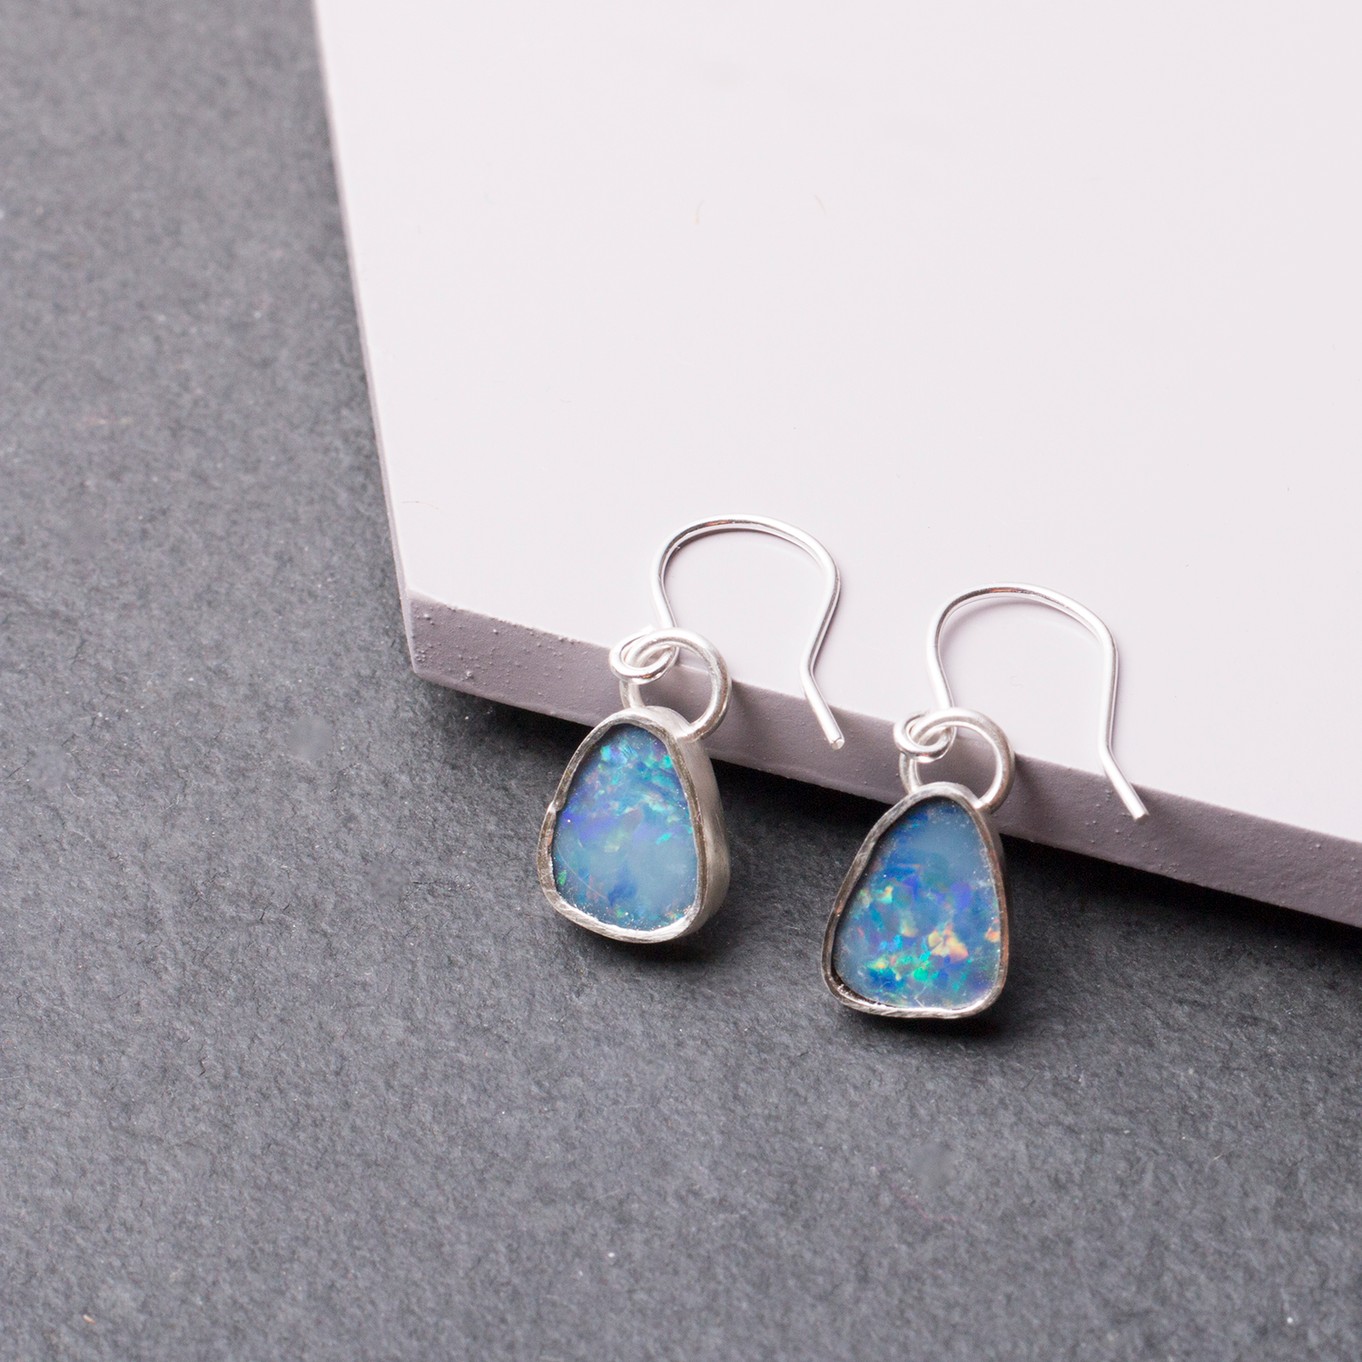
The composition of your shots ultimately creates your style. This includes backdrop, props, colours and filters - if you choose to use them.
Think about what you want your jewellery to reflect and what style you want to have. For example, beach chic? bohemian? Classic and elegant? Fun and bold?
Everything down to what you lay your jewellery on contributes to creating a style.
Choose a colour theme and stick to it. Having images that look consistent in their colours creates a lovely and professional portfolio (especially for Instagram and platforms like Etsy). Even if your jewellery ranges in colour, the rest of the shot can keep the theme.
Experiment with different backgrounds - wood, slate, fabric etc and then choose one or two that you would like to use. Try to stick to these, specifically for your product shots as the product image is the main contributing factor that will appeal to your customers, resulting in them purchasing from you.
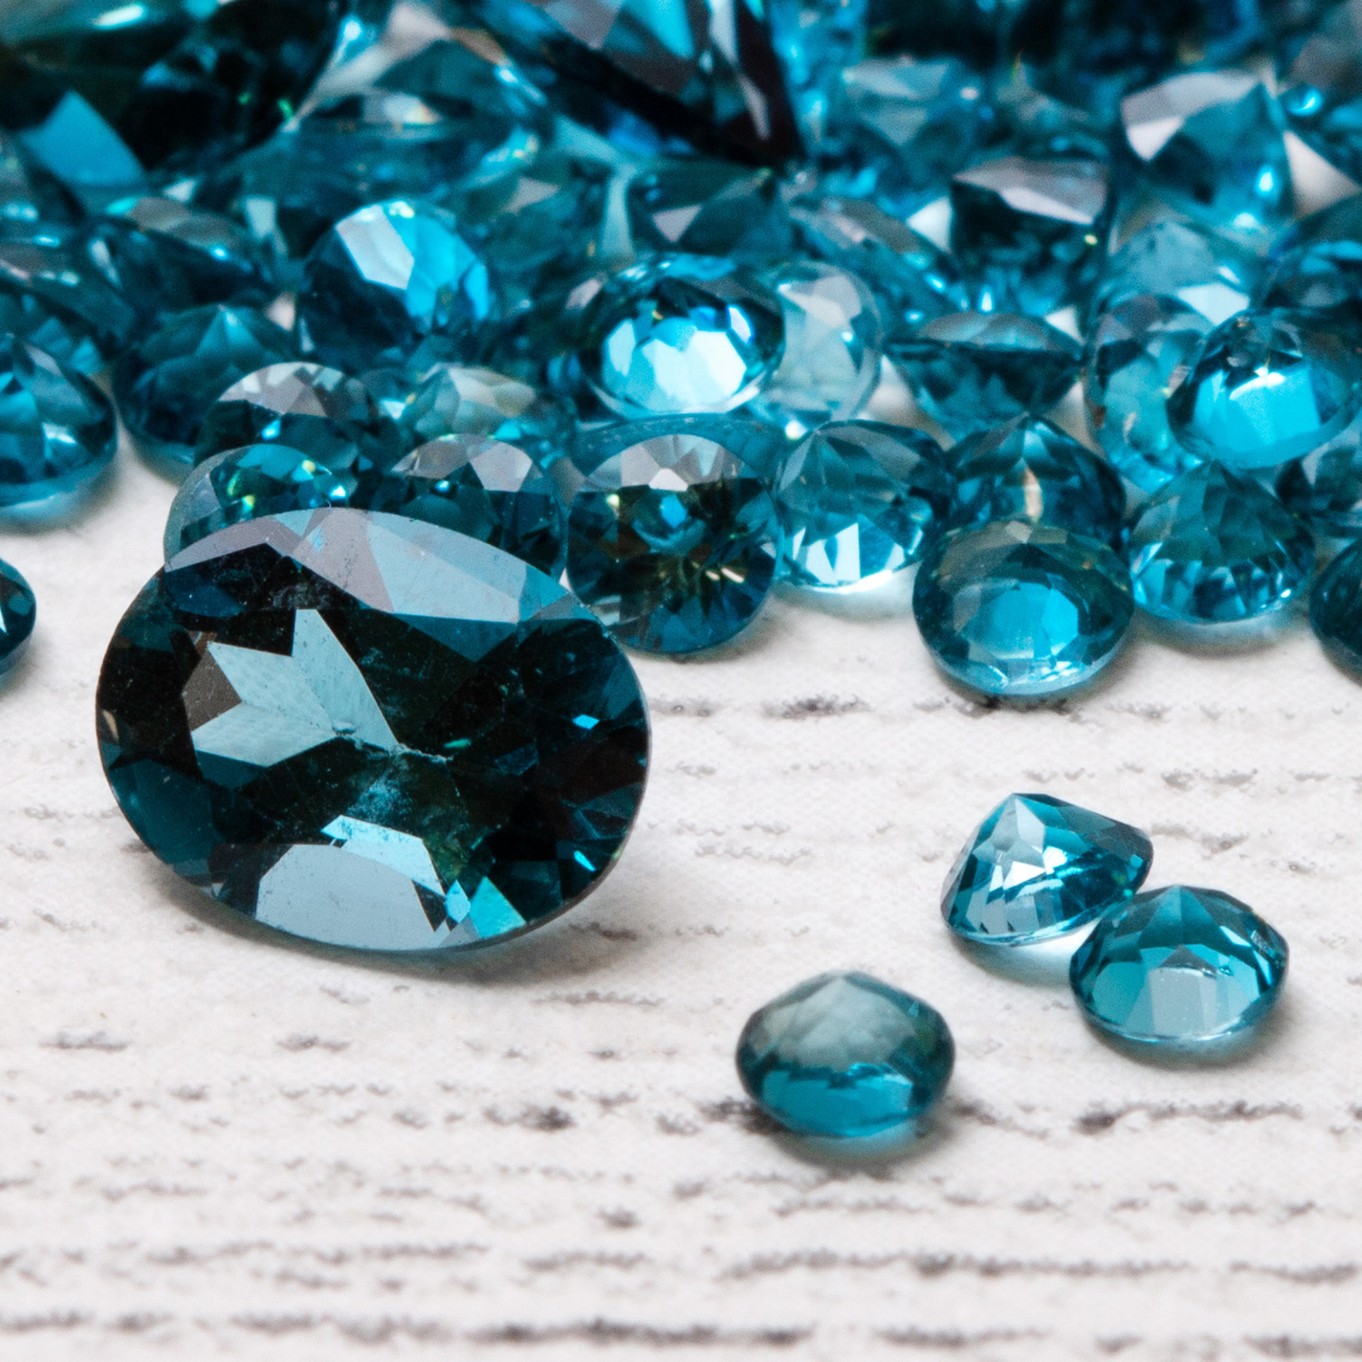
If using props, ensure they too have a theme and use them throughout each shot. Maybe a shell here and there, or a branch to lay your jewellery on or even gemstones scattered about. This can help to create a really beautiful and dynamic image.
It is important to remember to try and ensure that the background and props do not distract from the piece of jewellery itself.
2. Pay attention to lighting and focus
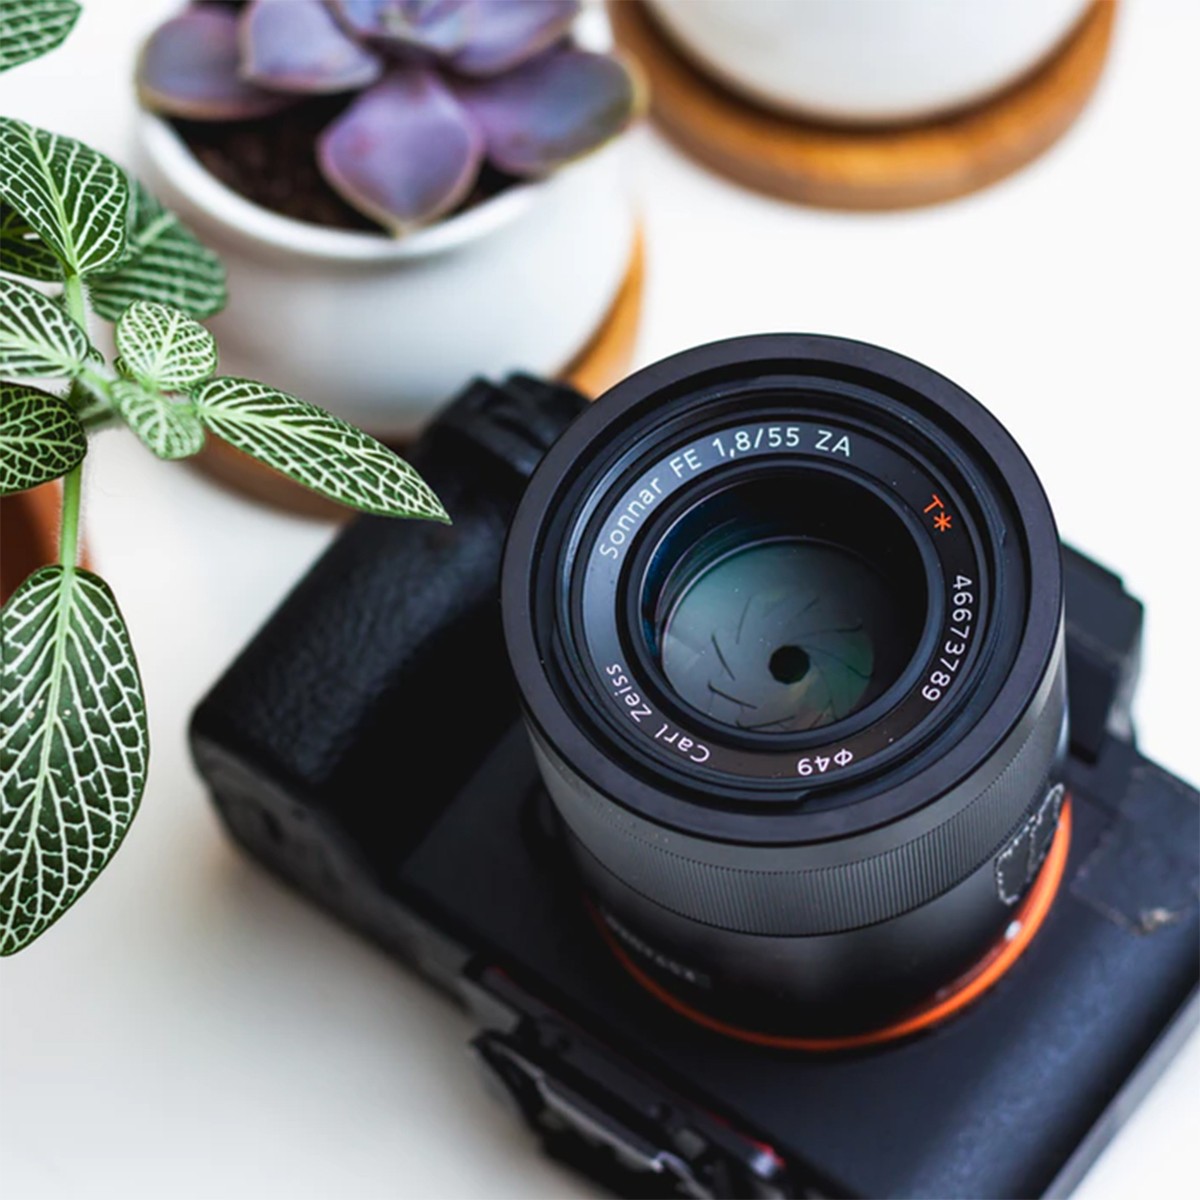
Lighting and focus have a massive effect on the overall quality of your image. A well-lit image with a certain area in focus gives a professional, clean look that helps to show your jewellery for its true beauty.
You can create photographs with good lighting and nice depth of field beautifully by investing in photography equipment or there are also ways to achieve this using your camera phone!
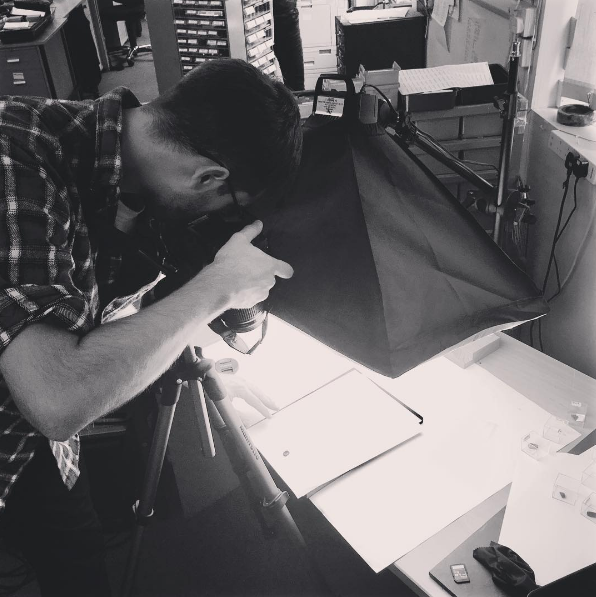
Whether through natural light, a softbox or lamps, ensure your images are not too bright and not too dim - it sounds simple but it's amazing how easy it is to make this mistake! The right amount of light will show the true beauty of a highly polished piece of metal or sparkling gemstone but will not 'white' out certain metals and colours. If you do find it difficult to get the right light due to weather or equipment shortage, there are ways around this in the editing process (See tip 5).
Creating depth of field through focus is a nice touch to add to photographs, especially when you want to bring the focus in on a particular area of your jewellery. Focus is traditionally achieved by using a good DSLR camera with a good lens and finding the correct aperture. However, if you do not have a DSLR or the budget to invest in one, photo editing apps like Instagram or Afterlight have options where you can create the same kind of effect. For example, in Instagram the 'tilt shift' option allows you to blur all of the image apart from the area you wish to look in focus.
Or, if you prefer, you could hire a professional photographer to take your main product shots. We have known many jewellers to do this, and all have said that the investment is worth it.
3. Think About Context
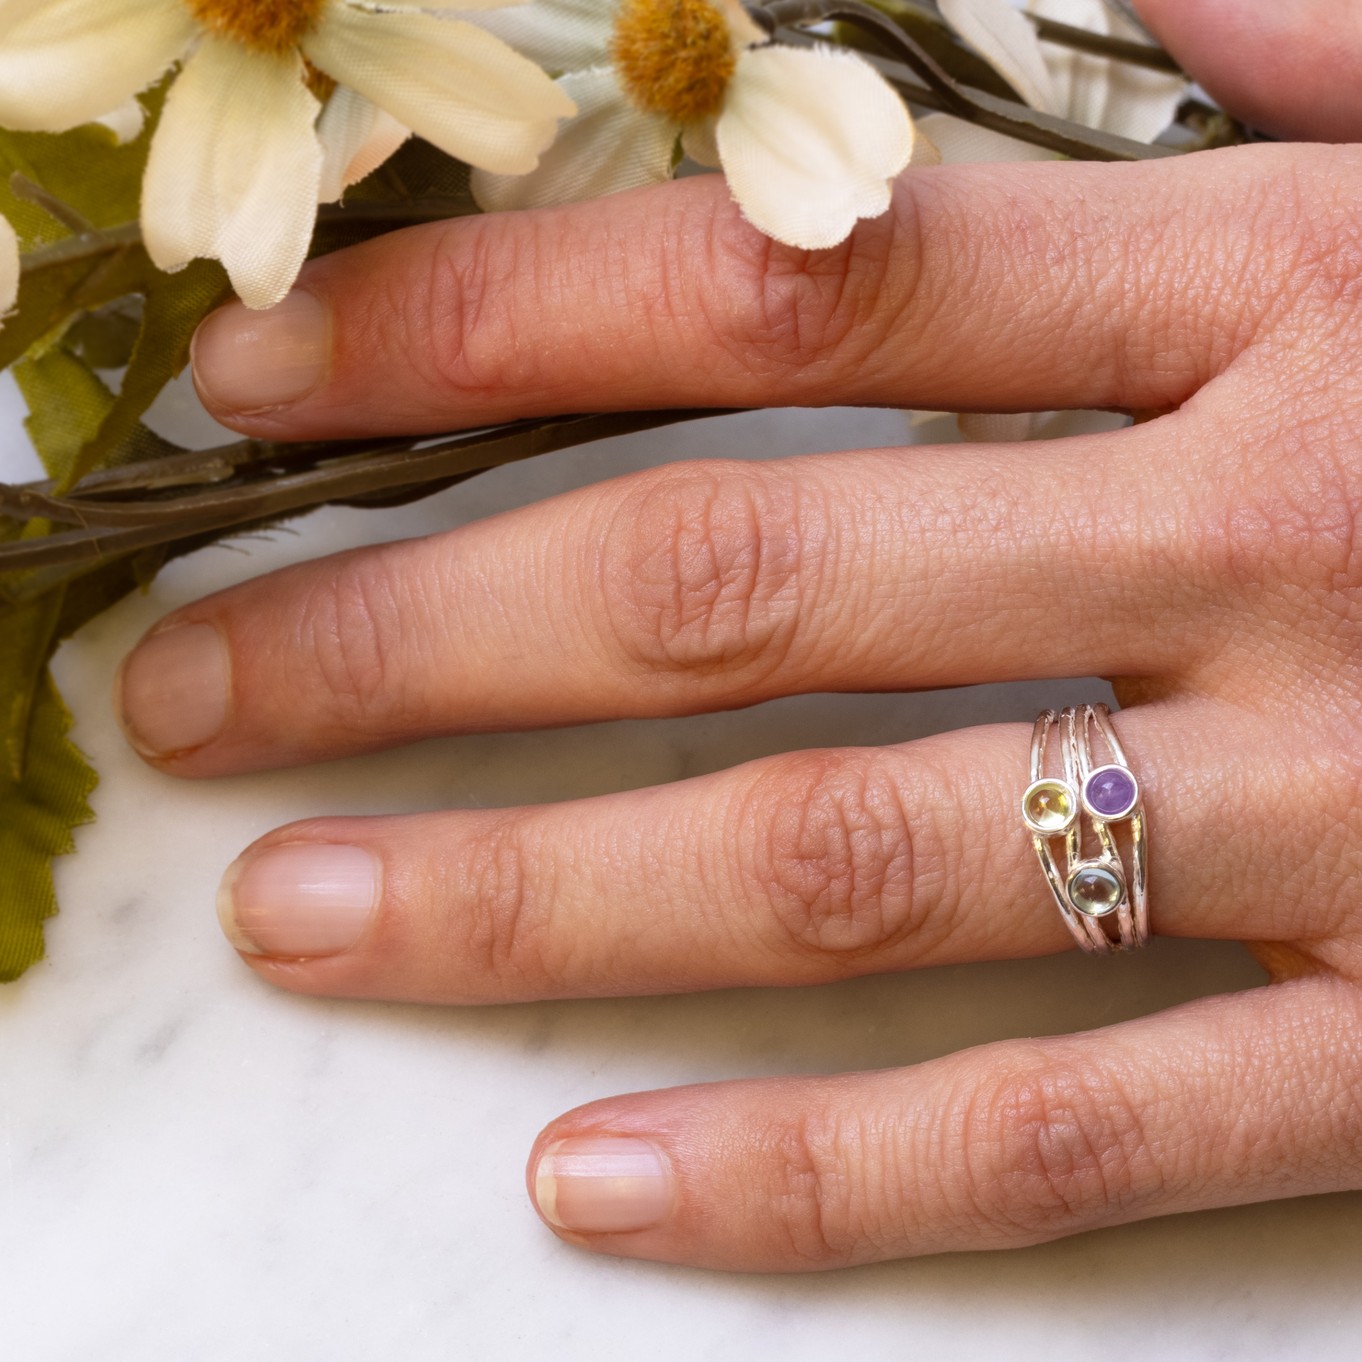
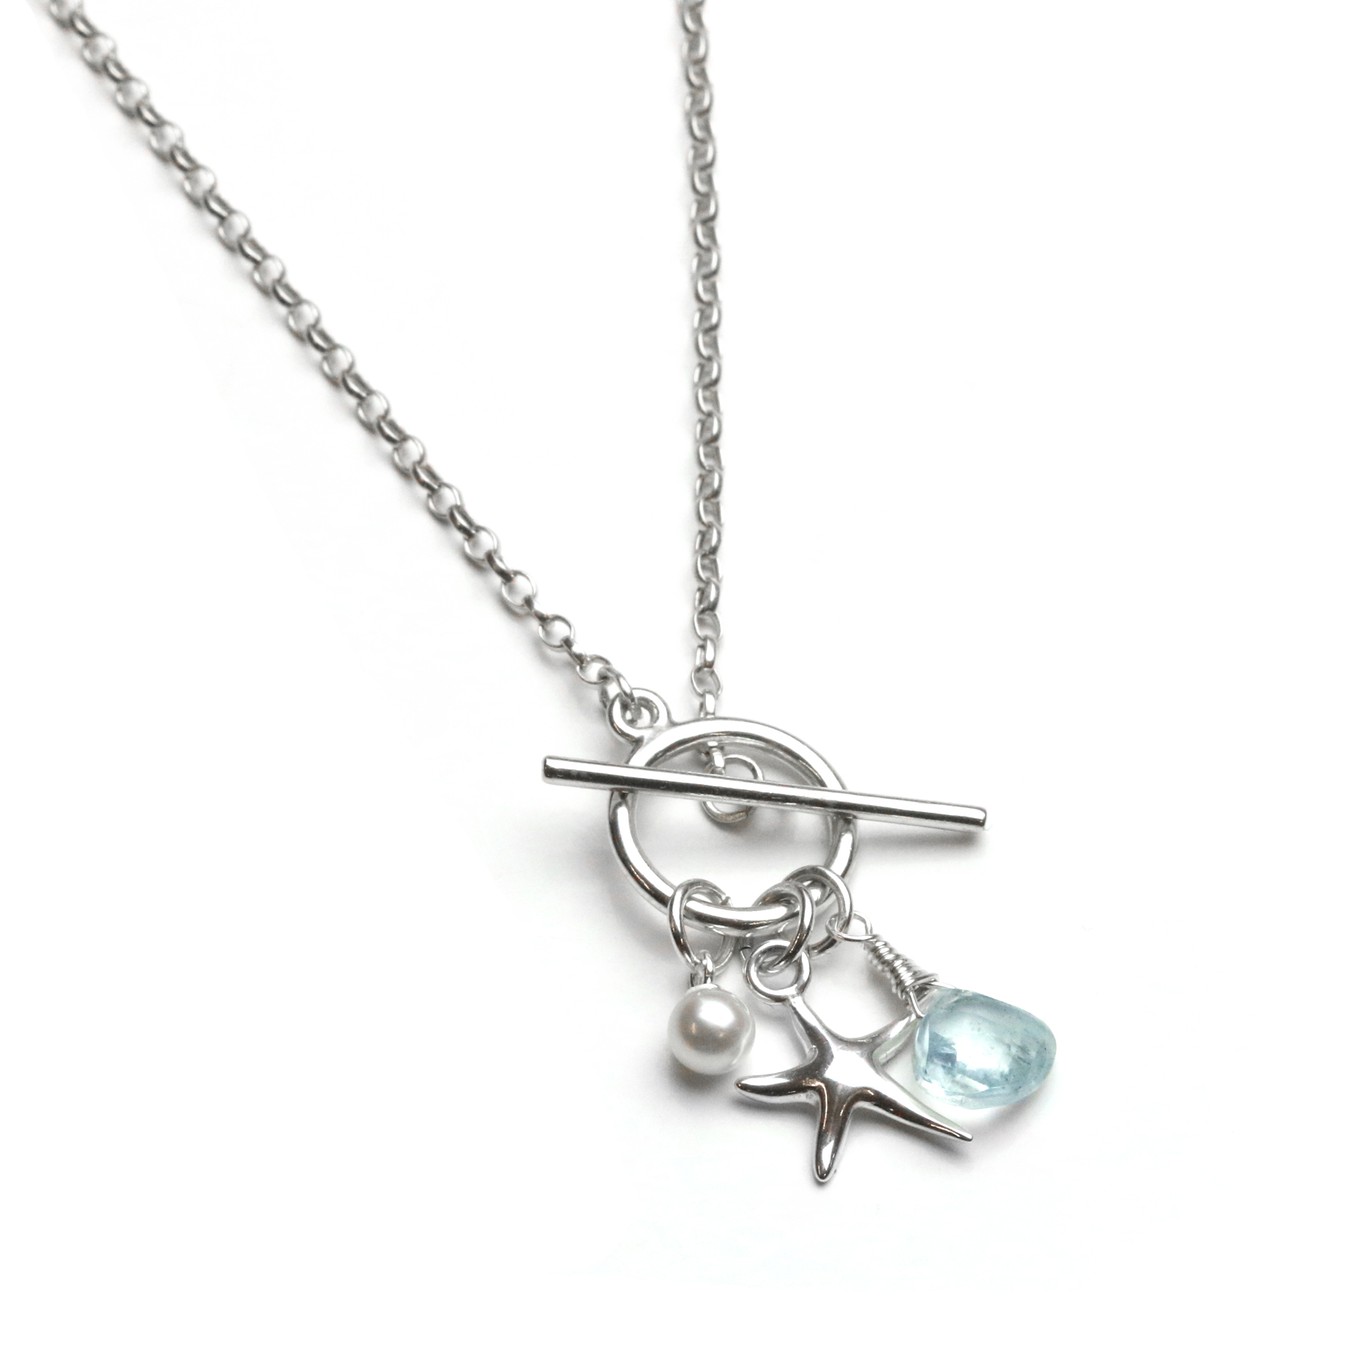
Having images that show your jewellery in context (such as being worn or next to something that helps to determine its size), can be very helpful in determining whether the customer wishes to purchase from you. It also helps your jewellery to stand out from others.
Context shots can be additional photographs to the main product photos however, it is still important that these photographs are the best they can be to ensure you don't risk them having a negative effect on the main image.
Great context shots can also be incredibly effective for eye-catching adverts or as part of your displays at shows and fairs.
We have found that the best indicator of the size as well as how it looks when worn is the human body. You can model the jewellery yourself for certain pieces such as rings and bracelets, but others may prove more difficult - unless you are a master of selfies of course!
If you decide to use a model, try to have the main focus as your jewellery and the model as part of the background. This can be tricky but more close-up shots help to achieve this or shots with the model looking away are equally as effective.
Context is also great if the piece can be worn in a number of ways! And remember to try and make your context shots fit in with your style (See Tip 1).
4. Consider your angle
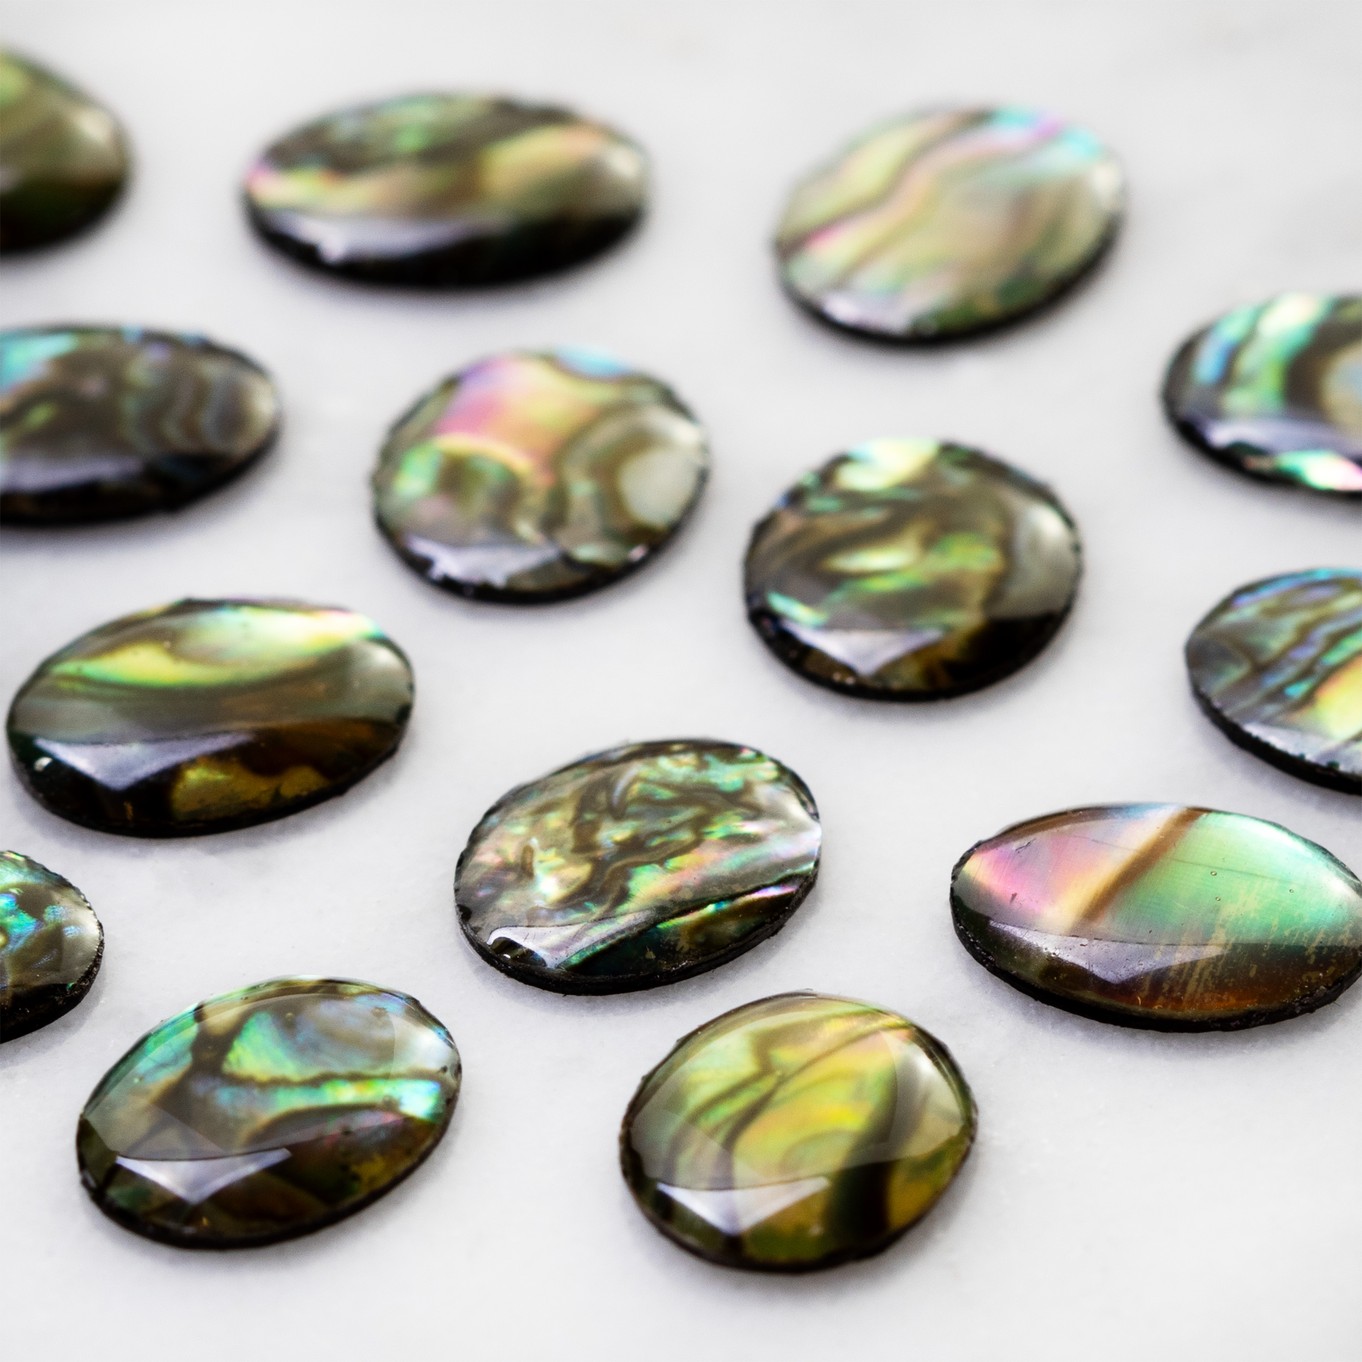
Jewellery is particularly hard to photograph - there are always elements that the camera just won't pick up. For example, certain gemstones such as labradorite and rainbow moonstone can have beautiful blue flashes that only show at specific angles and in certain lights.
Whilst you want to capture as many of the wonderful elements of your jewellery as you can, it is important to consider the angle of your shot. You don't want a photograph where you can see the flash of a gemstone but you can't tell what the piece of jewellery looks like as a whole.
Angles are also important to add depth to your jewellery as well as helping to show it's true size. For example, a ring can look completely different from directly above than what it does from the side. Adding depth is also a great way for the customer to see exactly how bulbous gemstones are in your jewellery designs. This can take some experimenting with slight variations of lower or higher-angled shots.
When making your jewellery, try to keep in mind the photography process after. For example, take a look at the stone you are setting and see which way up it works best for how you envision the finished piece sitting in the photograph.
Also, when taking the photo try to look at your jewellery like you have never seen it before! This can be extremely difficult, but it will help you to decide which angle shows your design best. Whilst you may like the way a close-up or side-angle shot looks, it may not show enough of the design for someone to decide that they want to buy it.
5. Don't be afraid to edit what needs editing
Sometimes it is easy to forget about one thing whilst focusing on another, leaving you with what could be the perfect shot but with something not quite right. Luckily there are so many great editing tools that can help, and that fit all budgets.
However, if you choose to edit your photographs it is really important to keep a true representation of your jewellery. Keeping your jewellery close by whilst editing is a great way to compare and ensure the image is accurate.
There are many options when it comes to editing software. If, again you have the budget to invest or already have a programme like Photoshop then these are great for targeting specific areas of a photo. Alternatively, there are many free or lower-budget online editing software and apps for your phone (Afterlight - is a great editing app for mobile).
Elements that can be edited to help create a more professional look include brightness (which helps to adjust lighting), focus (as mentioned in tip 2), sharpness, shadows, highlights and contrast. Instagram's editing feature have all of these options!
Things to look out for in case of over-editing are things like adding a heavy filter, high-saturating the image or over-fading the image.
If you have more advanced editing software then you could also try taking out or de-saturating specific colours that have leaked or been reflected into the photo from the surrounding environment. For example, when shooting silver, we often find that it reflects a lot of yellow. Photoshop enables us to specifically take the yellow out of the metal to give a more true silver colour.
Read The Ultimate Guide To Photographing Jewellery
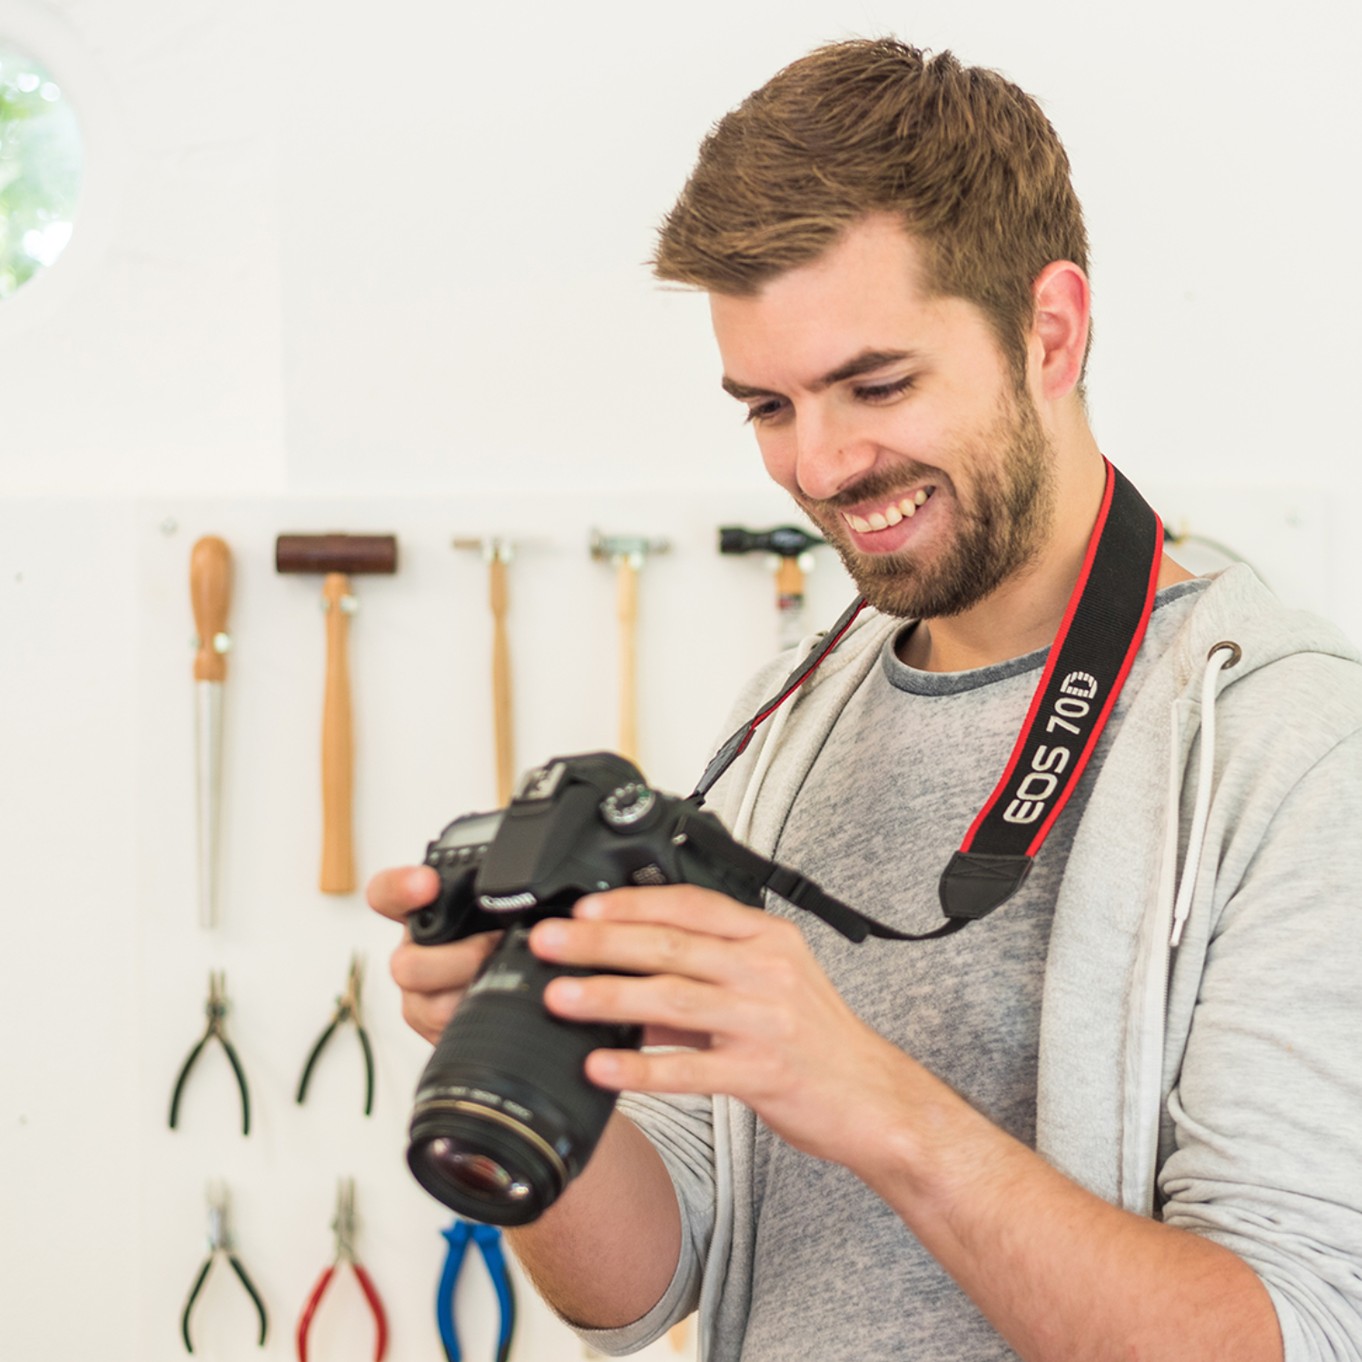
Top up your photography skills even more! Sam, our previous photographer shares his knowledge and expertise in photographing your handmade jewellery designs. From mastering the flash to getting that white balance just right... it's one of our most popular posts, as imagery is key to getting your jewellery noticed!
Also in this section:
- 8 Reasons To Do A Jewellery Making Course
- 5 Steps To Creating A Profitable Jewellery Business
- Jewellery Photography Guide
- 12 Tips When Taking Photos Of Jewellery On Your Phone
- 5 Tips for Photographing Your Jewellery
- Jewellery Packaging Ideas
- 10 Packaging Tips For Your Handmade Jewellery
- All Your Questions Answered On Hallmarking Jewellery By London Assay Office
- The Power of The Jewellery Making Community
- Jewellery Making, Copyright & Being Unique
- 6 Ways To Support A Small Business
- Running A Handmade Jewellery Business On A Budget
- Preparing Your Jewellery Craft Stall
- Jewellery Craft Market Vlog & Packing List With Mareike
- 21 Tips For A Successful Craft Stall
- 10 Reasons Your Jewellery Business Needs Social Media
- How To Use Instagram For Your Handmade Jewellery Business
- How To Set Up An Etsy Shop For Your Handmade Jewellery Business
- Creating A Brand For Your Handmade Jewellery Business
- Branding Your Jewellery Business
- 11 Marketing Tips For Your Handmade Jewellery Business
- 16 Website Tips For Your Handmade Jewellery Business
- Choosing A Brand Name For Your Handmade Jewellery Business
- Creating A Logo For Your Jewellery Business
- How To Price Your Handmade Jewellery
- Top Tips For Designing A Business Card For Your Handmade Jewellery Business
- Sending Newsletters For Your Handmade Business
- How To Run A Social Media Giveaway For Your Handmade Jewellery
- How To Work With Influencers To Sell Your Handmade Jewellery
- 3 Ways To Measure A Customer's Ring Size As A Jeweller
- The Handmade Jewellery Business Christmas Checklist
- 26 Blog Post Ideas for Jewellery Makers
- 4 Ways To Refresh Your Handmade Business
- Top Tips For Selling Handmade Jewellery Online With Carole Allen
- 15 Tips To Stay Safe In The Workshop

