Working With Art Clay Copper
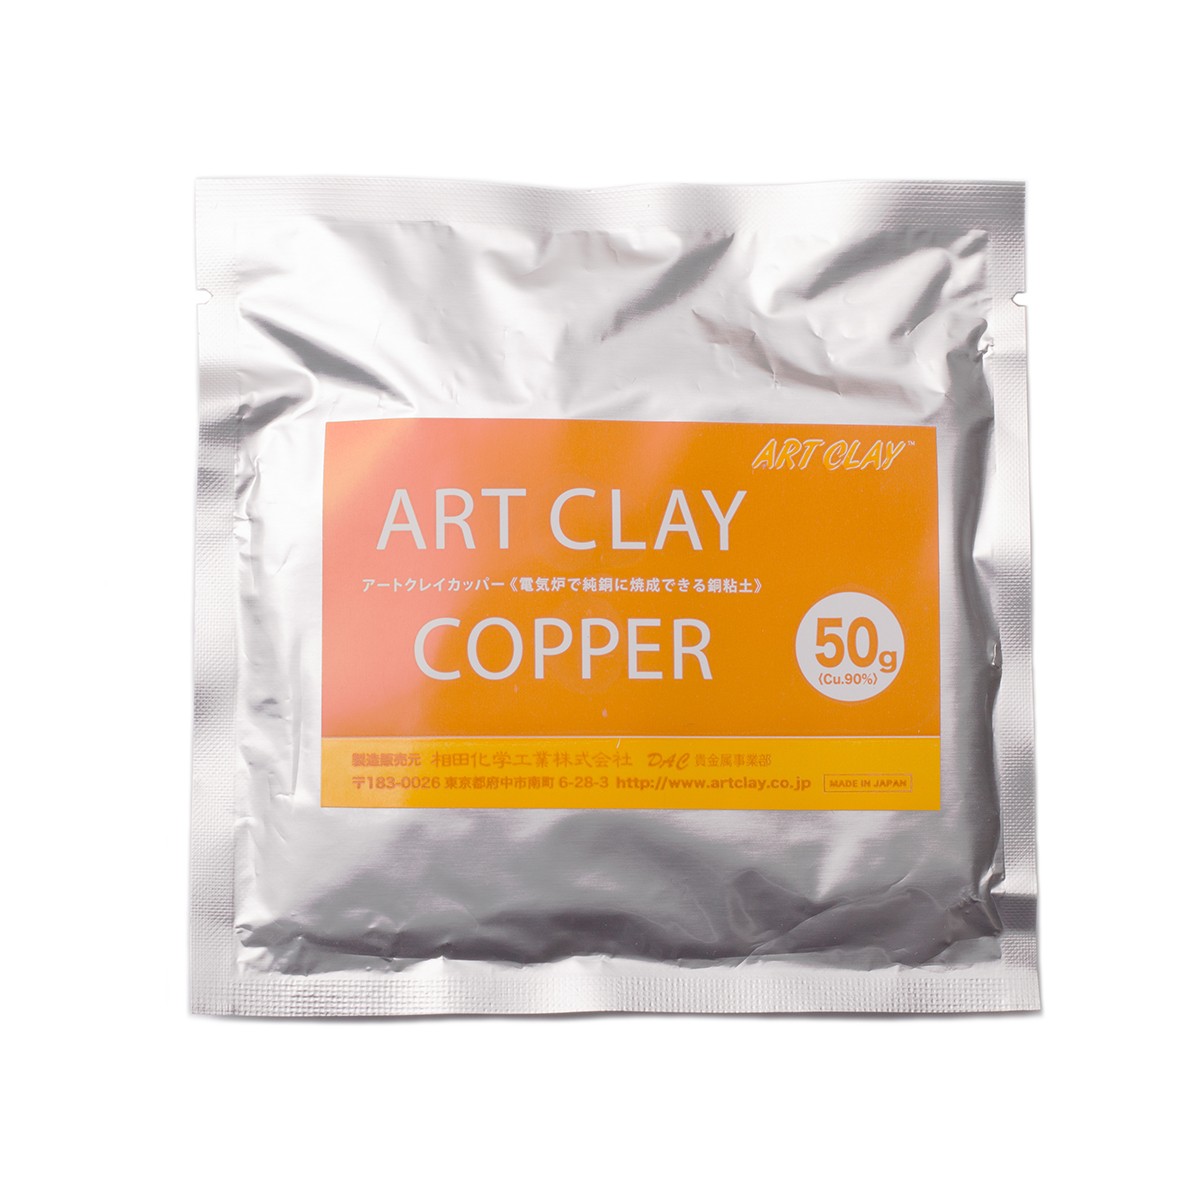
Art Clay Copper is a clay material that you can use to make a wide range of pieces such as jewellery, craft designs, and objects like sculptures and models. Art Clay Copper can be fired in an electric kiln without using carbon, with the resulting fired piece being more than 99.5% pure copper. The percentage of copper in the Art Clay Copper in clay state is 90%.
Art Clay Copper works a little differently to Precious Metal Clay Silver and Art Clay Silver in that extra care needs to be taken in heating the material.
On this page we go into detail about how to work with Art Clay Copper so that you can get the best results.
Important Notes Before You Start...
- Ensure your clay is completely dry before firing - this product may crack and burst during firing if insufficiently dry.
- Fire in a well-ventilated area. Oxygen is consumed during firing and smoke which may result in gas emissions.
- Take precautions against burns from the heated clay when drying, firing and after firing.
- Be aware that some people are allergic to copper. The level of reaction is different according to the individual, from light to severe.
- Due to the differences between copper clay and silver clay, the clays may contaminate each other if mixed accidentally during preparation. This can occur by using shared tools. It is therefore recommended to use separate tools for each type of clay. If this is not possible, please clean the tools carefully after each use to limit the chance of contamination.
- Wash your hands well after using the product.
- After firing in the kiln, the surface layer of the piece will oxidize, similar to soldered sterling silver. You will need to remove this oxidized surface with pickling solution such as safety pickle to obtain a pure copper colour surface.
- Follow the written instructions carefully, and do not use this product for any other purposes other than those stated in the instructions below.
Storage & Use
Keep the clay indoors at a moderate room temperature and out of direct sunlight. Try to use the product as soon as possible after opening the original product package.
Art Clay Copper is a water-based clay, and dries naturally in the air. After opening your package of clay, the surface of Art Clay Copper will naturally start oxidising and the colour will darken if left in the air. To avoid drying when starting your piece, only take out the needed amount and if you see a darkened surface appear, scrape off the darkened layer and use the internal clay to make your piece.
To avoid oxidation of unused clay after unsealing the original product package, you can wrap in several layers of plastic wrap tightly, then place in a zip up type plastic bag, or an airtight container.
Getting Started
The shrinkage of Art Clay Copper during firing is under 10% in length, so be sure to consider this when designing and making your piece.
How To Make Paste
Apply a small amount of water to some soft clay or ground powder of dry clay, and blend well while crushing in any hard pieces. You can use this paste for filling up any cracks in your main design once dry as well as for joining clay parts.
Drying
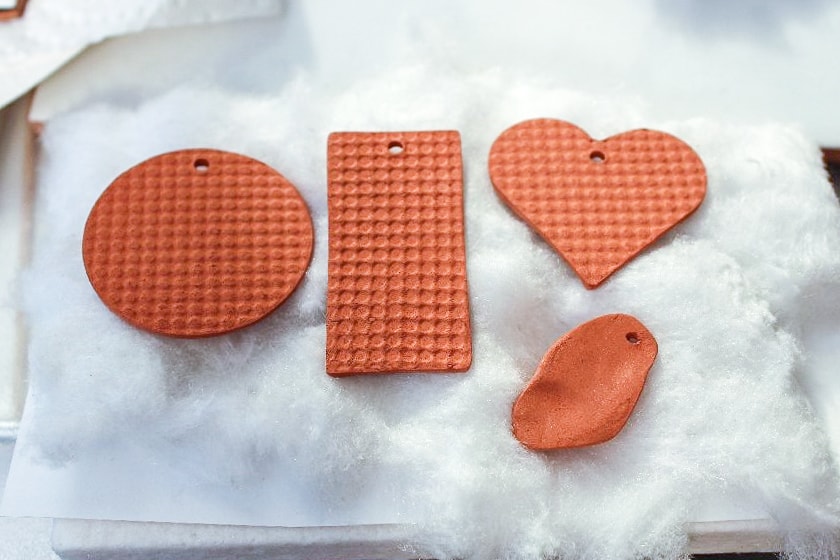
Dry completely after moulding. The dried clay will become hard like plaster, so you can enjoy the process of drilling, filing and sanding with hand tools and equipment. The following drying instructions and drying check method should be completed before firing.
Clay Dryness Test
Place your dried design on a piece of stainless or glass plate while still warm. Leave for a couple of seconds, then remove your piece from the plate. If you do not see any vapour cloud on the plate where the piece was, drying is completed.
Drying guideline for drying a piece up to 1mm thick, 5g (if the piece is larger than this size, drying will need more time):
Hot air dryer: more than 10 mins. Place the piece as close and as safely possible to the hot air while taking care not to drop it.
Electric hot plate: more than 10 mins at 150°C/302°F
Electric kiln: more than 10 mins at 150°C/302°F
Natural air-dry method: more than 24 hours
Important: Do not dry the art clay copper over 250°C/482°F, or the binder will be destroyed during drying and deform the shape in the firing process.
Firing
Kiln Firing
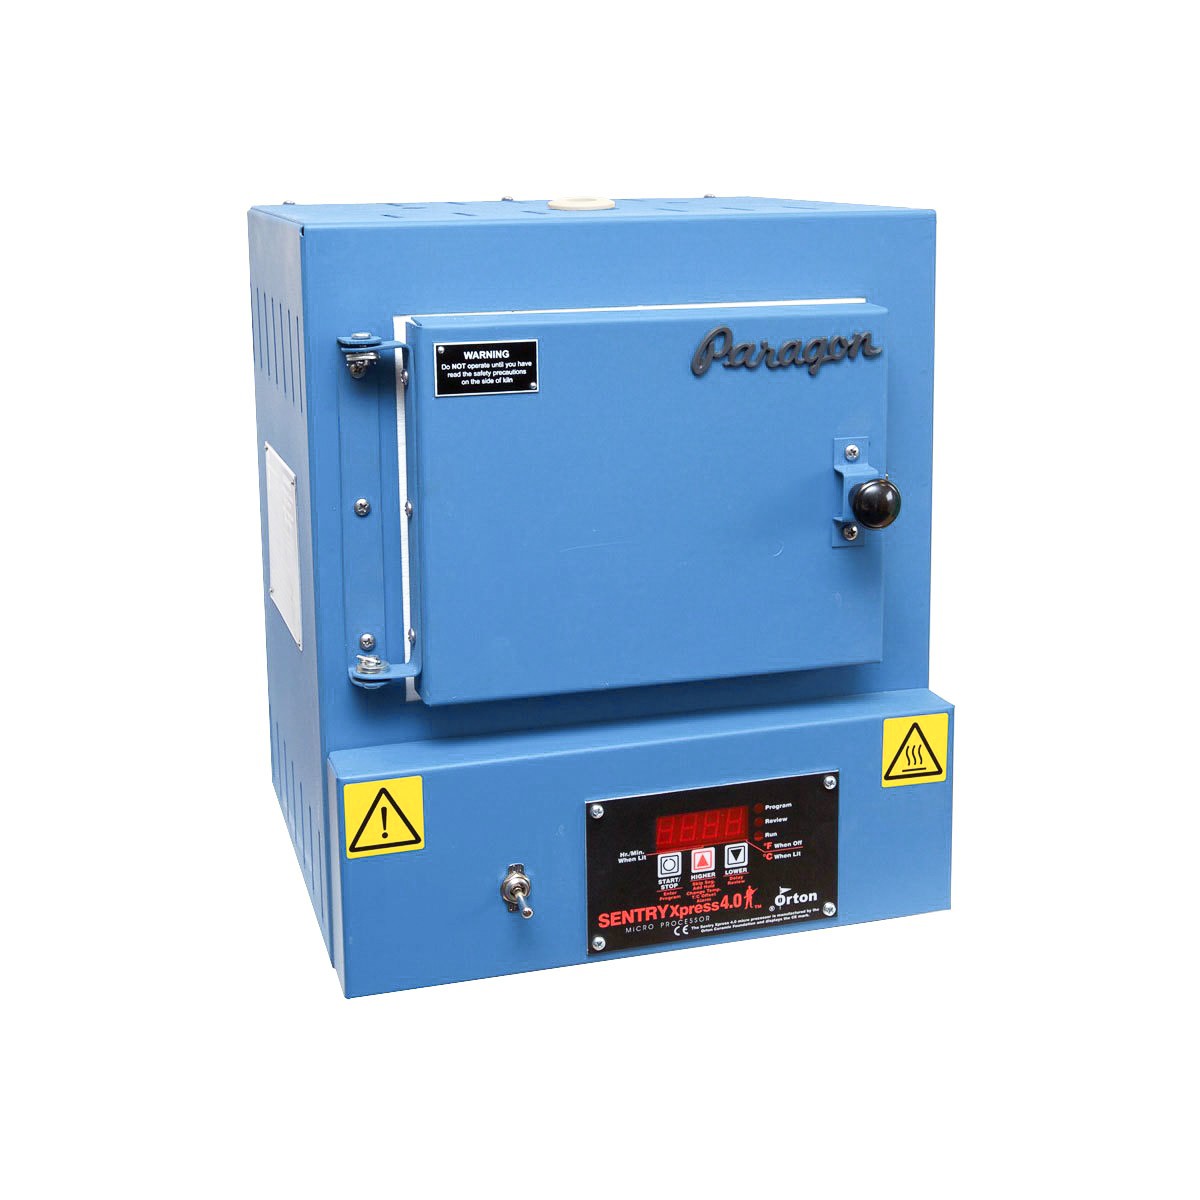
- Place your design into a kiln at 970°C / 1778°F, and hold at this temperature for 30 minutes to fire.
- After firing, take out the fired piece with tweezers or tongs and quench immediately with water. This is so that most of the oxidised layer which occurs during firing will peel off.
- The fired piece is extremely hot when taken out from the kiln so pay extra attention to people and your surroundings while handling and wear safety glasses when firing and always use the proper equipment and follow all safety precautions*
- CAUTION: If a hot fired piece is left in the air right after firing, the oxidised layer on the surface will fracture and at times small pieces can fly into the air. For your safety in such cases, immediately place a fibre cloth over the piece.
- You can also leave the fired piece in the kiln to cool, however be sure to clean the oxidized layer outside of the kiln!
Torch Firing
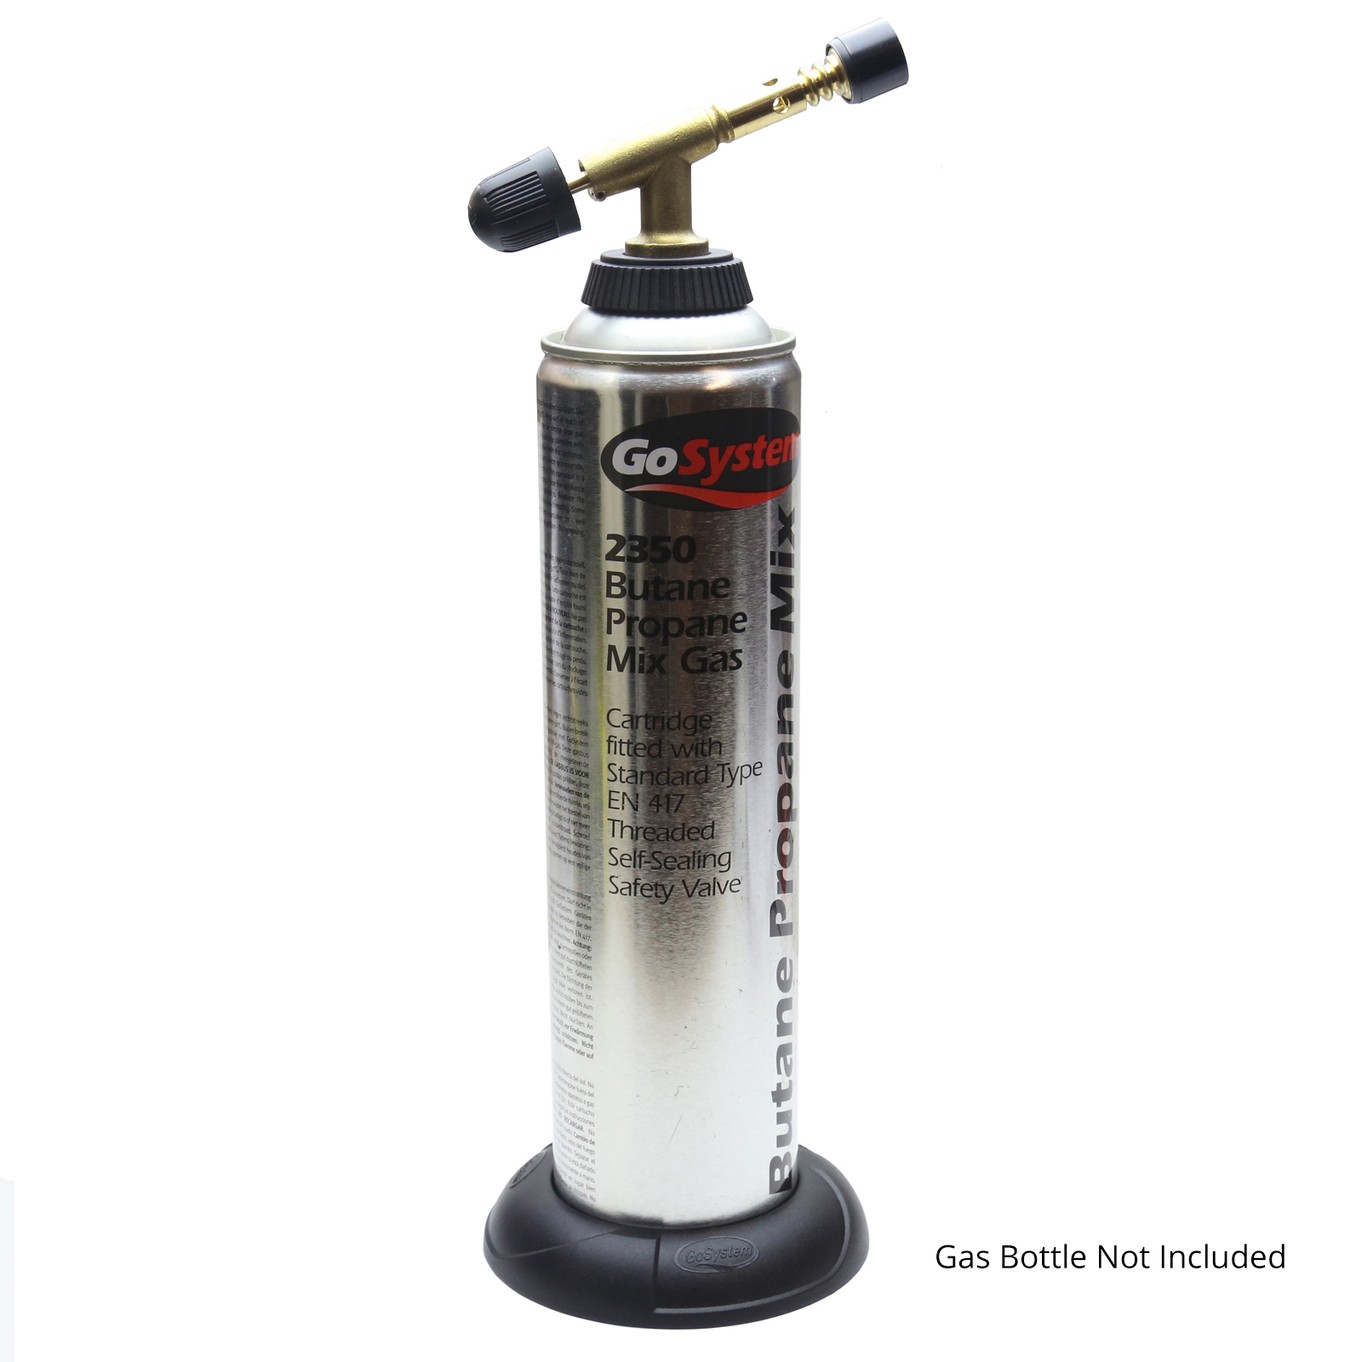
- Please note that whilst Art Clay Copper can be successfully fired with a gas torch, the manufacturer doesn’t supply instructions, so it is very much down to the individual to experiment with firing times. We have the following instructions as a rough guide but would always recommend you conduct your own experiments.
- It is very important that you get the clay hot enough, so we recommend firing using a gas torch with a big, bushy flame such as our GoSystem Tech Torch (for larger pieces we’d even recommend a small plumbers torch).
- Place your design on a soldering block and heat to cherry red for the required time depending on its size and weight:
Pieces 10g or less and 1mm or less in thickness – fire for at least 5 minutes
Pieces up to 25g and 2.5mm thick – fire for at least 7 minutes
Pieces up to 35g and no bigger than a 50p coin – fire for at least 5-7 minutes, depending on size
Larger items should fire for 10 minutes - You need to get the entire piece glowing cherry red for the whole firing time. As a handy hint – if the instructions recommend firing a piece for 5 minutes, you may want to heat it for up to 10 minutes just to be sure it has successfully fired. Check the sound after firing – if it doesn’t sound metallic when hit or dropped (gently, you don’t want to break it!) then fire again.
Pickling
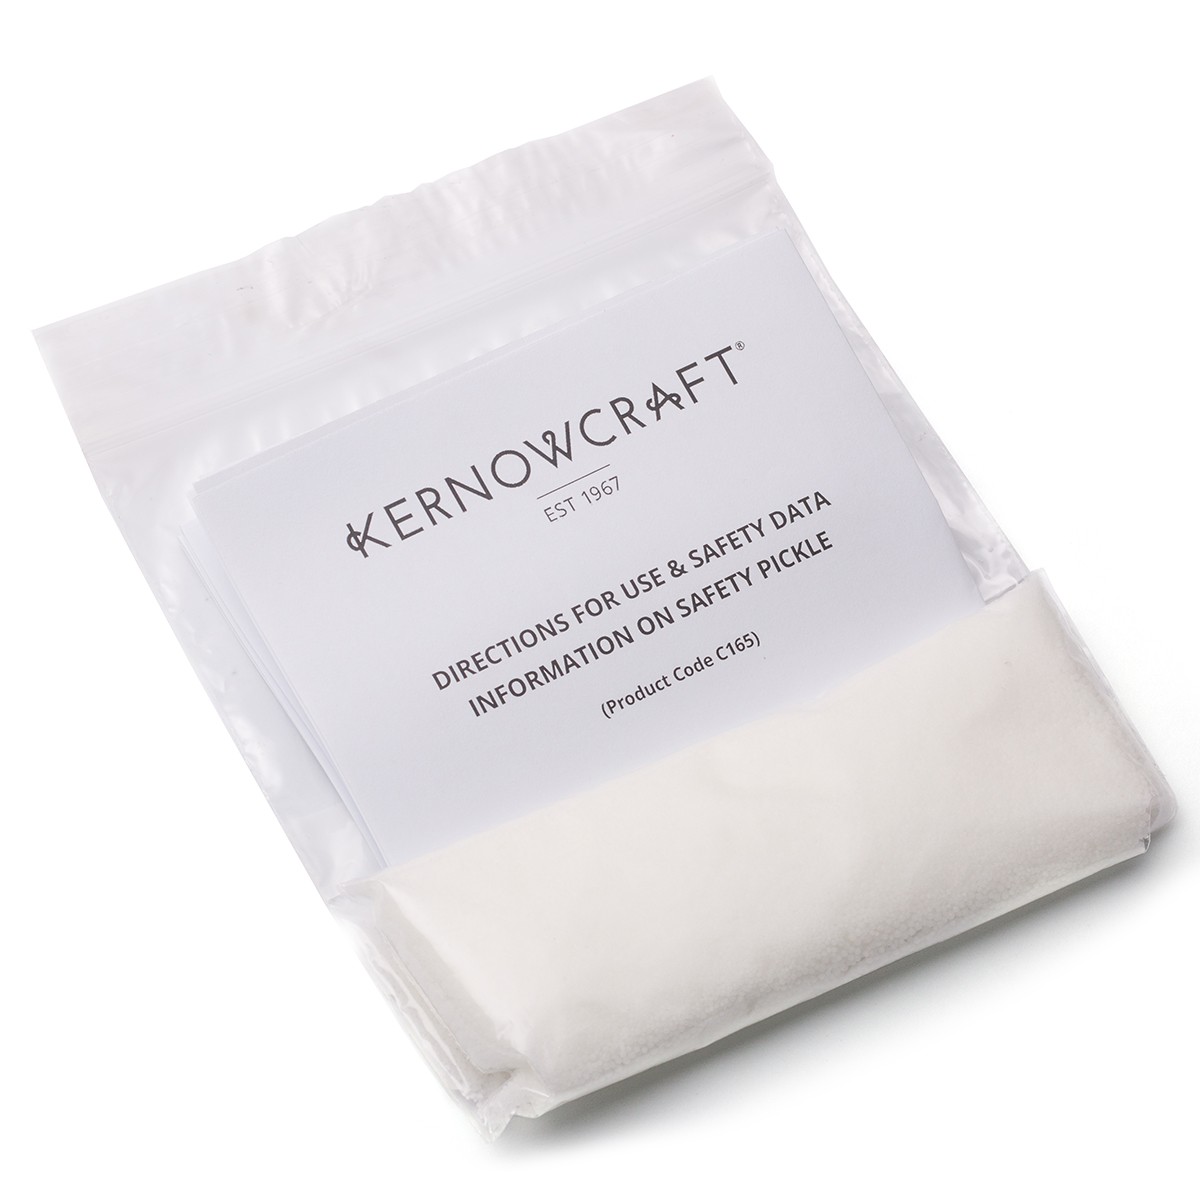
Place the fired Art Clay Copper into a solution made with pickling compound to take away any oxidised layers on the surface. For any oxidised layers around detailed design areas, use a polishing point with an electric rotary tool such as the Dremel 4000 Multi Tool.
For use and proper, environmentally friendly disposal of the pickling solution follow the instructions included with the product.
Finishing
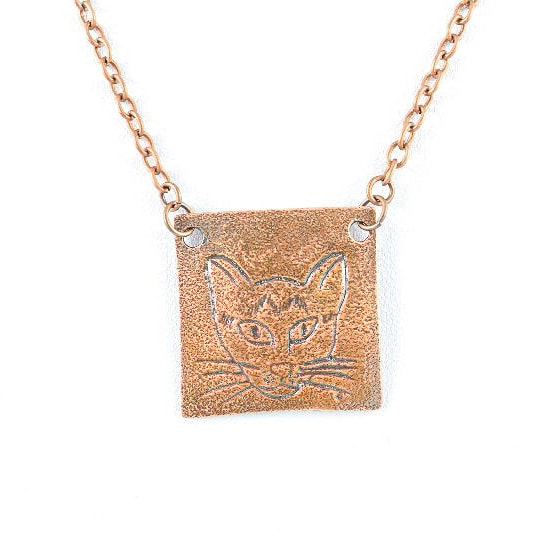
After firing your design is now pure copper!
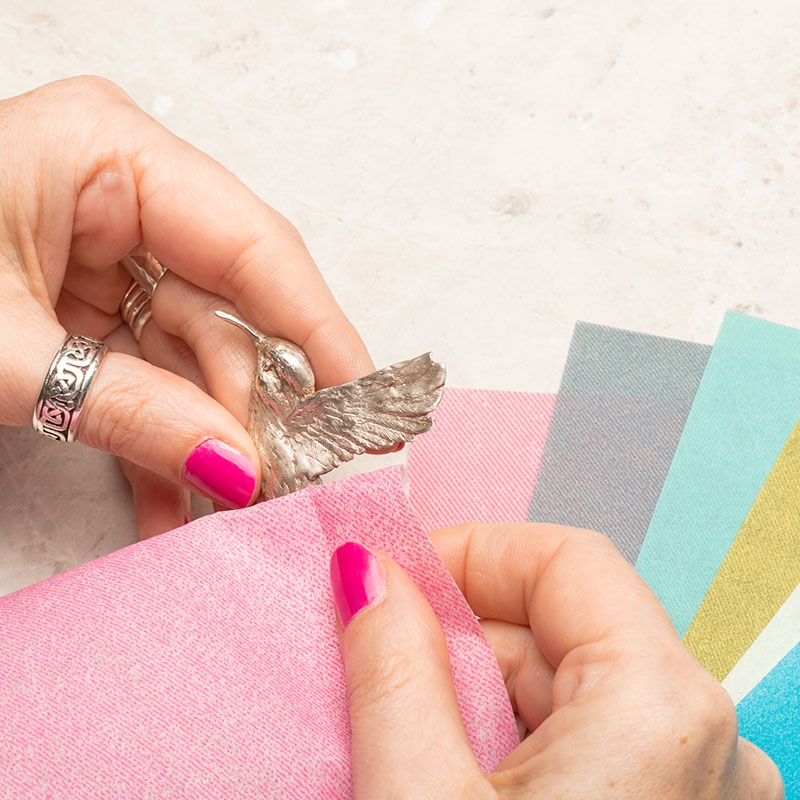
You can enjoy its beautiful metal lustre by polishing with a metal brush, burnisher, polishing points, polishing papers or a tumbler.
SHOP BEGINNER'S SILVER CLAY TOOL KIT
Discover our tool kit aimed at beginners, including all the essential tools and supplies you need for your first metal clay project.
SHOP ALL METAL CLAY SUPPLIES
Get all the metal clay tools and supplies you need online with Kernowcraft. Explore our range of metal clays and range of accessories and tools.
Also in this section:
- A Beginner’s Guide to the Magic of Silver Metal Clay
- Your Questions Answered On Working With Metal Clay
- Essential Tools For Working With Metal Clay
- 6 Months Of Silver Clay With Emma Roy
- Three Ways To Fire Metal Clay
- How To Use Two Part Moulding Compound For Metal Clay
- Working With Art Clay Copper
- Making Metal Clay Pendants Using Flowers With Silver Nutshell
- How To Make Fingerprint Jewellery With Metal Clay
- Metal Clay & Enamel Flower Earring Tutorial
- Copper Clay Pumpkin Pendant Tutorial
- Create Charms & Pendants With Metal Clay Moulds
HAVE A QUESTION?
If you have any questions, feel free to get in touch with our friendly team who will be more than happy to give you advice over email or on the phone.
You can learn more and find inspiration by visiting our Jewellery Making Tutorials, Jewellery Making Kits and YouTube Channel. Don't forget to follow us on social media and tag us in your designs on Instagram & Facebook, we would love to see!

