


What is metal clay? Is it the same as silver clay?
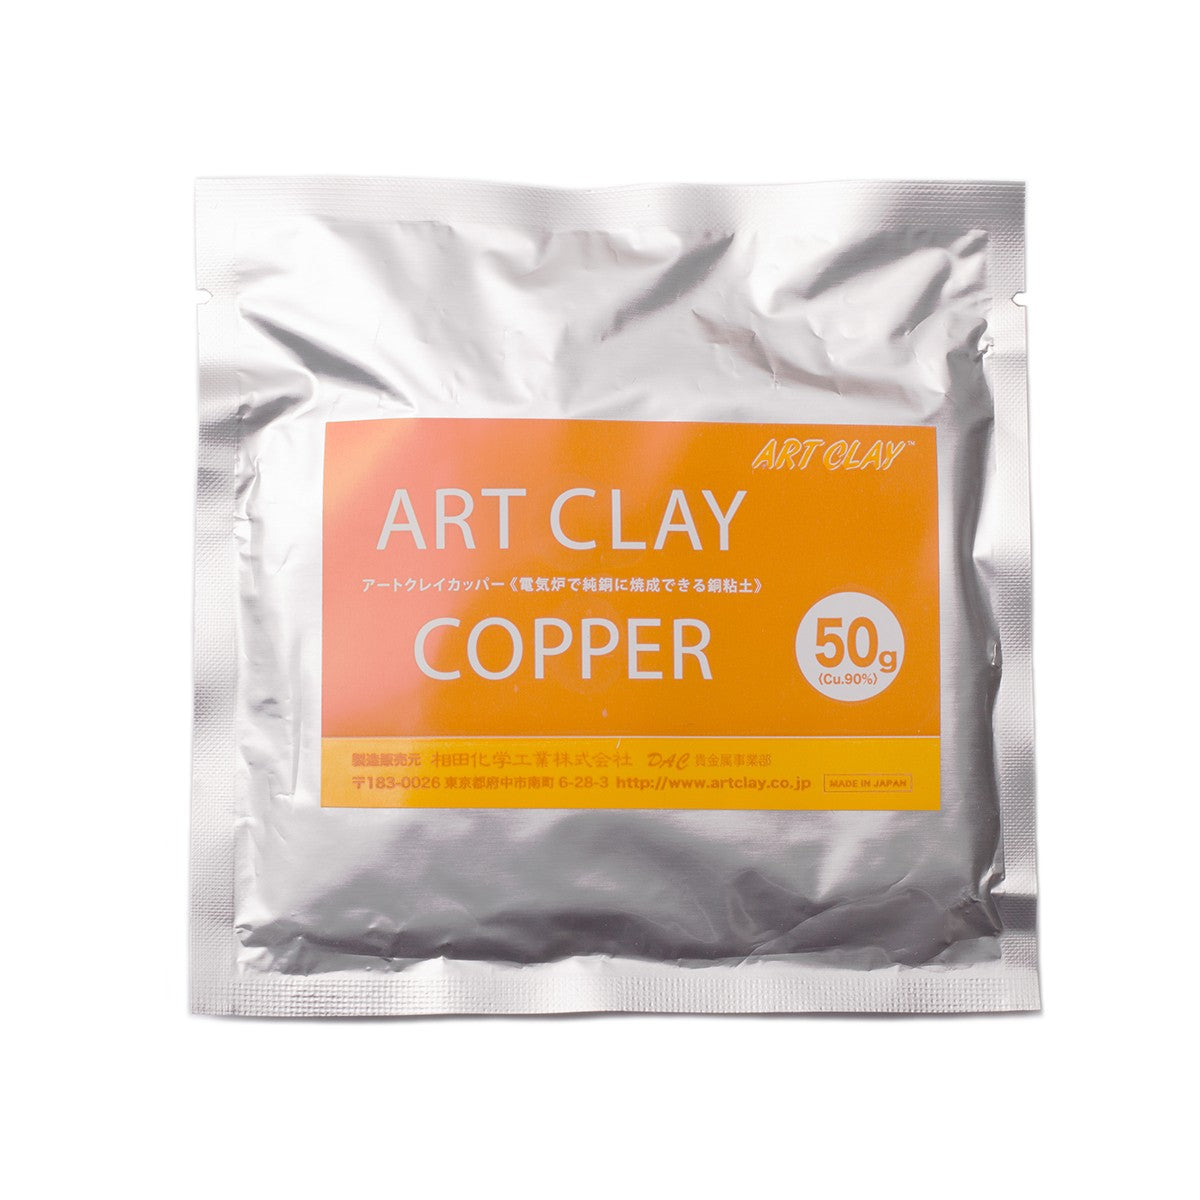
Metal clay is an amazing form of jewellery making, it sounds like magic... a clay that transforms into pure silver when fired! Metal clay can be moulded, sculpted and formed just like modelling clay and can be fired, in most cases, with a gas torch, in a kiln or even on a gas hob. Once fired the clay turns into 99.9% pure silver which is hallmarkable and even purer than sterling silver. This is why it's often also called silver clay, although there are now other colours of metal available as clay, including copper and gold.
Working with metal clay opens up so many different design possibilities and is accessible to all levels.
We highly recommend experimenting to get the most out of metal clay and see how you can use it to best effect, it is definitely a learning curve but hopefully we can answer a few questions you may have here on this page.

What's the difference between Precious Metal Clay (PMC) & Art Clay Silver (ACS)?
Precious Metal Clay and Art Clay Silver are two different brands of metal clay (just think Coke and Pepsi!) and it's completely up to you which one you go for. Both brands offer metal clay in the form of clay, syringe, paste and sheet. We offer both brands on our website in a range of options to choose from.
At Kernowcraft, we stock a wide range of metal clay products including Precious Metal Clay (PMC) and Art Clay in clay, paper, syringe and paste form as well as a range of metal clay tools and accessories including metal clay moulds, moulding compound, texturing plates and more. For beginners in metal clay, we have a handy Metal Clay Leaflet to help you get started.

My metal clay piece is dried but not fired yet, the edges are rough and look messy - can I neaten it up before firing?
Yes, once the metal clay has dried out you can use sanding sticks or fine sandpaper to smooth edges or carve into it to make patterns or textures. It will be much easier to make any alterations or neaten it up at this stage than after it has been fired, as then it will be a hard metal and will take much more effort to work it.
My metal clay starts to look cracked and dry out whilst I'm using it - how can I prevent this?
This is because the air is drying it out. You can avoid this by trying not to over handle the clay. Before you open the clay, have an idea of what you are going to make - you could create a mock-up using plasticine to help you design it.
Once the pack is opened you need to keep any unused clay airtight - cling film is great for this. It may also be a good idea to put a damp sponge in the packet to keep the atmosphere damp. If the piece you are working on is drying out too quickly you can spray it lightly with water to rehydrate it.

I'm using metal clay and find that it is sticking to my fingers and work surface - how can I prevent this?
Rub a little olive oil onto your hands, work surface, rolling pin and any other item that will come into contact with the clay, to prevent it from sticking.
I've bought metal clay sheet but I'm not sure where to start?
The PMC+ Sheet is made with a different binder than the clay which means it will not dry out and will not stick to itself (so cannot be rolled up and remoulded).
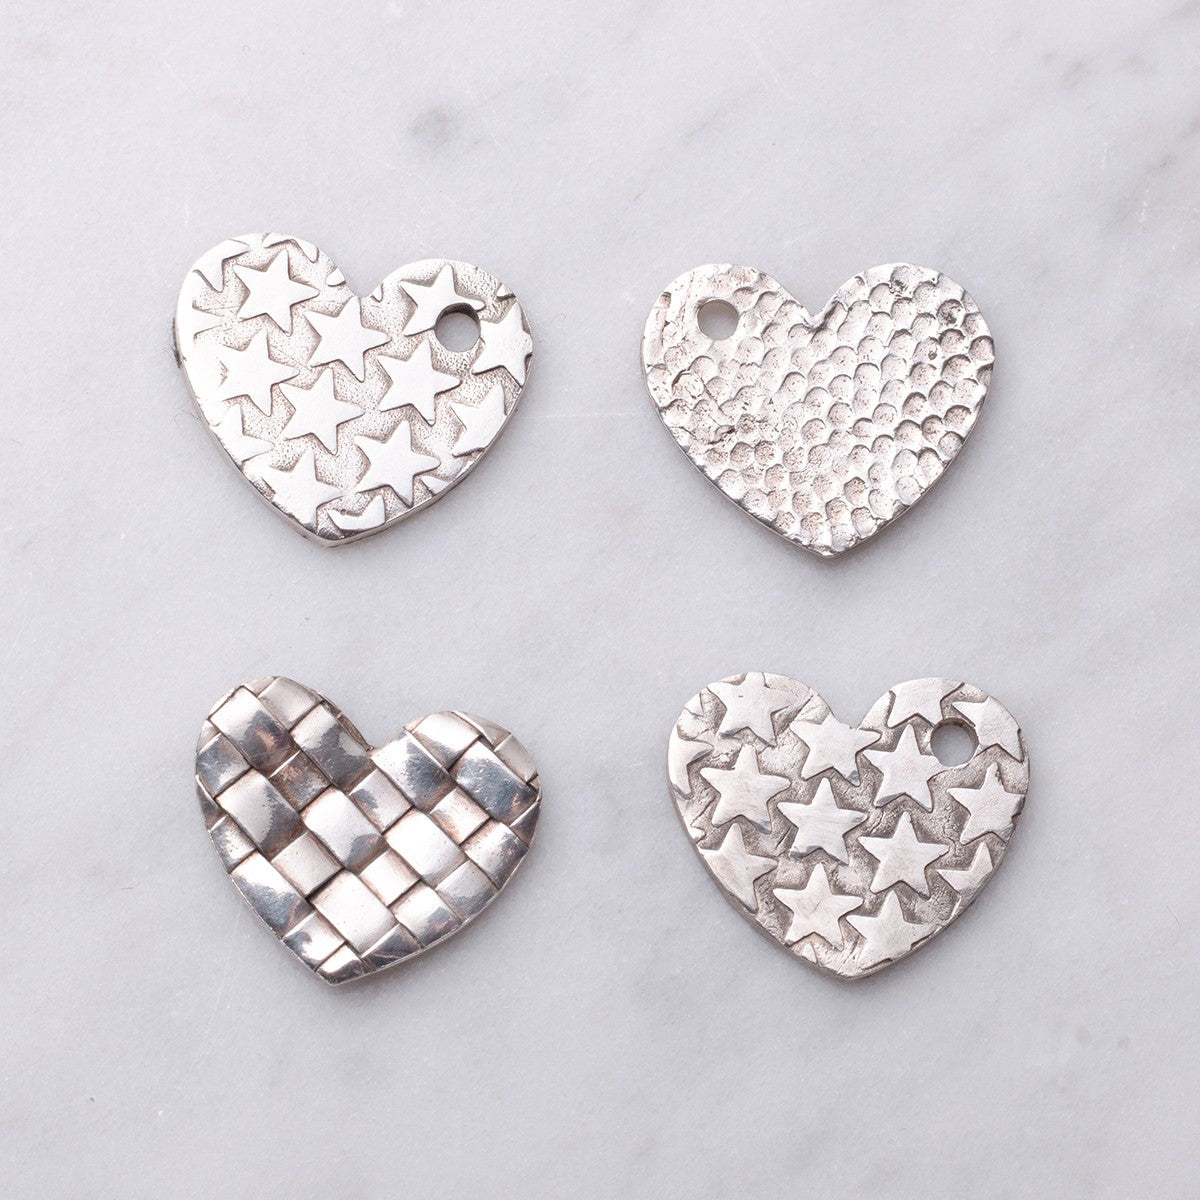
Unlike the clay, you won't be able to impress textures into it, but you can create some really interesting effects that you couldn't with the clay. You could cut the sheet with fancy edged scissors, cut it into strips and weave together, fold and drape it to create a fabric-like effect or even fold into origami. There are so many techniques that you could use, why not try incorporating the sheet and clay together in a design.

What will happen if I get my metal clay too hot whilst firing?
If you get the metal clay too hot whilst firing then it will begin to melt. As with all silver, it has a melting temperature and if you get it too hot it will simply melt into a ball. The surface will begin to look mottled and silvery, this is a sign that the metal clay is too hot and you will need to remove the flame to prevent it melting.
If you are new to metal clay and silverwork it is a good idea to experiment with a small ball of clay and fire it to the melting point so that you can recognise the signs of when a piece is getting too hot.

What are the options when it comes to firing metal clay?
You have three options! You can fire the clay with a gas torch, kiln or even on your gas hob.

My metal clay design looks white after firing - is it meant to?
After firing, the piece will have a white, matt look to it, this is normal due to the surface being uneven and porous. To achieve a silver finish, first brush with water and soap using a brass brush to get a brushed, satin finish.
It is advised that you use the brass brush with water and soap as a lubricant to avoid the risk of brass being deposited from the brush onto your work which may give the piece a dull appearance.
If you want a super, shiny polished finish, burnish with either a curved or straight burnisher.

Can I fire gemstones in metal clay?
Many gemstones are not able to withstand the high temperatures of firing. We carried out some experiments and discovered that the stone that withstood the high temperatures of torch firing the best was white cubic zirconia. Lab-grown stones like this are more tolerant of high temperatures than natural stones.
Some gemstones will discolour, shatter, or blacken. Some stones will survive better if fired in a kiln, as the metal clay can be fired at a lower temperature for a longer time.
Remember never to quench (plunge into water) hot metal clay set with stones, as the stones will be unable to withstand the sudden temperature change. We would always recommend that you carry out your own experiments before firing a gemstone in a metal clay design.

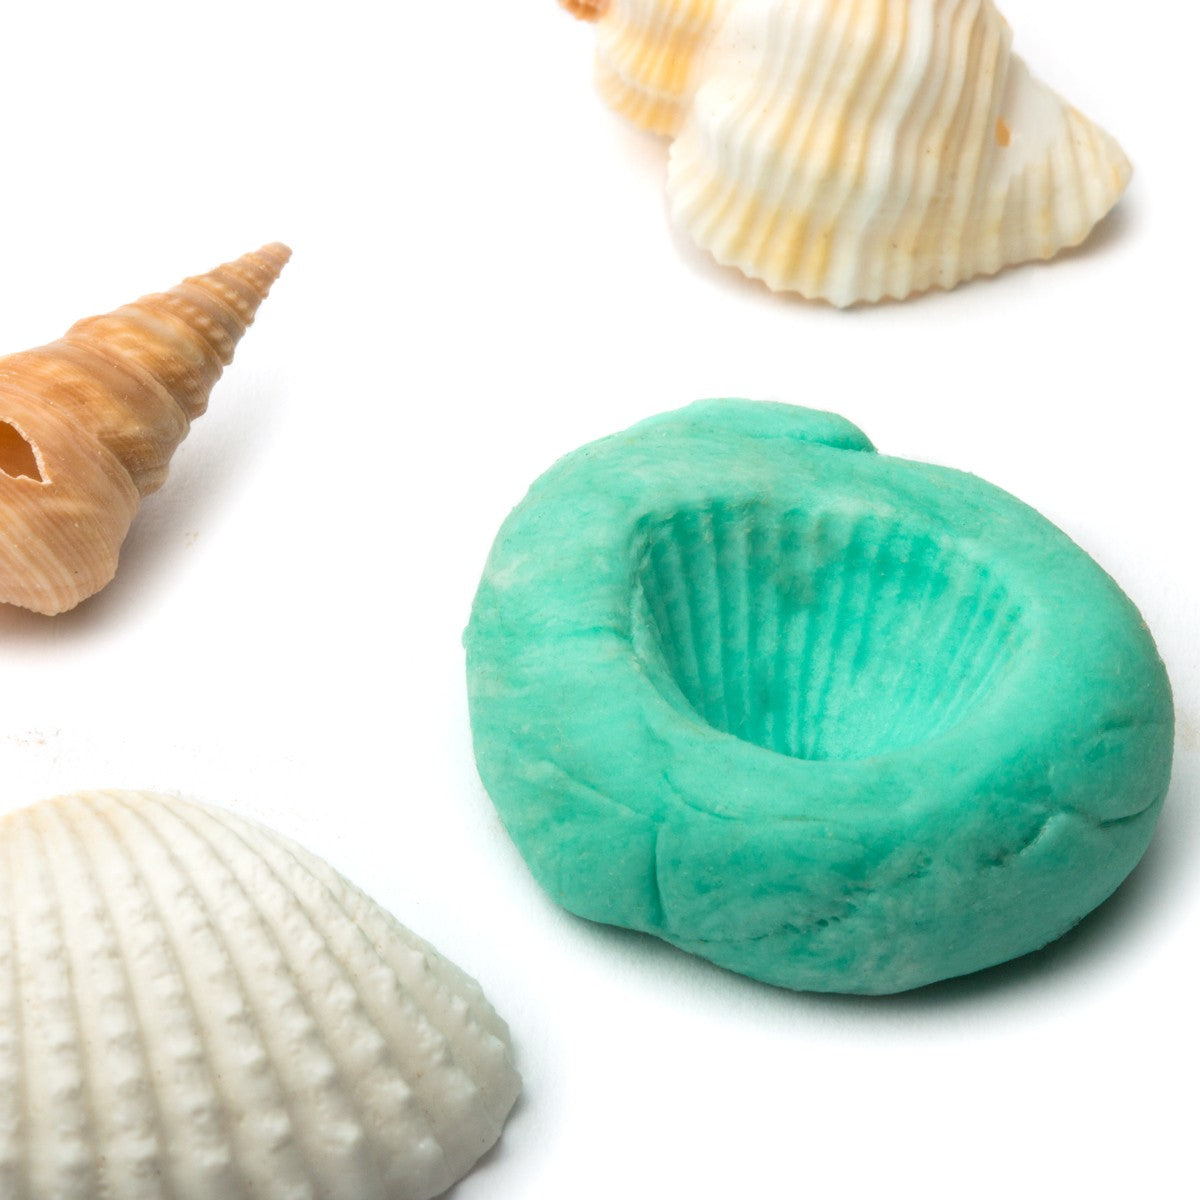
What is moulding compound?
Moulding compound is an easy, quick and safe way to create moulds for metal clay that you can use again and again! You can create moulds out of absolutely anything, from shells, buttons to fingerprints - it's all down to your imagination.
Please note that the colour and brand of moulding compound we stock can vary but the process is the same!

Once I have made a mould with the 2 part moulding compound will I be able to reform it into another mould?
No, once the 2 parts of the moulding compound have been mixed together they will begin to set and after about 15 minutes it will have set to a hard rubbery state. This cannot be reformed again. However you can use the moulds that you have created again and again to create many metal clay pieces.
How do you use moulding compound?
Simply mix equal parts of the coloured and white compound together to activate, impress the item you are creating a mould from and allow to harden for approximately 15 minutes. Read more on our advice page all about using moulding compound.
Watch our video tutorial on how to use moulding compound below
Have a different question?
Can't find the answer you are looking for? Contact us with any questions you have regarding metal clay or general jewellery making questions, we would love to hear from you!

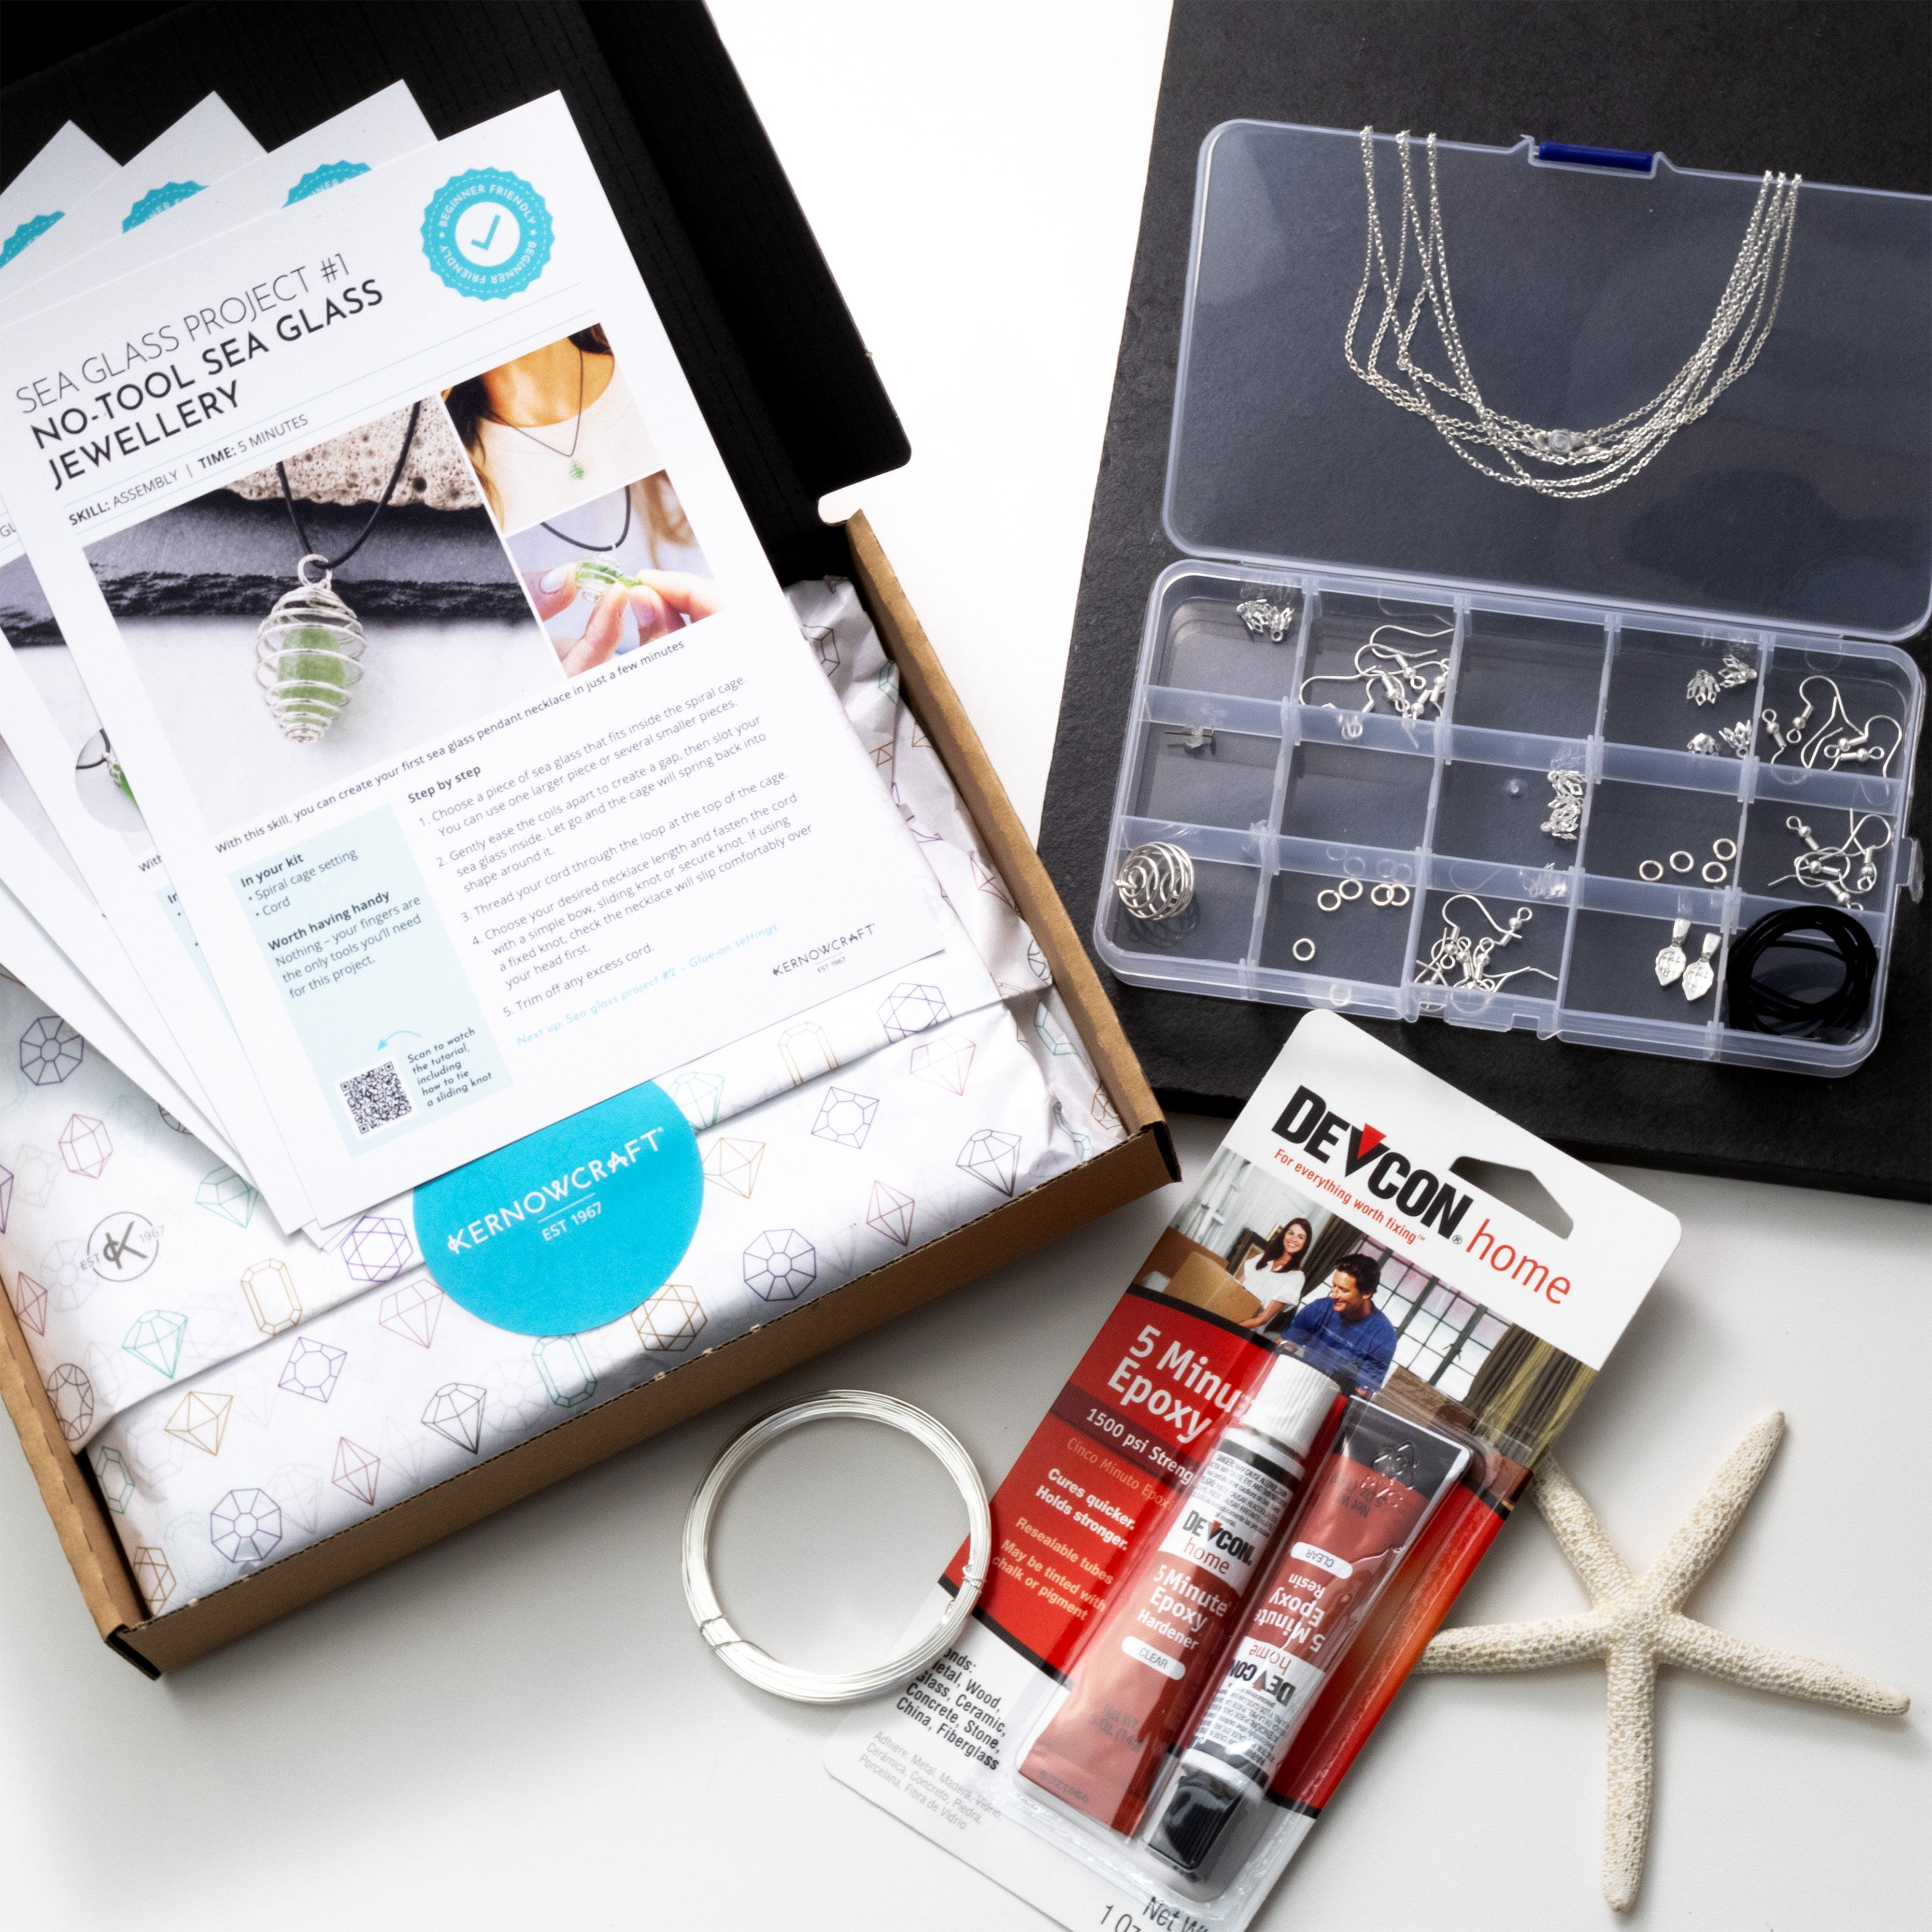
SHOP SILVER CLAY TOOL KIT
It can be hard to know where to start when starting something new, that's why we've created the silver clay tool kit. Here we have chosen essential tools and supplies to get started and make your first project. We also include our metal clay leaflet, written by the team at Kernowcraft to refer back to when you're making. Don't forget to check out our jewellery making books too for inspiration and guidance for your new jewellery making project!

SHOP ALL METAL CLAY SUPPLIES
Explore Kernowcraft's range of metal clay jewellery making supplies. We stock a wide range including Precious Metal Clay, Art Clay and a range of accessories including moulds, cutters and more.
Also in this section:
- A Beginner’s Guide to the Magic of Silver Metal Clay
- Your Questions Answered On Working With Metal Clay
- Essential Tools For Working With Metal Clay
- 6 Months Of Silver Clay With Emma Roy
- Three Ways To Fire Metal Clay
- How To Use Two Part Moulding Compound For Metal Clay
- Working With Art Clay Copper
- Making Metal Clay Pendants Using Flowers With Silver Nutshell
- How To Make Fingerprint Jewellery With Metal Clay
- Metal Clay & Enamel Flower Earring Tutorial
- Copper Clay Pumpkin Pendant Tutorial
- Create Charms & Pendants With Metal Clay Moulds
HAVE A QUESTION?
If you have any questions, feel free to get in touch with our friendly team who will be more than happy to give you advice over email or on the phone.
You can learn more and find inspiration by visiting our Jewellery Making Tutorials, Jewellery Making Kits and YouTube Channel. Don't forget to follow us on social media and tag us in your designs on Instagram & Facebook, we would love to see!