


Michelle from Buttercup Jewellery shows you how easy it is to make your own metal clay and enamel earrings!
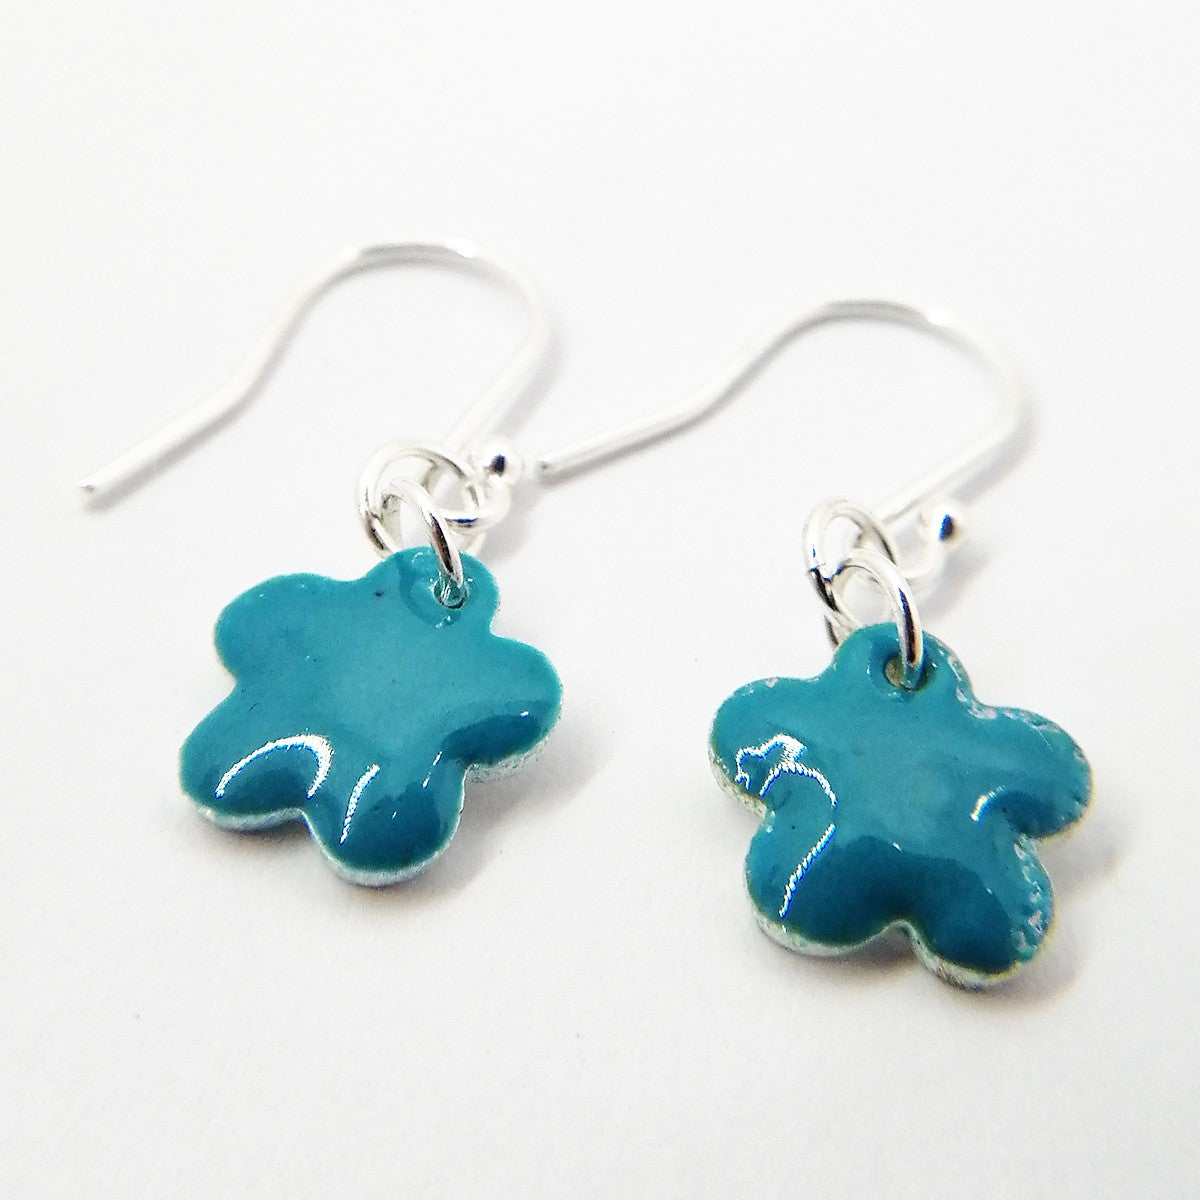
This is a perfect project for those interested in learning to make jewellery from metal clay and who would like to start exploring vitreous enamelling. This tutorial is to make two pairs of dangly fine silver flower earrings that can be left plain to show off the beautiful silver, or enamelled in a choice of opaque enamels.
The flowers are made from Art Clay Silver Metal Clay, but other makes such as PMC will work just as well. Either of these brands will produce fine silver (99% pure) after firing. The enamels used are lead-free opaque enamels. Lead-free enamel powder, while not poisonous, is an irritant so it is recommended that a mask is worn during the enamelling process and that food and drink are not consumed in the area, while enamel powders are being used.
If you give this fun project a go, please tag @kernowcraft & @buttercupjewellery in your posts on social media as we'd love to share!
You can shop metal clay tools and supplies online with Kernowcraft and source the other tools and materials needed across various online shops.
- Pack of 10g Art Clay Silver - 7g is sufficient for this project
- Small plastic roller
- Pack of playing cards or plastic spacers
- A non-stick work mat
- Olive oil
- Baby wipes
- Flower shaped cutter (1.3 cm) - wide selection of flower cutters for fondant icing on Amazon
- Cocktail stick
- Small lidded tub
- Sanding pads
- Jewellers gas torch and butane gas canister (available from Amazon) or a small kiln (if you already own one!)
- Soldering block
- Metal teaspoon or burnisher, polishing papers or Barrelling Machine Kit
- Brass brush
- Rubber gloves
- Small water spray bottle
- Tweezers
- Pages from an old magazine
- Opaque enamel powders
- Enamel sieves
- Tripod and gauze or a kiln if you already have one
- Mask for when sieving enamel
- Jump rings (4mm used in this project but size needed may depend on your design)
- Earwires or necklet chain if you'd like to make a necklace instead
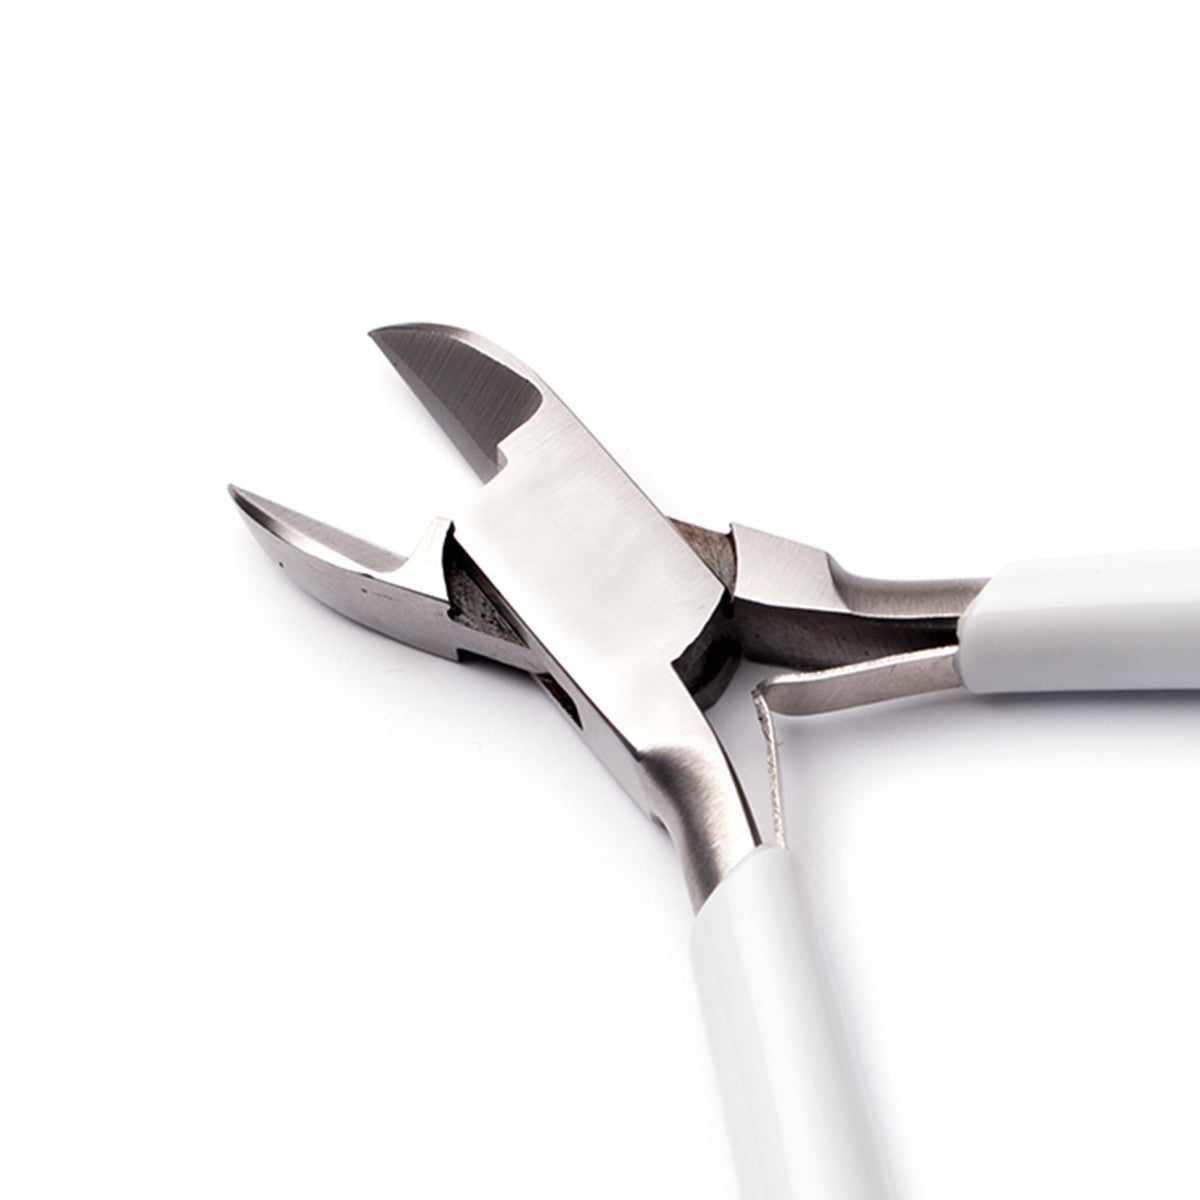
- Pair of snipe nose pliers
Watch The Tutorial Or Follow Step By Step Photos Below
Part 1: How To Make Metal Clay Earrings

Step 1
Make two stacks of six cards and place them on top of your work mat, with a space between of around 4cm.
Apply a tiny amount of olive oil onto this space and onto your roller to prevent sticking.
Too much oil will make your clay hard to work with and may change how it fires later, so be very sparing.

Step 2
Open your pack of clay and unwrap the plastic wrapping, but keep this to one side as you may need it for left over clay later. Form the clay into a ball and place on the lightly oiled area of your mat between the two stacks of cards. Now roll the clay with a forwards and back movement. Lift the clay and turn 90 degrees and remove one card from each stack. Roll the clay again.
Step 3
Now place the clay on a playing card (it will stay on this to dry). Position this between the two stacks of cards and roll once more.

Step 4
Your clay is now ready to cut. Use your flower cutter to cut out two flowers and place them out of the way to dry.
Step 5
Roll the remaining clay into a ball. If it is starting to dry out you can spray the ball with a fine mist of water, as you roll it in your hand. If you would like to make extra charms for another pair of earrings or perhaps a matching pendant, roll it out using your roller, following steps 2 and 3 as before. Cut out two more flower shapes and place them to one side to dry. If there is any clay leftover, wrap it in the plastic it came in and reseal it in the original packet. A wet-wipe wrapped around the plastic can be helpful to maintain moist conditions and stop the clay drying out.

Step 6
Use a cocktail stick to make a hole in each flower so that you can pop a jump ring through when the earrings are completed. Bear in mind that the clay shrinks on firing by 10% so make sure each hole is big enough.
Step 7
Now let the clay flowers dry. This can be overnight, or the process can be sped up by using a cup warmer or placing the playing cards onto a radiator, or your kiln as it is heating, if you are using one. To check the flowers are dry place them on a reflective surface, like a small mirror. If there is condensation, they are not dry enough for firing.

Step 8
Once the flowers have dried, tidy up any rough edges with sanding pads and once again make sure the jump ring hole is wide enough. But be gentle as the clay is very fragile at this point.
Tip: Try to catch any bits of clay that are sanded off, as these can be saved and reused later.

Step 9
Now you are ready to fire your pieces. Place them on a soldering block and use a gas torch. Position the flame 5 cm above the clay and heat at a 45-degree angle. The clay will smoke and catch fire, but this is normal and only happens for a few seconds, so don’t panic!
Heat until the clay takes on a peachy glow. At this point, start timing on your phone or a stopwatch and maintain the heat on the clay for 2 minutes. If the clay starts to glow red, move the heat away briefly until the peach colour returns and then continue firing. After two minutes turn off the torch and allow the flowers to cool.
If you have a kiln you can place the dried clay flowers in here to fire. I set my kiln to 900 degrees and fire for 2 hours, to ensure the silver is strong. However, for small pieces, some recommend a shorter firing of around 15 minutes.

Step 10
After firing, your clay will have magically become fine silver, as the binder has burnt away and the molecules of clay have bonded together. But at the moment it has a pearlescent white appearance. You can now reveal the silver by using a brass brush to scrub the flowers, under a running tap.
You can then make the clay shine by burnishing with the back of a spoon or a burnisher or working your way through the colour grades of polishing papers. Alternatively, you can pop your flowers into a barrel polisher with steel shot, Barrelbrite, water and a drop of washing up liquid. After 10-15 minutes the flowers will be shining silver!

Step 11
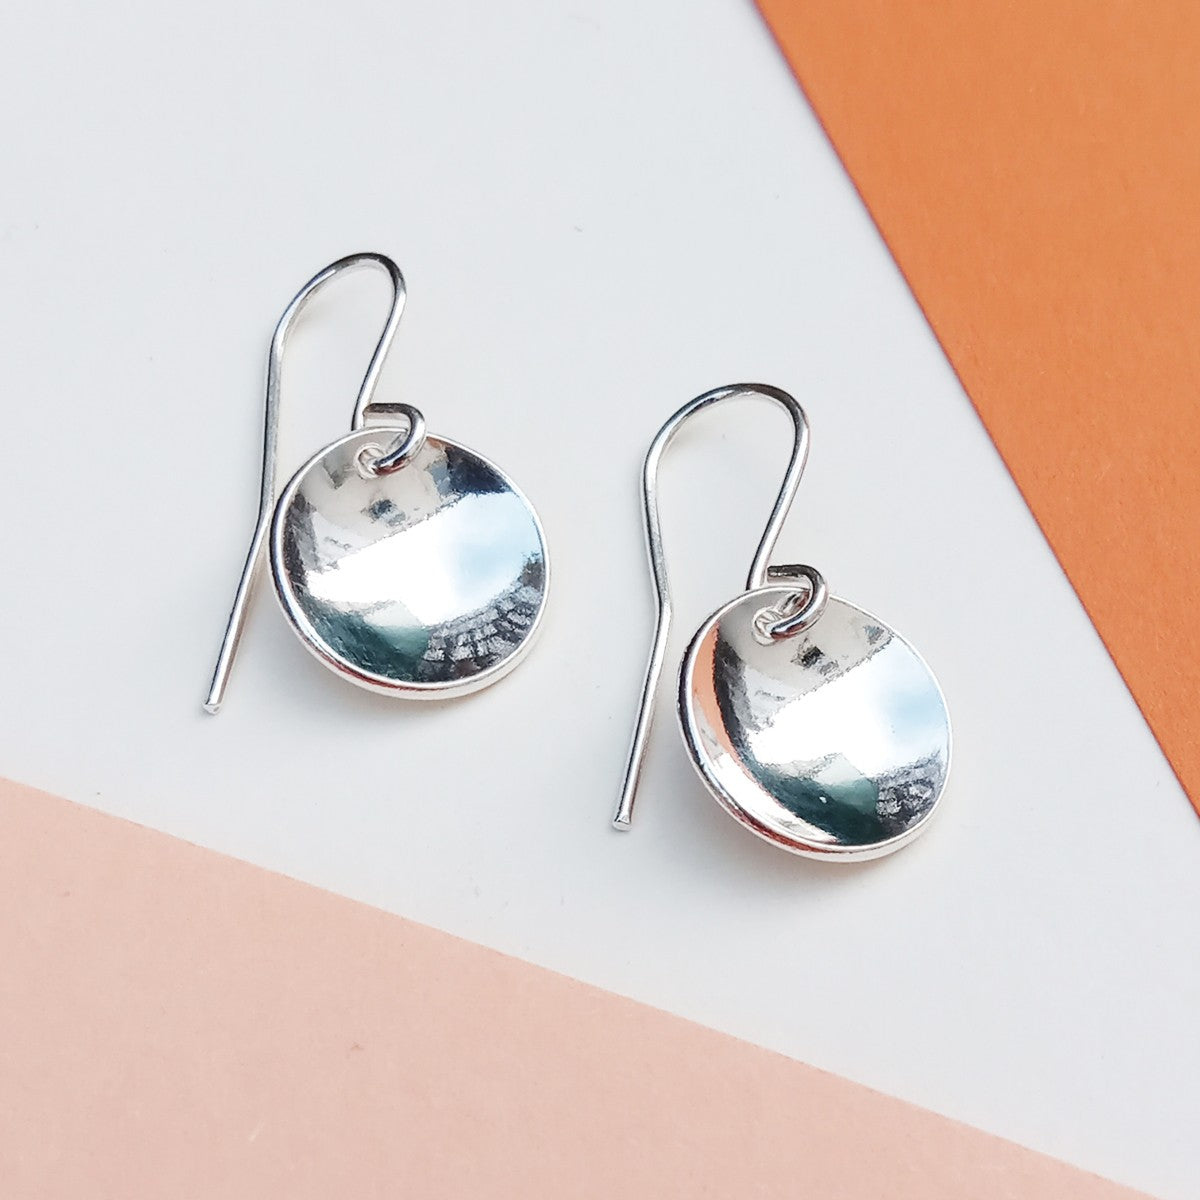
So now you have the knowledge to make fine silver charms. These can be left as they are and added to ear wires, made into pendants or charms for bracelets.
However, you can make them even more special by adding a splash of colour using vitreous enamels - see the step by step photos below!
Part 2: How To Enamel Metal Clay Earrings

Step 1
Before your piece can be enamelled it needs to be free from any grease or contaminants. Rub a little washing up liquid on to it and rinse until the water flows cleanly off the piece. Now try to avoid touching it with your fingers (a pair of rubber gloves and tweezers will help).
Step 2
Enamel powder is supplied in small tubes or bags and we are going to sieve it on to our flowers. Sieves have different hole sizes. The bigger the hole the larger the enamel particle and the thicker the enamel coverage. Here we only want a thin enamel coating as we are leaving the back of the piece free from enamel. Too much enamel on the front can cause buckling and the enamel cracking and falling off. We are using opaque enamel which will give a solid colour so that the enamel beneath is no longer visible.

Step 3
Before sieving the enamel on, place a page from an old magazine under your work. This will allow you to catch any surplus enamel and pour it back into your container, reducing waste.
Step 4
Use your chosen enamelling sieve to apply a thin coat of opaque enamel onto your pieces. Make sure that the hole for the jump ring remains free of enamel. I use a thin piece of wire to unblock the hole if necessary. Use tweezers to place your piece onto the gauze on top of your firing tripod. This allows you to fire the piece from beneath.

Step 5
Turn on your gas torch and begin heating the silver flower from beneath, with the enamel surface uppermost. The enamel coating will change colour and you will see it go through a series of changes, from powder to grains (like a sugar frosting), before becoming a smooth glossy coat. If you fire for too long bubbles will form and the enamel surface will become pitted. There may be places where your initial coat of enamel was too thin and the silver is showing through. If this is the case a thin second coat of enamel can be applied. If you are new to enamelling it may be worth trying torch firing using copper first, as this is a cheaper metal and will allow you to see the process, without fear of wasting silver if things go wrong.

If you are kiln firing...
Set the kiln to 800 degrees. Each flower will take approximately 15 to 30 seconds for the enamel to flow. Several flowers can be fired at once, but be aware of temperature differences within the kiln, which may result in some pieces firing faster than others.
Step 6
If you wish to enamel another flower in a different colour be sure to use a clean page from your old magazine to ensure that there is no contamination between enamels when the leftover powder is returned to its original container.

Step 7
Let your enamel pieces cool down after firing. I use old ceramic tiles to place my pieces on, to aid this process. The joy of enamelling silver clay is that it does not oxidise and there is therefore no need to pickle your pieces after firing. This ensures the enamel stays shiny.
You may wish to burnish the silver once again if it has become slightly dull through the firing process.

Step 8
Your flowers are now ready to have the jump rings and earwires added. Use a pair of snipe nose pliers to grab each side of the jump ring and twist open, hook it through the hole in the flower and twist closed.
You will need two jump rings attached before you attach the earwire so that the flower faces to the front.

Finished!
Now you can wear your finished pieces or give them to friends and family as cheerful spring or summertime gifts. One jump ring could be used to turn your flower into a simple pendant, simply add a 45cm sterling silver chain.
Once you have tried metal clay and enamelling you will be hooked. So do try making different shapes and applying different textures to your clay.
Enamelling can be temperamental at times. If things go wrong it is usually the result of contamination of the base metal (a finger print can be enough to prevent the enamel from fixing to the silver), over firing or temperature shock if the room you are firing in is particularly cold. But keep practising and you will get amazing and unique results. Enjoy!

Meet the guest tutor
I’m Michelle, the maker behind Buttercup Jewellery. I live in Warwickshire with my husband, son and dog. As a full-time teacher I stumbled across silversmithing as a way to relax after a busy week. I went on a course and loved it. Since then I have reduced my hours to allow myself time to explore silversmithing, metal clay and enamelling and to build my little business.
I am particularly inspired by the sea and nature and really love the unique pieces I can create by combining metal clay, enamel and the odd gemstone!
Shop Metal Clay Supplies

Shop Metal Clay Tools & Supplies With Kernowcraft
We stock a wide range of metal clay products including Precious Metal Clay (PMC) and Art Clay in clay, paper, syringe and paste form as well as a range of metal clay tools and accessories including metal clay moulds, texturing plates and more.

Follow More Tutorials
Discover more free metal clay tutorials on our website including how to make sentimental fingerprint jewellery and general advice on using metal clay. We also have a range of wire wrapping, beading and soldering tutorials to follow too!
Also in this section:
- A Beginner’s Guide to the Magic of Silver Metal Clay
- Your Questions Answered On Working With Metal Clay
- Essential Tools For Working With Metal Clay
- 6 Months Of Silver Clay With Emma Roy
- Three Ways To Fire Metal Clay
- How To Use Two Part Moulding Compound For Metal Clay
- Working With Art Clay Copper
- Making Metal Clay Pendants Using Flowers With Silver Nutshell
- How To Make Fingerprint Jewellery With Metal Clay
- Metal Clay & Enamel Flower Earring Tutorial
- Copper Clay Pumpkin Pendant Tutorial
- Create Charms & Pendants With Metal Clay Moulds
HAVE A QUESTION?
If you have any questions, feel free to get in touch with our friendly team who will be more than happy to give you advice over email or on the phone.
You can learn more and find inspiration by visiting our Jewellery Making Tutorials, Jewellery Making Kits and YouTube Channel. Don't forget to follow us on social media and tag us in your designs on Instagram & Facebook, we would love to see!