


Learn all about the wonderful world of soldering!
Kim covers the following topics:
- Tools needed for soldering
- Step by step of the soldering process
- Types of solder
- Flux
- Soldering small items such as earrings posts and jump rings
- Gas torches for soldering
If you try any of the techniques featured in the series, please tag us in your designs - we would love to see and share! Find Kernowcraft & 'Make It With Kim' on Instagram and use the hashtags #12monthsofmetal & #Kernowcraft
Watch Kim's tutorials throughout April below and find all the soldering supplies you need with Kernowcraft.
Shop The Soldering Kit
Find all of the tools and supplies you need for soldering in our Soldering Kit so you can follow along with Kim's tutorials below.
This is great for a beginner wishing to get the tools together to set up a basic soldering station.
What Is Soldering?
Soldering is the theme for Make It Month 4 of 12 Months Of Metal but what is soldering? Soldering is the main way of attaching metal together in silversmithing. It's done with a blowtorch, not a soldering iron as it needs to be between 600 - 800 degrees c depending on the metal and solder you're using. You join your metal together by melting metal with a lower melting temperature into the pores of your metal jewellery design. In the UK we use 'hard' silver solder for most soldering jobs. It's the hardest to melt but it's the purest and best quality as its only had a tiny amount of zinc added to it to ensure it melts at a lower temperature to the jewellery you're soldering together.
The solder wants to run towards the heat so both sides of your join need to be the same dull to 'hot' red colour. If your metal is pinky red or grey, it's not hot enough and if it's angry orange you're about to melt your jewellery! You can dim all the lights to see the colours better. When the solder runs it turns liquid and shimmery like mercury. Watch Kim's tutorial to find out more...
Types Of Solder
Silver solder comes in 4 main forms - Hard, Medium, Easy and Extra Easy. Hard is the hardest to melt and extra easy is the easiest to melt. This is because the easier the solder, the more zinc or similar low melting temperature metal the solder contains. You are meant to start with the hardest solder then work your way down the solder grades for each additional solder join you make on a piece of jewellery, but Kim uses hard silver solder for 99% of all soldering she does. Watch Kim explain in more detail!

Sterling Silver Solder Strip
Using solder strip is the traditional way to solder your jewellery designs. Cut pallions (small piece of solder) using metal cutters to then apply to your solder join.
Available in a choice of grades:
Extra Easy: melting point: 667-709°C - approx size 3mm x 0.43mm x 200mm
Easy: melting point: 705-723°C - approx size 3mm x 0.48mm x 200mm
Medium: melting point: 720-765°C - approx size 1.5mm x 0.72mm x 200mm
Hard: melting point: 745-778°C - approx size 6mm x 0.56mm x 200mm

Solder Paste
Solder paste is a popular choice among jewellery makers, it's much quicker and easier to use than traditional solder strip. The paste is really easy to apply to the area you would like to solder and you don't need flux as it is already mixed into the paste. Perfect for quick soldering jobs!
Available in a choice of grades:
Easy: Melting Point 705-723°C
Medium: Melting Point 720-765°C
Hard: Melting Point 745-778°C

Borax Flux Cone
Applying flux before soldering prevents the formation of metal oxides and allows the solder to adhere to the clean surface and helps it flow. Borax flux is suitable to use with all solders, simply wet a ceramic dish (such as our borax dish designed for this) and rub the cone to create a paste. It will then be ready to apply to your join using a flux brush.

Soldering Block
A soldering block is an essential for your soldering station. It's fire-proof and provides a safe surface to solder on and cleverly concentrates the heat on the pice being soldered rather than absorbing it.
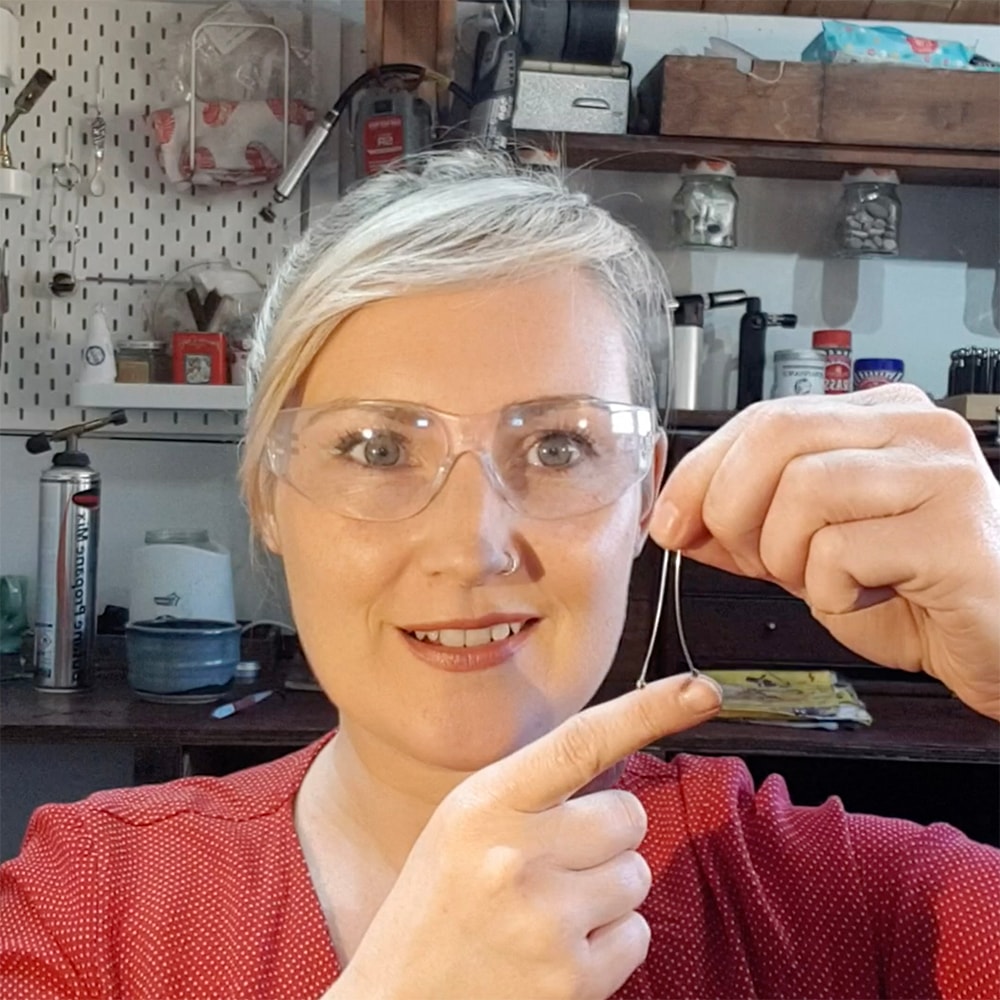
How To Solder Small Items
Do you melt your work when trying to solder it? Soldering small or thin elements to bigger, thicker ones can be tricky if you don't remember for the soldering to work, both pieces you're trying to join need to be the same hot red colour. If your pieces are uneven sizes, this usually means having to heat the bigger piece more while avoiding the smaller piece because if you heat them the same amount, the small piece would melt before the larger piece was up to soldering temperature. Watch the video for Kim's top tips and a demo on soldering earrings posts and jump rings.
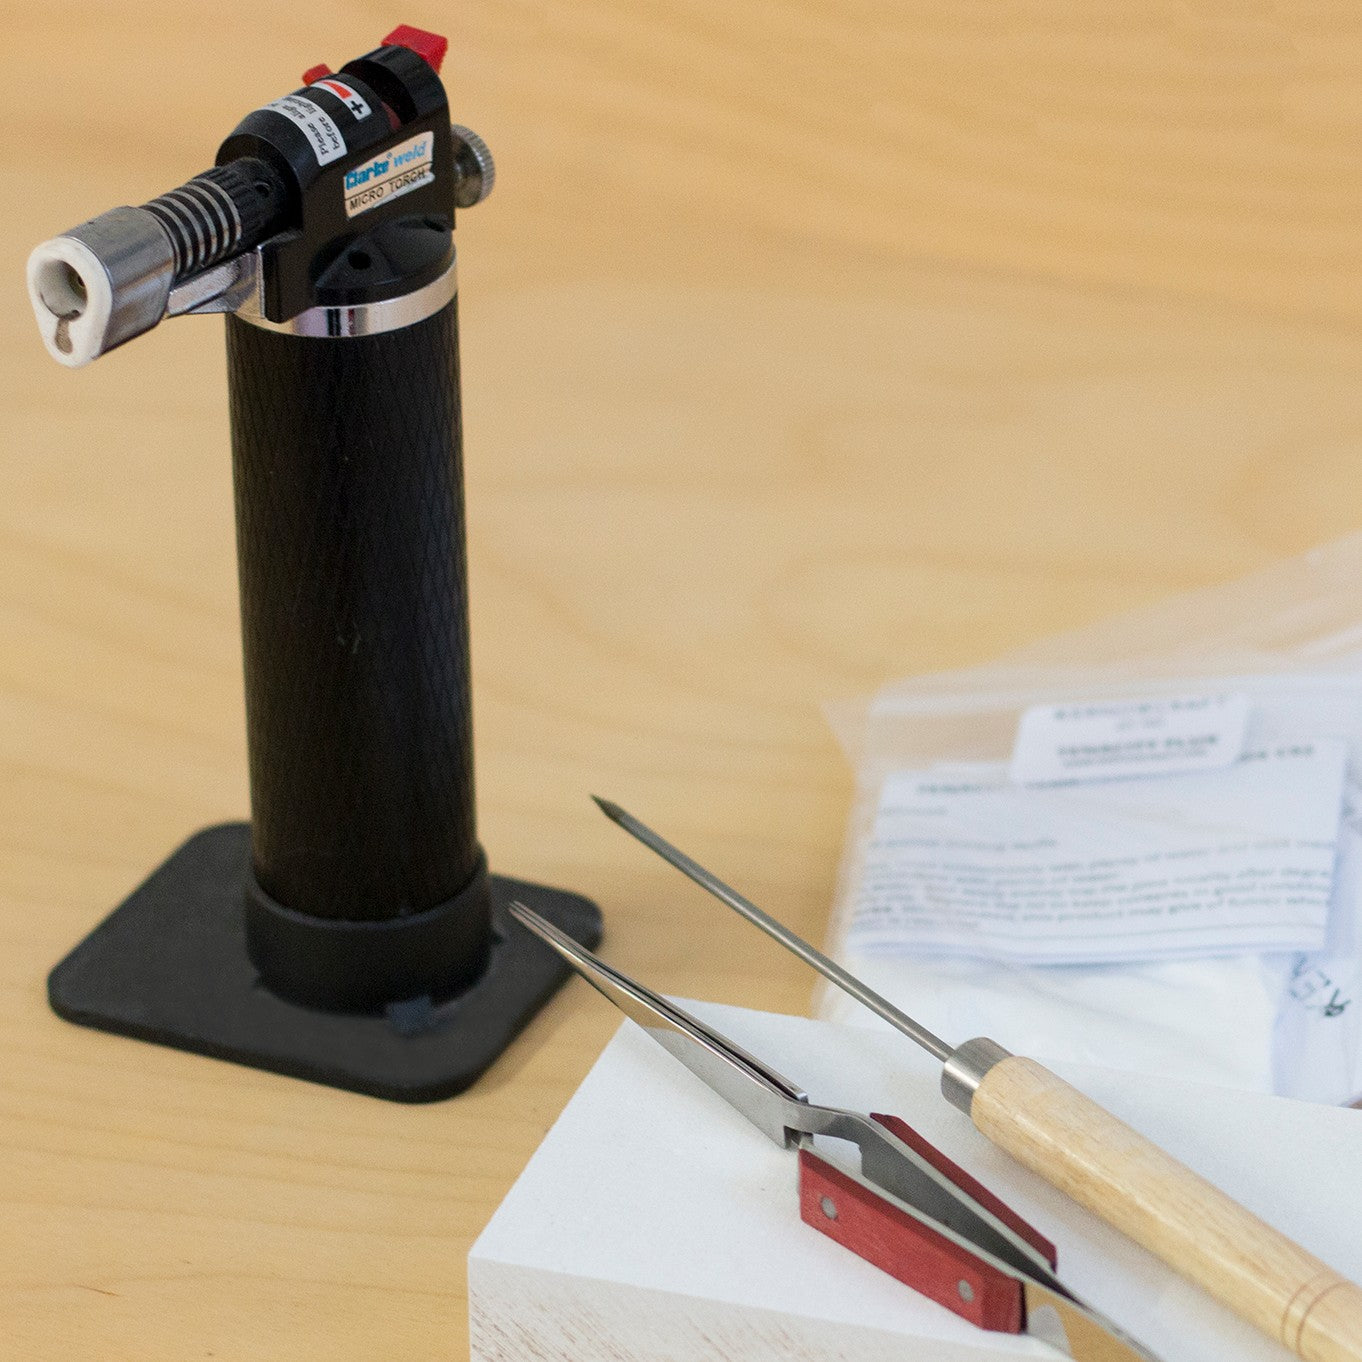
Choosing A Torch
Kim - Blowtorchs! What's your favourite? I like the GoSystem 'fine tech' torch. I find it to be the perfect size of flame for 99% of soldering and annealing. It's defined enough for small things and big enough for heating larger pieces. They can be bought from Kernowcraft as well as the smaller torch that you manually fill with gas. Lots of people prefer the tiny torches as they are small, compact and less likely to melt the rest of your work when learning but I prefer a bigger flame and the safety and ease of using self sealing gas cans rather than filling the torch myself.
Many people feel you have to have a big professional torch but I think it's absolute rubbish. I've taught hundreds of students with the GoSystem torch as well as having professional smith torches at one of the studios I teach at. All torches are different but the problems students have while learning tend to remain the same no matter what the torch. It's a bit like driving, you just need to know and understand your particular torch then there will be no stopping you.

GoSystem Tech Torch
The GoSystem Tech Torch is a great basic torch, perfect for most jewellery work as Kim shows in her tutorials. It has a large flame, with temperatures up to 1450°C.

Reverse Action Tweezers
Made from sprung steel, these reverse action tweezers are a must have! They open when you squeeze the handles and are brilliant for supporting tricky pieces during soldering as well as applying solder pallions to the solder join.
Don't forget!
Steel tweezers will contaminate the pickle solution, which will cause your pieces to be copper plated - so always use brass or plastic tweezers when pickling!

Safety Pickle
Safety pickle is used to remove fire stain caused from the heat during the soldering process, which usually creates a dark colour. The safety pickle is safe to store and easy to use and works best when warm.
Simply mix 1 teaspoon of the pickle with warm water in covered glass or a plastic container. Leave your jewellery pieces in the pickle solution for a few hours or overnight - and don't forget to only use plastic tweezers!

Swiss Needle Files
Once your pieces come out of the pickle solution, it's time to file off any excess solder and neaten the join with files.
Surfacing Options For Soldering
Soldering surfaces - what is your favourite? Kim loves the classic soldering brick but there are lots of options all with their own pros and cons. Watch the video to find out more alternatives for choosing a surface for soldering.
How To Support Your Work & Sweat Soldering
You can use tweezers, binding wire, T pins, jewellery display pins and similar items to support your work while soldering. Anything that can survive the heat of the blowtorch and isn't toxic when heated, can potentially be used to support your work or make sure your join stays tight and in position.
Sweat soldering doesn't mean sweating while soldering but sometimes that also happens! It means melting solder onto a surface before placing it onto the surface you wish to join it to. You are meant to melt the solder onto the back of one piece then clean and sand it until the solder is completely flat and smooth. You would then reflux the piece as well as the piece you wish to join it to, place them were you want them to be and heat them until the solder re-melts. Kim shows a cheat method where you just keep heating the small piece until the solder flows completely flat then pop it on your other piece and heat both pieces together. Heating until the solder fully flows cuts out the need to stop, clean and sand. Cotter split pins can be used if you need to pin your work in place. They are DIY supplies so can be found in some DIY shops or online.
Soldering A Large Cactus Ring With Kerry Day
Kerry has been making some gorgeous brass cacti sculptures and popped by Kim's studio to share what she's been making and to do a bit more soldering. They are fiddly to construct because they are hollow and have very small points of contact so Kerry not only has to try and support them in the right position but also keep the joins tight while trying to get the edges of the sculptures hot enough to solder. The edges and solder joins are 'protected' from the heat because of the rest of the hollow 3D shape. Also she only wants to use the exact amount of solder needed rather than smothering her piece in it.
When she gets the right areas to the right bright red temperature and manages to keep the point of contact tight, it works. If it doesn't get hot enough or the point of contact opens up slightly, the soldering doesn't work. So it's back in the pickle to clean, then have another go!
When heating hollow forms it's really important to have at least one small hole in each form. This is because when heated, the air trapped inside the hollow form expands. If it doesn't have anywhere to escape out of, it could potentially make your piece explode open. The hole can either be very small and 'hidden' or you can make holes for decorative effect like the top of Kerry's cacti in this piece.
Kerry re-soldered the piece that didn't attach the first time. She used water based tipex to stop the solder on the other side of the piece from remelting.
Solder can't flow if the metal is dirty. You can use this to your advantage by purposefully making parts dirty. Traditionally rouge would be used for this or you can use a graphite pencil. Both can make a bit of a dirty mess though so I like to use tipex. Eco tipex is water based so doesn't give off fumes as much as the solvent based tipex and the water based also easily washes off afterwards. Once Kerry re-soldered her element, she cleaned it in the pickle and soldered it onto her ring base.
When working with hollow forms, make sure you completely flush out any remaining pickle with water and then dry thoroughly. If pickle remains inside your piece it could eat away at your metal and if water remains it will boil next time you heat it with the blowtorch. You can neutralise pickle with a solution of warm water and baking soda.
Kerry has started work on an even BIGGER sculpture. When heating the brass, the base began to warp causing the bezel to loose contact with the base. This was partly because the base was 0.5mm sheet which is quite thin for the size and it was partly because brass isn't a particularly good thermo conductor. This means the heat doesn't spread across the whole piece as well as some other metals and because the piece was big, it wasn't possible to heat the entire thing evenly while also getting the solder join up to temperature. Therefore the hotter sections began to expand slightly while the cooler areas didn't, causing the warp.
There are a few things you can do to help avoid this. Use thicker metal. Use a bigger flame. Use something to weigh the bezel onto the base. Cut away as much unneeded surface area of the metal as possible before soldering. For example, Kerry is planning on removing a lot of the middle of the brass base so if she does that before trying to solder it again, she will have less surface area to heat so it will heat more evenly.
Soldering... On A POTATO?
That's right, you can solder on a potato! Kim shows you how a potato can be great for supporting your work while soldering. She demonstrated this with a project using three rings which need to be evenly spaced.
Be warned, you may crave chips once you watch this...
Watch More From The 12 Months Of Metal Series
- 12 Months Of Metal: Basic Cutting & Texturing Metal For Jewellery Making
- 12 Months Of Metal: Sawing Metal For Jewellery Making
- 12 Months Of Metal: Forming Metal
- 12 Months Of Metal: Soldering For Jewellery Making
- 12 Months Of Metal: Cabochon Setting Tutorials
- 12 Months Of Metal: How To Use A Rolling Mill
- 12 Months Of Metal: Riveting & Cold Connections For Jewellery Making
- 12 Months Of Metal: Metal Etching
- 12 Months Of Metal: Claw Setting Tutorials
- 12 Months Of Metal: Reticulation
- 12 Months Of Metal: Hollow Jewellery Tutorials
- 12 Months Of Metal: Casting & Granulation For Jewellery Making
- Larkman's Legacy & Kim's Trip To Geevor Tin Mine, Cornwall