February: Sawing Metal For Jewellery Making
Learn the basics of sawing
This month, Kim shares tutorials and top tips on how to use a jewellers saw.
Kim covers the following topics:
- How to use a jewellers saw, cut around a shape and pierce internal shapes
- The technique of drawing a line or design on your metal using masking tape
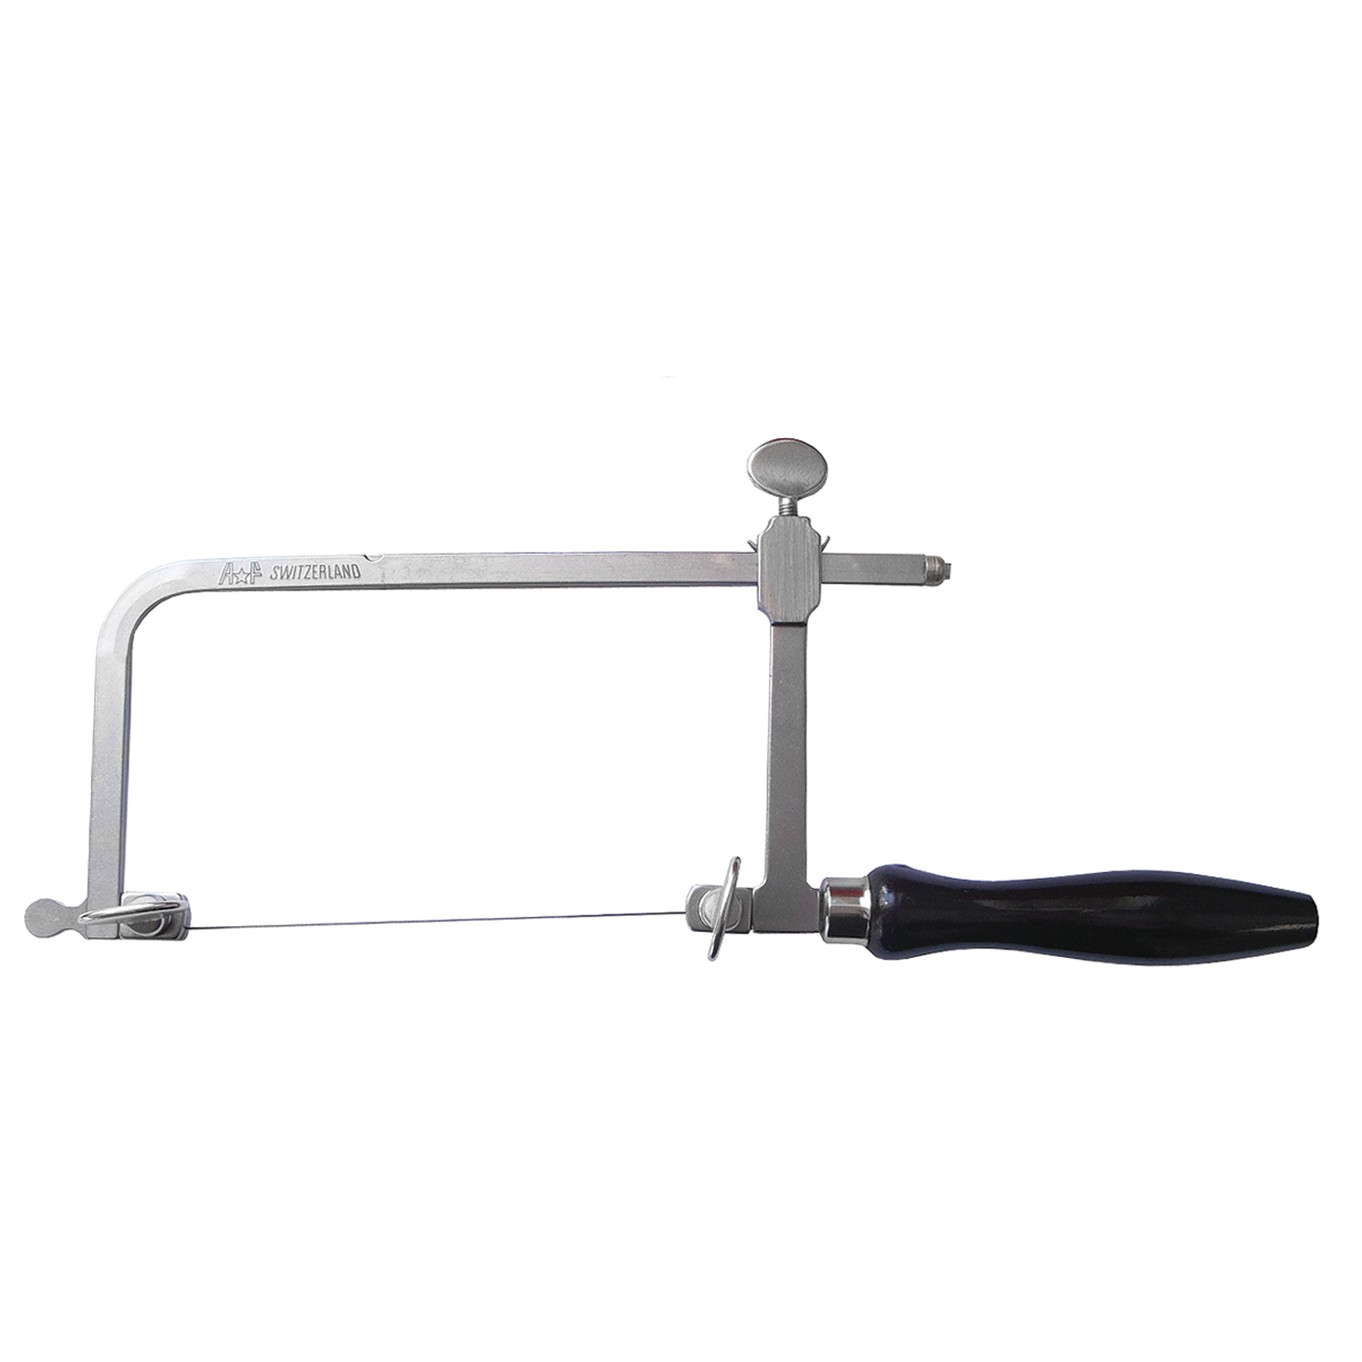
- Different types of jewellers saw frames
- How to insert a saw blade into a saw frame
- How to lubricate your saw blade with beeswax
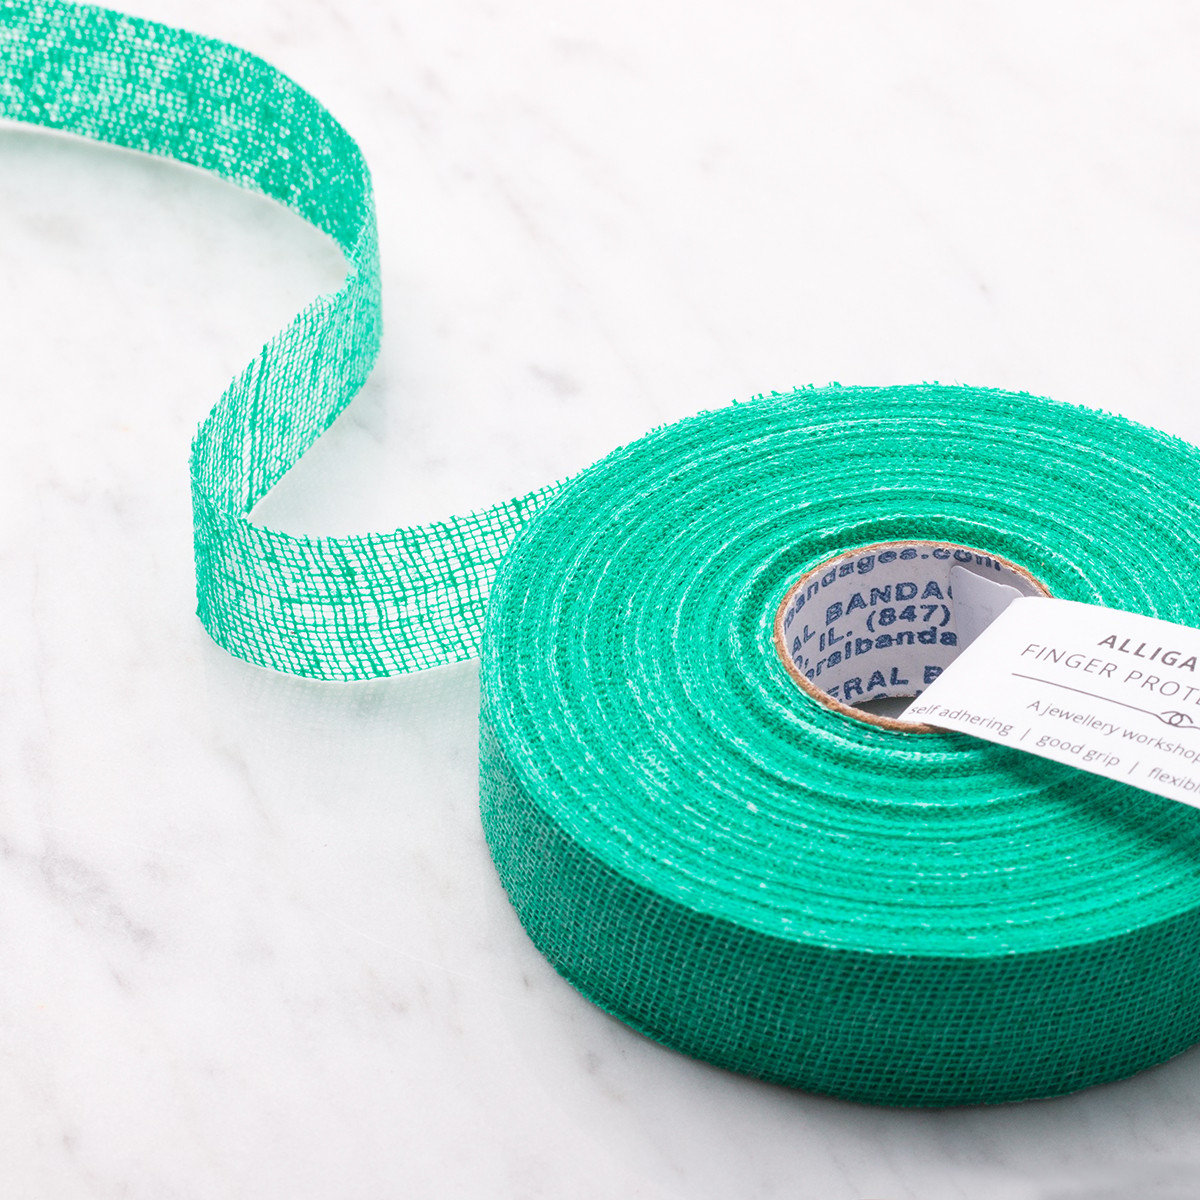
- How to protect your fingers with alligator tape
- Cutting more than one piece of metal at a time
If you try any of the techniques featured in the series, please tag us in your designs - we would love to see and share! Find Kernowcraft & 'Make It With Kim' on Instagram and use the hashtags #12monthsofmetal & #Kernowcraft
Watch Kim's tutorials throughout February below and find all the jewellery supplies you need with Kernowcraft.
Attaching Saw Blades & Technique For Sawing Metal
Kim shares a breakdown of the many saw frames and saw blades to choose from. While also showing you the best technique to attach saw blades, how to draw your design onto metal and how to use a saw to cut the shape out.
"I use 4/0 blades 90% of the time but you can find metal piercing charts online that tell you the recommended saw blade size for the thickness of metal you are cutting and the smallest drill bit you could use if you needed to thread the saw blade into your metal to pierce internal shapes. The general rule is the blade should have at least 3 teeth touching the thickness of the metal at all times."
Kim's top tips for sawing
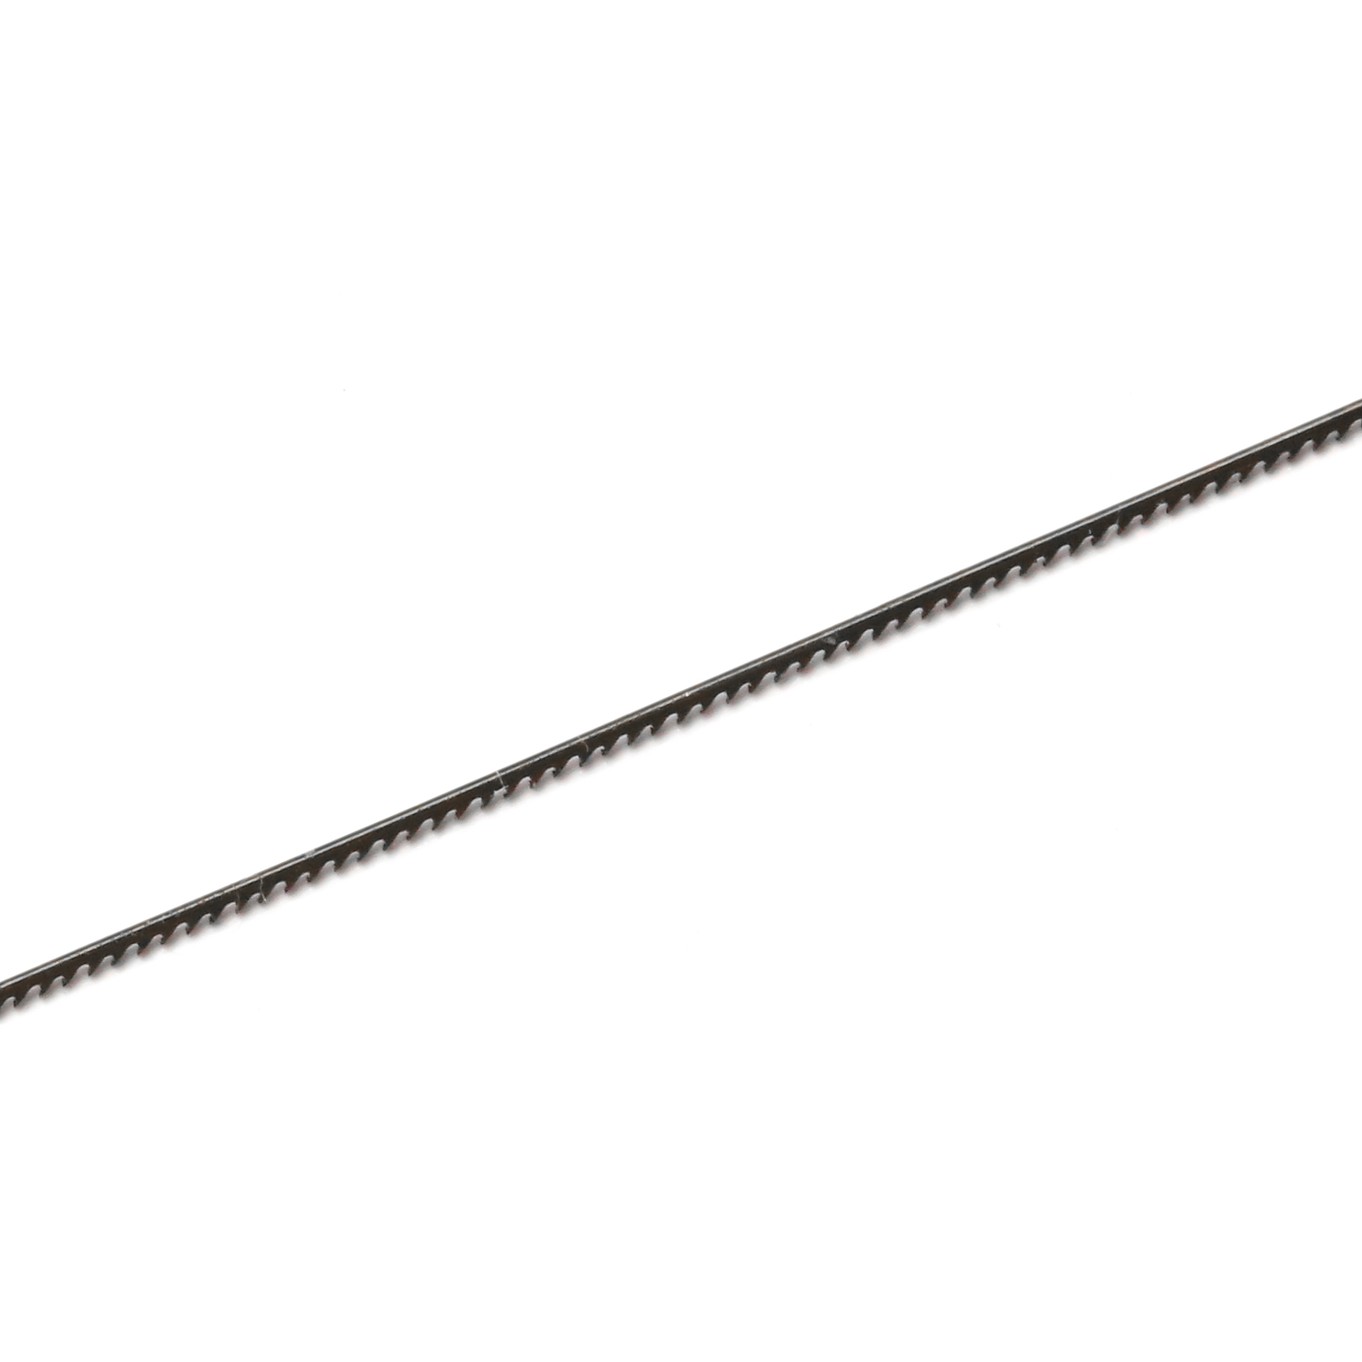
- The blade has to be inserted into the saw correctly - saw blade teeth pointing away from the saw frame and down towards the handle.
- Taught saw blade that makes a high pitched ‘ting’ when pinged with your finger.
- Don't push or jerk the saw.
- Have a soft hand grip – stick your pinky out!
- Support your metal well so it’s not jiggling about.
- When you need to turn corners make sure your saw blade is moving up and down while turning the metal, so the saw blade is always straight. If you stop sawing, turn your metal then try to saw again, you will have twisted your saw blade and it will break.
- You can rub beeswax on the back of your blade to help lubricate it for a smoother sawing action.
Shop sawing supplies with Kernowcraft
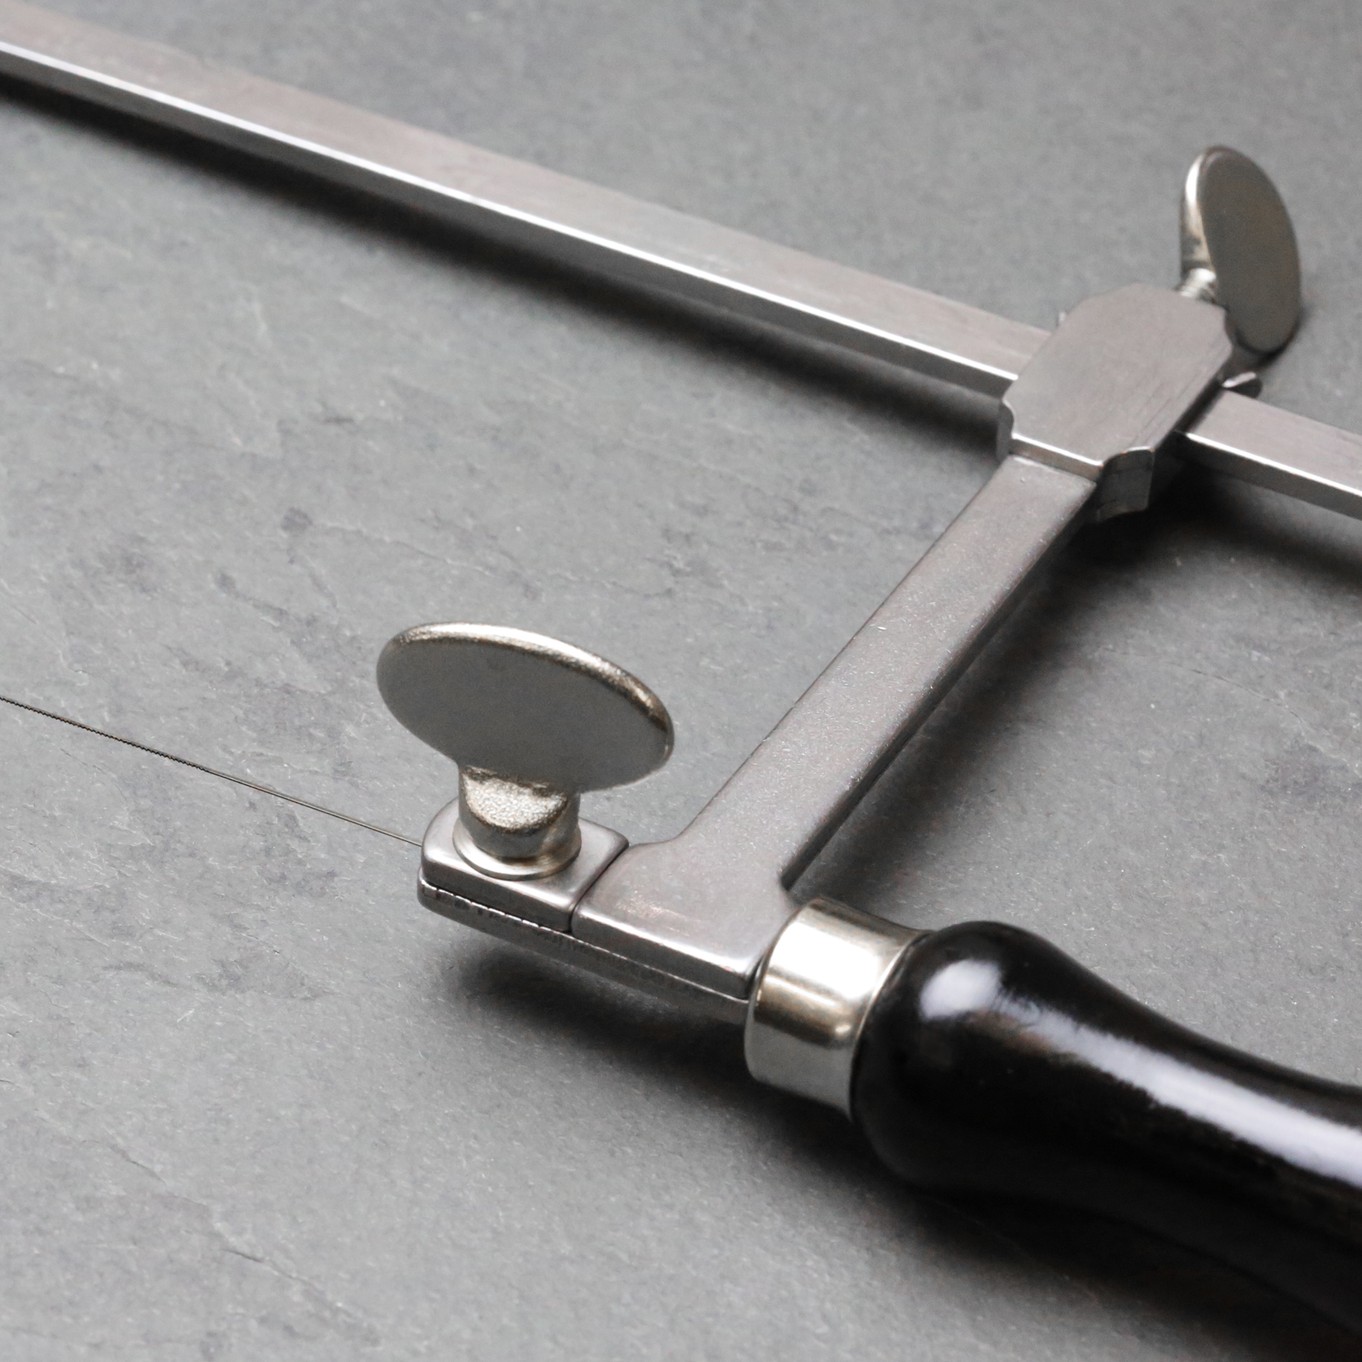
This high quality jewellers piercing saw frame is brilliant for both hobbyists and professionals. It has a classic design with a comfortable wooden handle, with easy tension adjustment which helps you reduce breakage of saw blades.
Our jewellers saw and saw blades are sold separately. These high quality A*F Gold Shark branded Swiss made saw blades are made of hardened tempered steel with sharp, uniformly honed teeth for accurate and rapid cutting.
Piercing Internal Shapes In Metal
In these videos, Kim shares a tutorial on piercing internal shapes in metal. With top tips such as sticky tape to follow your design and using beeswax to lubricate the blade.
Kim also shows you how to cut around the outside of the design with metal sheers, file the edges, add texture and punch a hole to create a jewellery design.
Lubricating Saw Blades & Protecting Fingers With Alligator Tape
We sent Kim a little package including beeswax and alligator tape to see what she thinks of them! Our beeswax comes from a local Cornish farm very close to our office. Kim shares why it's important to lubricate saw blades to help the blades glide through the metal and prevent it from sticking. Alligator tape is also a brilliant product to use daily as it protects your fingers while at the bench.
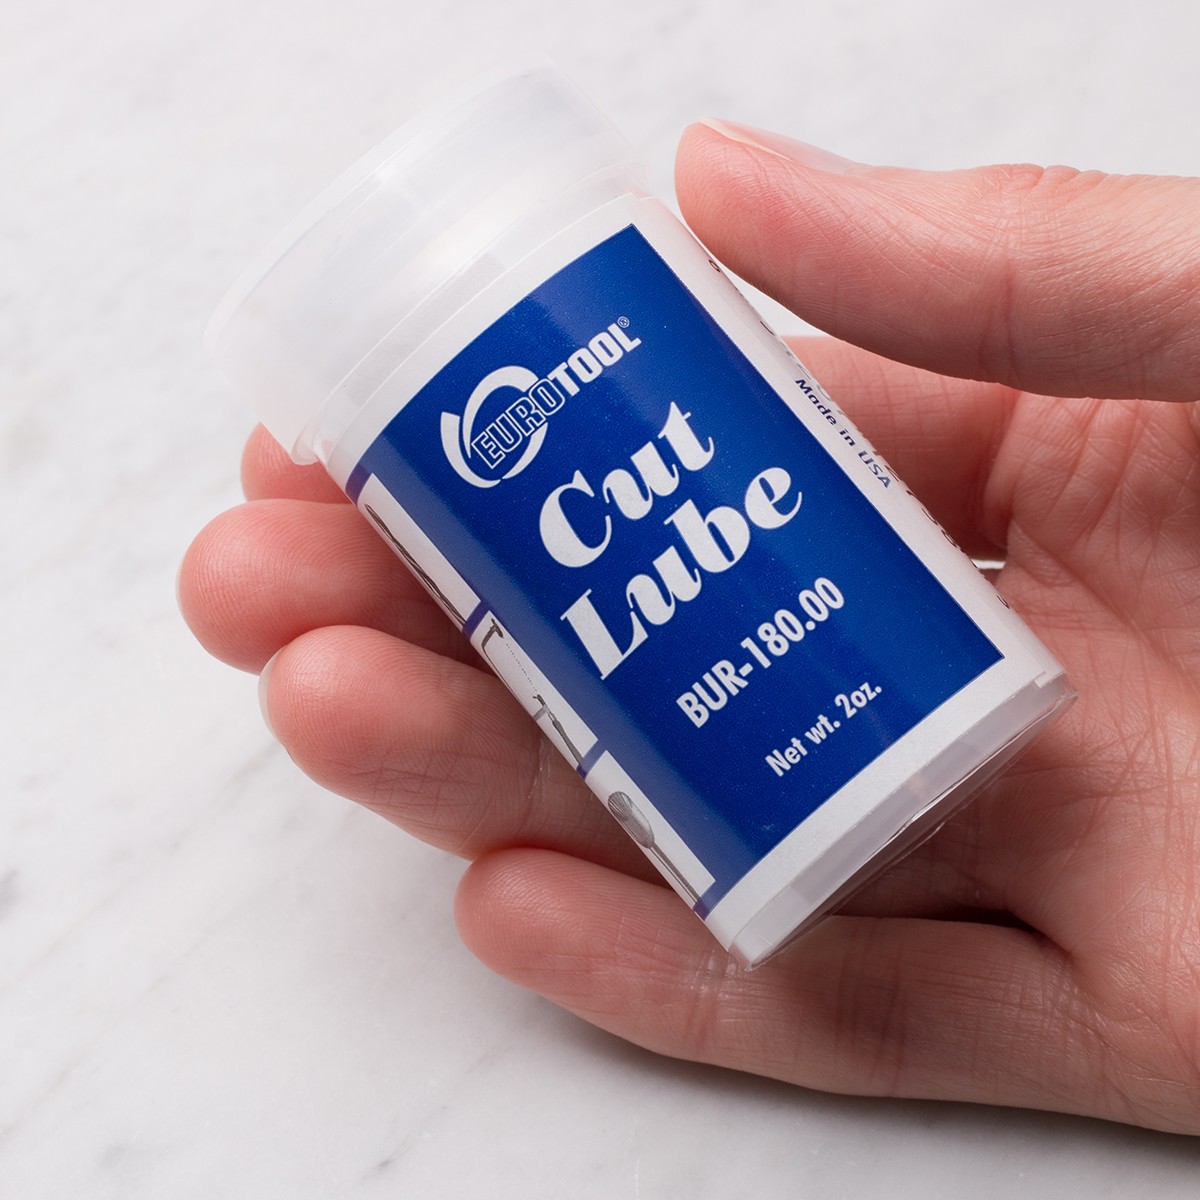
In Kim's videos, she shows her love for our Cut Lube to lubricate saw blades and help them glide through the metal and prevent it from sticking.
Alligator is a popular finger protection tape loved by jewellers! It's self-adhering which protects you from minor cuts, abrasions and burns. It's thin and flexible and gives you great grip at the workbench.
How To Cut Double Layers In Metal & Create Matching Earrings
This is such a great technique on how to cut multiple layers in metal. This is great if you would like to create matching pairs such as earrings and save time in the workshop. Kim shares a brilliant tutorial, showing you each step of cutting the metal, attaching the metal together, sawing and adding texture.
Choosing A Bench Peg & Anvil
A bench peg and anvil is a workshop essential! Kim shares with you a quick overview of what to expect when buying a bench peg, how to use it and the options available.
Anvil & Bench Peg
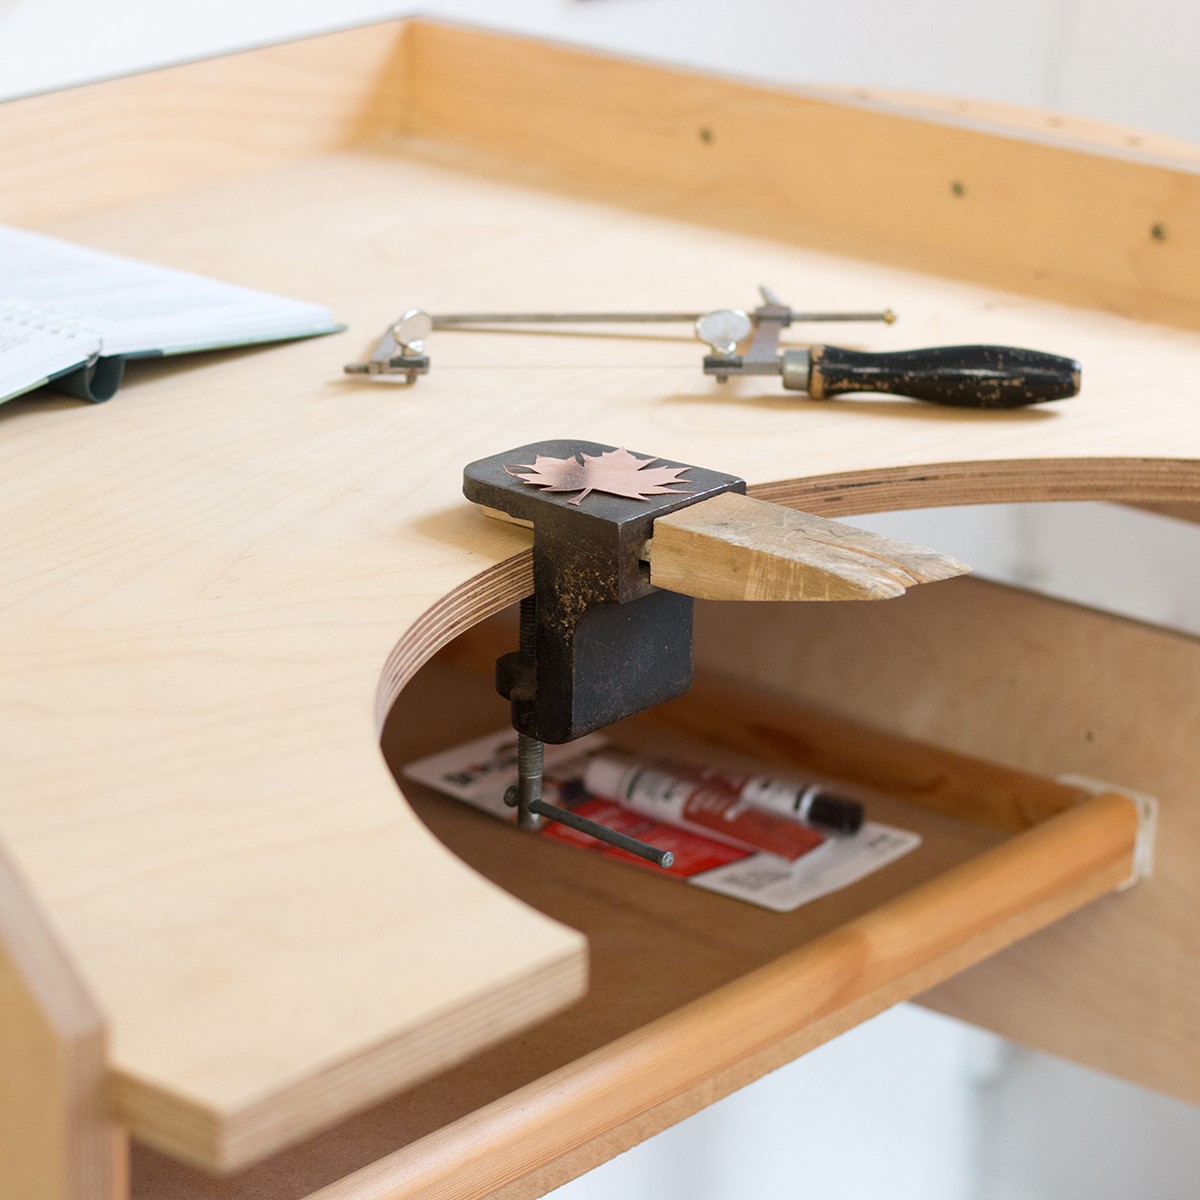
The anvil and bench peg is an essential for your workshop. Simply screw it onto your workbench or table, to give you a flat, steel surface for hammering on a wooden peg.
Watch More From The 12 Months Of Metal Series
- 12 Months Of Metal: Basic Cutting & Texturing Metal For Jewellery Making
- 12 Months Of Metal: Sawing Metal For Jewellery Making
- 12 Months Of Metal: Forming Metal
- 12 Months Of Metal: Soldering For Jewellery Making
- 12 Months Of Metal: Cabochon Setting Tutorials
- 12 Months Of Metal: How To Use A Rolling Mill
- 12 Months Of Metal: Riveting & Cold Connections For Jewellery Making
- 12 Months Of Metal: Metal Etching
- 12 Months Of Metal: Claw Setting Tutorials
- 12 Months Of Metal: Reticulation
- 12 Months Of Metal: Hollow Jewellery Tutorials
- 12 Months Of Metal: Casting & Granulation For Jewellery Making
- Larkman's Legacy & Kim's Trip To Geevor Tin Mine, Cornwall

