September: Claw Setting Tutorials
Learn how to use claw settings
This month, Kim shares some brilliant tutorials on how to make your own claw settings, as well as how to use ready-made settings.
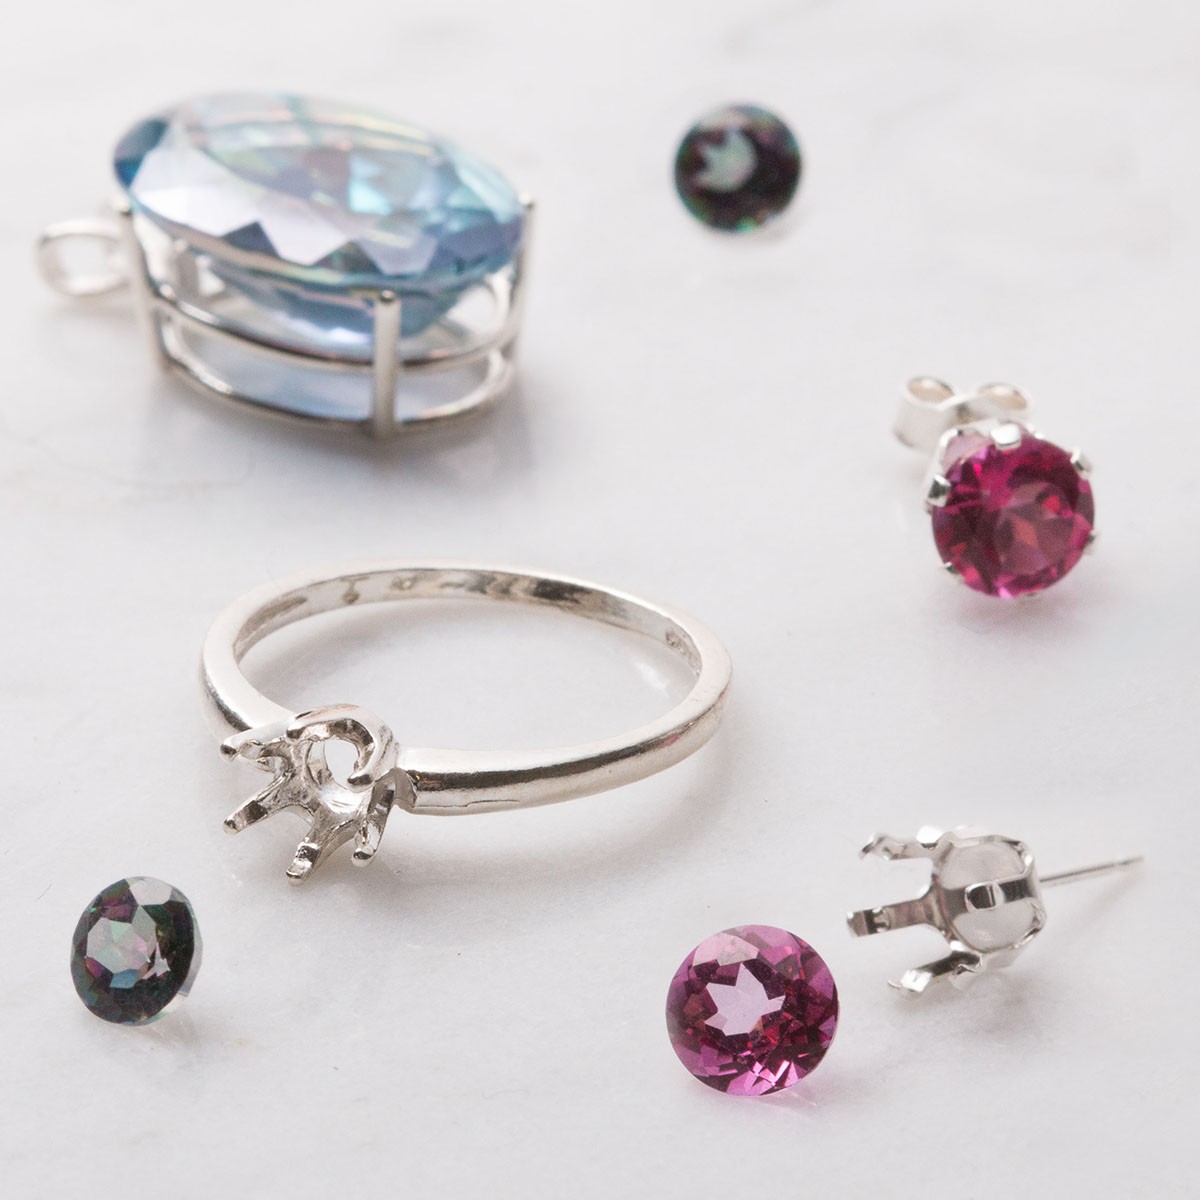
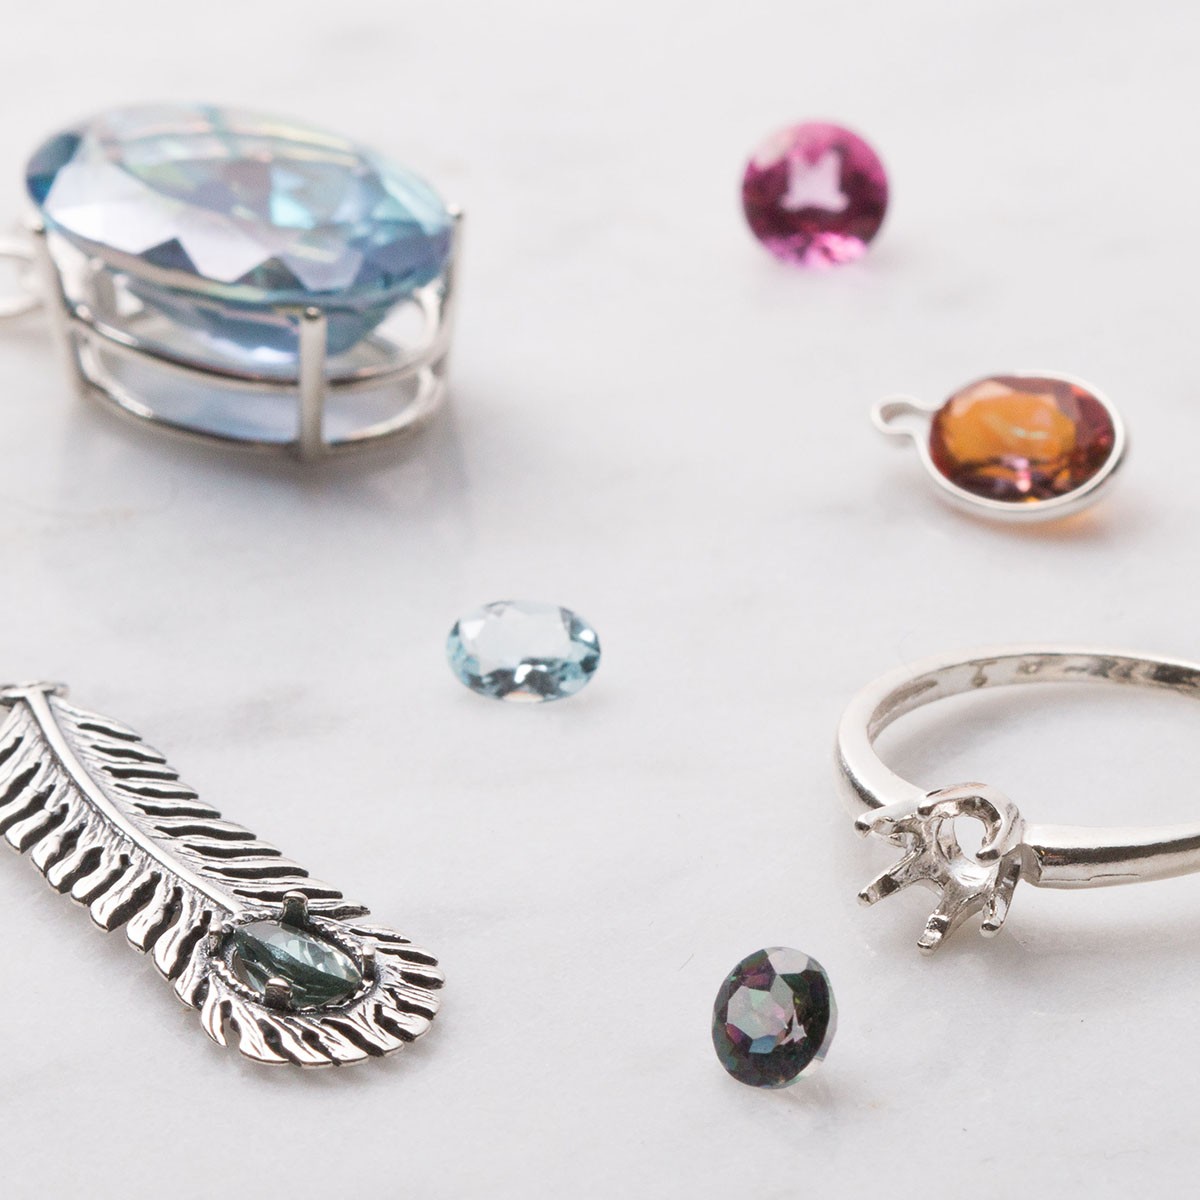
If you have lots of jewellery pieces to make, making your own settings from scratch can be time-consuming. That's when ready made jewellery settings come in to save the day! At Kernowcraft, we offer a great variety of jewellery settings from bezel cups for cabochon stones to pre-notched and snaptite settings for faceted stones. These settings can be bought loose or already soldered onto designs available as rings, pendants and earrings which only needs a gemstone to complete the look.
Below, watch Kim's tutorials on making your own settings from scratch as well as tutorials on using a loose pre-notched basket setting and also a snaptite setting to create a simple gemstone ring using a faceted stone. Kim also shares an overview of cup burrs and how to use them to complete your designs to a high standard.
Kim covers the following topics:
- How to make a balled claw setting
- How to make a basket setting
- How to make a ring with a pre-made basket setting
- How to make a ring with a pre-made snaptite setting
- Overview of cup burrs and how to use them
If you try any of the techniques featured in the series, please tag us in your designs - we would love to see and share! Find Kernowcraft & 'Make It With Kim' on Instagram and use the hashtags #12monthsofmetal & #Kernowcraft
How To Make A Balled Claw Setting
Kim walks you through every step for making your own claw setting from scratch. The style of setting suits sea glass, pebbles, cabochons, crystals and irregular shaped stones. It's one of the most basic claw settings you can make, but you can jazz it up by balling the ends like Kim shows you in the video tutorial.
How To Make A Basket Setting
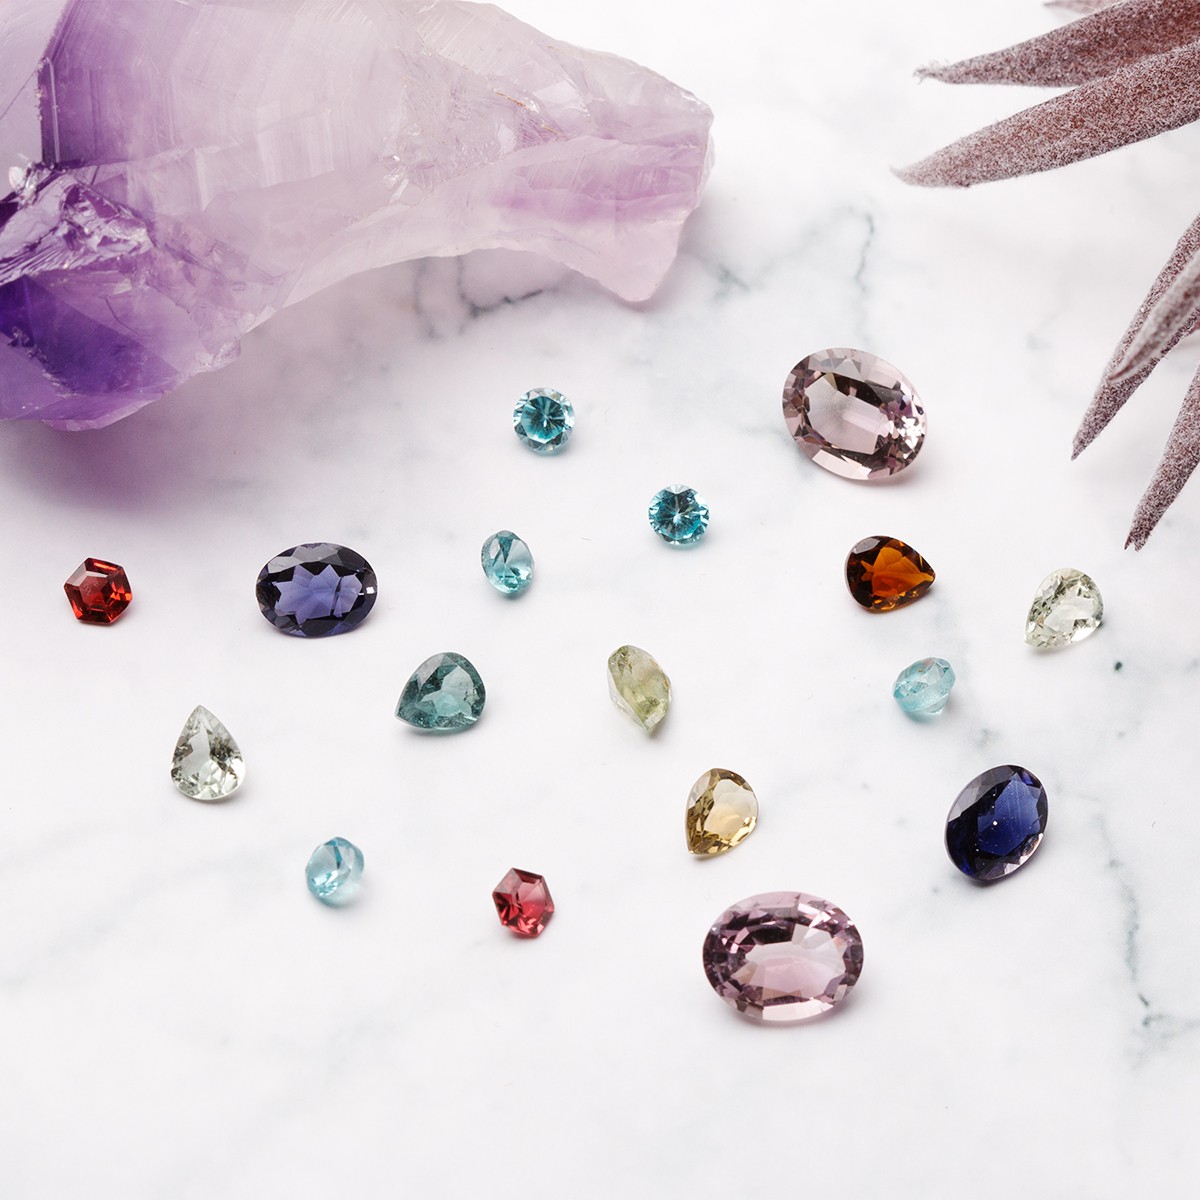
In this tutorial, Kim shows you how to make a basket setting for a faceted stone. Basket settings are a great way to let light pass through the stone and let it shine!
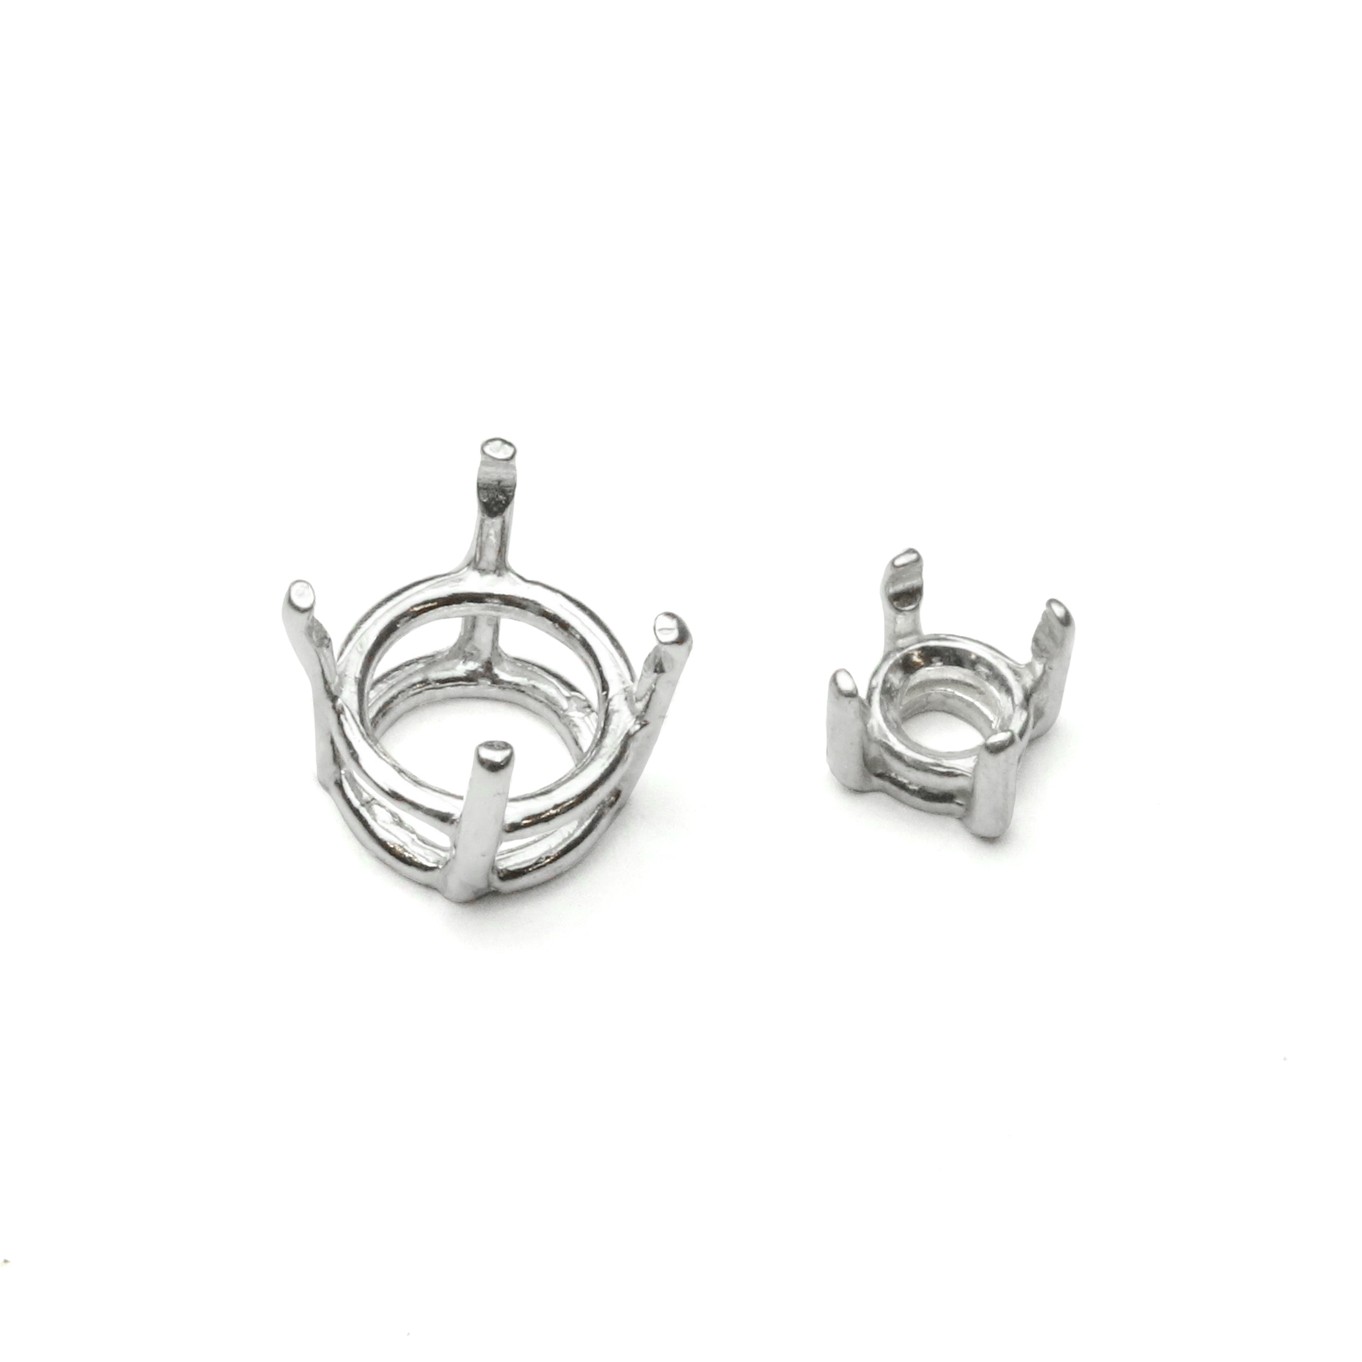
Kim - "First off, you are going to need 2 jump loops (jump rings) You can either buy or make these but the important thing is one needs to sit just under the widest part of your stone (the stones girdle) and the other needs to smaller. Making the second jump loop so it sits just inside the first one is a good guide. Next you need to make your wire cross, the same way we did in the basic cross claw setting video - this cross becomes your basket. To help your jump loops sit inside your basket, you can file 4 notches in your loops at the north, south, east and west points. You want to file about halfway through the thickness of your wire loop - I'm using 1mm round brass wire.
To solder your jump loops to your basket, hold your basket in some third hand tweezers so the basket stands as straight up and down as possible. Flux your larger jump loop and the inside basket wires, then carefully place your jump loop inside the basket so the wires sit in the recesses that you filled into the loop. Take your time and don't get disheartened... this bit can be very fiddly but gets much easier with practice! If your jump loop refuses to stay in place, it may be because your wires aren't all bent up at the same angle. I use hard silver solder for every join and borax as my flux. Remember to watch where your flame is so you don’t melt your setting! When it comes to pushing your claws over your stone, make sure you don’t keep bending and adjusting them back and forth or they will work harden and eventually snap off! So as you can see, this technique is fiddly compared to what we've covered in past months but it's definitely worth having a go... or two as you can get some lovely results. For those of you who don't fancy making your own basket and claw settings, I'm going to show you a few 'cheats' below."
How To Make A Ring With Ready Made Pre-Notched Setting
Kim shares a useful tutorial on how to use a pre-notched (basket) setting and how to solder it to a ring shank and set a stone.
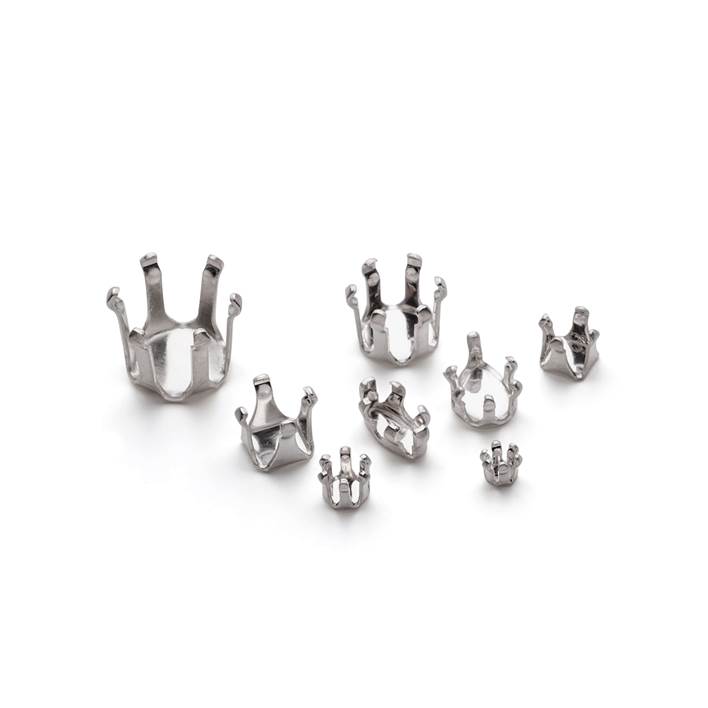
Our pre-notched settings for faceted stones are available in a range of sizes and there's no need to cut notches into the settings as they are already there. Simply solder onto your design, and set your stone by gently pushing the claws over the stone using a pusher to secure it in place. It is important to note that commercially cut stones have a size tolerance, so you may need to work on the settings as Kim states prior to fitting your chosen stone.
Kim - "When Kernowcraft learned I was going to be covering claw setting for #makeitmonth9 they sent me one of their pre-made, pre notched basket settings. And do you know what? It looks EXACTLY the same as the one I spent 30 minutes making in my tutorial the other day! I think it's important people understand how to work with metal so they can get it to do the things they want it to do, but I also think it's important people genuinely understand the difference between making things from scratch and the huge amount of pre-made items available so you can choose as an individual what the best option is for you and the piece your working on."
How To Make A Ring With A Ready Made Snaptite Setting
Kim shows you how simple it is to create a snaptite ring using a pre-made setting. Snaptites are extremely popular due to how easy they are to use, they have pre-notched, tensioned claws which simple 'snap' into place over the stone.
At Kernowcraft, we have a range of snaptite setting sizes and styles available to choose from online.
Kim: "Don't let people tell you you 'you must' this or 'should never' that or the worst... 'you CAN'T'. It's 100% up to you how much you make from scratch and how much you incorporate mass produced findings. As much as I feel it's important to understand why metal does what it does and how, I also completely understand time is money and not only that, even if you're not doing this for an income, time is precious. So, it's completely up to you, your personality, learning style and aims to decide what to hand make from scratch and when to use pre-made components. If you choose to make jewellery, then it should be enjoyable! Have fun everyone and let me know how you get on."
What Are Cup Burrs & How To Use Them
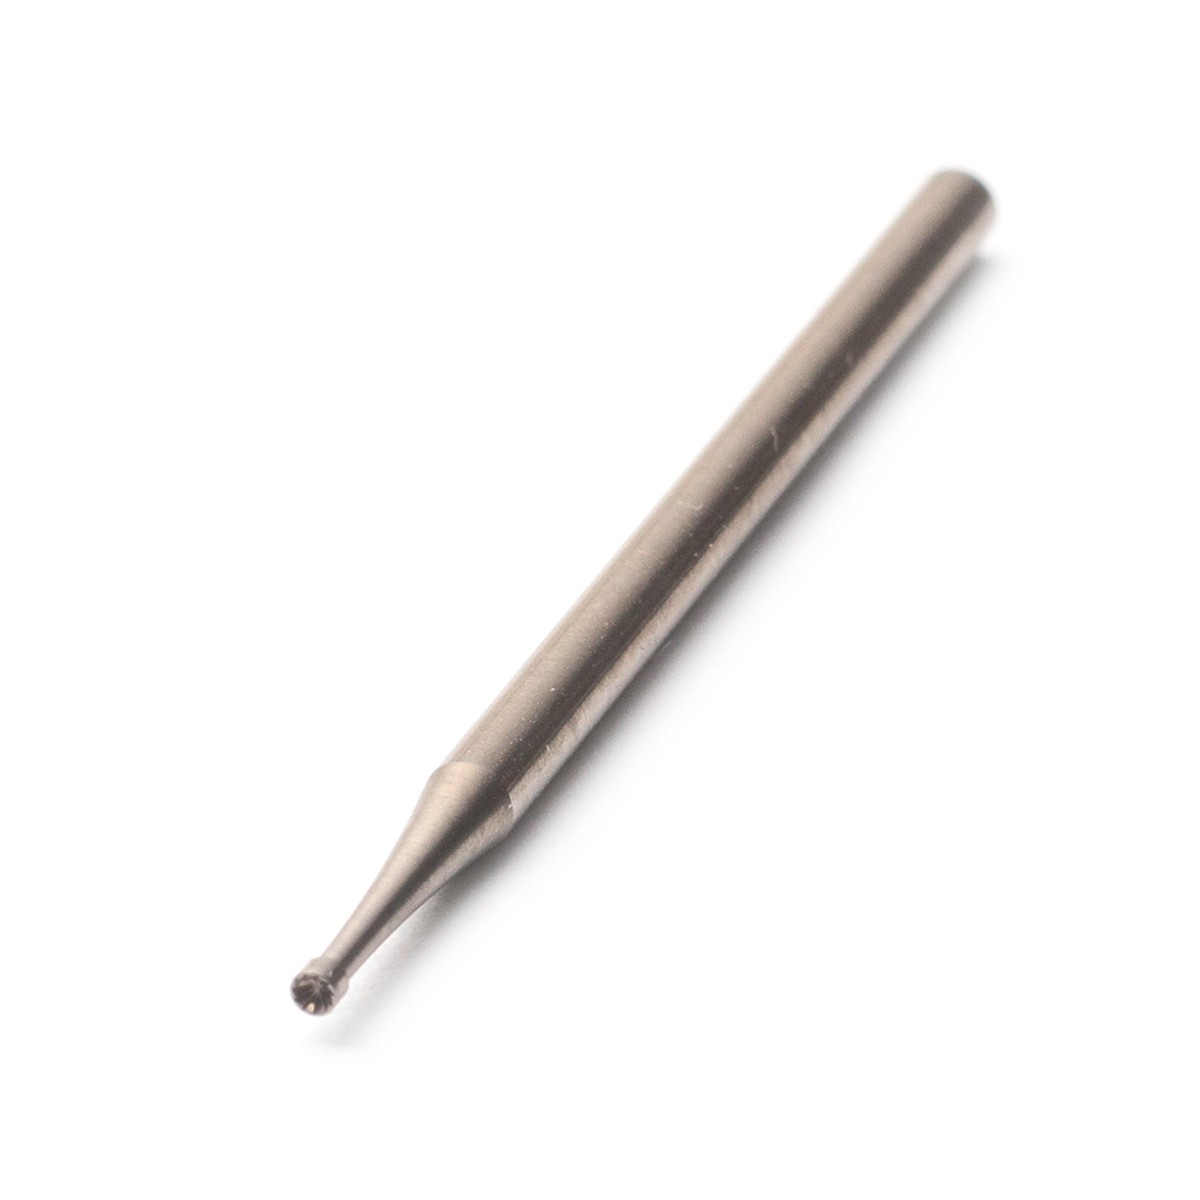
A cup burr is used to smooth prongs and claw settings, as well as smoothing the ends of wire which is a must if you make your own earwires.
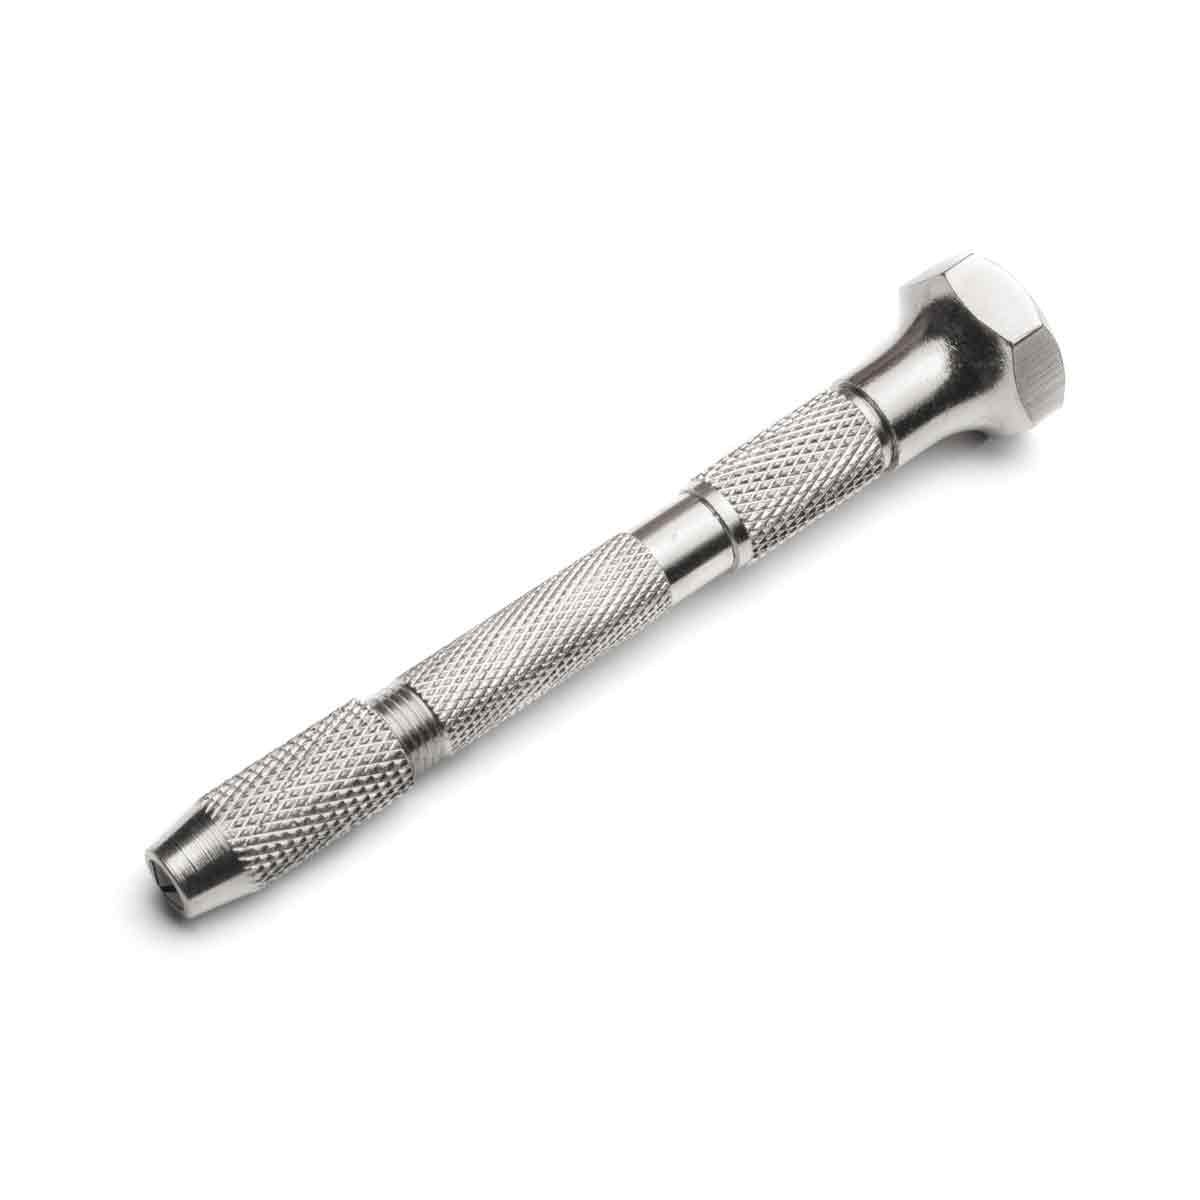
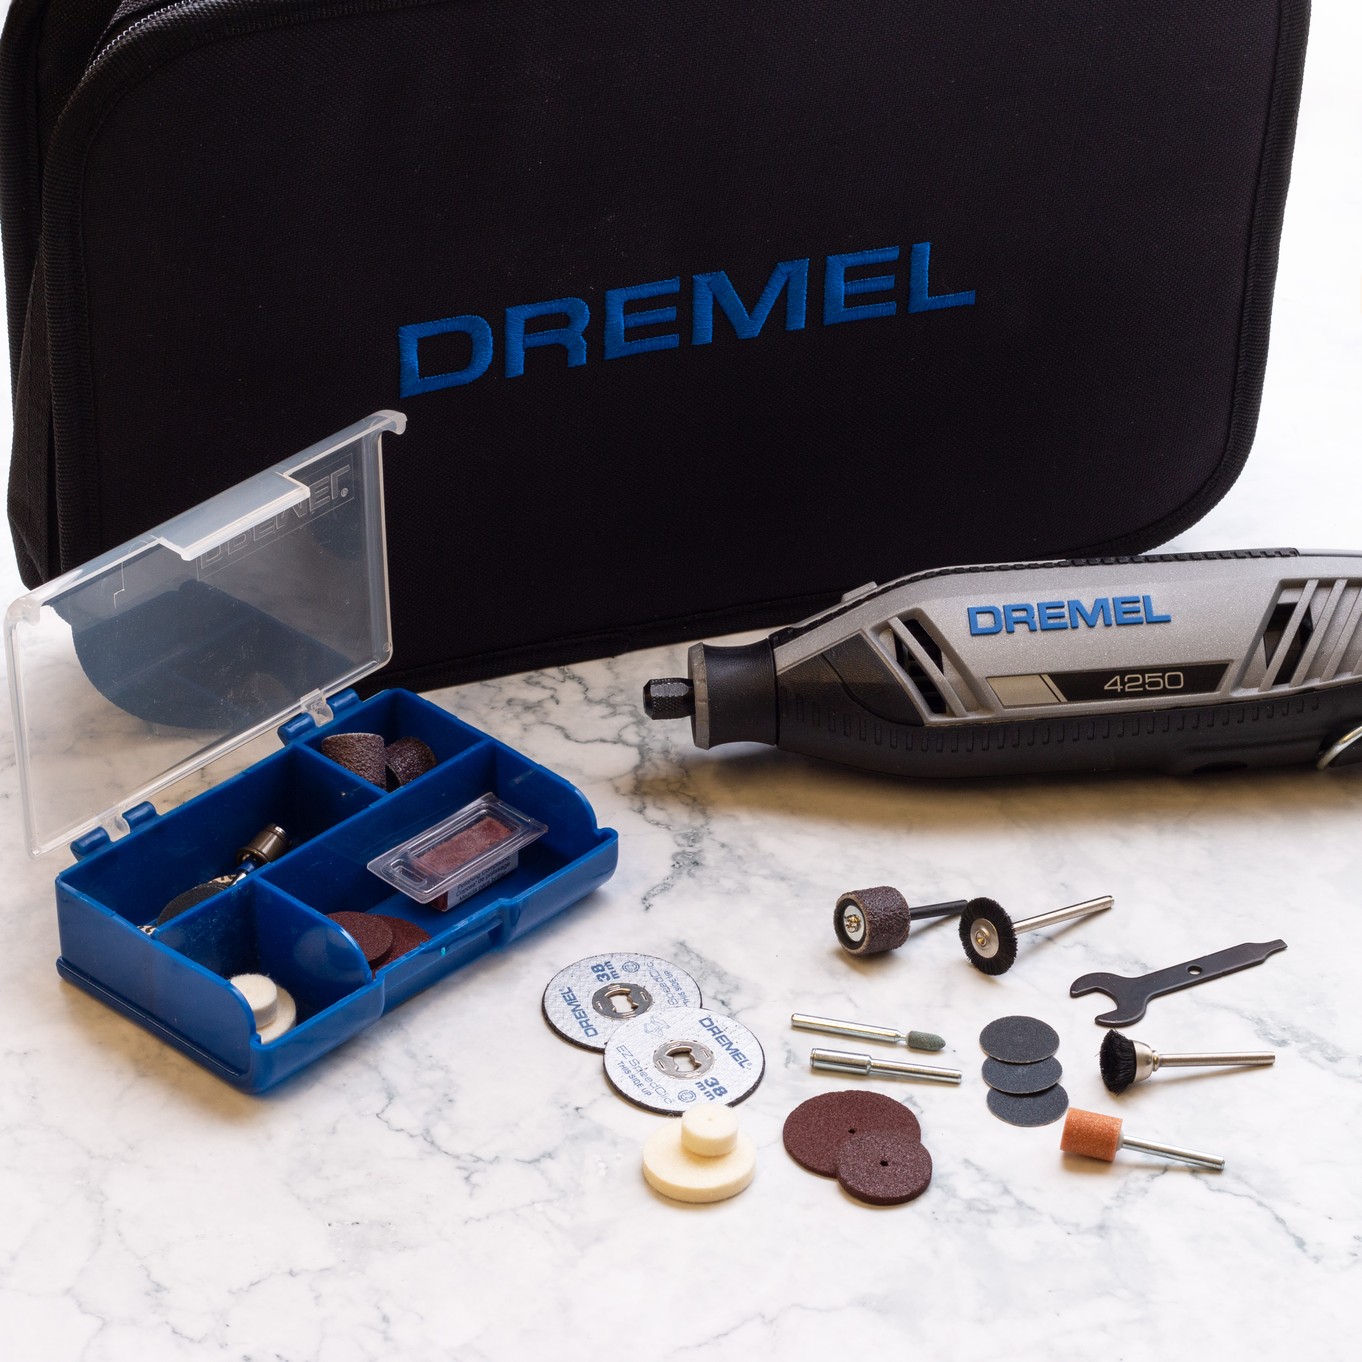
The burr is shaped like a cup, with small teeth inside which de-burr and grind away the wire ends in just a few twists. You can simply attach this to a rotary tool such as our Dremel Multi Tool or by using it with a pin vice.
Dremel Multi Tool
The Dremel Multi Tool is a brilliant tool to have in your workshop, offering precise, detailed work for sanding, carving, engraving, cutting, grinding and polishing.
We offer a wide range of accessories that fit the Dremel for more detailed jewellery use including silicon polishers in wheel, knife edge and cylinder shapes, polishing mops as well as a wide variety of burrs.
Watch More From The 12 Months Of Metal Series
- 12 Months Of Metal: Basic Cutting & Texturing Metal For Jewellery Making
- 12 Months Of Metal: Sawing Metal For Jewellery Making
- 12 Months Of Metal: Forming Metal
- 12 Months Of Metal: Soldering For Jewellery Making
- 12 Months Of Metal: Cabochon Setting Tutorials
- 12 Months Of Metal: How To Use A Rolling Mill
- 12 Months Of Metal: Riveting & Cold Connections For Jewellery Making
- 12 Months Of Metal: Metal Etching
- 12 Months Of Metal: Claw Setting Tutorials
- 12 Months Of Metal: Reticulation
- 12 Months Of Metal: Hollow Jewellery Tutorials
- 12 Months Of Metal: Casting & Granulation For Jewellery Making
- Larkman's Legacy & Kim's Trip To Geevor Tin Mine, Cornwall

