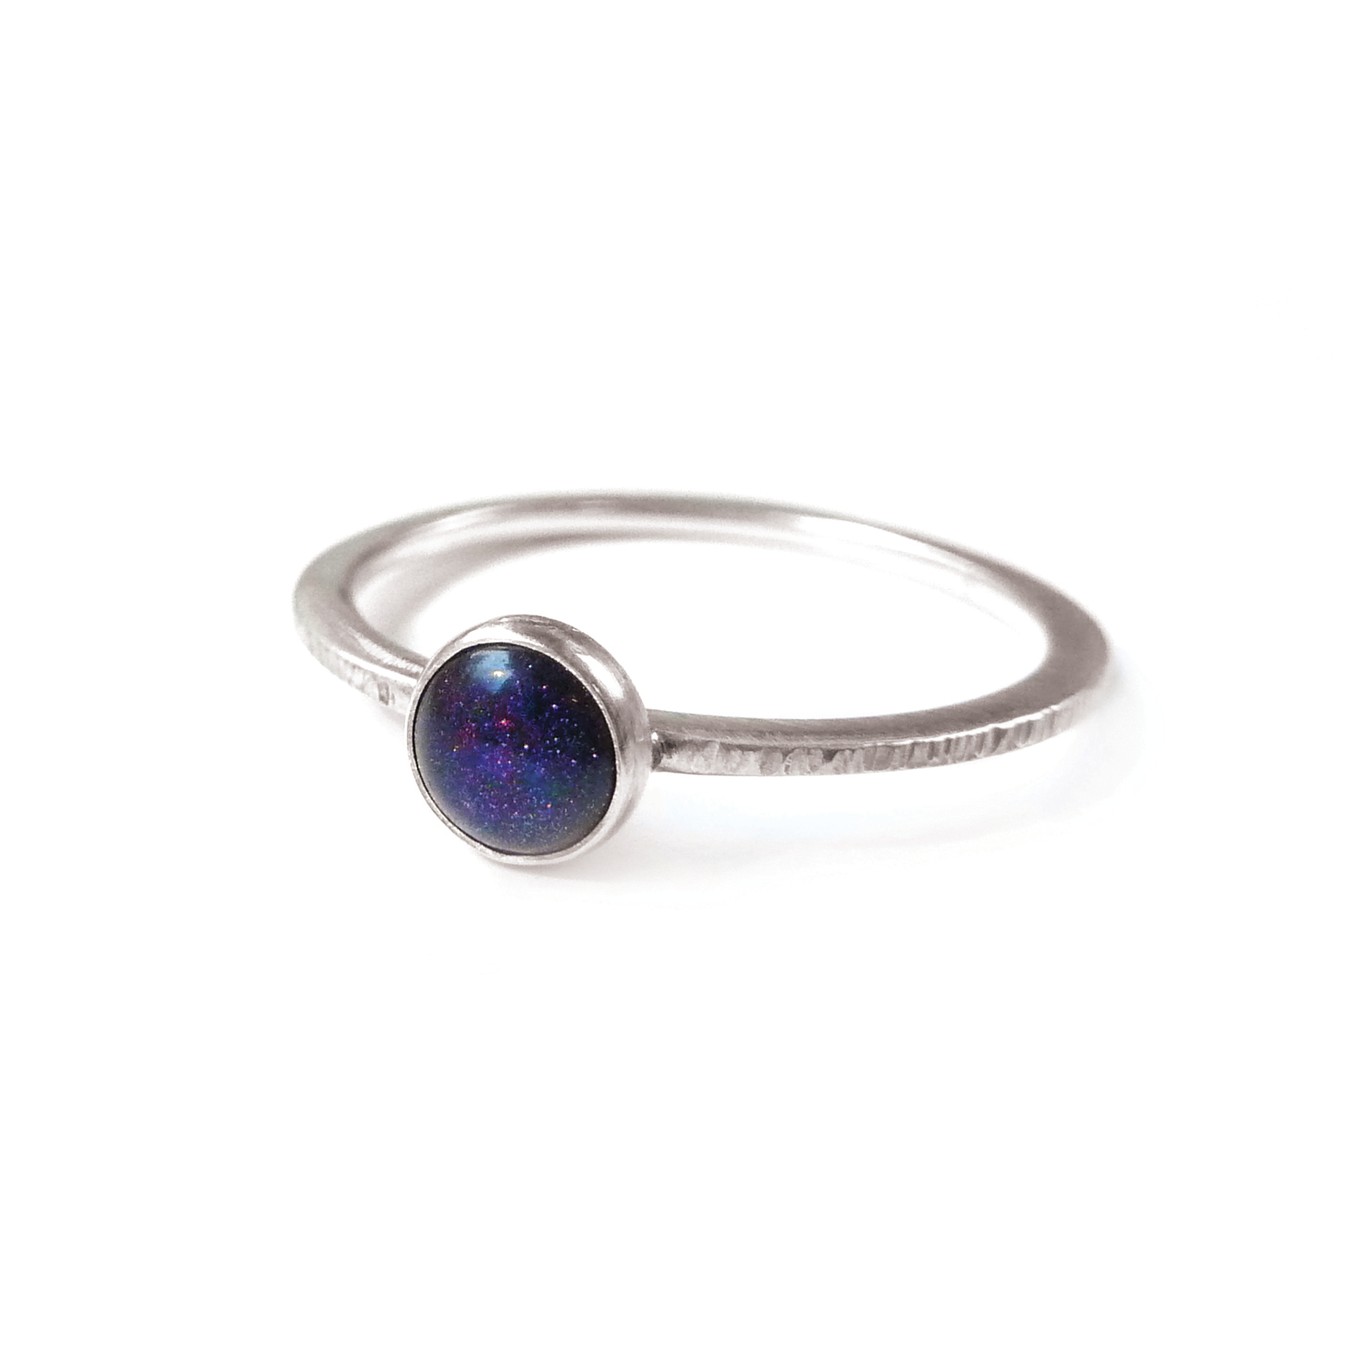
Blue Goldstone Bezel Cup Ring

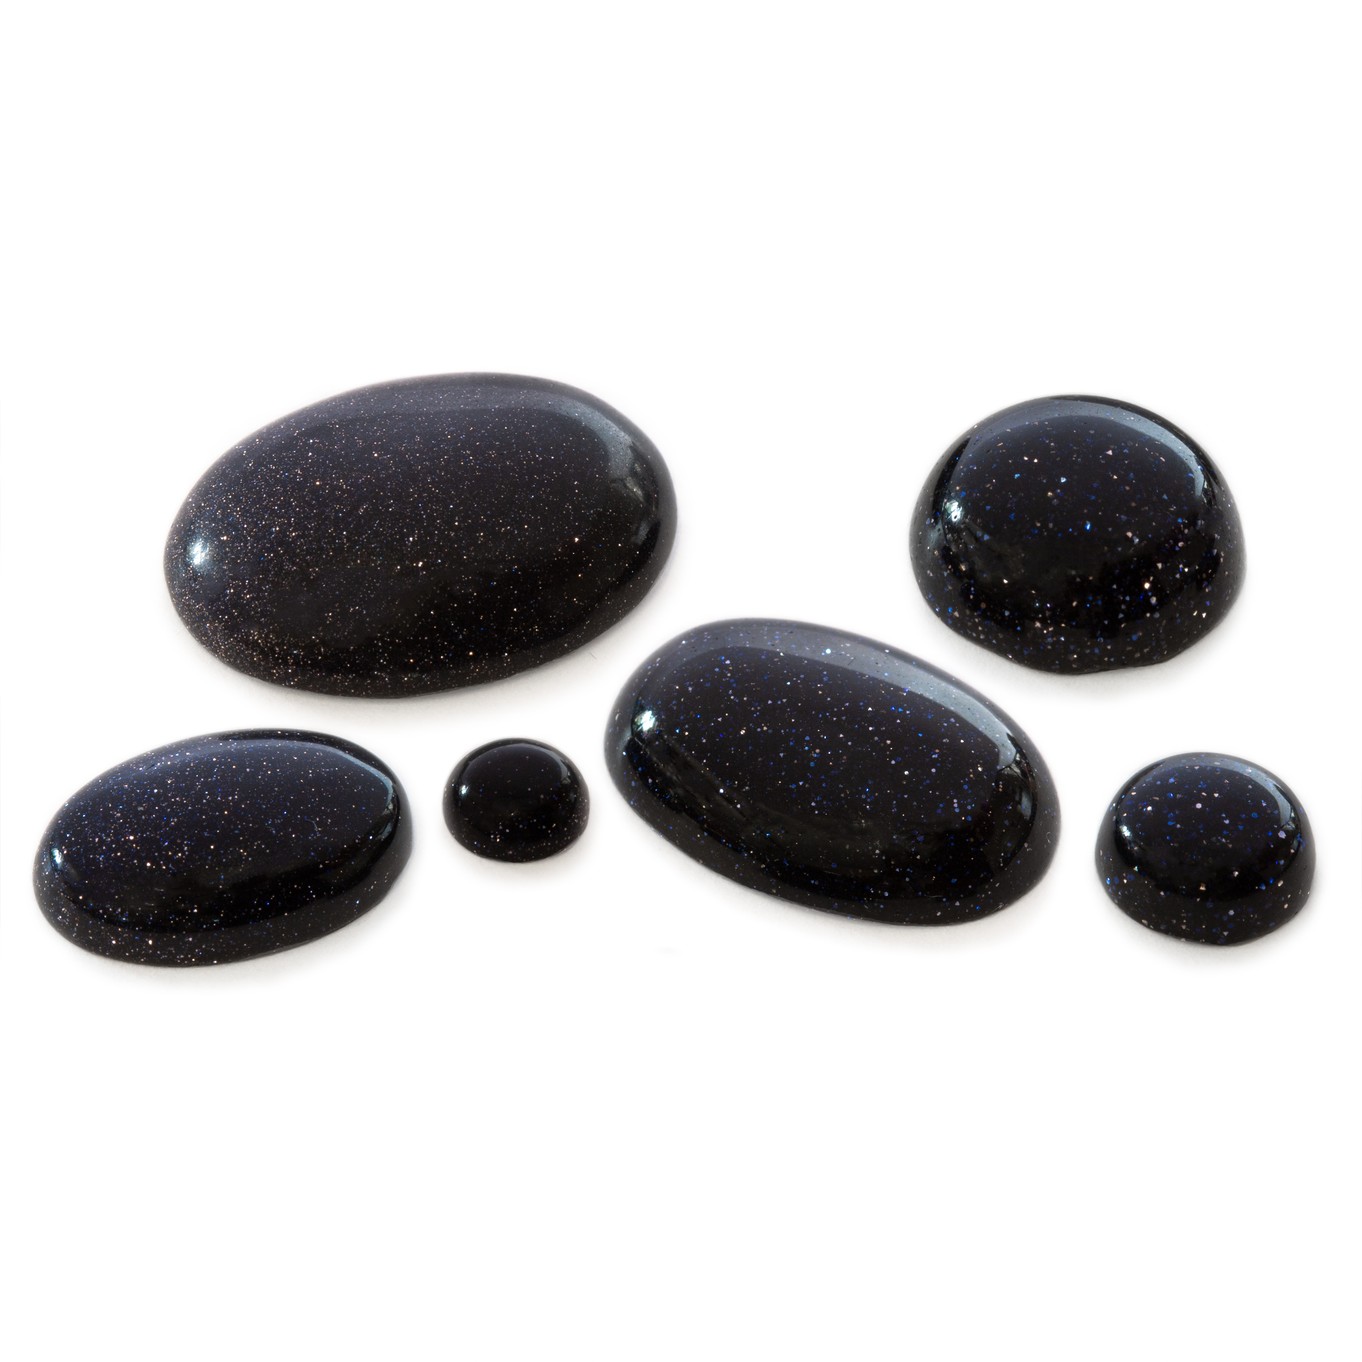
This simple bezel cup ring is the perfect project to practice basic silversmithing techniques. We have chosen to use blue goldstone but you can use any gemstone cabochon of your choice!
This ring would look great as a stacking ring with two others using different gemstones.
Step by step instructions
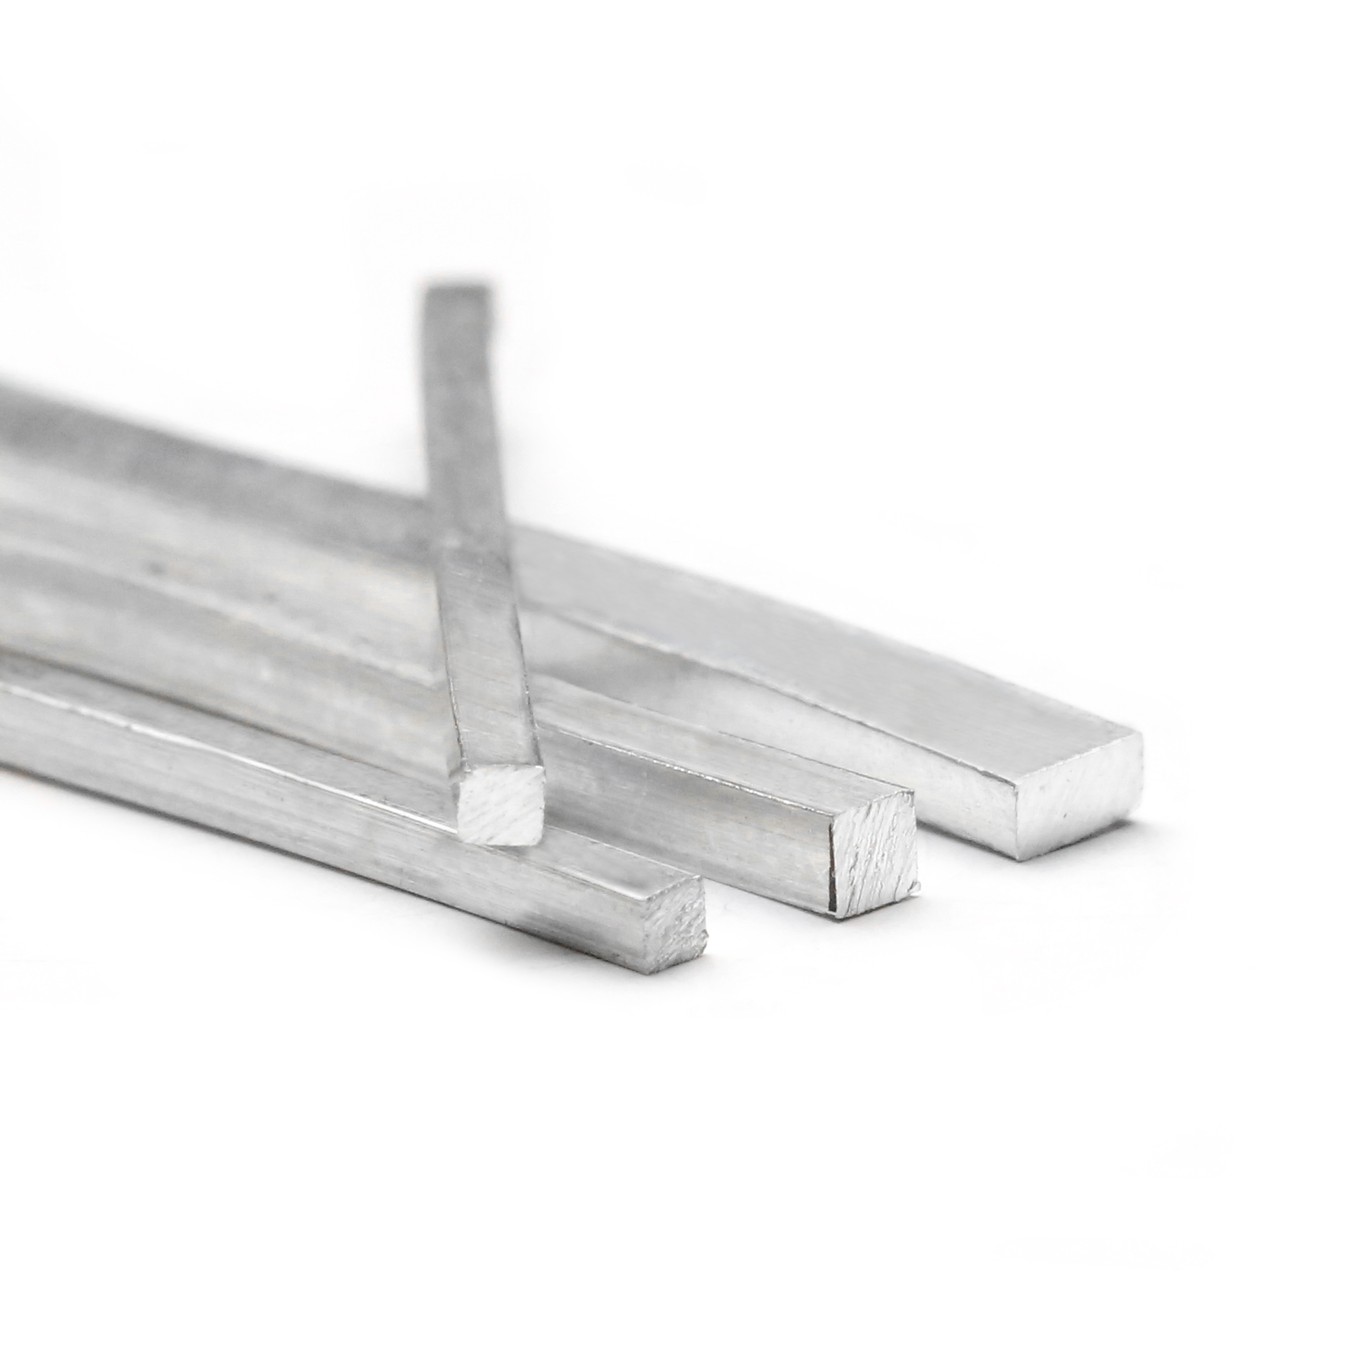
Start by determining the length of silver that you need for your ring.
You can use a multi-sizer ring sizing gauge on your finger or slip a ring onto a wheatsheaf ring size stick to determine the length of wire that you need.
You can order the correct length of wire (as we sell it per cm) or you can order a piece and use heavy duty size cutters to cut your wire to the correct length.
Bend your wire into shape around a ring triblet using a rawhide mallet to make a neat join. Now you are ready to solder your wire together.
Cover the joint in flux, pop on a little bit of silver solder and apply the heat of the flame from your gas torch, make sure you heat all around the ring in an even motion and your solder will flow nicely into the joint.
Once you have soldered your ring you can then hammer it on a triblet using a rawhide mallet to get the shape correct without marking the surface of the metal.
You can then use a jewellers hammer if you want to add a texture.
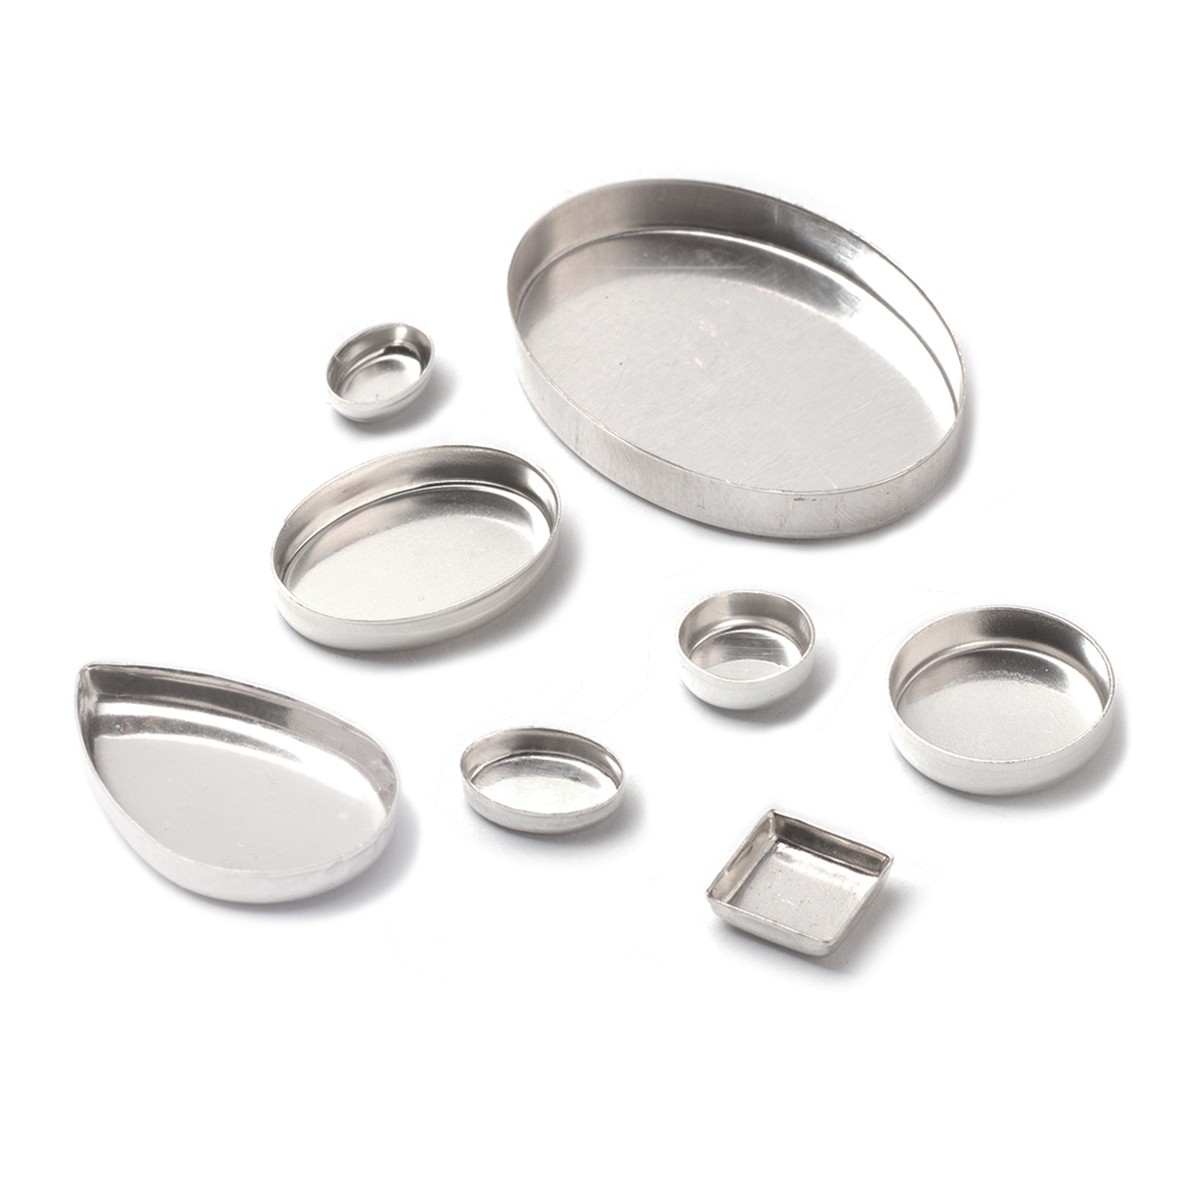
You now need to solder the bezel cup to the ring, the easiest way to do this is to put the bezel cup upside down on your soldering block apply a little flux and a small piece of solder, using a pair of reverse action tweezers hold the ring in position and apply the heat of the flame from your gas torch, again making sure that an equal temperature is achieved over both the ring and the bezel cup to get an even flow of solder.
Your ring will now look quite dull and fire stained, leave it to soak in a pot of safety pickle to remove the main staining.
Then using a Dremel multi-tool fitted with a cotton polishing mop clean over the whole ring using rouge polishing compound, this will give the ring a gleaming finish.
Finally, you can set your blue goldstone cabochon in your bezel cup by simply popping the stone in the bezel cup and using a bezel rocker. Working from all sides gently rock back and forth with downward pressure until the stone is secured. We have a large selection of cabochons if you wish to choose another stone.
Your ring is now complete! Stacking rings are very popular at the moment so you could make several rings in your own style using different metals and stones.
Suggested tools for this project
Genuine wheatsheaf ring size stick
Customise Your Kit
Make the design your own by using your favourite gemstone cabochon.
Helpful Pages
Stone setting advice pages and tutorials
Silversmtihing advice pages and tutorials
Texturing advice pages and tutorials
Soldering Tool Kit - containing everything you need for soldering metals
Jewellery Making Books
The New Encyclopedia of Jewellery Making Techniques by Jinks McGrath
The Art of Soldering for Jewellery Makers: Techniques and Projects By Wing Mun Devenney
The Jeweller's Directory of Decorative Finishes By Jinks McGrath
Kernowcraft's jewellery making kits are aimed to inspire you - therefore the step by step instructions are available online only with a shopping list, where you can easily customise the design to suit you. We recommend printing or bookmarking this page ready to follow.
The suggested products used in this project are suggestions to inspire you. Products used were compatible at the time of making but do be aware that gemstones are natural and hand cut stocks can vary, so do use your own common sense as to the compatibility of each item when making.
Your Shopping List
There are one or more items out of stock at present.


