


Welcome to our free mini video series of metalsmithing top tips!
For this mini series, we teamed up with the wonderful and talented jeweller and tutor 'Cyrilyn Silver' to bring you quick and simple metalsmithing tips and tricks.
Watch all of Cyrilyn's tips below and discover brilliant jewellery making tools and techniques you can use that will save you time and effort in the workshop.
Share your tips with us on social media
Have you found these tips helpful or have a tip you'd love to share with us? Tag @kernowcraft on social media and use #KernowcraftTips for a chance to feature.
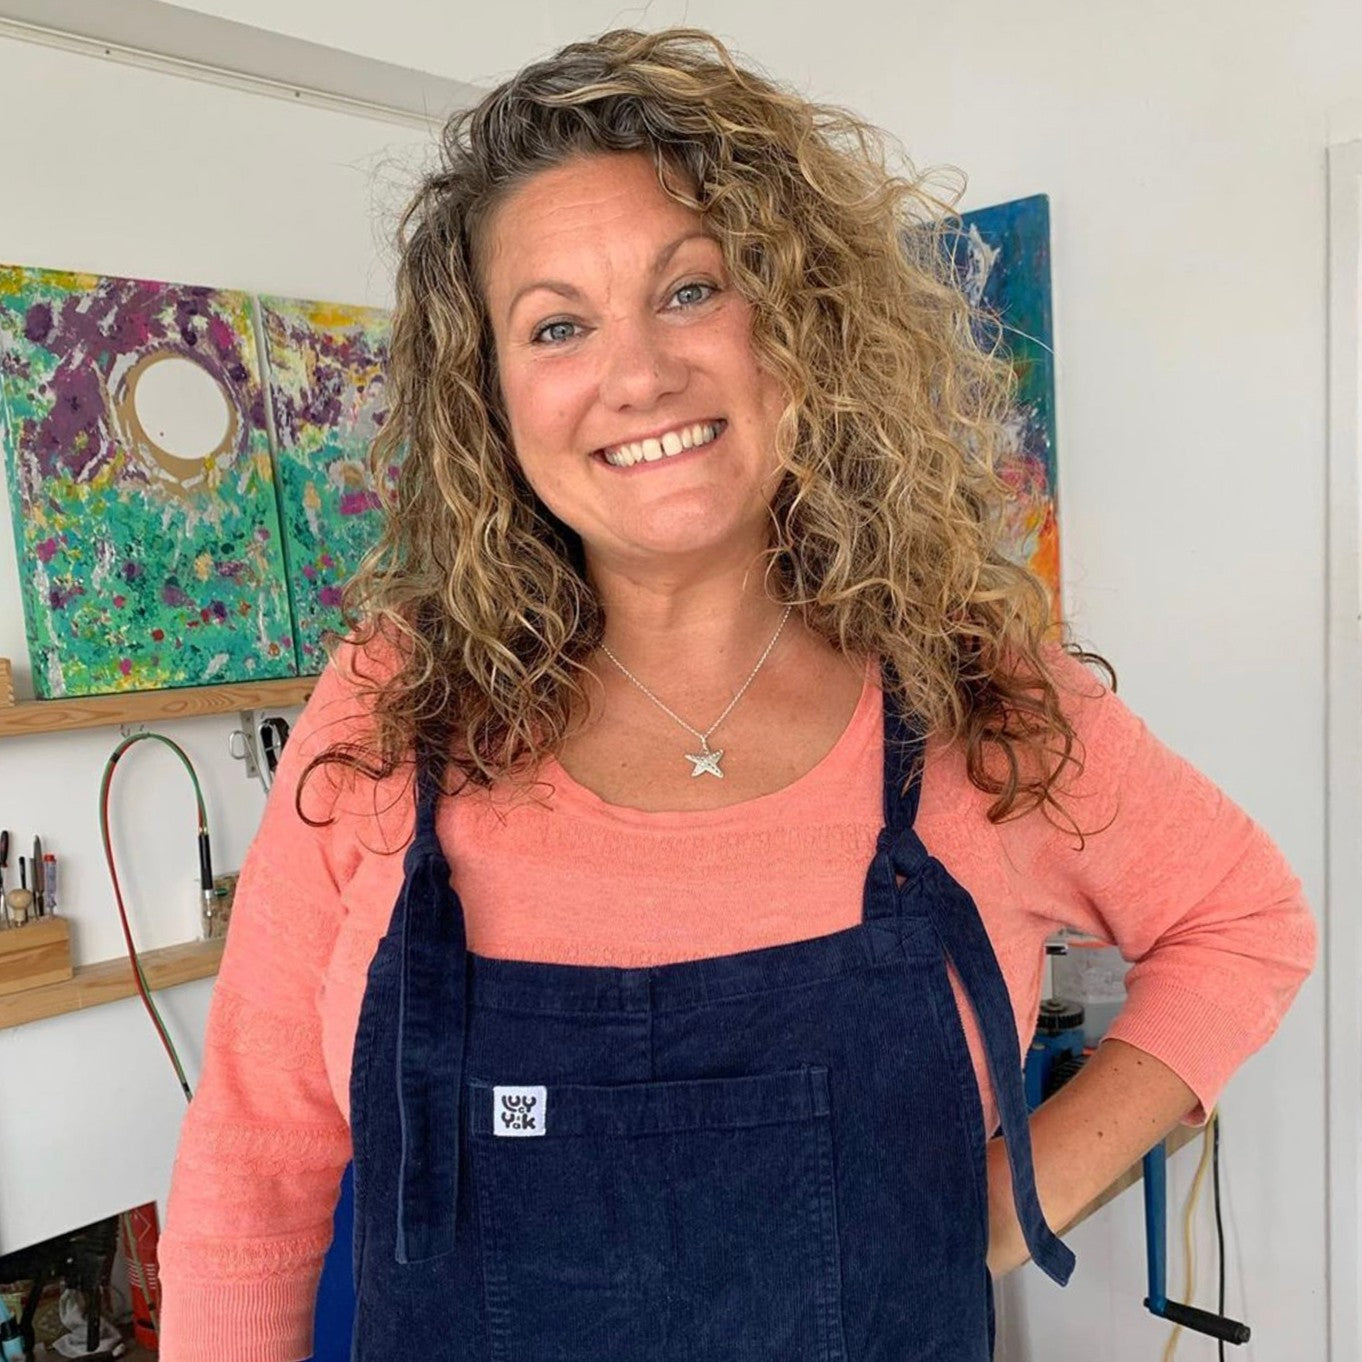
Meet Cyrilyn, your tutor
Watch this video to find out more about Cyrilyn, who will be sharing with you some amazing knowledge you can use in the workshop, whether you're a beginner or experienced jeweller.
Cyrilyn is a jeweller, who runs jewellery making workshops in Nottingham for beginners who fancy giving this wonderful craft a go. Being passionate about sharing her skills, Cyrilyn was thrilled to be about to join us in sharing top tips, advice and ideas for other jewellers to use too.
Follow Cyrilyn
WEBSITE - INSTAGRAM - FACEBOOK - YOUTUBE
How To Measure The Perfect Sized Bangle
Have you ever wondered how to measure the perfect sized bangle for you or a client? Cyrilyn shows you how with this quick tip. All you need to do is measure the space between your knuckles and ensure that the diameter of your bangle matches these measurements to ensure a perfect fit!
The Importance Of Beeswax To Lubricate Your Blades

Cornish Natural Beeswax
Use beeswax on your saw blades when piercing metal to help the blade glide through the metal to prevent it from 'sticking' and to avoid breaking your blades!

Jewellers Piercing Saw Frame
A jewellers piercing saw is the best tool for cutting circles, rectangles and any other shapes you may require from sheet metal, as well as being ideal for cutting metal tubing and thicker metal wire. Cutting wire with the jewellers piercing saw will also ensure a neat flat edge for successful soldering!

Saw Blades
Saw blades are sold separately and available in three grades, coarse, medium, fine and supplied in a pack of 12. The most appropriate grade will depend on the thickness of the metal and the nature of the job. The coarser blades are slightly thicker (and therefore stronger) so they will remove more material than fine grade. A finer blade should be used for thin metal, cutting curves or for very delicate work.
How To Get A Quick Shine With A Nail Buffer
Next up, Cyrilyn shows you how you can use a nail buffer to get a quick shine on your handmade designs. Normally, you would work your way through the grades of wet and dry sanding sheets to clean your metal, and remove any unwanted scratches and file marks. Then you would move on to working your way up through the grades of polishing papers to get that sparkly shine!

Wet & Dry Sanding Sheets
Use these brilliant wet and dry sanding sheets to roughen and clean your metal, remove unwanted scratches and file marks in order to achieve a fine surface ready for polishing.

Polishing Papers
Polishing papers are a fantastic way of gaining a high sheen on metals! Work your way up through the coloured grades to achieve a fantastic polish by hand and without the need of any tools.
How To Remove Tarnish
Tarnish is the natural process of the oxidisation of metals, it can create a dullness, slightly golden colour and will eventually result in a black coating on your metal jewellery. Although it's a pain and doesn't look pretty, luckily it's quite easy to remove as Cyrilyn shows you below.
For more ways on removing tarnish and finding ways to prevent it from happening sooner rather than later, read our advice page for more information and discover some of our best selling products to help tackle the problem!
How To Create A Patina With Liver Of Sulphur
Liver of sulphur is a fantastic and extremely popular product used to create an antiqued, black or iridescent-coloured patina on metals. Create stunning colours, ranging from black, purple, blue, copper to gold.
Using a coloured or darkened effect on metals is a great way to make your surface textures and decorative elements stand out! You can also use liver of sulphur to darken sterling silver findings or chains to give a vintage look.
Read more on our advice page
How To Create A Scrap Silver Disc
Cyrilyn shows you a simple project using your scrap silver! All you need to do is heat your scrap silver on a charcoal block until it forms a sphere, quench it and pop into your pickle. Then place it in between two steel blocks and use a hammer to flatten the sphere. Next up you need to use a gas torch to anneal the sphere, quench and pickle. Rinse and dry, then repeat the process of hitting, annealing and pickling until your happy with your disc. Use your disc to create a charm or pendant which you can stamp, texture or keep minimal!
Discover Alligator Tape, A Workshop Essential!
Alligator tape is a workshop essential, wrap it around your fingers to protect them and improve your grip. The beauty of this tape is that it's self-adhering, only sticking to itself so it doesn't leave any nasty sticky residue.
The tape protects you from minor cuts, abrasions and burns, plus it's thin and flexible so you have no loss of dexterity or feel for your work.
Another tip is don't forget to fold the loose end of the tape over so you don't lose it next time you use it!
How To Make A Wave Ring With Pliers
All you need are some round nose pliers for this simple trick! In the video below, Cyrilyn shows you how she creates a simple wave shape in a copper ring band that has been annealed, making them nice and soft to work with. Simply hold the ring on the soldered edge and grip the other side tightly with round nose pliers, then twist the pliers to form a gorgeous shape - the beauty of this trick is that you can experiment with different sizes and shapes.
Wondering how to make a ring band? Follow Jordan's step by step tutorial.
Scrap Silver Organic Ring
Cyrilyn shows you how you can use your scrap silver (including dust!) to create an organic shaped ring - all you need to do is create a channel in your charcoal block to melt your silver into. Pretty simple huh?
How To Easily Copper Plate To Remove Silver Solder
This is a great tip for those who create copper rings using silver solder. To copper plate the silver, Cyrilyn pops some old stainless steel saw blades into her warm pickling solution, and then places the metal she wants to copper plate onto the stainless steel. After a few minutes, the items should be ready to be removed from the solution and now all that's left is to polish them up.
How To Attach Saw Blades To Jewellers Piercing Saw Frame
This top tip shows you how to attach your saw blades and most importantly - the importance of never buying cheap saw blades!
Step by step instructions
1. Hold the saw frame so the frame faces away from you.
2. Loosen the top thumb screw and insert the end of the blade.
3. Make sure the teeth on the blade face outwards.
4. Loosen the bottom thumb screw and place the bottom end of the blade between the plates.
5. Push the frame up against a table as you tighten up the screw - this will ensure a tight fit.
6. Pluck the blade and if you hear a high pitched 'ping' you're good to go!
For more information on how to use a jewellers piercing saw, read our advice page.
How To Create A Protective Finish With Midas Seal Lacquer
Midas Finish Seal Lacquer forms a clear, hard, abrasion-resistant protective finish to your jewellery and metal pieces. Perfect for preventing tarnishing and protecting patina. Cyrilyn shows you how she uses it to protect her personalised keyrings, which feature stamped lettering which has a patina using liver of sulphur. Using this lacquer is a great way to prevent the black lettering from fading while also providing a protective barrier on the piece. It's particularly useful on metals that are susceptible to oxidisation such as brass and copper.
Read more about Midas and how to use it on our advice page.
Fusing Argentium Silver & Thermo-Gel Heat Barrier
Cyrilyn shows you how to fuse argentium silver which she then turns into an organic shaped ring!
Cyrilyn also shows you how to protect areas you don't want heating by using thermo-gel heat barrier. It's perfect for repairing items containing stones that could otherwise crack or shatter or for very complicated soldering jobs with multiple solder joints close together where there is a risk of melting earlier joins.
Argentium silver is not available on our website however you can grab a pot of thermo gel below.
How To Clean Your Jewellery With Town Talk Polishing Cloths
Cyrilyn shows you how to bring back that sparkle on your dull jewellery with our popular Town Talk polishing cloths which are impregnated with a unique cleaning and anti-tarnishing agent! If you sell your designs, these are great for giving your designs a quick polish before heading to their new home. You could also include a polishing cloth in with your order or offer it as an extra purchase in your shop, encouraging your customers to take care of their new jewellery.
Granulation: What Can You Do With A Silver Sphere?
So you've experimented with granulation but what comes next? Cyrilyn is here for all the inspiration you need. Granulation is such a great technique to use and is wonderful for using up your scrap silver by melting it down. Your new silver pebble can then be transformed into beautiful earrings, a pendant or even soldered onto a ring design. The possibilities are endless!
Pickle Pot Hack For Jewellery Making
Safety pickle is an essential product for removing fire stain caused by heat during soldering and works best when warm.
There are many brilliant ways for jewellers to set up a pickling solution, Cyrilyn shows you how she uses an old fondue set and wax melt base to keep her pickling solution warm. One of the most popular uses is a slow cooker, however this can take up quite a lot of space so we hope this gives you some inspiration to think outside the box if you're lacking space!
How to use Kernowcraft's safety pickle
1. Heat 1 litre of tap water to approximately 50°C (122°F) in a container capable of resisting acids and caustic solutions (a chemical or polypropylene container is recommended, although glass, most glazed china and most plastics are fine). Many Kernowcraft customers use a slow cooker as their pickle bath which is great as it keeps the pickle warm and is protected with a lid. If you're going to do this, ensure there is no metal inside of the cooker which could contaminate the pickle.
2. Add approximately 50g of the granules to the water (always add pickle to water, not water to pickle) and stir with a wooden spoon or spatula. To mix a smaller amount, use 250ml of water (approximately 1 cup) and add 12.5g of crystals (approximately 2 level teaspoons).
3. Immerse components to be deoxidised in the solution, which should be maintained at 50°C if possible (the heat speeds up the process but is not entirely necessary) and removed once all the oxides and flux residue is gone, your pieces would also be fine to leave overnight. Once it's ready to take out, rinse with water.
You can use your safety pickle repeatedly over a number of weeks, depending how often you use it. The solution will start to go blue when it is exhausted and needs renewing. Instead of having to heat your pickle up for use every time you want to use it we have found it works fine when dropping hot pieces into the cold solution.
How To File Perfectly Flat Surfaces
The simple tips are sometimes the best! Today Cyrilyn shows you a simple hack where you can easily sand a piece of metal perfectly flat! All you need to do is place a coarse sanding sheet on a flat surface such as a steel bench block and move in a circular motion - we also recommend using a figure of 8 motion for an even more even finish. Simple!
How To Keep Your Metal Still During Stamping
Cyrilyn shares with you a handy tip for stamping! Keep your pieces still and secure with the help of masking tape - how simple.
How To Prepare & Store Solder
When you get a fresh piece of silver solder, you can pop it through your rolling mill to thin it out as much as possible to allow it to grow in length. You can then use sanding sheets to remove any old adhesive or dust from storage which will give it a nice clean surface. It's always important to ensure your hands, metal and solder are clean from any dirt, grease, dust and oxides as this can create a barrier that can prevent the solder from flowing. Below Cyrilyn shows you a handy tip where you can stamp your easy, medium and hard solder to make them easily identifiable and ready to grab when needed.
How To Make Your Own Twisted Wire
Next up, Cyrilyn shows you how to make your own twisted wire to use in your jewellery designs. Cyrilyn shows you how to create this wire using copper, which is a great metal to use if you want to practice techniques such as this. Bend your long piece of copper in half, and pop that end into the chuck of your hand drill - using a drill makes this easier to manage and produces a precise outcome. Trap your loose ends into a vice and begin turning the drill and your wires will form a lovely twist. Release from the drill, and flatten it out through a rolling mill or using a hammer and steel block until you're happy with the finish. Once done, you will need to anneal, quench and pickle the wire which you can then use to incorporate into your designs such as making a lovely ring.
How To Drill Metal Using Dremel Multi Tool
As Cyrilyn shows you in the video below, the Dremel Multi Tool is such a versatile tool, ideal for detailed drilling, sanding, carving, engraving, cutting, grinding, cleaning and polishing. Despite its small size, it is surprisingly powerful and offers numerous possibilities!
Below, Cyrilyn shows you how to use twist drill bits which are available in a range of diameters alongside the rotary tool, to drill a hole in metal which makes it easy to create charms and pendants.
How To Polish Using A Dremel Rotary Tool
Wondering how to polish up your jewellery designs using a rotary tool? In this final tip, Cyrilyn shares a brilliant demo of how to use polishing compound with your rotary tool to bring your design to a high shine.
Polishing mops, wheels & points
You will need to use a polishing mop to apply rouge polish to your piece. At Kernowcraft, we offer polishing mops, wheels and points featured below which are really useful for getting in those hard to reach places. These have a 2.3mm shank and will fit most hobby or pendant drills such as our Dremel Multi Tool where you will also require a multi chuck. These are best used with our polishing compounds, rouge and tripoli.
Jewellers rouge polish
Rouge polish is perfect for achieving a mirror finish on metals. This polishing compound consists of minuscule abrasive particles all held together with a binder so it is less messy than using rouge powder. Rouge is designed for final polishing so any scratches will need to be removed first; use wet and dry sanding sheets or sanding sticks to remove any deep marks and then use tripoli to prepare your surface before finishing with rouge for a sparkling finish.
Don’t forget, if you are using both compounds you will need separate mops for each as even a small amount of tripoli can contaminate your rouge and prevent you from creating a mirror finish.
You may also like...
In this 12 Months of Metal video series, Kim Thomson takes it back to basics and walks you through metalsmithing techniques. Each month focuses on different techniques and tools, where you can follow along with Kim's tutorials and learn brilliant top tips along the way. Suitable for beginners as well as experienced jewellers wishing to refresh their knowledge.

