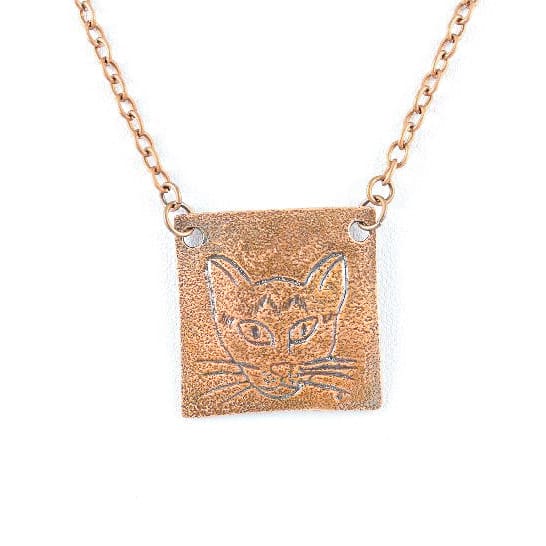
How To Engrave Your Drawings On Art Clay Copper
Today we're thrilled to share with you a guest post written by Cardiff based jewellery designer Helen White from Helenka White Design! We find out how to engrave your own drawings on copper clay while also discovering how Helen got started in using copper clay designs.
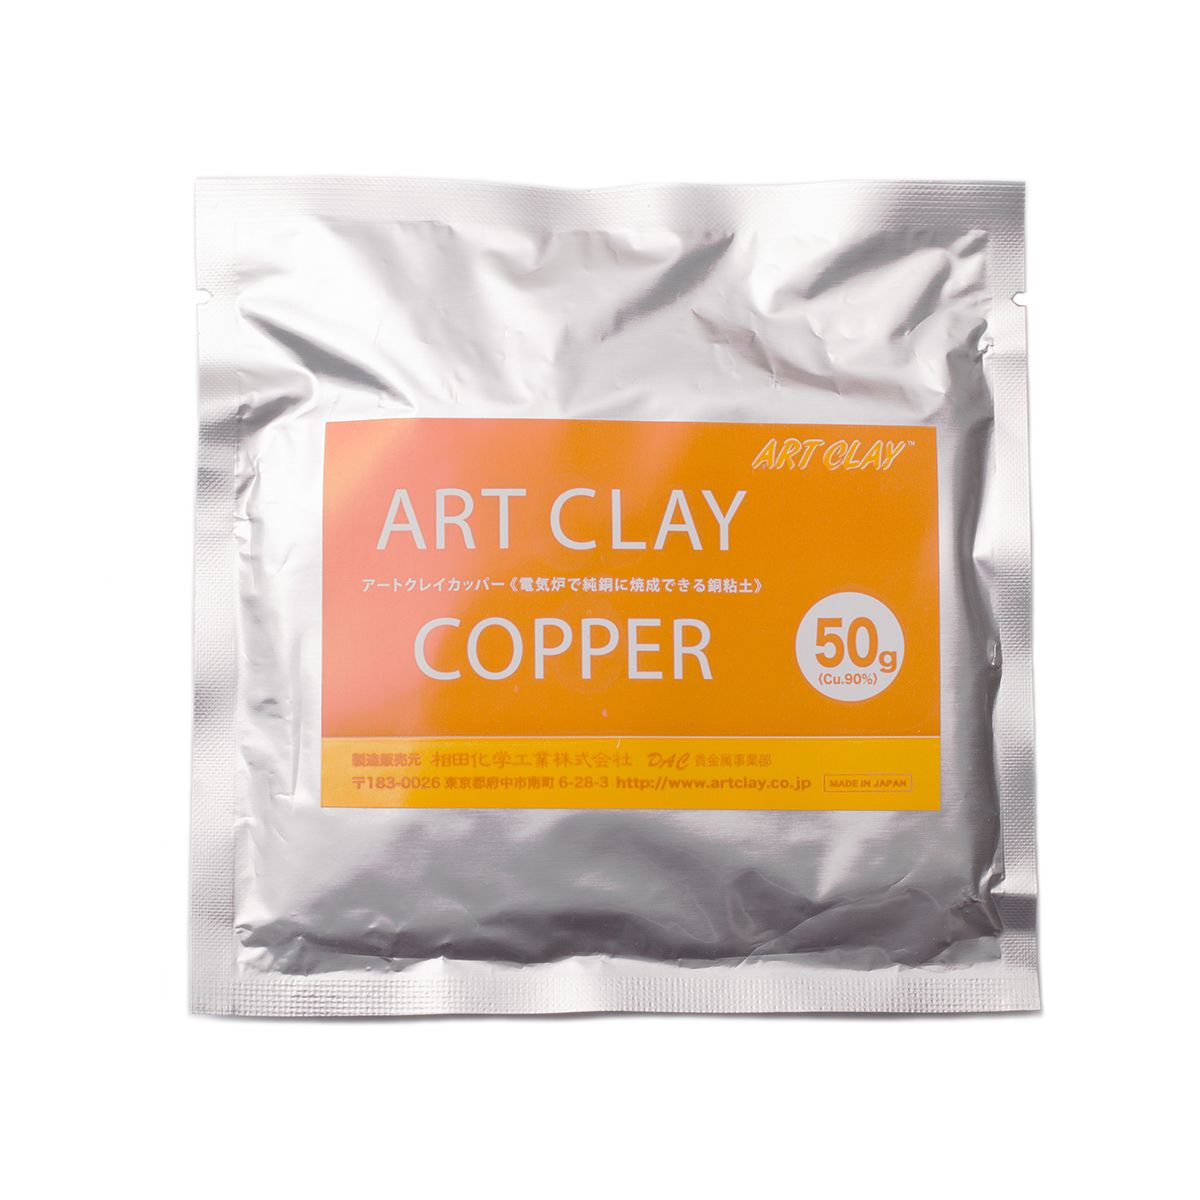
For years I had a few packs of Art Clay copper clay in my stash and wasn’t sure what to do with them. While you can fire this type of clay with a torch, you get better results in the kiln. Finally last year my dad bought me a kiln for Christmas. It’s a small Prometheus PRO1 programmable kiln which is small enough to fit in my
The good thing about copper clay is that it is more affordable than Art Clay silver clay and great for beginners. I tried a few different techniques with the clay using moulds made from shells and texture sheets.
What I noticed with the copper clay is that you have to work fairly fast as it dries quickly and that once you open the pack, it’s best to really use it all up in one sitting. I tried to store opened copper
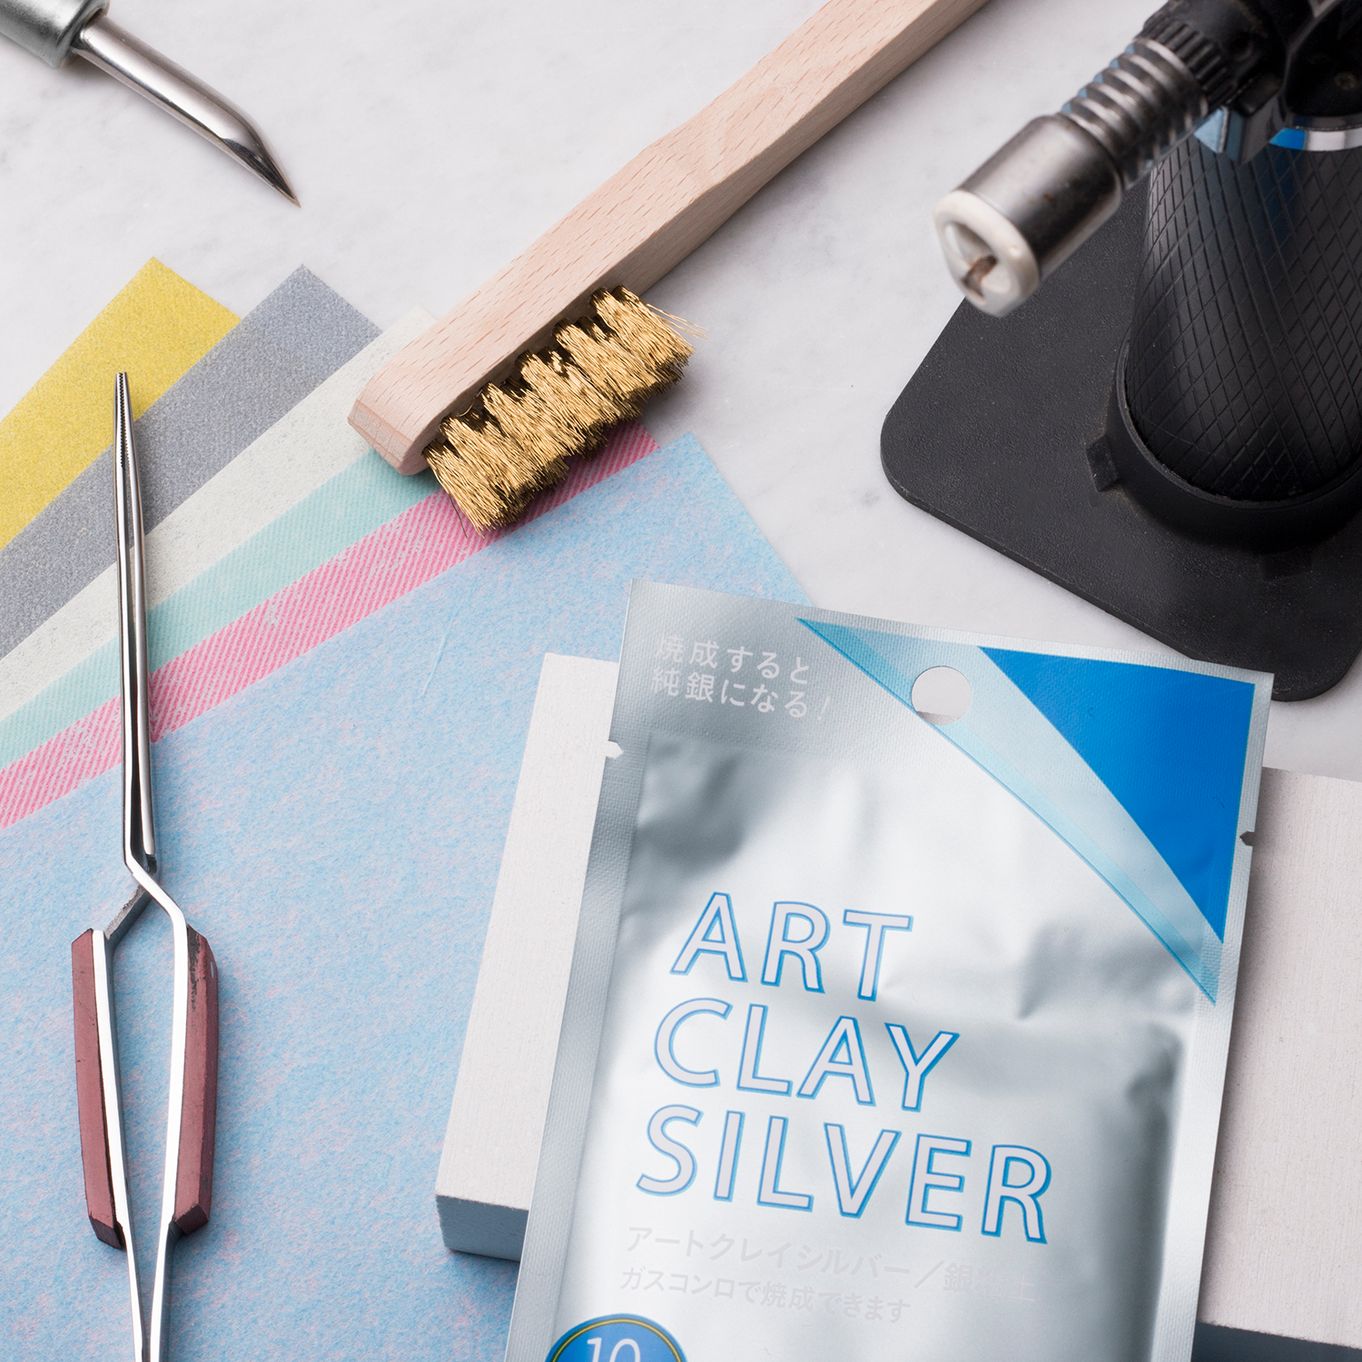
Recommended Tools & Supplies
- Art Clay Copper Clay
- Rolling pin for the clay
- Shape cutters
- Scriber
- Carbon paper
- Sanding and polishing sticks
- Kiln
- Goggles, heat resistant gloves, tongs
- Fibre blanket
- Pickle
- Brass brush
- Polishing papers or a polishing tumbler
- Liver of sulphur
- Midas lacquer for varnishing
Click on the links above to shop many of the products with Kernowcraft.
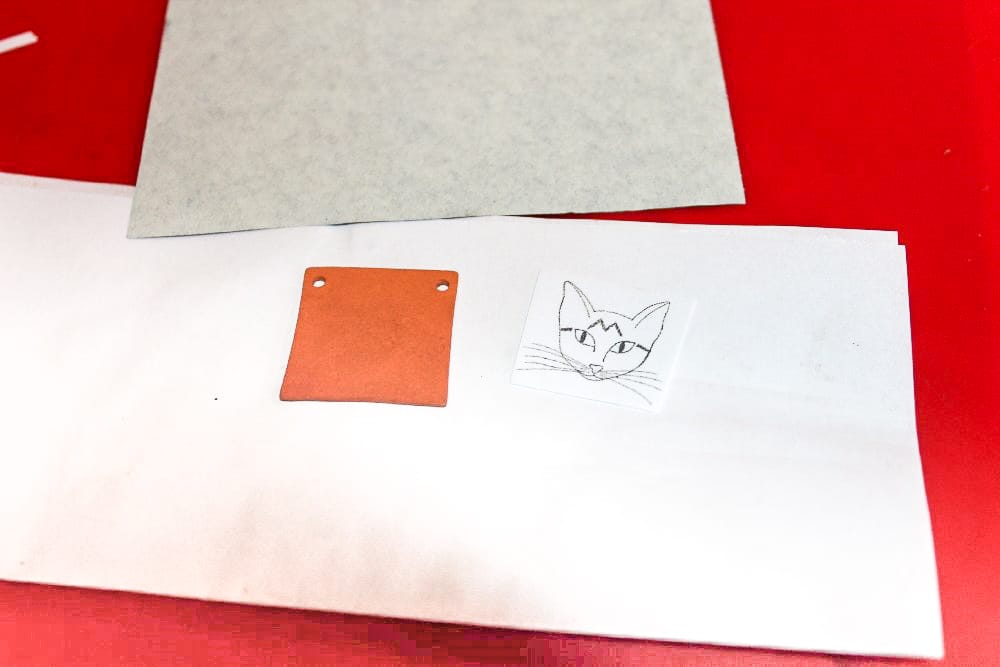
Drawing your design
First, you want to decide what you want to engrave on your piece. I love cats so I drew a few cat designs. I am not very good at drawing on a small scale, but thankfully technology helped me out here. I scanned my drawings and then simply resized them in my graphics program by changing the pixel size. The pixel size I used for the cat silhouette, in the end, was 350 pixels.
I checked the size by simply laying the cookie cutter over the drawing to see if it fits.
So if you find drawing on a small scale difficult, this is a good way of fitting your drawings to size. As you are working on a small scale, I also recommend that you keep your design really simple. Remember – you have to engrave all of this!
Preparing and drying your clay
When you get your clay fresh out of your packet, condition it briefly and make sure it’s not dry. Use badger balm on your hands to prevent drying out the clay through handling and also use olive oil on the surface. For engraved pieces you need clay that is at least 1mm thick – using your plastic spacers or 4 playing cards (1 playing card is 0.25 mm thick). Roll out the clay between your spacers to achieve the desired thickness and cut out your piece with the cookie cutter. Make a small hole for the jump ring to go through. You can use a needle tool for this or if you have use a tiny round cutter. I found mine on Etsy. And that’s it. Well not quite. It’s recommended that you do a test firing for your kiln, so make sure to roll out a small test piece. Let your pieces dry completely. I let mine dry over a few days. You can speed up the process using hot plates or a mug warmer. You can also use your oven. I haven’t tried this and just let them dry naturally. It’s important to have completely dry pieces so they sinter properly in the kiln.
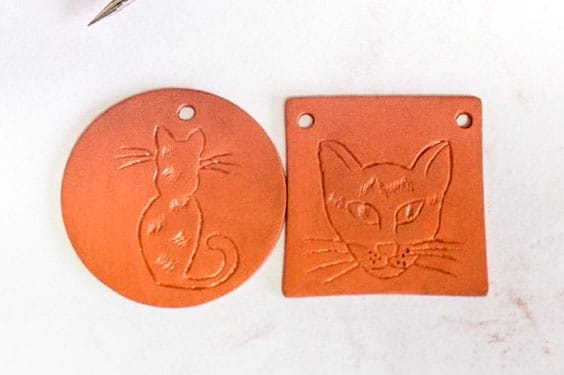
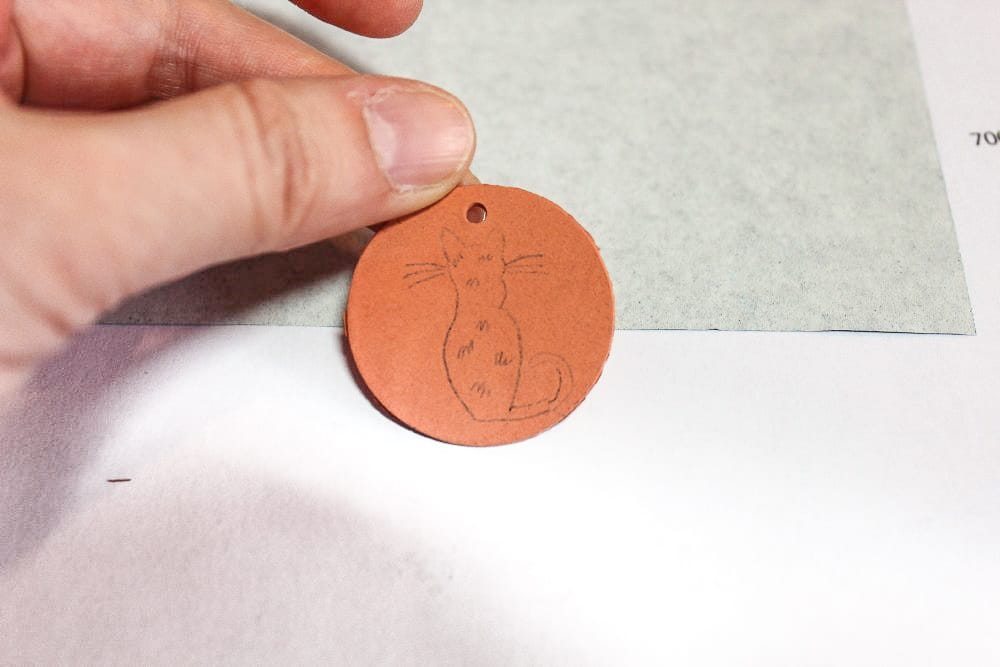
Engraving the piece
Now comes the fun and challenging part – engraving your pendant. Transfer your drawing by using a piece of carbon paper. Sandwich it between the clay piece and the drawing and carefully trace the drawing with a pencil or fine ball point tool. At the dry stage clay can easily break, so be careful and support it on a tile. Once your drawing is on the clay you can start engraving it with your tool. This takes a while. To begin with I used my fine ball point tool. It has two sides. I carefully traced it and then went over it several times. I also swapped to the slightly bigger side to deepen the engraving and noticed that the scriber also works well for this. Of course you make mistakes – but if they are not too deep you can erase them with your sanding file. Just sand over the mistake until it’s gone. I also lightly wet that bit with water. Once you are happy with the engraving, make sure you sand the edges of the piece with the file. If you used water, make sure the piece is dry for the firing stage.

Firing the piece
Before you fire your pieces, make sure you have tested the kiln to avoid nasty surprises. ArtClay copper clay fires at 970 C for 30 minutes. So you need to program your kiln at full ramp at 970C and then tell it to hold the temperature for 30 minutes. You put your pieces in once it actually has reached the 970 C. This is where testing is useful – because you can simply time how long it takes to reach 970 C – mine takes about 50 minutes. So I set my kitchen time for 50 minutes so I know when to put my prepared shelf into the kiln. I use the time to prepare the pieces for firing and also set up my small slow cooker with the pickle.
Copper oxidizes quickly and is also prone to fire scale. This is why I cover copper pieces in a fibre blanket. Once your kiln is ready, carefully pop you pieces in. My shelf rests on four posts.
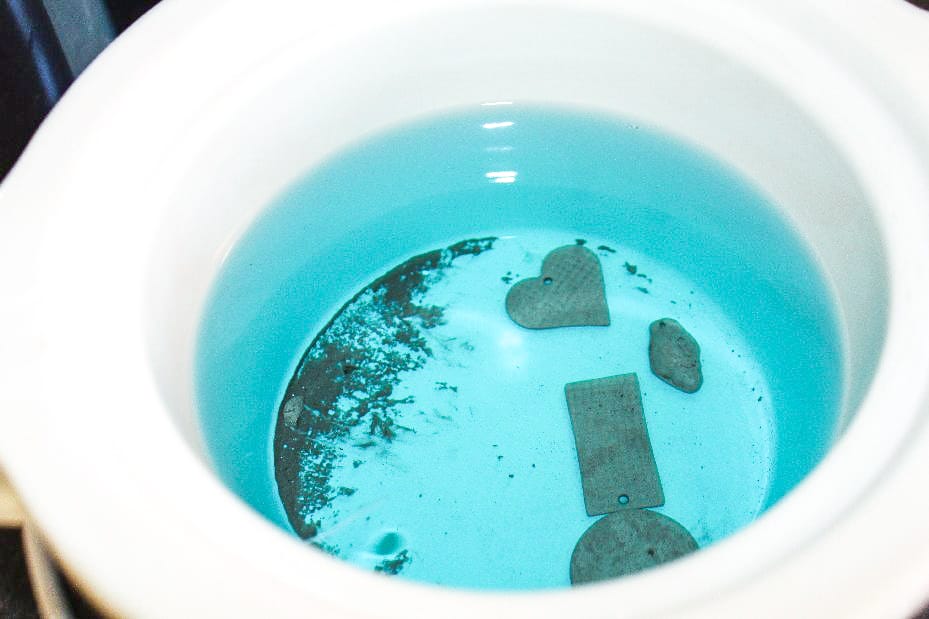
Quenching & pickling
When the firing has stopped, make sure you are using your goggle, heat resistant gloves and your tongs to get the shelf out - the kiln is very hot! Quench your pieces in cold water. You will notice that a lot of dark copper immediately comes off. Next step is to get rid of all the nasty fire stain by dropping your pieces in your prepared pickle solution. For this, I use a dedicated small slow cooker. I leave them in there for half an hour and then check if it all came off. Note: never pickle silver pieces together with copper pieces and dispose of your pickle solution safely.
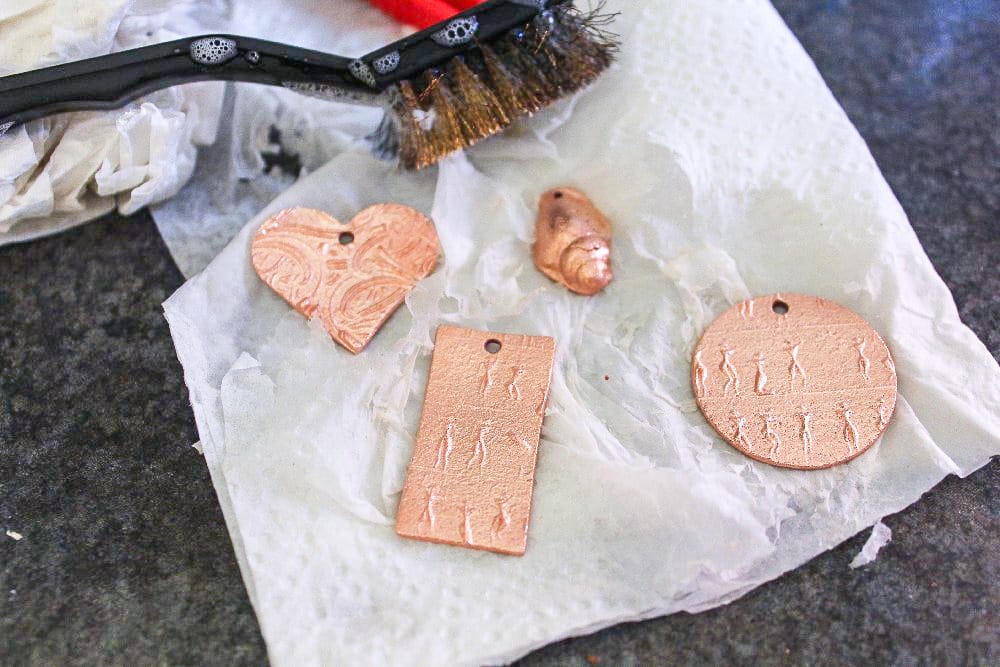
Use a brass brush
Once all the fire stain comes off it’s time for the magic: brush over your pieces with your steel or brass brush and it will reveal a very bright shiny copper piece.
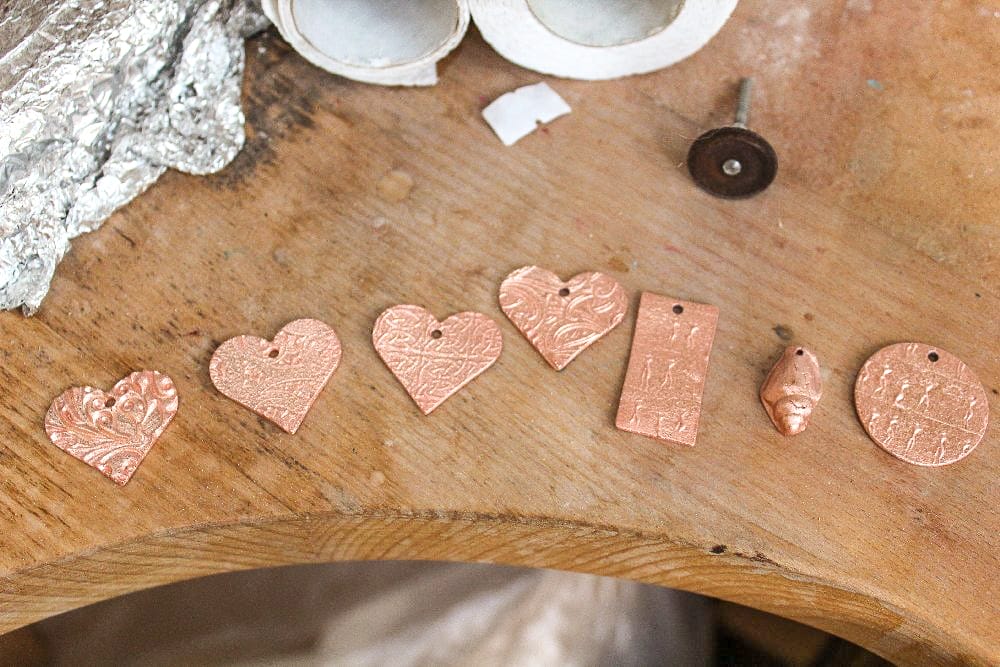
Polishing
Next step is to polish your pieces. They are different ways to do this. You can either use polishing papers. If you do this you have to make sure you go through all the grits. Thankfully they are all colour coded so it’s easy to follow them. Lay them out in the right order. I suffer badly from shoulder pain, so I don’t like using these. Instead I have discovered that my polishing tumbler works a treat and is completely painless. If you have one to hand you can use it instead. I use steel shot with it and a polishing liquid (only two drops is needed). I tend to polish them for about 90 minutes. After polishing you have two choices.

Define texture with liver of sulphur
Either leave them as bright and shiny as they are – or antique them with liver of sulphur. I prefer them antiqued. As there are different products on the market make sure to follow the manufacturer’s instructions. I only use a couple of drops in warm water and most importantly I do this with windows open as it stinks of rotten eggs! I hang my pieces on wire, so I can dip them into the solution. If you want don’t want it too dark only dip them in briefly, it’s best to check and see if you like the colouration. To clean the pieces off, leave them in a solution with a table spoon of bicarbonate of soda. Once they are dry, give them a brief polish.
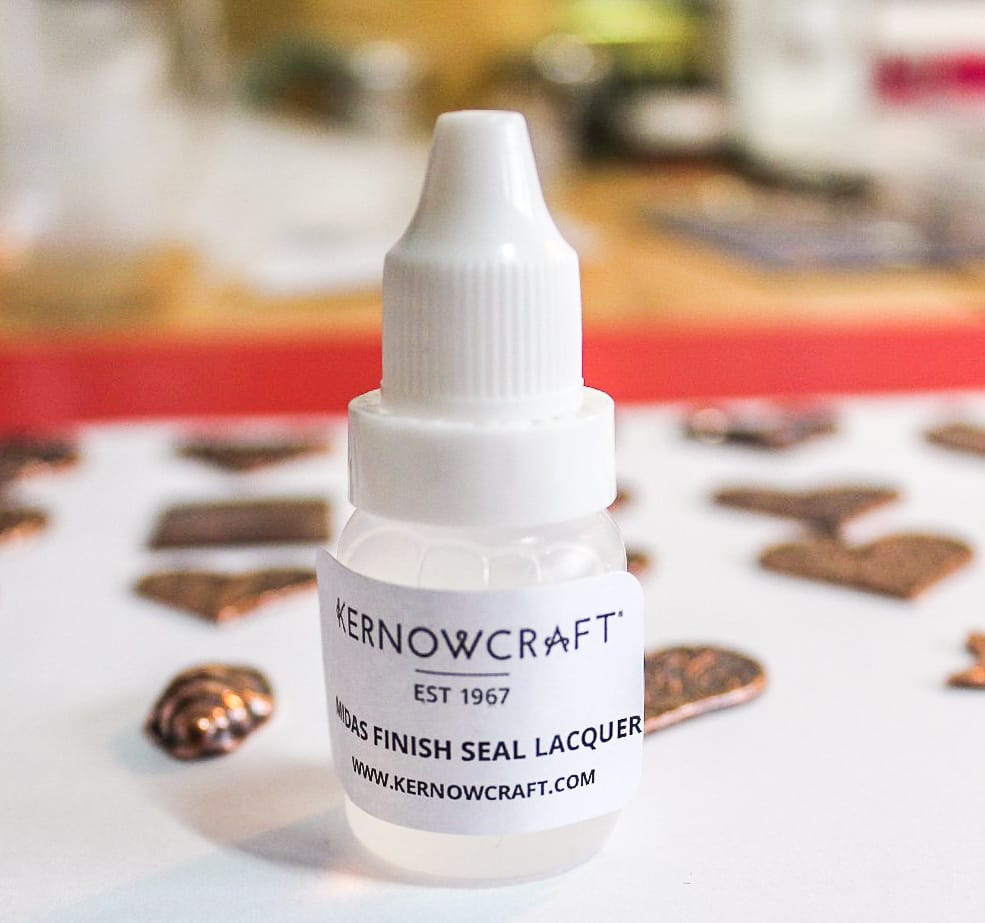
Finishing your pieces with midas
Copper can change colour over time and get darker and it also can discolour the wearer’s skin and make it go green. This is why I added three layers of Midas Finish Seal Lacquer on both sides of the pendants. If you add varnish, make sure to let it dry between each layer. It doesn’t take long to dry.
One note: make sure you clean your tools thoroughly if you use copper and silver clay. Silver clay can get contaminated by the copper and will give you a nasty surprise. Some people buy two sets of tools. I personally think a thorough clean should do the trick- just don’t use your files, brushes and polishing papers on the silver – buy a separate set.
I hope you liked this tutorial and found it useful. Thanks for reading.
Shop metal clay supplies with Kernowcraft
We stock a wide range of metal clay products including Precious Metal Clay (PMC) and Art Clay in clay, paper, syringe and paste form as well as a range of metal clay tools and accessories including metal clay moulds, moulding compound, texturing plates and more.
For beginners in metal clay, we also have a handy Metal Clay Leaflet to help you get started.
Also in this section:
- Guide To Sanding & Polishing For Jewellery Making
- Hand Polishing Your Jewellery With Polishing Papers
- A Guide To Texturing Metals For Jewellery Making
- Top Tools For Making Textures On Metal
- Beginner's Guide To Chasing & Repoussé
- How To Make Easy Textured Earrings
- How To Make A Hammered Copper & Silver Heart Pendant
- How To Make A Textured Cuff Bracelet
- How To Make A Metal Leaf Decoration
- How To Use Doming Block & Punches For Jewellery Making
- How To Make Domed Metal Earrings With A Doming Block
- How To Engrave Your Drawings On Art Clay Copper
- Textured Washer Bracelet Tutorial With Guest Jeweller Laura Grey
- Barrelling Machine For Polishing Metal - Everything You Need To Know
- Tumbling Machine For Polishing Stones and Glass- Everything You Need To Know
- Polishing Jewellery Q&A With Stephen M Goldsmith
- Town Talk Products For Cleaning & Caring For Jewellery
- Creating A Resin Bird Pendant With Designer Sarah Hoare
- VIDEO: How To Create Patina With Liver Of Sulphur
- 2 Ways To Apply Liver Of Sulphur
- VIDEO: How To Use Silver Plating Solution
- How To Clean & Prevent Tarnished Jewellery
- Why You Need Anti Tarnish Paper Strips
- How To Use Midas Finish Seal Lacquer
- How To Use Renaissance Wax To Prevent Tarnished Jewellery
- VIDEO: Working With Crinkle Metal Sheet
- A Guide To Using Mokume Gane Metal For Jewellery Making
HAVE A QUESTION?
If you have any questions, feel free to get in touch with our friendly team who will be more than happy to give you advice over email or on the phone.
You can learn more and find inspiration by visiting our Jewellery Making Tutorials, Jewellery Making Kits and YouTube Channel. Don't forget to follow us on social media and tag us in your designs on Instagram & Facebook, we would love to see!