How To Make A Textured Cuff Bracelet

This is a great tutorial for jewellery making beginners as it involves some basic skills that can be used in many other metalsmithing projects.
Guest tutor, Harriet shows you the step by step process of making a simple textured cuff bracelet. The width of metal used can be altered to create a chunkier cuff and you can also experiment with different hammers to create alternative textures!
This cuff can easily be adjusted to any wrist size by simply pulling apart or pushing together the ends of the metal.
Recommended Tools & Supplies
- Sterling silver sheet (3mm wide, 16cm long). I use 1.5mm thickness but 1mm thick sheet will also be adequate and slightly easier to manipulate. You can also try this with wider silver sheet or 3.2mm x 1.6mm rectangular wire
- Jewellers piercing saw frame, blades and beeswax (unless you buy the sheet metal at the correct size)
- Anvil and bench peg (unless you buy the sheet metal at the correct size)
- Marker pen
- Ruler
- Cross pein hammer or jewellers hammer
- Steel bench block or anvil
- Sanding sticks, sanding paper or a multi tool (such as Dremel Multi Tool) with sanding attachment
- An oval bracelet mandrel (or you can form with your hands)
- Half round pliers
- Polishing papers, barrelling machine or a multi tool (such as Dremel Multi Tool) with silicone burrs
- Optional: renaissance wax to add a protective layer on your cuff and prevent it from tarnishing
Follow Step By Step Instructions On Creating A Cuff Bracelet
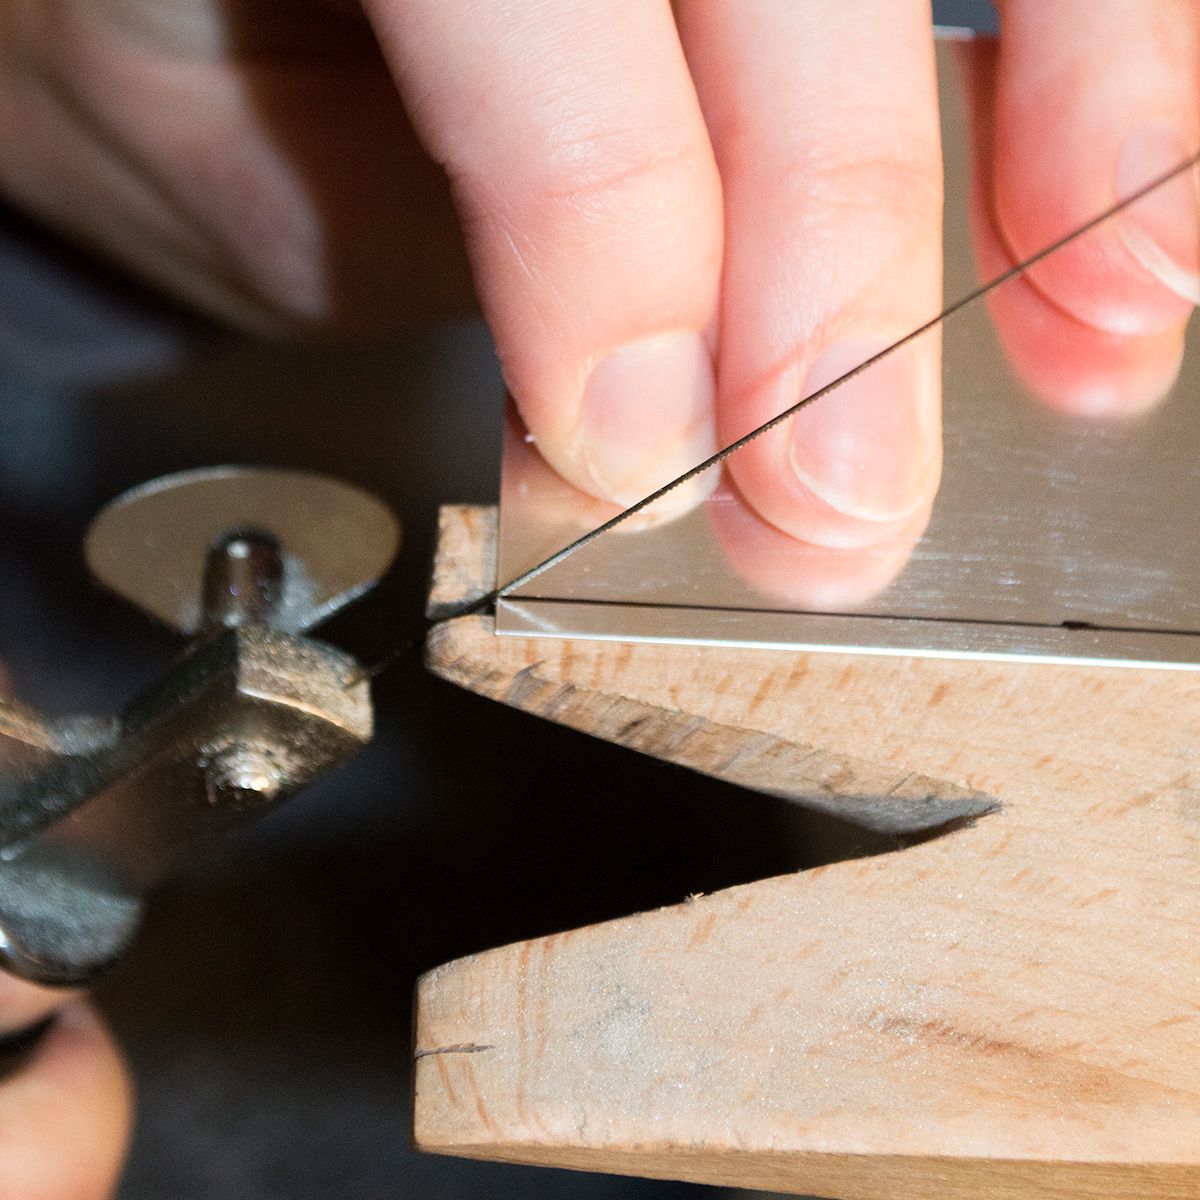
Step 1: Measure & cut
If your silver sheet is not already at the correct length and width you will need to measure with your ruler 3mm wide and 16cm long. Draw this onto your sheet in marker pen. Cut the strip with your jewellers piercing saw and use your bench peg for support.
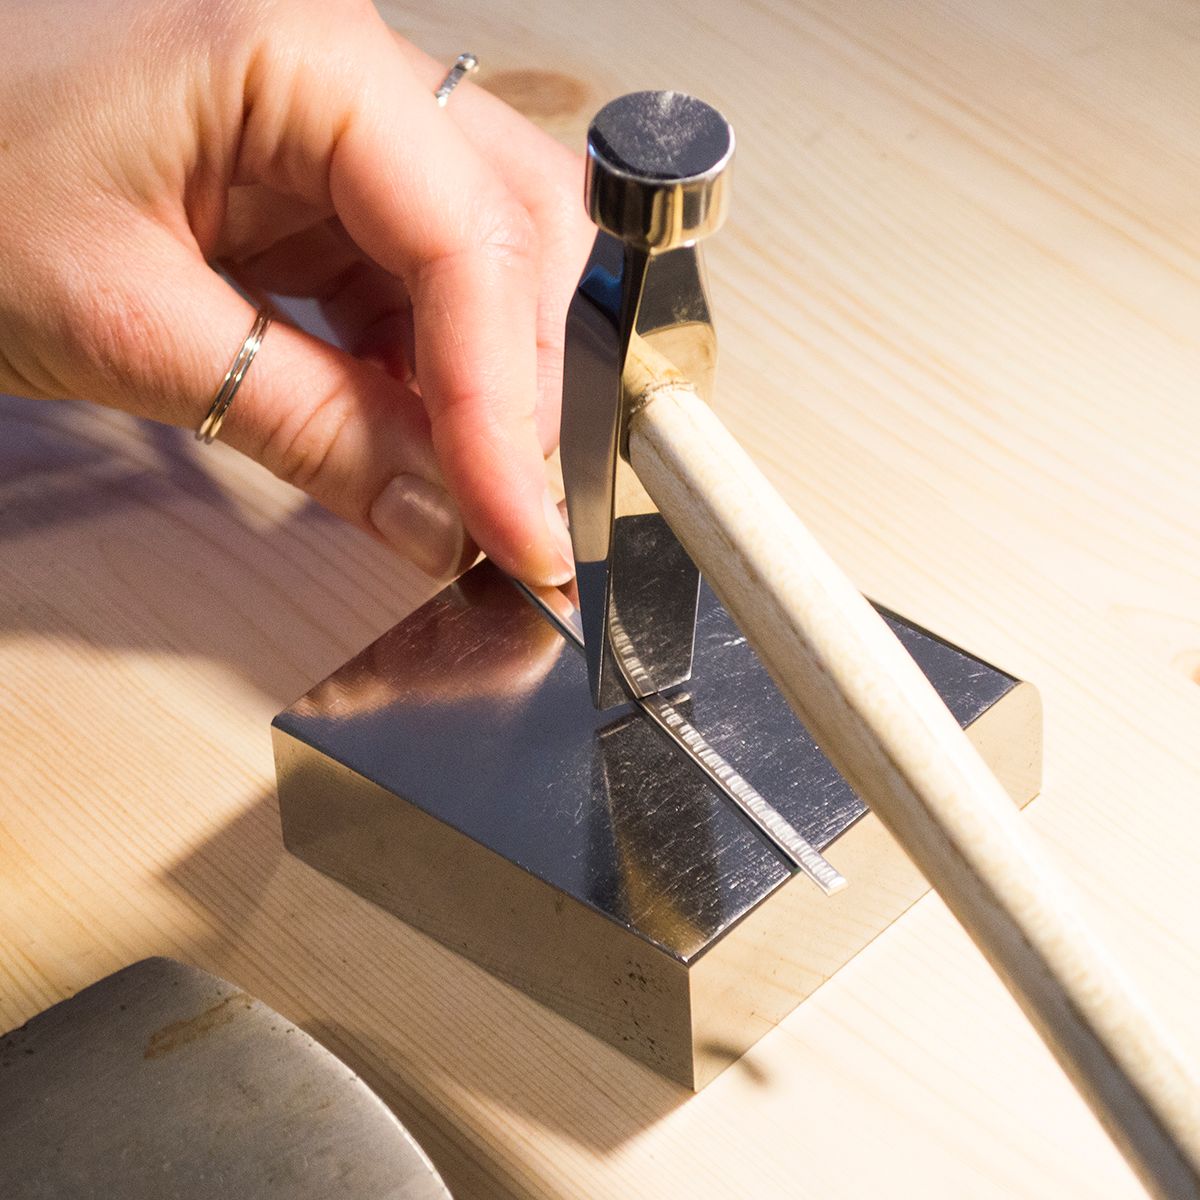
Step 2: Hammer
Rest the strip of metal on your steel block or anvil and begin to add texture to the entire length by hitting carefully with your cross pein or jewellers hammer. Make sure to cover the entire strip of metal with texture marks. It's important to note that if your strip bends a little, that’s fine, we will straighten it out in Step 4.
Take care not to hit your fingers... take your time and do it slowly.
Step 3: Sanding the corners and sides
Using sanding sticks, sand the corners of the sheet into a rounded shape. You may want to initially use a file and then sanding sticks or a multi tool (such as Dremel Multi Tool) for a quicker process. Next move onto sanding the sides of the strip to create a smooth, even surface,

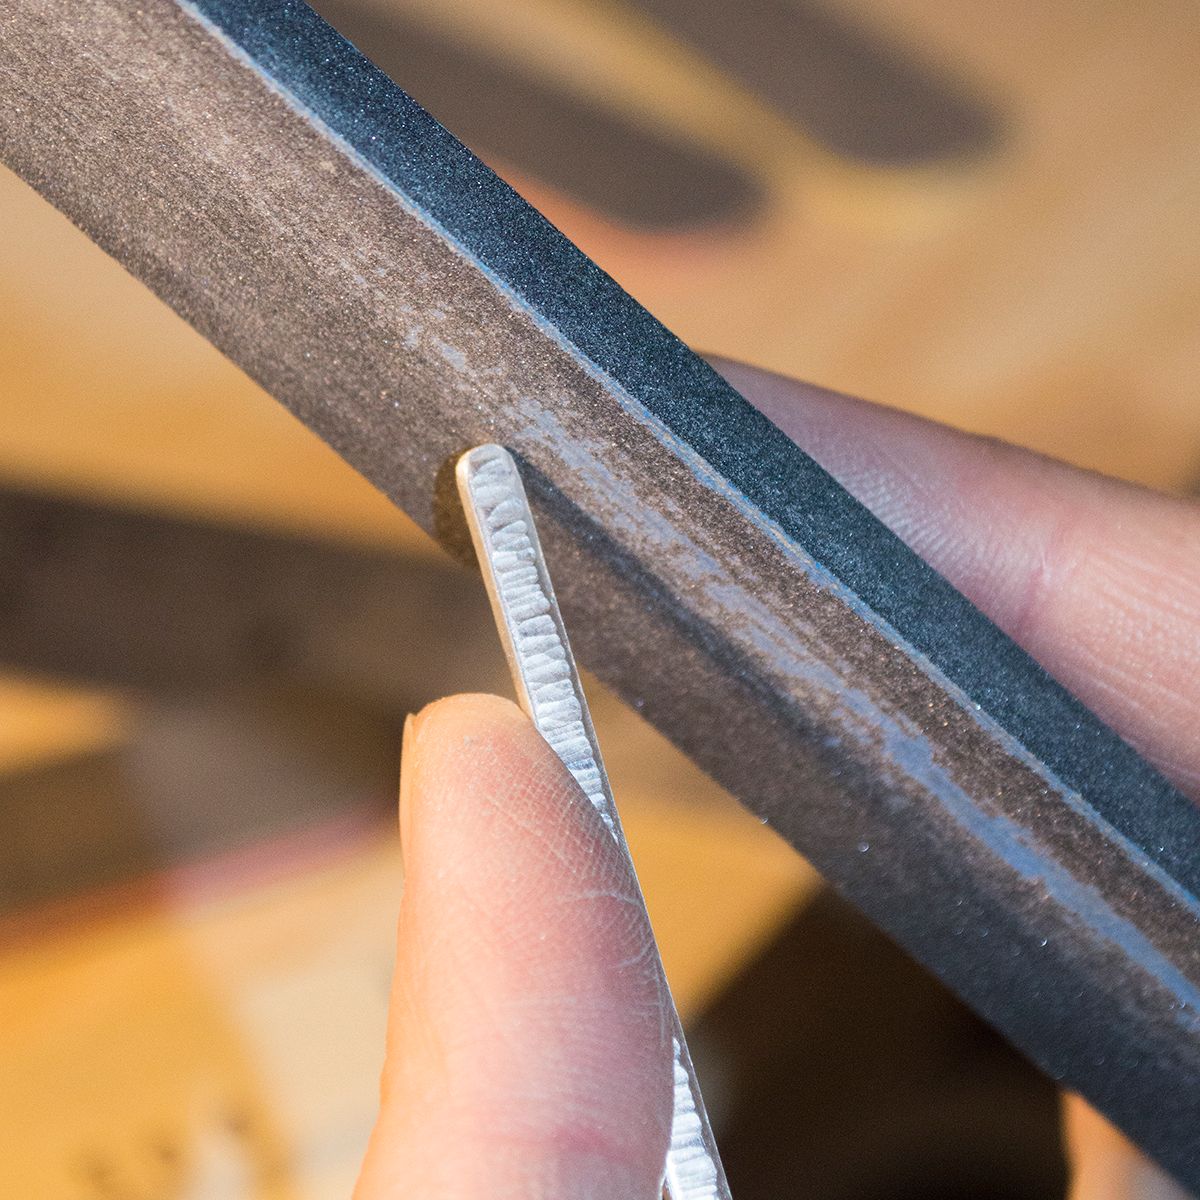
Step 4: Hammer the sides
Lay your strip on one of its sides on your steel bench block or anvil and holding it with one hand and your hammer with the other, carefully add texture by hammering gently. Turn your strip over and do the same to the other side. This process will straighten your strip if it bent after the initial hammering in step 2. It will also add a little texture to tie in with the top of the cuff.
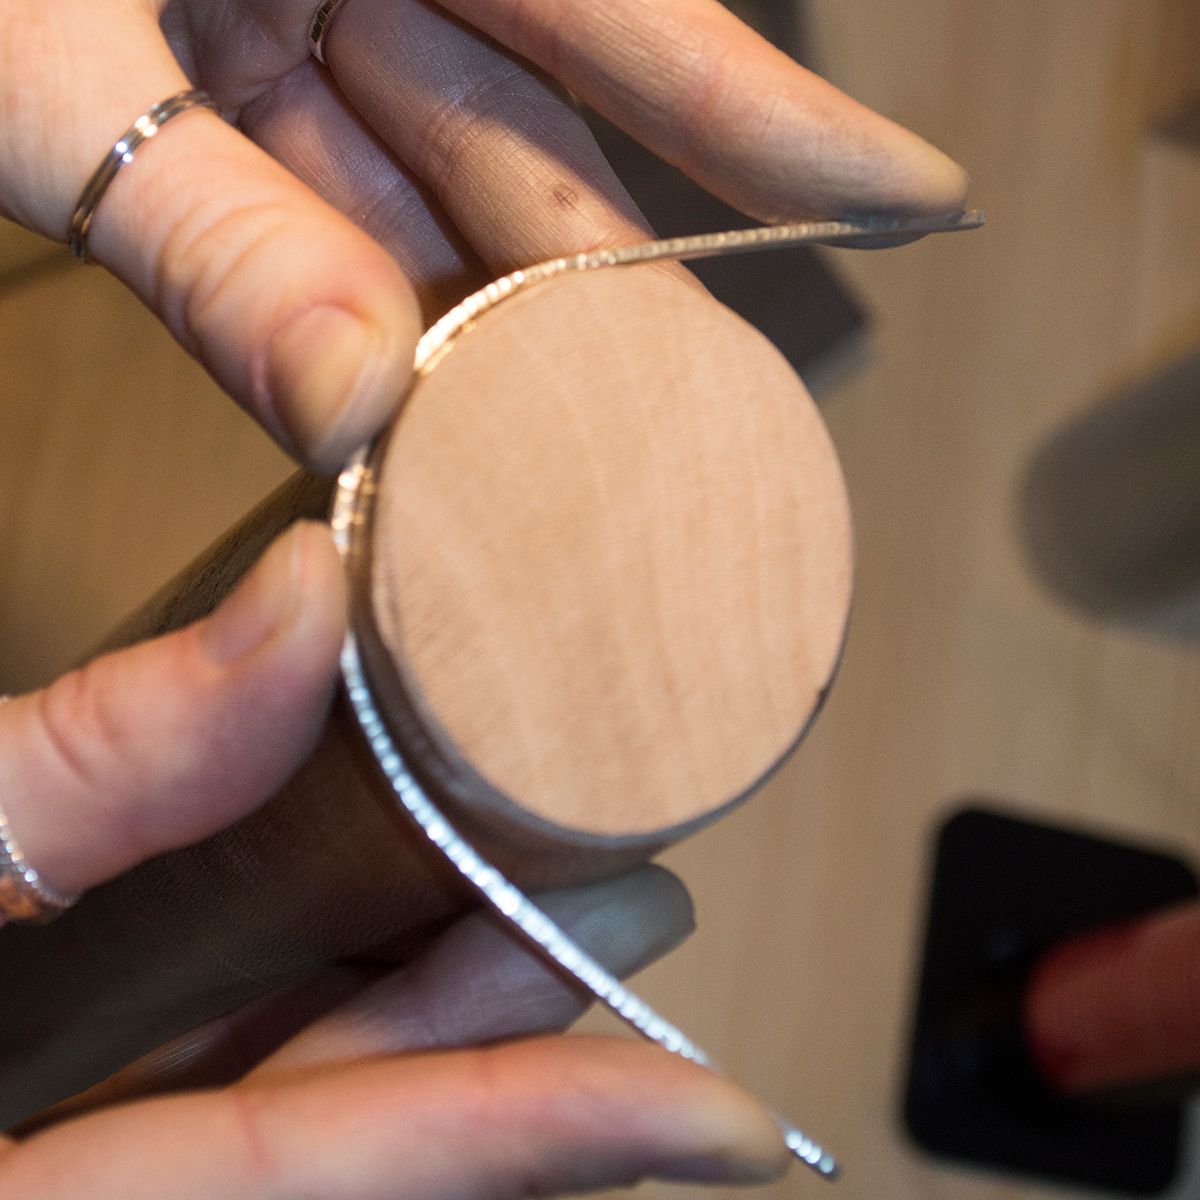
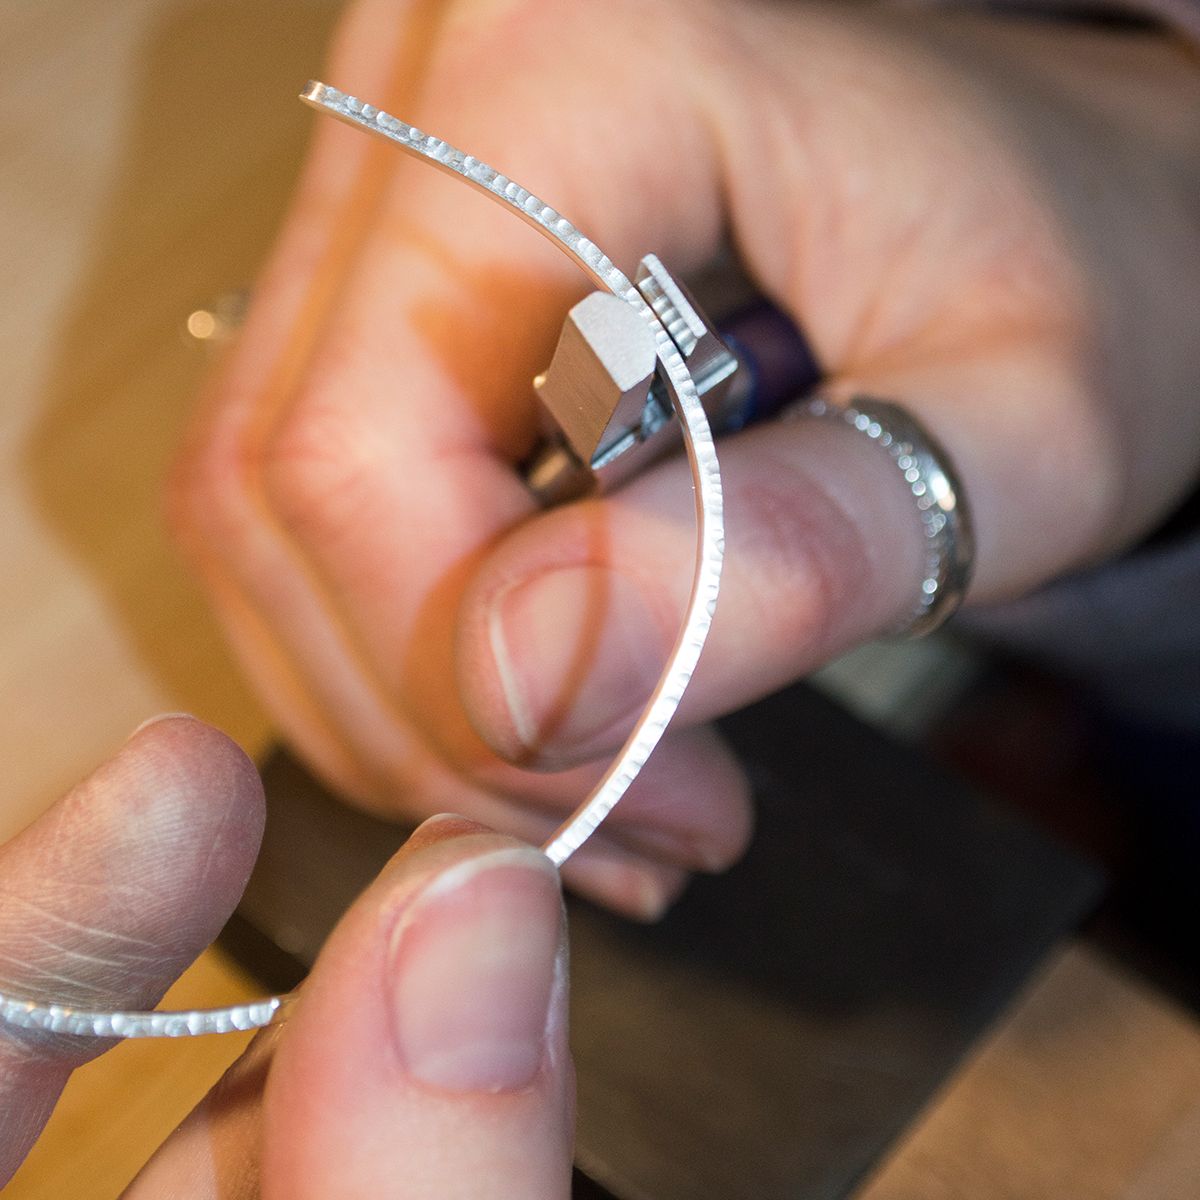
Step 5: Bending to shape
Find the mid point of your strip, put it against the top of your oval bracelet mandrel (with the textured surface facing out) and carefully bend it around as far as it will go.
Alternatively, if you don’t have a bracelet mandrel, use a similarly shaped object or manipulate the sheet with your hands to form an oval shape (or as close to this as possible).
Step 6: Adjusting the shape
Using half round pliers adjust the shape of your cuff to form more of an even oval shape. I like to start from the middle and work outwards to each end.
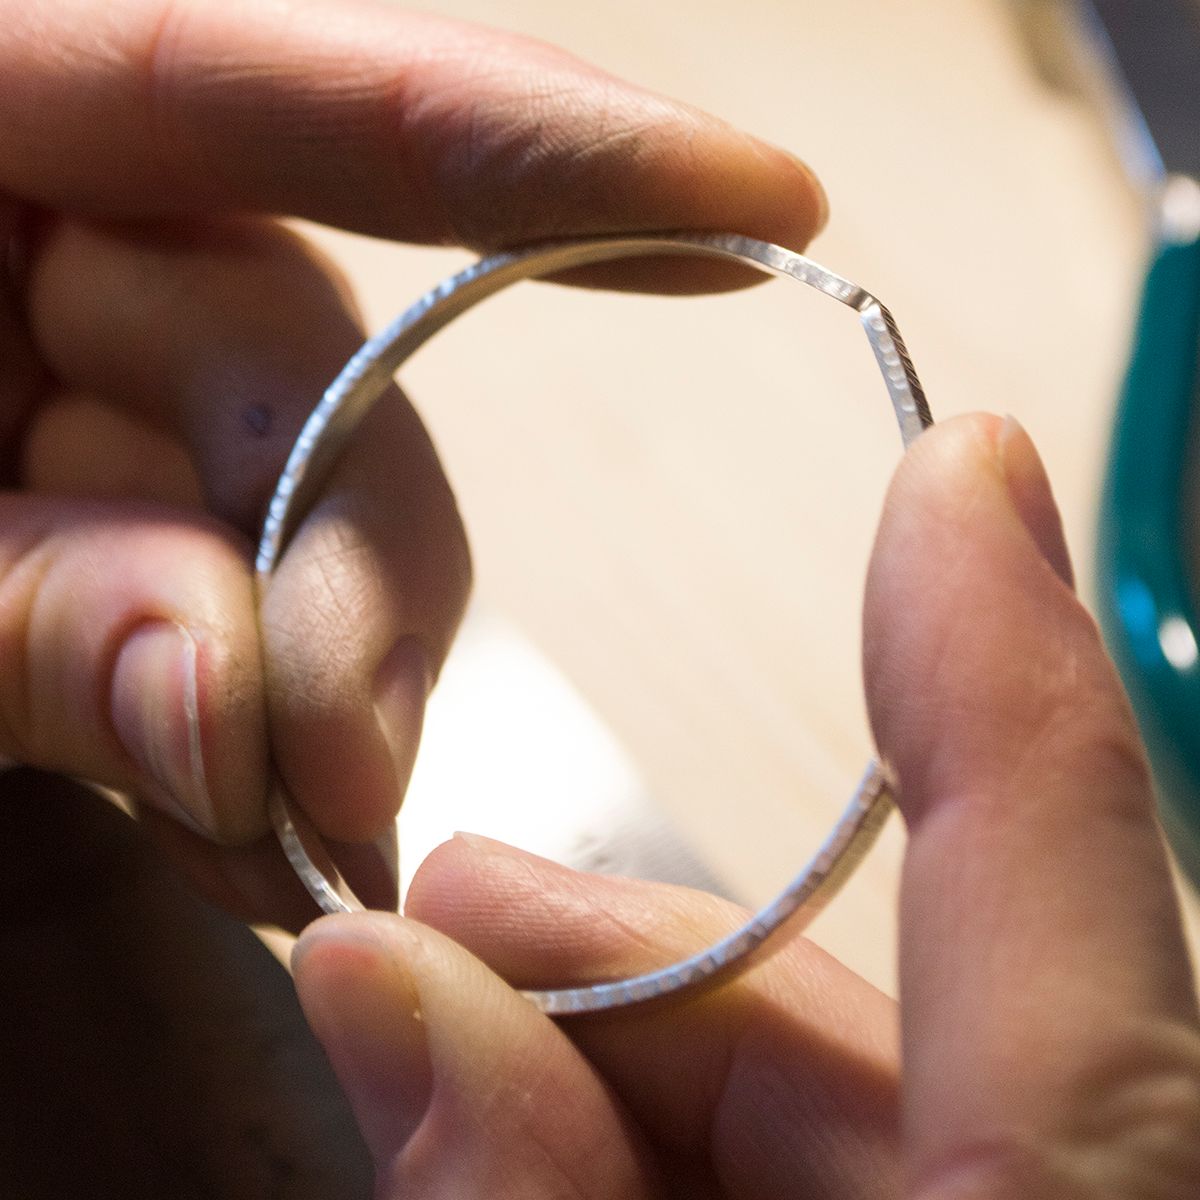
Step 7: Making the gap smaller
At this point the gap between the two ends may not be small enough to stay secure on a wrist. Push the two ends together firmly until the gap in the middle is approximately 2.5cm.
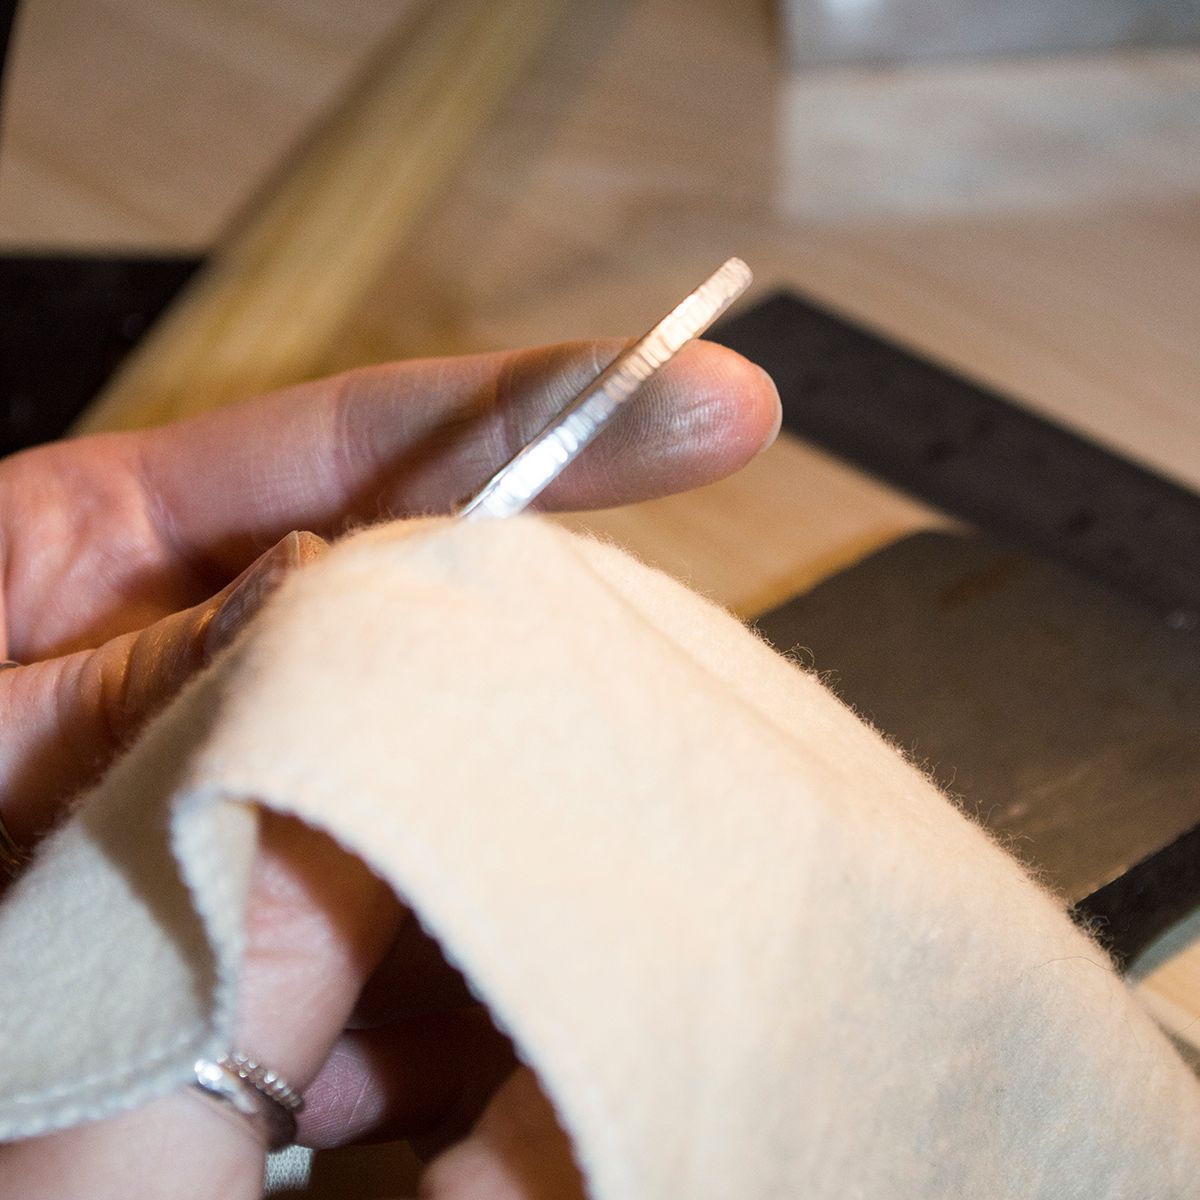
Step 8: Polishing
Using a polishing papers, cloth, barreling machine or multi tool, polish the cuff to your desired shine. You may even prefer it unpolished depending on the style you're after.
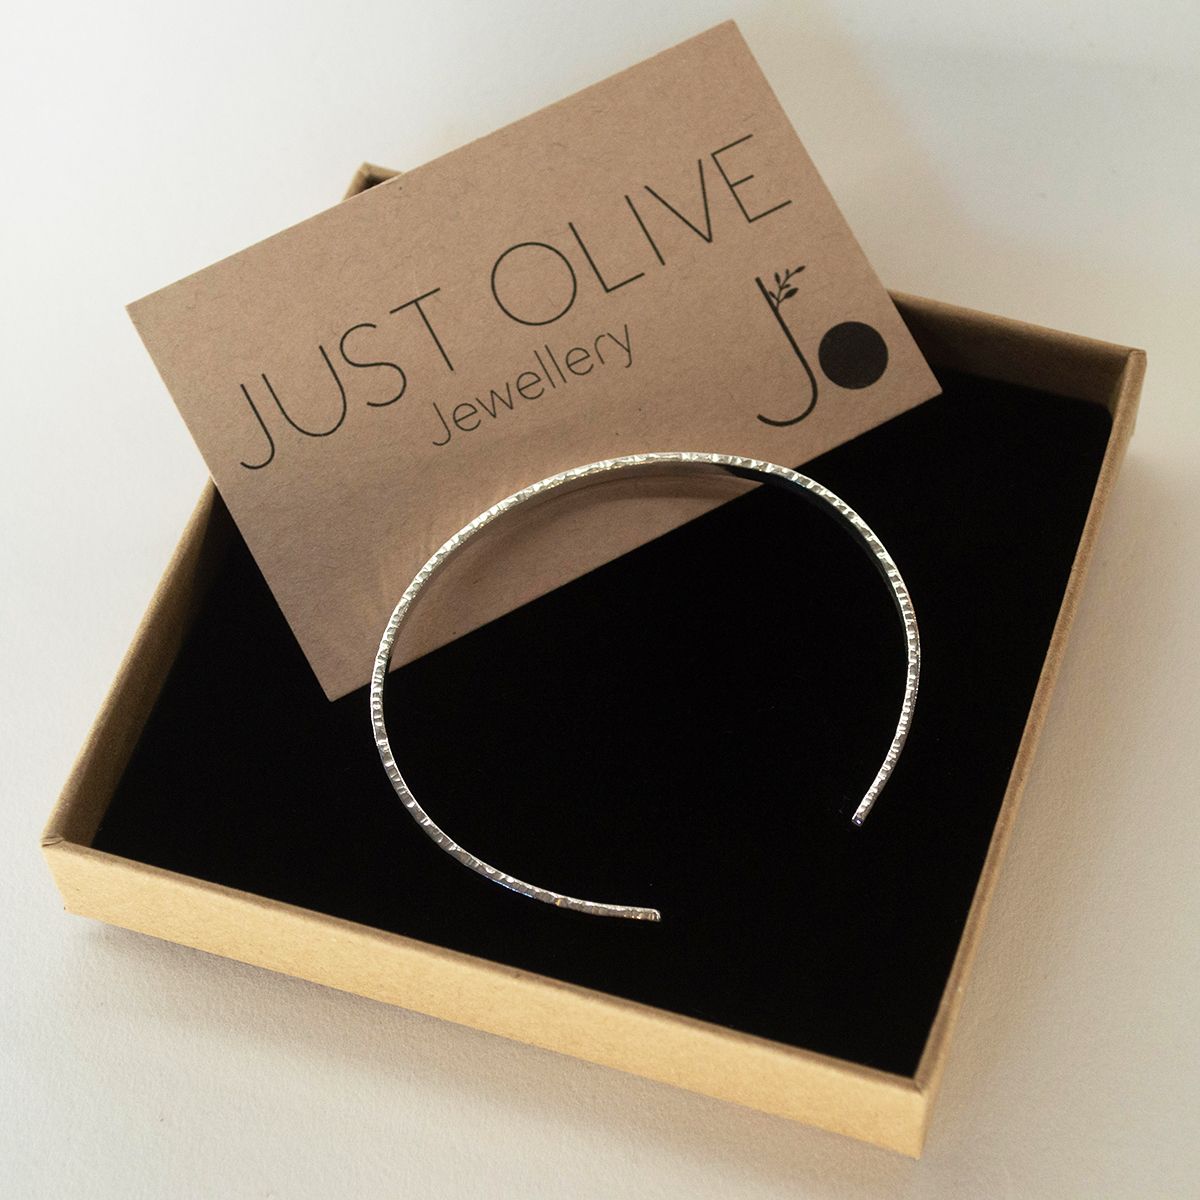
Finished!
Your textured cuff bracelet is complete!
Try creating alternative versions with different hammers or wider silver sheet.
Tip: Apply a layer of renaissance wax to protect the bangle and prevent it from tarnishing. You could also use some liver of sulphur to apply a patina to make that texture really pop!

Meet The Guest Tutor, Harriet
Hi, I'm Harriet and I work from my little home workshop in Dorset. Last year I discovered silversmithing and loved it so much that I decided to put my Art teaching job on hold to pursue jewellery making full time. I had a few lessons with a wonderful silversmith and continued to learn and experiment by myself (with the help of the internet!).
I recently set up my business ‘Just Olive Jewellery’ and haven’t looked back! I currently sell my handcrafted items on Etsy and document my ‘behind the scenes’ on Instagram.
Check Out Featured Products
Get the full tools and supplies list, all available to purchase with Kernowcraft at the top of the page.
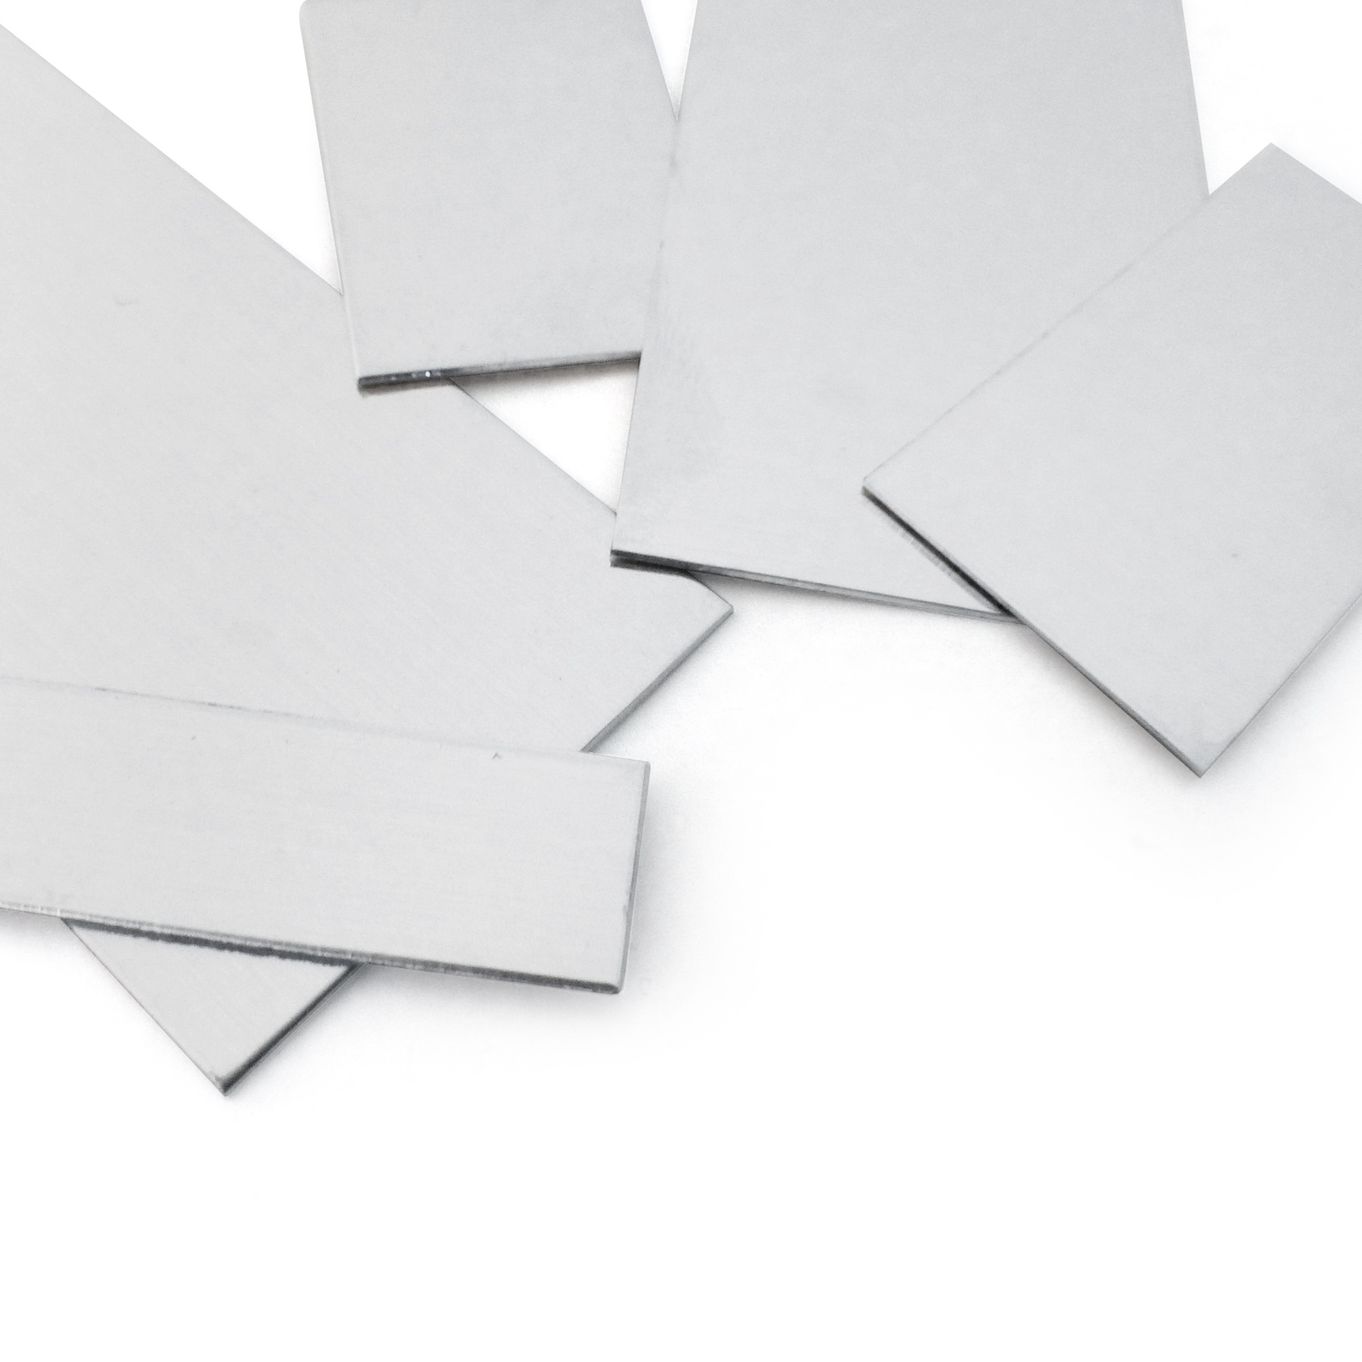
Shop Metal Sheet
This project uses 1.5mm thick sterling silver metal sheet but you can experiment with different metals and thicknesses!
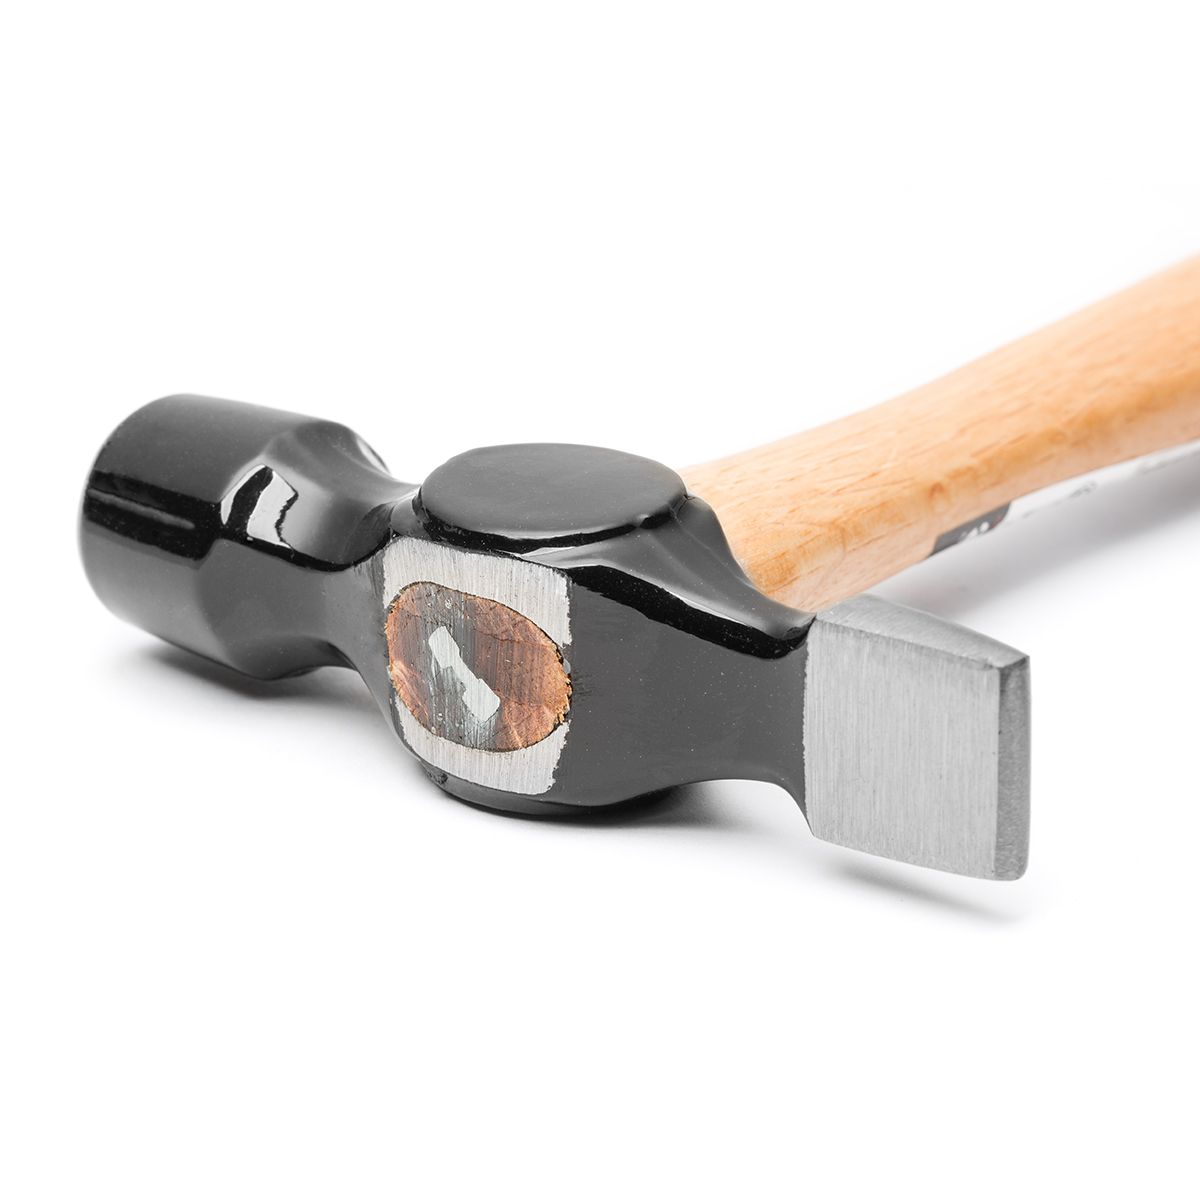
Shop Jewellery Hammers
Explore our range of jewellery making hammers, each hammer will provide a different textured effect - so get creative and have fun with experimenting with the patterns you can create.
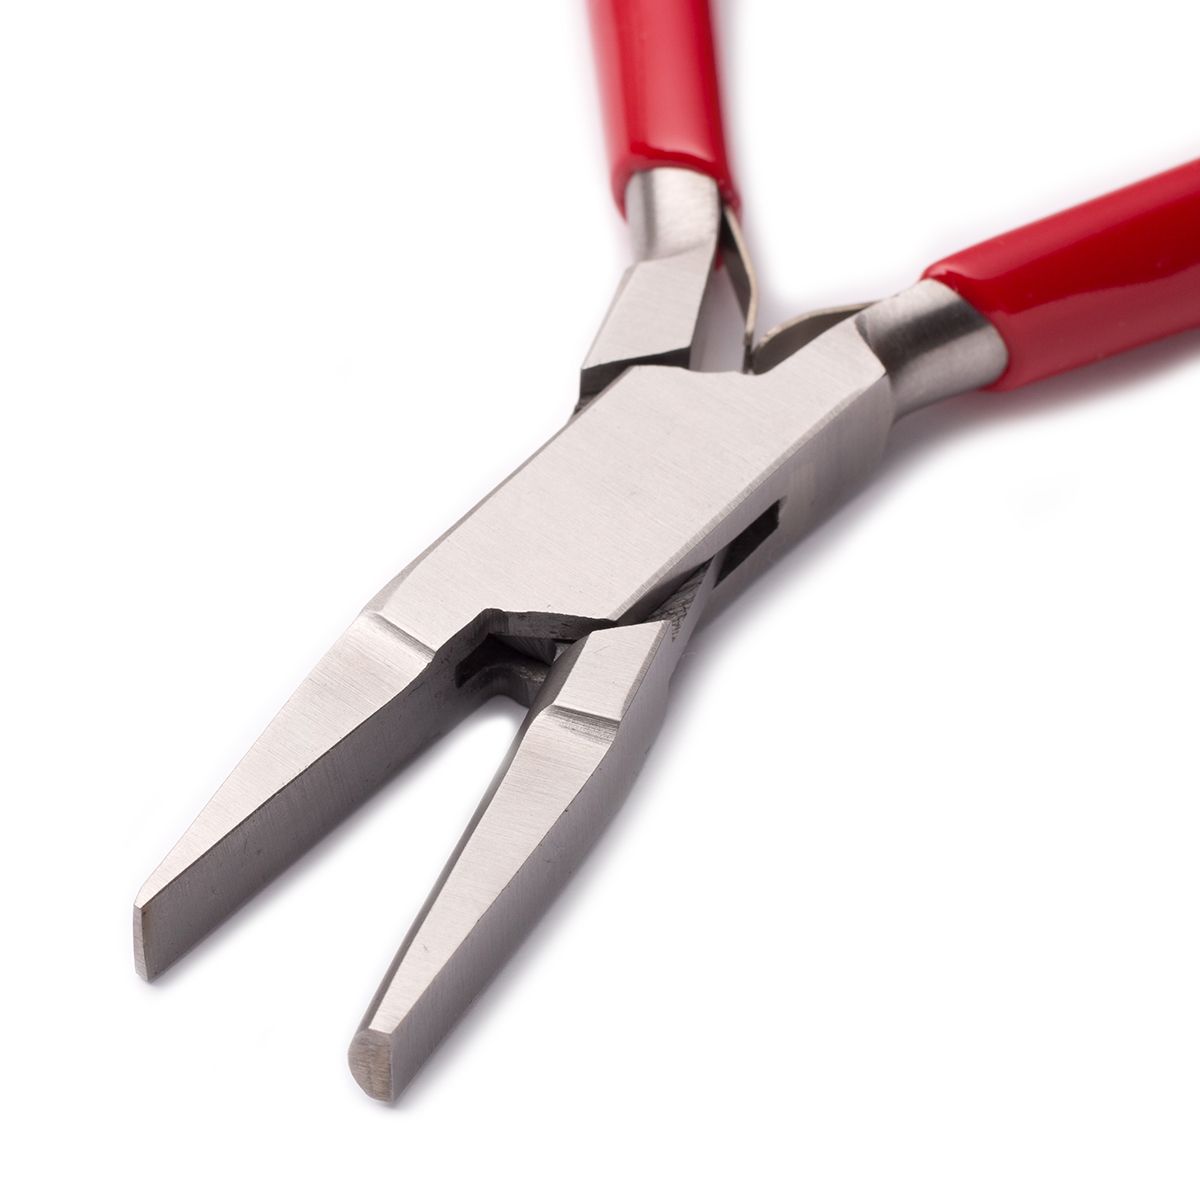
Half Round Pliers
Half round pliers are perfectly suited for creating curves in metal sheet and D shaped wire. One of the jaws has a half round cross section for curving and forming and the other jaw is flat which helps avoid marking the metal so you can gradually work your way around, bending and shaping it as you go until you achieve your desired shape.
Also in this section:
- Guide To Sanding & Polishing For Jewellery Making
- Hand Polishing Your Jewellery With Polishing Papers
- A Guide To Texturing Metals For Jewellery Making
- Top Tools For Making Textures On Metal
- Beginner's Guide To Chasing & Repoussé
- How To Make Easy Textured Earrings
- How To Make A Hammered Copper & Silver Heart Pendant
- How To Make A Textured Cuff Bracelet
- How To Make A Metal Leaf Decoration
- How To Use Doming Block & Punches For Jewellery Making
- How To Make Domed Metal Earrings With A Doming Block
- How To Engrave Your Drawings On Art Clay Copper
- Textured Washer Bracelet Tutorial With Guest Jeweller Laura Grey
- Barrelling Machine For Polishing Metal - Everything You Need To Know
- Tumbling Machine For Polishing Stones and Glass- Everything You Need To Know
- Polishing Jewellery Q&A With Stephen M Goldsmith
- Town Talk Products For Cleaning & Caring For Jewellery
- Creating A Resin Bird Pendant With Designer Sarah Hoare
- VIDEO: How To Create Patina With Liver Of Sulphur
- 2 Ways To Apply Liver Of Sulphur
- VIDEO: How To Use Silver Plating Solution
- How To Clean & Prevent Tarnished Jewellery
- Why You Need Anti Tarnish Paper Strips
- How To Use Midas Finish Seal Lacquer
- How To Use Renaissance Wax To Prevent Tarnished Jewellery
- VIDEO: Working With Crinkle Metal Sheet
- A Guide To Using Mokume Gane Metal For Jewellery Making
HAVE A QUESTION?
If you have any questions, feel free to get in touch with our friendly team who will be more than happy to give you advice over email or on the phone.
You can learn more and find inspiration by visiting our Jewellery Making Tutorials, Jewellery Making Kits and YouTube Channel. Don't forget to follow us on social media and tag us in your designs on Instagram & Facebook, we would love to see!