How To Make A Spinner Ring
This is the perfect guide for a beginner who has basic metalsmithing skills, including soldering and forging!
Barbara from Silverpickle Jewellery shares with you a brilliant metalsmithing tutorial on how to make a simple spinning ring, which you can easily customise with gemstones and different metals.
What Is A Spinner Ring?
Spinning rings are wonderfully tactile rings that originate from ancient Tibetan meditation traditions.
Spinning rings are also known as fidget rings, meditation rings or worry rings and they have traditionally been used to calm the mind and help to relieve any stress or anxieties. It is their repetitive motion, as the outer spinner ring/s rotate the base ring, that is known to soothe the mind and assist in relaxing the wearer.
These kinetic rings are an incredibly fun and versatile piece of jewellery for the maker, as well as the wearer, as the design can be changed and adapted in so many different ways.
The perfect ring for anyone who likes to fidget!
If you have a go at this project don't forget to post your design on social media and tag @Kernowcraft & @SilverPickleJewellery for a chance to feature.
Shop recommended project tools and supplies
For a UK size Q spinning ring
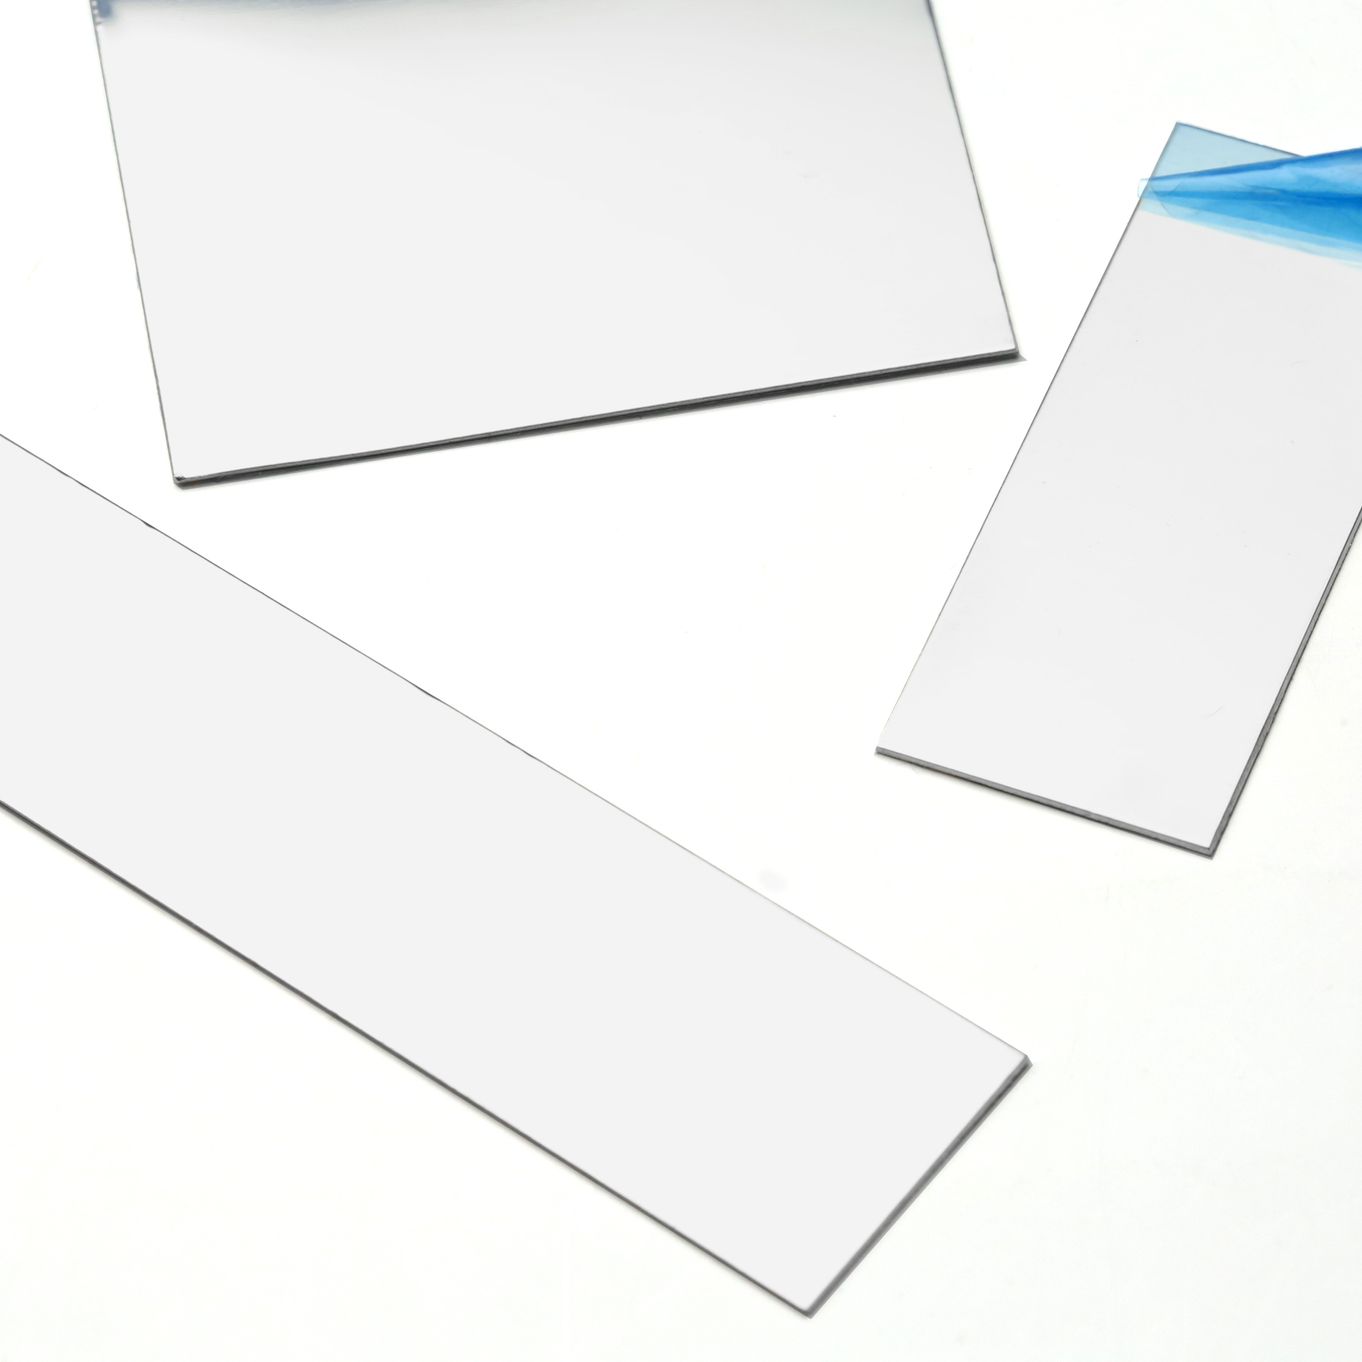
- Sterling silver sheet 1mm thick, 12mm in width and 60mm in length. This is the right length for a UK size P Spinning ring but the texturing will stretch the base up a size.
- A length of 2mm thick sterling silver round wire measuring 65mm.
- Ring mandrel and wheatsheaf
- Bench peg and anvil or steel block
- Half round file
- Flux and brush
- Solder strip - I've used medium
- Soldering block
- Safety goggles and mask
- Torch and gas
- Tweezers
- Rawhide mallet
- Doming/dapping set
- Safety pickle
- Dish of water
- Brass tweezers
- Repousse or ball pein hammer
- Cross pein hammer (optional)
- Sandpaper
- Wet and dry paper or abrasive blocks
- Barrelling machine and Barrel Brite or polishing papers
Follow Step By Step Instructions On How To Make A Spinner Ring Below
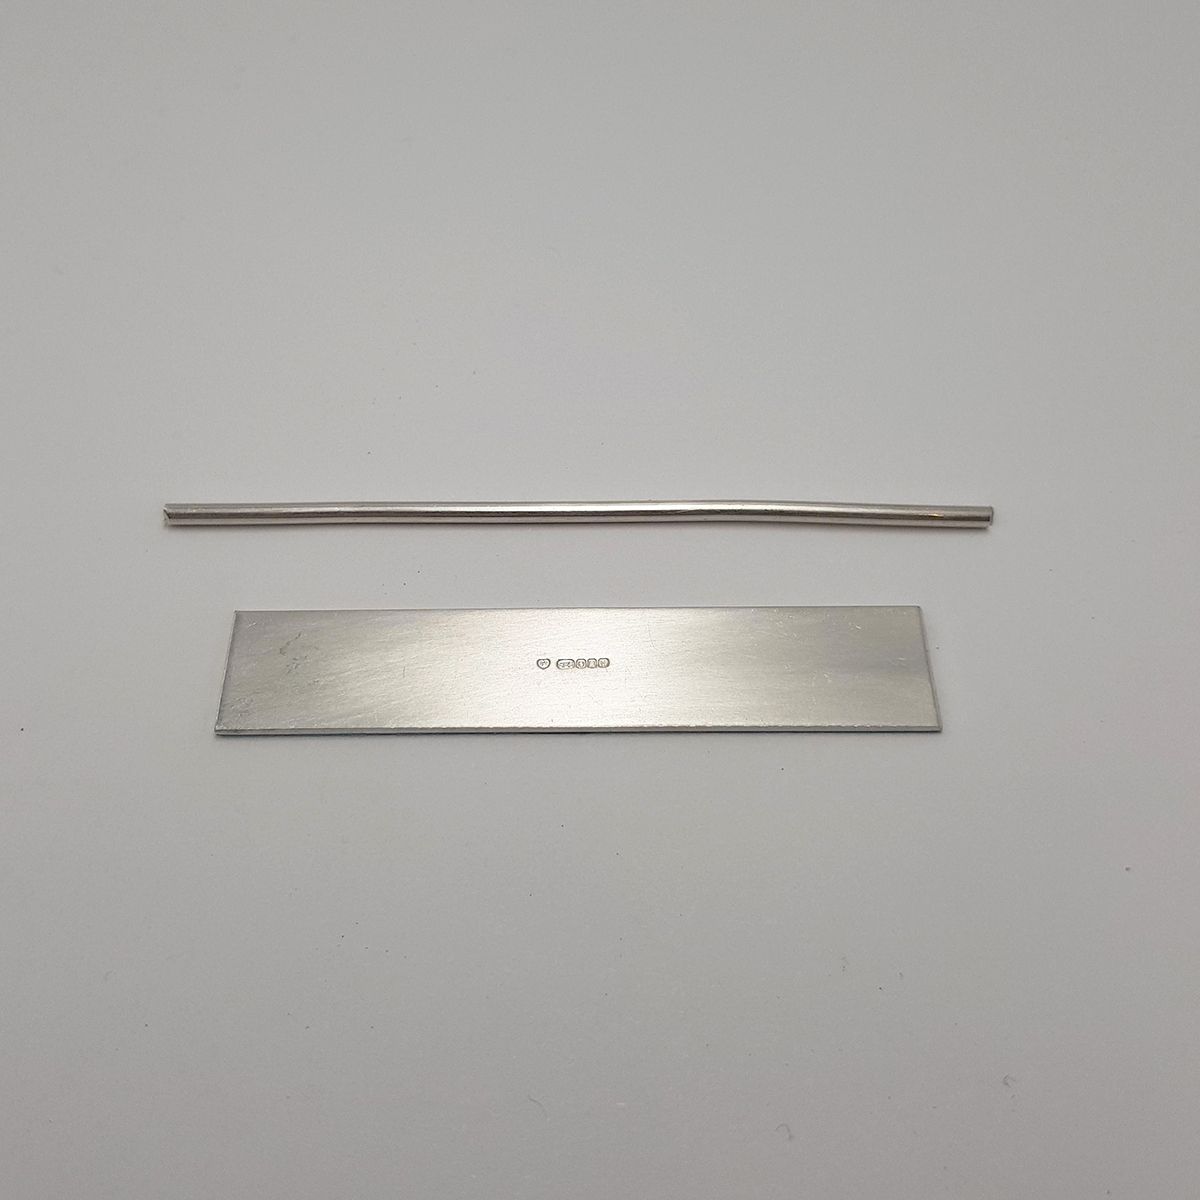
Step 1: Materials
You will need 1mm thick sterling silver sheet for the base ring and 2mm thick sterling silver round wire for the spinner. I make a lot of spinning rings so I have my 1mm sheet pre cut into 12mm wide strips in varying lengths. Also, because the finished piece will weigh more than 7.78g, I have them sent to the Edinburgh Assay Office for testing and hallmarking (along with the spinners) to comply with the Hallmarking Act 1973.
Read the blog post: All Your Questions Answered On Hallmarking Jewellery
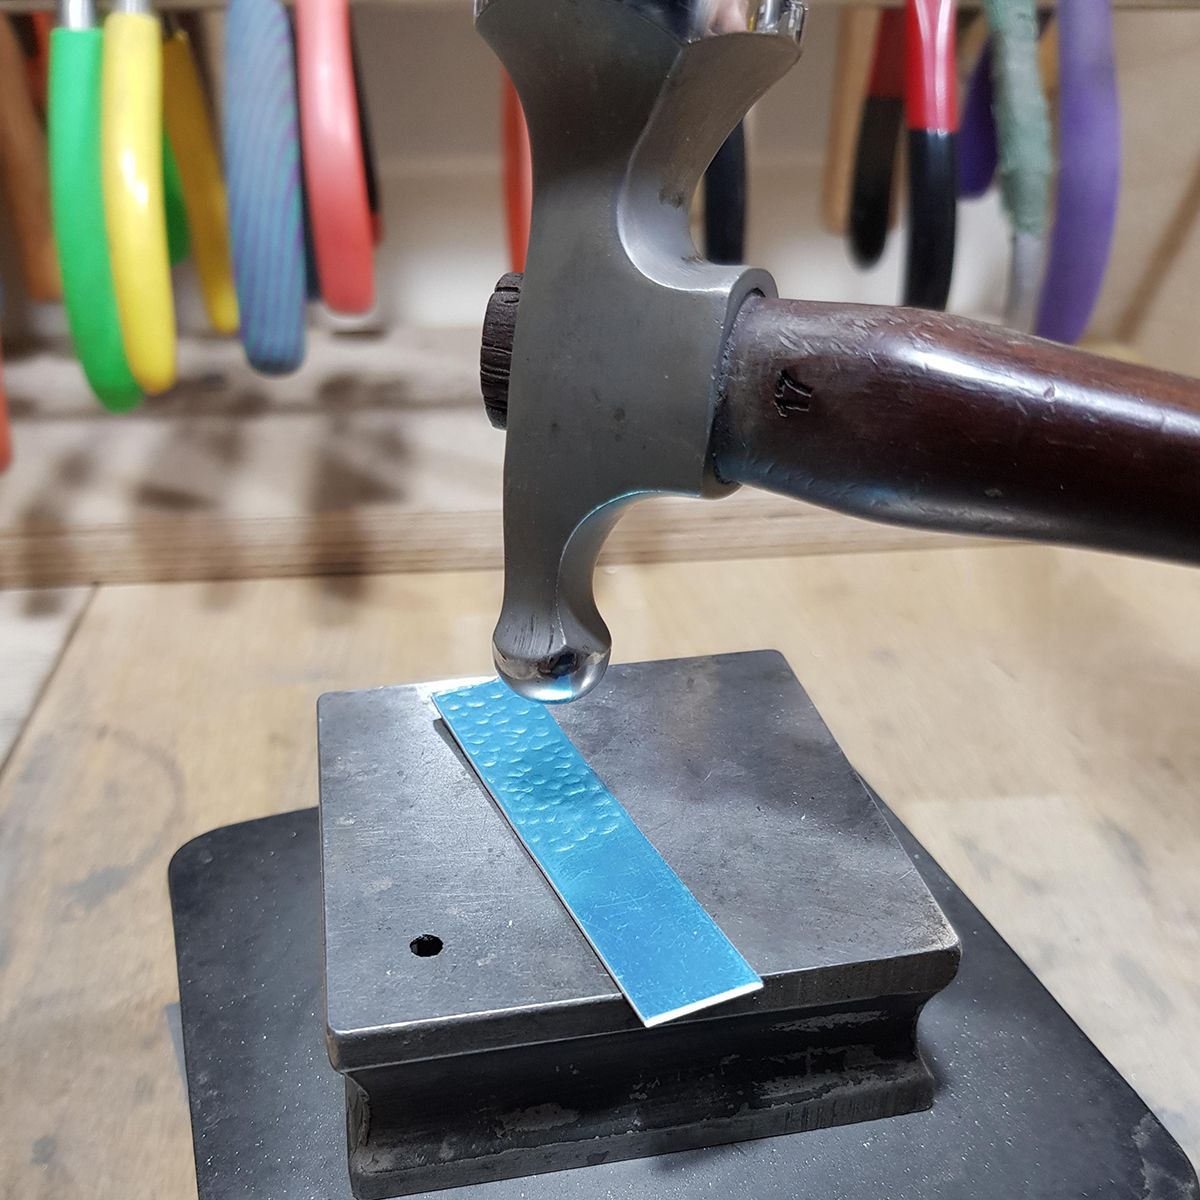
Step 2: Texturing The Base Ring
Place your silver sheet on your steel block or anvil and, using your repousse or ball pein hammer, texture the surface with an even coverage. This hammer gives a lovely dimple texture which, once polished, will catch the light and sparkle.
Tip: I keep the blue protective plastic on for texturing this ring as it gives a softer finish.
Step 3: Shaping
Once the base has been textured, and you have removed your protective plastic, pop on your safety goggles and mask and use the heat of your torch to anneal the silver. Move the flame in a slow movement up and down the length of the sheet and then, using your tweezers to pick it up, quench it in your dish of water. Now bend it around your ring mandrel and begin shaping it using your rawhide mallet.
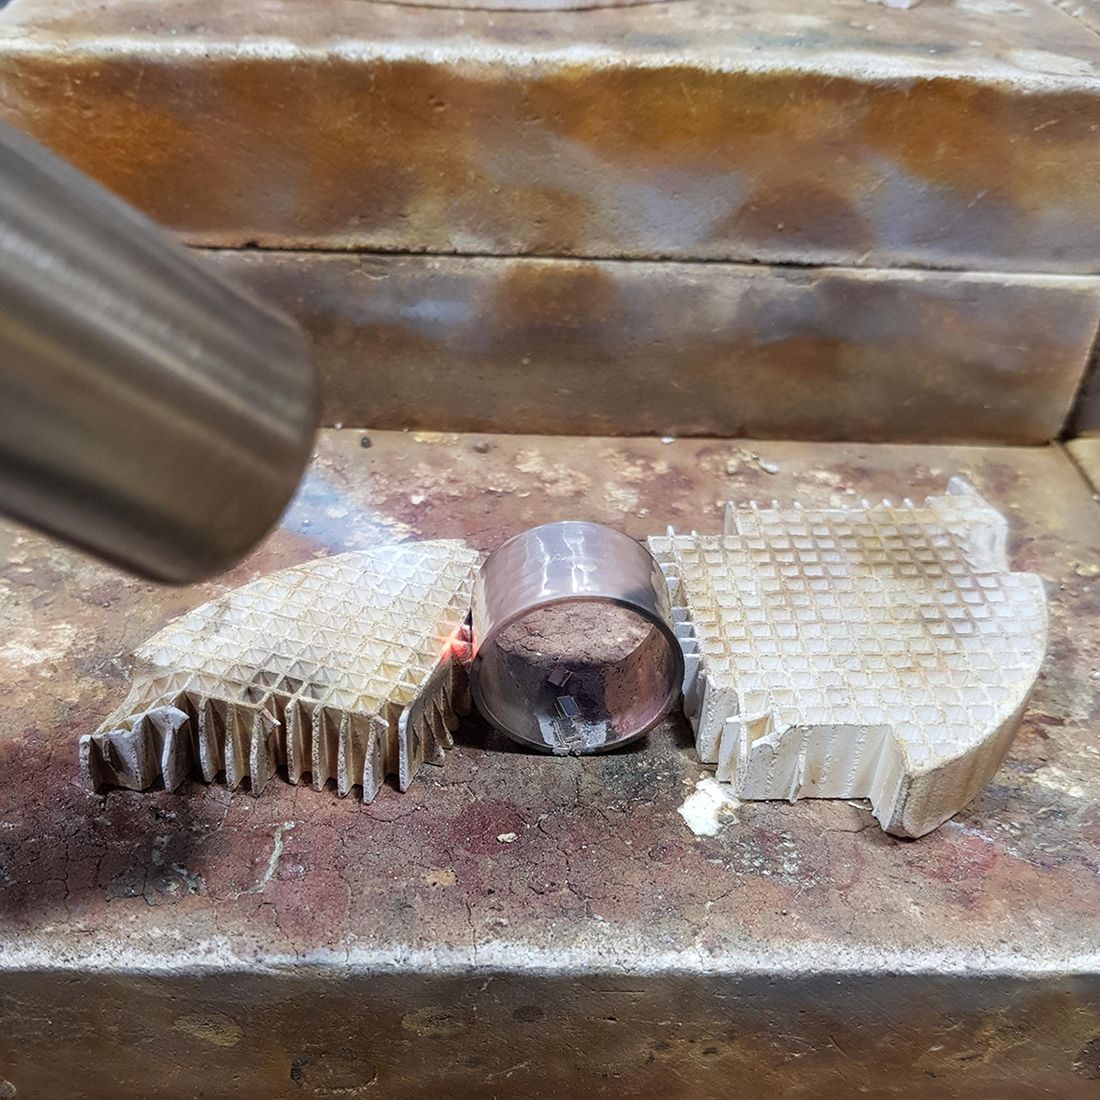
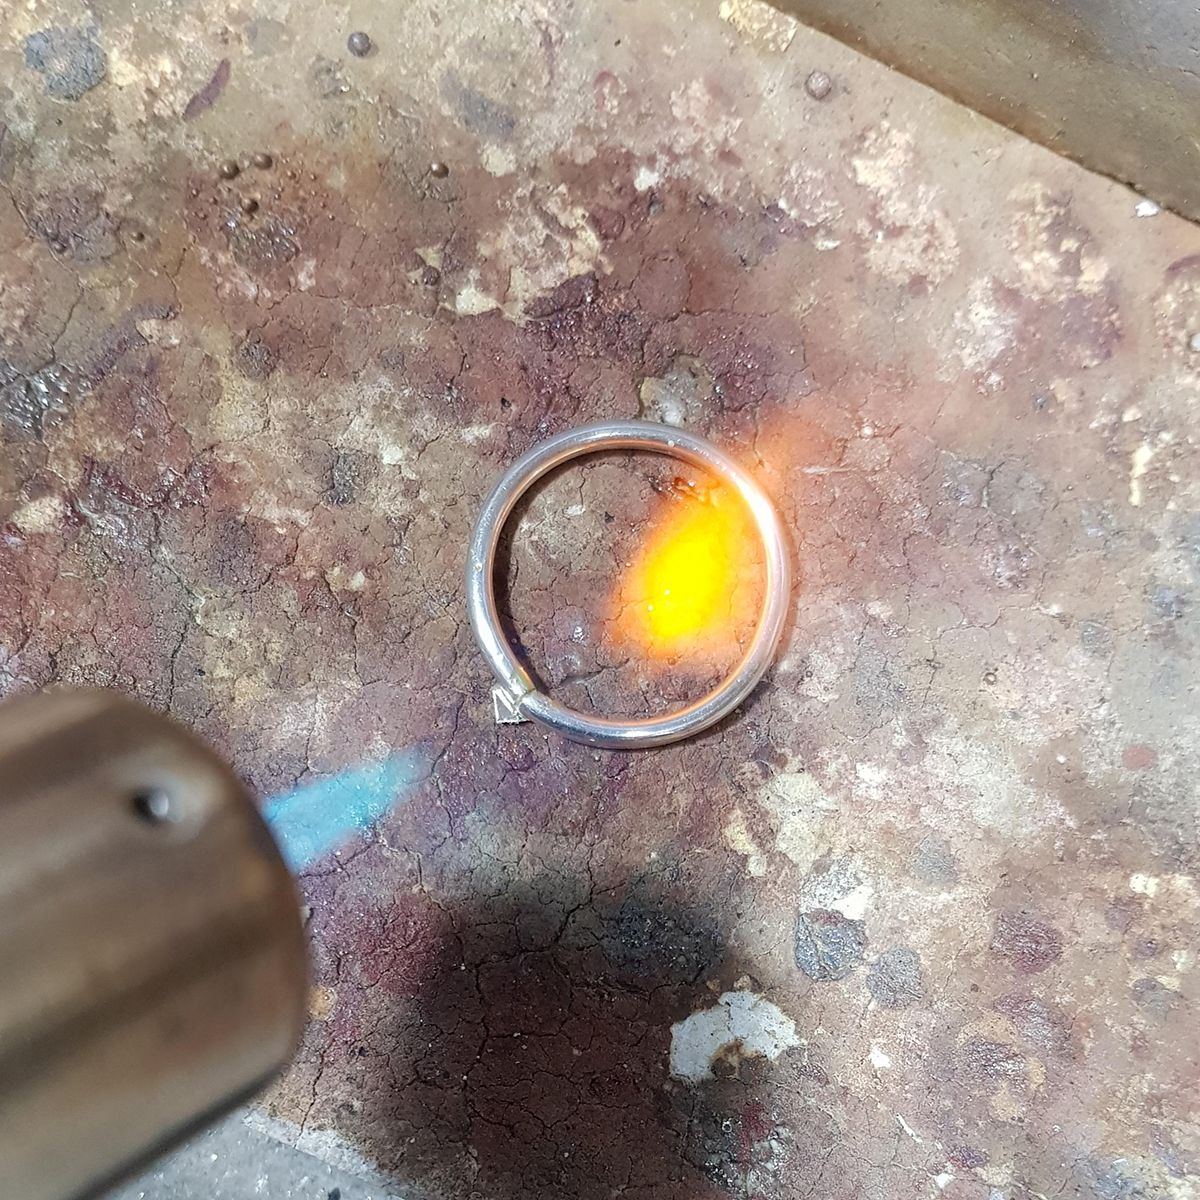
Step 4: Soldering
Once your base ring has been shaped make sure the two ends of the ring meet perfectly, with no gaps, and position on your solder block ready for soldering. If you have an uneven or ragged join spend a bit of time with the flat side of your half round file ensuring it is smooth with a neat join. Using your brush run some flux down the two sides, into the join, and position your solder (I like to use a medium solder for my spinning ring joins) so that it is touching both sides of the join. Pop your protective goggles and mask on again - safety is really important. Begin to heat the ring with your torch. Make sure you slowly run your flame around the whole ring, so that it heats up evenly, before focusing the heat on the join, where the solder is, with little swirling movements. The solder should flow easily down the join. Place the ring in your pickle pot and then remove, using your brass tweezers, and rinse in water.
Step 5: Tidying Up
This is a very important stage in the making process for me. Now the base ring has been soldered, use your half round file, I do love a half round file, to file down the inner and outer surface of the join. Use the flat side of the file on the outer surface of the ring and, using long strokes in one direction, begin to smooth out the join. Then, using the rounded side of the file, do the same on the inner surface of the ring. Do this until any excess solder has been filed away. Once you are happy with your filing, move onto sandpaper (I like to start with grade 240 and move onto grade 120) to go over the soldered areas. In the same way you used your file, begin to smooth out any marks left from filing. By this point your join should be completely invisible.
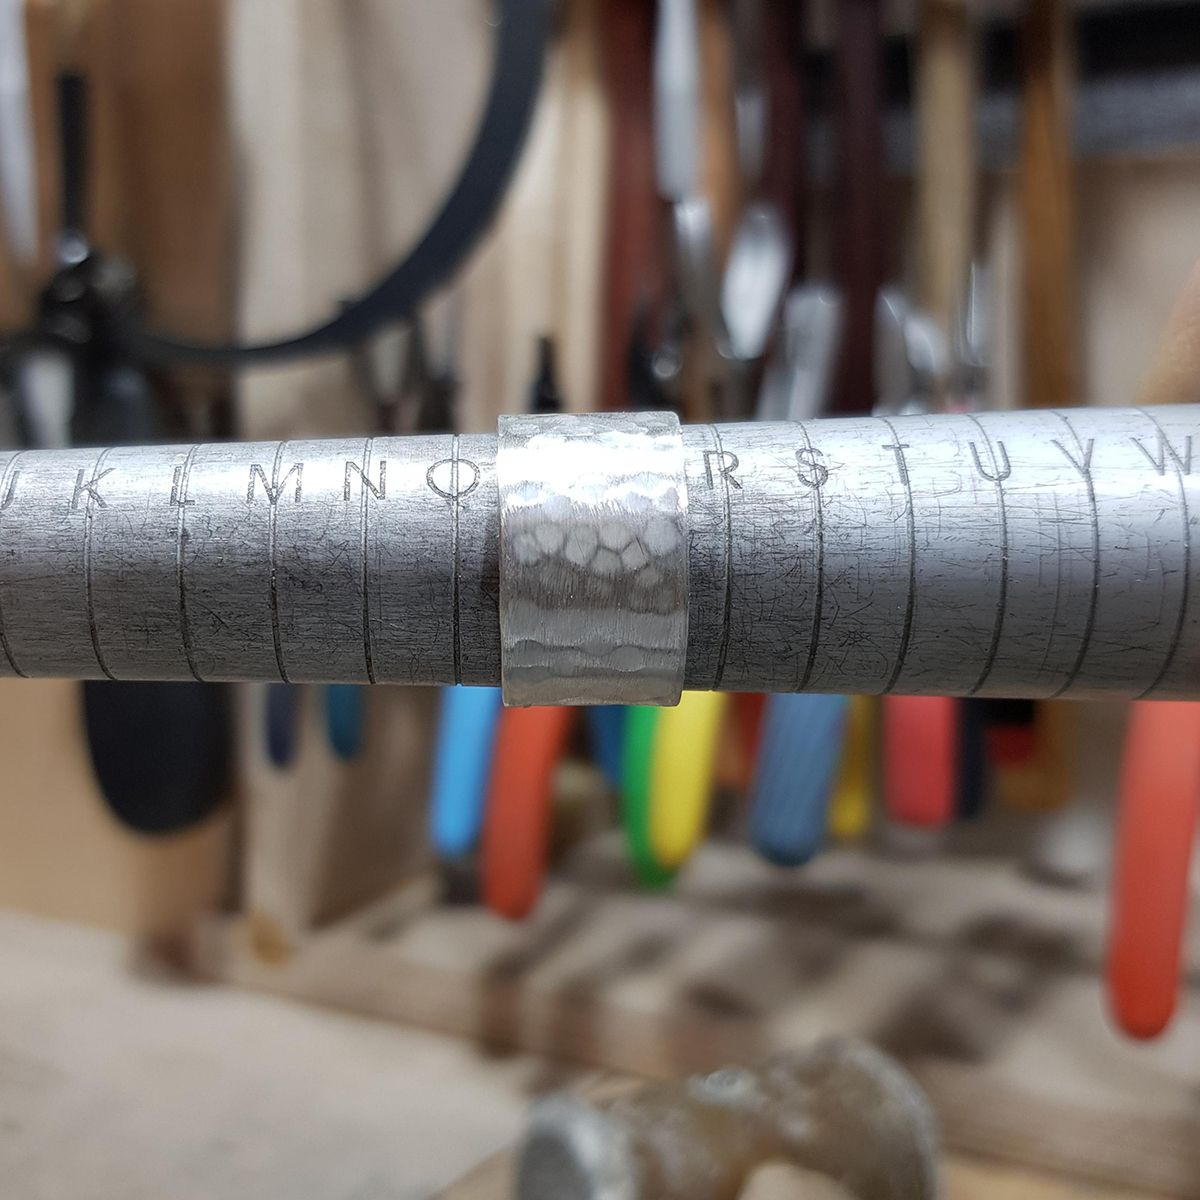
Step 6: Shaping & Sizing
The base ring will now require a bit of shaping on the mandrel. By filing the outer surface of the ring after soldering it will have lost some of its texture so I use the repousse hammer for this whole process. Place the base ring on your ring mandrel and, using your repousse/ball pein hammer, shape the ring, turning it all the way round as you go, while retexturing the area you have filed and sanded. Make sure you repeatedly check the size of the ring on your wheatsheaf to ensure you are getting the required size as the texturing will stretch the ring up.
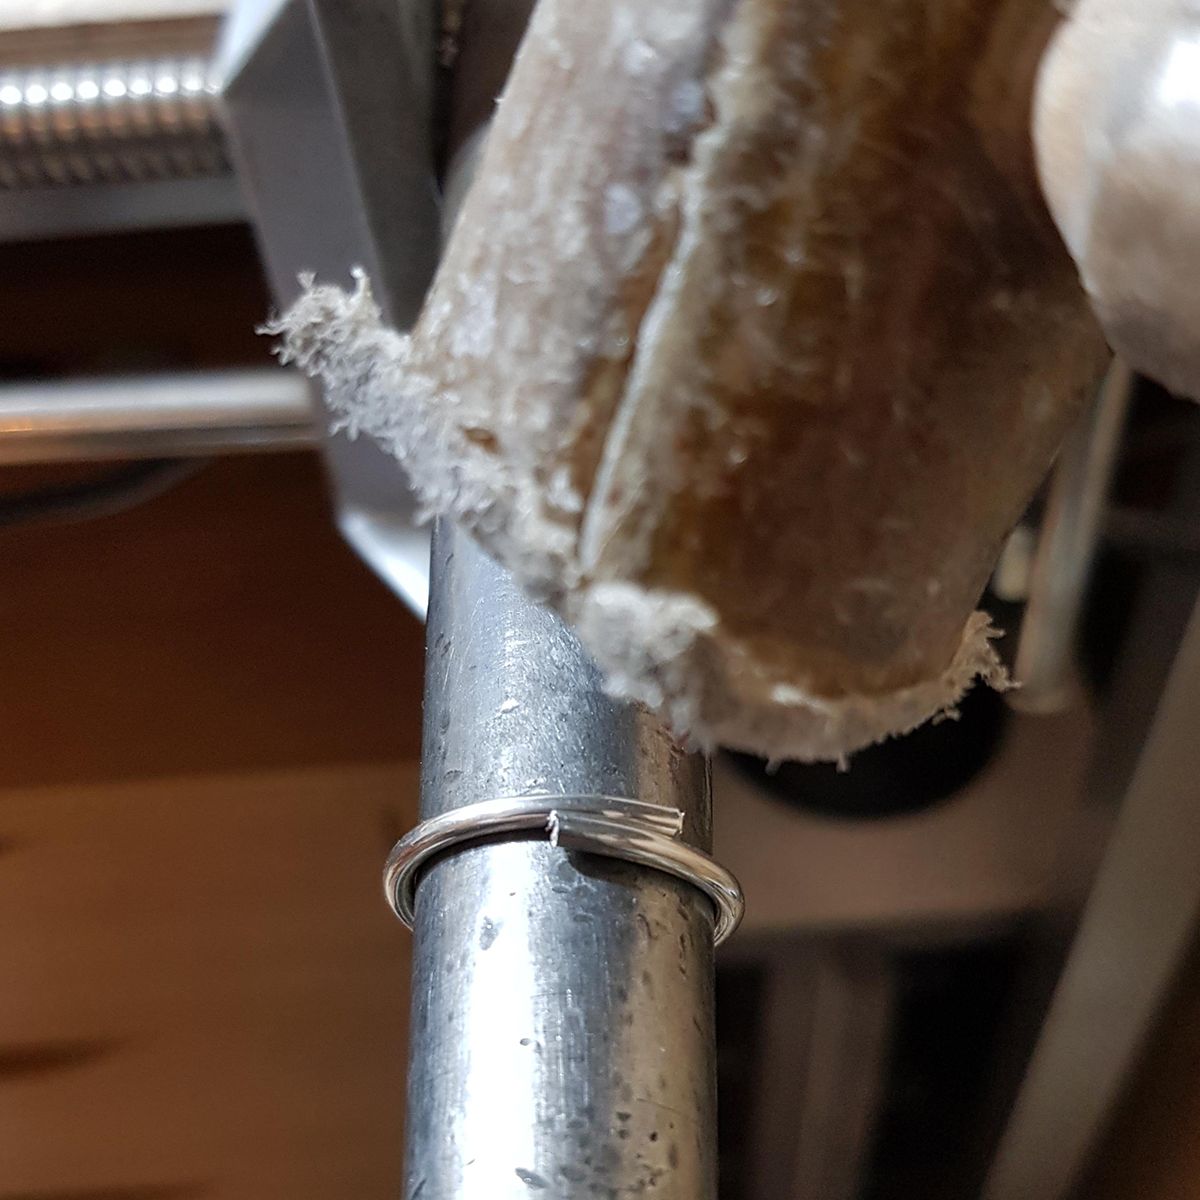
Step 7: Making The Spinner
To make the outer spinner ring take your 2mm wire and using your rawhide hammer, shape it around your ring mandrel. I make the spinner ring for this style of ring the same size as the base ring as it is going to be stretched up when texturing. Once you have done this file the two ends of your wire so that they meet flush, ready for soldering.
Step 8: Soldering
Get that protective gear on again and lay your ring on your solder block. Using your brush, paint some flux over the join. Add a small piece of solder just under the join, so it is touching both sides of the metal. Using your torch in a circular motion, heat up the ring and then focus the flame on the join until the solder runs. Place in your pickle and then, using your brass tweezers, remove and rinse in water.

Step 9: Texturing The Spinner
As you did with the base ring, use the flat side of your file to tidy up the outer surface of the solder join and the round side to remove any excess solder from the inside of the ring. Use sandpaper as before to tidy up and smooth out after filing. Place the spinner ring on your mandrel and use your repousse hammer to shape and texture the metal, turning the ring round and round as you go to ensure an even texture.
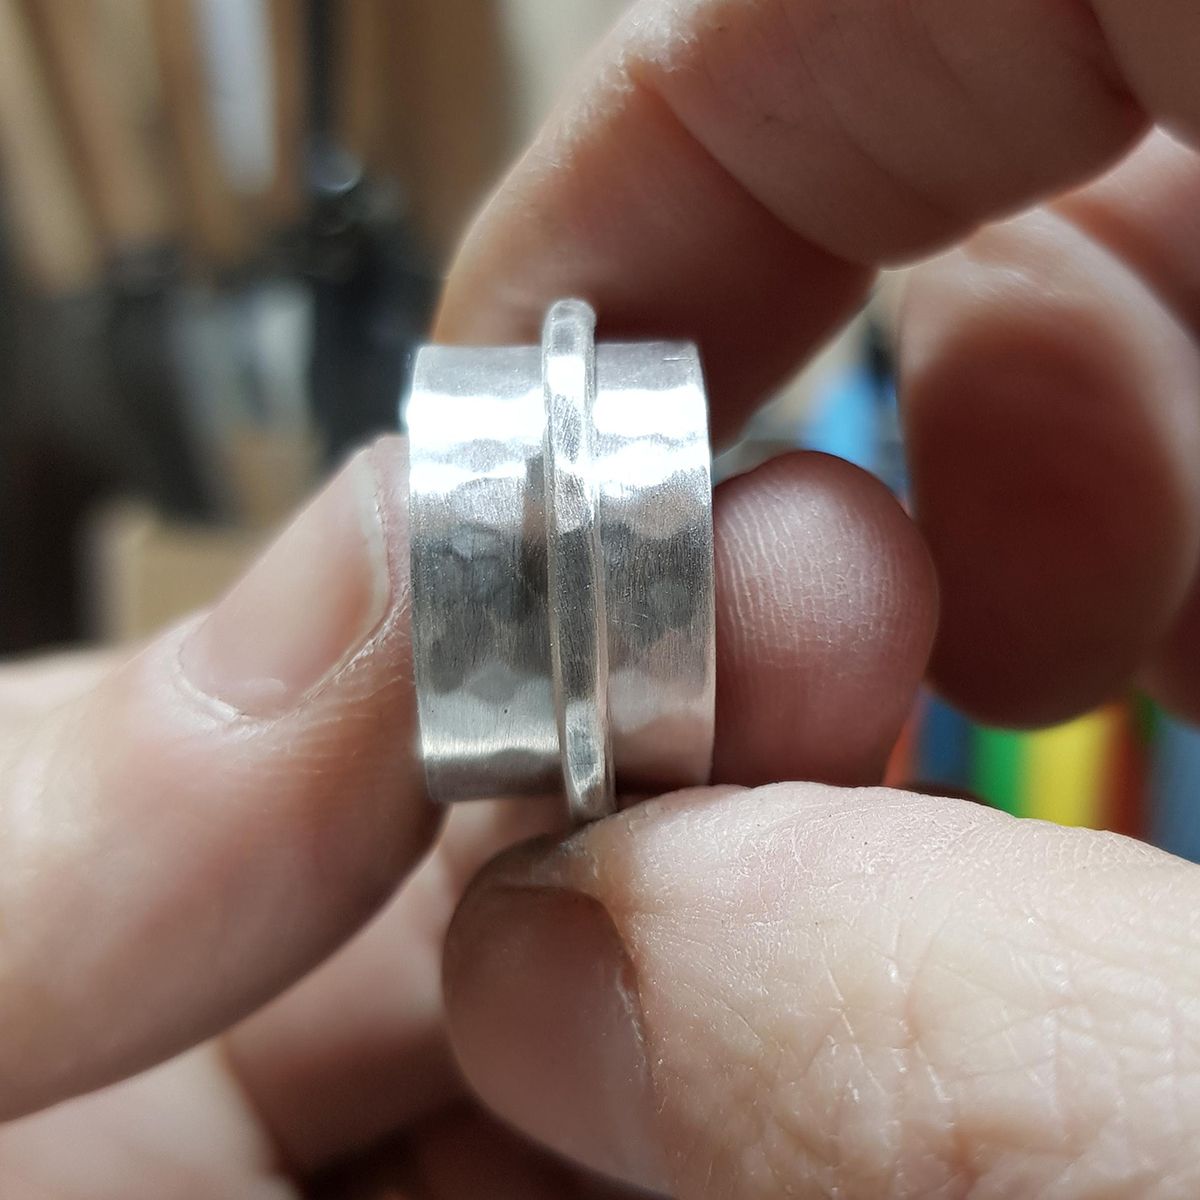
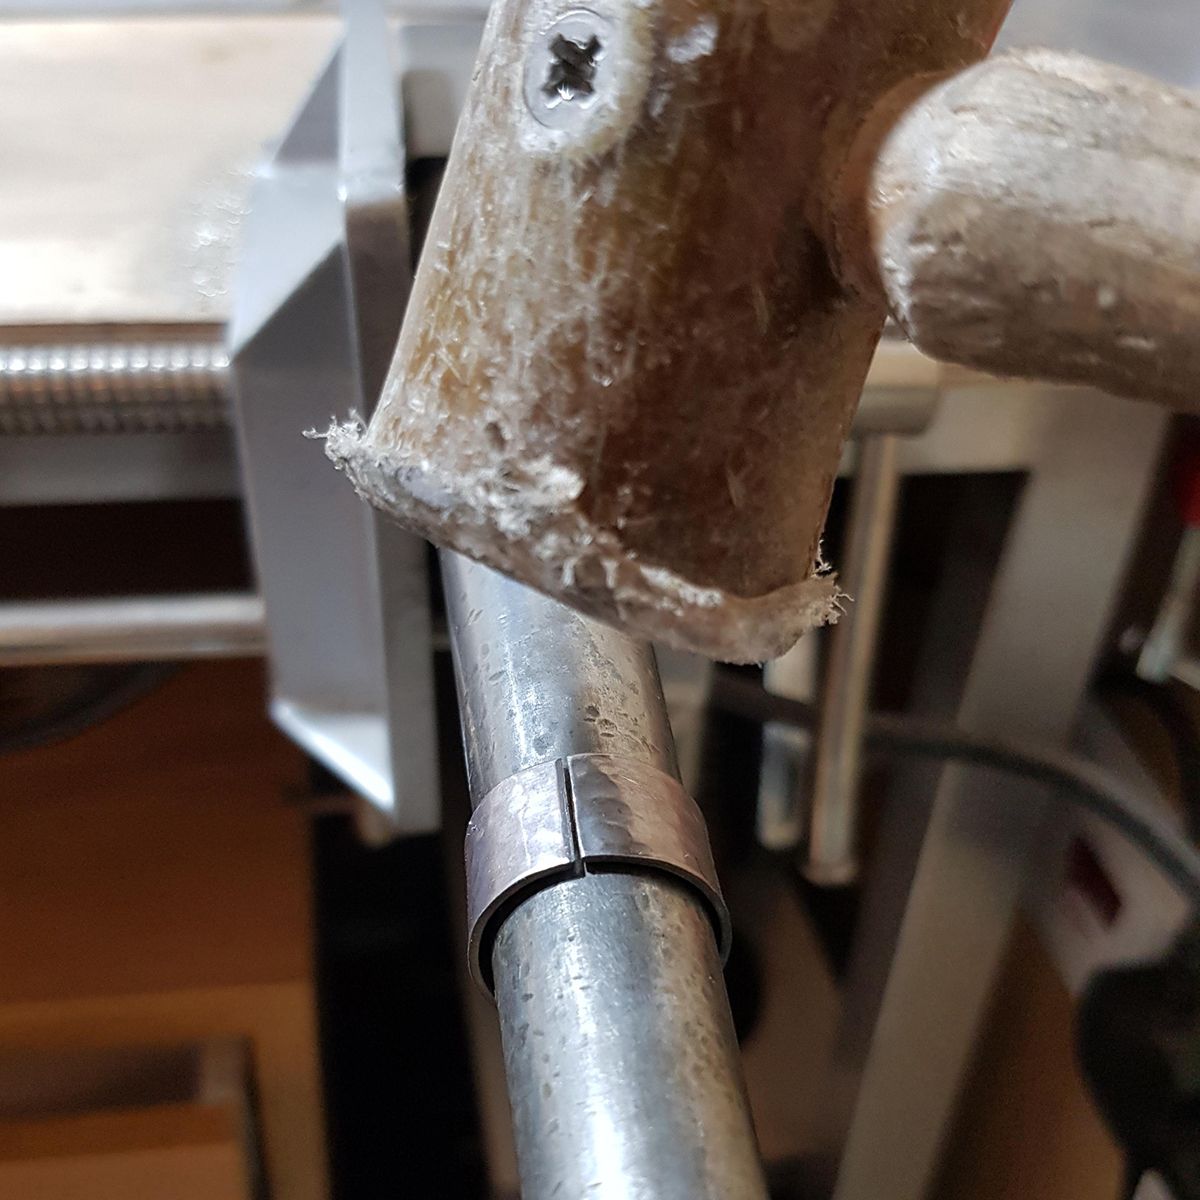
Step 10: Sizing
Keep checking the spinner with the base ring, you want the spinner to slip over the base ring with ease, so that it spins, but not be too loose. Once you are happy with the size use your rawhide hammer to flatten the spinner ring on your steel block.
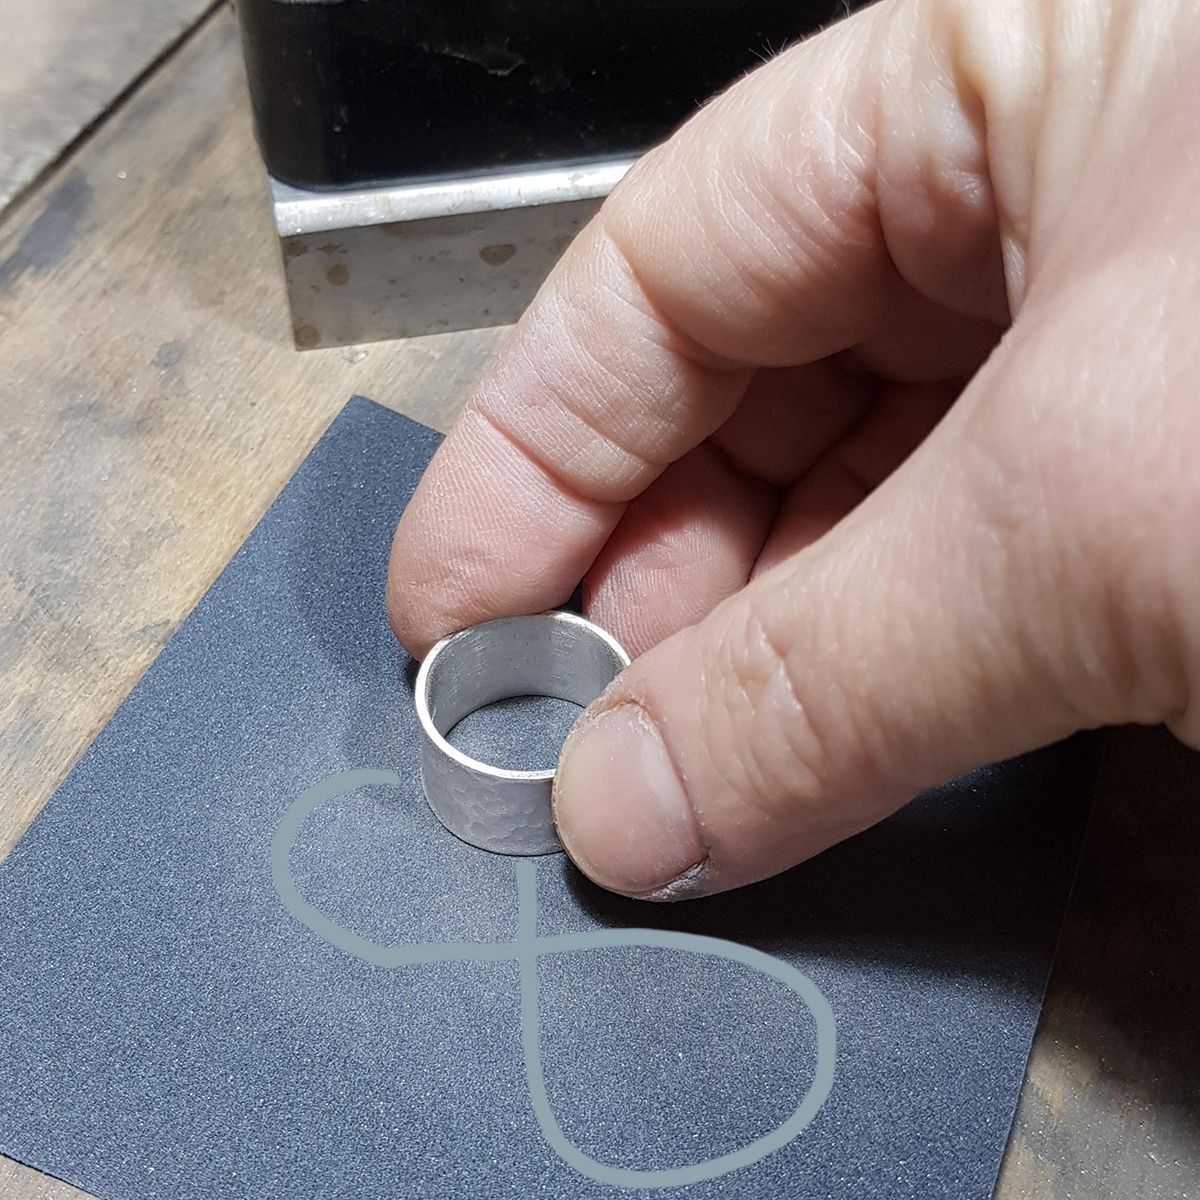
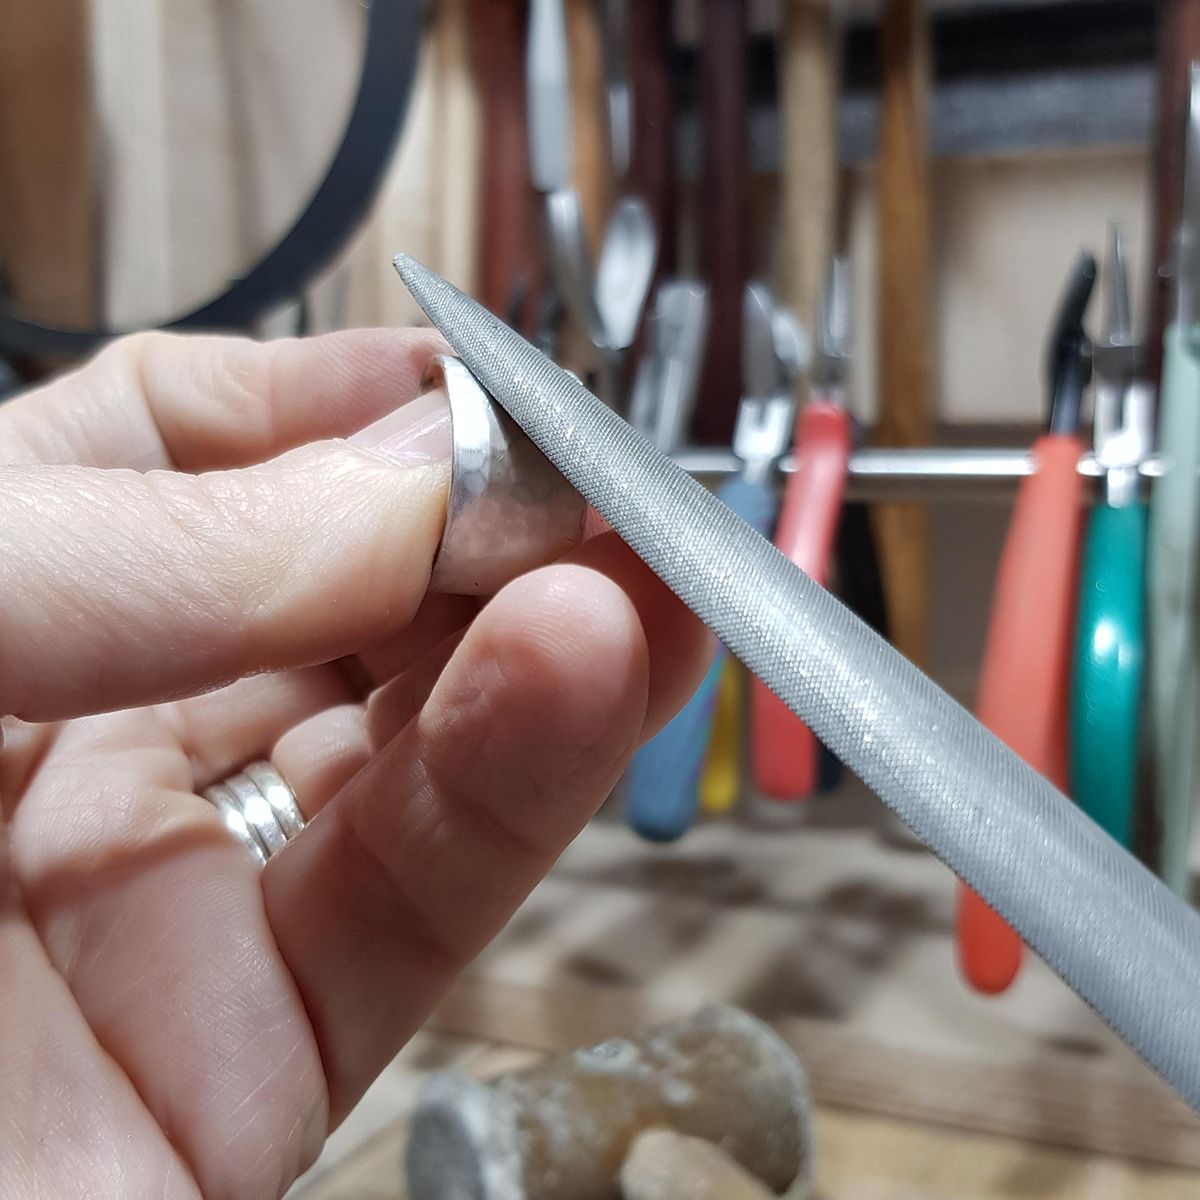
Step 11: Tidying Up & Polishing
Ensuring you have a nice finish on your ring is really important. Use the flat side of your file to go round the edge of the base ring to soften it for the wearer. Then place flat on a piece of sandpaper and, using a figure of eight movement, sand down the two sides. I prefer abrasive blocks to wet and dry paper when preparing my pieces for polishing and work my way down the grades until there are no marks left on the silver, apart from the ones intended. Place the base ring and spinner, separately, into your barrelling machine and polish for 20 minutes or use polishing papers if you would rather polish by hand.
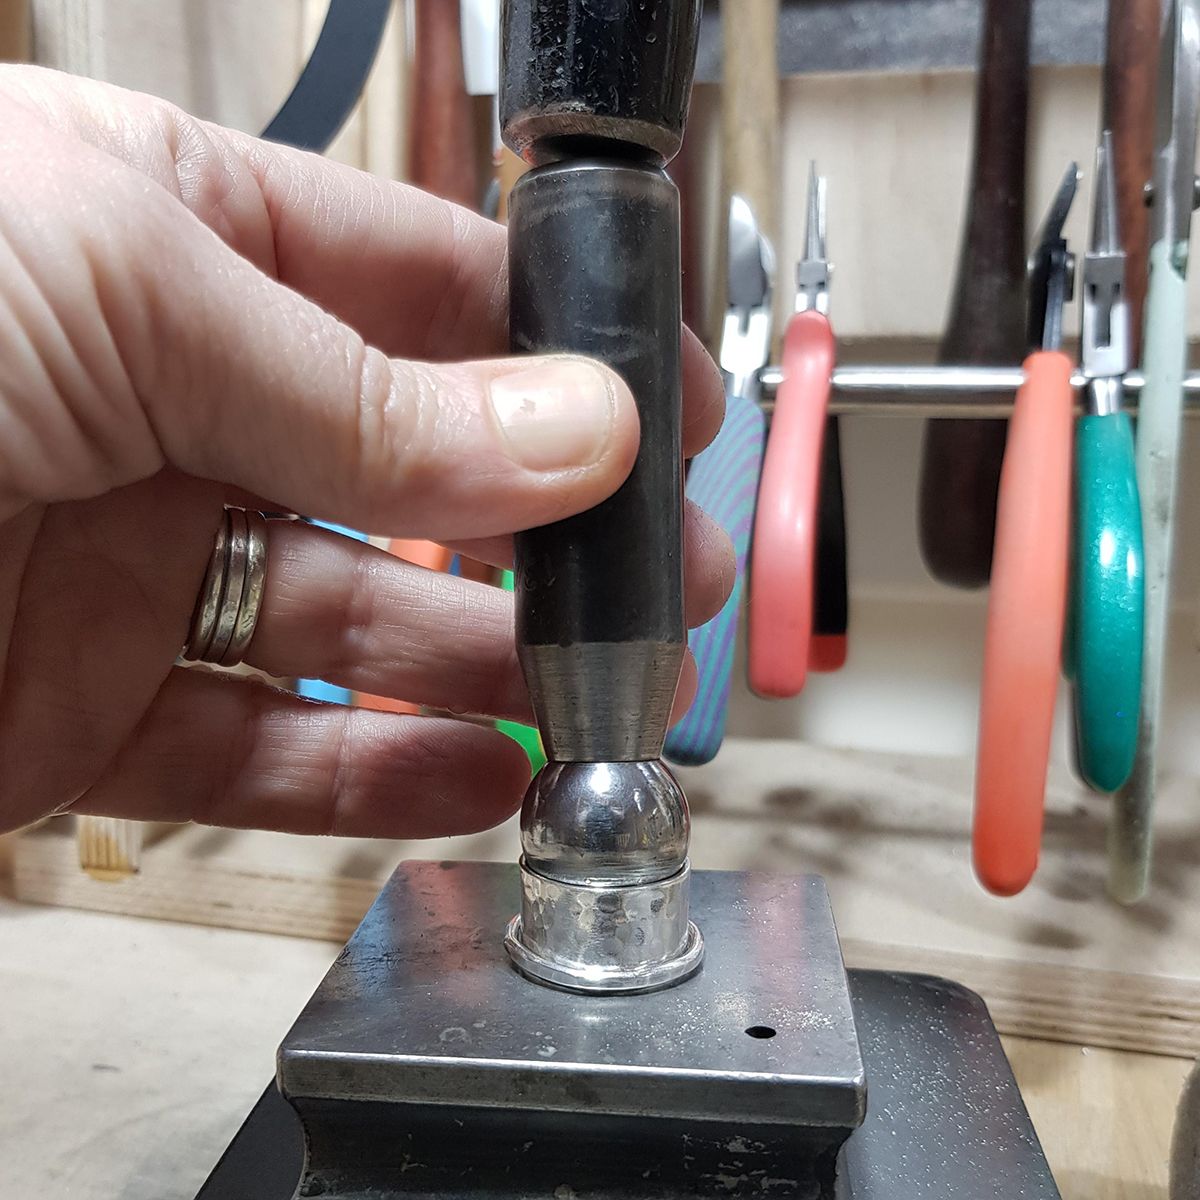
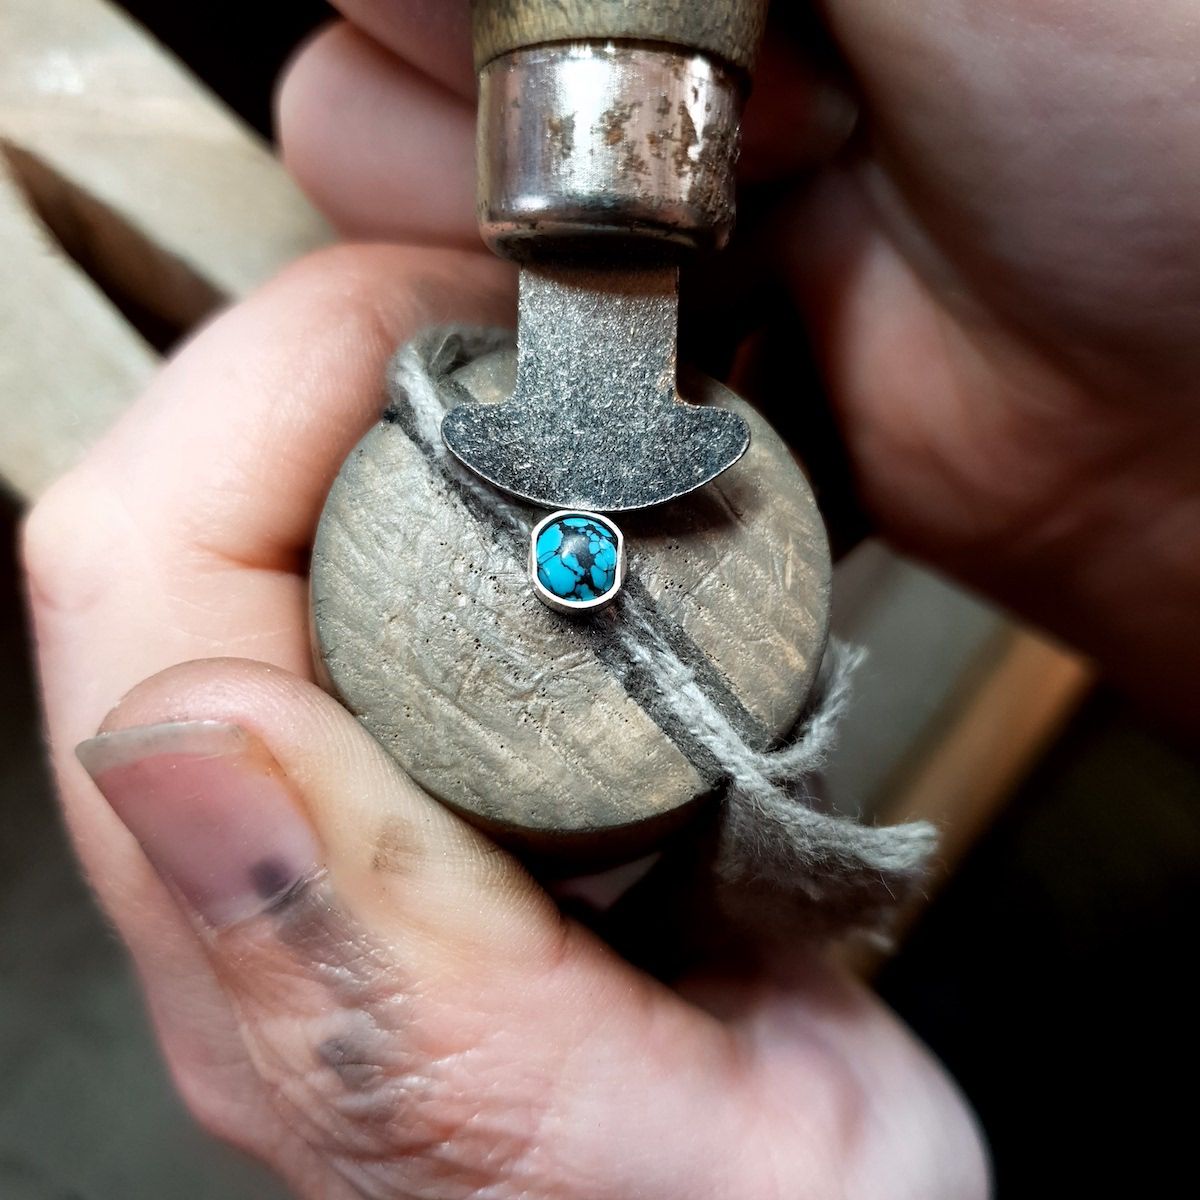
Step 12: Flaring The Ends Of The Base Ring
Once both pieces have had a short polish place the spinner over the base ring and then, take your dapping punch and place it on the base ring. Hit the dapping punch firmly with your rawhide hammer or a cross pein hammer until the edge flares out enough to keep the spinner in place. Repeat on the other side. Using sandpaper and abrasive blocks tidy up the inner edges where the dapping punch has stretched the metal and pop in the barrel for a further polish. Alternatively to hand polish, you can work your way through the grades of polishing papers to gain a high sheen.
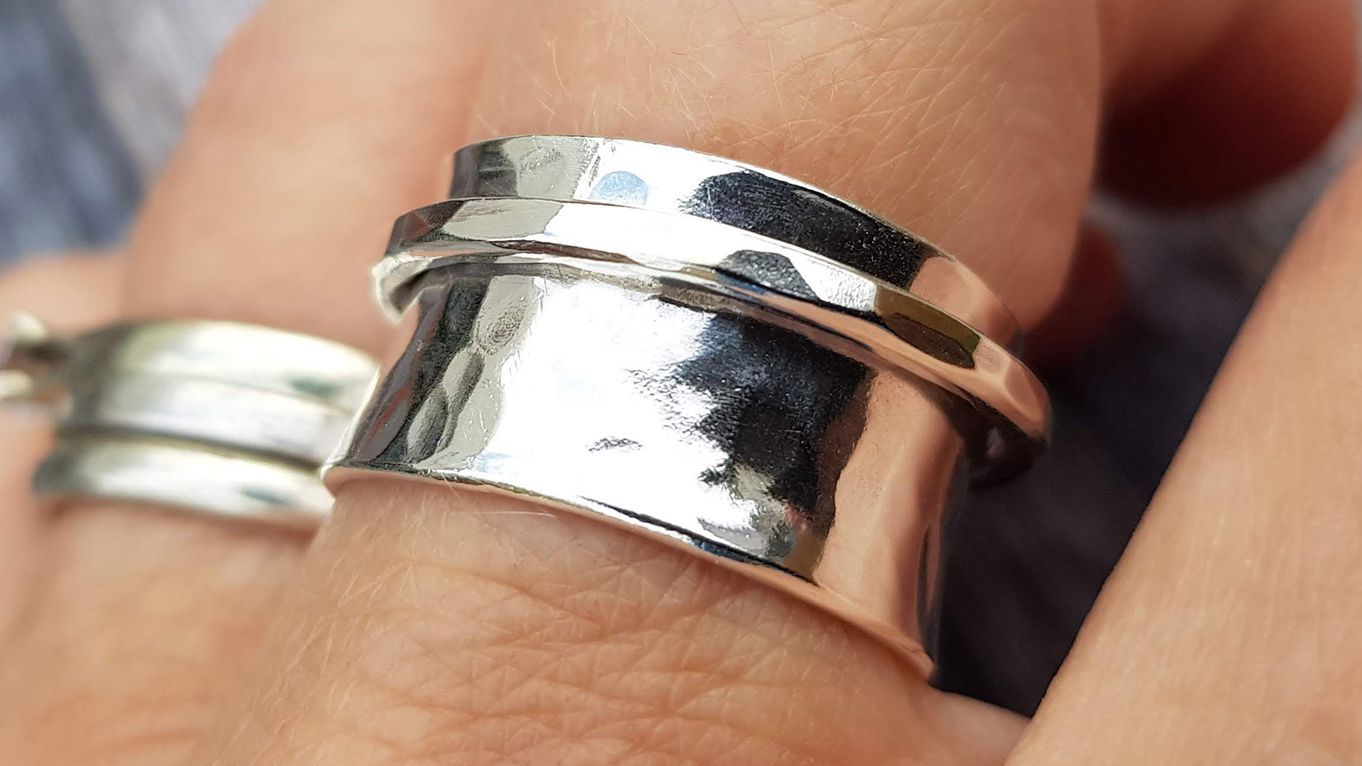
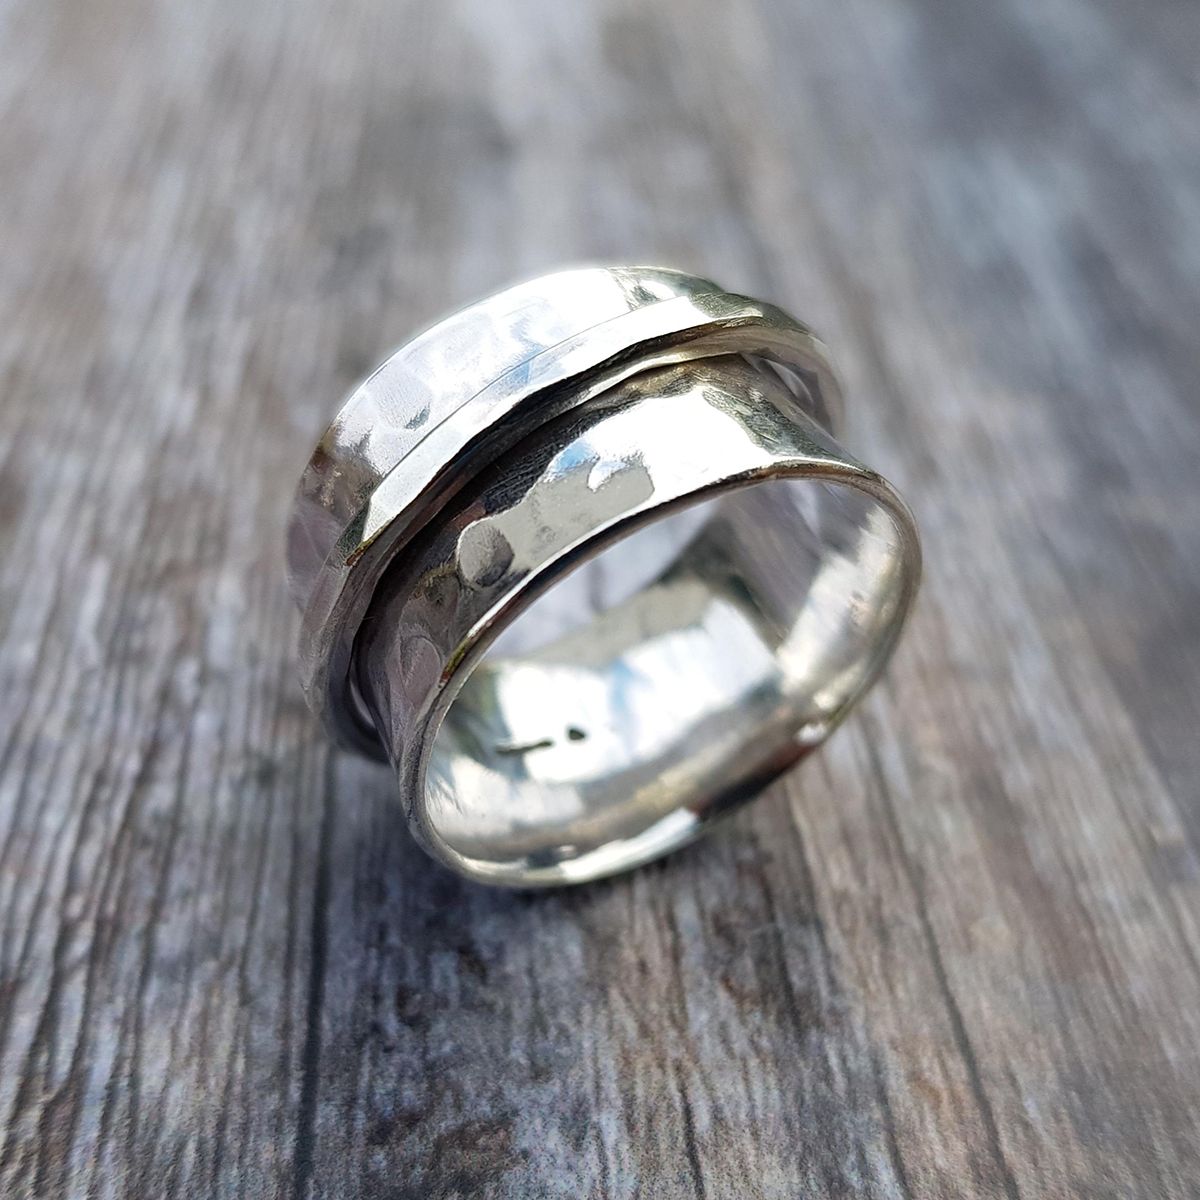
Voila! Your finished spinning ring.
Have a go for yourself and don't forget to share your process and finished design with us on social media for a chance to feature! Tag @kernowcraft & @silverpicklejewellery so we can see. Have fun and get creative.
Customise Your Spinner Ring!
One of the reasons spinning rings are a favourite make of mine is because there is so much you can do with them. I love adding a pop of colour or some buttery gold.
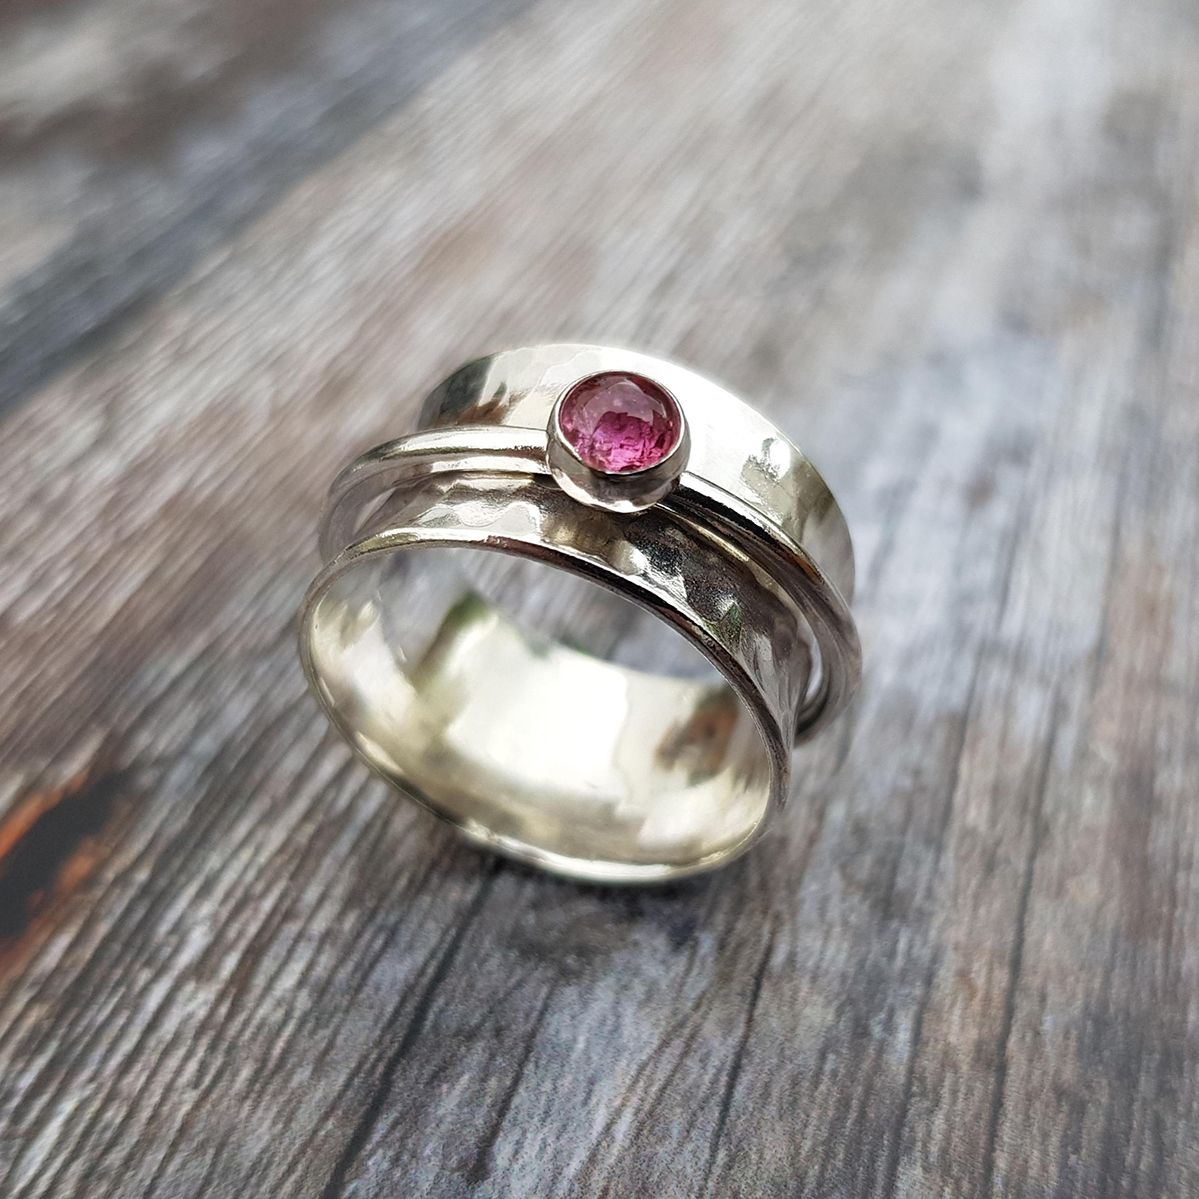
A vibrant pink tourmaline has been added to this spinner.
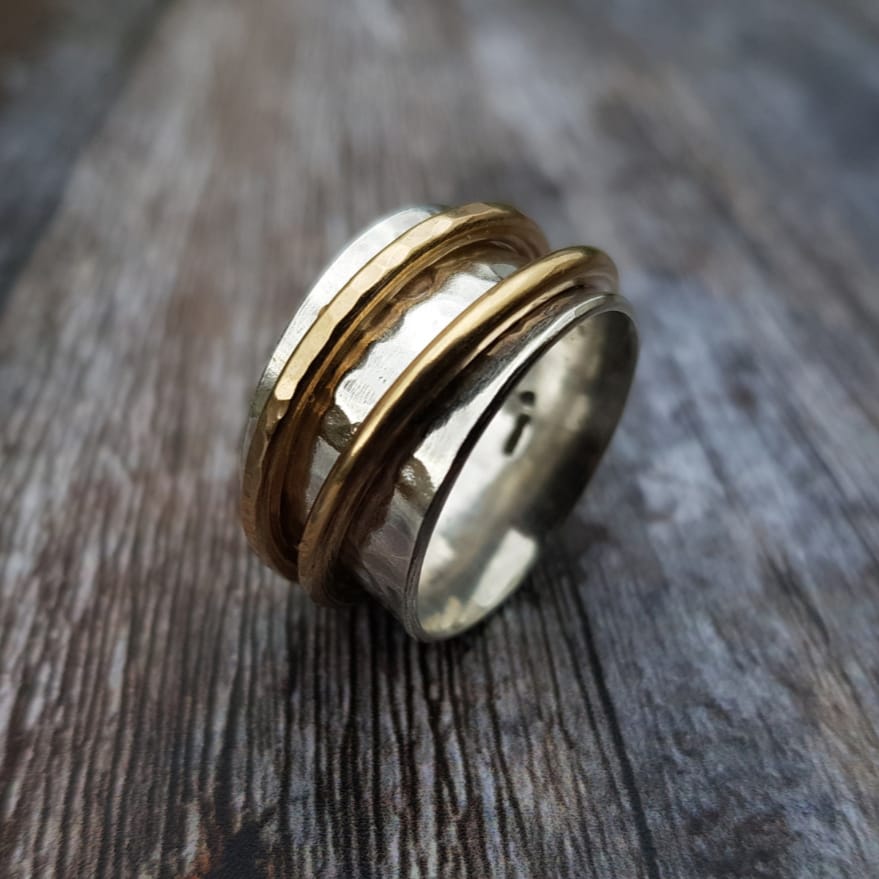
You can add more than one spinner and mix the metal, this ring has two 9ct gold spinners.
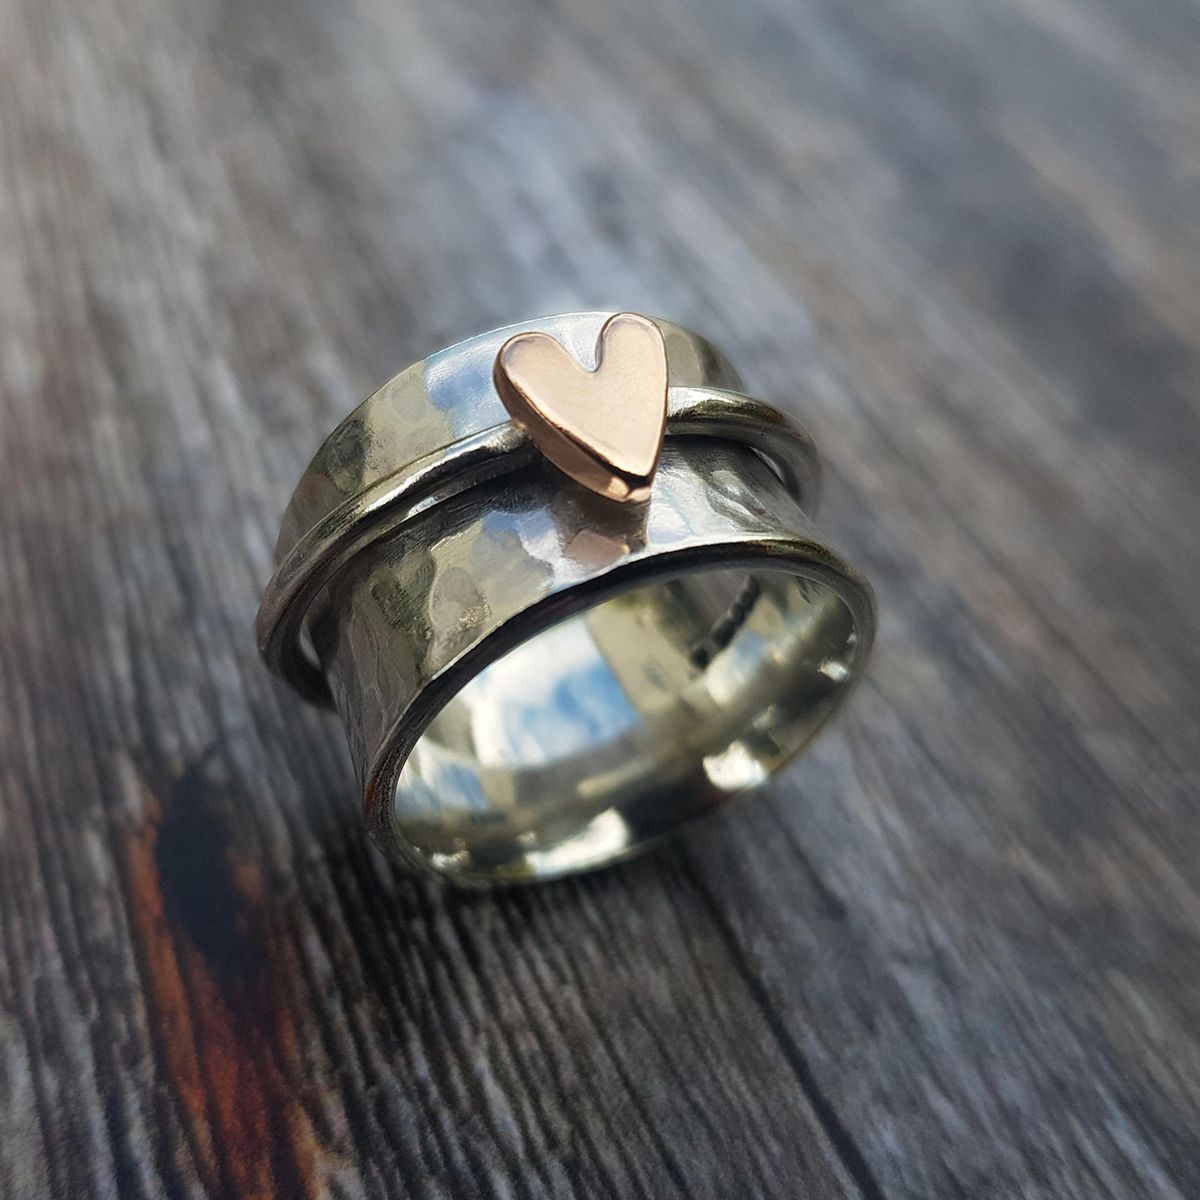
Adding a chunky 9ct gold heart to the spinner is my favourite.
Explore Supplies & More Tutorials
Shop our wide range of metal wire, sheet and tubing perfectly suited to jewellery making. Our range of metals includes sterling silver, eco-friendly silver, 9ct gold, copper, brass and mokume gane, so there is something to suit everyone's needs.
Stone setting is such an exciting part of jewellery making! If you're wondering how to add a gemstone onto your spinner ring, discover more step by step projects and advice pages to help you with your jewellery making journey.
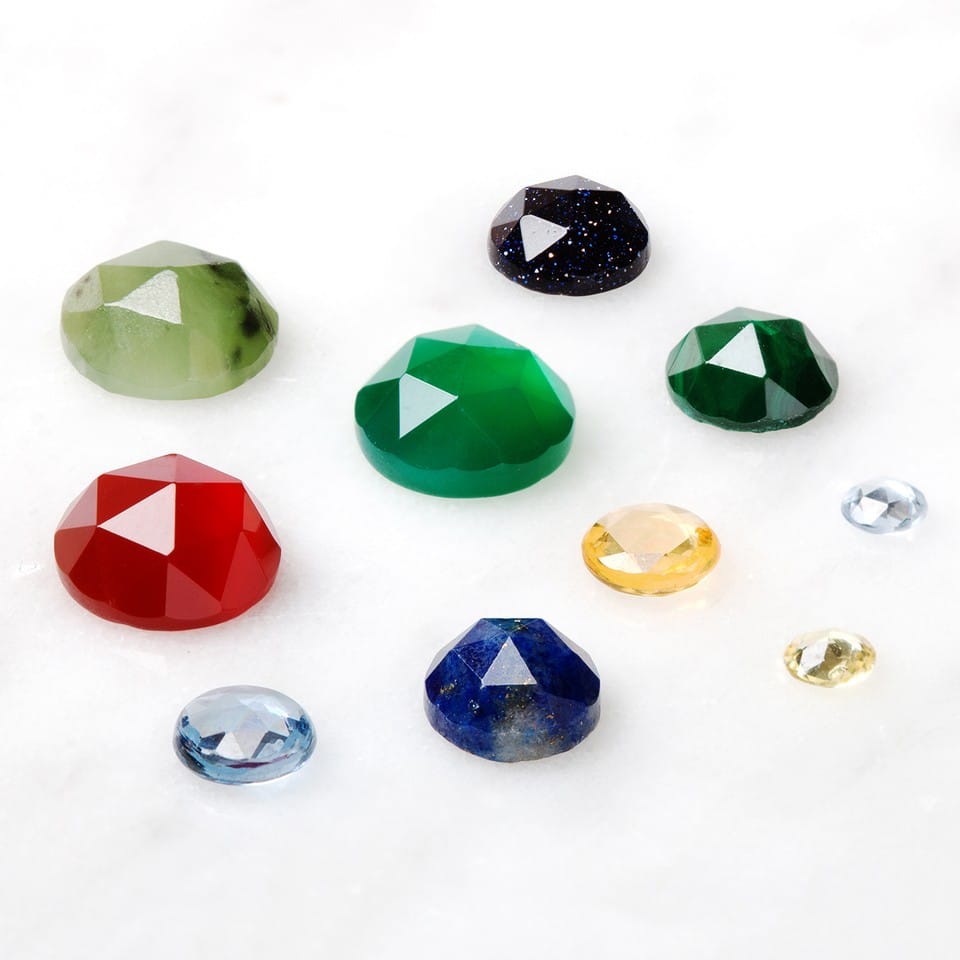
We stock over 800 high quality precious and semi precious gemstone cabochon and faceted stones and gemstone beads for jewellery making! We also have a large range of settings and findings to choose from.
Meet The Guest Tutor, Barbara From Silverpickle Jewellery & Her Workshop Assistant Albert!
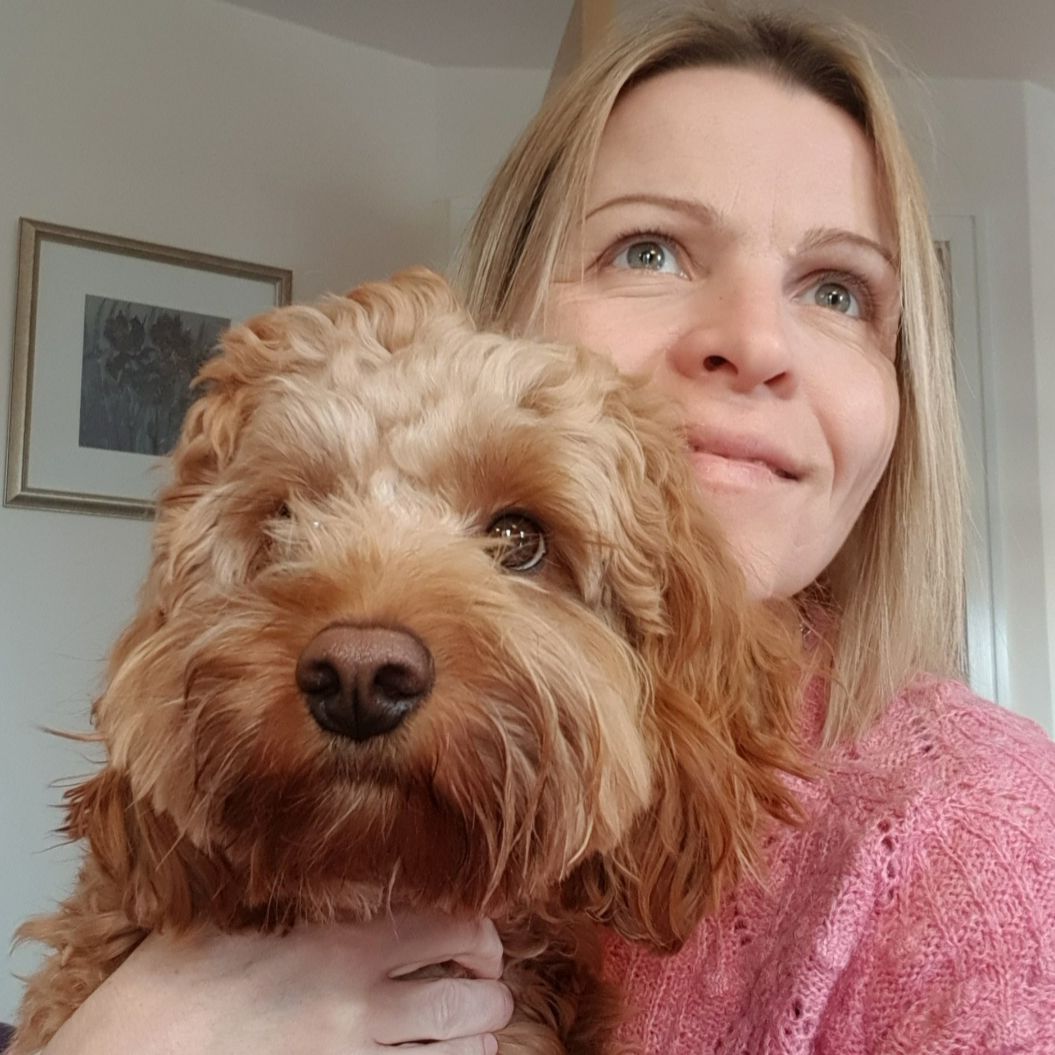
Barbara from Silverpickle Jewellery works from her home based workshop in South Queensferry, just outside Edinburgh, with her workshop assistant Albert. Silverpickle began as a much loved hobby, making pieces of jewellery that Barbara would wear herself, and has grown into a successful business selling the jewellery she loves around the world. As a self confessed heart addict, the heart shape plays an important role in her jewellery designs along with beautiful gemstones chosen from around the world. An important aspect of creating jewellery for Barbara has been minimising waste. Being conscious of its impact on the environment encouraged her to design a silver pebble range ensuring that every offcut and spec of silver dust was lovingly saved and recycled.