October: Reticulation Tutorials
Learn the art of reticulation!
During this month, Kim focused on the wonderful technique of reticulation.
What is reticulation?
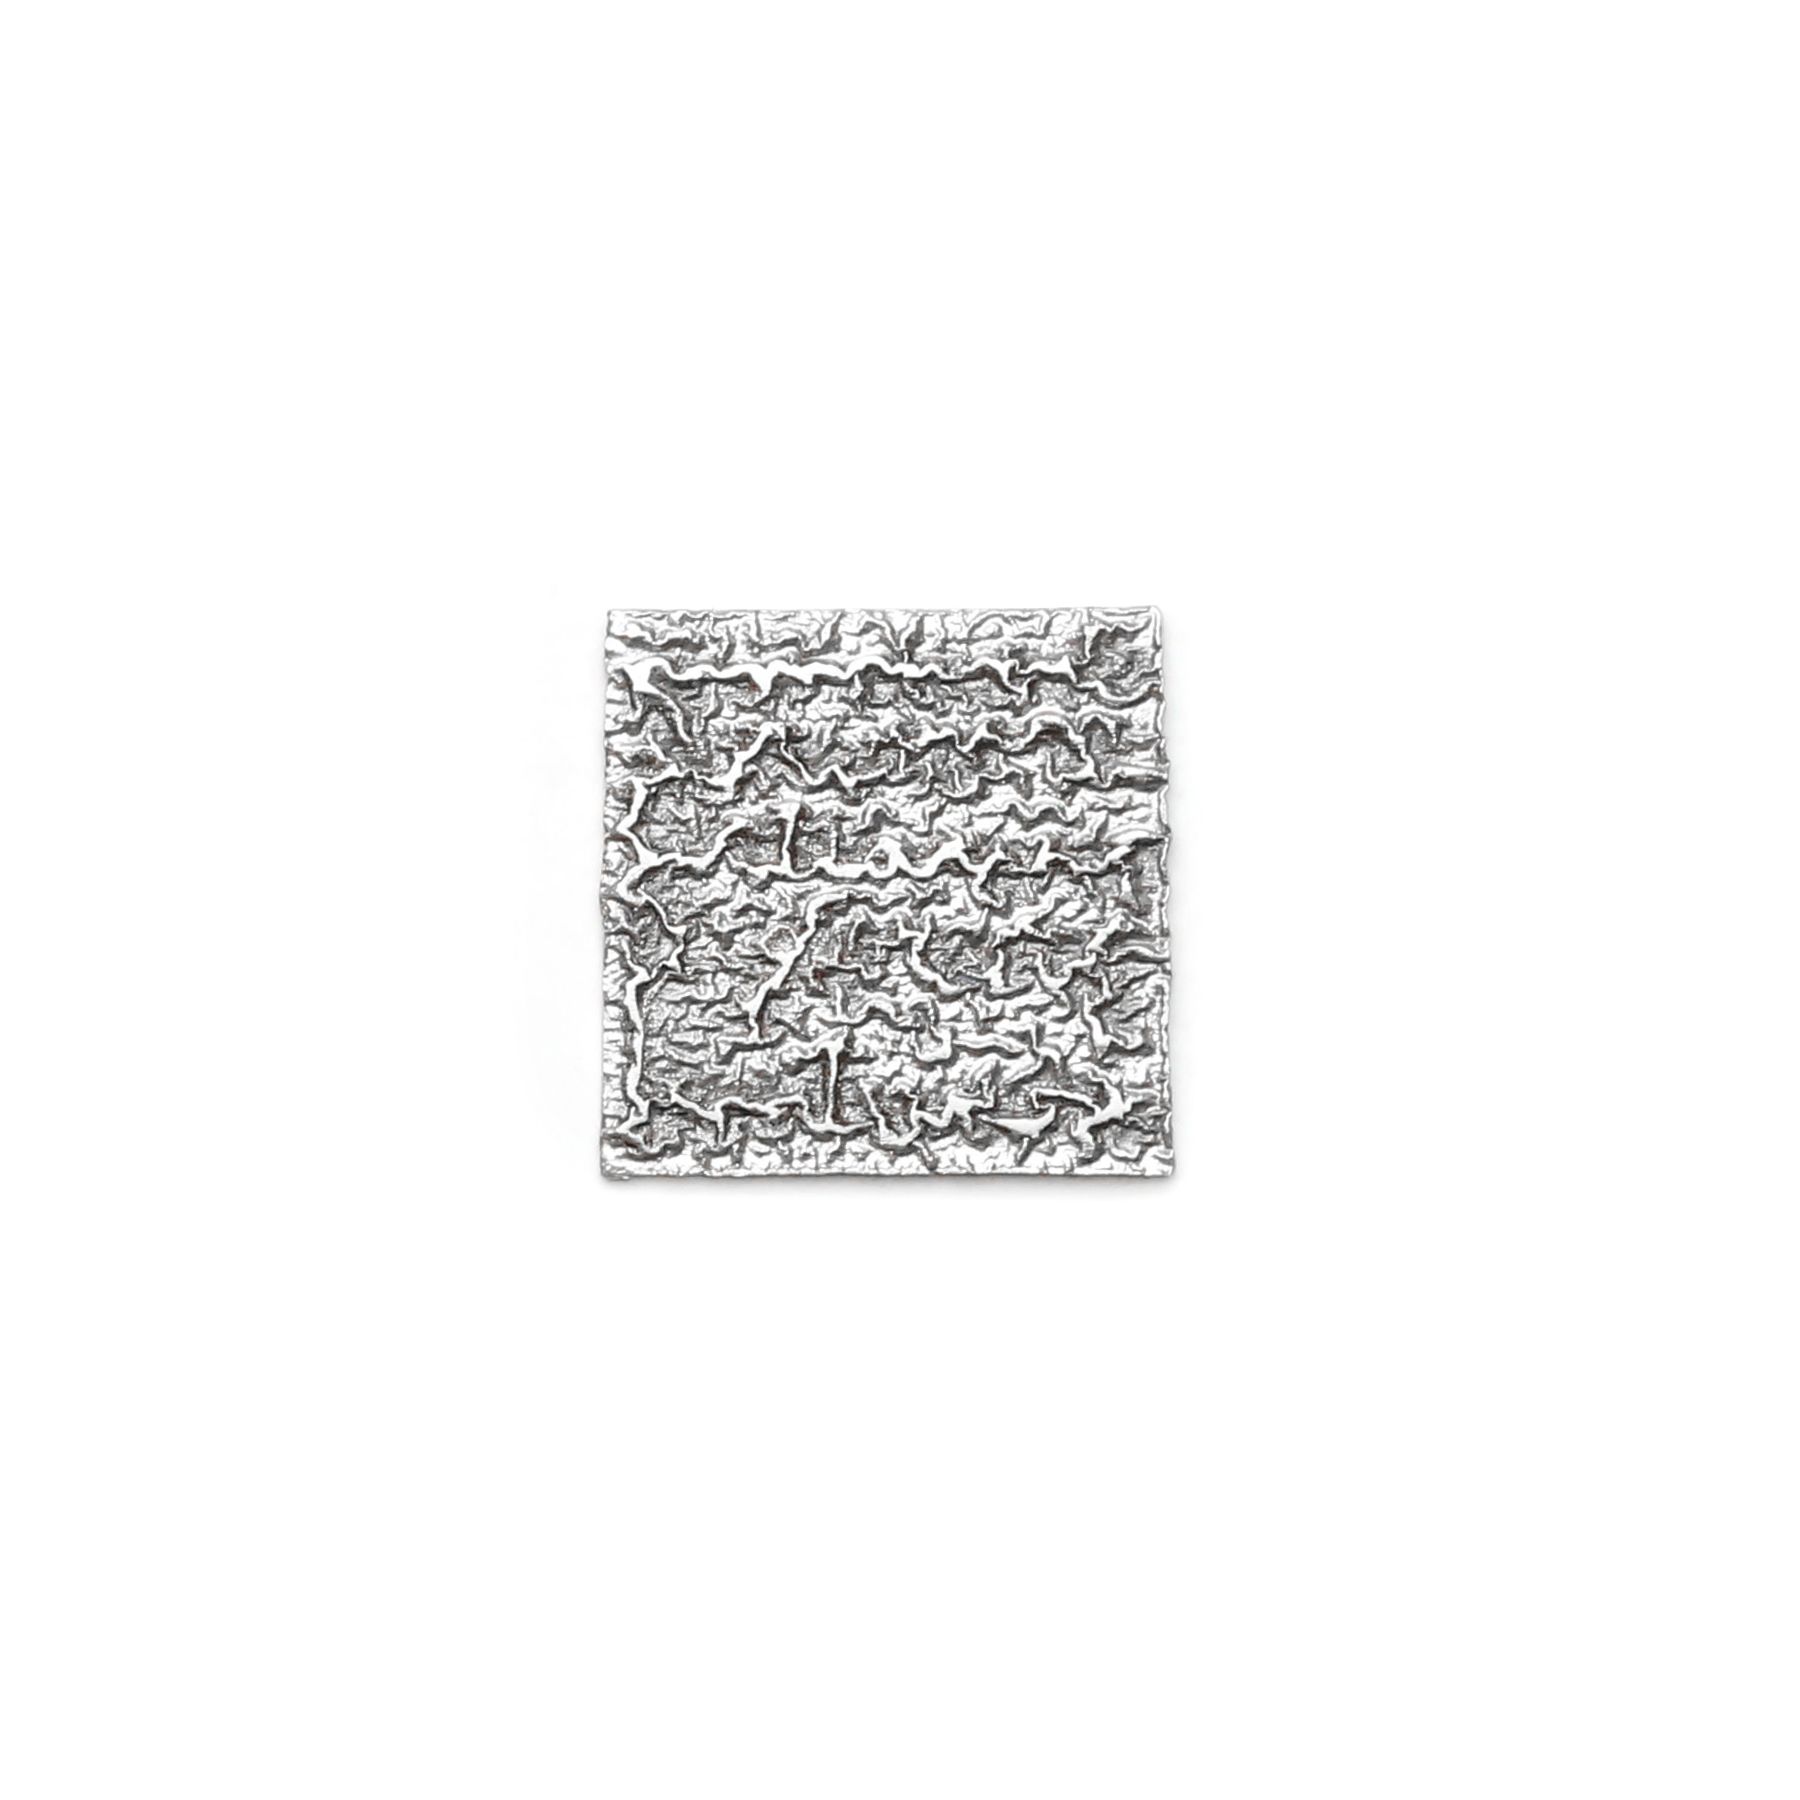
Reticulation is the process of achieving a textured surface on metal, consisting of ripples and ridges which are created through controlled heat.
The process is time consuming but a great project to get stuck into! It requires you to heat a piece of silver or gold numerous times in order to oxidise the copper to the surface. Each time you heat the piece, you need to pickle it to remove the oxide, brush with a brass brush and repeat the process up to 15 times.
Kim covers the following topics:
- How to reticulate silver
- Overview of reticulating base metals
- How to reticulate brass
- Review of crinkle metal sheet
- How to make a reticulated ring band
If you try any of the techniques featured in the series, please tag us in your designs - we would love to see and share! Find Kernowcraft & 'Make It With Kim' on Instagram and use the hashtags #12monthsofmetal & #Kernowcraft
Featured Tools & Supplies
- Soldering supplies
- Metal sheet
- Soldering block
- Go Systems Tech Torch
- Insulated reverse action tweezers
- Safety pickle
- Brass brush
- Crinkle metal sheet (no longer available with Kernowcraft)
- Ring bending pliers
- Faceted stone
- Liver of sulphur
How To Reticulate Silver
Kim shares a brilliant tutorial on how to reticulate silver, talking you through every step and all the tools you need to achieve this technique. Kim also shows you an example of reticulated copper!
Kim: "I'm using 0.5mm sterling silver from my scrap and off cuts pot but I normally prefer to do this with 1mm or thicker, as you can raise more texture and are less likely to melt it accidentally.
Many people who specialize in reticulation use 'reticulation silver' which has a much higher copper content (80% silver 20% copper) than sterling silver (92.5% silver 7.5% copper). The higher copper content creates much more defined textures but it can't be hallmarked. To separate the copper from the pure silver, you need to anneal (heat), cool and clean your silver about 10-15 times.
This is referred to as depletion gilding as it's depleting the copper content from the surface, leaving a fine silver layer behind. This results in fine silver with a copper core and during the final heat, the copper core melts before the other silver layer, creating an undulating texture as the metal melts and cools."
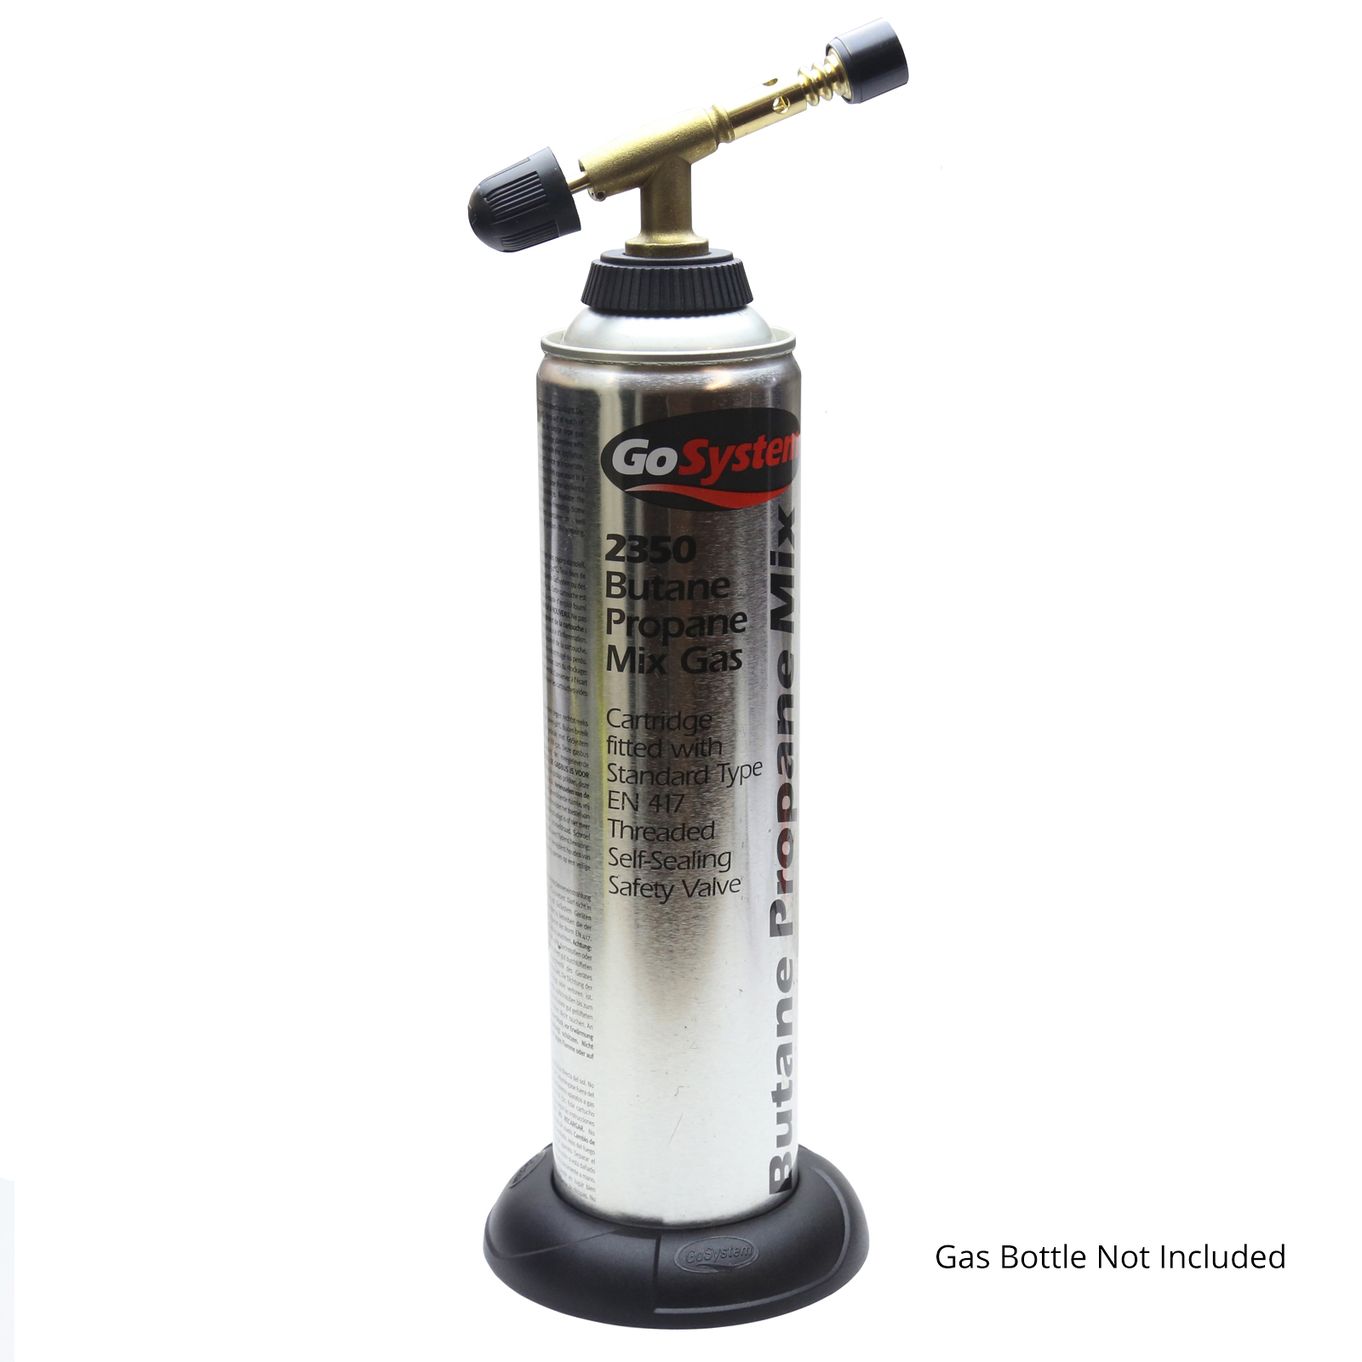
GoSystem Tech Torch
Recommended by Kim
"I love theGoSystem tech torch. I’ve used and taught with a huge range of torches over the years from professional setups like sievert to cheap crème brûlée kitchen torches but the GoSystem tech torch is still my first choice and the one I recommend to all my students.
"I’ve been using them for over 15 years as I feel they have the perfect flame to cope with larger pieces as well as offering good control for more delicate jobs. So it’s great for anyone looking to try Octobers #12monthsofmetal reticulation tutorials as has a big enough flame to get your metal up to temperature quickly but defined enough to let you control the areas you with to reticulate.
"I particularly like the fact the cans connect directly to the torch so no need to refill them and when they’re not in use, the cans are self-sealing so you can remove the nozzle and not worry about gas leaks."
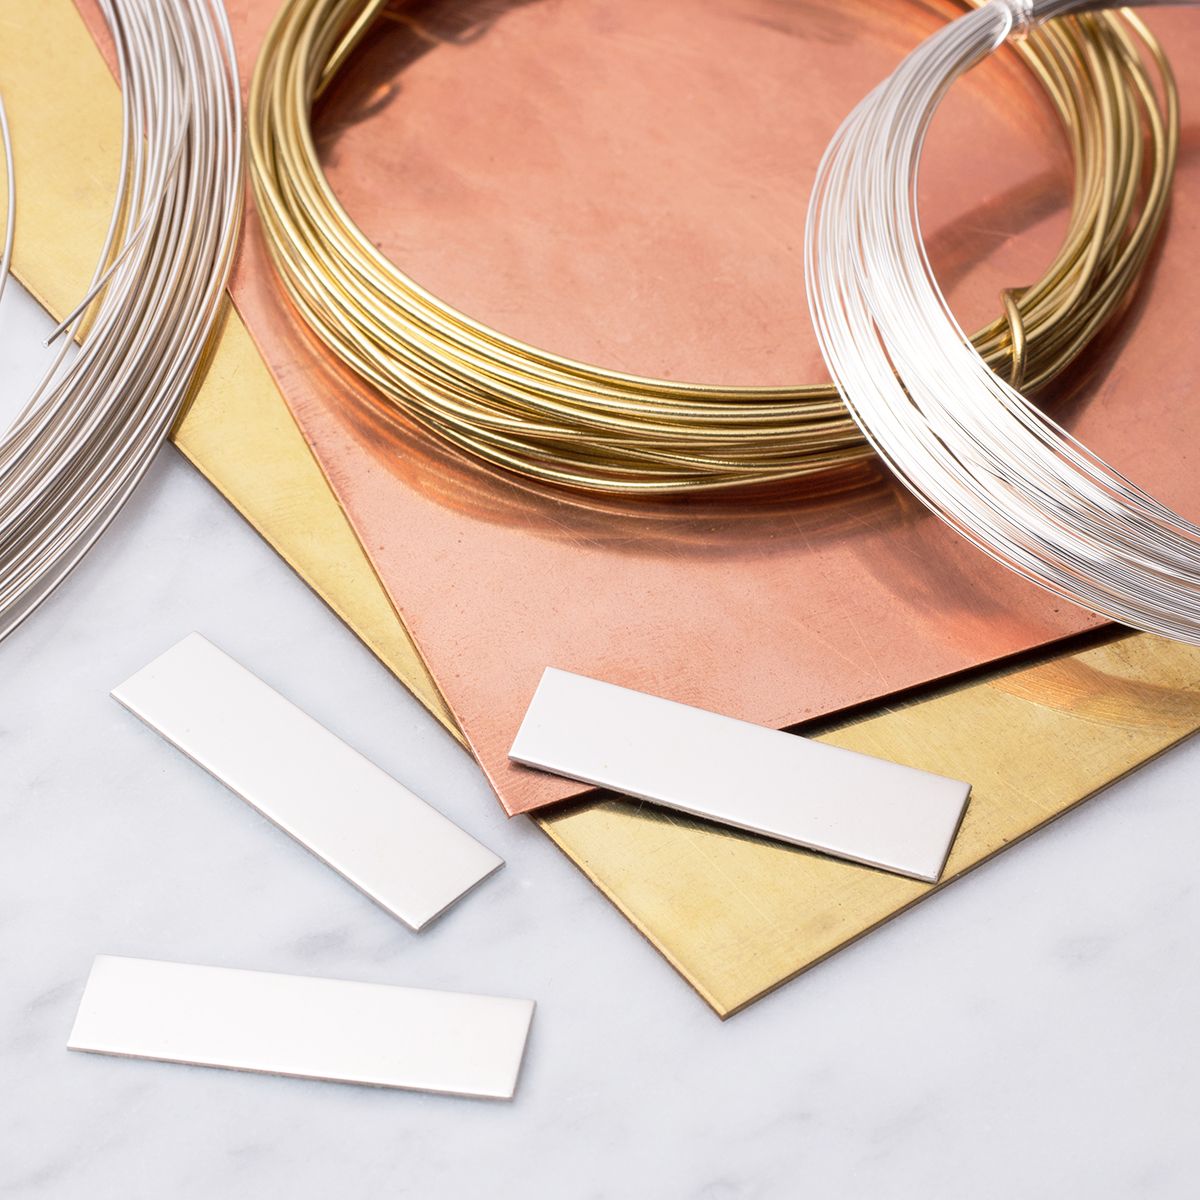
Metal Sheet
In Kim's tutorial, she uses sterling silver sheet to reticulate but also shows you an example using copper!
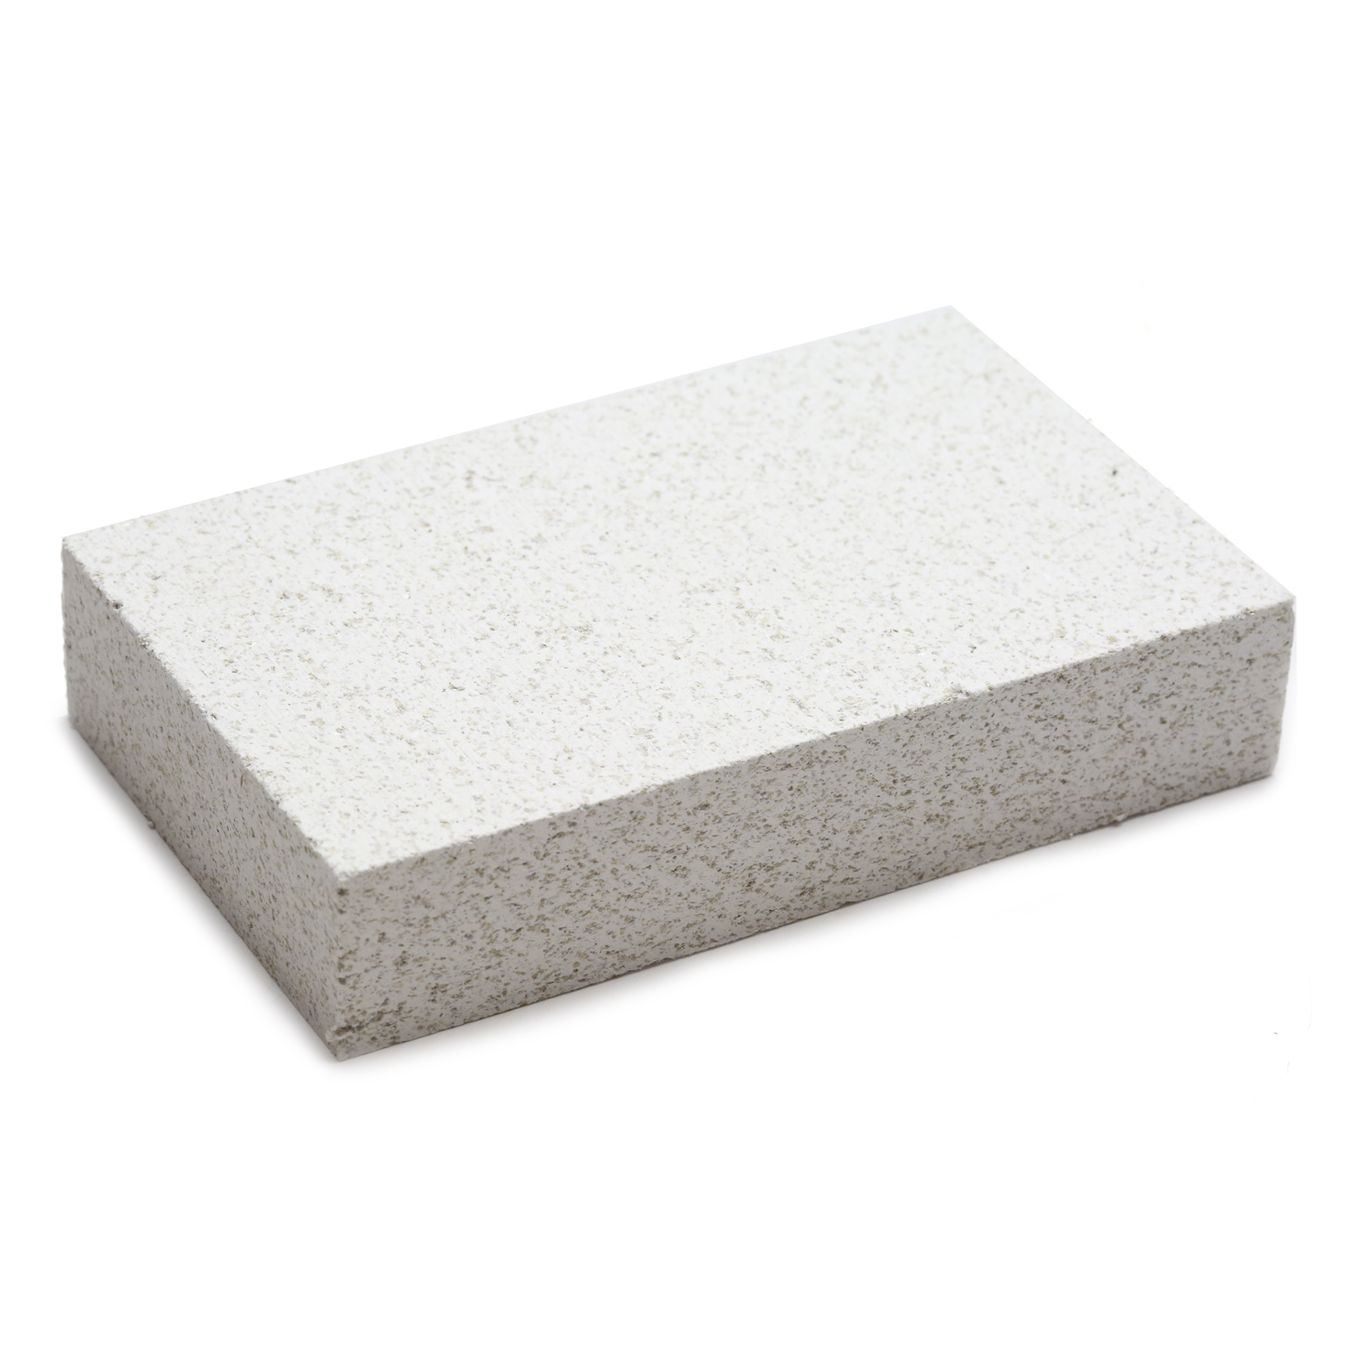
Soldering Block
It's important that you have a suitable area to heat your chosen metal. It's good quality, long lasting and provides a safe surface for heating - keeping the heat exactly where you want it.
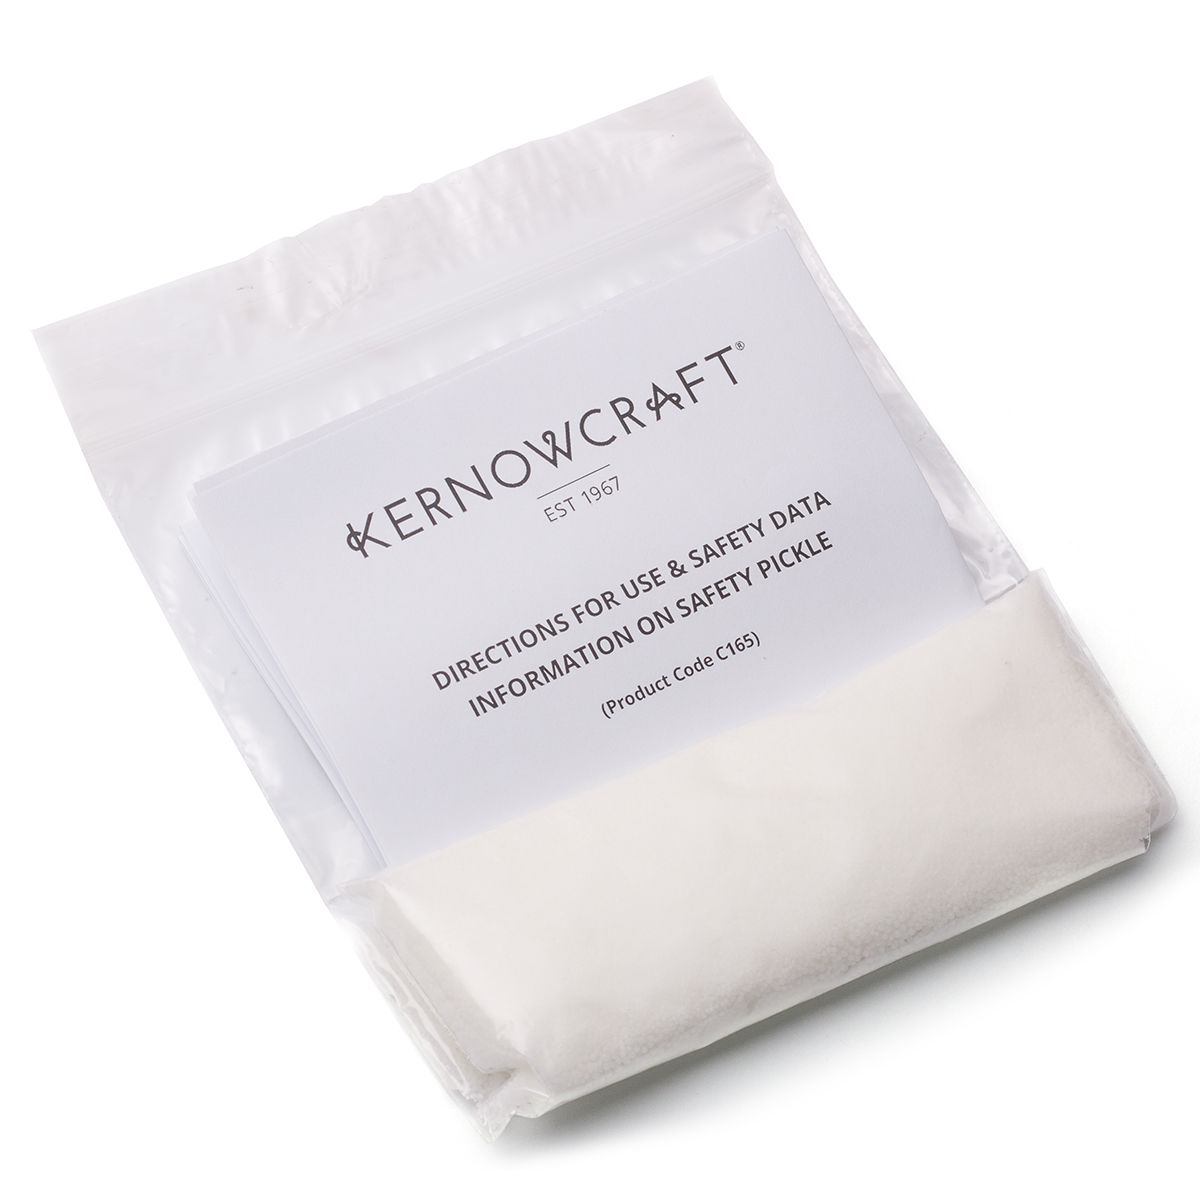
Safety Pickle
Safety pickle is an essential as it removes fire stain caused by the heat from the gas torch. When heating metal, impurities can rise to the surface and cause a dark stain. Simply mix 1 tablespoon of safety pickle with warm water in a covered glass or plastic container. By leaving your pieces in this solution for a few hours, the pieces should come out clean. You will need plastic tweezers for inserting and removing items from the pickle bath, to avoid a chemical reaction which can cause your silver or gold to become copper plated.
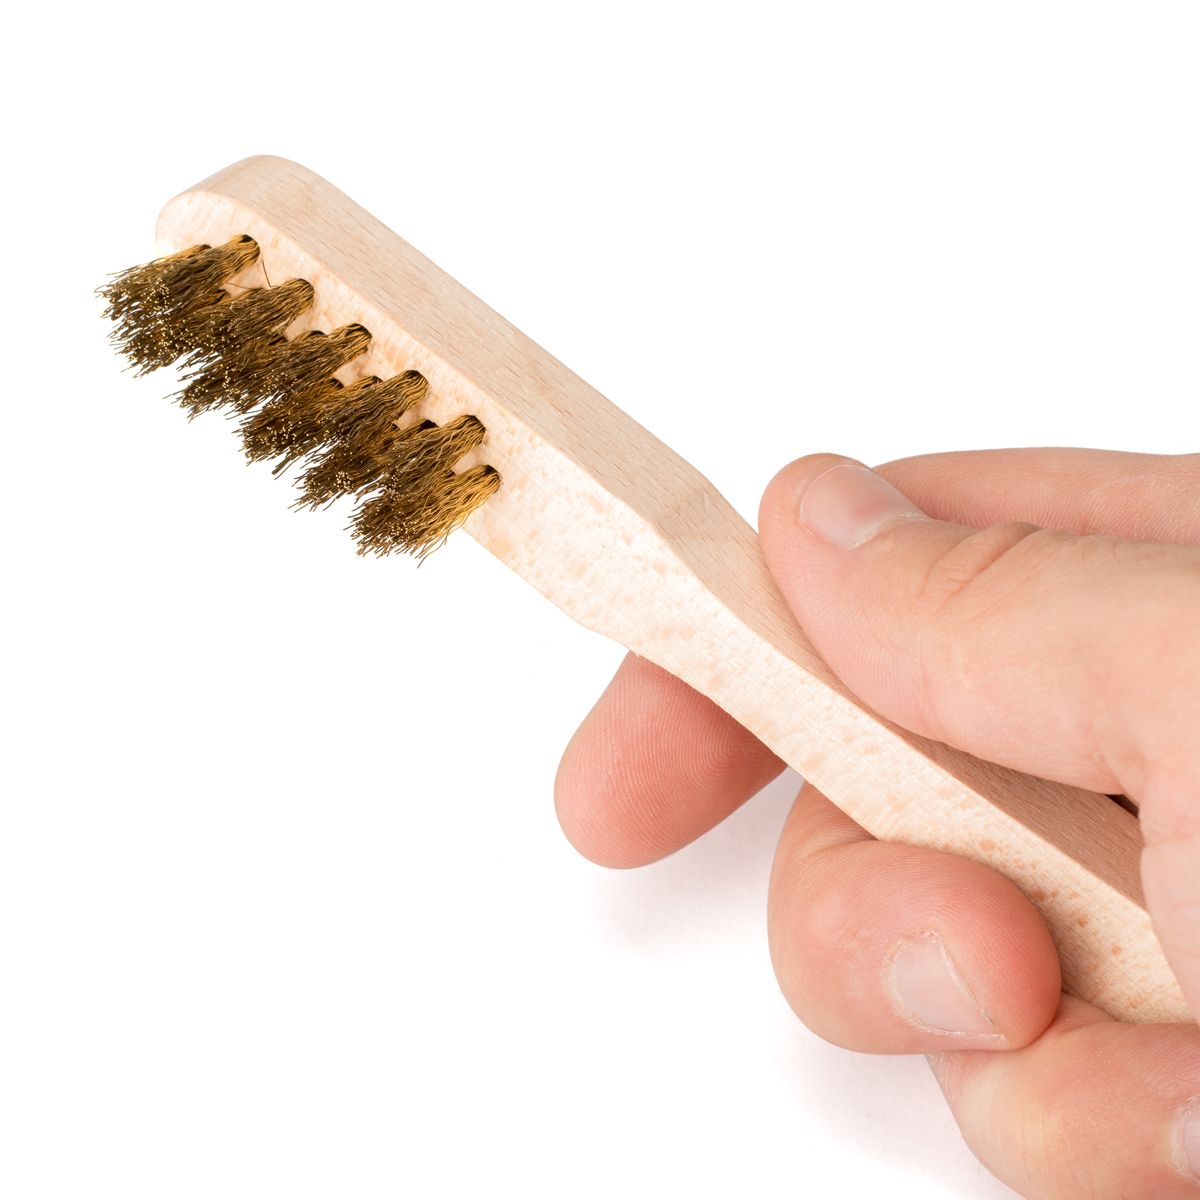
Brass Brush
A wet brass brush is used to scrub the annealed metal to remove any oxidised copper left on the surface. It needs to be wet to allow lubrication to avoid plating the silver with a layer of brass from the brush. A brass brush is also great for pre-polishing metal clay after firing and also achieving a 'brushed metal' or satin finish.
Reticulating Base Metals
Kim: "Reticulation is normally done with silver but it also works with brass and if you really bully it, copper. You need to prepare your metal the same way we prepared the silver in the previous #makeitmonth10 videos by annealing, cooling and cleaning it 10 - 15 times. Then you're ready to heat it to a higher temperature until you see the metal start to shimmer and crinkle. I'm starting with a piece of 0.5mm brass and then I'll show you some 0.5mm and 1.2mm copper."
Kim Reviews Kernowcraft's Crinkle Metal Sheet
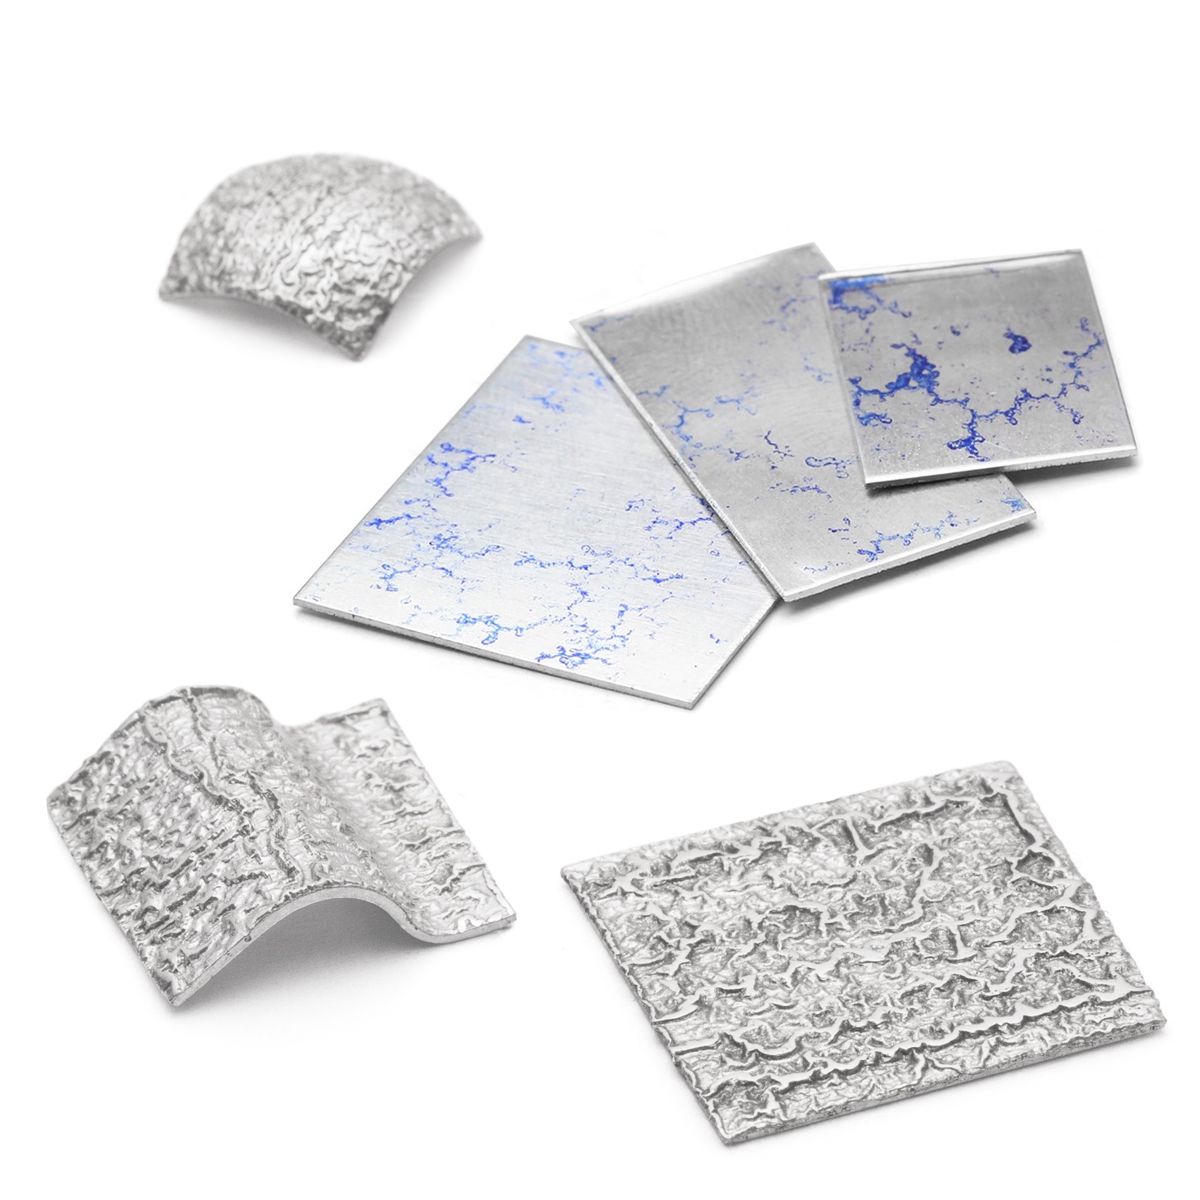
Kim - "Next up we have some silver crinkle sheet that Kernowcraft kindly sent me to try out as I've never used it before. As I mentioned in the earlier videos, reticulation is often done with 'reticulation silver'. 'Reticulation silver' is an alloy of 80% fine silver and 20% copper. The higher copper content means you are able to create a more dramatic reticulation texture compared to sterling silver which is 92.5% pure silver and 7.5% copper. The problem with 'reticulation silver' is because it has a higher copper content, you're not able to have it hallmarked as silver so if your piece of jewellery is over 7.8g you wouldn't legally be able to sell or advertise it as silver.
"The silver crinkle sheet Kernowcraft is made of 'reticulation silver' BUT they bond an additional layer of fine silver on the top so you have the benefit of the more defined reticulation but the over all alloy is pure enough to be hallmarked! The crinkle sheet is also pre-prepared so you don't need to do the multiple annealings like we've had to do with all the other metals. You can also shape the crinkle sheet before reticulating and it will hold its shape. If you pre shape the other metals, they will often collapse during the reticulation process so you need to reticulate them flat or build some sort of heat proof support to help them hold their shape. Reticulated metal can be brittle and hard to shape afterwards so being able to shape before hand is very useful. The down side of the crinkle sheet? It's much more expensive compared to sterling or standard reticulation silver. But, time is money and the texture is much easier to control and more uniform plus the benefit of being able to pre shape so depending on what you're doing it could be worth the extra cost."
Save Time With Crinkle Metal Sheet
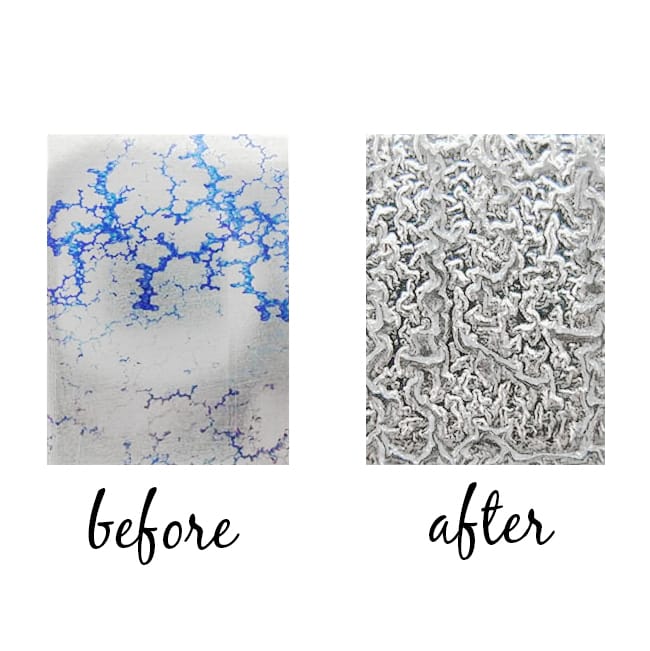
As you saw from Kim's tutorial above, achieving reticulation is a time consuming job - having to heat and quench the metal repeatedly. With crinkle metal sheet, all you need to do is use a gas torch is bring it up to temperature to create the lovely crinkled texture straight away.
The metal can be formed before bringing out the texture, holding its shape perfectly. If you're not quite happy with the textured areas, you can overheat the metal which will cause the alloy to flow freely on the surface of the fine silver where it can be stirred with a soldering poker or brush to create your desired effect.
Please note that we no longer stock crinkle metal sheet
Kim & Suze chat about their experience with reticulation
Kim: "Suze loves reticulation. She's made a few sterling silver pieces now and she's managed to get some great, deep textures so she's been helping me film as we try out reticulation on brass, copper and silver crinkle sheet from Kernowcraft. How easy is it to add gemstones to reticulated metal? The crinkley, undulating textures of reticulation means soldering things onto it can be tricky. Reticulated metal can also be more porous so you may need more solder than normal."
Project: How To Make A Reticulated Ring Band
Kim shows you how she create a reticulated wrapped ring band with a gemstone in the centre.
Kim: "I've decided to make a reticulated, wrapped ring band... Cotter split pins have been used to hold my pieces in place while soldering. Some cotter split Pins are zinc plated which some people would not use as when zinc is heated, it can form toxic zinc oxide fumes. It has been known to cause flu like symptoms in welders and similar large heating applications. It is generally accepted due to the size of the pins it should not be an issue, especially if you are working in a ventilated area but if you are concerned you can buy stainless steel pins. You can also buy aluminium pins but I wouldn’t advise these due to the low melting temperature of aluminium. All of these cotter split pins are available from hardware stores and online."
How To Create A Patina
With the gorgeous ripples and texture on the metal, this is a great opportunity to make it really pop with a patina.
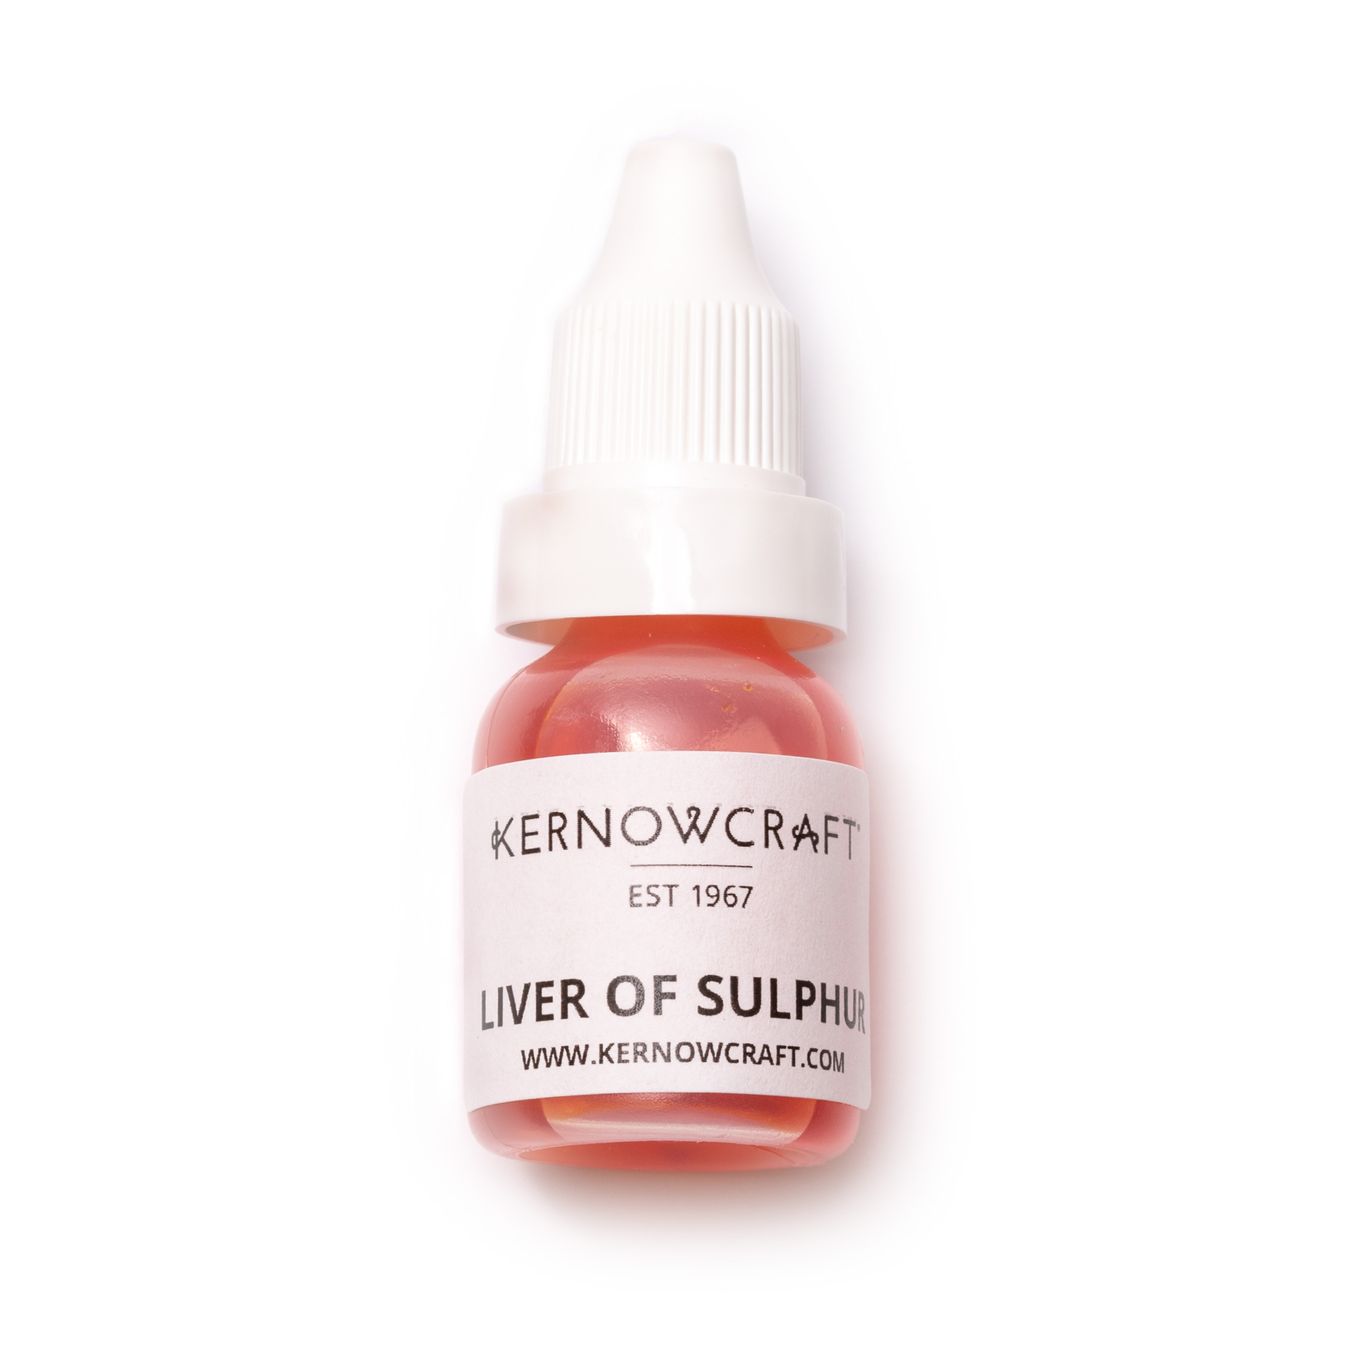
Liver of sulphur is our recommended product to achieve an antiqued, black or iridescent coloured patina. Colours can range and just like reticulation, you never really know what you're going to get!
Watch More From The 12 Months Of Metal Series
- 12 Months Of Metal: Basic Cutting & Texturing Metal For Jewellery Making
- 12 Months Of Metal: Sawing Metal For Jewellery Making
- 12 Months Of Metal: Forming Metal
- 12 Months Of Metal: Soldering For Jewellery Making
- 12 Months Of Metal: Cabochon Setting Tutorials
- 12 Months Of Metal: How To Use A Rolling Mill
- 12 Months Of Metal: Riveting & Cold Connections For Jewellery Making
- 12 Months Of Metal: Metal Etching
- 12 Months Of Metal: Claw Setting Tutorials
- 12 Months Of Metal: Reticulation
- 12 Months Of Metal: Hollow Jewellery Tutorials
- 12 Months Of Metal: Casting & Granulation For Jewellery Making
- Larkman's Legacy & Kim's Trip To Geevor Tin Mine, Cornwall