November: Hollow Jewellery Tutorials
Learn all about hollow forms
Kim shares even more fantastic jewellery making tutorials, with this month focusing on hollow forms and creating large, statement jewellery pieces without the weight of a solid form.
In the videos below, Kim covers what tools and techniques are needed as well as step by step instructions on how to achieve each design - from a hollow metal bead, adding 3D elements to making a shadow pendant.
You will be able to purchase most of the tools and supplies needed, right here online with Kernowcraft!
Kim covers the following topics:
- How to make a hollow metal bead
- How to add 3D hollow elements to your designs
- How to make a shadow gemstone pendant
If you try any of the techniques featured in the series, please tag us in your designs - we would love to see and share! Find Kernowcraft & 'Make It With Kim' on Instagram and use the hashtags #12monthsofmetal & #Kernowcraft
Project: How To Make A Hollow Metal Bead
Kim shows you how to make a simple hollow bead, using 0.5mm brass sheet and silver
How To Add 3D Hollow Elements To Your Jewellery Designs
This video tutorial shows you how to use press formed metal to create 3D hollow forms.
Kim - "You can construct them by hand like the pendant we made in the last video or you can use press forming or 'pressings' as a way to add 3D, hollow elements. Pressings are flat sheet metal that has been pressed into a shaped mold or 'die'.
You've probably seen me hammer solid wire and metal balls into my wire dies and shot plates but you can also press flat sheet into similar dies to create hollow forms. These little pressings are from Charlie Rosser at Wild Strawberry Seeds. You can find the Wild Strawberry Seeds page on Facebook if you'd like to look at whats she's been up to and all the little solderable accents she's made so far."
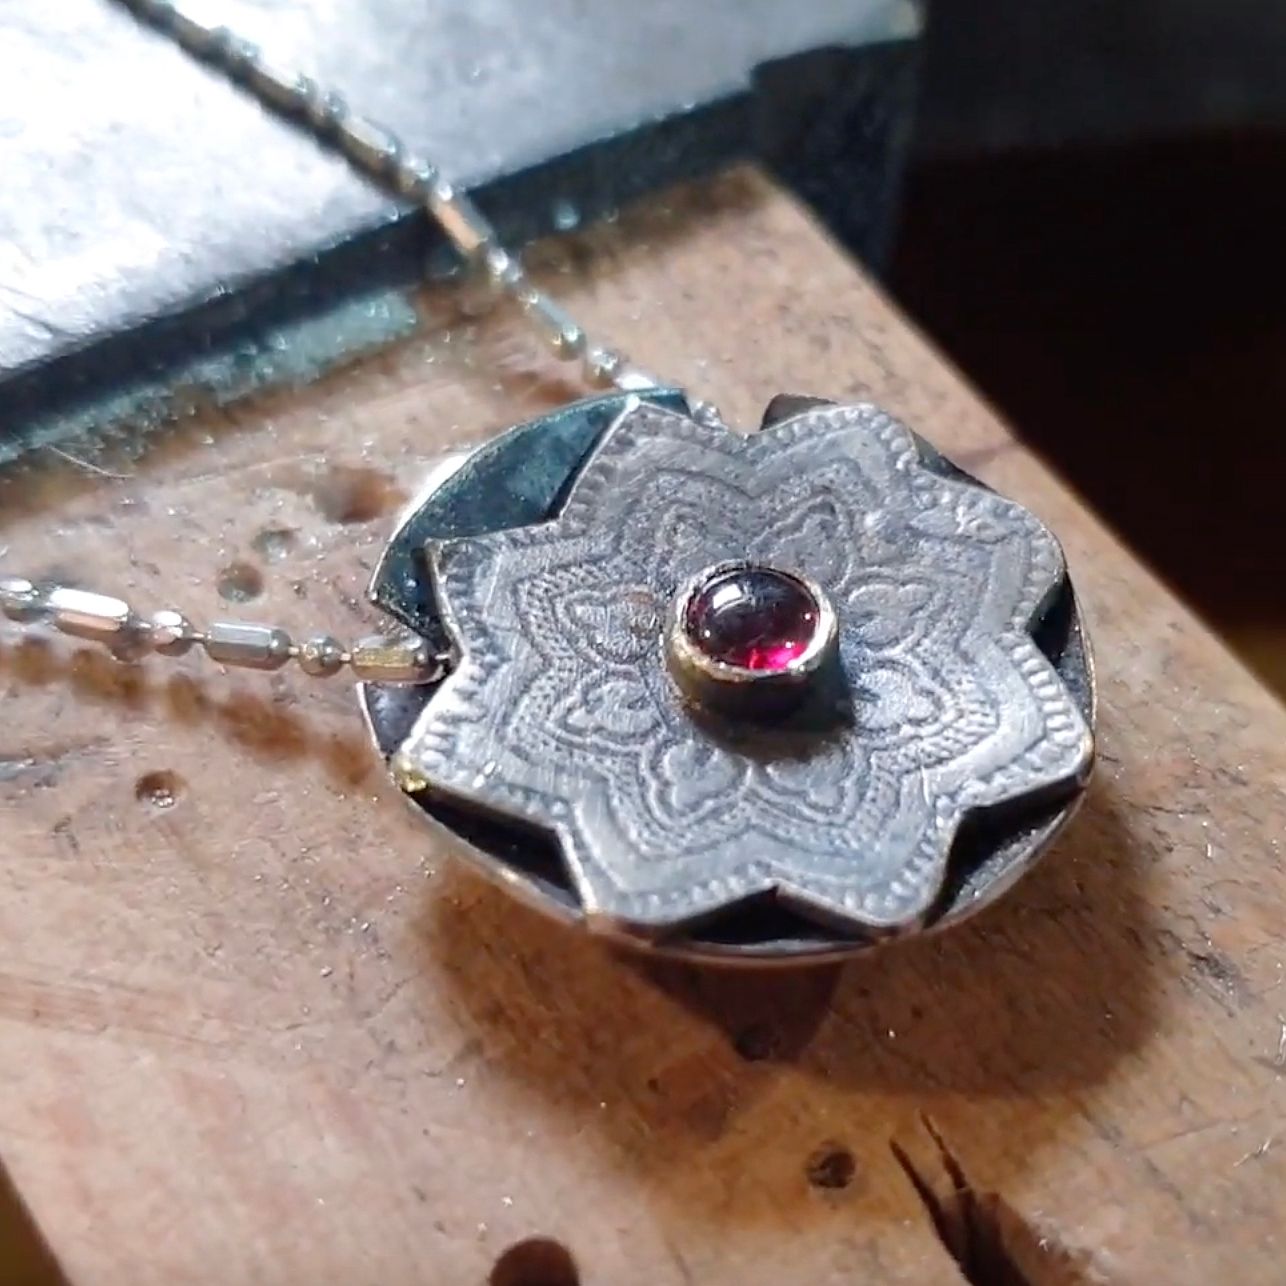
Project: How To Make A Shadow Pendant
Kim found a little silver dome in her scrap pot, so decided to have a play and see how she could create an interesting hollow design and turn it into a shadow box featuring a garnet stone.
Kim also shows you how to use solder paste - which is much quicker and easier to use than traditional solder. As you can see from the video, the paste stays where you want it to! There is no need for extra flux as it is already mixed in with the paste - perfect for those quick soldering jobs.
To achieve a patina, Kim uses liver of sulphur and applies it to her design using wire wool. This is such a popular product for adding an antique, black or coloured patina to your work - adding depth and texture.

Solder Paste
This solder paste is one of our best sellers as it's quicker and easier to use than traditional solder. The paste stays where you want it to, making it very simple to use and there is no need for extra flux as it is already mixed in with the paste. Ideal for those quick single soldering jobs.
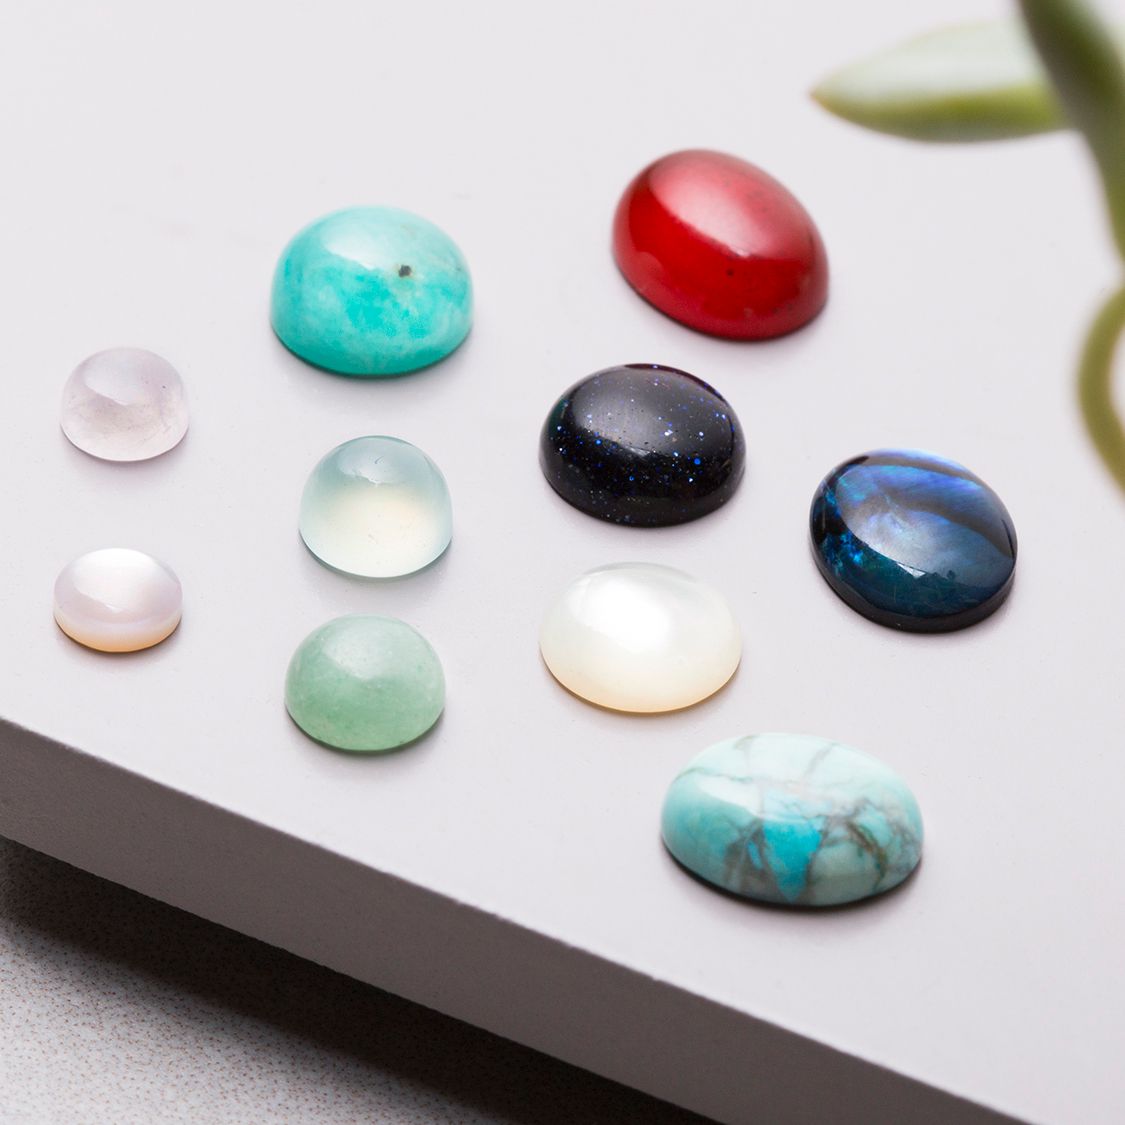
Gemstone Cabochons
Kim uses one of our gorgeous garnet cabochons during this month! These cabochons range from a deep, red wine colour to rich plum tones. Available in a range of shapes and sizes to suit your designs.
Watch More From The 12 Months Of Metal Series
- 12 Months Of Metal: Basic Cutting & Texturing Metal For Jewellery Making
- 12 Months Of Metal: Sawing Metal For Jewellery Making
- 12 Months Of Metal: Forming Metal
- 12 Months Of Metal: Soldering For Jewellery Making
- 12 Months Of Metal: Cabochon Setting Tutorials
- 12 Months Of Metal: How To Use A Rolling Mill
- 12 Months Of Metal: Riveting & Cold Connections For Jewellery Making
- 12 Months Of Metal: Metal Etching
- 12 Months Of Metal: Claw Setting Tutorials
- 12 Months Of Metal: Reticulation
- 12 Months Of Metal: Hollow Jewellery Tutorials
- 12 Months Of Metal: Casting & Granulation For Jewellery Making
- Larkman's Legacy & Kim's Trip To Geevor Tin Mine, Cornwall