


Welcome to the very first month of Kim's 12 Months Of Metal series!
We've teamed up with Kim to share with you an overview of all the top tips and tutorials she has shared over on her Instagram during January, focusing on basic cutting and texturing.
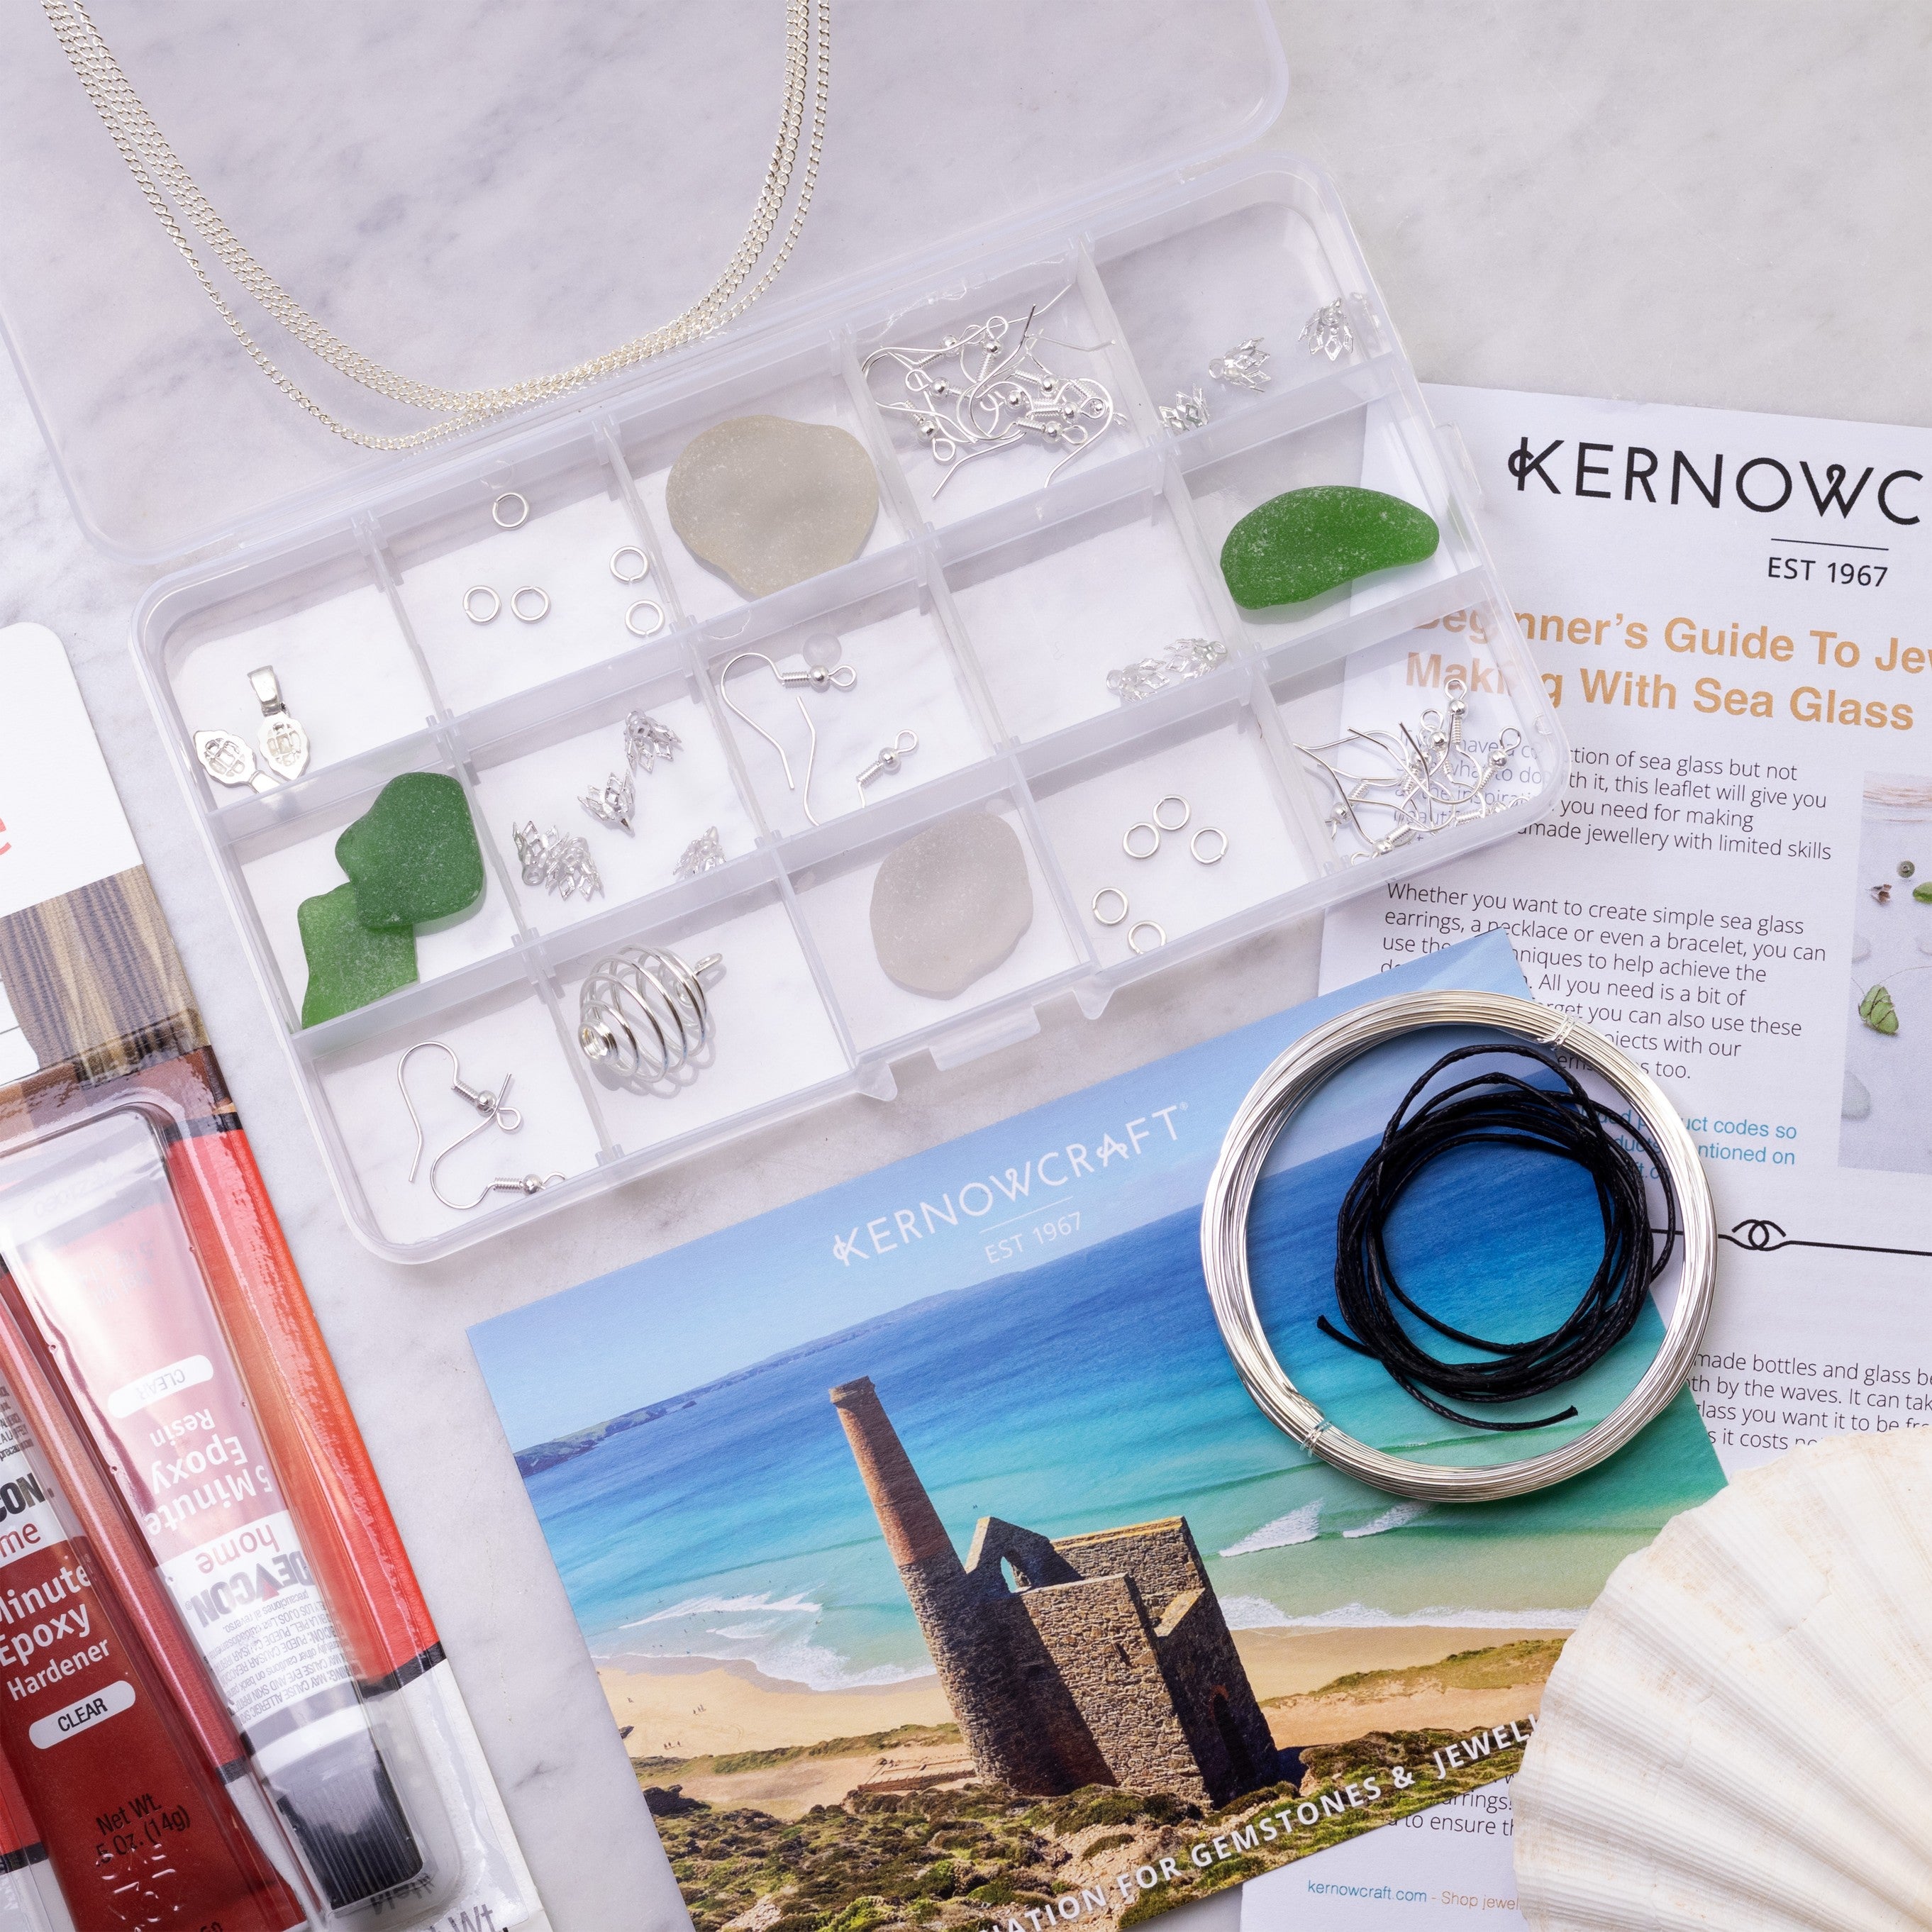
In this blog post, you will find all the tools and supplies you need to join in with the challenge.
Kim covers the following topics:
- Types of metal and thicknesses available
- Different ways to draw a line or design on metal
- Different types of metal shears available
- How to file effectively and safely
- How to polish metal with hand tools
- How to use wet and dry papers
- How to create textures with jewellery hammers
- How to use a rawhide mallet & how to condition them
- How to drill a hole in metal with hand tools
- How to make earwires
If you try any of the techniques featured in the series, please tag us in your designs - we would love to see and share! Find Kernowcraft & 'Make It With Kim' on Instagram and use the hashtags #12monthsofmetal & #Kernowcraft
Featured Tools & Supplies
Part 1: Drawing & Cutting Metal For Jewellery Making
In part 1 of Kim's 12 Months Of Metal, Kim explains the various metals you can choose for your jewellery designs. Throughout the project, Kim uses 0.5mm copper sheet to create basic textured earrings. The video also shows how easy it is to score a line or design onto metal sheet using a scriber with the help of some masking tape. Watch to find out more about cutting metal with shears, using a rawhide mallet as well as basic safety advice such as always wearing eye protection!
Shop metal sheet & wire
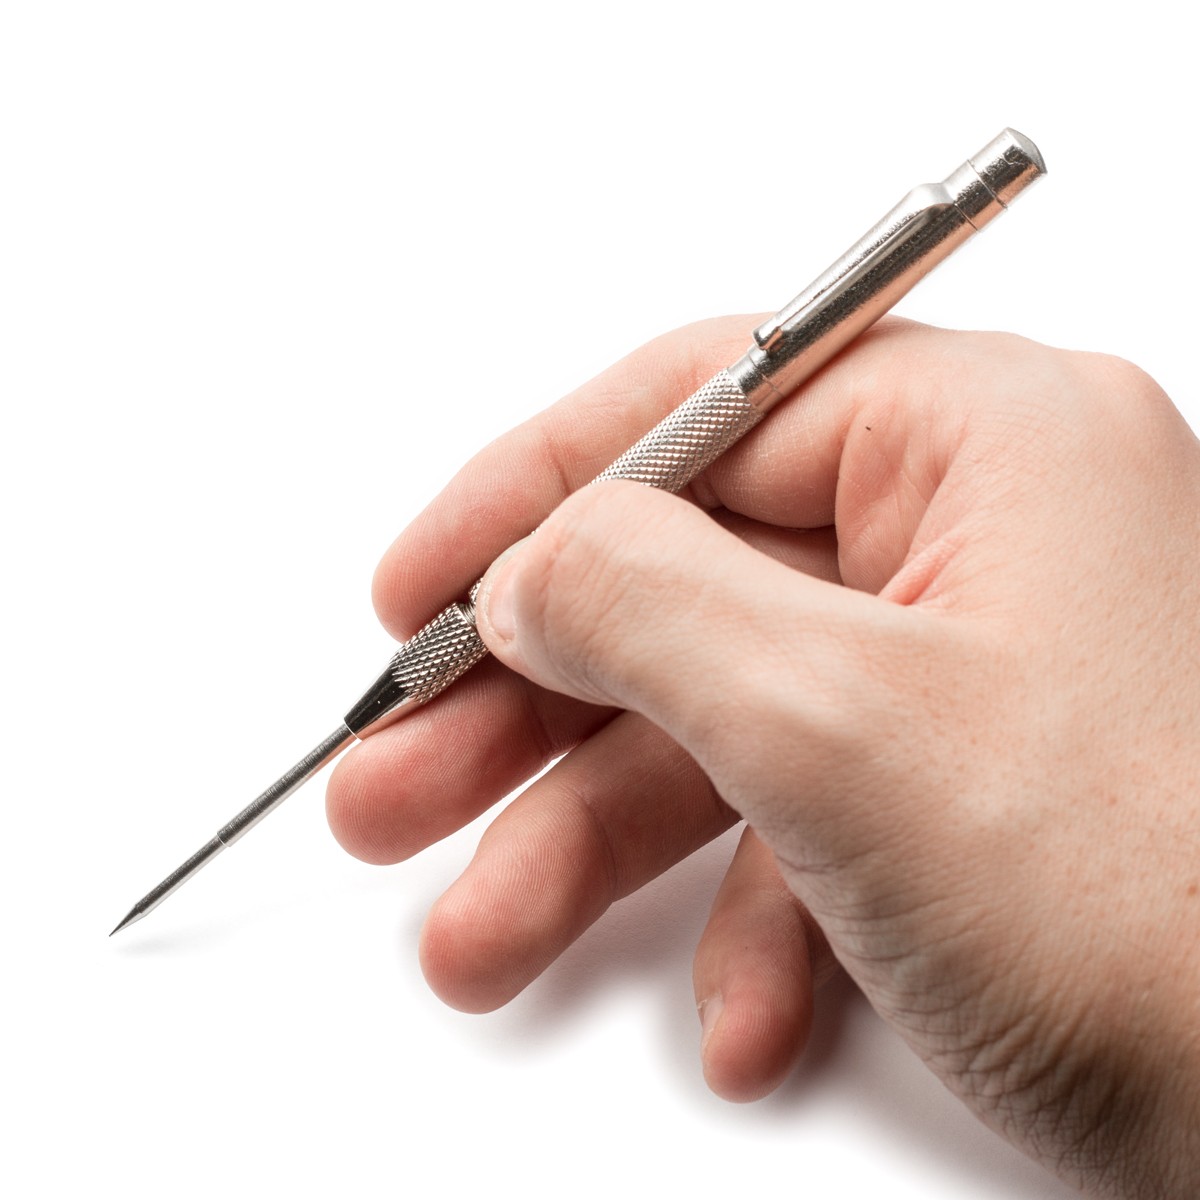
Scriber
A scriber is a brilliant tool for jewellers to score marks and draw designs onto metal sheet. This is much better than pen and pencil marks which can wear away as you grip your work.
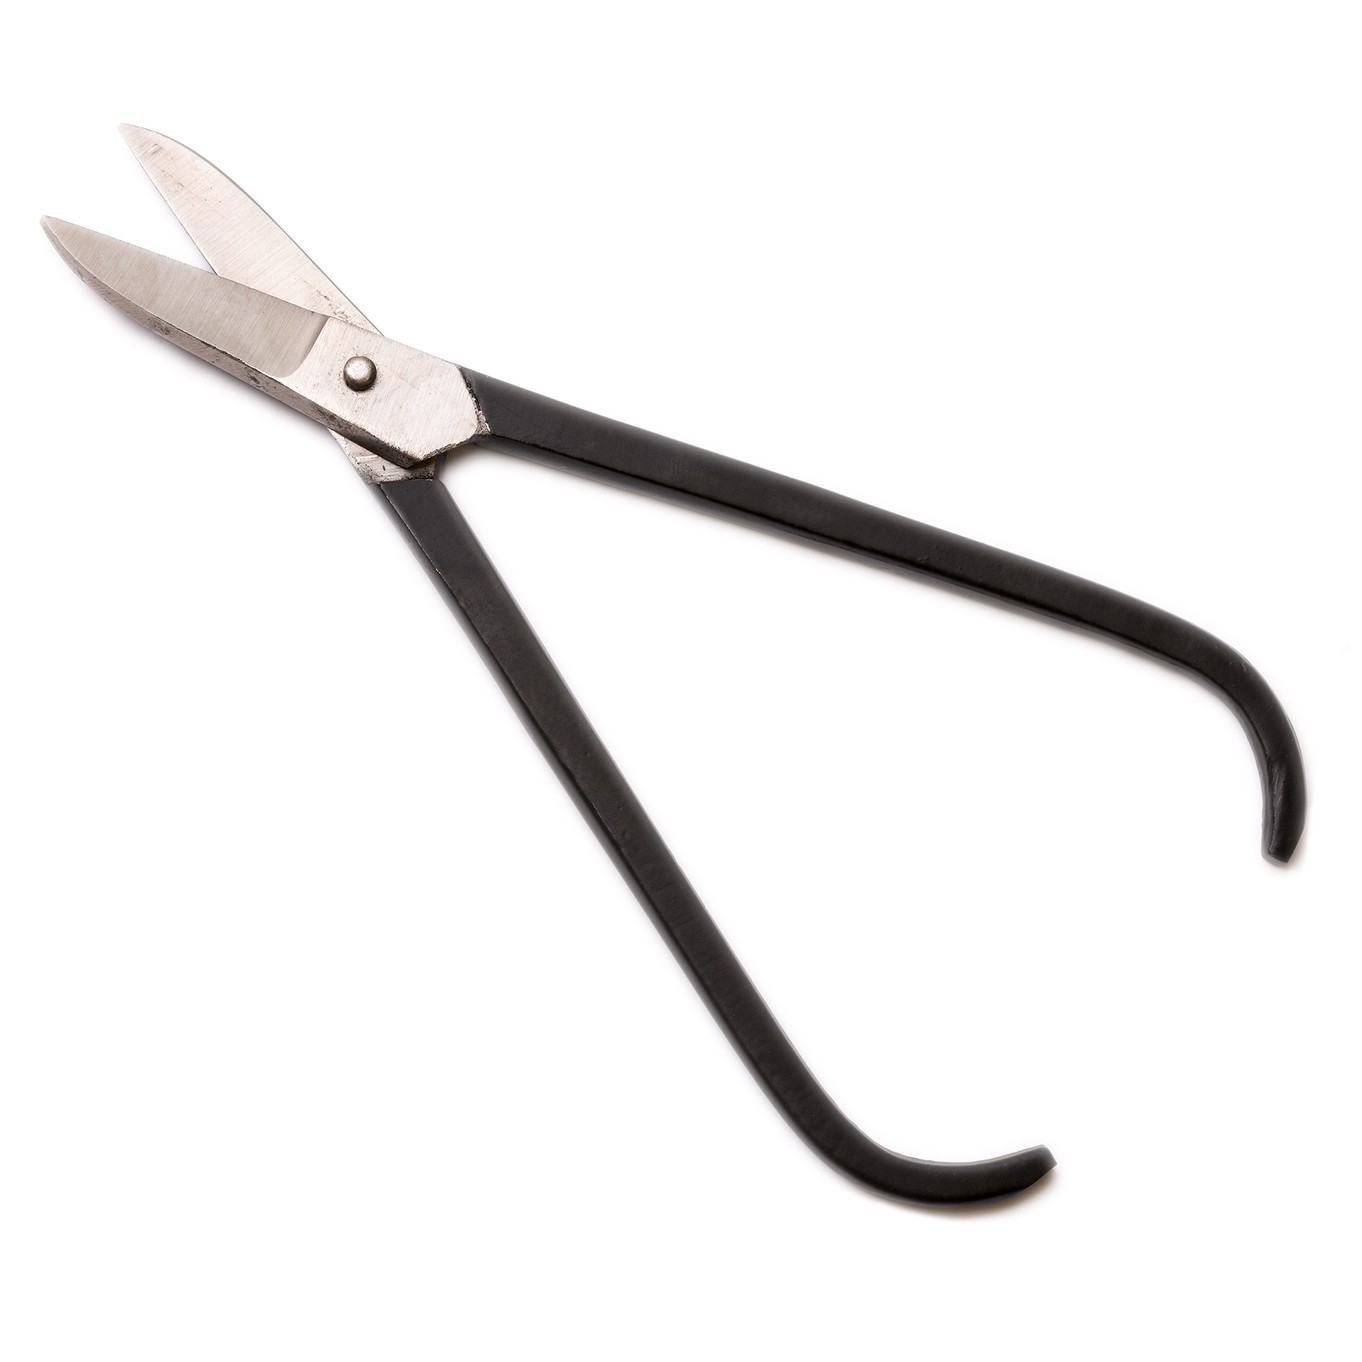
Metal Cutters
At Kernowcraft, we offer straight metal cutters also known as tin snips or shears. They are made from hardened steel and are great for cutting sheet, wire and 'pallions' from solder strip.
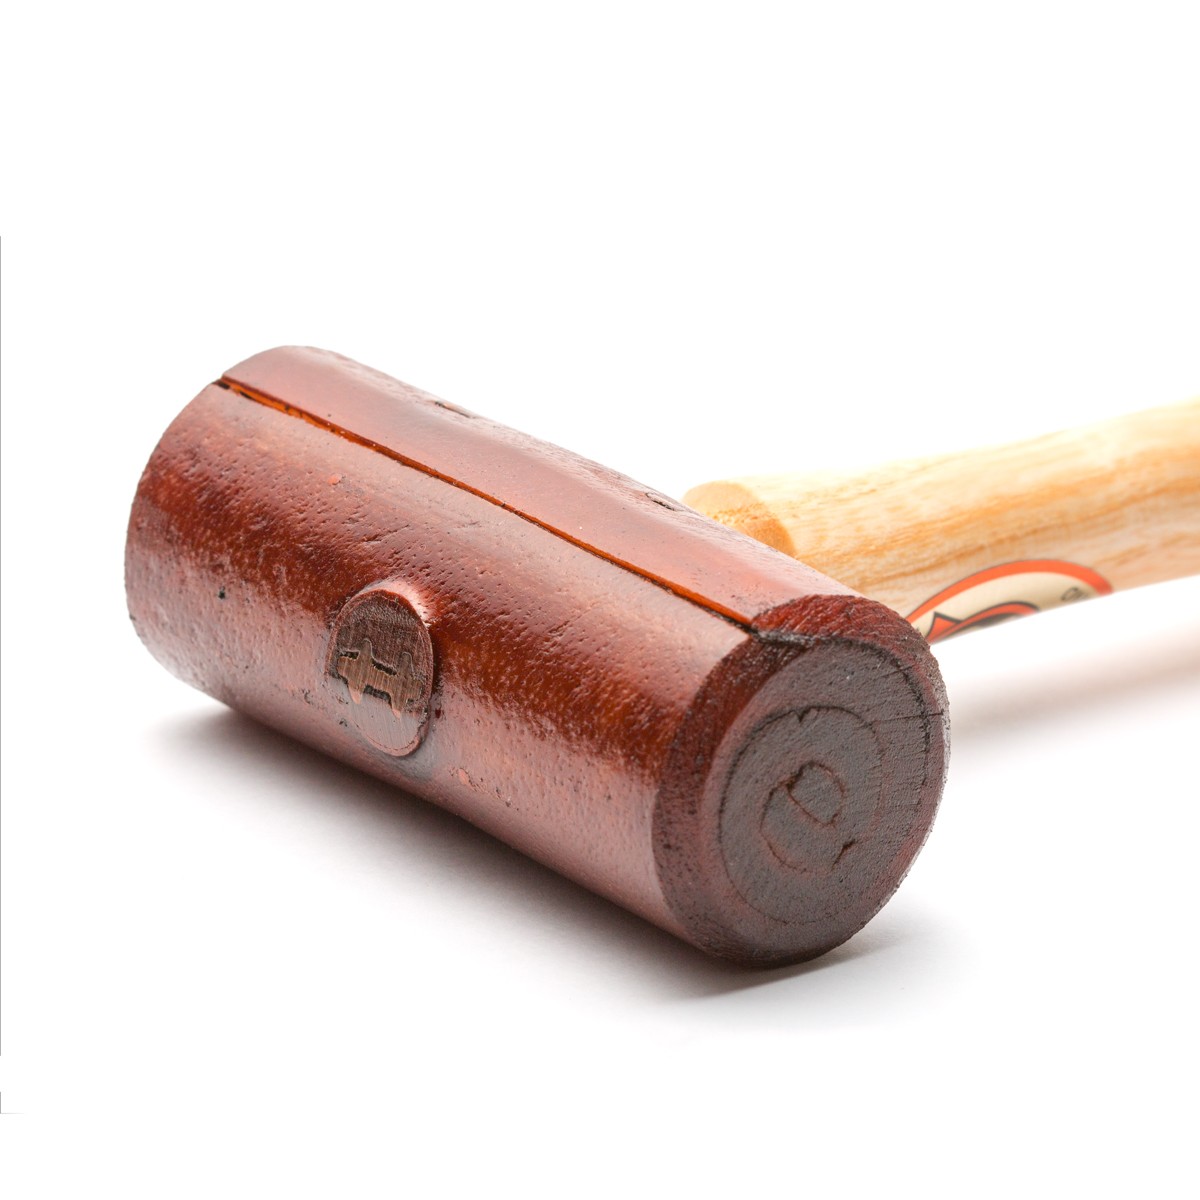
Rawhide Mallet
Use a rawhide mallet for shaping and forming metal without leaving hammer marks. Use it in conjunction with a triblet for shaping and gently stretching rings and bangles and for forming metal shapes where using a metal hammer creates far more finishing work due to the marks it inevitably leaves behind.
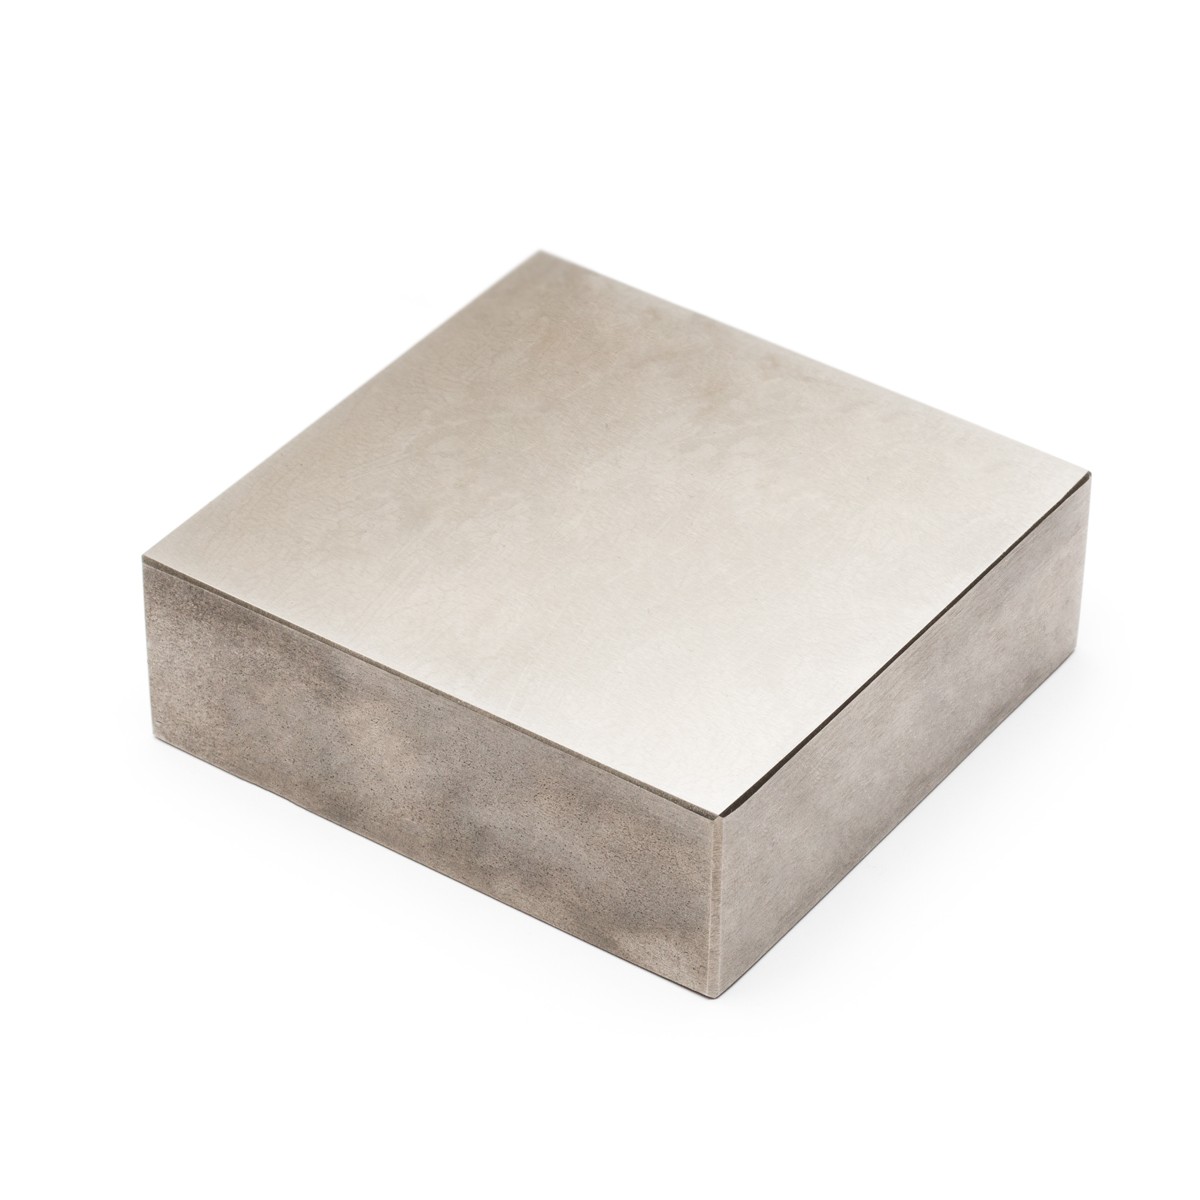
Steel Block
Use a steel block for forming wire and sheet, it's a great addition to your workshop for hammering as it won't mark.
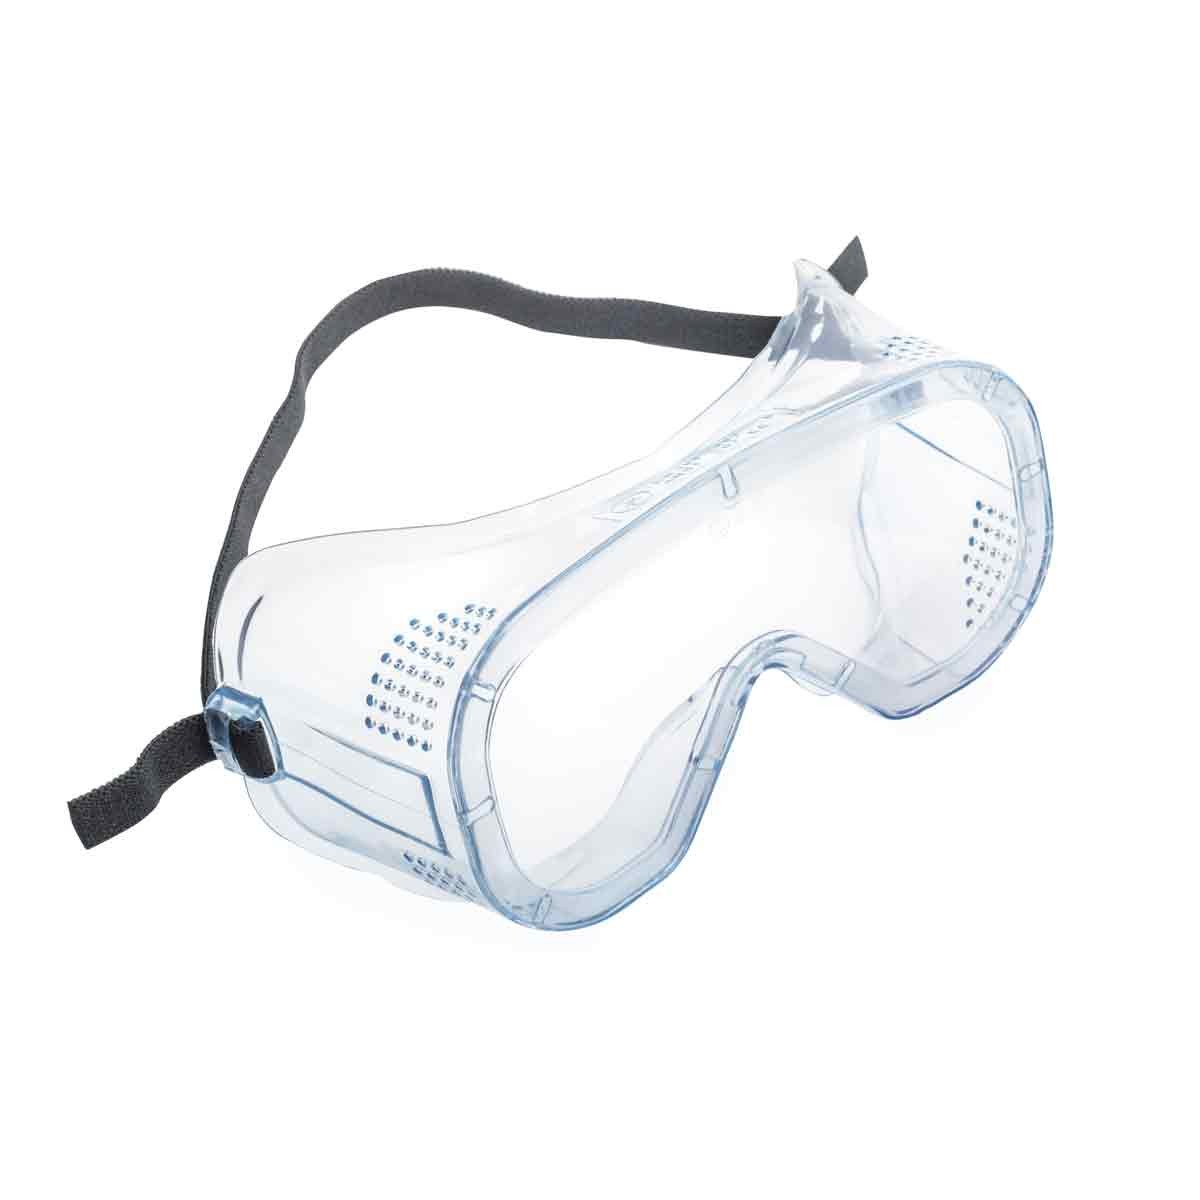
Safety Goggles
Don't forget to stay safe in your workspace, we always recommend wearing your safety glasses when jewellery making to protect yourself.
Part 2: Filing, Sanding & Hammering Metal
Kim: "Sanding and filling are often the 'boring bits' that people skip or stop doing before the piece is ready but they by far make the biggest difference to your finished piece!"
In this video, Kim shows you how you can file the edges of metal with the use of files, sharing the types of files you can choose from and the best technique to use with them. Kim also explains how to use wet and dry sanding sheets and the grades you can choose from.
One of the easiest and most popular ways to impart texture onto metal is with metal hammers. There are two main types, ball pein hammer which has a rounded end and leaves dimpled marks and a cross pein hammer which is wedge-shaped and leaves linear marks. Always hammer on a steel block to get a defined texture and don't hammer your fingers!
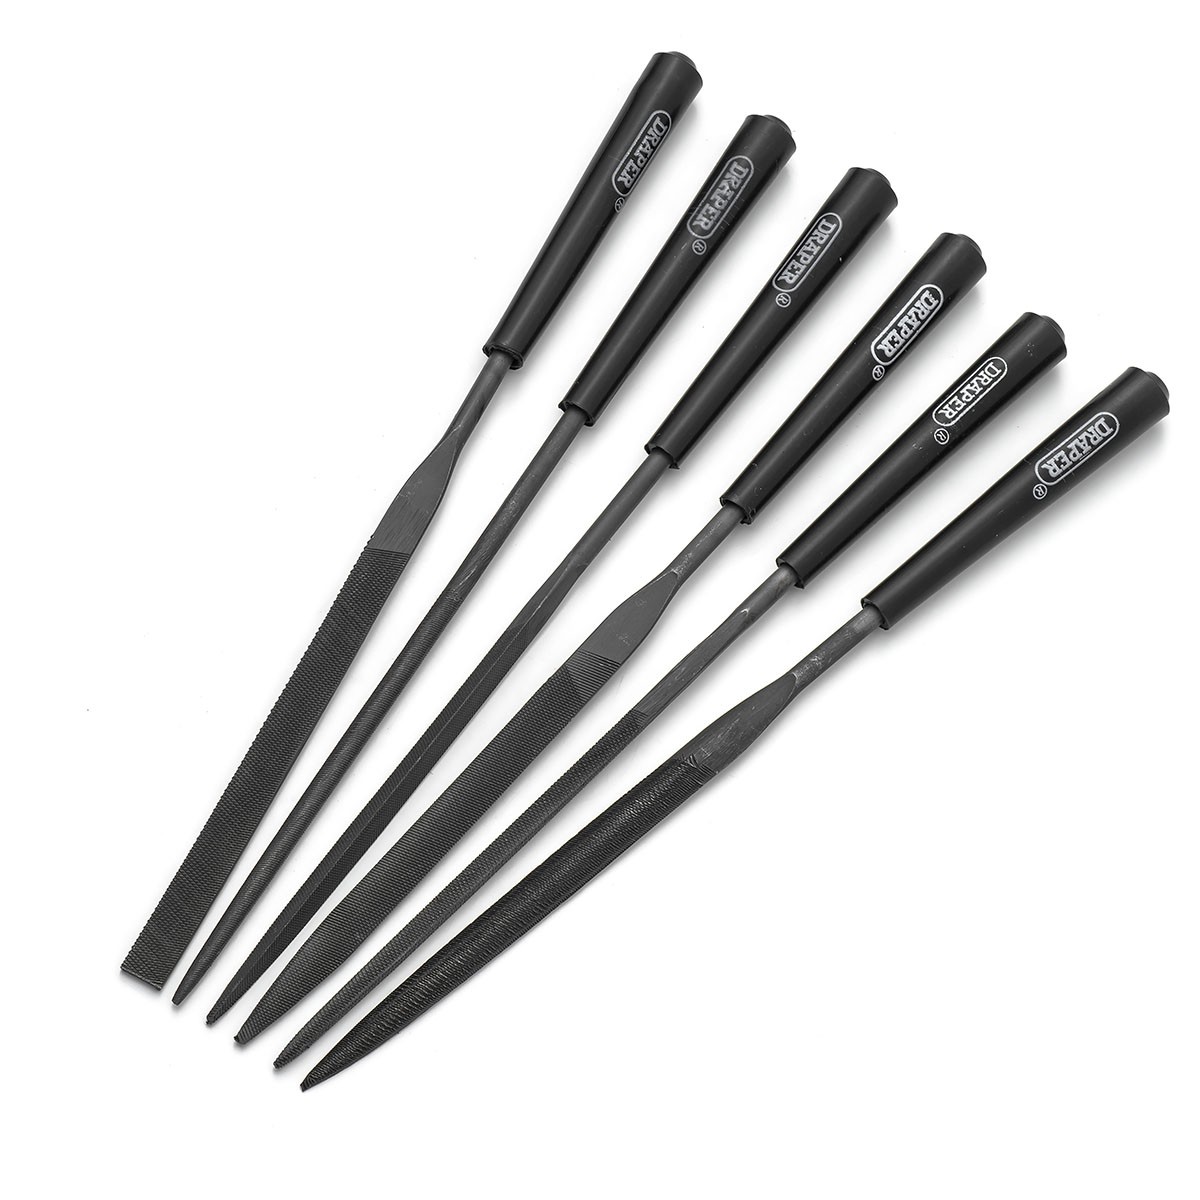
Needle Files
At Kernowcraft, we offer this fantastic starter set of six needle files including tapered round, warding, flat, square, triangular and half round files.
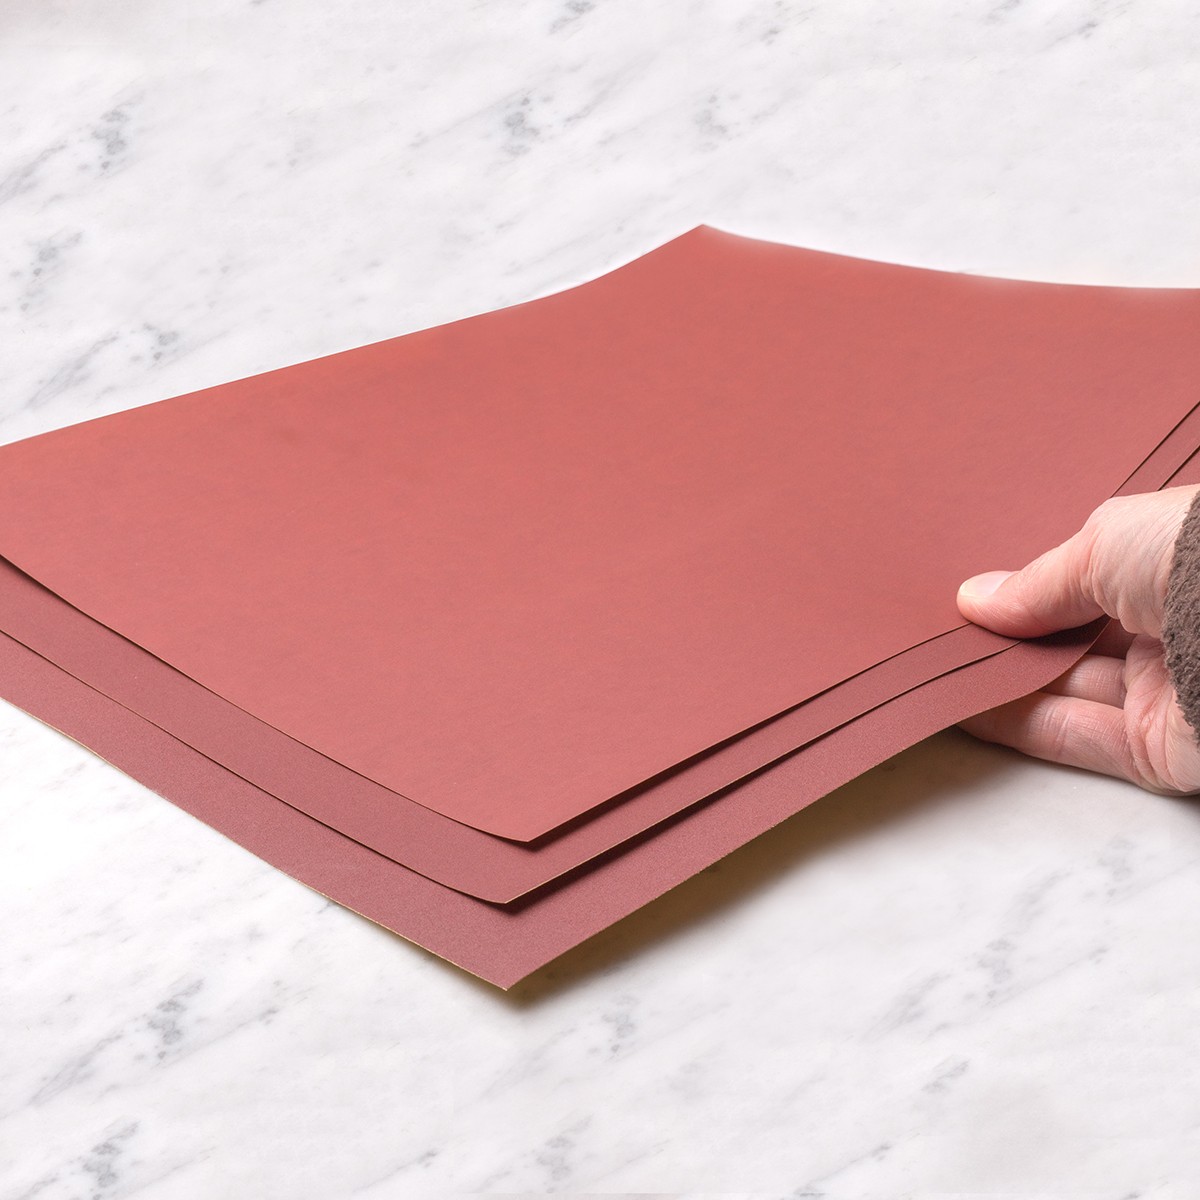
Wet & Dry Sanding Sheets
Wet and dry sanding sheets are used to roughen and clean metal, removing any unwanted scratches or files marks to ensure a fine surface ready for polishing.
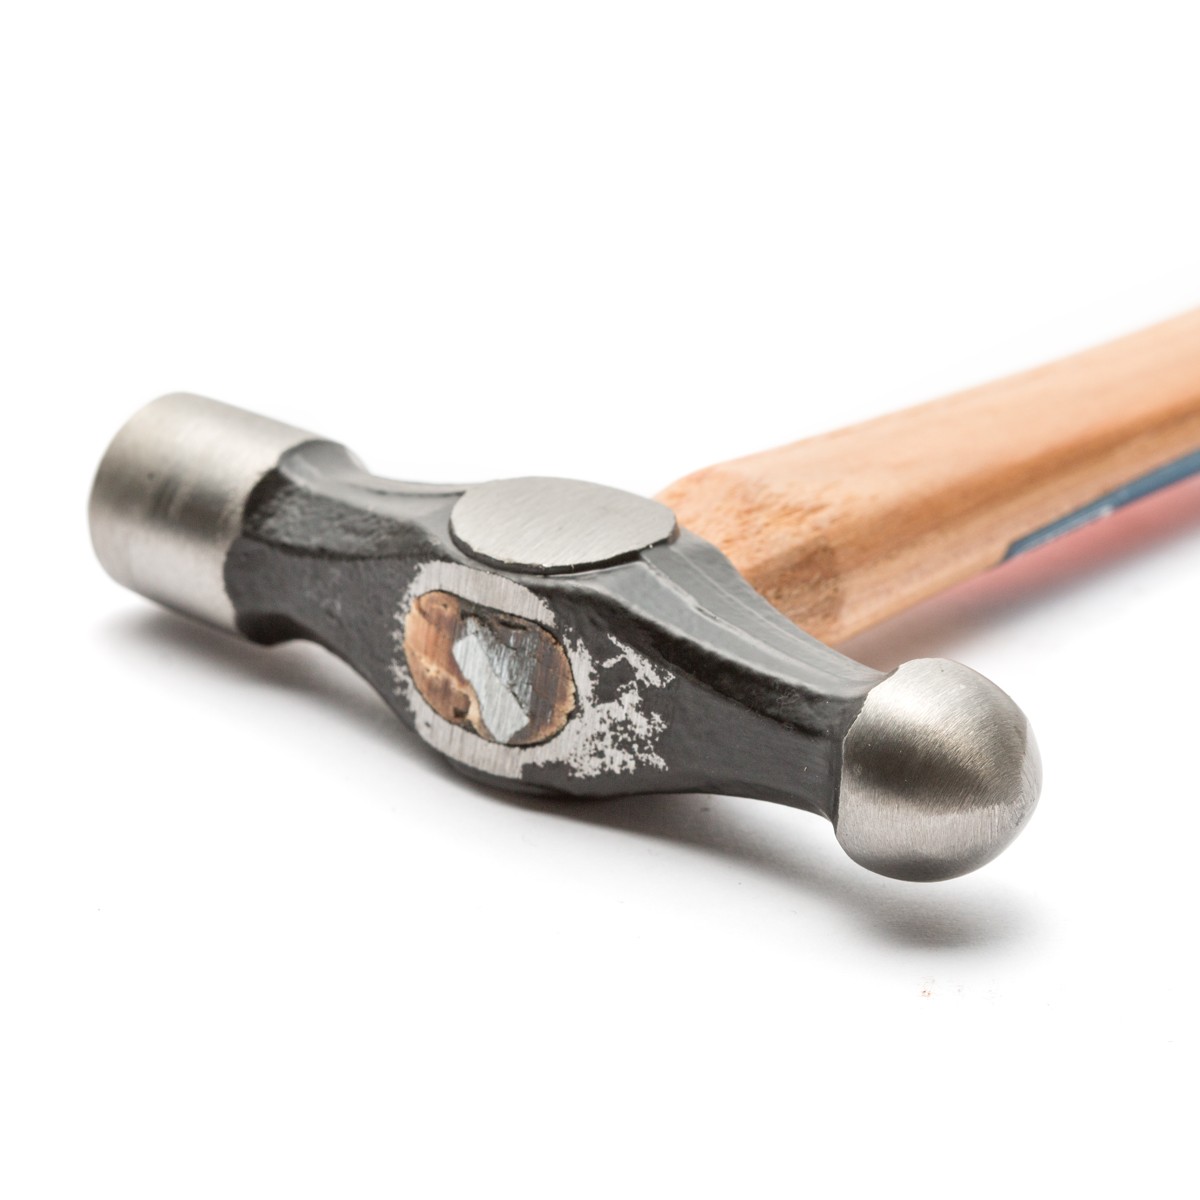
Ball Pein Hammer
A bell pein hammer is great for beating metals to achieve a beautiful texture. It's also great to use with doming punches and a doming block to create curves and domes in flat metal.
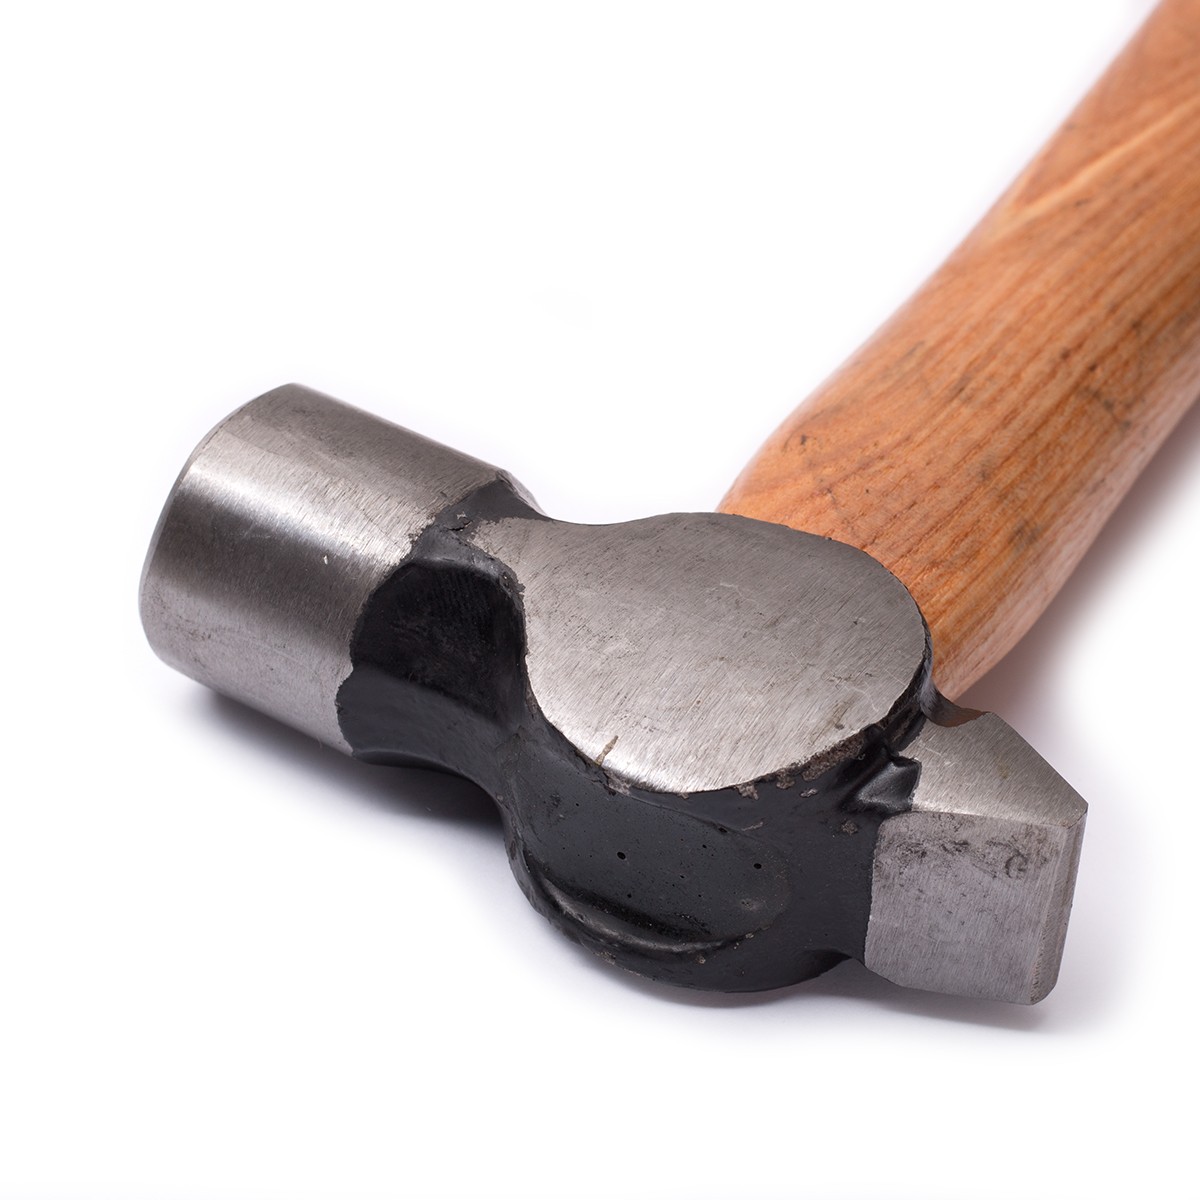
Cross Pein Hammer
A cross pein hammer, also known as a Warrington hammer is great for creating a bark-like texture on your designs. It's also brillliant for using with punches and stamps.
Part 3: Drilling & Polishing Metal Plus How To Make Earwires
Kim: "When you make your jewellery shiny, it will highlight any scratches, marks or imperfections. If you notice unsightly marks, either go back to your sanding or consider a matt finish which helps hide any imperfections. I'll cover matt finishes later in the month but rubbing your piece with very fine wet and dry (emery sanding paper) is a quick fix."
Once you're happy with the texture, it's time to put a hole in your design. Kim shows you how easy this is to do with traditional hand tools but you can also use a Dremel Multi Tool and twist drill bits to create holes quickly.
This video also shows you the techniques you can use to polish your jewellery, such as using garryflex sanding blocks and explains the types available. Other quick ways are to use a brass brush, polishing papers or metal polish.
You can choose to buy earwires or make them yourself! Kim shows you a really quick way you can make a matching pair using wire - all you'll need are some round nose pliers. At the end of this video, you will see the end result of making some beautiful earrings!

Dremel Multi Tool
The Dremel Multi Tool is one tool you can't be without in your workshop! Despite its small size, it has endless possibilities for your jewellery designs. Use it for sanding, carving, engraving, cutting, grinding, cleaning and polishing.
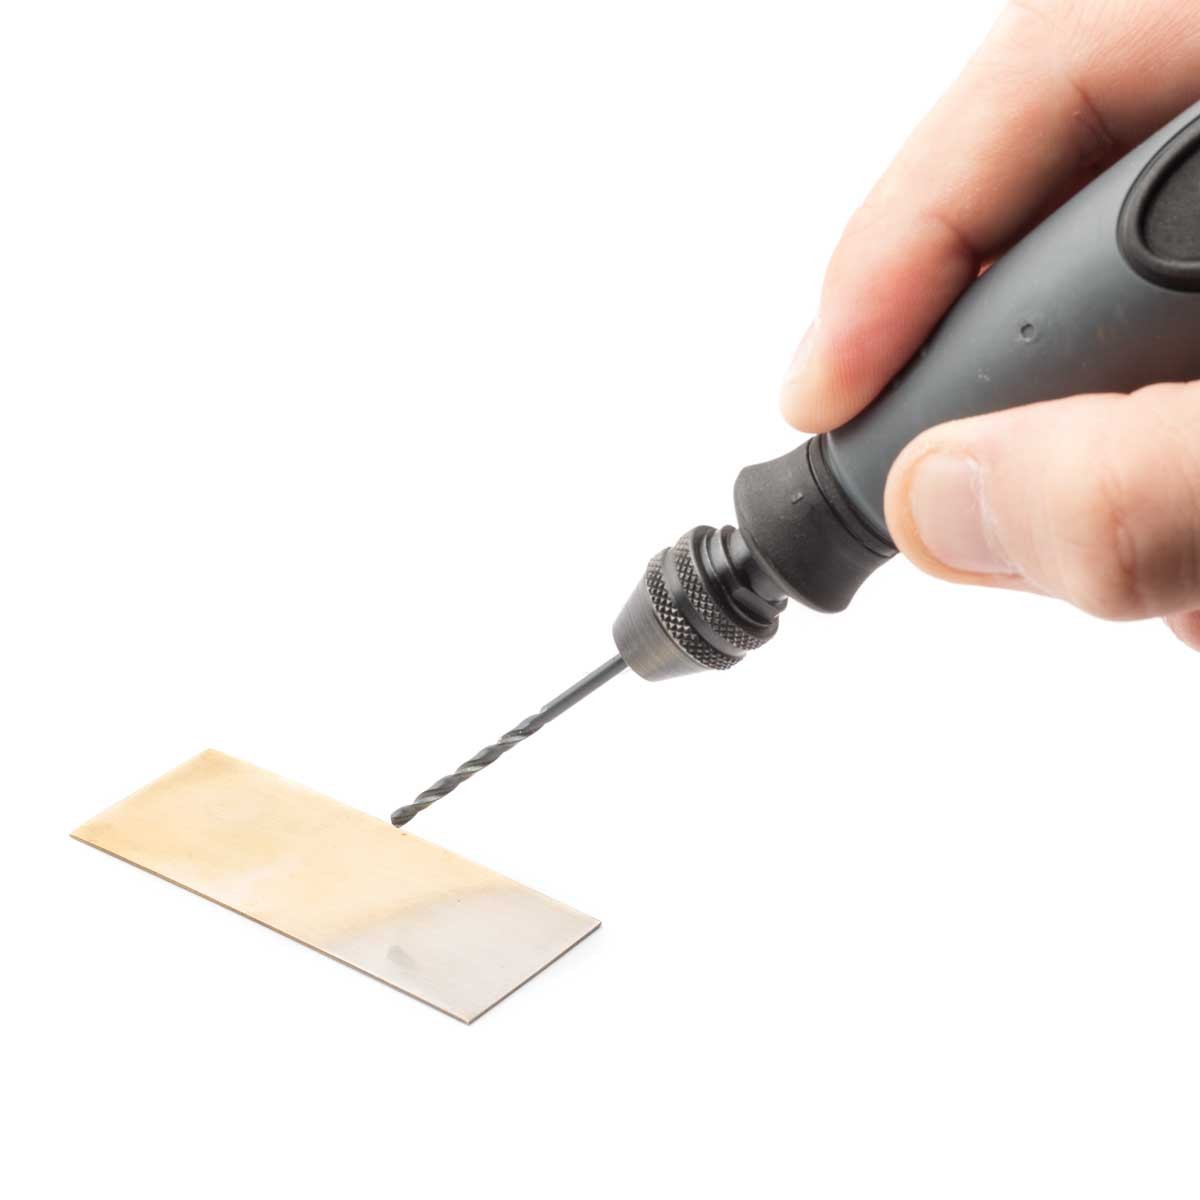
Twist Drill Bits
Our twist drill bits are available in a range of diameters, they can be used at high speeds with our Dremel Multi Tool or other pendant or hobby drills and is also suitable to use with hand drills like our hand drillstock.
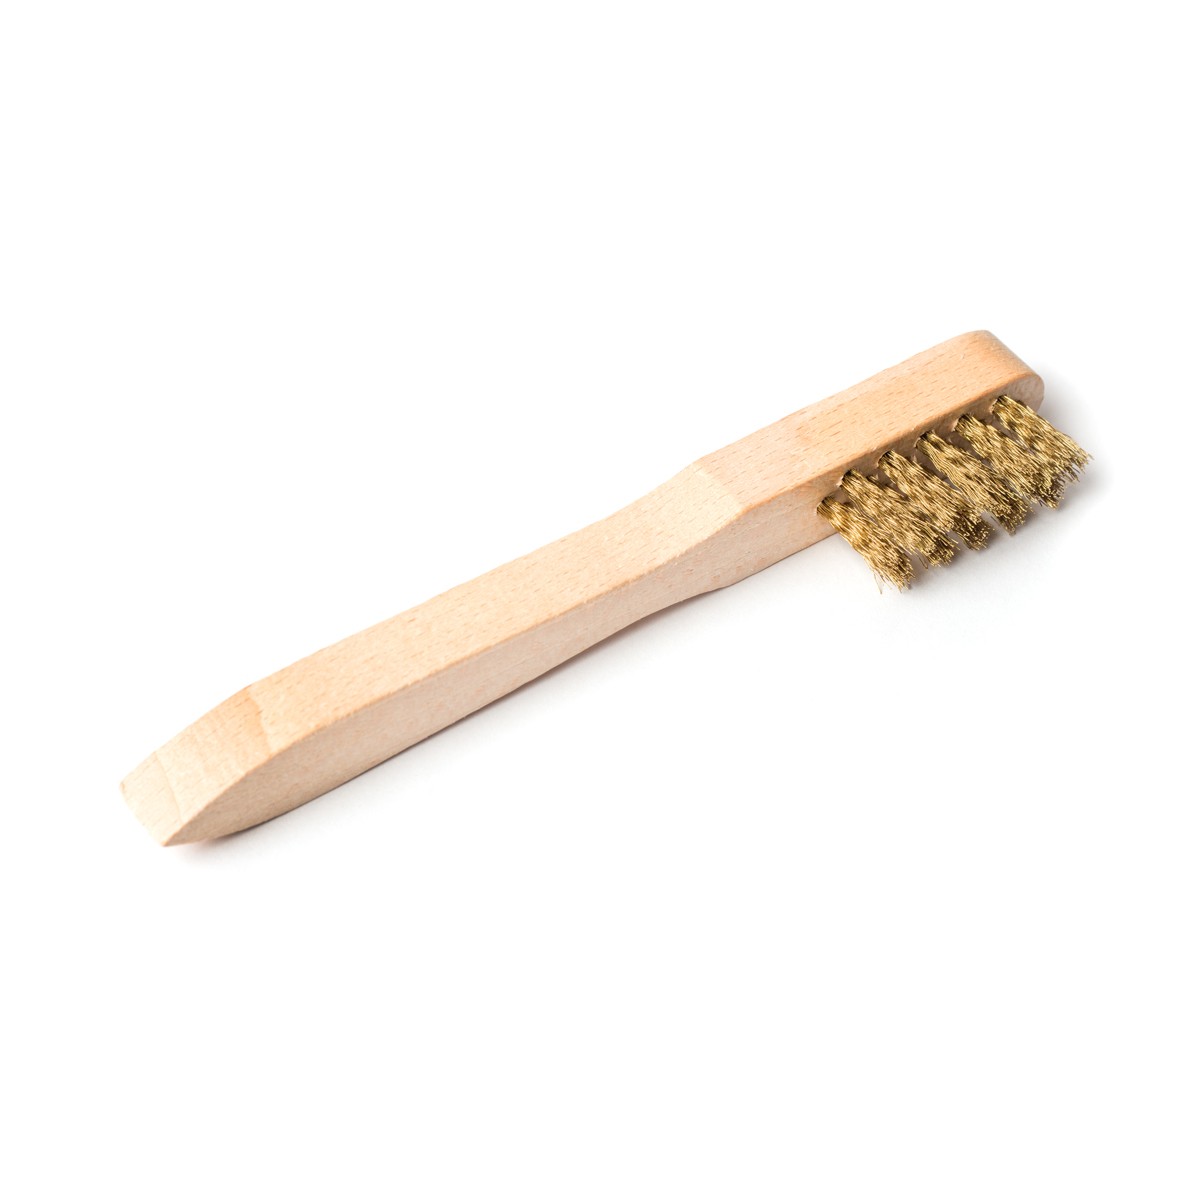
Brass Brush
The brass brush is great for achieving a quick fix for polishing. Wet your brush and give your jewellery a scrub for a shiny and satin finish.
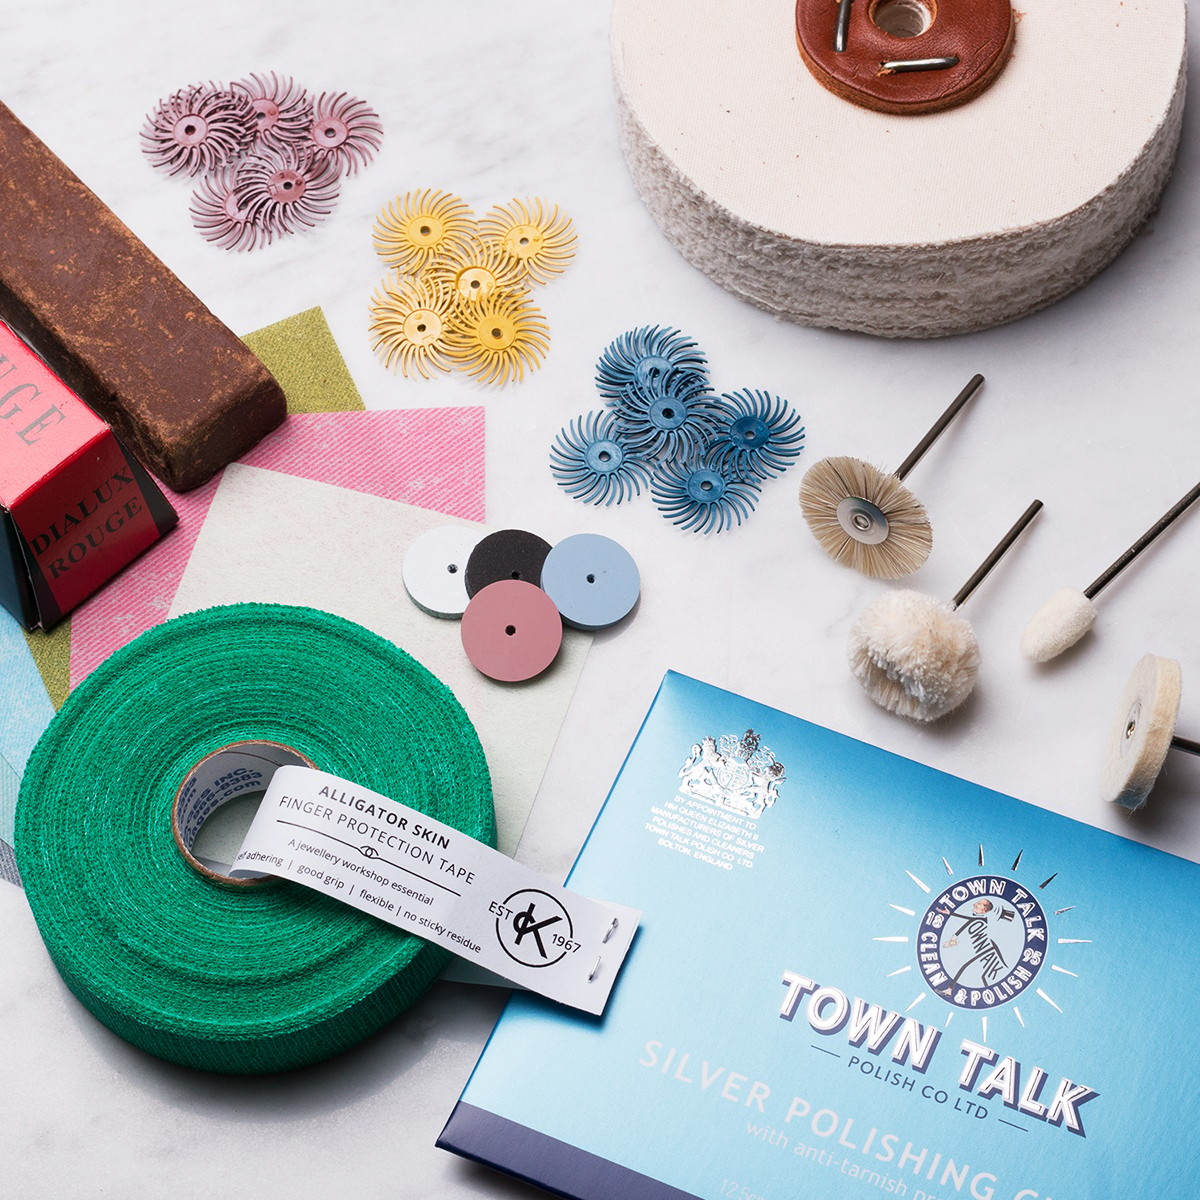
Polishing Supplies
There are many hand and power polishing tools and supplies available. We recommend checking out our polishing papers, simply work through the colour grades to gain a high shine on your metal.
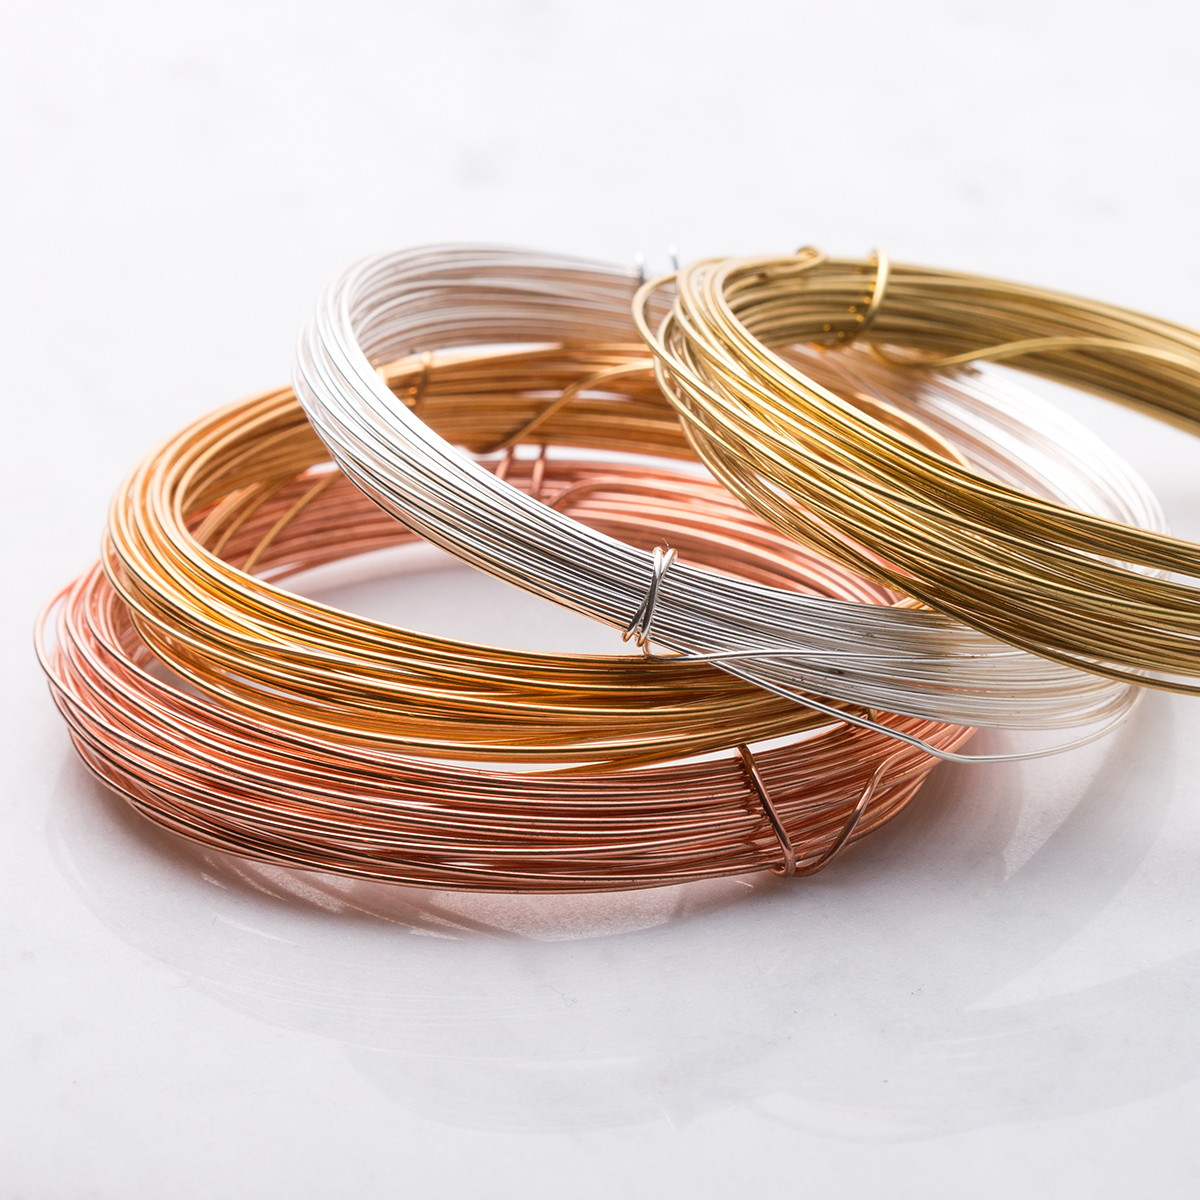
Metal Wire
We offer a large range of metal wire for your jewellery designs. Kim shows you how easy it is to create your own earwires using wire and round nose pliers. When making earwires, we recommend using 0.8mm wire.
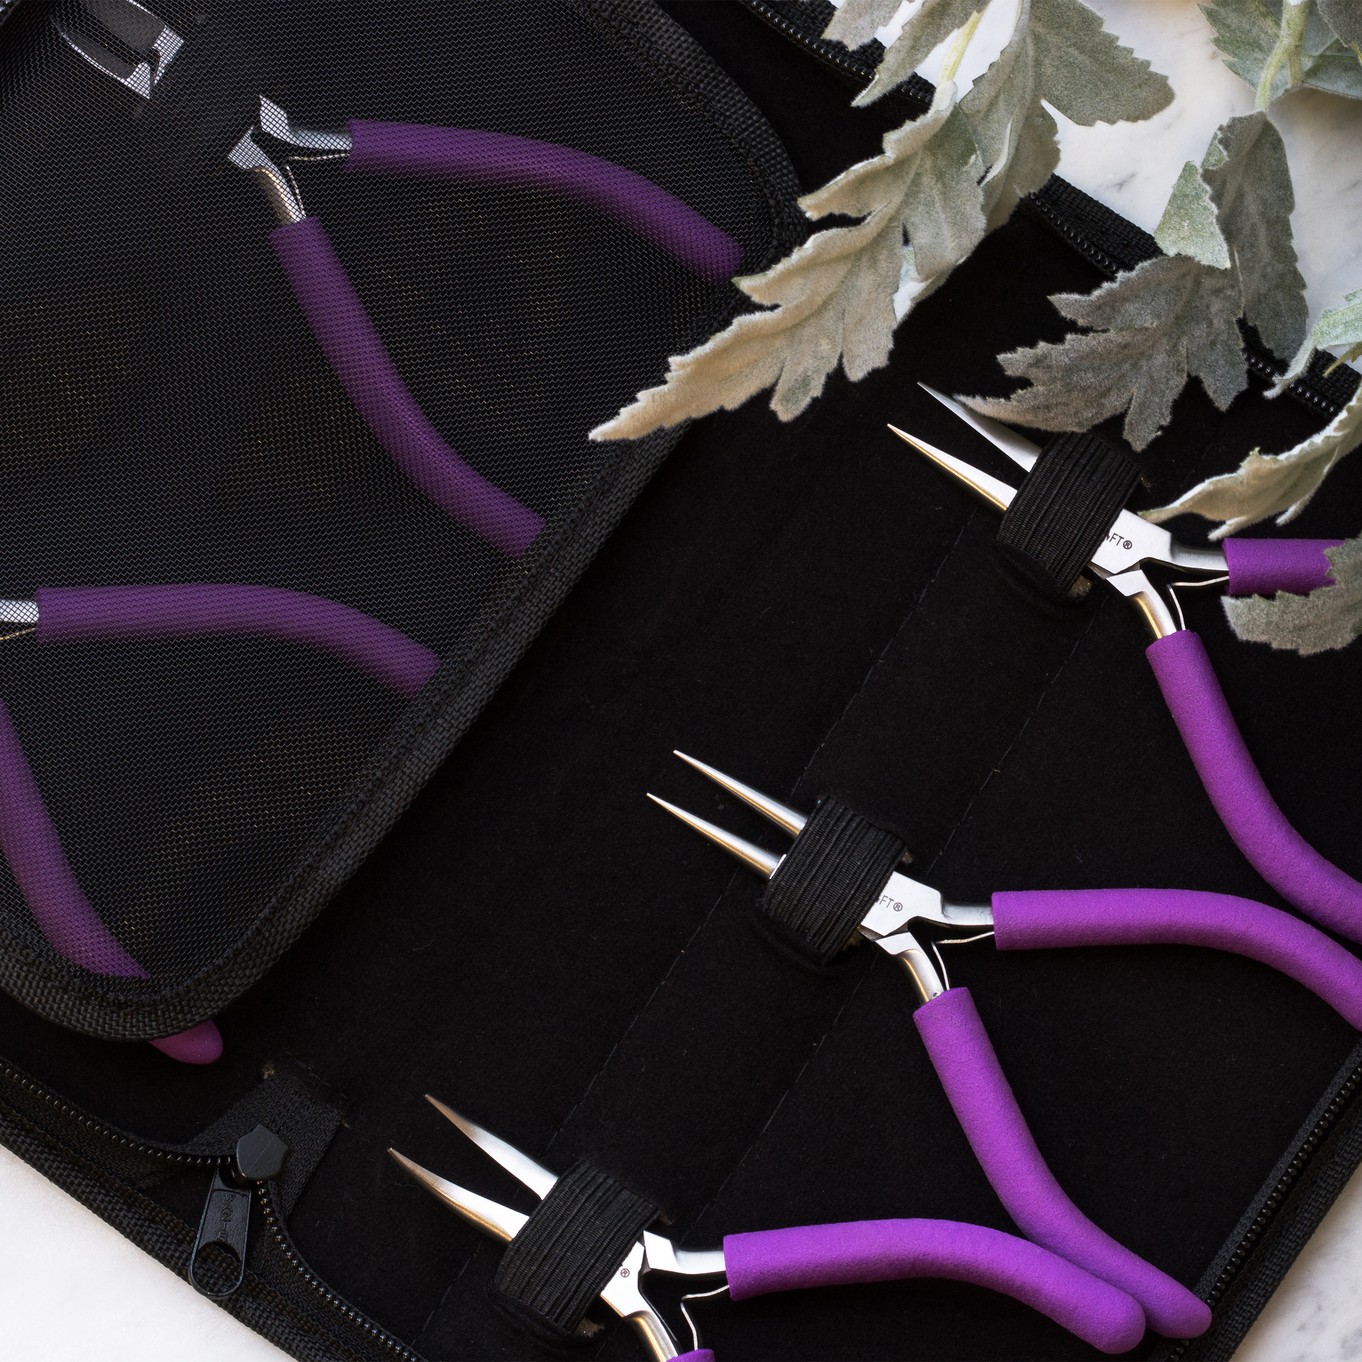
Jewellery Pliers
Kim uses round nose pliers to form the lovely earwires to hang her metal charms from. We recommend checking out our full range of jewellery pliers, especially our handy pack of pliers and side cutters which contain all the pliers you need to start your jewellery making journey.
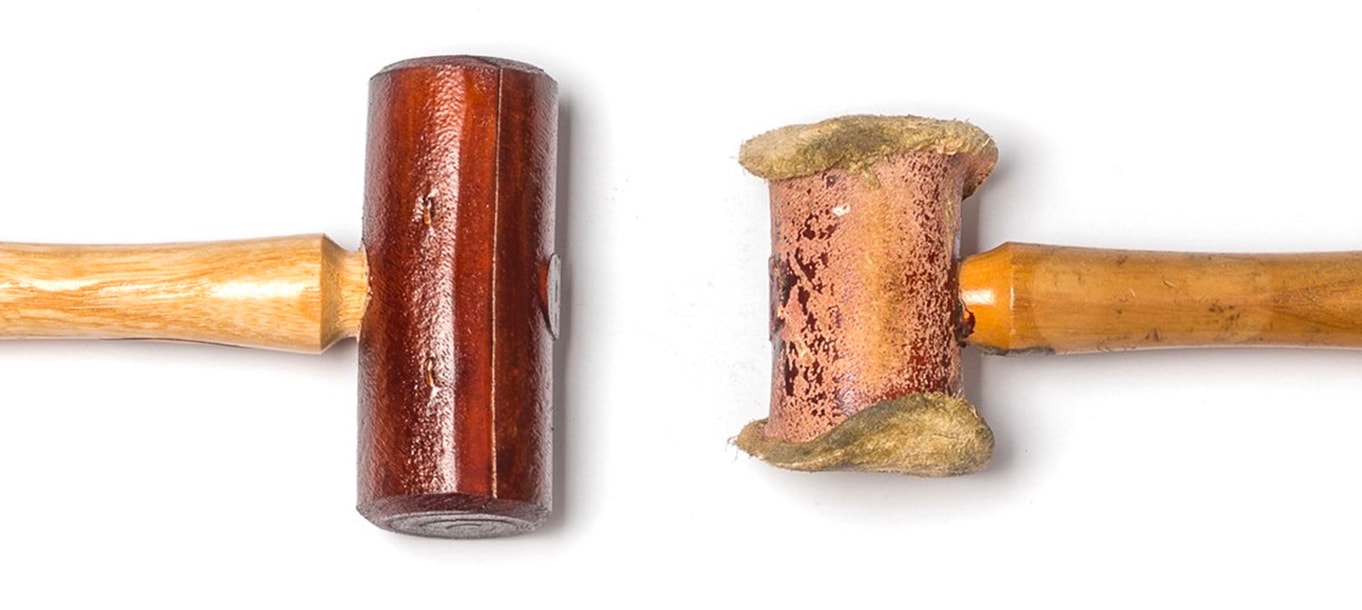
How To Soften Your Rawhide Mallet
A rawhide mallet is an essential tool in the jewellery workshop, used to shape and form metal without leaving hammer marks. Kim shares insight in using the rawhide mallet and how you can condition and soften it to get started, although this is not essential.
New vs used rawhide mallet
The hammer is made of compressed rawhide and it will feel hard as wood when you first start using it but will soften with age and change shape depending on your working style.
January recap with Kim
Watch More From The 12 Months Of Metal Series
- 12 Months Of Metal: Basic Cutting & Texturing Metal For Jewellery Making
- 12 Months Of Metal: Sawing Metal For Jewellery Making
- 12 Months Of Metal: Forming Metal
- 12 Months Of Metal: Soldering For Jewellery Making
- 12 Months Of Metal: Cabochon Setting Tutorials
- 12 Months Of Metal: How To Use A Rolling Mill
- 12 Months Of Metal: Riveting & Cold Connections For Jewellery Making
- 12 Months Of Metal: Metal Etching
- 12 Months Of Metal: Claw Setting Tutorials
- 12 Months Of Metal: Reticulation
- 12 Months Of Metal: Hollow Jewellery Tutorials
- 12 Months Of Metal: Casting & Granulation For Jewellery Making
- Larkman's Legacy & Kim's Trip To Geevor Tin Mine, Cornwall

