


Learn how to make textures with a rolling mill
During June, Kim has been sharing tutorials all on how to use a rolling mill to create textures on your jewellery designs.
Kim covers the following topics:
- An introduction to using a rolling mill
- Textures you can create using a rolling mill
- How to make textured earrings
- When to cut your designs when using a rolling mill
- How to use liver of sulphur to make textures pop!
If you try any of the techniques featured in the series, please tag us in your designs - we would love to see and share! Find Kernowcraft & 'Make It With Kim' on Instagram and use the hashtags #12monthsofmetal & #Kernowcraft
Watch Kim's tutorials throughout June below. Rolling mills are not something we offer at Kernowcraft, but we provide all the other supplies used in Kim's tutorials which you can find on our website.
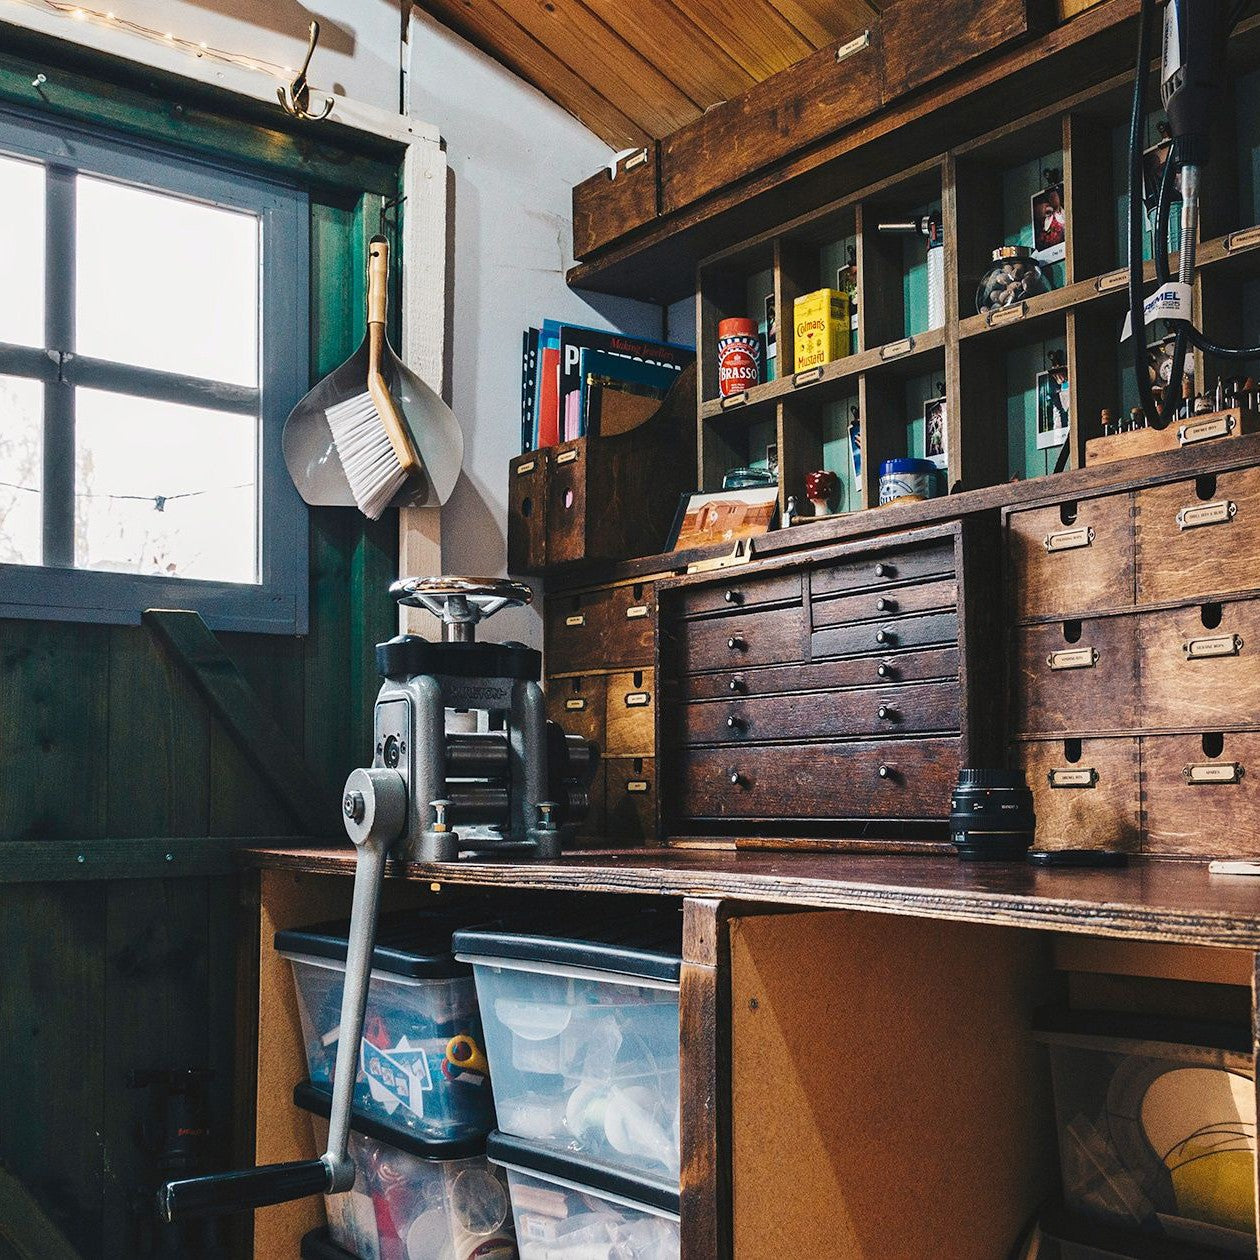
Your Introduction To The Rolling Mill
Rolling mills are tools that have steel rollers that you can feed your metal through to either change the shape and thickness or to impart intricate textures.
They are an investment but offer so many possibilities.
Kim: "I encourage any students who wish to work at home but don't have a mill, to prep pieces of metal while they have access to one in class. Some of you may have seen my post showing my students using the mill to roll their solder thinner to make it easier to cut at home."
You can use lots of things to impart texture. Some of the most common things are skeleton leaves, lace, netting, sequin waste and paper. Half the fun is experimenting with different materials!
If a material is hard such as binding wire or steel cogs, it is really important to protect your rollers so they don't get marked. Brass plates are often used for this purpose. Also make sure you don't put anything wet through the mill as it may rust.
How To Create Textures With A Rolling Mill
Kim shows you how easy it is to use a rolling mill to impart texture into your metal. The rollers have to be tight enough to squash your material into your metal but not so tight that you struggle to turn the handle.
To set the gap in the rollers you can hand tighten them to your metal, take note of the gap depth on the mill's dial, loosen to take your metal out and then re-tighten to put the rollers back to that depth.
Then pop your material onto the metal and roll it through the machine. Unless the thing you’re using for texture is quite thick, you'll have to set your rollers a little looser. You can do a double-sided pattern by rolling two bits of metal with the texture in between.
If you need to secure your material in place while it goes through the rolling mill, you can use good old masking tape.
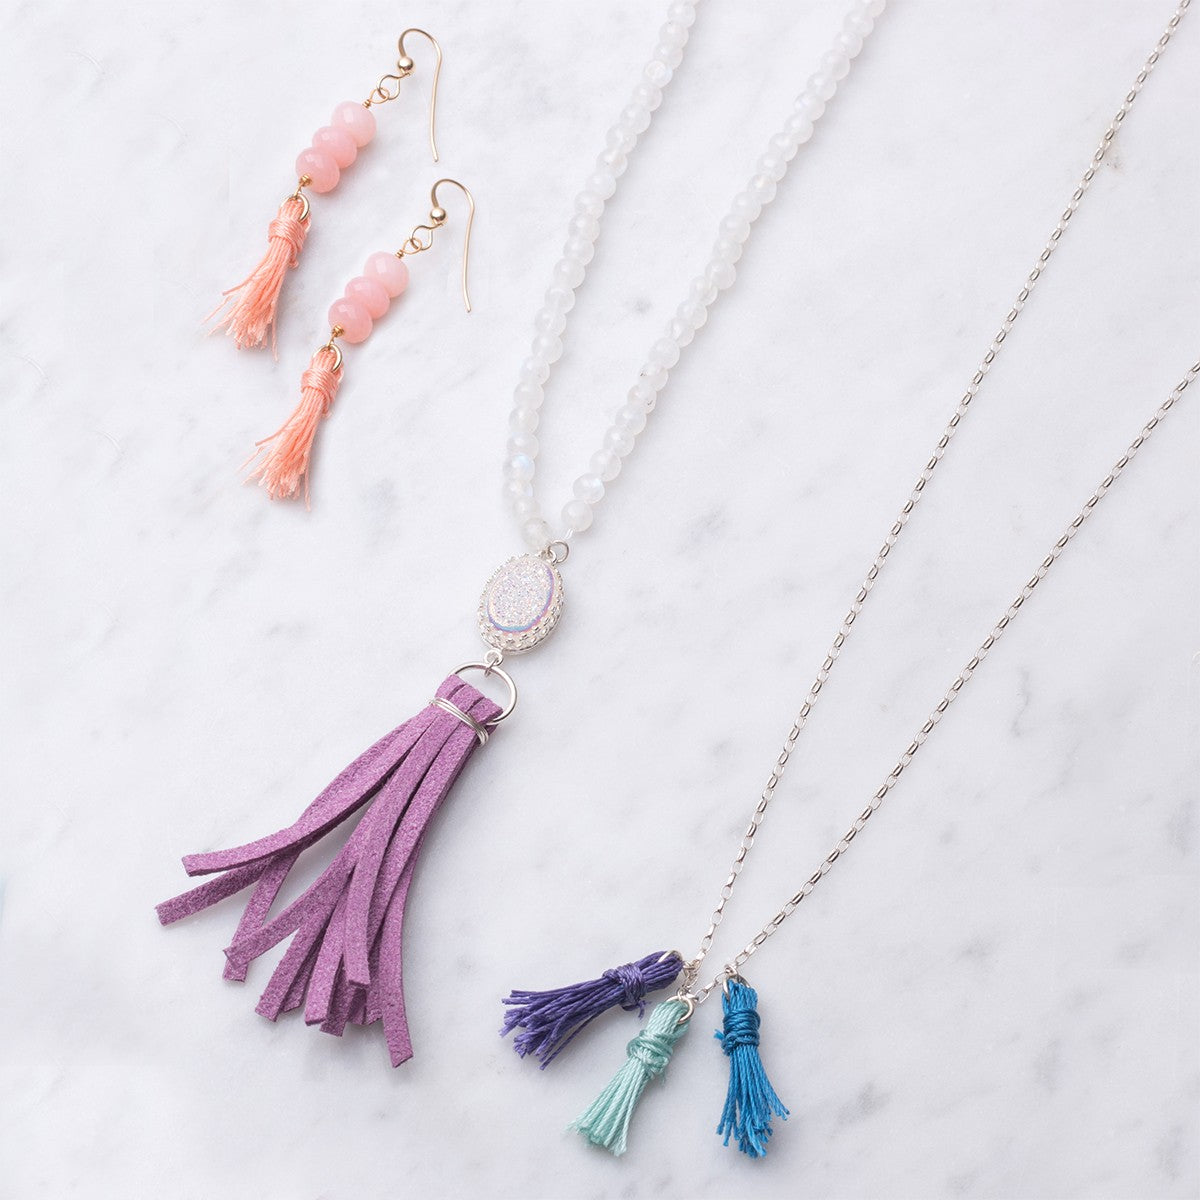
Project: Rolling Mill Textured Earrings
In this video, Kim shows you how to make a matching pair of earrings with rolling mill textures.
The texture was made by sandwiching binding wire and wire wool between two bits of copper. Remember, if you're using hard materials to create texture, you need to stop them potentially indenting your rollers. Brass sheet metal is often used for this. Here are some little tips to show how you can then easily cut and file matching shapes from your textured metal and give them a little colour too.

Discover Polishing Papers
Kim - "Kernowcraft kindly sent me their polishing papers sample pack to try so these earrings have been finished with those rather than any polish or power tools.
They came up super shiny even though I only gave them a quick buff and didn't work my way through the grades as you should.
Perfect for anyone who doesn't want to use power tools or liquid polishing chemicals as they don't smell or create any mess or dust. "
Cut first or texture first?
"I get asked this all the time. It all depends on the look you're wanting to achieve!"
If you texture then cut, you'll be left with the exact shape that you cut out. If you cut then texture, your shape will change... but sometimes that's a good thing.
See how these matching leaf cut outs changed depending on the order Kim cuts and textures them using a rolling mill. They were identical to begin with!
Creating A Patina With Liver Of Sulphur
"It's a beautiful sunshine yellow colour... just a shame it smells like farts!"
Liver of Sulphur is one of the most popular ways to colour metal. It basically speeds up the tarnishing process, giving you a lovely black/gun-metal grey finish.
Liver of sulphur (sometimes this can be spelt 'liver of sulfur' or called 'potassium sulphide') is a fantastic and extremely popular product used to create an antiqued, black or iridescent coloured patina on silver, copper, bronze, metal clays and after a little surface preparation work brass and gold too. Colours can range from black, purple, blue, copper and gold and the coloured or darkened effect is great for making any surface texture or decoration more visible. You can also use liver of sulphur to darken sterling silver findings or chains to give a vintage look.
It's very easy to use, simply dilute a few drops with water and either dip item in or apply with a brush. Use with cold water for more control creating colours or with hot water for a faster, darker patina.

Shop Liver Of Sulphur With Kernowcraft
Kernowcraft's solution is non-toxic and is sold in Japan as a traditional bathing solution similar to the sulphurised hot springs that occur naturally. Liver of sulphur is a name that covers a poorly defined mixture of potassium sulfides also known as sulphurated potash. Some of the versions available elsewhere are quite toxic and irritating with a strong ammonia type smell.
Our liquid has creates the same wonderful patina from the bright colours through to a deep black but without the toxic effects of many solutions. It does have a rather strong eggy smell, so use with a window open and obviously, although this product is non-toxic, do not ingest. Please note that other versions of liver of sulphur sold elsewhere may not be the same non-toxic version as this.
Once you've darkened your metal with liver of sulphur, you normally want to buff some areas back to create definition. There are various ways to do this. Some of the most popular are:
- Extra fine wire wool
- A wet brass brush
- Polishing papers
Further reading for beautiful decorative finishes...
Kim will be looking into creating and protecting colours even more for Make It Month 7 but if you're intrigued Kim highly recommends the following reads for brilliant information and tutorials...


Watch More From The 12 Months Of Metal Series
- 12 Months Of Metal: Basic Cutting & Texturing Metal For Jewellery Making
- 12 Months Of Metal: Sawing Metal For Jewellery Making
- 12 Months Of Metal: Forming Metal
- 12 Months Of Metal: Soldering For Jewellery Making
- 12 Months Of Metal: Cabochon Setting Tutorials
- 12 Months Of Metal: How To Use A Rolling Mill
- 12 Months Of Metal: Riveting & Cold Connections For Jewellery Making
- 12 Months Of Metal: Metal Etching
- 12 Months Of Metal: Claw Setting Tutorials
- 12 Months Of Metal: Reticulation
- 12 Months Of Metal: Hollow Jewellery Tutorials
- 12 Months Of Metal: Casting & Granulation For Jewellery Making
- Larkman's Legacy & Kim's Trip To Geevor Tin Mine, Cornwall
