March: Forming Metal
Learn how to form metal
Kim has created a brilliant beginner's introduction to basic forming, which is a fancy word for shaping metal.
The beauty of forming is that metal can be shaped in many ways with various tools and Kim shares with you a few of these techniques to help you get started.
Kim covers the following topics:
- Gas torches for annealing
- Work hardening
- Annealing
- How to use a doming block
- How to make wire earrings
- How to make headpins
- How to make an adjustable copper ring
- Fold forming & flame colouring
If you try any of the techniques featured in the series, please tag us in your designs - we would love to see and share! Find Kernowcraft & 'Make It With Kim' on Instagram and use the hashtags #12monthsofmetal & #Kernowcraft
Work Hardening & Annealing For Jewellery Making
Heat. Beat. Repeat!
During month 1, you may have noticed that metal can become hard when you hammer it - this is called work hardening. To make the metal soft and malleable again, you need to heat the metal with a gas torch, this process is called annealing.
When metal is work hardened, it becomes harder to work with and if you keep forcing and hammering your work, it will eventually crack, so annealing your metal will make it easier to work with. When you hammer, twist and bend metal, you compress and miss align its internal structure, causing it to become rigid. To make it soft again, you need to heat it with a gas torch until it goes a dull pinky red colour. The heat realigns the internal structure and this is called annealing. Every time you hammer or manipulate metal it will start to work harden, so it's not unusual to anneal your piece multiple times - heat, beat, repeat!
You need to ensure that you have cleaned all the oxidisation off your metal before you texture it, otherwise you would be hammering the oxides into your metal causing it to become brittle and difficult to clean in the future. If you have pickle, you can use this. Pickle is a term for an acidic substance that will eat away the oxides. Many people use safety pickle as it is not as nasty as other acids, while others use household ingredients such as warm vinegar and citric acid - make sure you always read the safety instructions! If you don't have pickle, you can clean your metal with sandpaper or a wet brass brush.
You will need a gas torch and soldering block so you can anneal your metal - these tools will also be useful for next month when Kim focuses on soldering. Always read safety instructions before starting, create a safe environment, remove any flammable materials from your work area, tie your hair back, have no loose clothing and make sure you have water or a powder fire extinguisher and fire blanket to hand.
Choosing A Gas Torch For Annealing
Kim shares with you top tips for choosing a gas torch that you can use for annealing and soldering.
Kim recommends our GoSystems Tech Torch, which is a great basic torch suitable for most jewellery work. It delivers a large flame with temperatures up to 1450°C, it heats pieces up to temperature quickly and is great for working with larger items. If you are looking for a gas torch for smaller items such as chains or jump rings, we would recommend our Jewellers Gas Torch.
Kim shows you the importance of having a safe and appropriate surface when using a gas torch, showcasing how to use a soldering block. Don't forget your insulated reverse action tweezers, which are a great addition to your soldering kit - they are made from sprung steel so they open when you squeeze the handles, meaning they grip pieces with no effort at all. The wooden insulated handles mean you can handle them directly after using a gas torch without the risk of burning yourself.
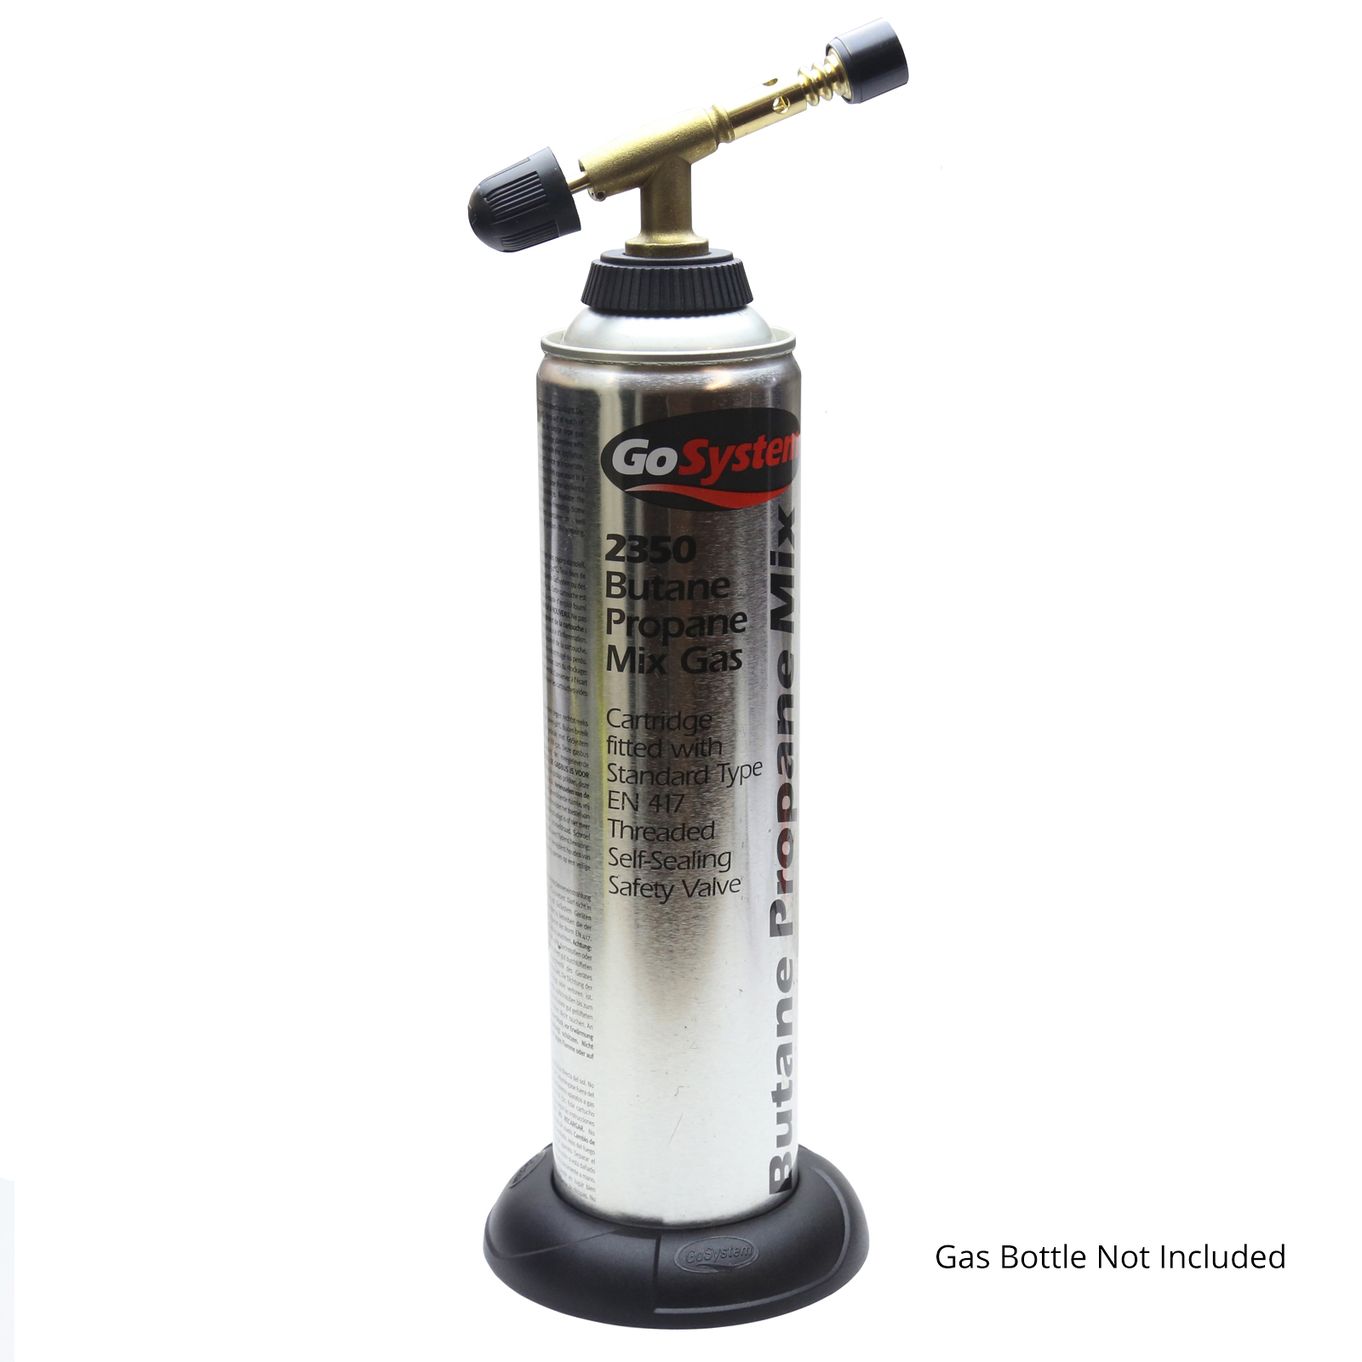
GoSystem Tech Torch
The GoSystem Tech Torch is a great basic torch suitable for most jewellery work, especially for larger items as it delivers a larger flame than our smaller jewellers gas torch.
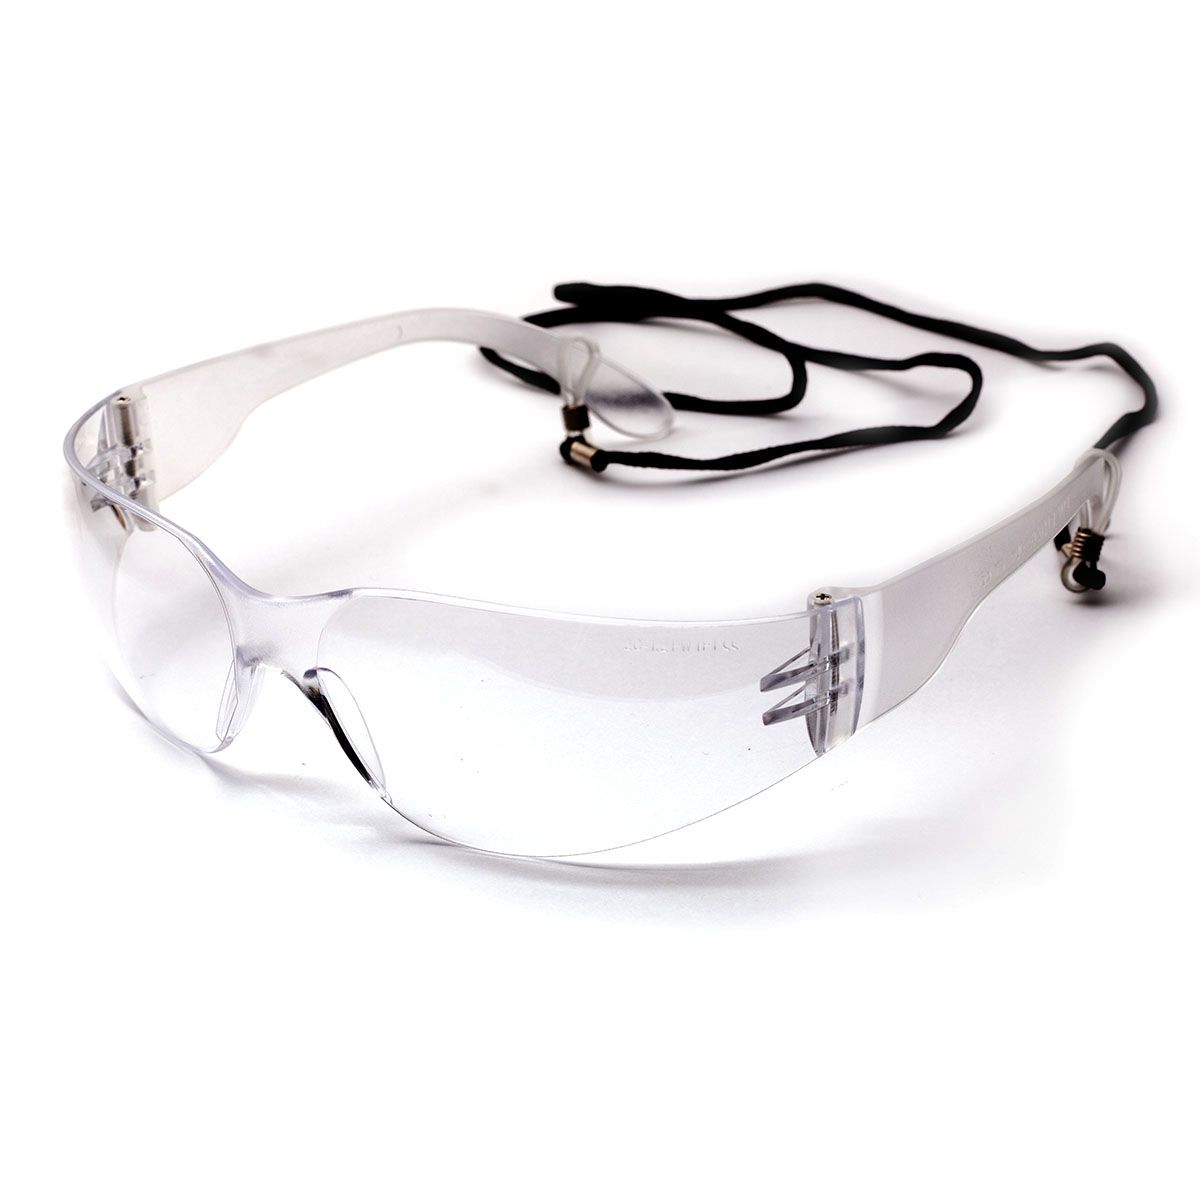
Safety Goggles
Safety first! Always ensure your environment is safe when using a gas torch and use safety goggles to protect your eyes.
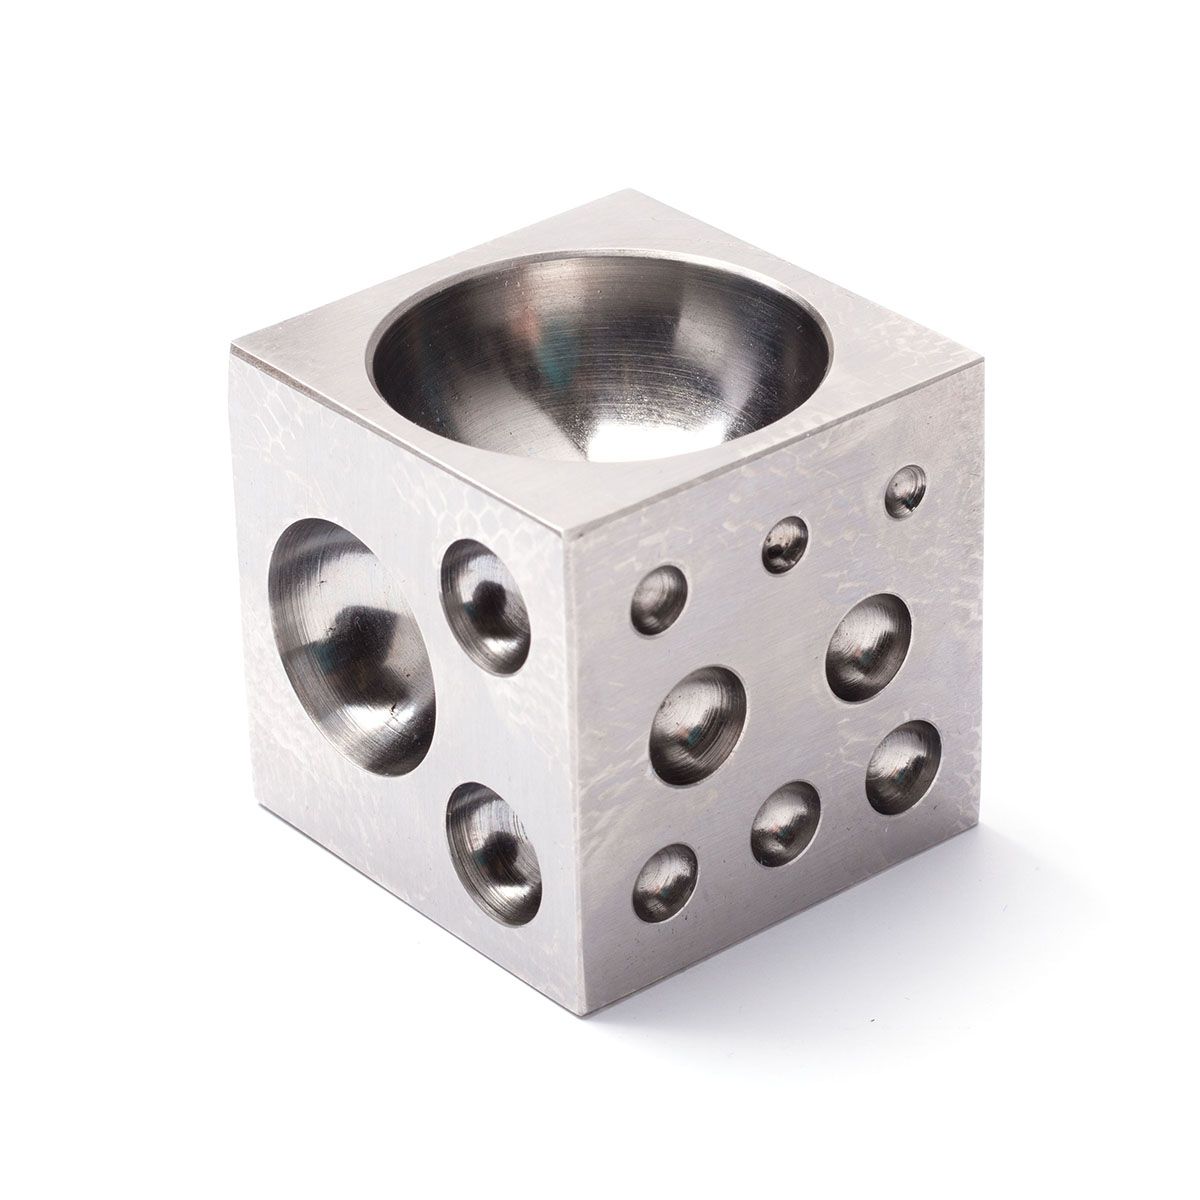
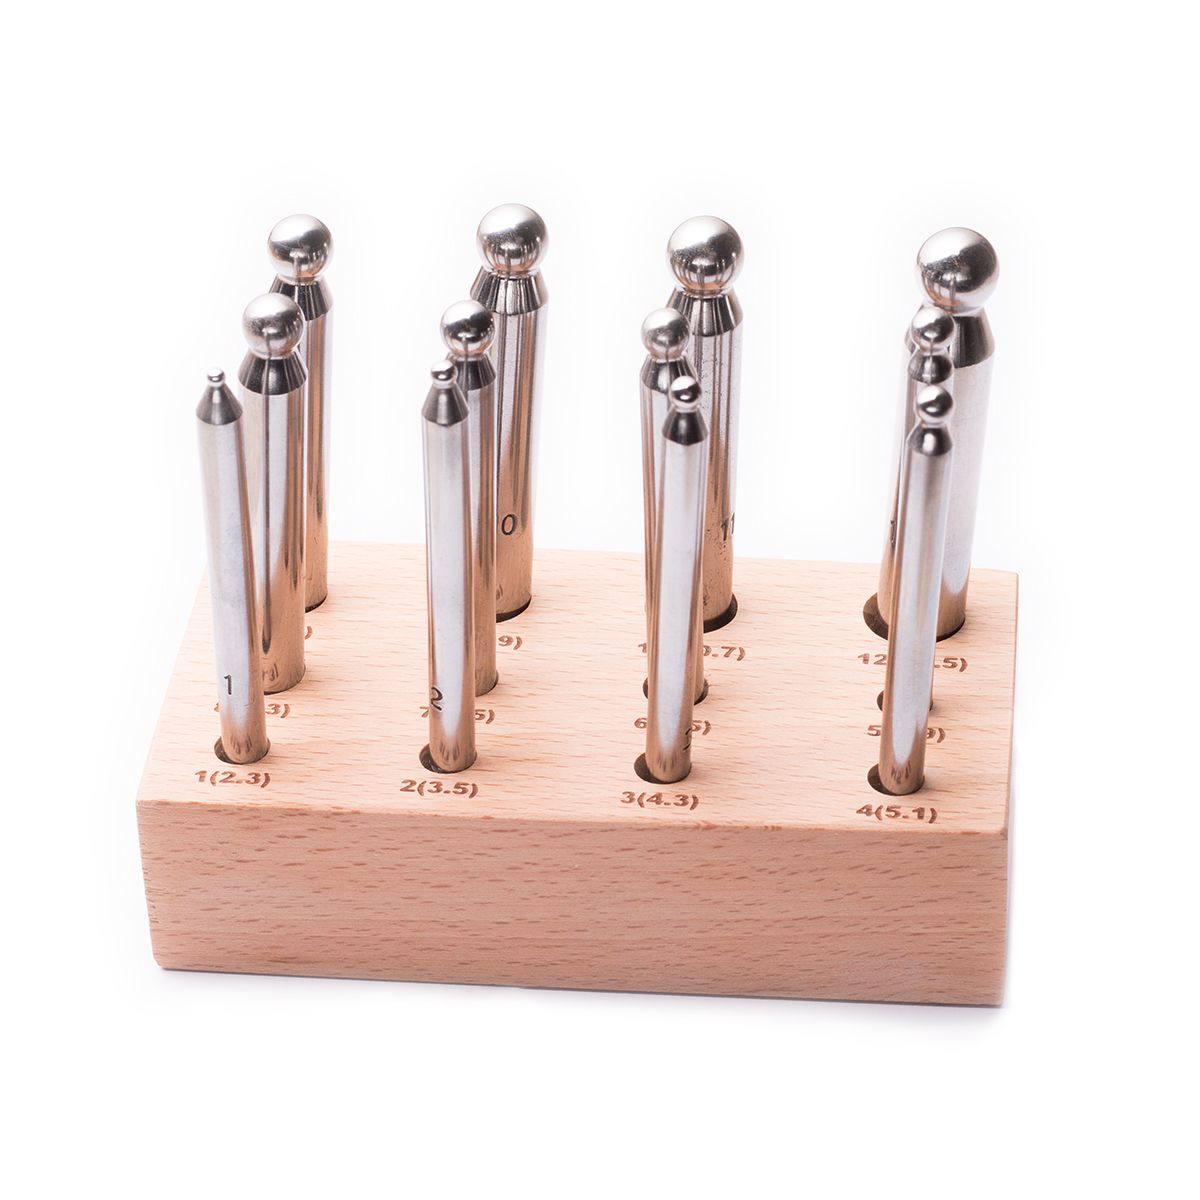
How To Use A Doming Block & Punches
Are you a domer or a dapper?
Kim shares an introduction into the doming block (or dapper block), a great tool to have for forming metal. It allows you to create domed curves on your metal and is a great way to add extra interest to the shapes you cut out and create texture with. You don't have to stick to circles, you can dome any shape you can think of! As long as you put it into a dome that is considerably bigger than your metal shape, you can ease it gently into the curved recess.
2 Ways To Make Wire Earrings
One of the most basic ways to form metal is with jewellers pliers. It is important to use jewellers pliers rather than generic DIY pliers as jewellers pliers have smooth jaws so are less likely to mark your work compared to DIY pliers that have grooved jaws for grip. Pliers come in many shapes and sizes but the most useful ones are usually snipe nose pliers for holding your work or making tight bends. Round nosed pliers for making loops and side cutters for cutting little bits of wire. Half round (ring making) pliers are also very useful and Kim will be using those a lot from next month.
In this video tutorial, Kim shares two brilliant ways to form metal to make beautiful earrings.
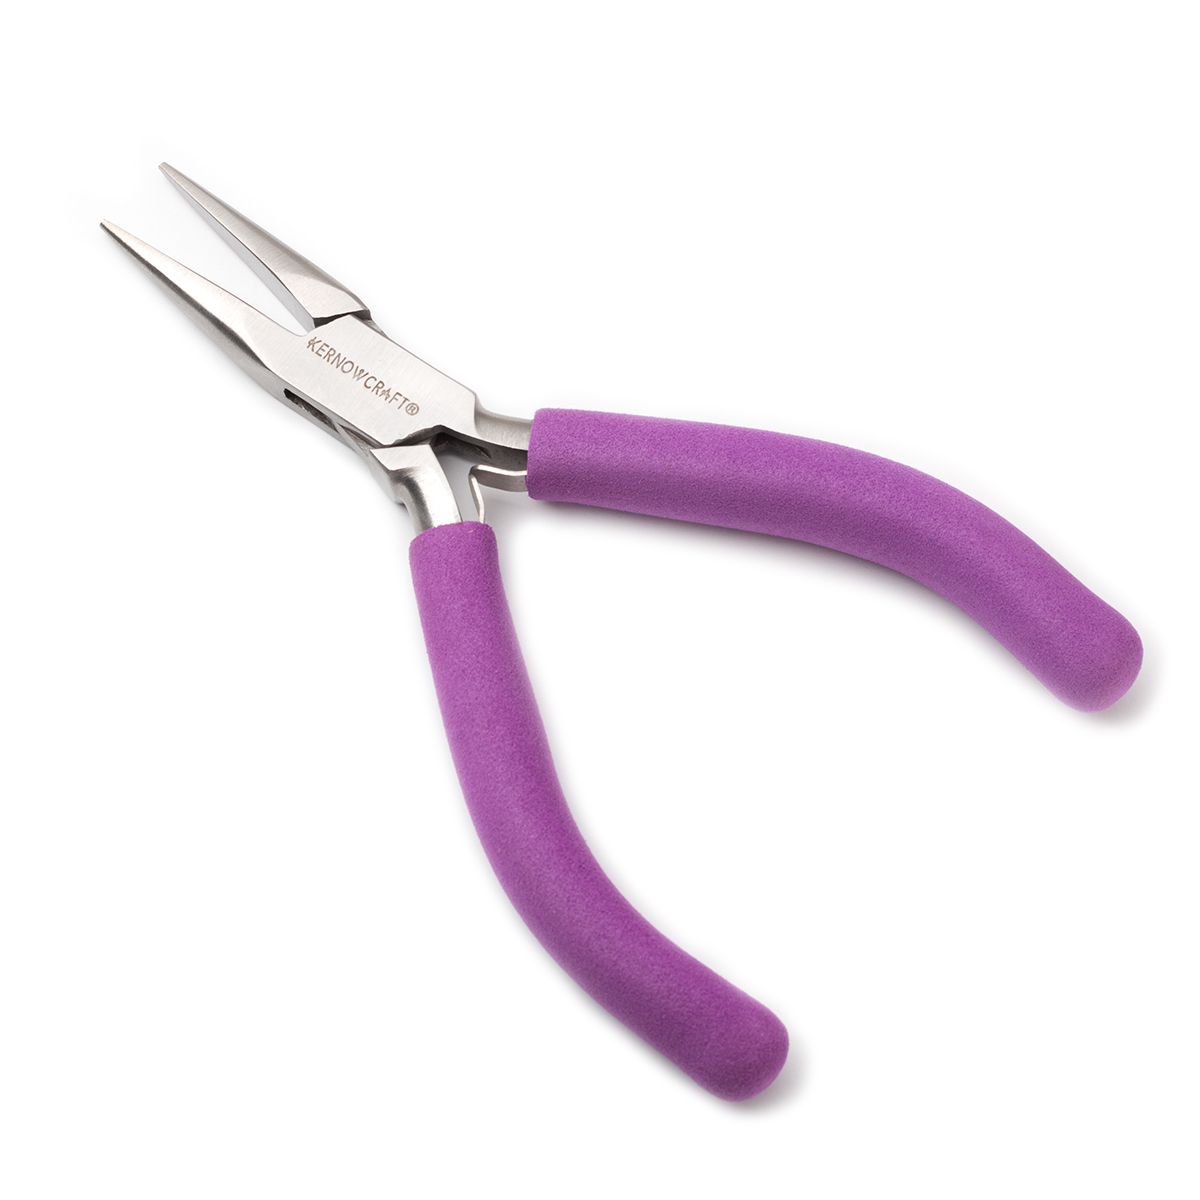
Snipe Nose Pliers
Also known as chain nose pliers, snipe nose pliers are general-purpose pliers and are especially great for bending and manipulating metal sheet and wire.
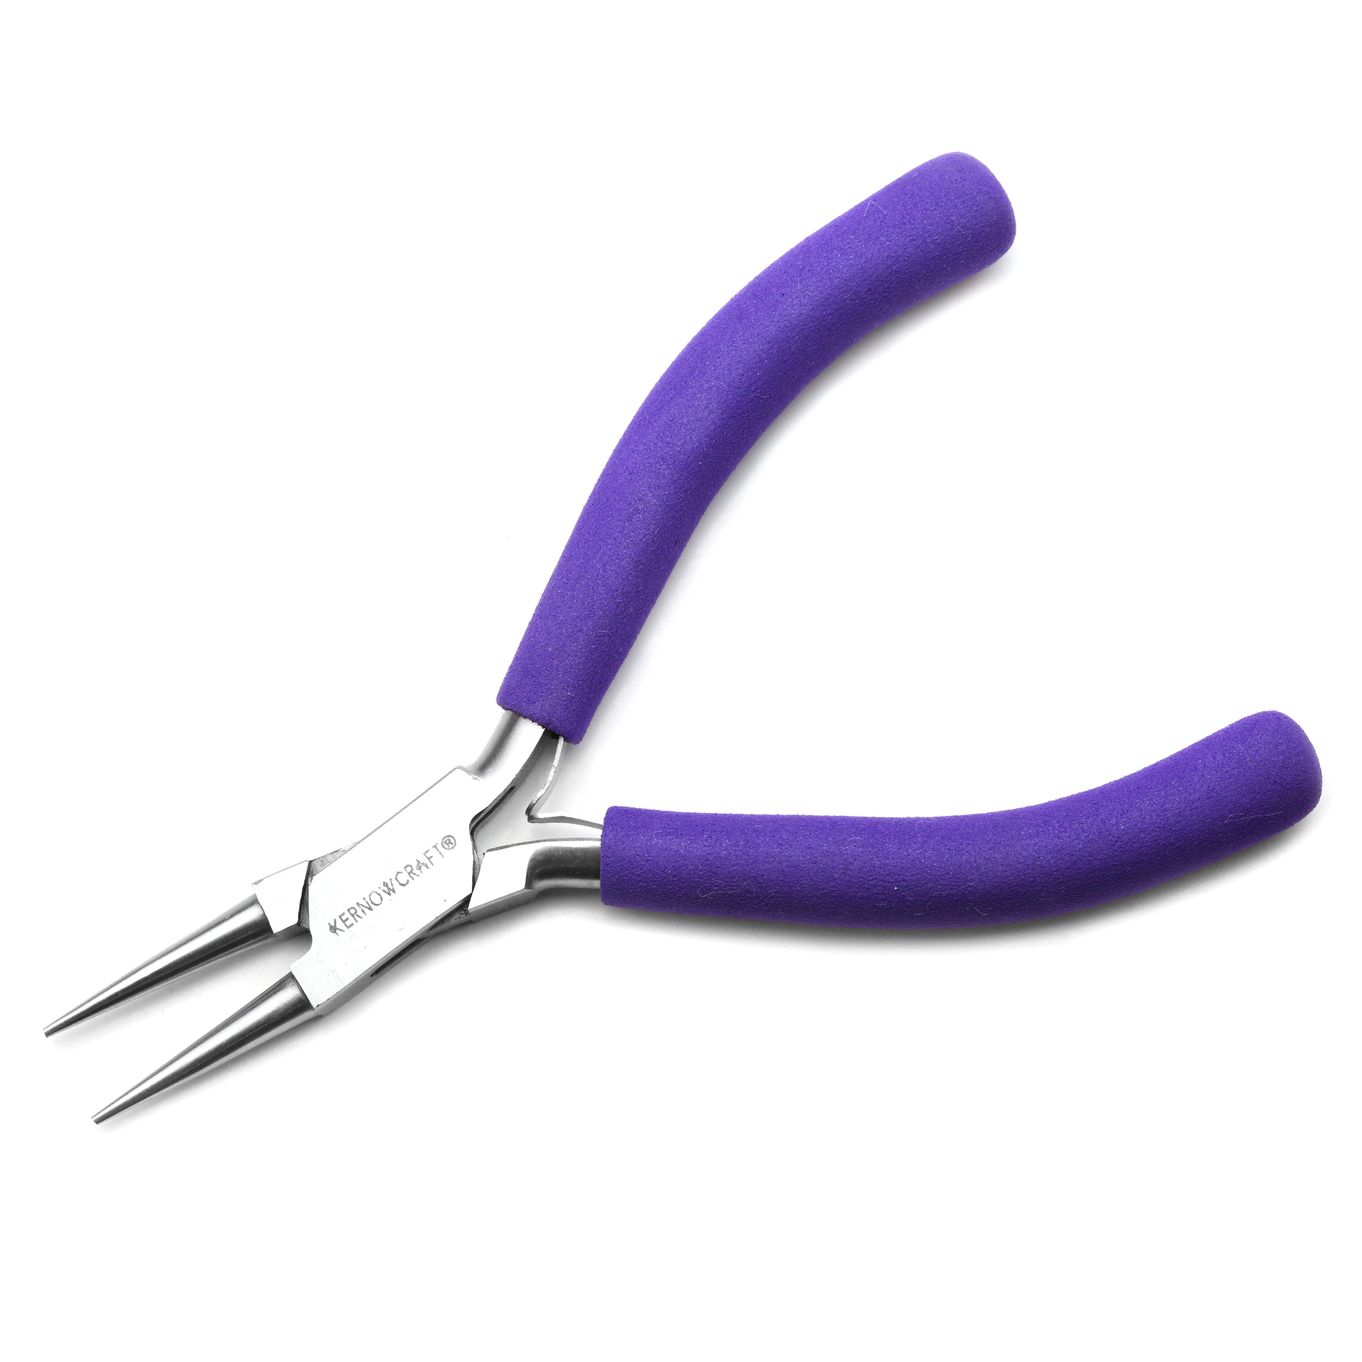
Round Nose Pliers
Round nose pliers are an essential tool for your kit, used for bending and forming loops and curves in metal wire.
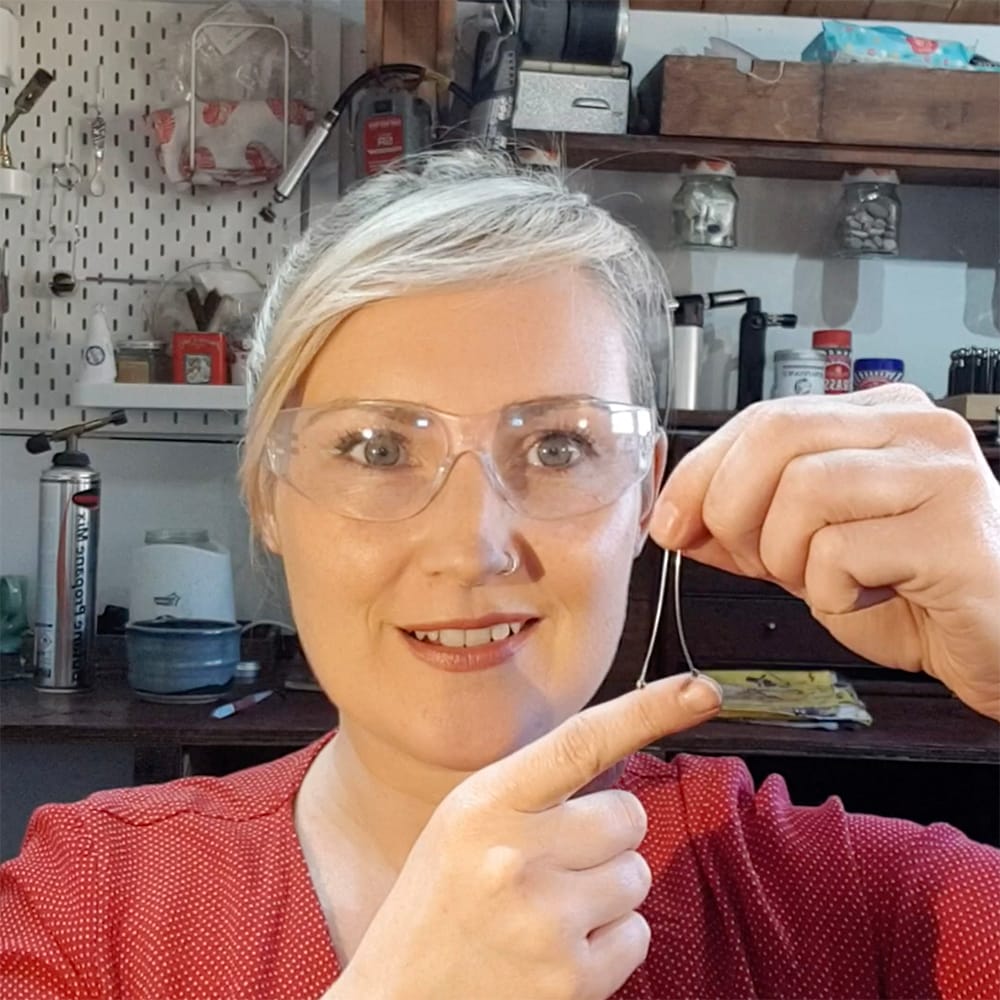
Make Your Own Head Pins For Earrings
This brilliant tutorial shows you how to use a gas torch to create little balls on the end of a piece of wire to create head pins. Head pins are great for threading a bead onto, where the ball acts as a stopper to stop the bead from falling off. Kim also shows you how to clean your head pins and how to work harden them before creating a smooth bend in the wire. Or you can just buy ready made headpins here!
Project: How To Make An Adjustable Copper Ring
Kim shares a great tutorial on how to make an adjustable ring band with an open back. Kim recommends using sheet metal 0.5mm - 1mm thick, you will also need a pen, paper, scissors, metal shears or a saw. Hammer, non metal mallet, ring mandrel and ideally a gas torch to anneal your metal. Kim also shows you how to make the ring super shiny using a teaspoon instead of a burnisher.
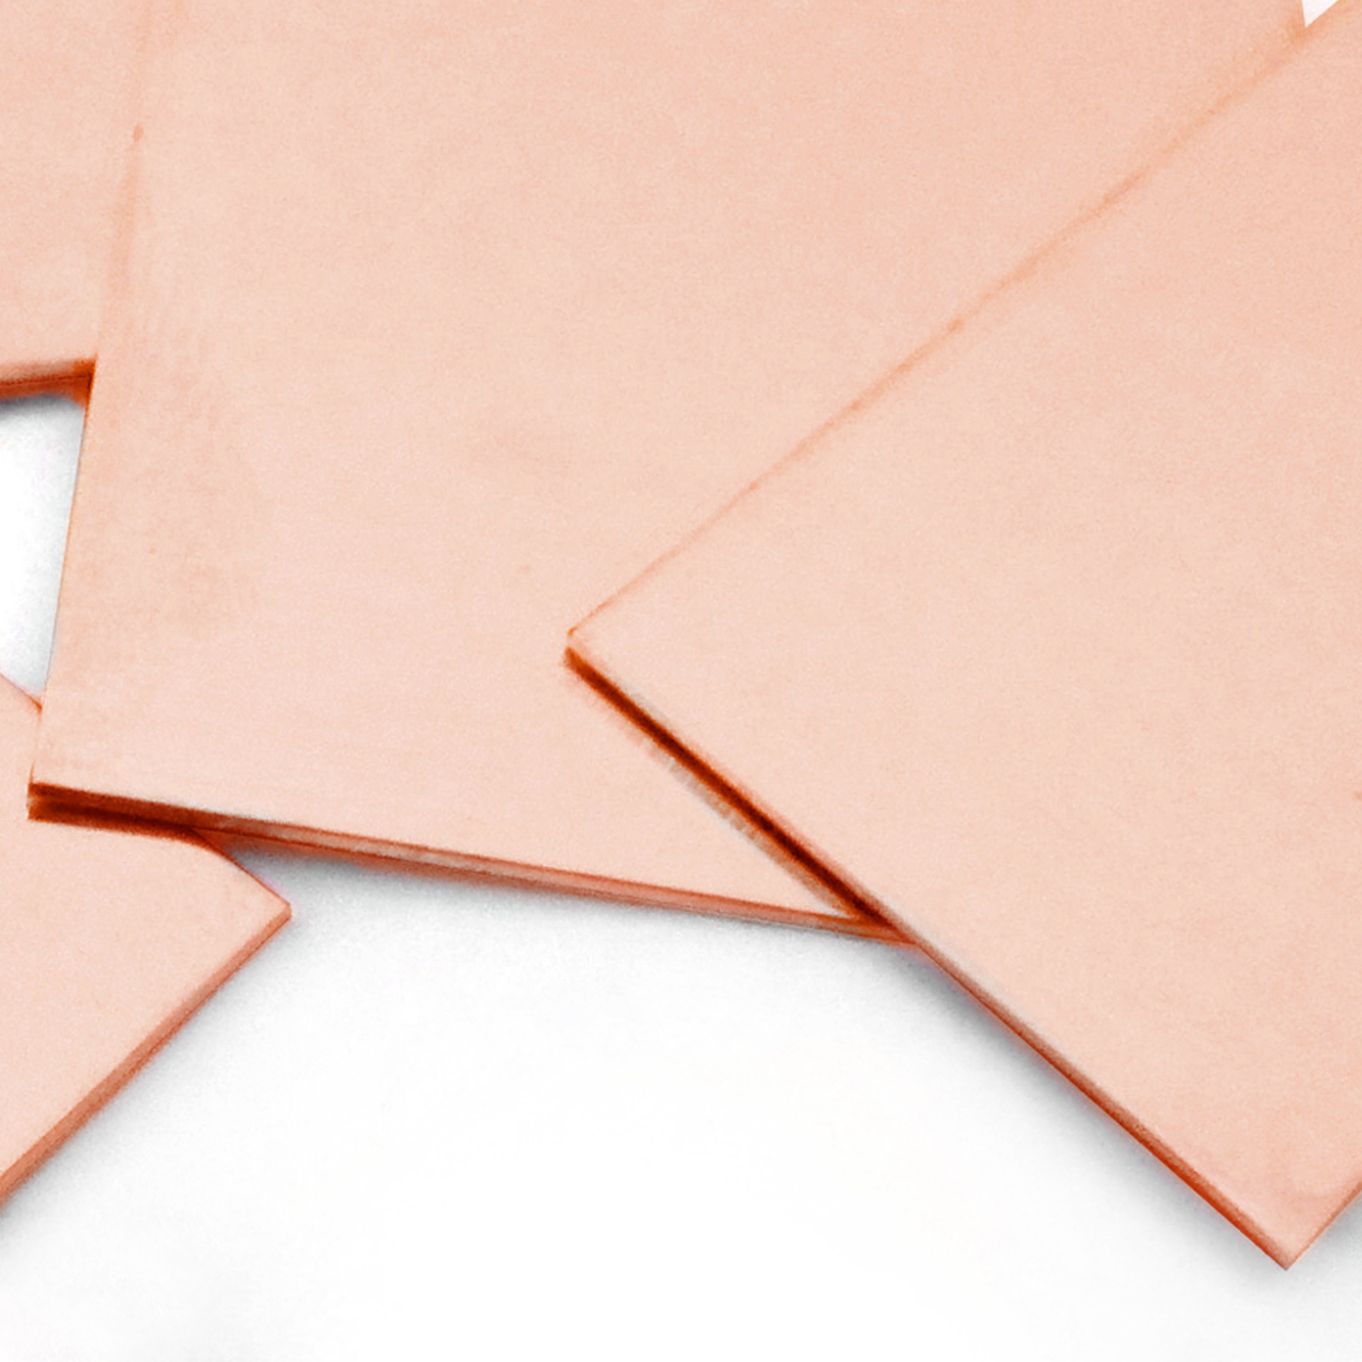
Copper Sheet
Shop copper sheet with Kernowcraft, available in a range of thicknesses for your jewellery making needs. Copper is a great metal to work with at the start of your metalsmithing journey, as it's a cheaper alternative to sterling silver.
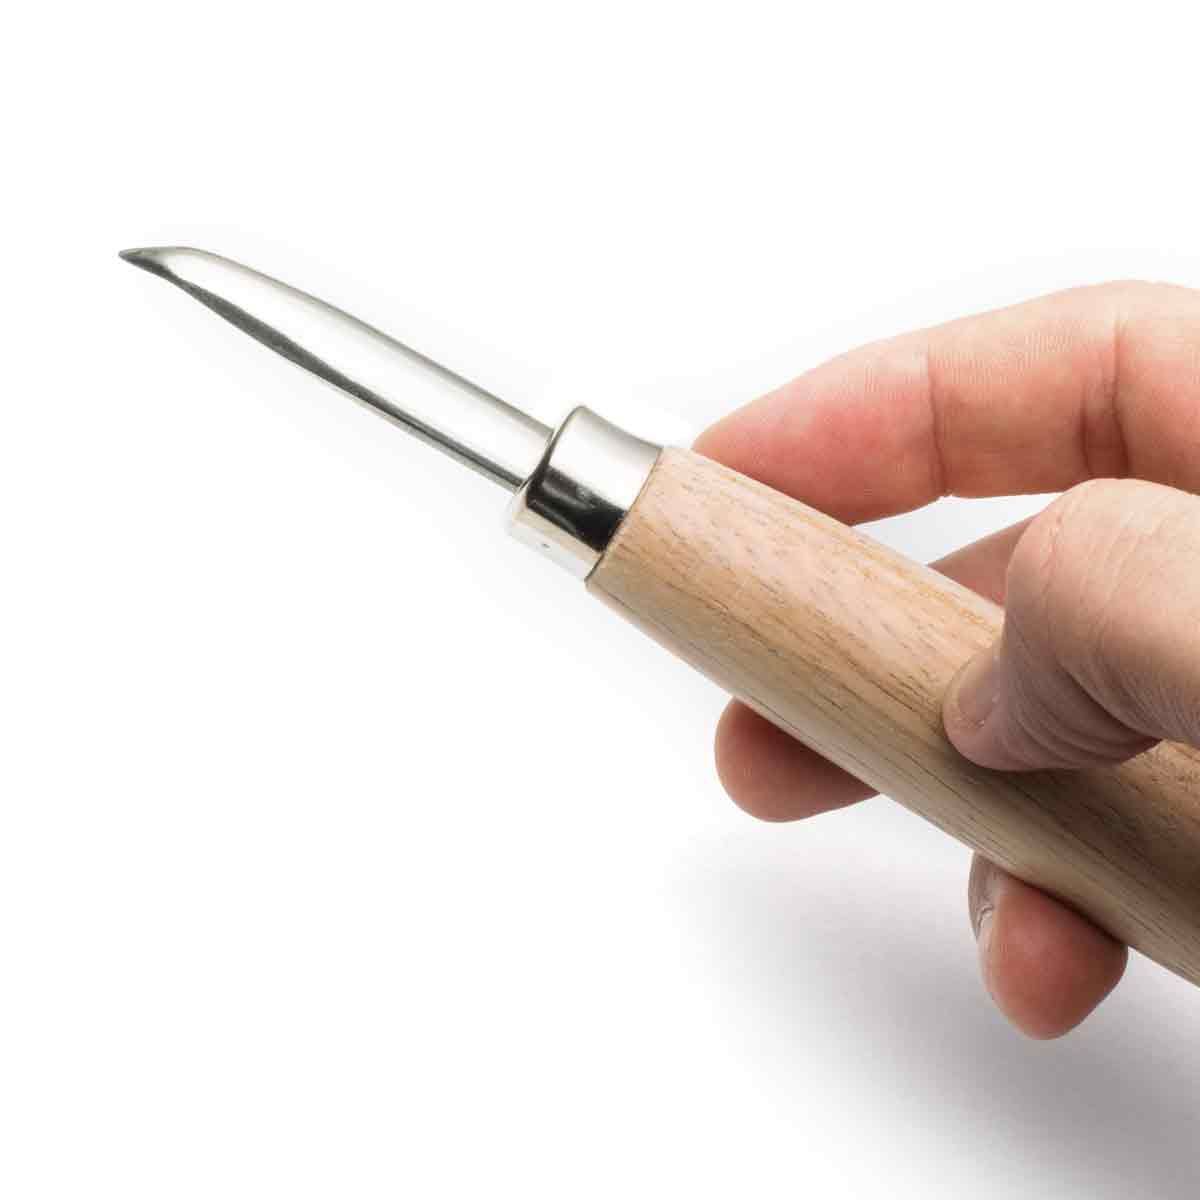
Burnisher
A steel burnisher is used to rub over softer metals such as sterling silver, gold and copper to smooth and shine the metal. It is also useful for work hardening metal too!
Fold Forming Metal & Flame Colouring
We love this video! Kim and Rachel team up to show you a method you can use to form metal into a fold. They also share techniques such as creating texture with a cross pein hammer, how to create flame colouring and how to protect your jewellery pieces with renaissance wax.
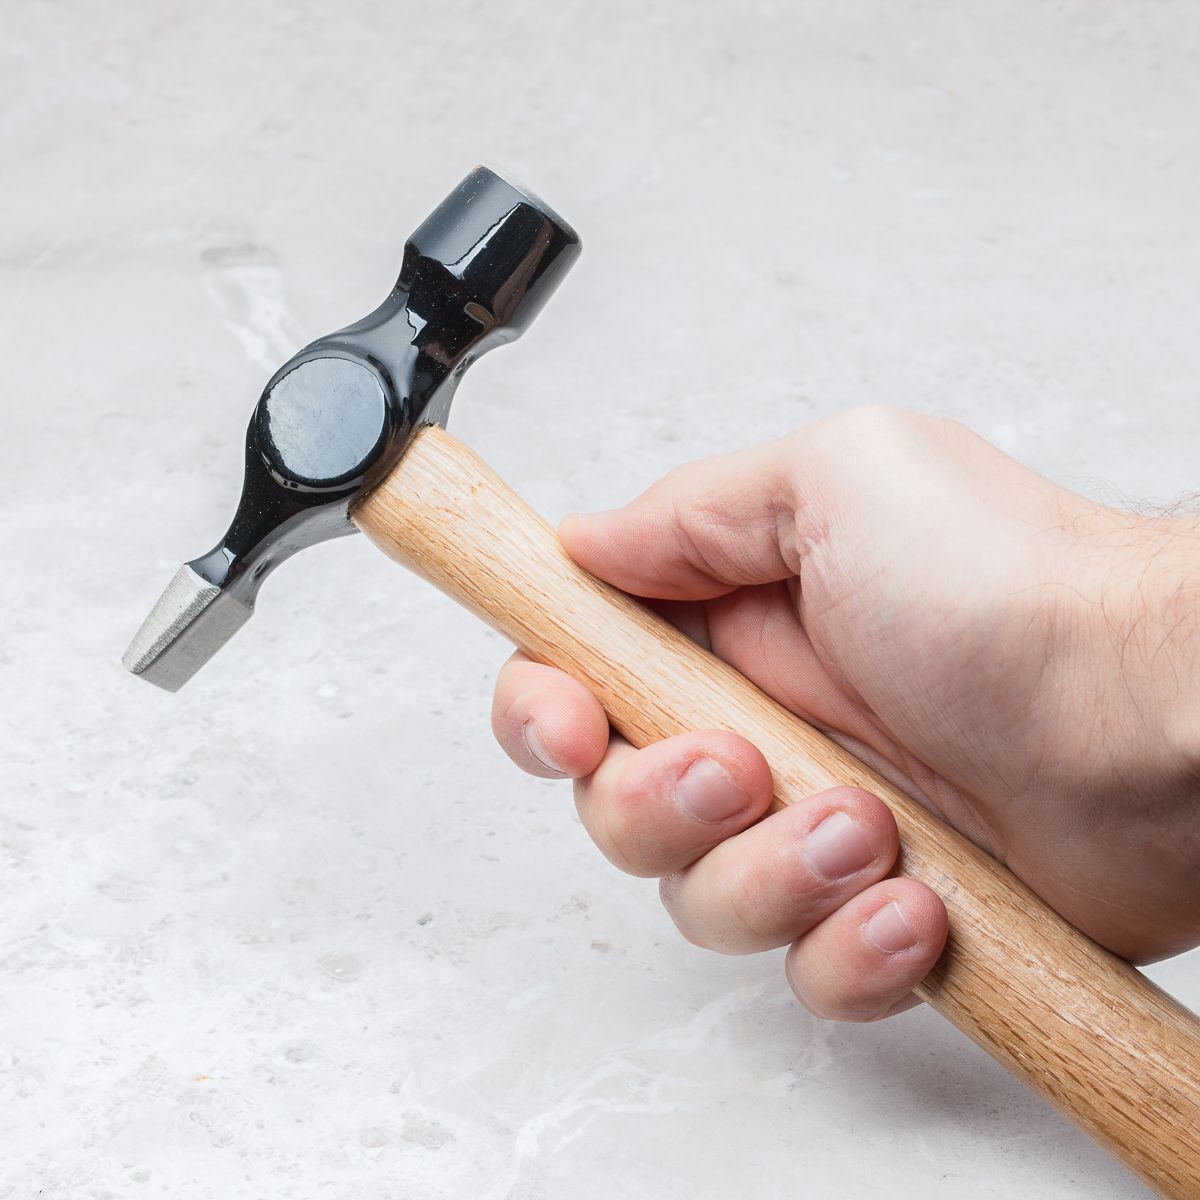
Cross Pein Hammer
Use a cross pein hammer to create amazing bark like texture on metal! It's also useful for forming metals and is a popular choice for using alongside punches and stamps.
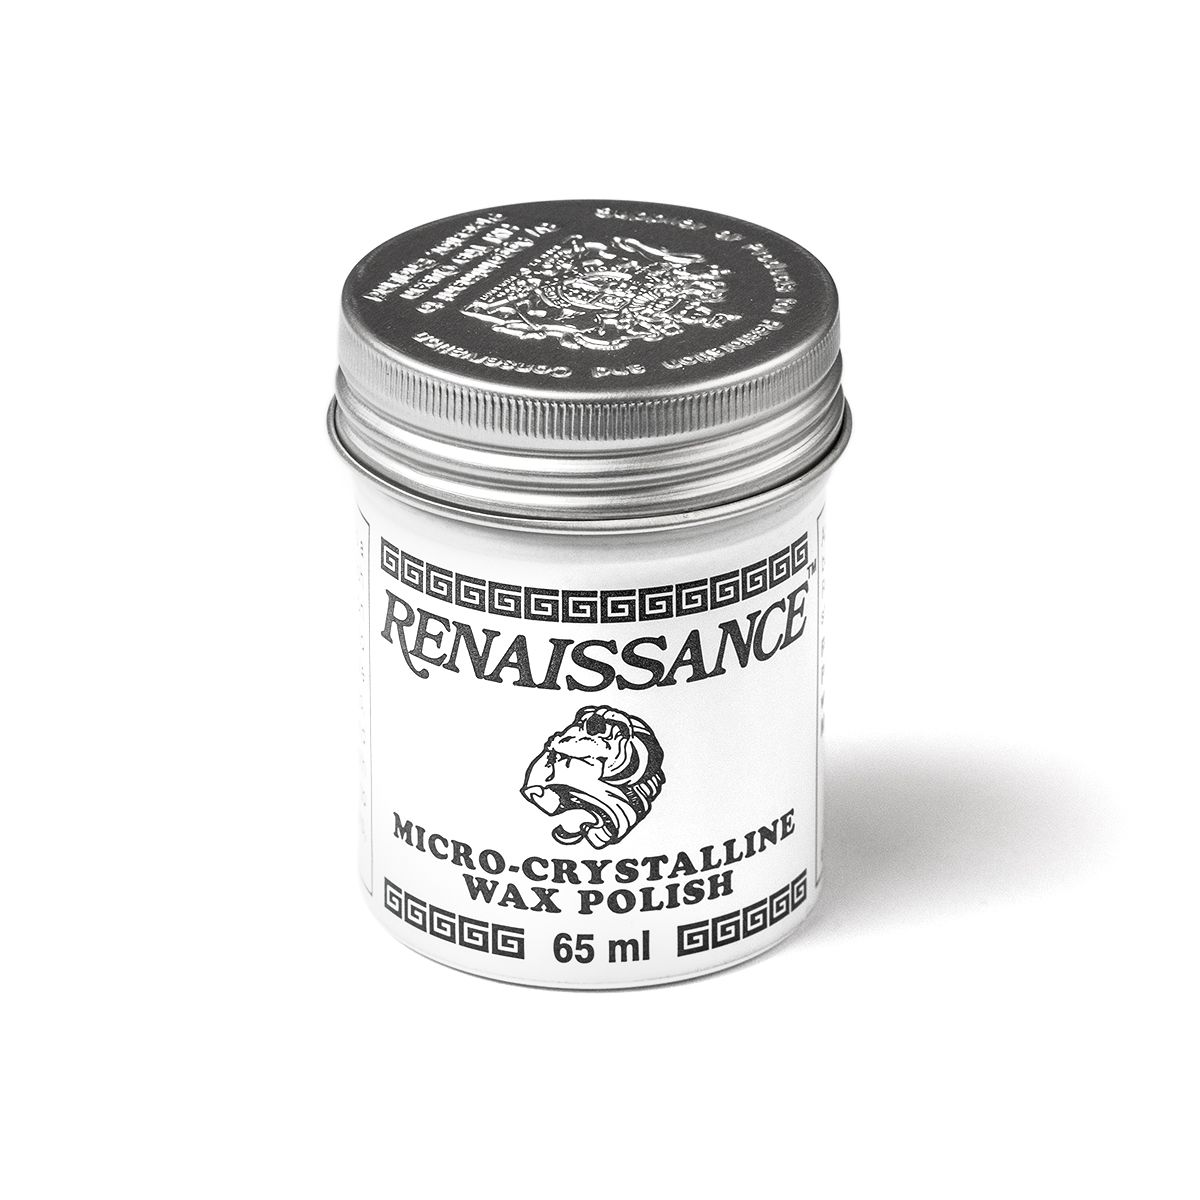
Renaissance Wax
Use this clear and protective wax on your finished metal designs to prevent them from tarnishing - you can also use it on your tools for preventing them from rusting!
Watch More From The 12 Months Of Metal Series
- 12 Months Of Metal: Basic Cutting & Texturing Metal For Jewellery Making
- 12 Months Of Metal: Sawing Metal For Jewellery Making
- 12 Months Of Metal: Forming Metal
- 12 Months Of Metal: Soldering For Jewellery Making
- 12 Months Of Metal: Cabochon Setting Tutorials
- 12 Months Of Metal: How To Use A Rolling Mill
- 12 Months Of Metal: Riveting & Cold Connections For Jewellery Making
- 12 Months Of Metal: Metal Etching
- 12 Months Of Metal: Claw Setting Tutorials
- 12 Months Of Metal: Reticulation
- 12 Months Of Metal: Hollow Jewellery Tutorials
- 12 Months Of Metal: Casting & Granulation For Jewellery Making
- Larkman's Legacy & Kim's Trip To Geevor Tin Mine, Cornwall