2 Ways To Make Wire Earrings
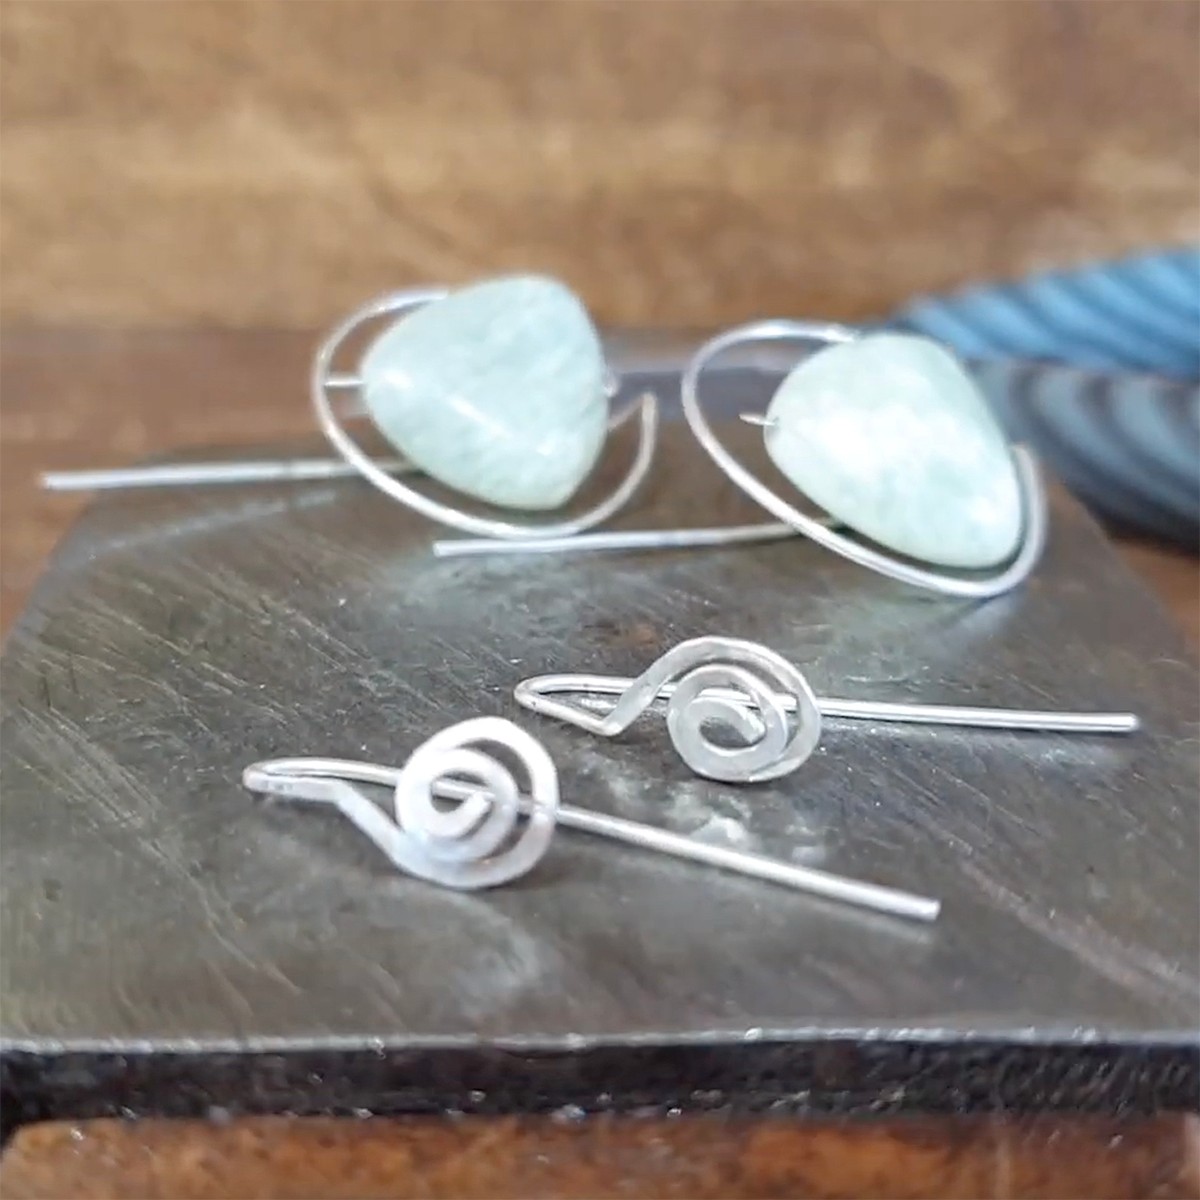
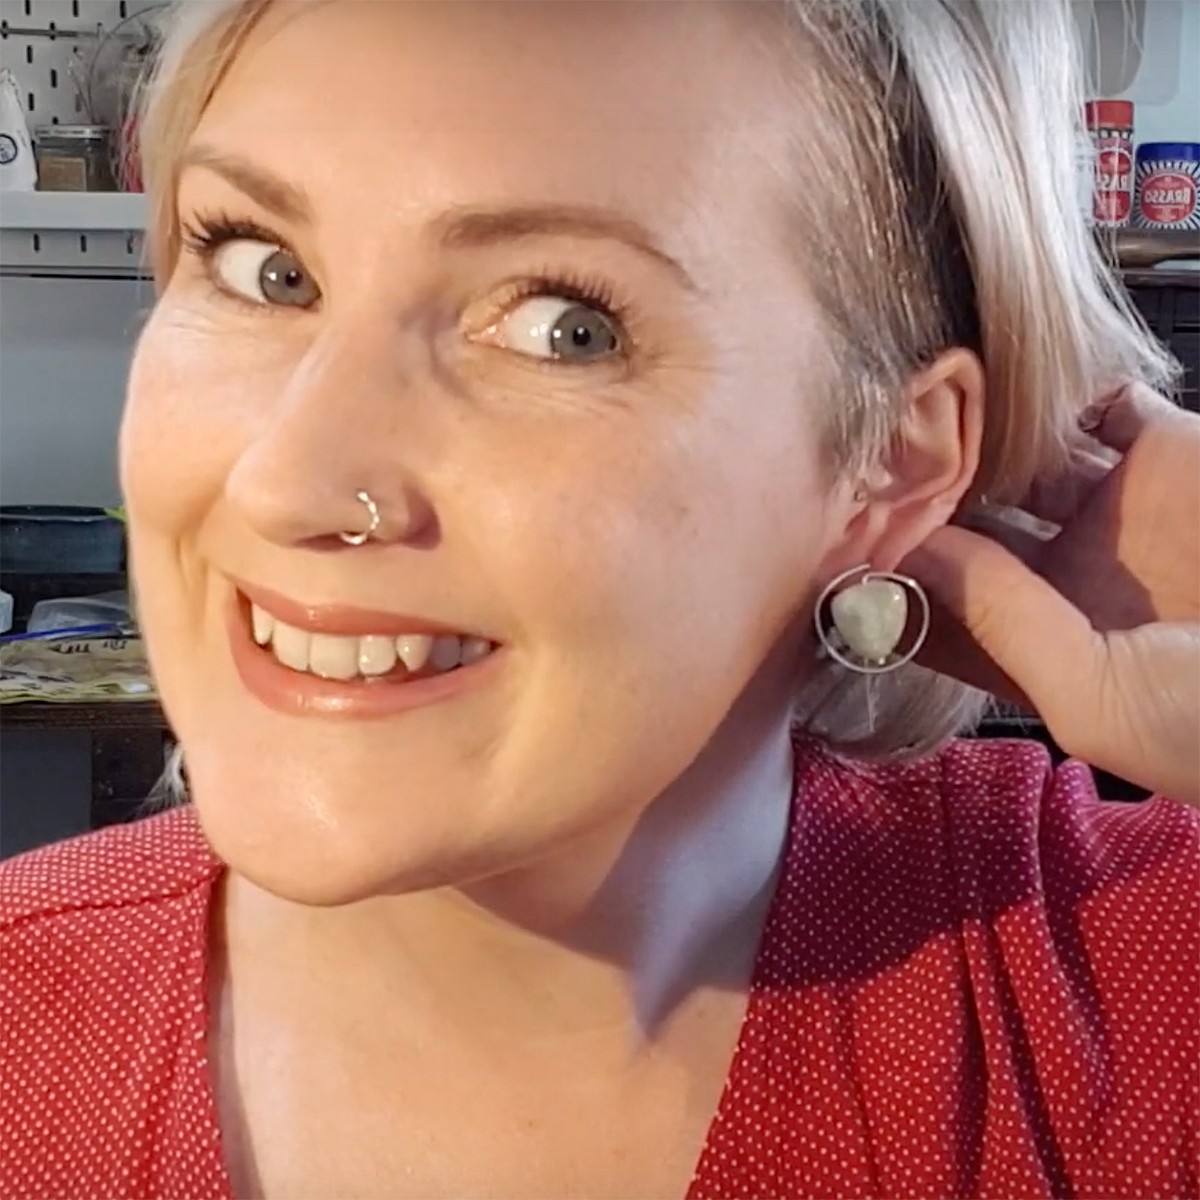
In this brilliant jewellery making tutorial with Kim Thomson, you can learn how easy it is to make your own earrings from scratch using metal wire.
Kim walks you through every step, explaining what materials and tools are needed (also listed at the bottom of this page), while also sharing top tips along the way.
The tutorial will show you how you can use jewellery making pliers to manipulate wire and create interesting shapes, while also incorporate gemstone beads!
Watch The Tutorial On How To Make Wire Earrings
This video is part of our 12 Months Of Metal tutorial series with Kim Thomson!
Project 1: Bead Earrings
Watch the video above for detailed step by step instructions.
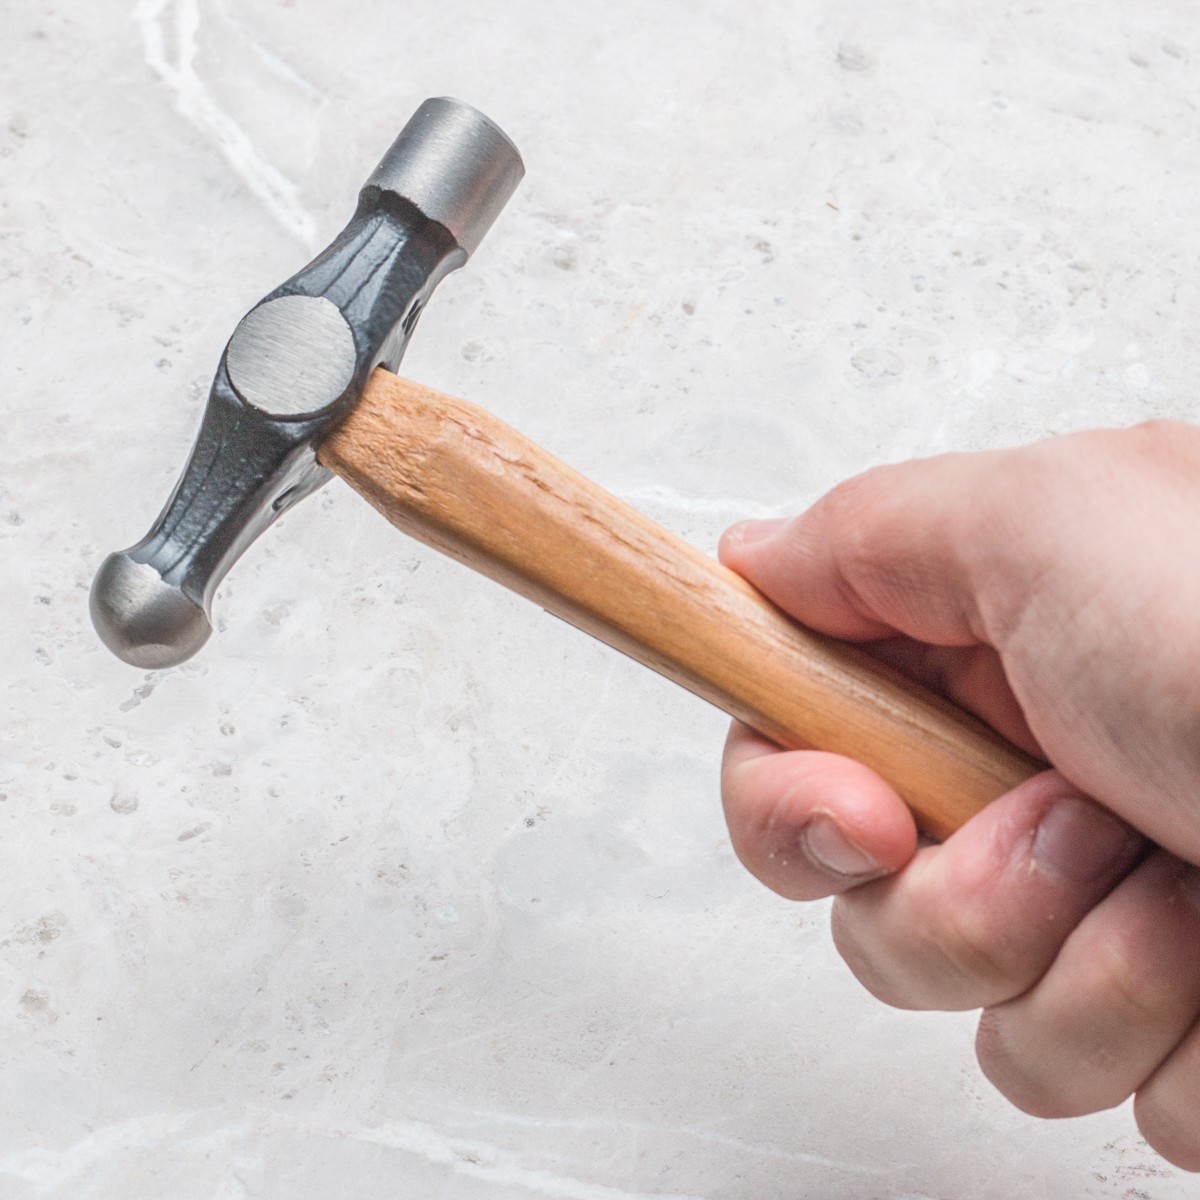
1. Firstly, use the flat side of a ball pein hammer to flatten the end of the wire to create a paddle shape. This will act as a stopper for the bead.
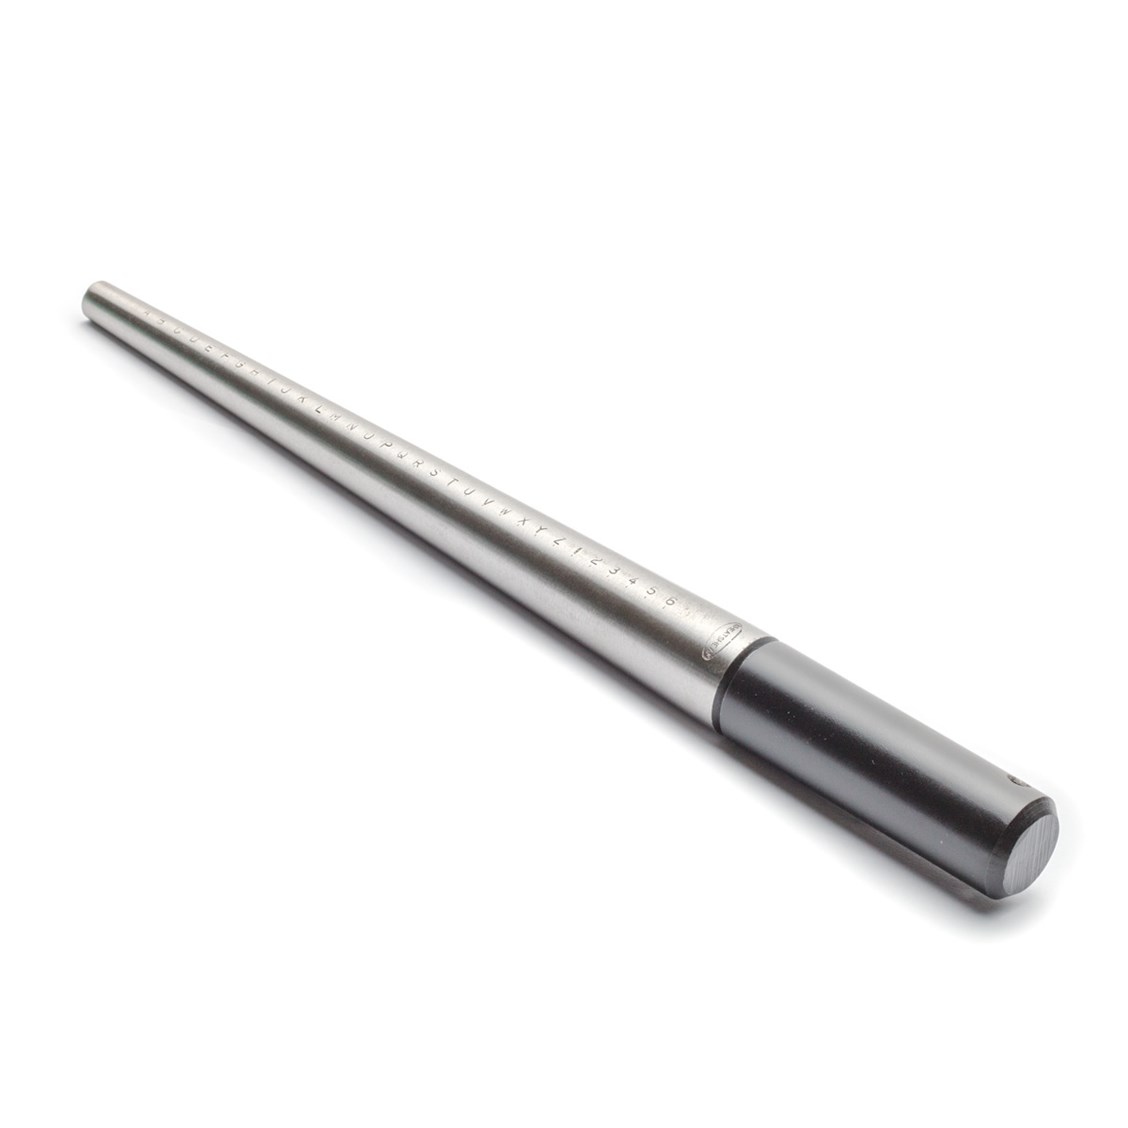
2. Thread the bead onto the wire and wrap the wire around a mandrel to create a loop.
3. Using snipe nose pliers, grip the wire above the bead and bend to a right angle. Use your fingers to manipulate the bead to sit inside the formed hoop that you have created with the wire.
4. Use snipe nose pliers to put a right angle bend in the wire so it's level with the top of the bead hole.
5. Use side cutters to trim down the wire using side cutters.
6. Straighten out the wire by using the snipe nose pliers and give it a tap with a rawhide mallet to work harden the metal.
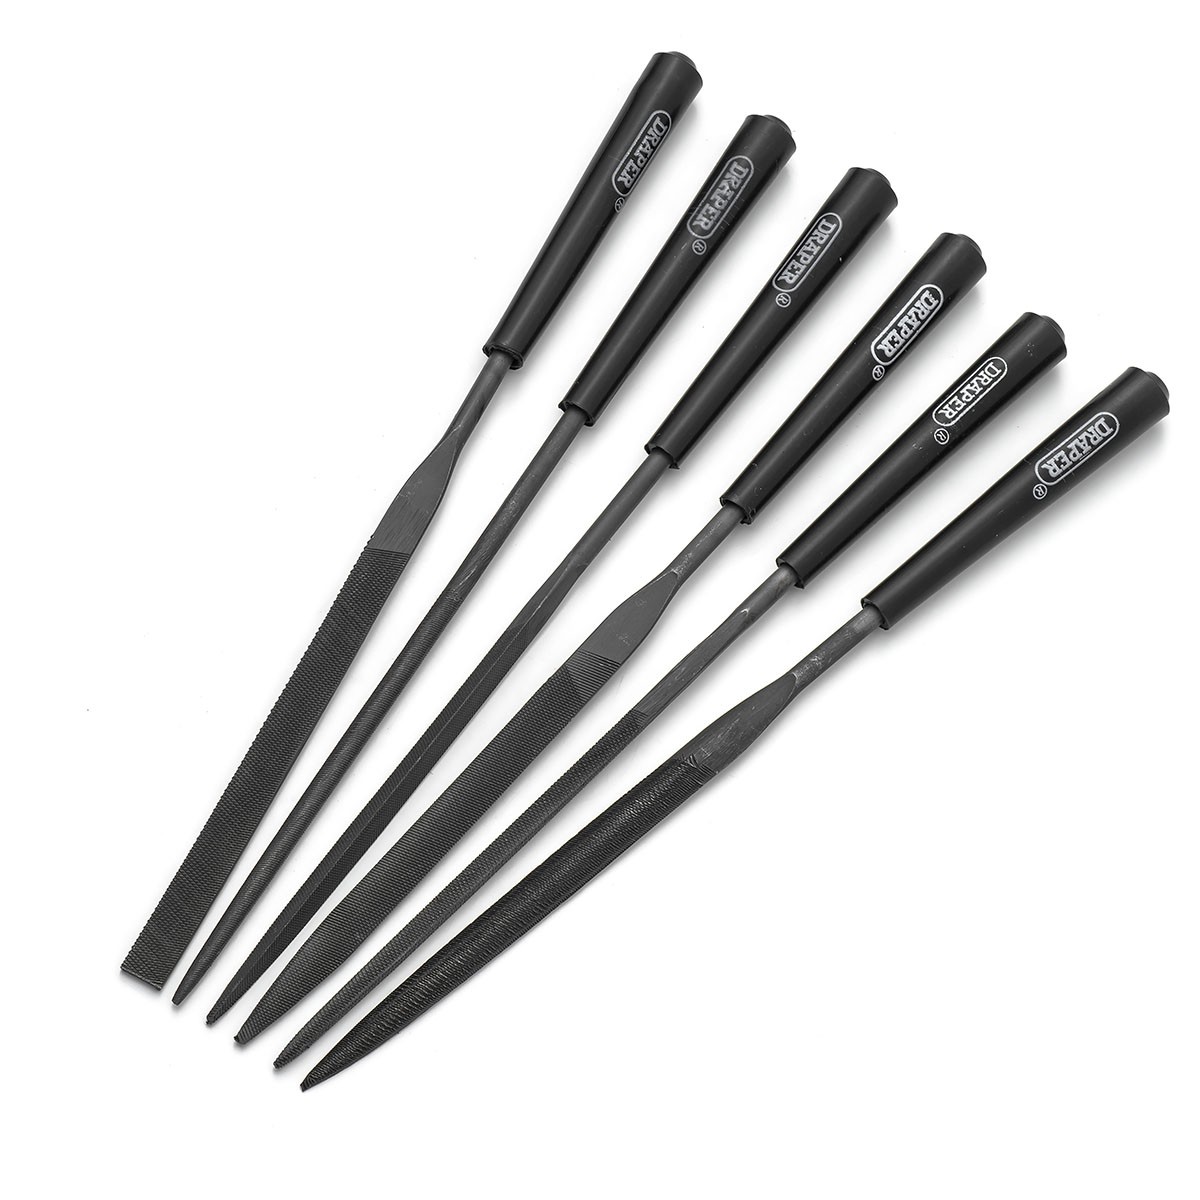
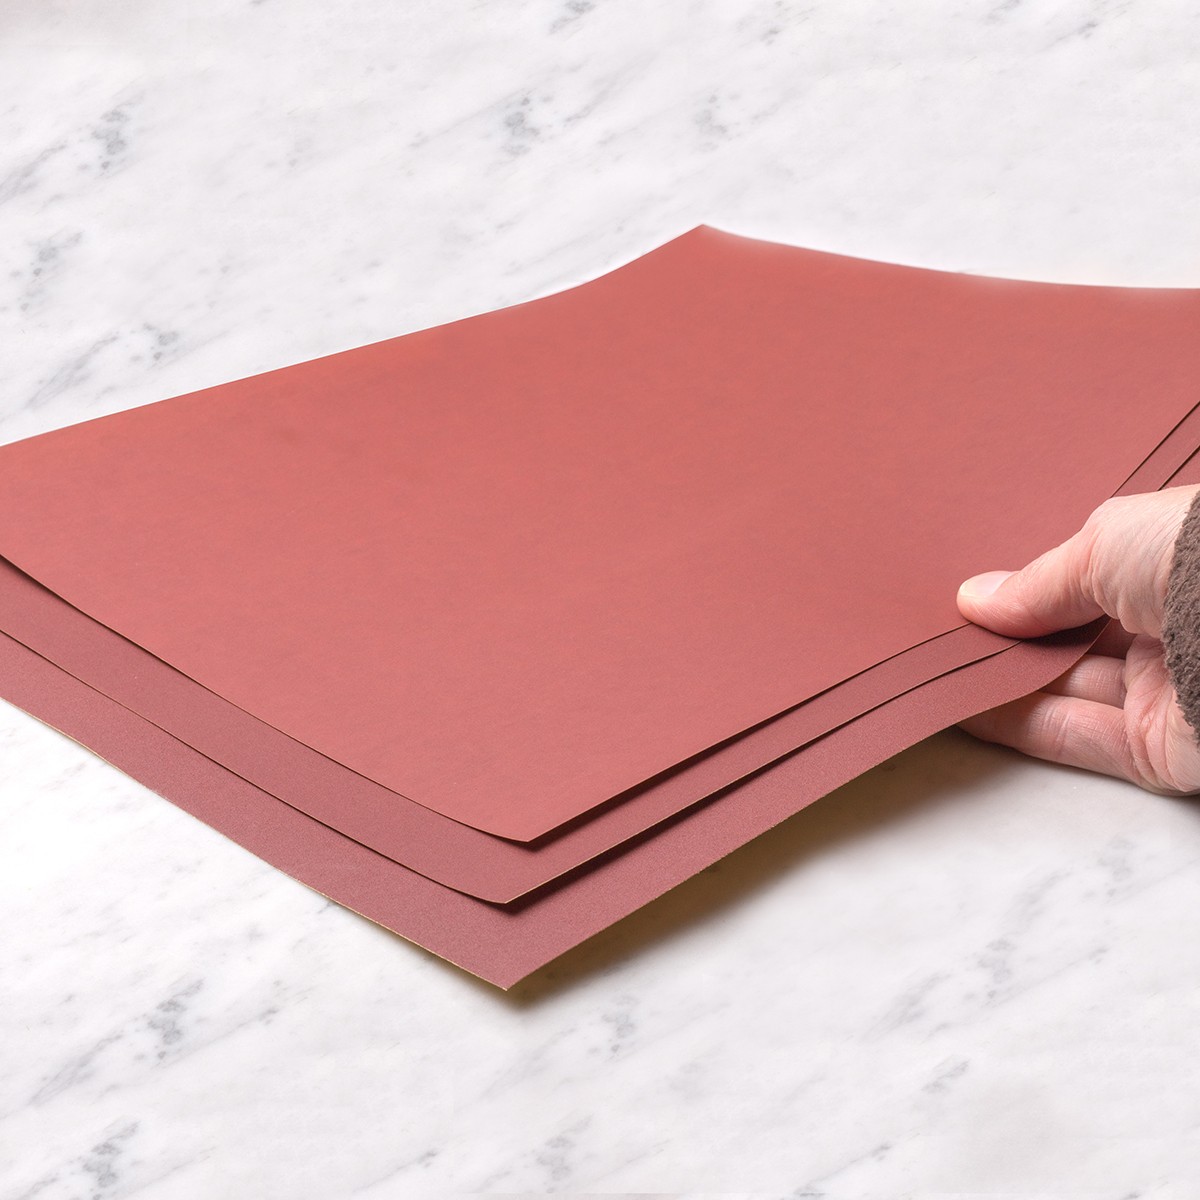
7. Use a file and wet and dry sanding sheets to neaten the edge of the wire which will go through your ear, removing any sharp edges.
8. Repeat these steps for the other earring.
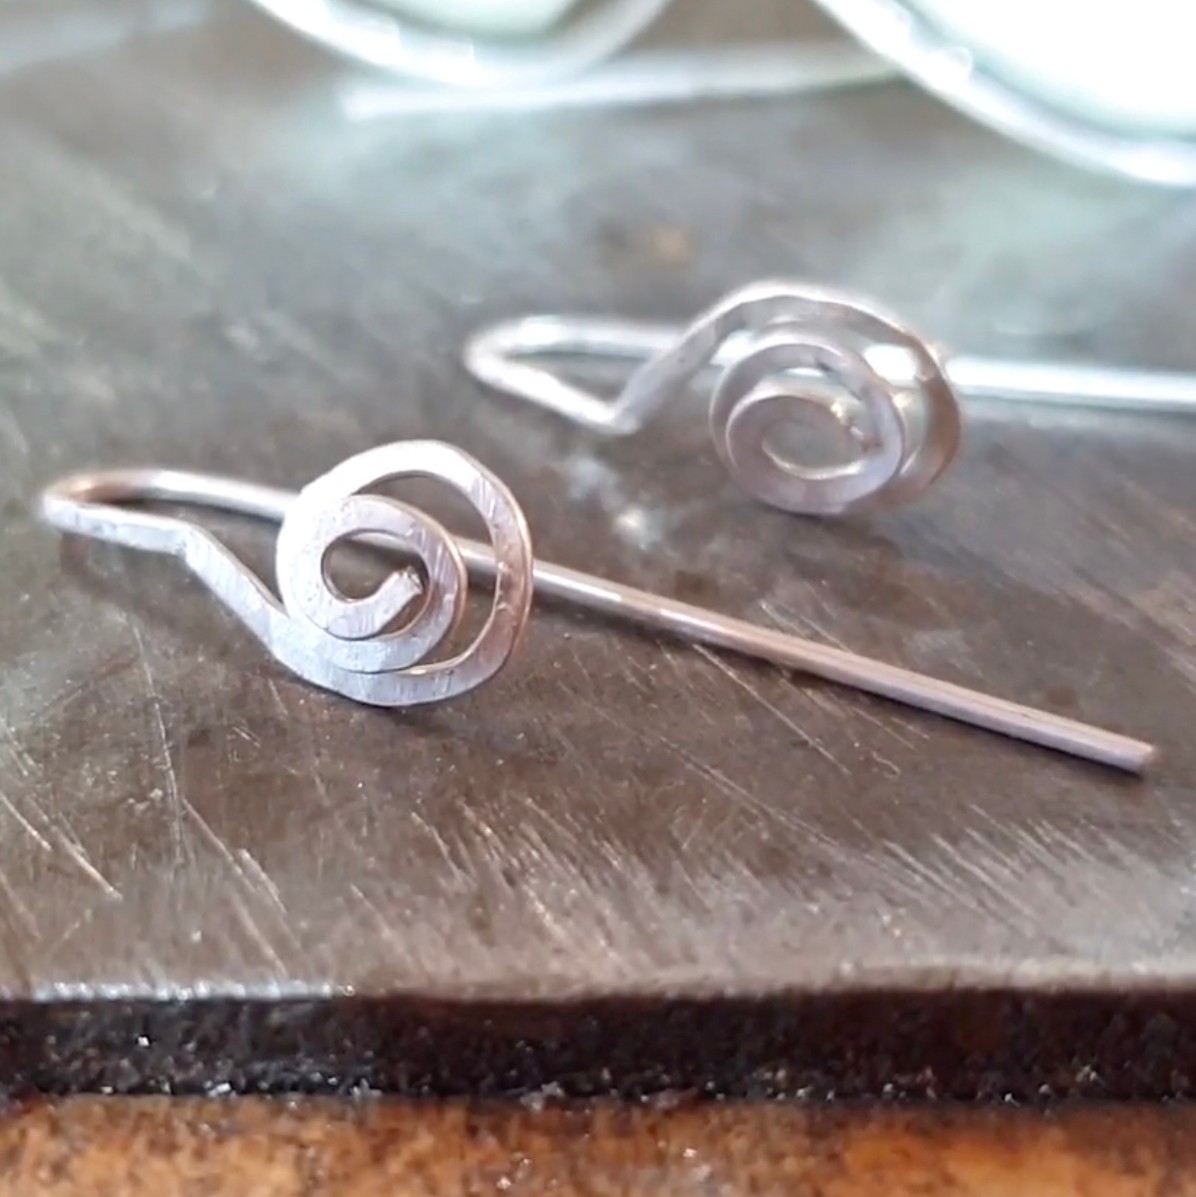
Project 2: Spiral Earrings
Watch the video above for detailed step by step instructions.
1. Begin by filing the ends of the wire.
2. Grip the end of the wire using the tips of round nose pliers, and use your thumb to support the wire to then create a loop at the top of the wire.
3. Use snipe nose pliers to hold onto the loop and twist the wire to a right angle.
4. Rotate the wire back to its previous position and repeat the previous step to begin forming a spiral.
5. Use the flat end of the ball pein hammer to tap the spiral to give a hammered effect.
6. You can then use snipe nose pliers to push the spiral out slightly to give it more of a 3D effect.
7. Use snipe nose pliers to hold the straight bit of wire and twist the wire until the spiral is central.
8. Use round nose pliers and fold the wire down over the pliers to create a curve.
9. Check that the end of the wire is the same length and trim if needed, then file to neaten the ends.
10. Work harden the end of the metal using a rawhide mallet.
11. Repeat these steps to create the other earring.
Recommended Tools For Handmade Wire Earrings
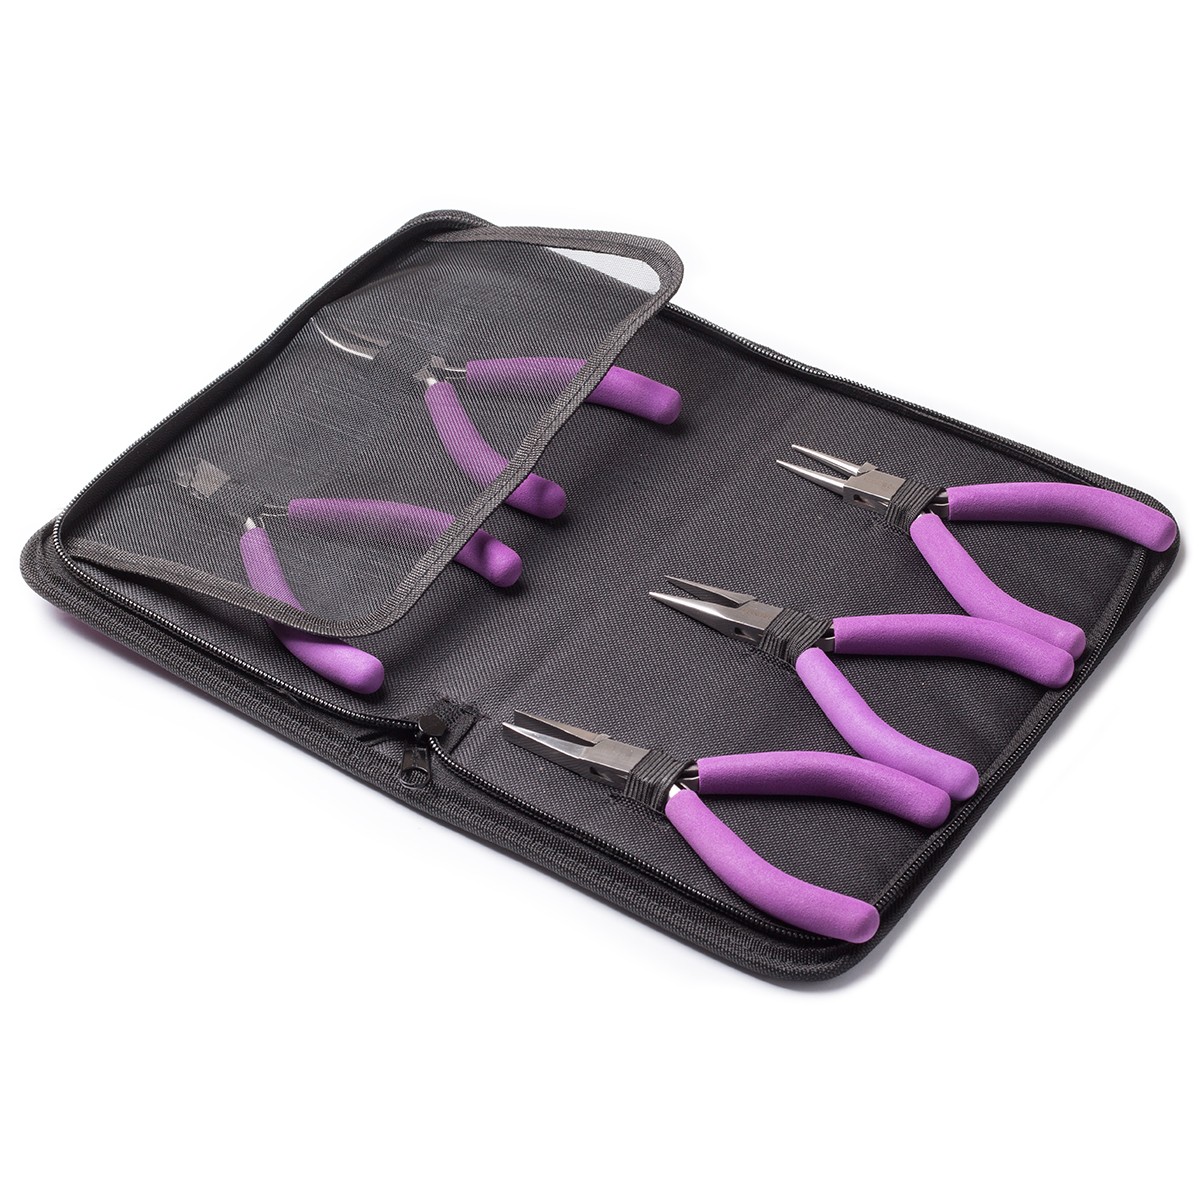
Pack of Pliers & Side Cutters
Our handy pack of pliers contains all the pliers you may need for wire work and jewellery making.
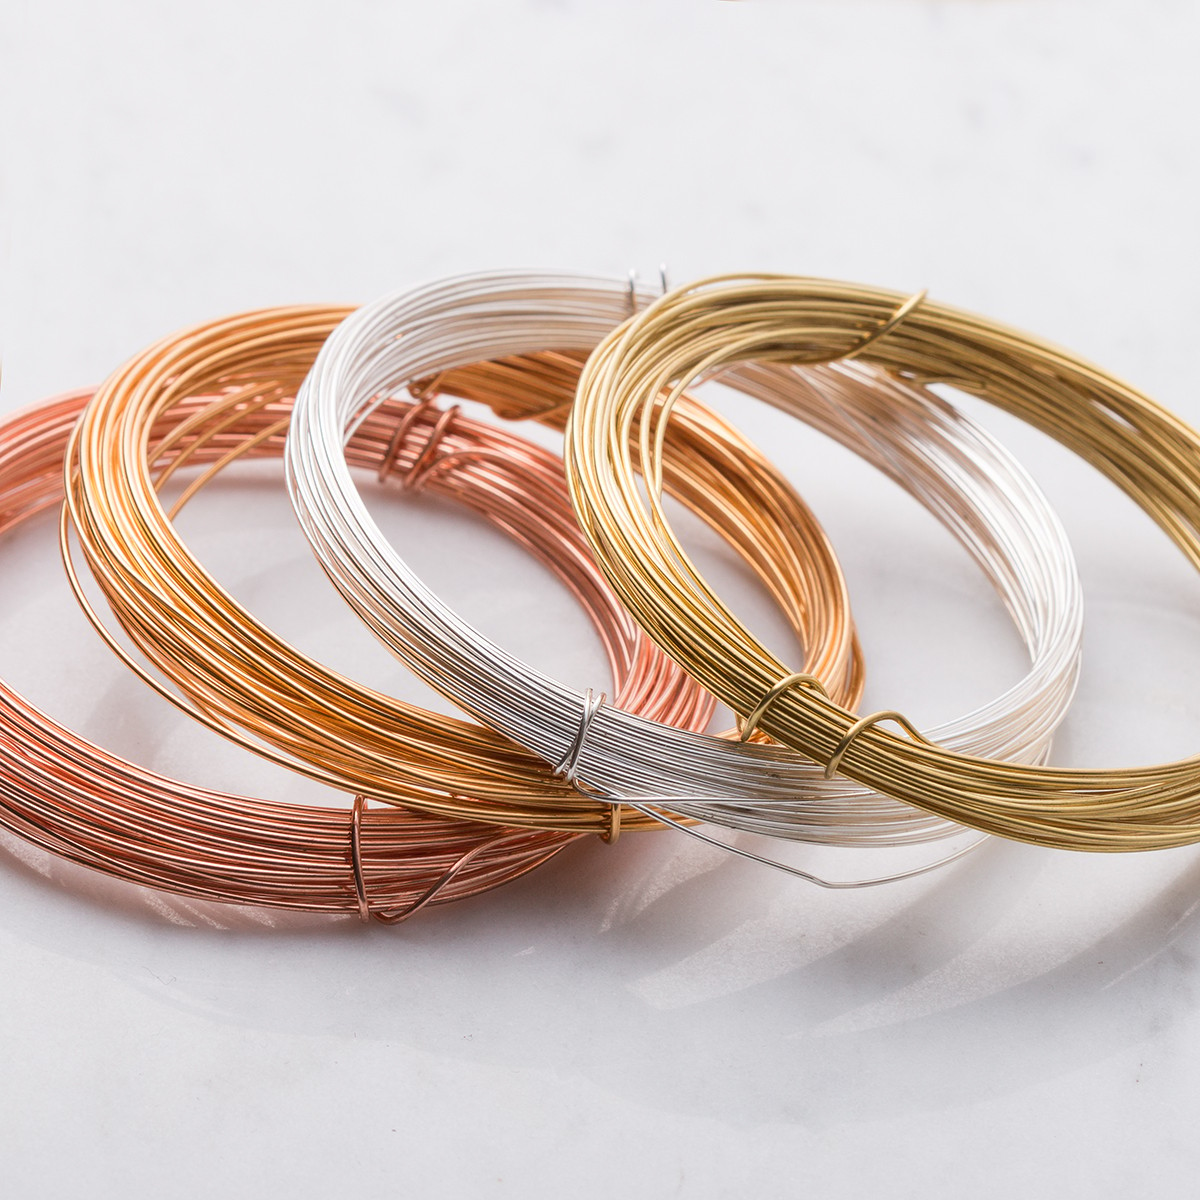
Jewellery Wire
What metal wire will you choose for your earrings? We have a whole range to choose from.
We recommend using 0.8mm wire for earrings.
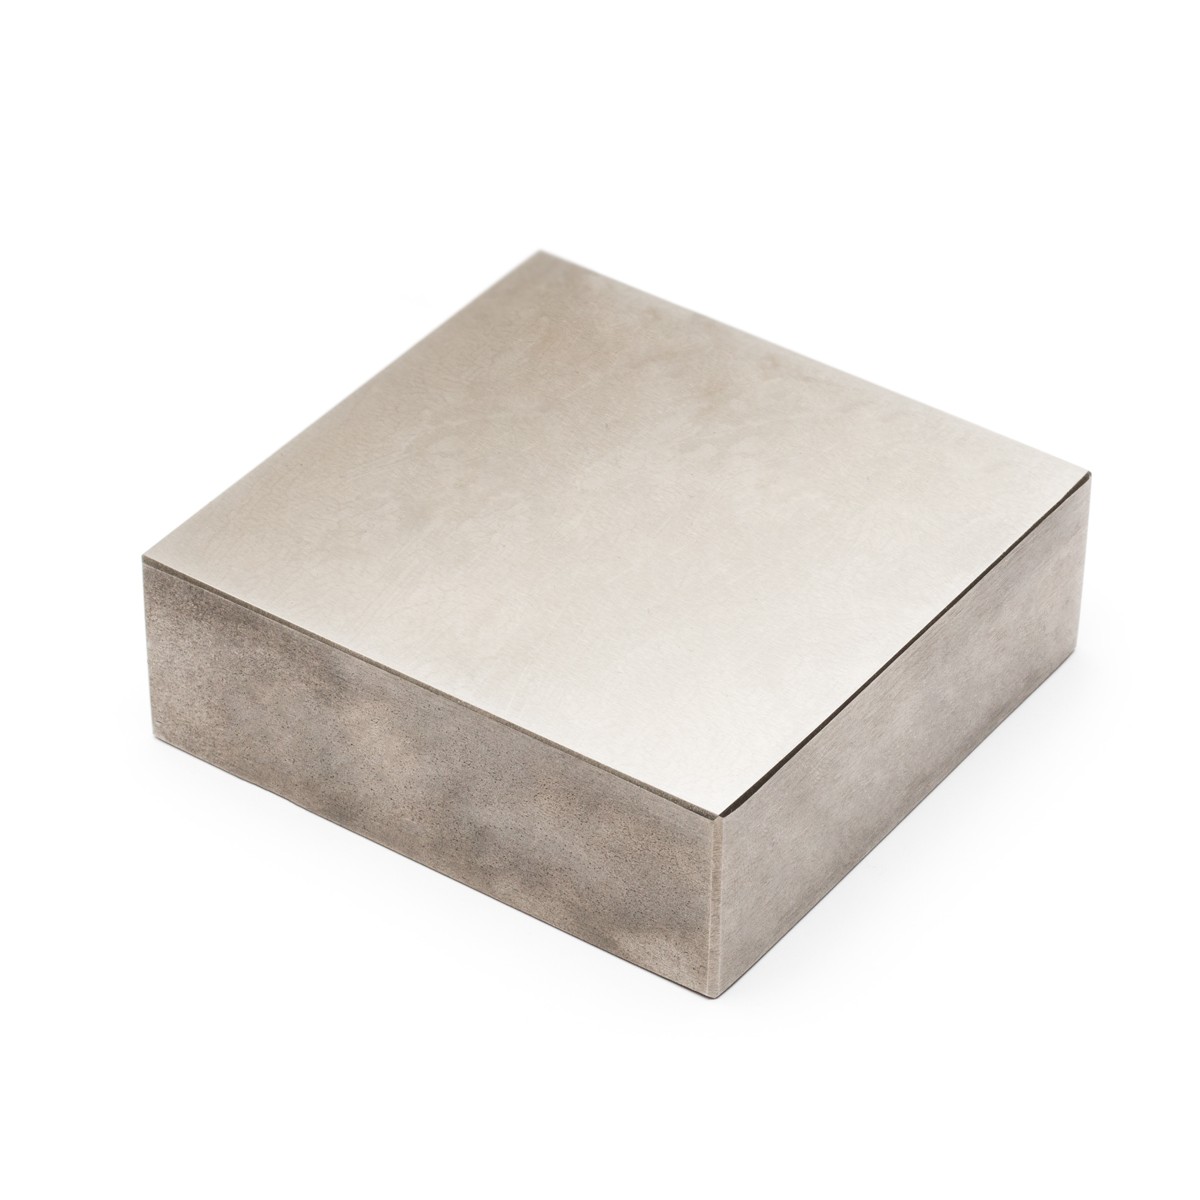
Steel Block
Kim uses her anvil & bench peg for support, but if you don't have one you can use a steel block which will act as a secure surface for hammering on.
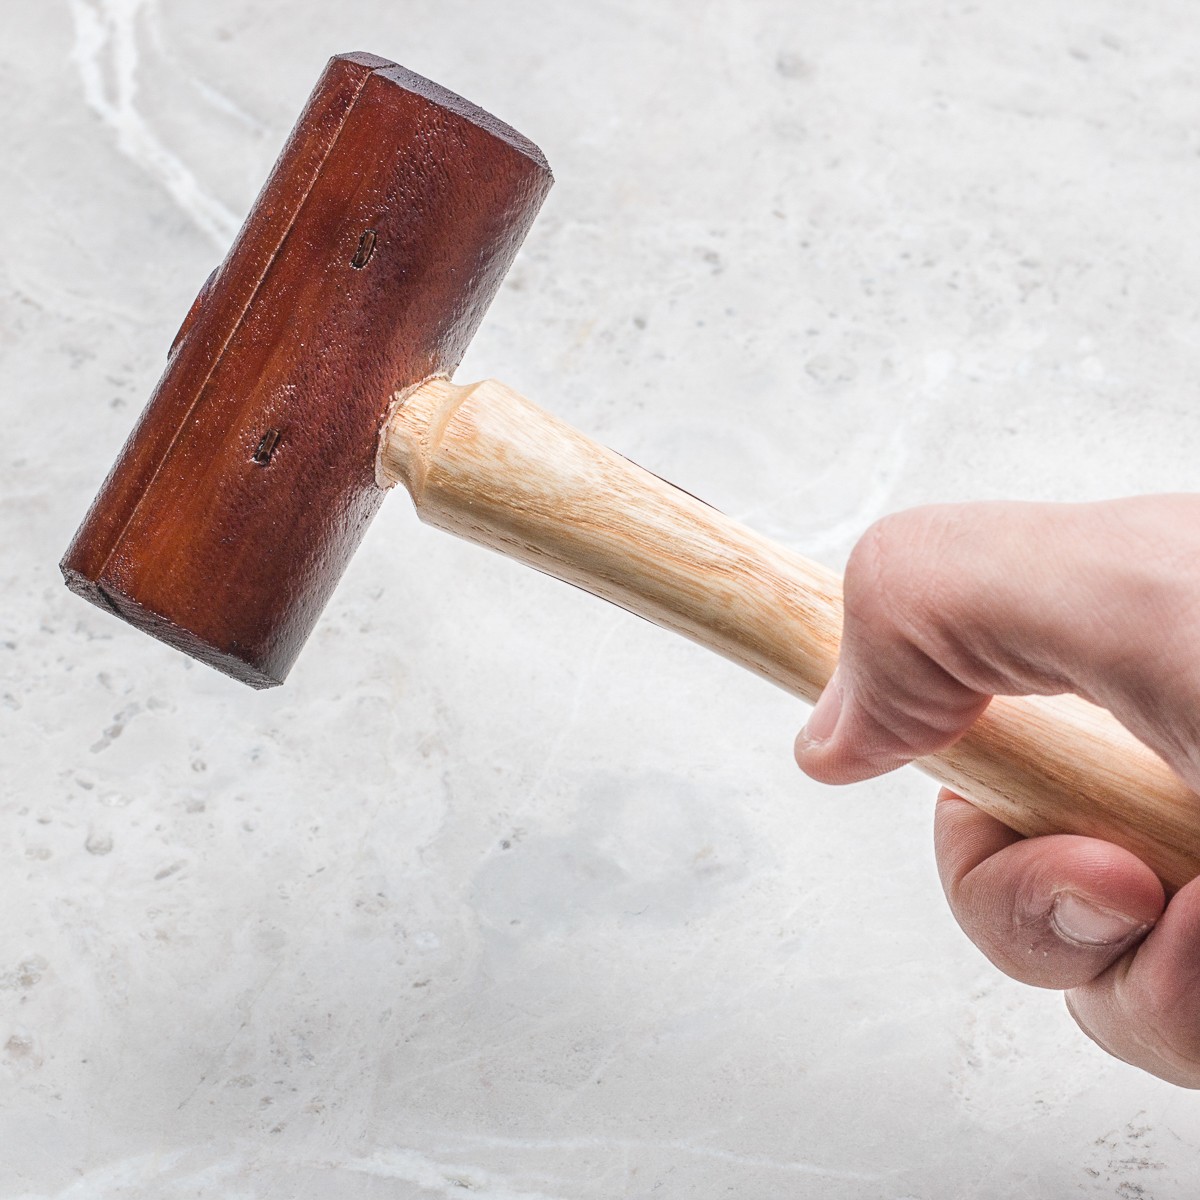
Rawhide Mallet
Use this mallet to work harden your earrings by gently tapping your design on a steel block.
Ball Pein Hammer
This hammer is great for texturing your handmade designs! As Kim showed you in the video above, you can use the round end to create a lovely hammered effect to add interest.
Wet & Dry Sanding Sheets
Use these sheets to remove file marks, you can then use our polishing papers if you would like to bring your handmade earrings to a high shine.

