Fuchsia Pink Chalcedony Hoop Earrings
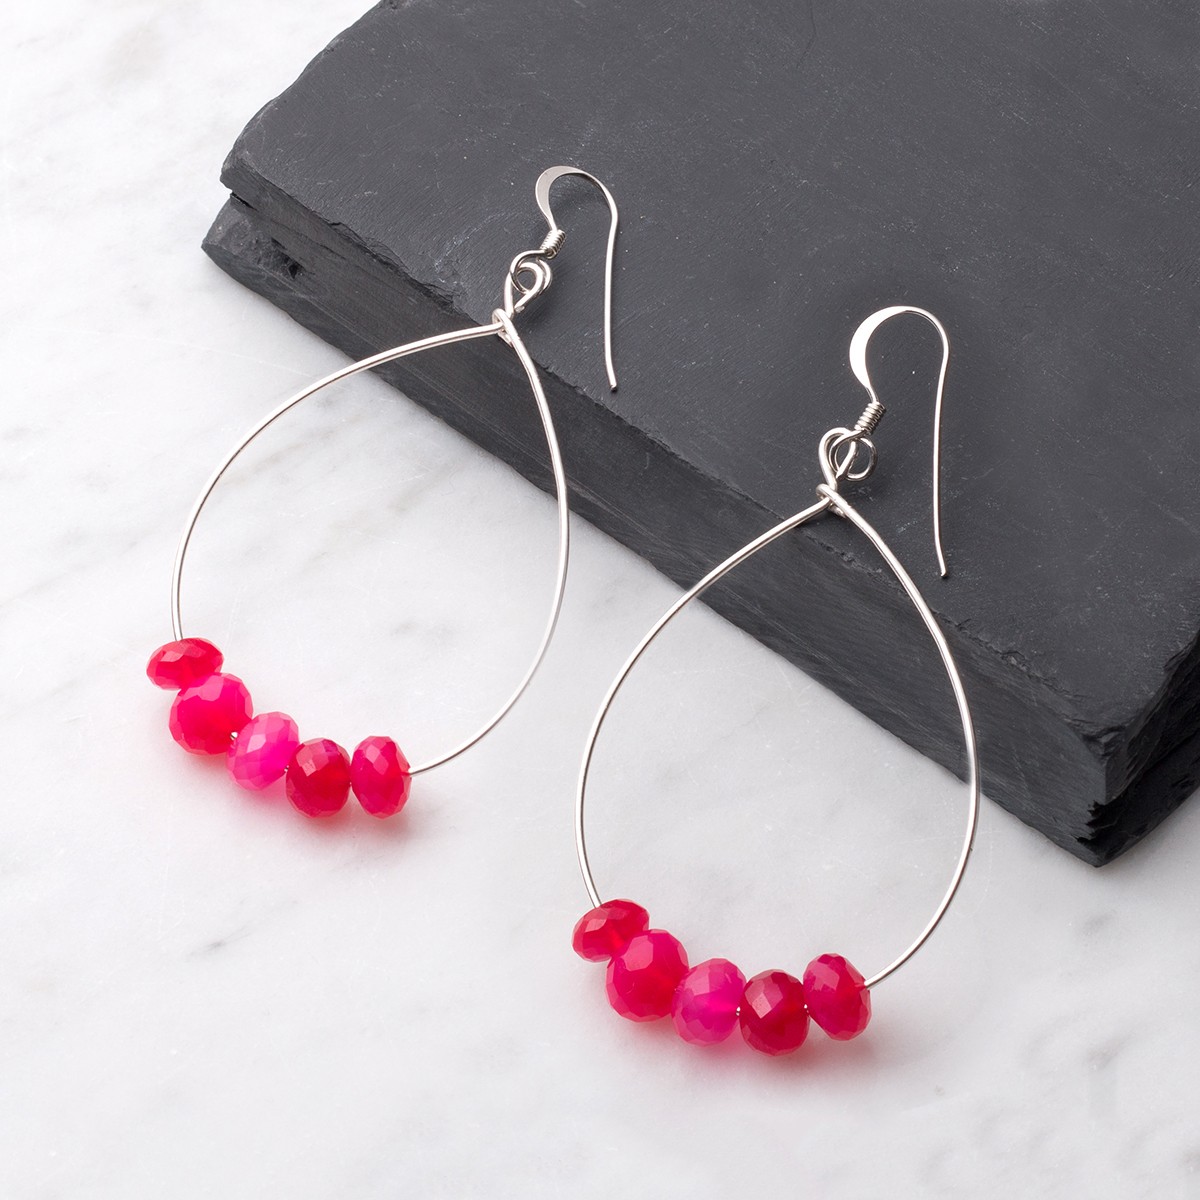
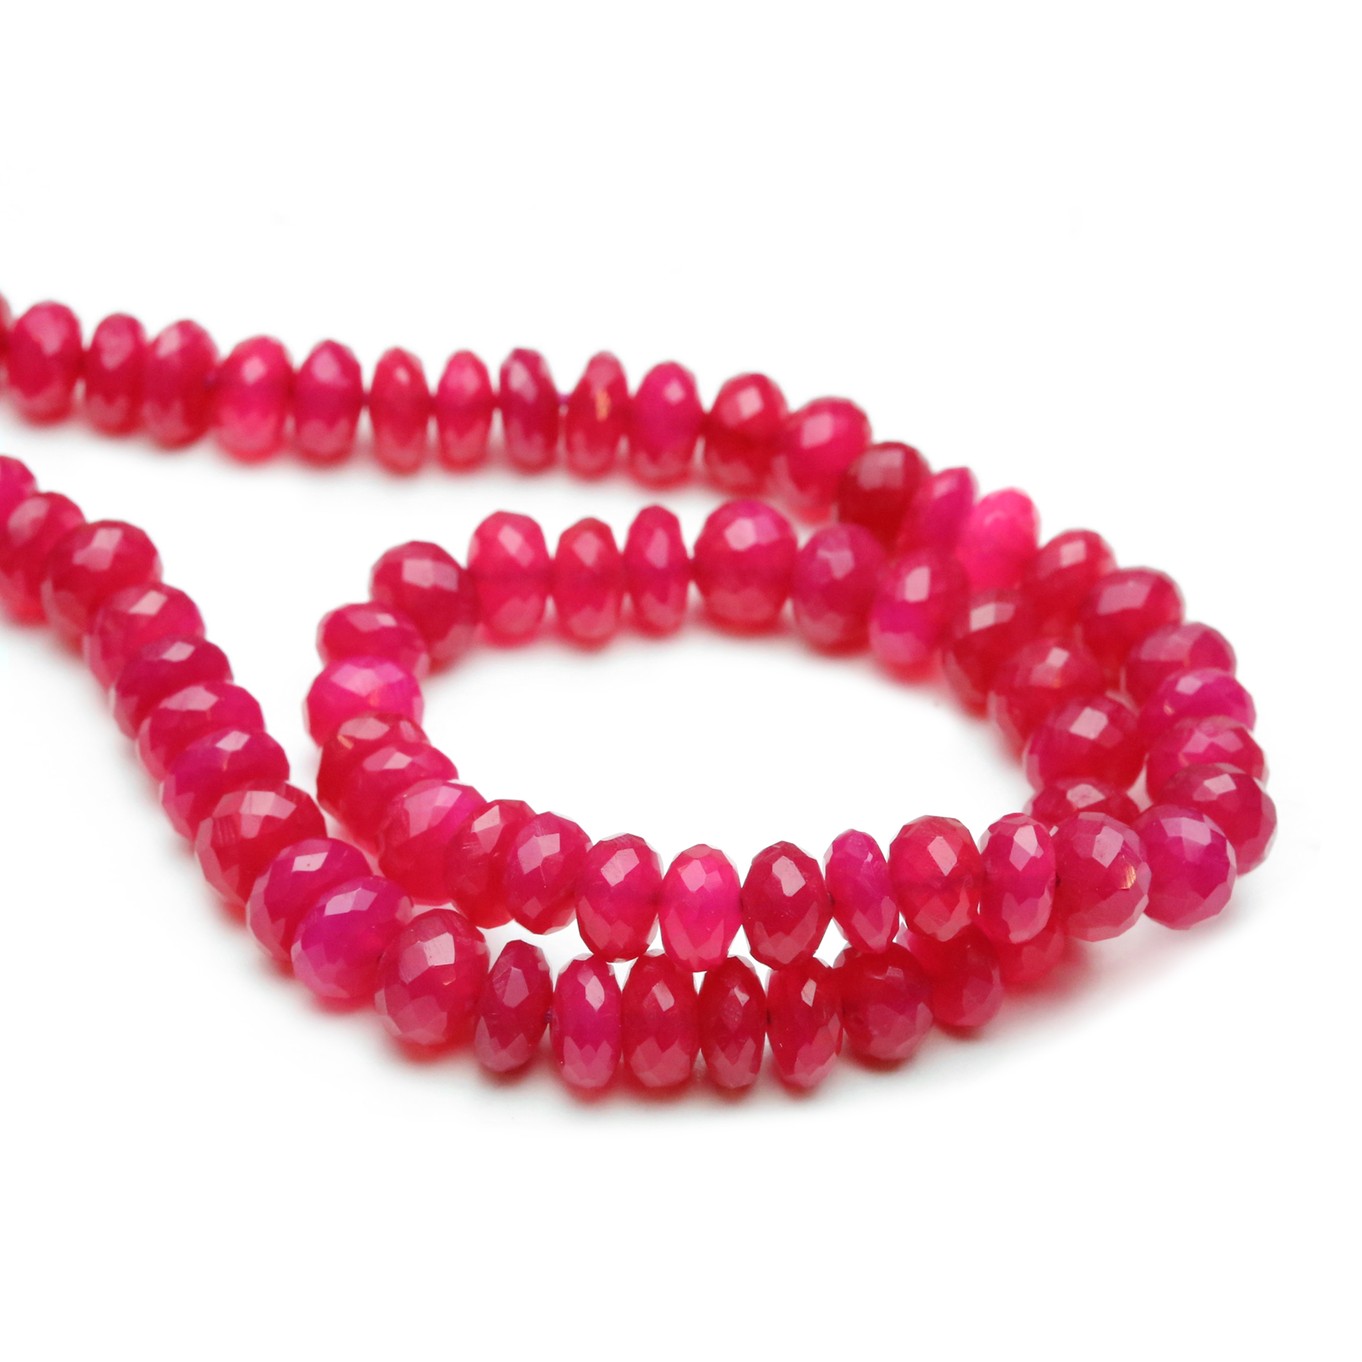
This jewellery making project is great to try if you're a jewellery making beginner. We've used fuchsia pink chalcedony faceted rondelle beads but you can choose any beads you wish with a hole size of approximately 0.8mm to fit on the wire.
STEP BY STEP INSTRUCTIONS
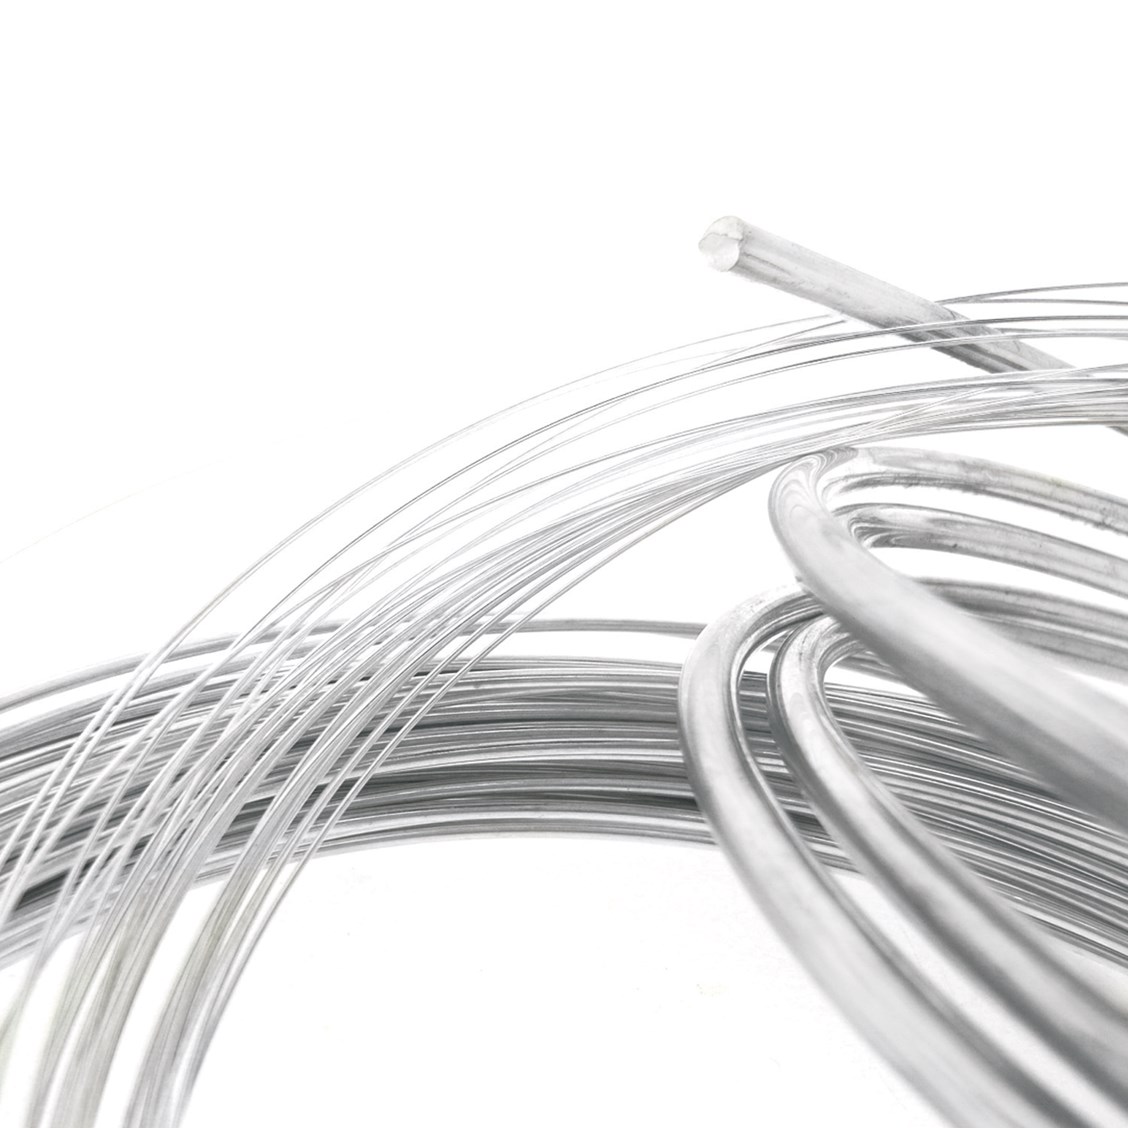
1. Begin by cutting approximately 15cm of 0.8mm sterling silver wire.
2. Use round nose pliers to form a loop at the top of the wire.
3. Shape the hoop earring around a mandrel or a small round object.
4. Slide the beads one by one onto the hoop.
5. Use round nose pliers to create a loop at the end of the wire, wrapping around the bottom of the other loop. Use snipe nose pliers to adjust the loops if necessary.
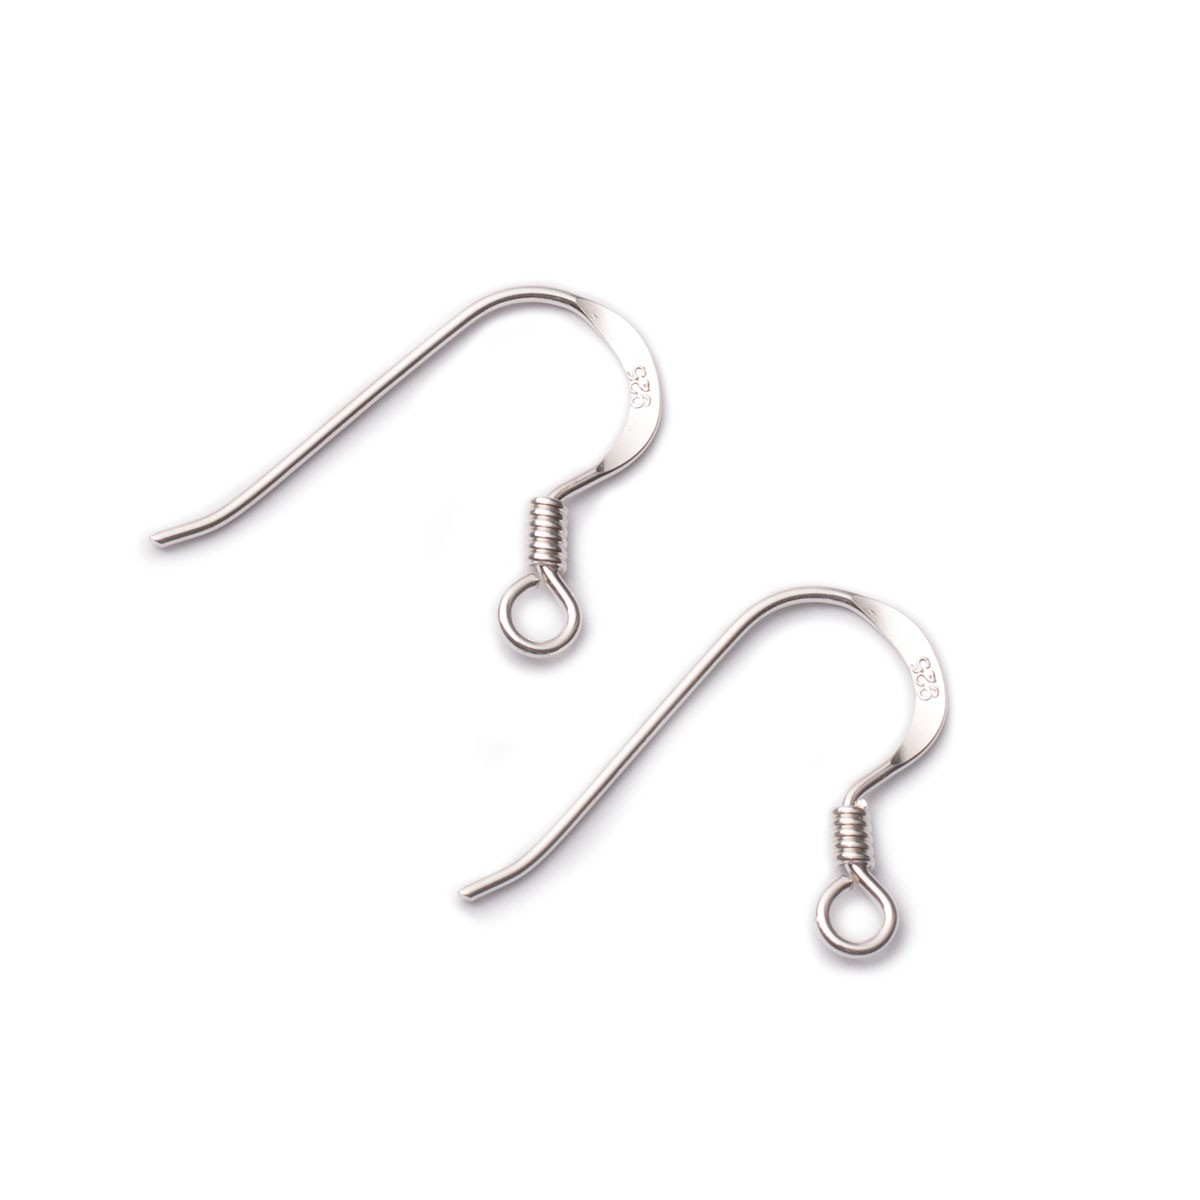
7. Use snipe or flat nose pliers to open the loop of the earwire and attach the hoop - close using the pliers.
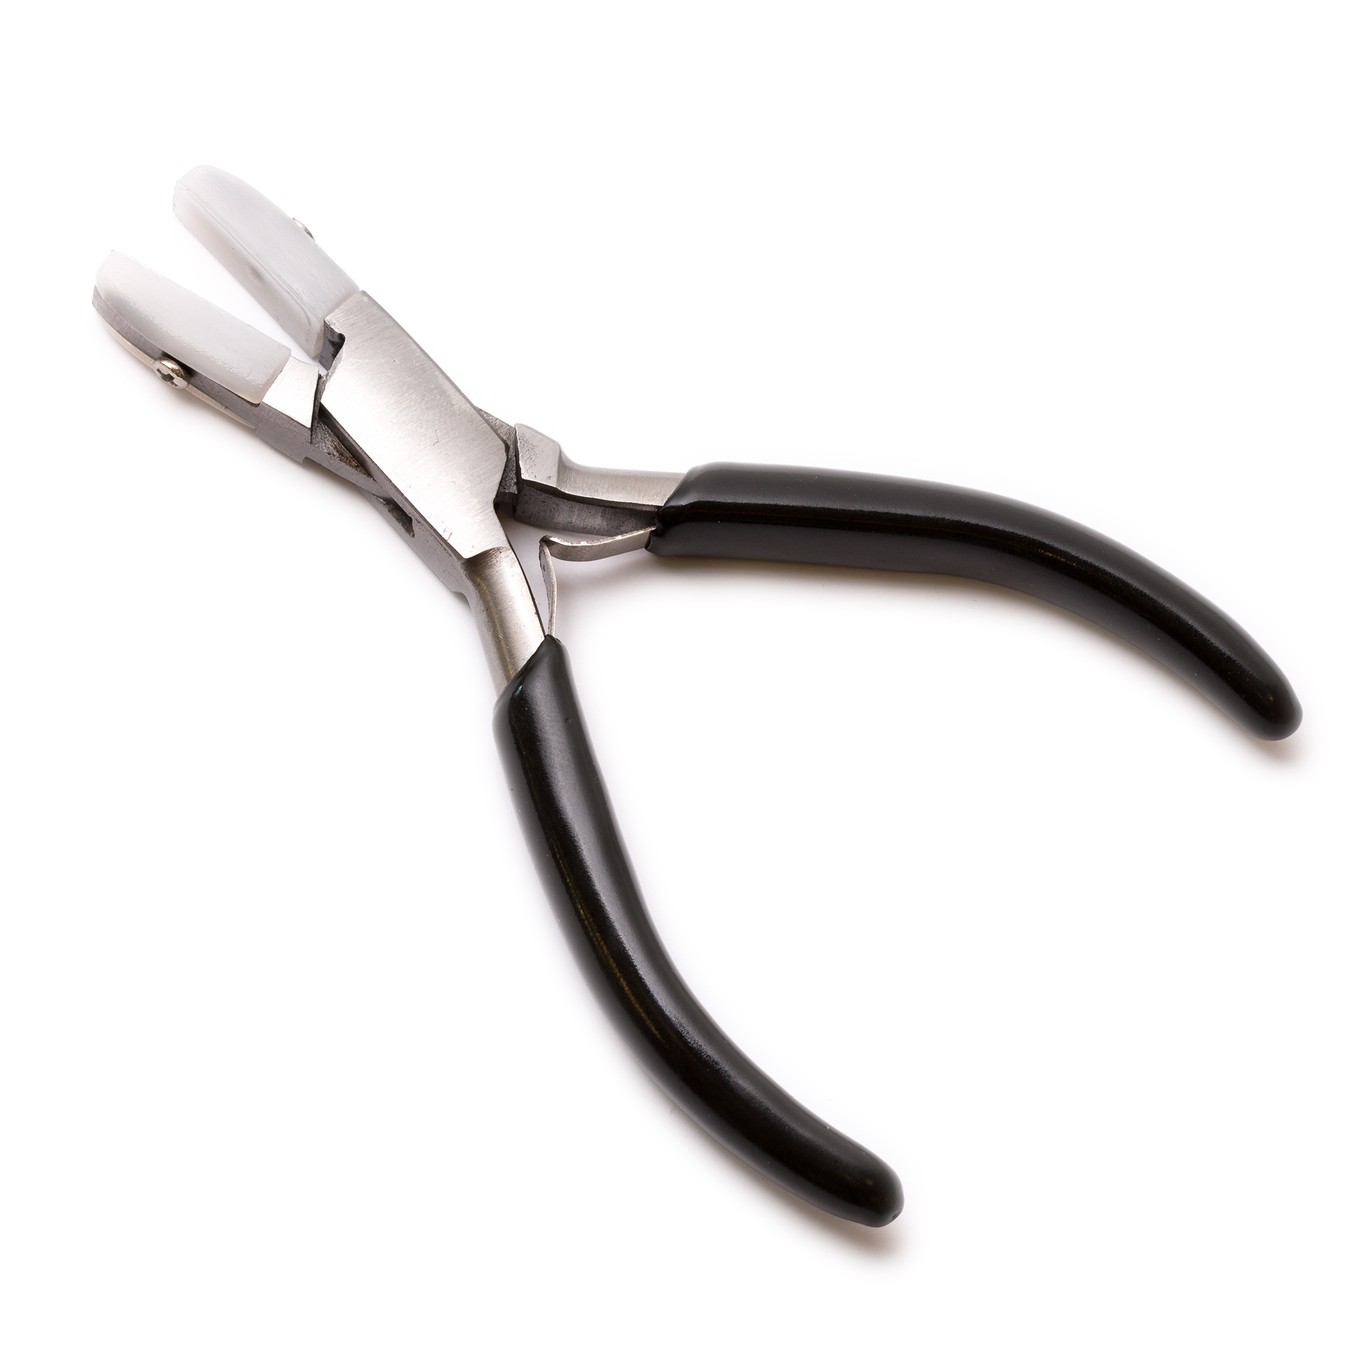
8. Gently squeeze the nylon coated pliers over the wire to smooth and shape it. This will also help to stiffen the wire. (An alternative way to harden the wire is to place the hoop onto a steel block and tap gently using a rawhide mallet or chasing hammer.)
9. Repeat these steps for the other earring hoop.
10. Your stunning earrings are now complete.
WATCH OUR VIDEO TUTORIAL ON HOW TO MAKE A HOOP EARRING
SUGGESTED TOOLS FOR THIS PROJECT
Snipe nose pliers or flat nose pliers
Double Nylon Jaw Flat Nose Pliers
You may like to get our pack of pliers & side cutters which is an economical way of buying all the pliers you will need for every project!
CUSTOMISE YOUR KIT
Make the design your own by using your favourite jewellery supplies.
HELPFUL PAGES
Choosing wire for jewellery making
How to work harden jewellery wire
JEWELLERY MAKING BOOKS
'The Encyclopedia of Wire Jewellery Techniques' by Sara Withers
'The Basics of Bead Stringing' by Debbie Kanan
'Beading Design' by Kim Glover
Kernowcraft's jewellery making kits are aimed to inspire you - therefore the step by step instructions are available online only with a shopping list, where you can easily customise the design to suit you. We recommend printing or bookmarking this page ready to follow.
The suggested products used in this project are suggestions to inspire you. Products used were compatible at the time of making but do be aware that gemstones are natural and hand cut stocks can vary, so do use your own common sense as to the compatibility of each item when making.
Your Shopping List
There are one or more items out of stock at present.

