How To Make A Bracelet
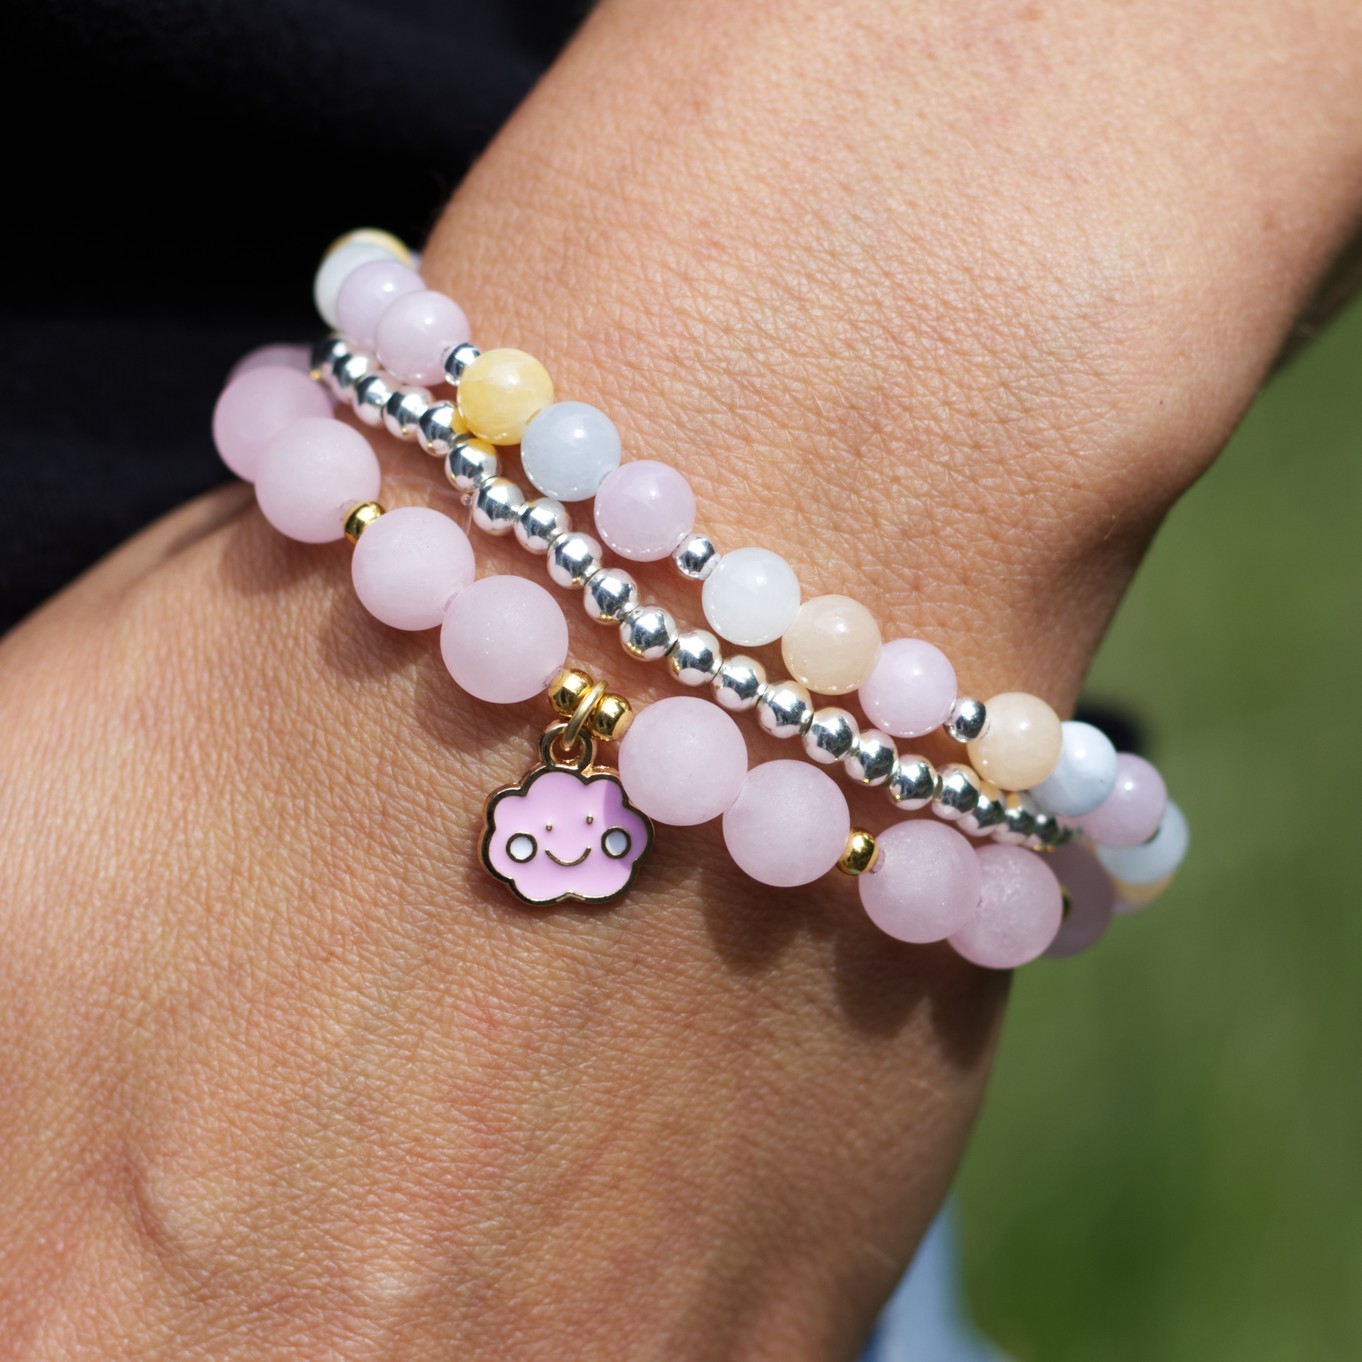
Whether you’re searching for bracelet making for beginners, a fun rainy-day project, or a thoughtful jewellery making gift idea, learning how to make a bracelet is a creative and rewarding activity for all ages.
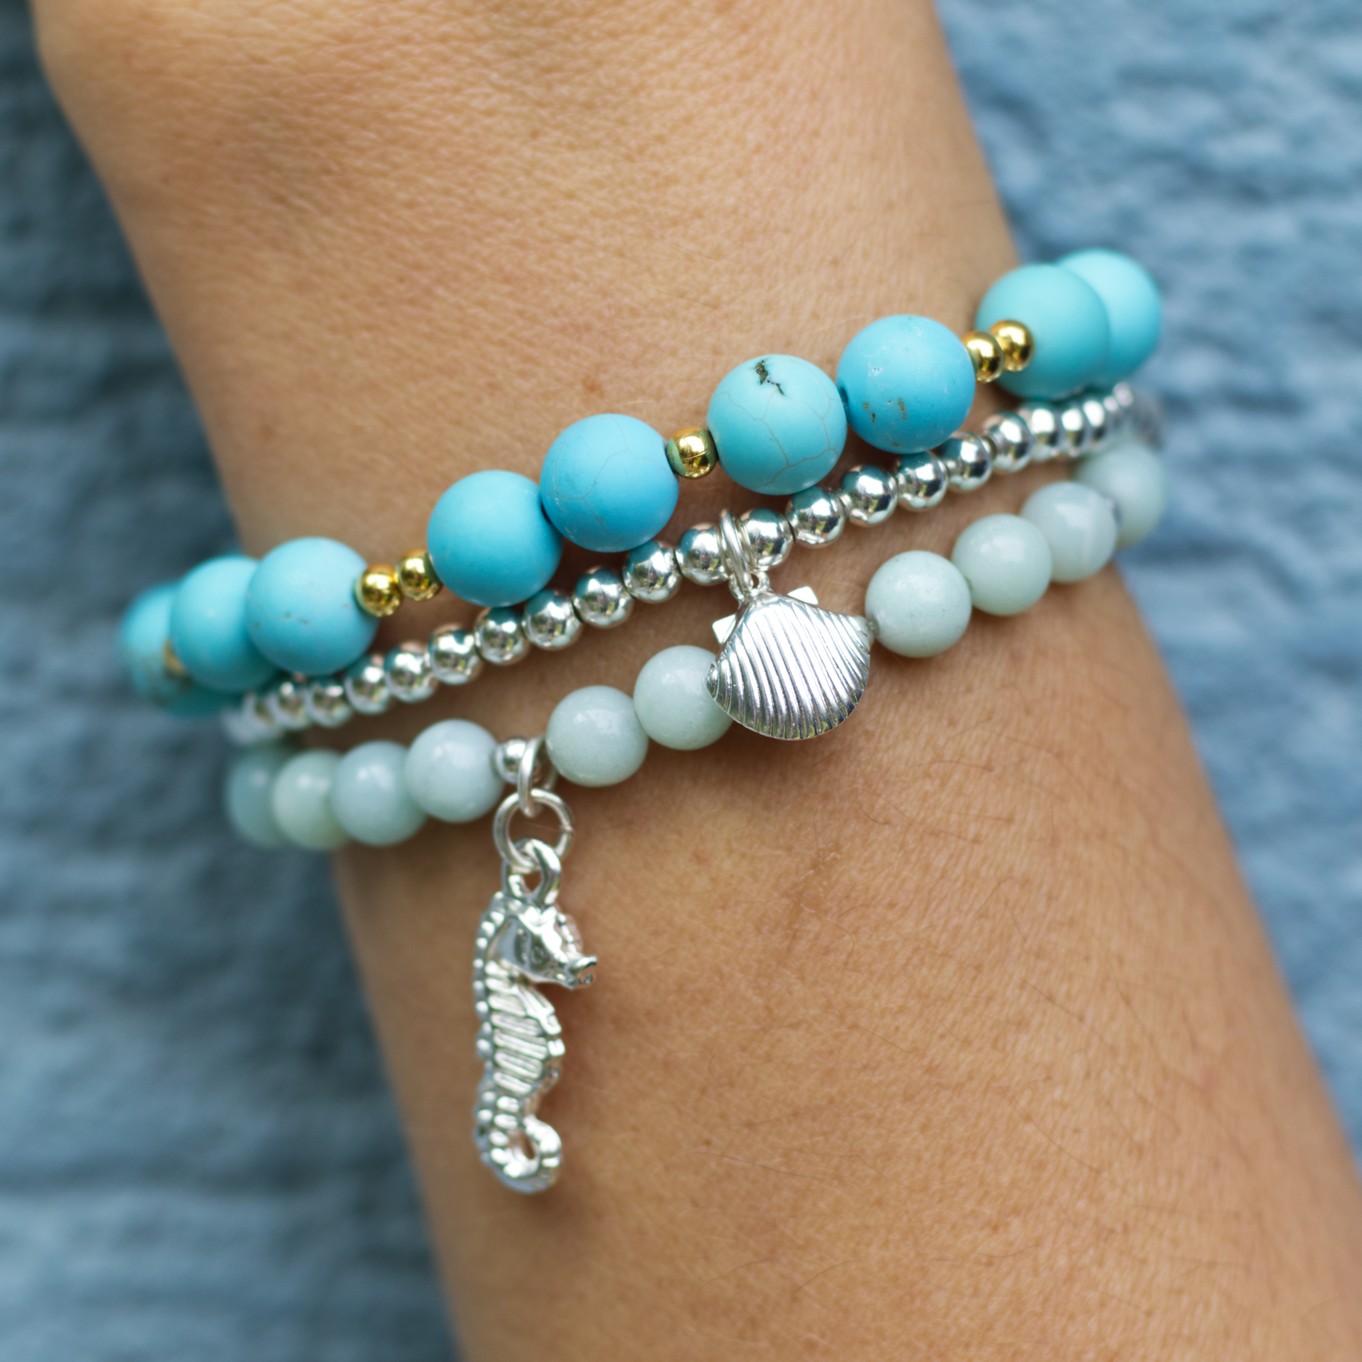
Start Simple with an Elastic Stretch Bracelet
If you’re completely new to jewellery making, the easiest way to begin is with a DIY elastic stretch bracelet. This is a no fuss project that requires just two things:
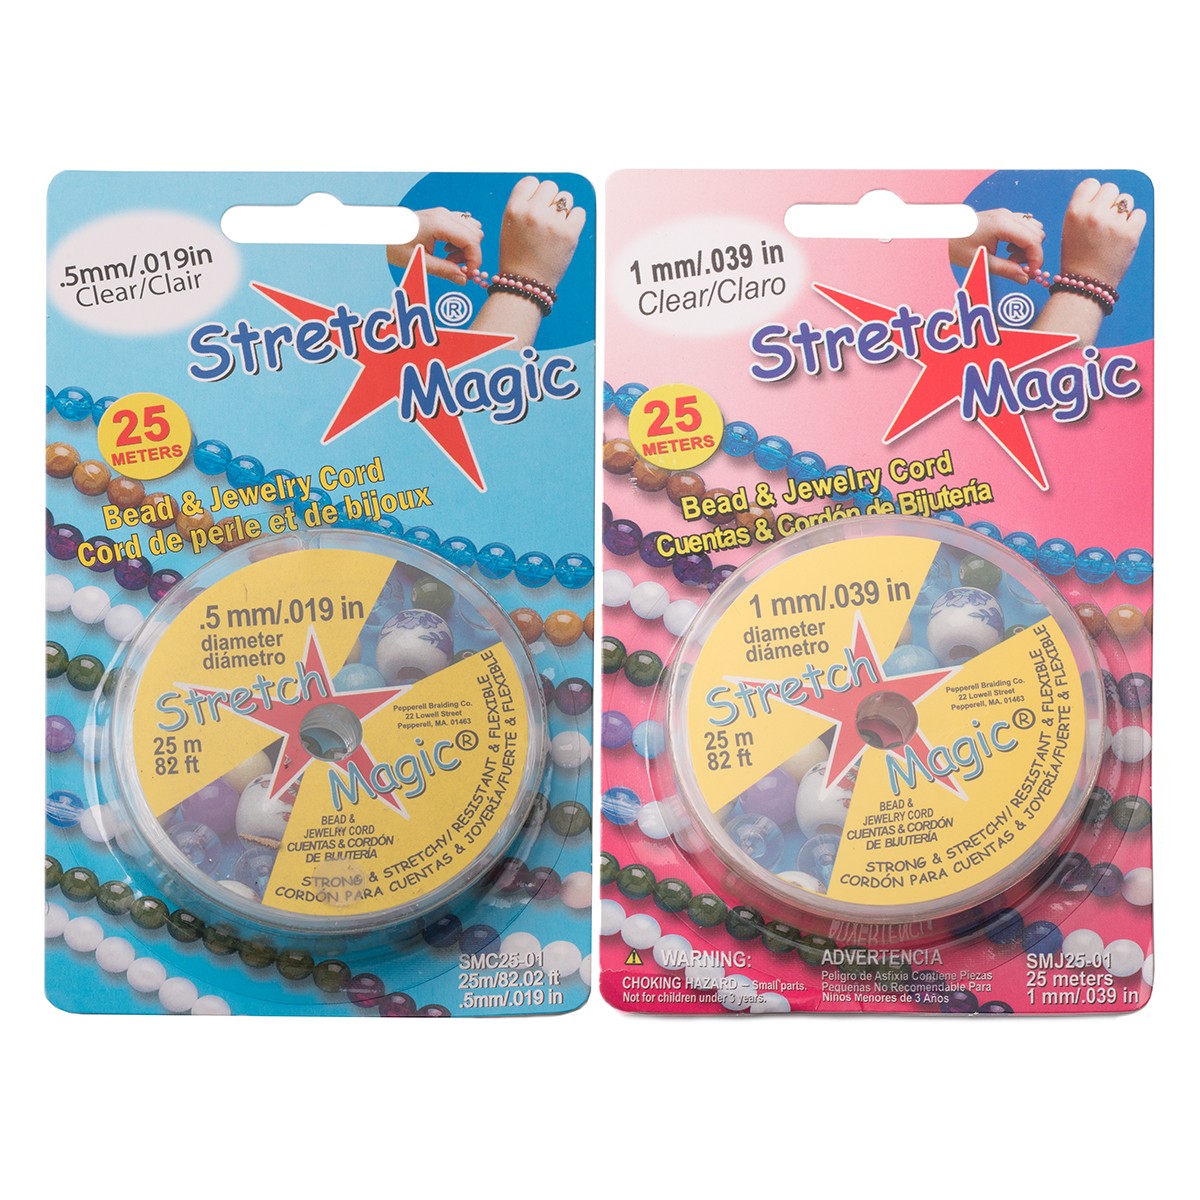
- Stretch Magic (a strong, clear elastic cord made for jewellery)
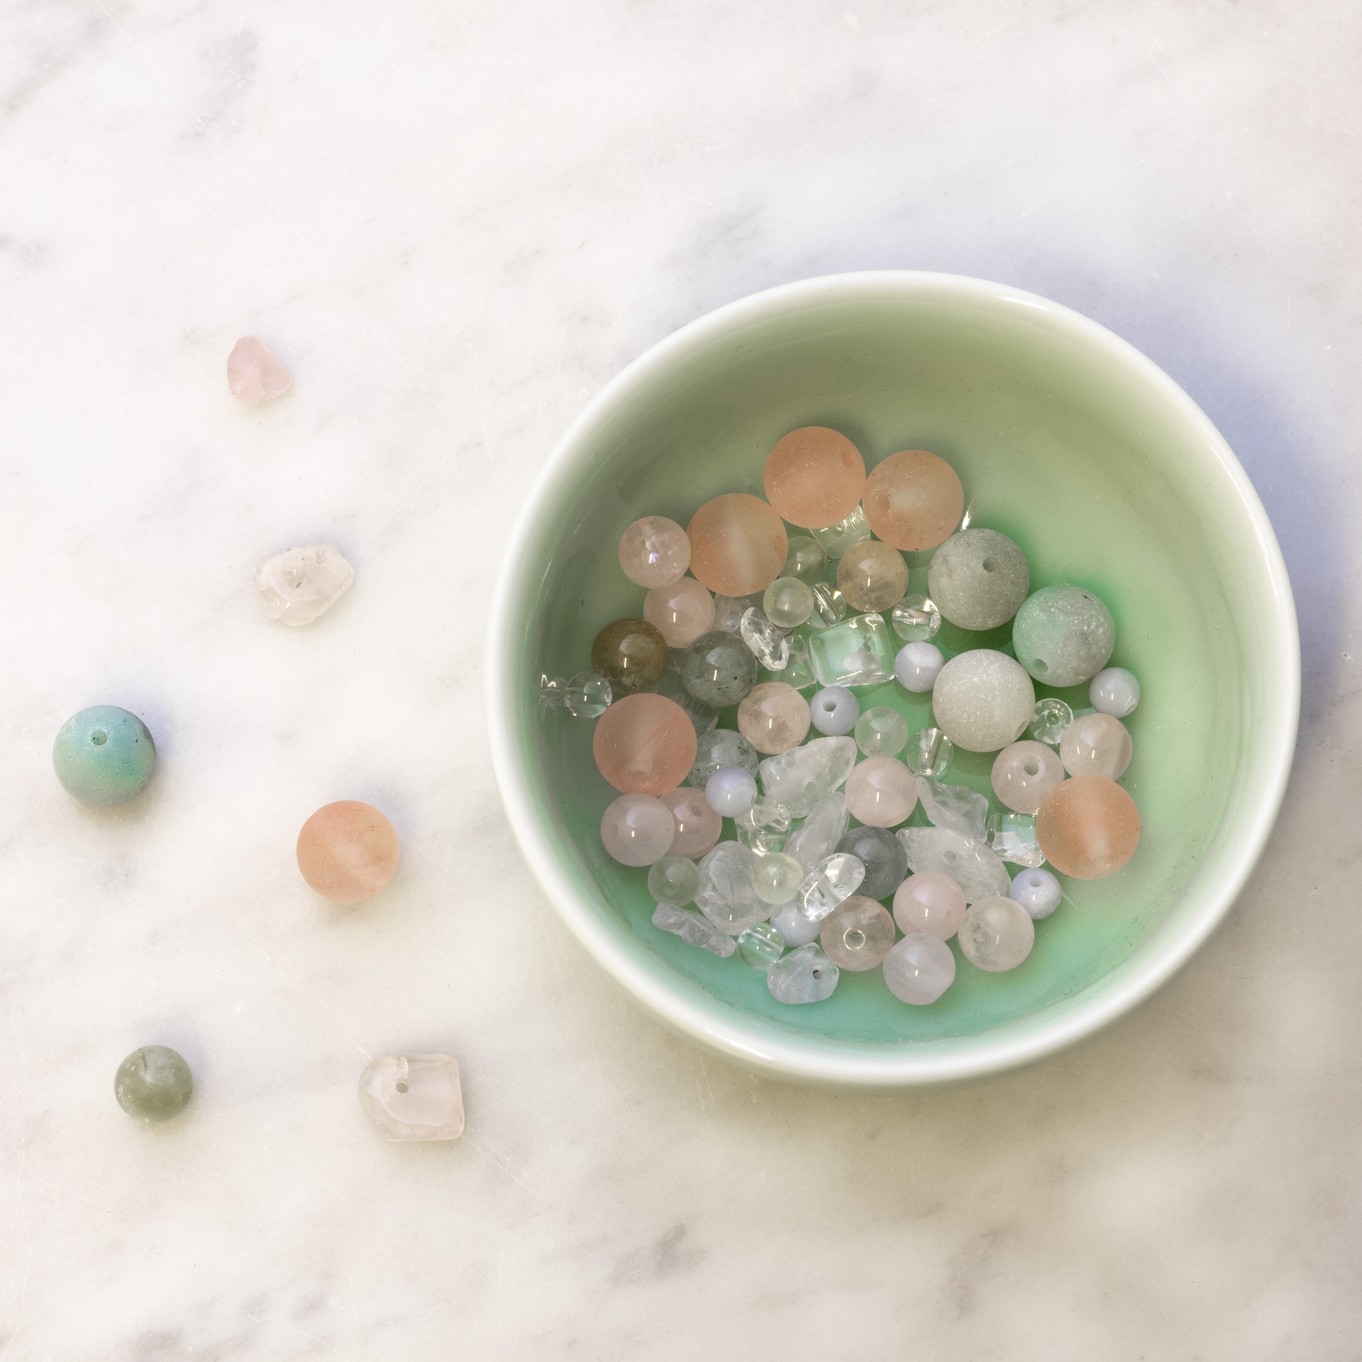
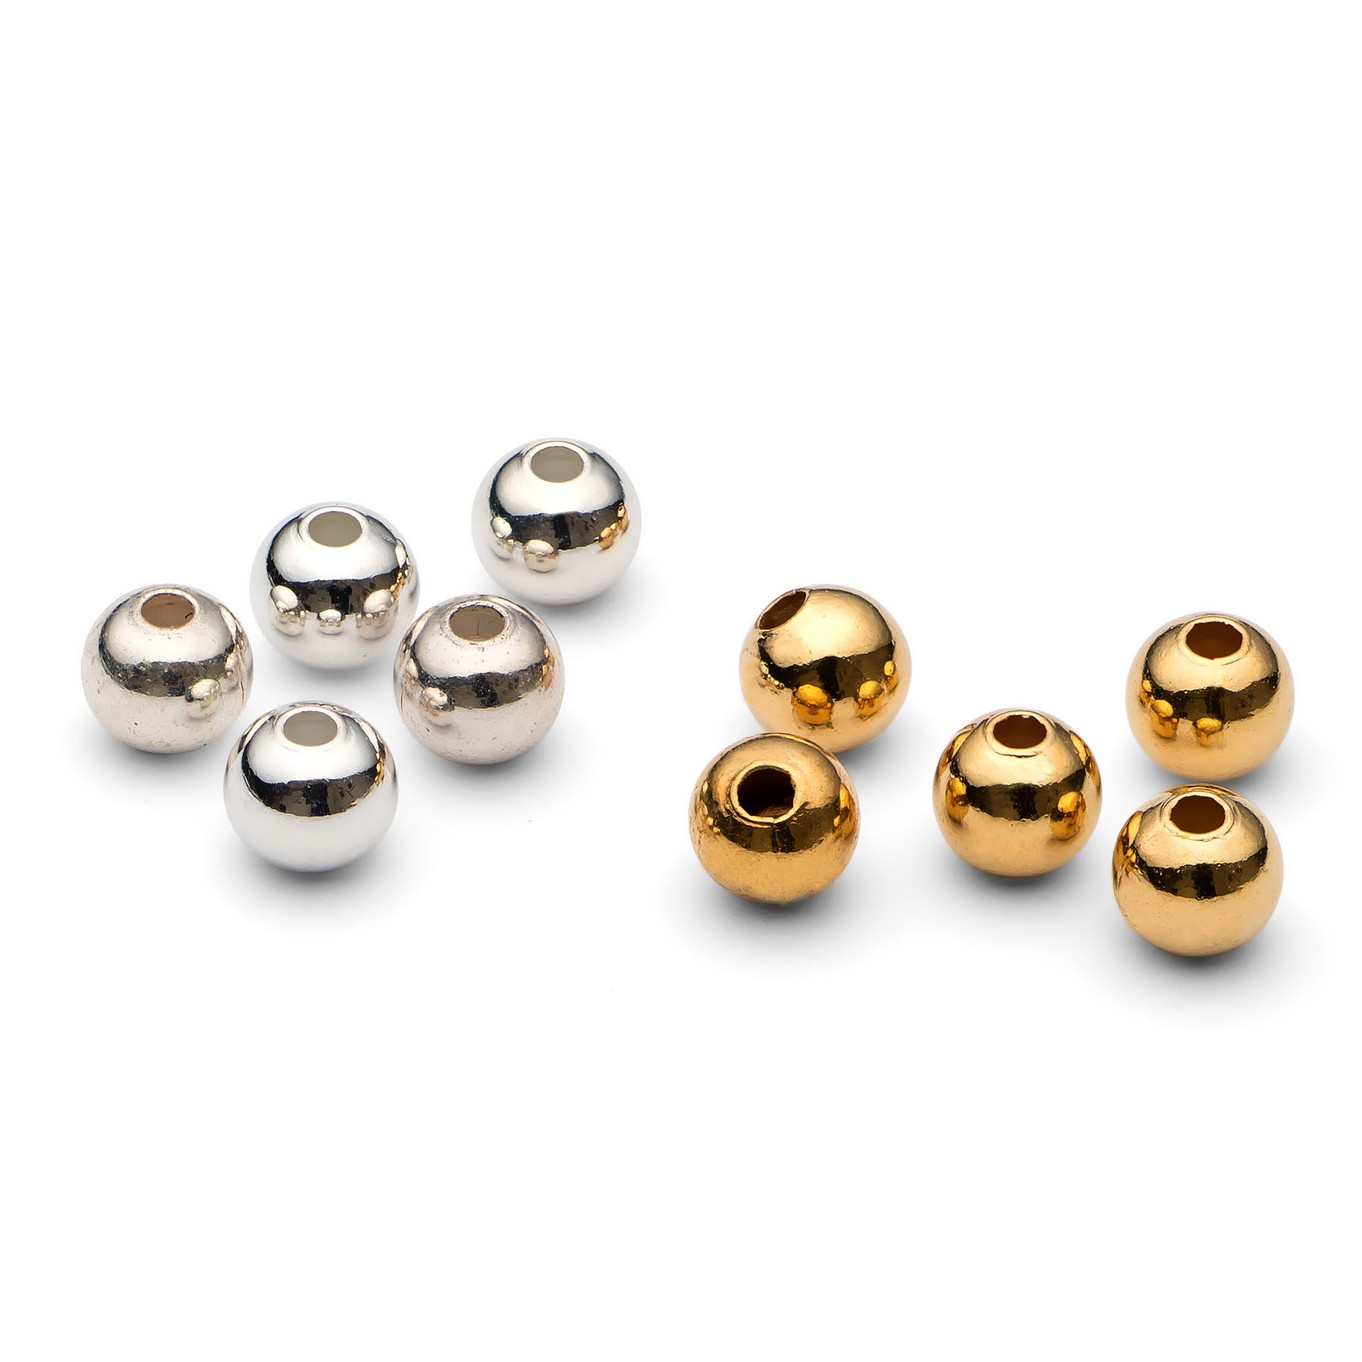
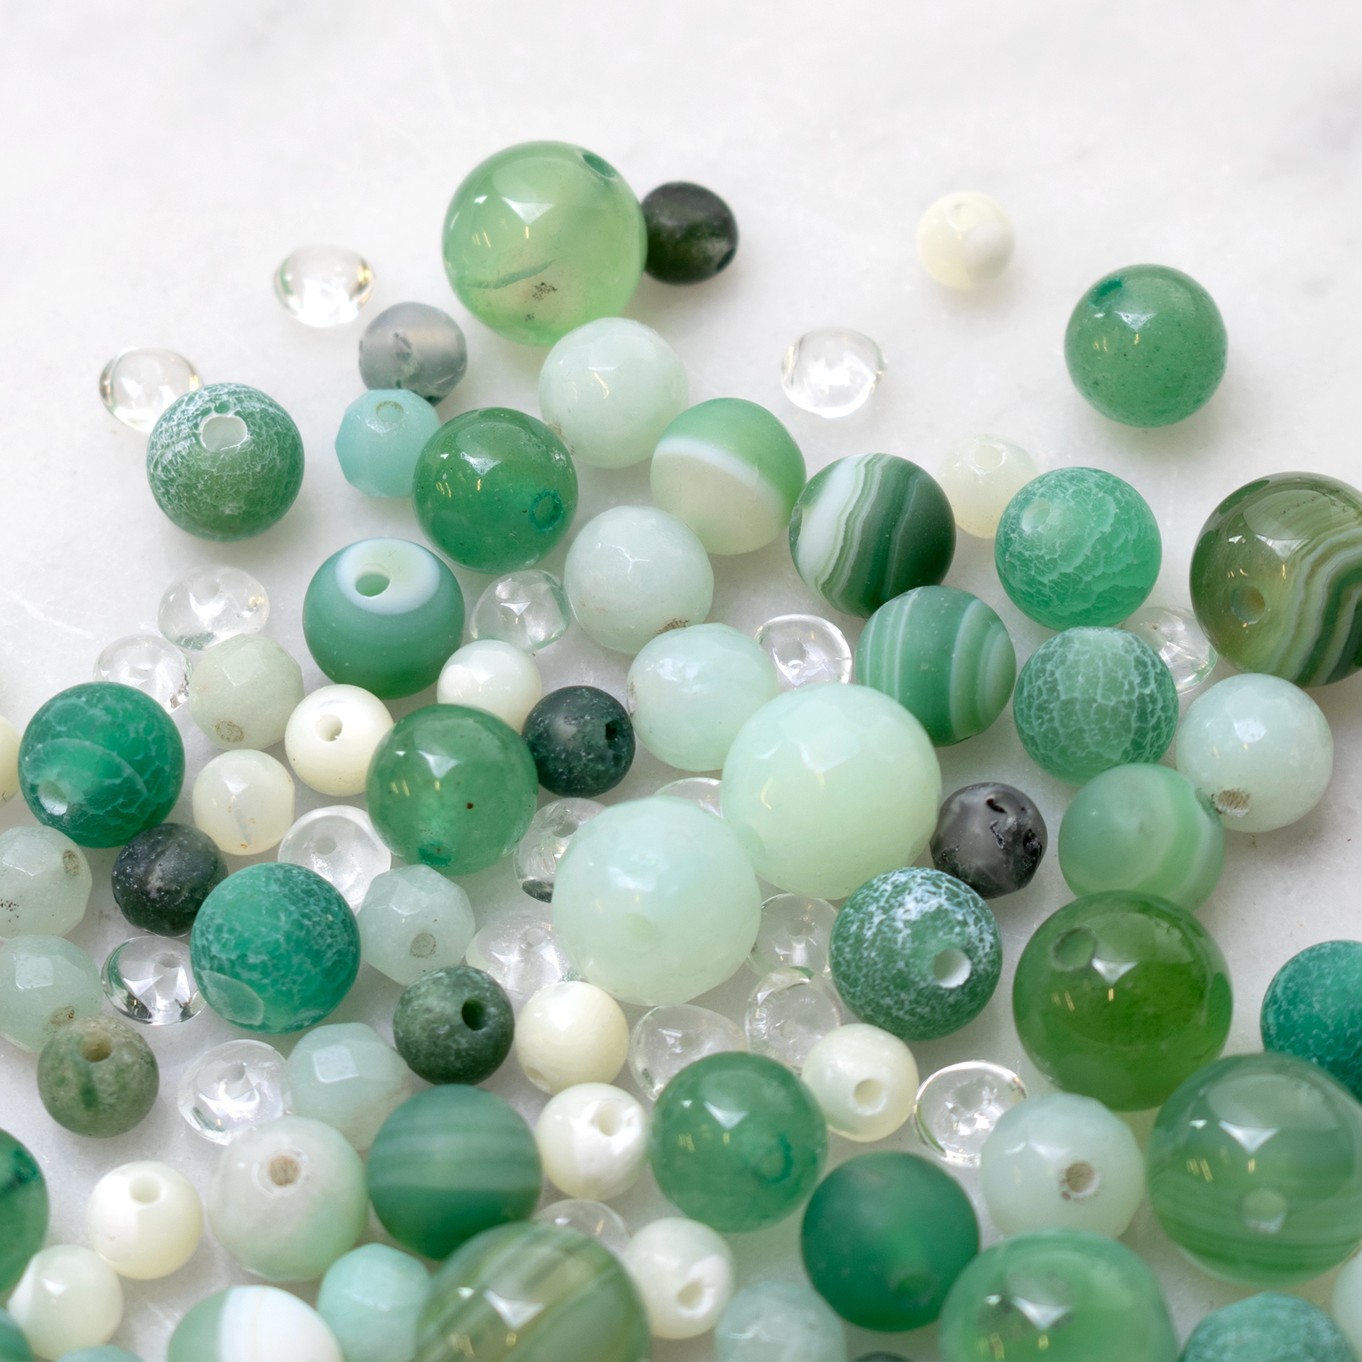
- Beads of your choice (always make sure the bead hole is big enough for your chosen stringing material)
Simply string your beads onto the elastic, tie a secure knot, and your bracelet is ready to wear - no pliers or fiddly clasps required!
TIP: standard adult size for a bracelet is 19cm but you could also decide how long you want your bracelet to be by wrapping the cord around your wrist - leaving enough room to tie a knot.
Memory Wire For Layered Look
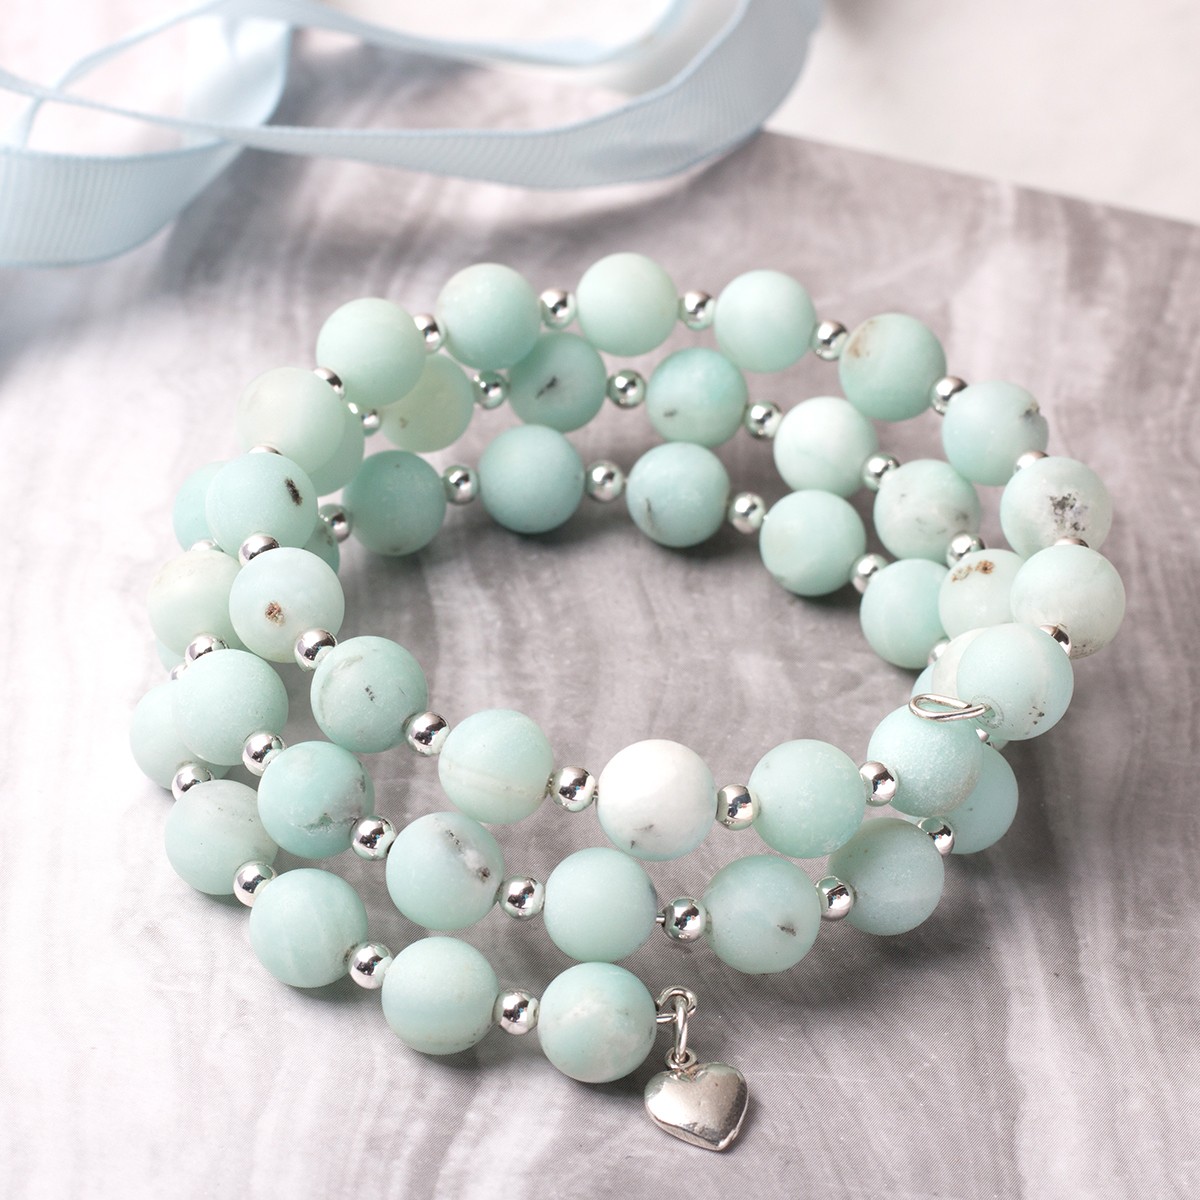
Memory wire is a great threading material, it's a hard, rigid, pre-coiled wire which holds its shape unlike regular metal jewellery wire which you can manipulate. It creates the impression of stacked bracelets and is perfect for combining with gemstones, metal beads and charms.
How to make: All you need to do is use heavy duty side cutters to cut at least three coils of memory wire, use round nose pliers to form a loop on one end. Then simply thread your chosen beads onto the wire. Once you've added the whole strand, you can simply cut the wire and form another loop to secure. You can add a charm: twist open a jump ring using a pair of snipe nose or flat nose pliers, attach the charm and the loop of the memory wire before twisting closed.
TIP: Use a bead board or bead mat to plan the order of your beads for your bracelet - this will make it easier to thread your beads and avoid mistakes.
Recommended Products
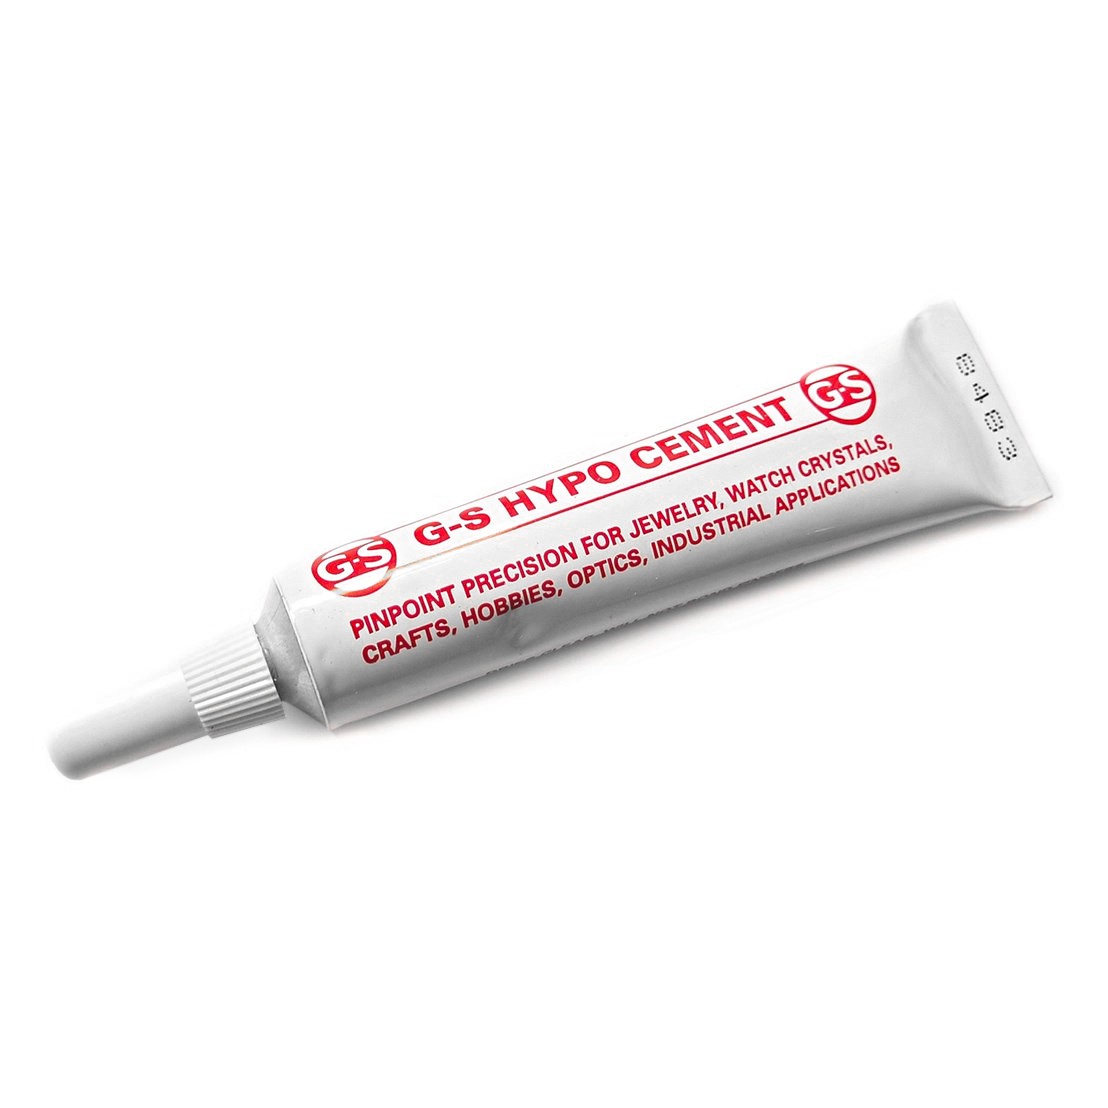
G S Hypo Cement Glue
Watch & Learn: How To Make An Elastic Bracelet
this short video will walk you through making an elastic stretch bracelet step-by-step. You’ll see exactly how to measure, string your beads, tie a secure knot, and finish your design so it looks neat and professional.
Watch & Learn: How To Make A Memory Wire Bracelet
Watch the technique in action! This particular design shows an alternative way to finish your bracelet, instead of forming loops on each side of the memory wire, you can glue end beads on the ends for a professional finish.

