Pink Opal Tassel Earrings
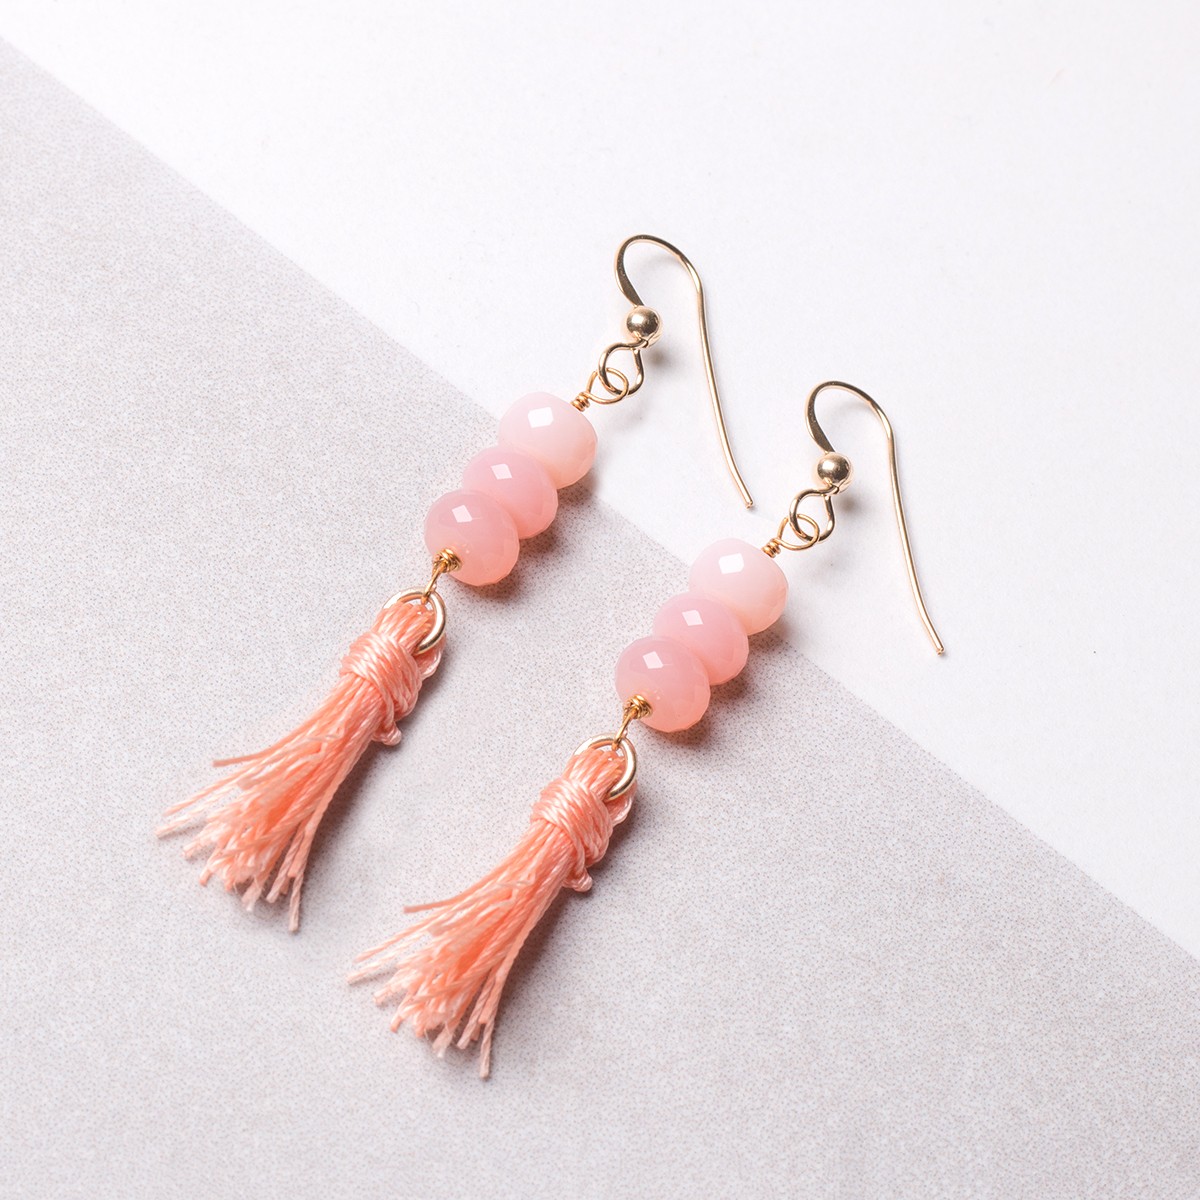
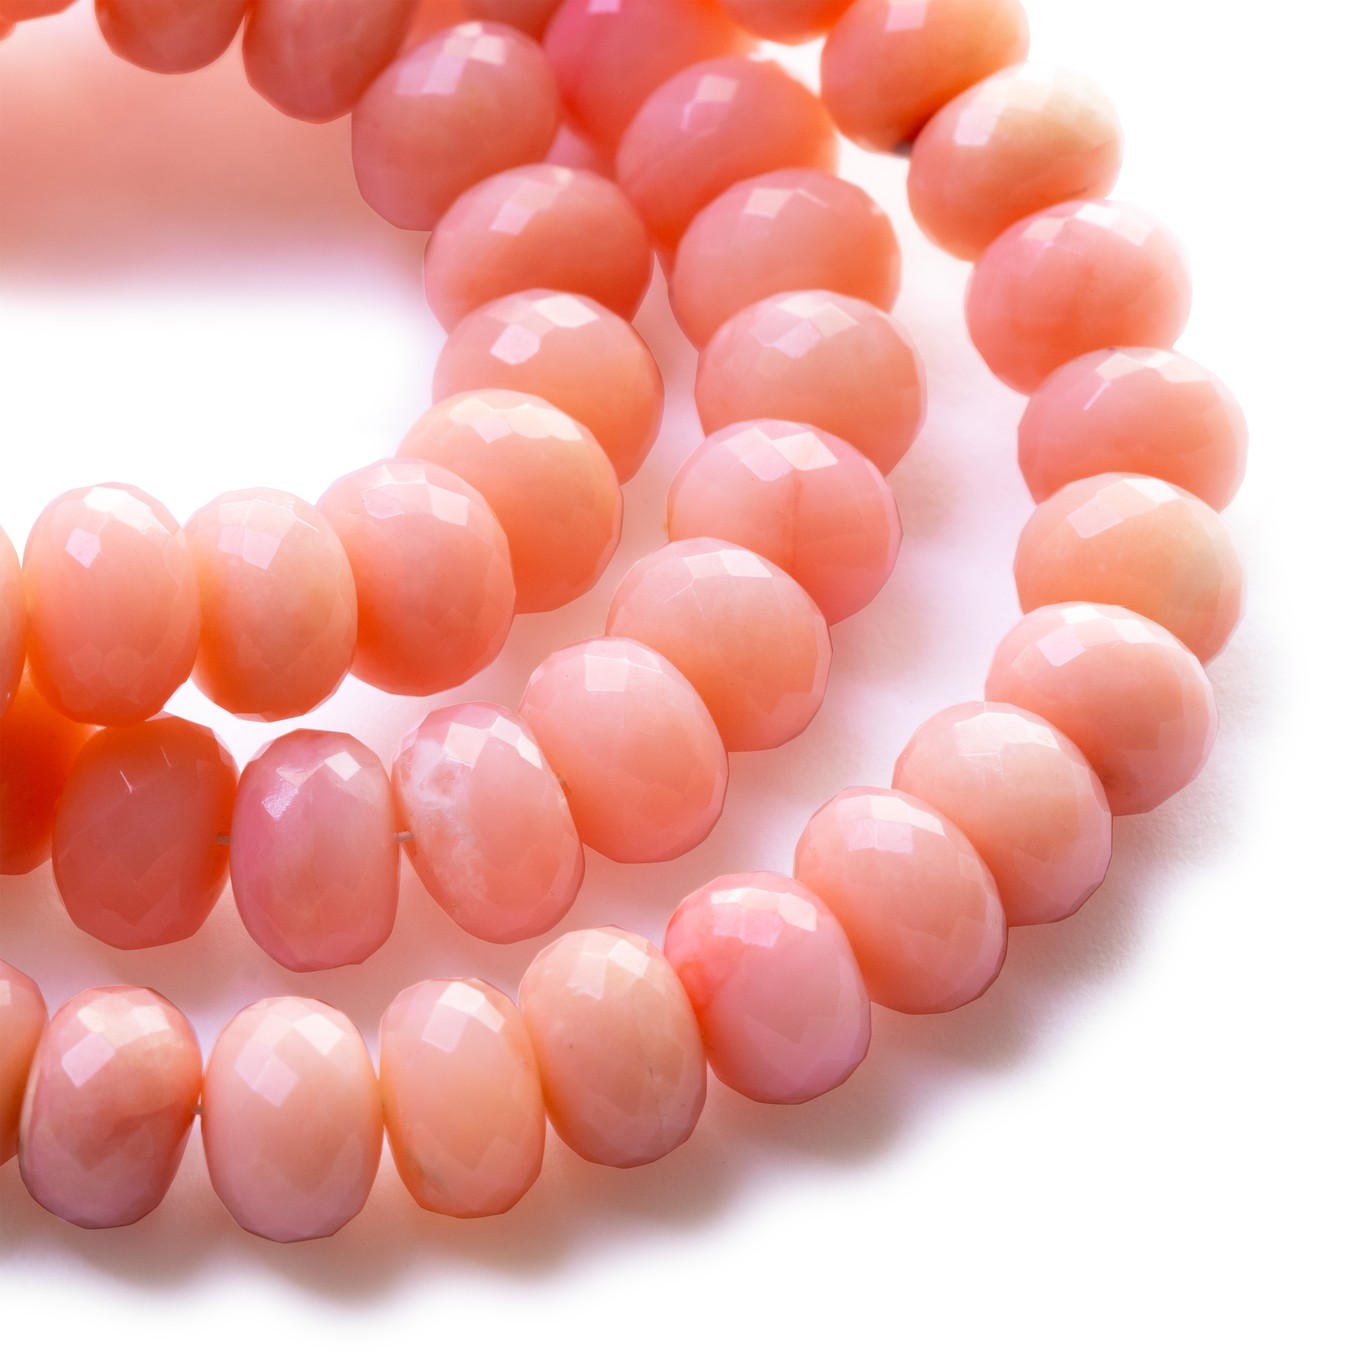
These beautiful pink opal and tassel earrings are perfect if you want an on trend and colourful design. This design is a great choice for a fashion follower or why not customise the look with different gemstone beads of your choice?
Step By Step Instructions
You can see the technique used to wire wrap a bead in step by step photos here.
To start, create the wire wrapped beads and charms.
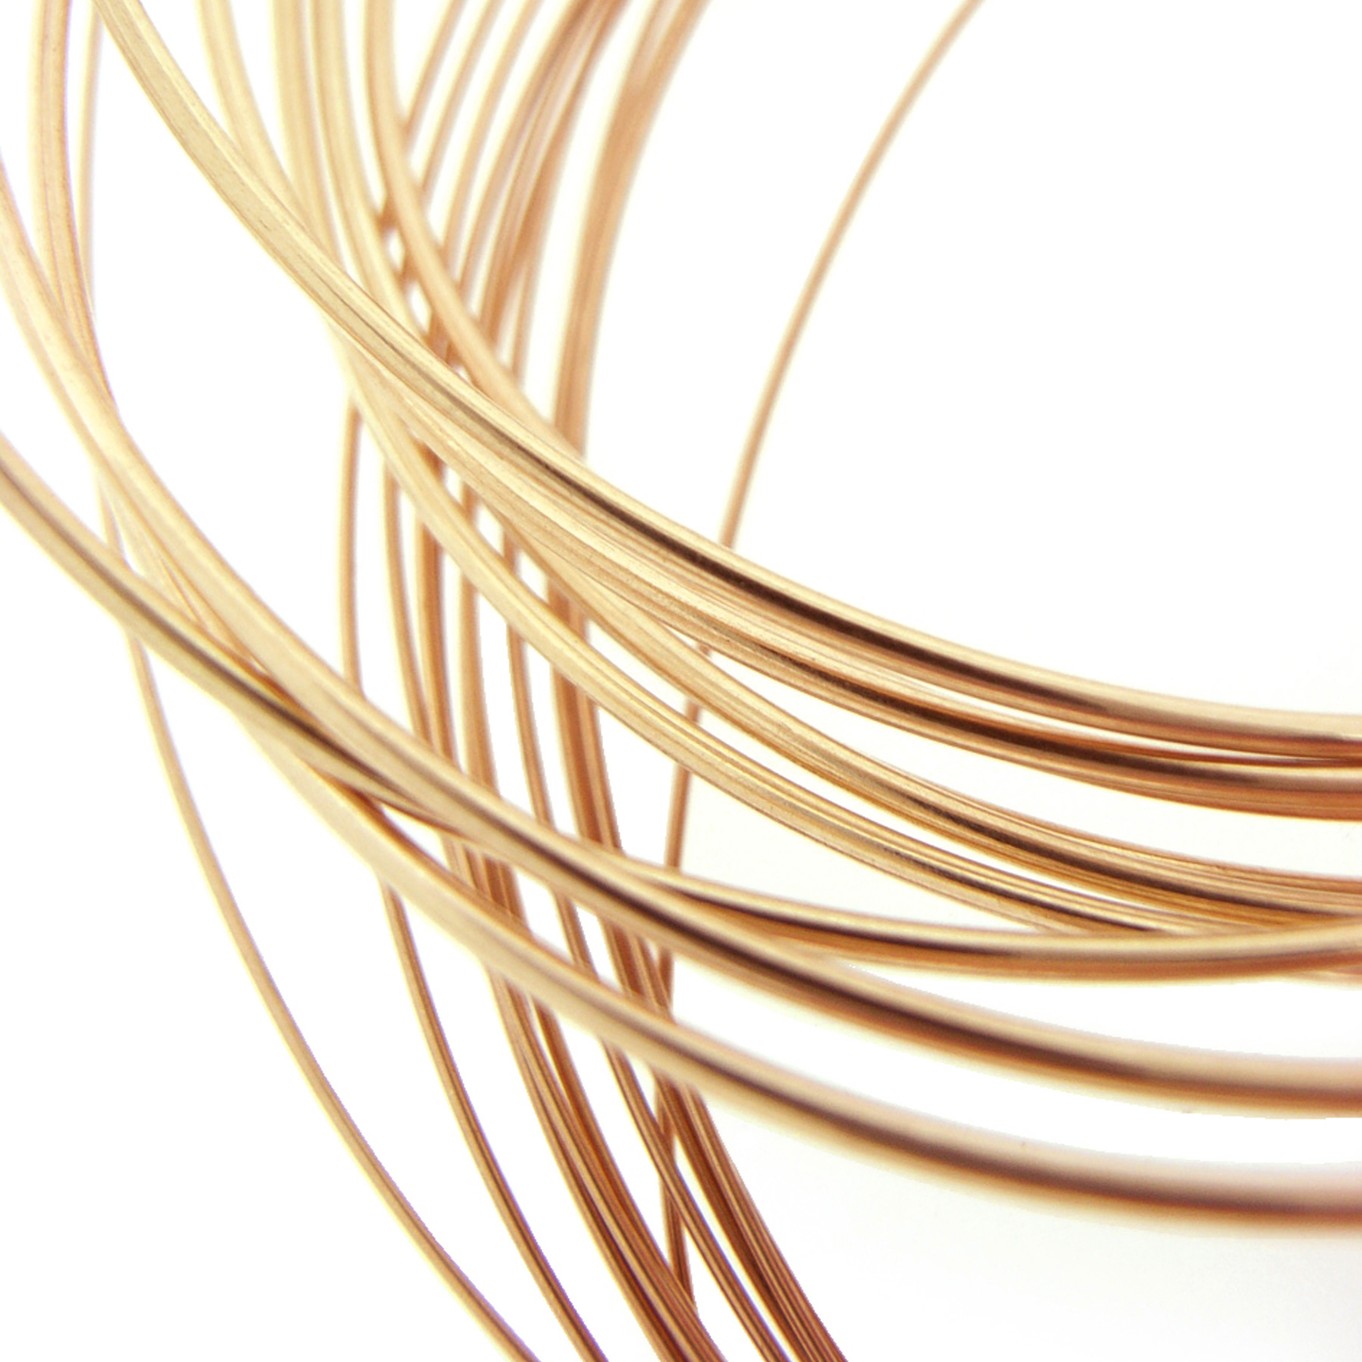
Simply cut a length of wire about 15cm long and form a loop with round nose pliers.
Twist the wire around to form a loop and catch in the loop at the base of the ear wire. Fix the loop in place using the technique shown here, you will need to snip off any excess wire with side cutters and squeeze the end of the wire for a neat finish.
Thread the 3 beads onto the wire and start to form another loop. At this point we need to create the tassel.
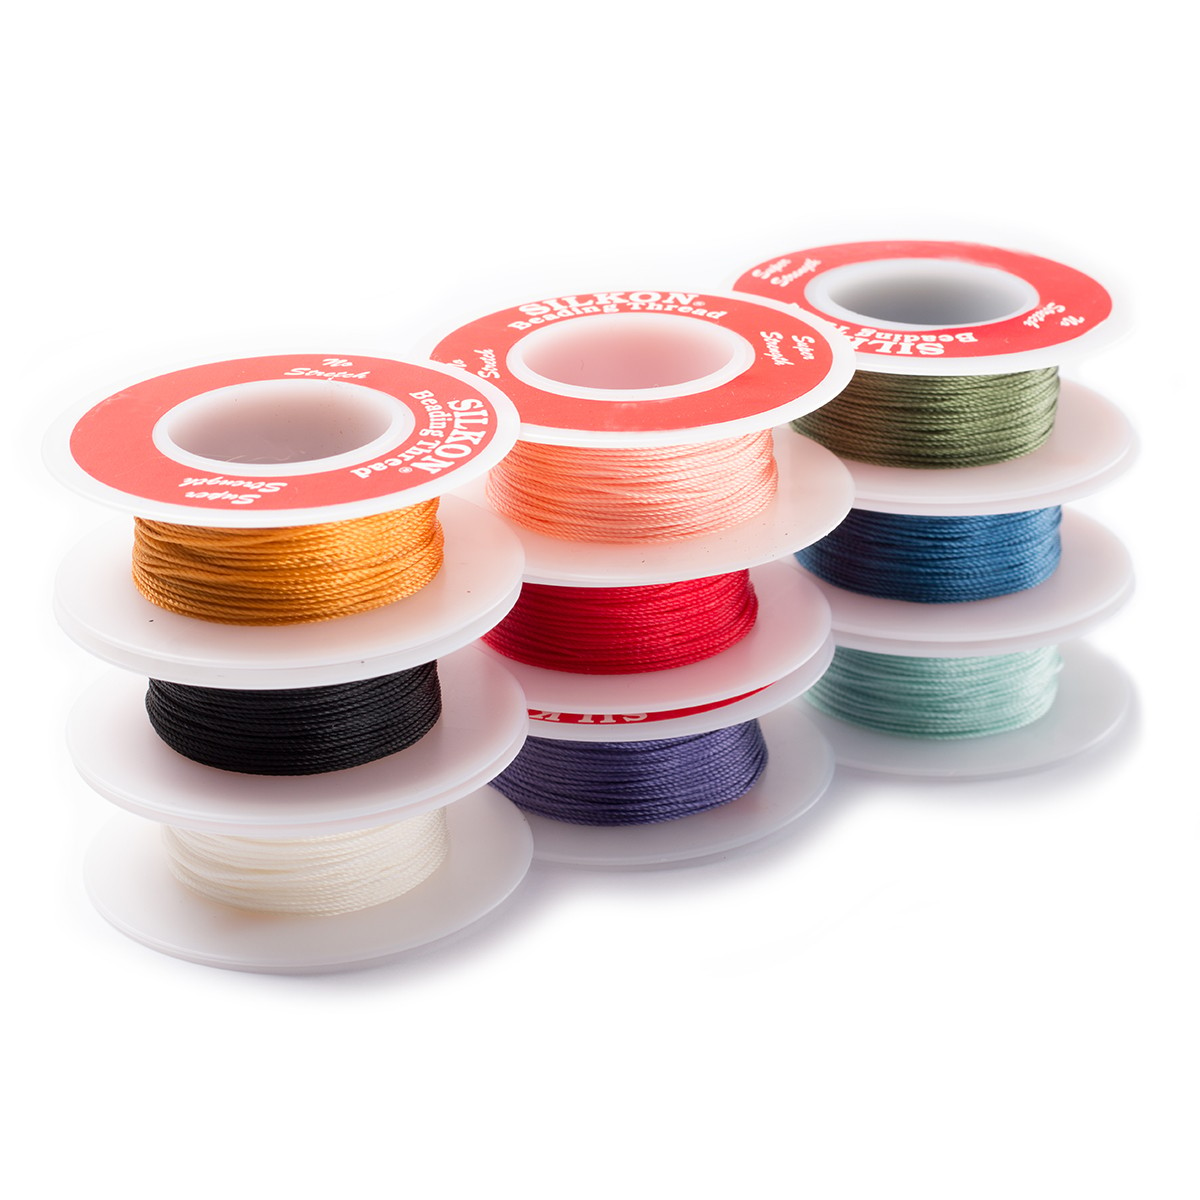
Begin by cutting a length of 100cm of your chosen silkon thread.
The size of everyday fork prongs make the ideal size for a mini tassel. Wrap the thread around the prongs tightly and to a width of approximately 0.5mm.
As you come to the end of the thread leave approximately 10cm free.
Rotate the fork and use the remaining thread to wrap the thread tightly between the first and second prong. Tie it of tightly and tuck the loose end in to conceal it.
Gently pull the tassel off the fork.
Use sharp scissors to cut the loops at the end of the tassel.
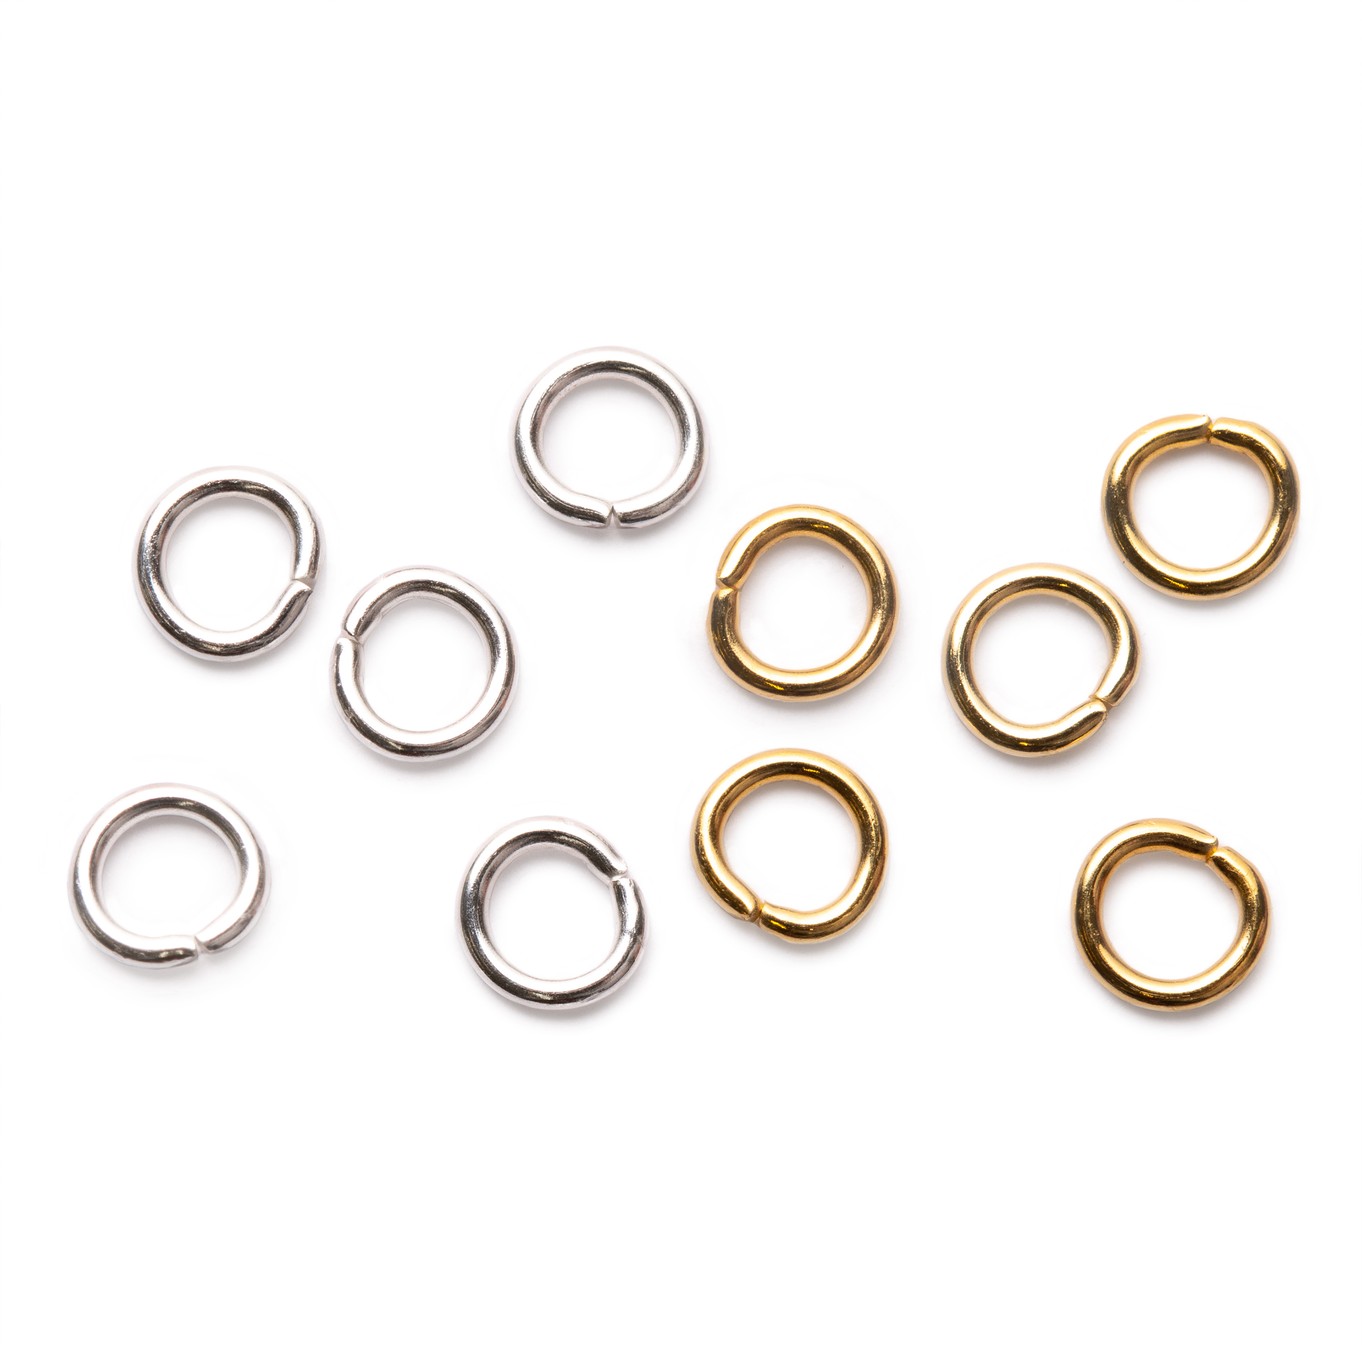
Twist open a 5mm jump ring using snipe nose pliers or flat nose pliers and loop on the top of the tassel. Close the jump ring.
Catch the jump ring of the tassel onto the bottom loop of the wire wrapped beads. Wrap the wire around the loop to secure it in place, and again trim any excess wire. You can see the technique used in step by step photographs here.
Repeat this process for the second earring.
Watch our tutorial on making your own mini tassel below
Tools You May Need
Snipe nose pliers or flat nose pliers
Sharp Scissors
You may like to get our pack of pliers & side cutters which is an economical way of buying all the pliers you will need for every project!
Customise Your Kit
Helpful Pages
Read our wire wrapping advice pages with tutorials
Jewellery Making Books
The Basics of Bead Stringing by Debbie Kanan
Beading Design by Kim Glover
Kernowcraft's jewellery making kits are aimed to inspire you - therefore the step by step instructions are available online only with a shopping list, where you can easily customise the design to suit you. We recommend printing or bookmarking this page ready to follow.
The suggested products used in this project are suggestions to inspire you. Products used were compatible at the time of making but do be aware that gemstones are natural and hand cut stocks can vary, so do use your own common sense as to the compatibility of each item when making.
Your Shopping List
You can buy all the products in this collection at once by clicking the button below or add individual products by clicking the button beside each one.

