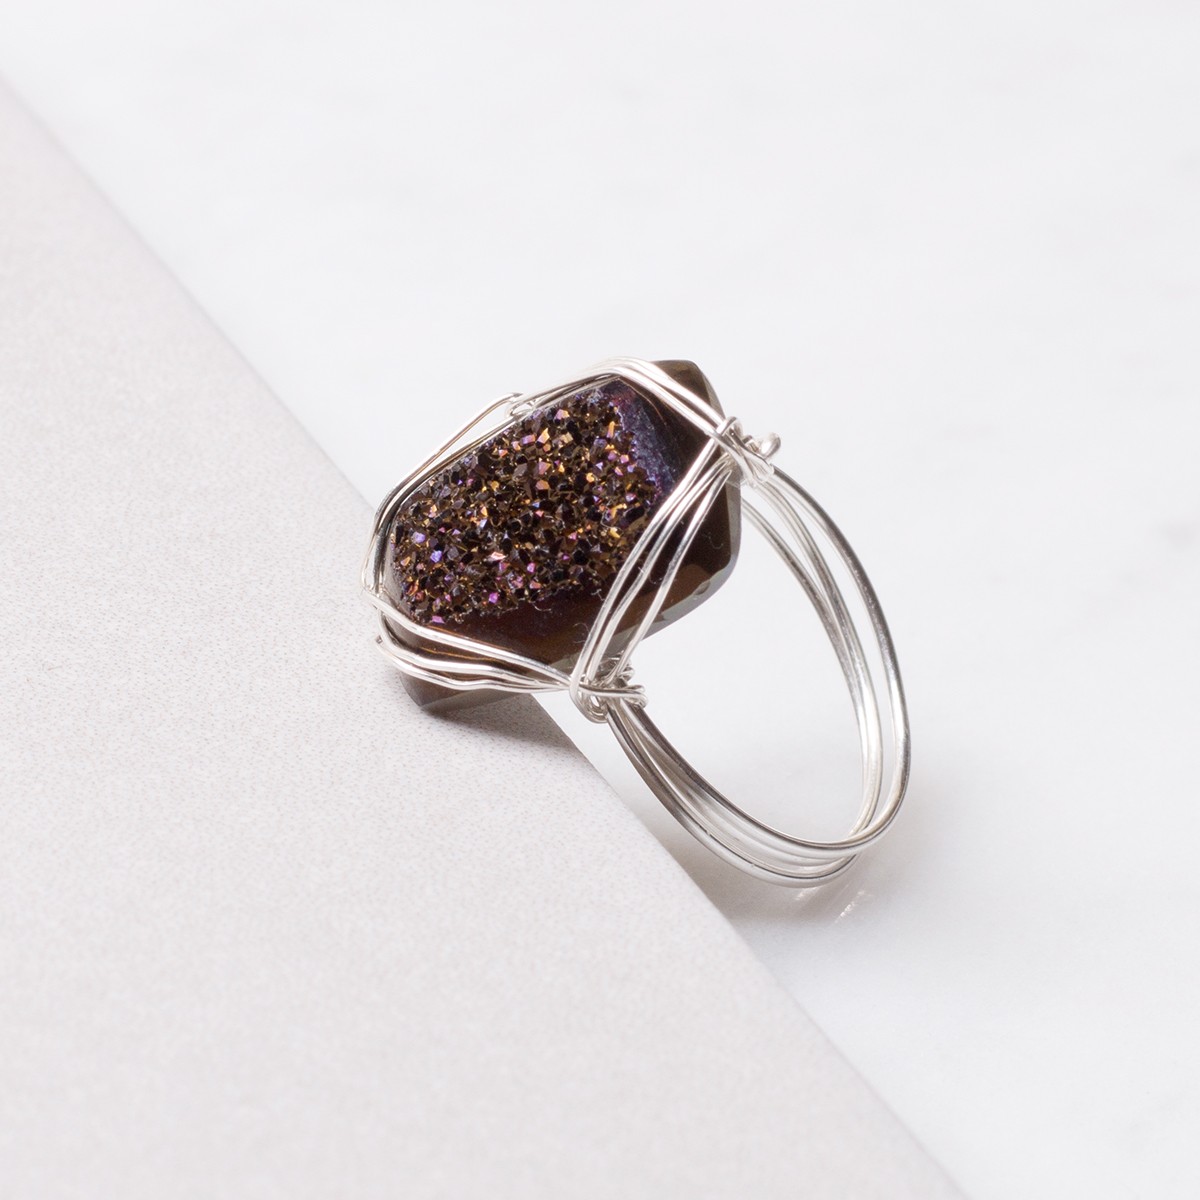
Espresso Drusy Cabochon Ring

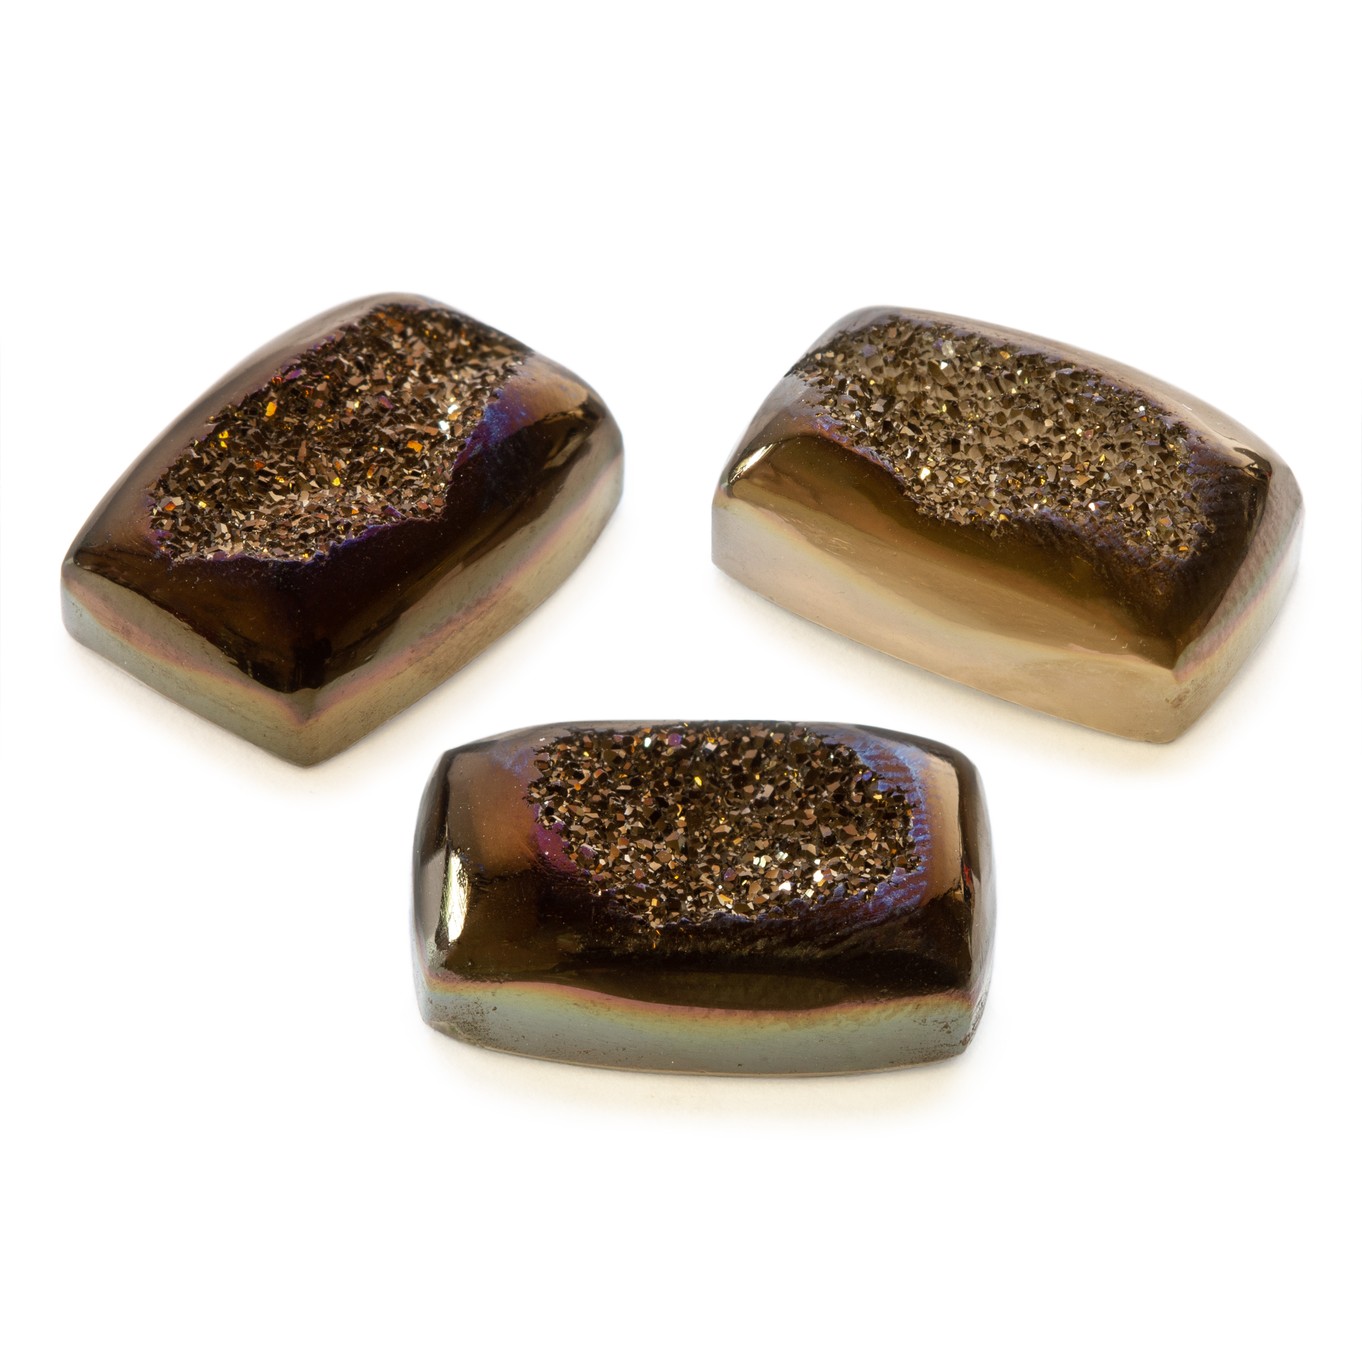
We love these stunning rich chocolate drusy cabochons with beautiful tiny sparkling quartz crystals in the middle.
We've created a simple wire wrapped ring in no time at all! Make this perfect treat for yourself or a gift for someone special.
This is a great beginner project, which doesn't require any soldering.
STEP BY STEP INSTRUCTIONS
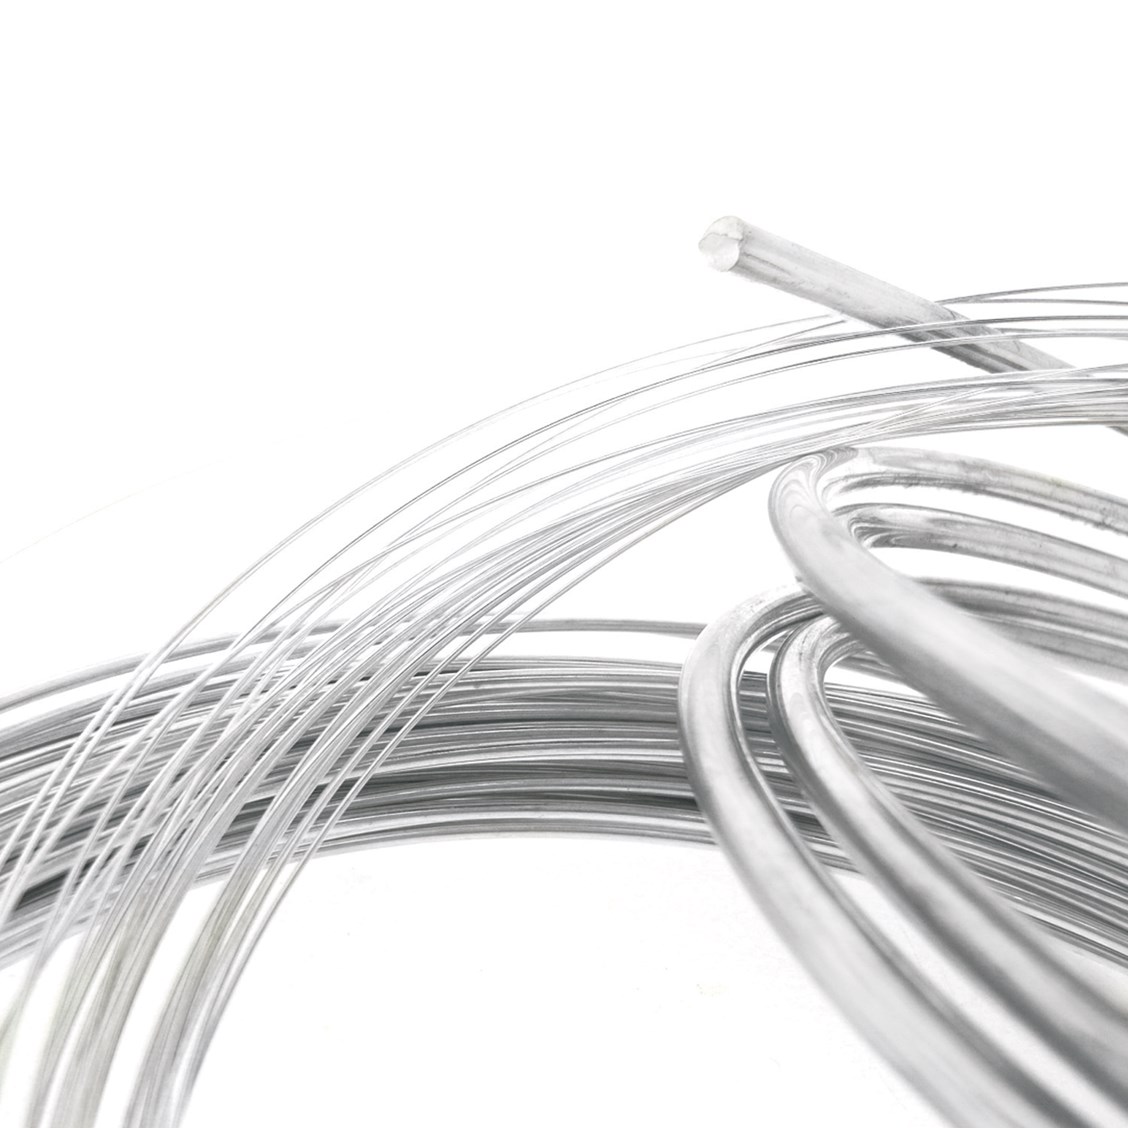
1. Use side cutters to cut 40cm of wire - this will give you enough for your ring size and excess for wire wrapping.
2. Decide the size of the ring you require. Leave approximately 5cm loose at the end of the wire. Wrap the remaining wire 3 times around the ring triblet to create 3 loops.
3. Keeping the 3 loops tightly close together, use snipe nose pliers to bend the loose wire at a right angle 90 degrees away from the ring. Repeat at the other side if the ring leaving a gap of approximately 0.5 to 1cm between the 2 bends. This is to create posts to help steady the stone and use to wrap the wire around the cabochon.
4. Take 50cm of 0.3mm wire and wrap the wire at the top of the ring around the space created to keep the loops in place. Once held in place you will have excess wire still attached for wrapping the stone.
5. Return to the 0.8mm wire posts and straighten the wire ready for the cabochon stone to be positioned on top.
6. Hold the cabochon in position and cut the 0.8mm wire posts leaving an overlap of approximately 1cm at each end.
7. You should now have the rectangle cabochon with a point on each side of the stone in the middle to use to wrap the wire around.
8. Return to the 0.3mm wire and begin wrapping. Wrap from the main ring, 45 degrees towards the 0.8mm wire post and wrap a loop around the post. At an angle at 45 degrees again, wrap around the next anchor point which is the other side of the ring. Continue this process of wrapping clockwise on each of the posts and rotate 3 full wraps. Ensure the cabochon is tucked in securely and held in position with the wrapping. By this point you should be running out of wire. Loop the last piece around the ring or post and secure.
9. To finish off, use round nose pliers to loop the 0.8mm wire posts inwards.
10. Use side cutters to trim any excess wire and use snipe nose pliers to neatly tuck in any loose ends.
11. Check you are happy with the wraps and use snipe nose pliers to reposition any wire that isn't securely holding the cabochon in place.
The beauty of wire wrapping is that you can experiment with your designs such as adding more loops or creating a thicker band. Have fun and get creative!
SUGGESTED TOOLS
You may like to get our pack of pliers & side cutters which is an economical way of buying all the pliers you will need for every project!
CUSTOMISE YOUR KIT
Make the design your own by using your favourite crystals and rough gemstones or cabochons and faceted stones
HELPFUL PAGES
Read silversmithing advice pages
Read wire wrapping techniques and advise
JEWELLERY MAKING BOOKS
The Encyclopedia Of Wire Jewellery Techniques - Sara Withers
Kernowcraft's jewellery making kits are aimed to inspire you - therefore the step by step instructions are available online only with a shopping list, where you can easily customise the design to suit you. We recommend printing or bookmarking this page ready to follow.
The suggested products used in this project are suggestions to inspire you. Products used were compatible at the time of making but do be aware that gemstones are natural and hand cut stocks can vary, so do use your own common sense as to the compatibility of each item when making.
Your Shopping List
There are one or more items out of stock at present.


