Aquamarine Willow Connector Necklace
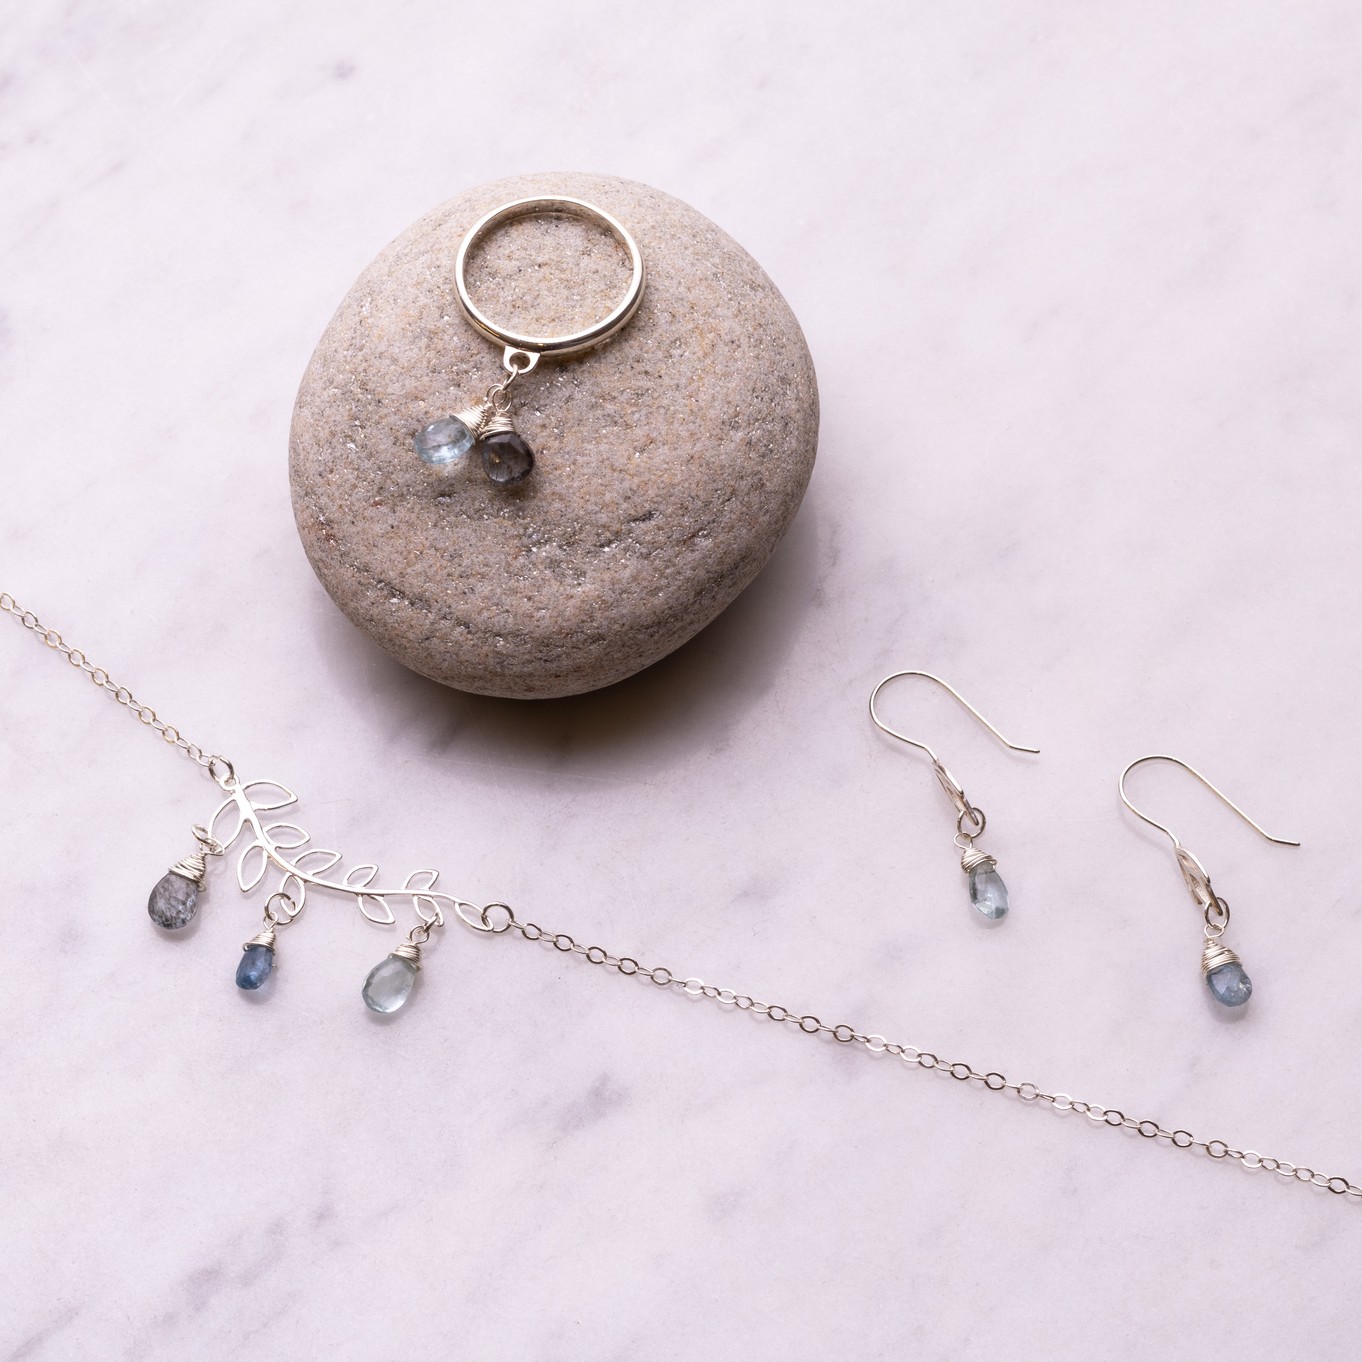
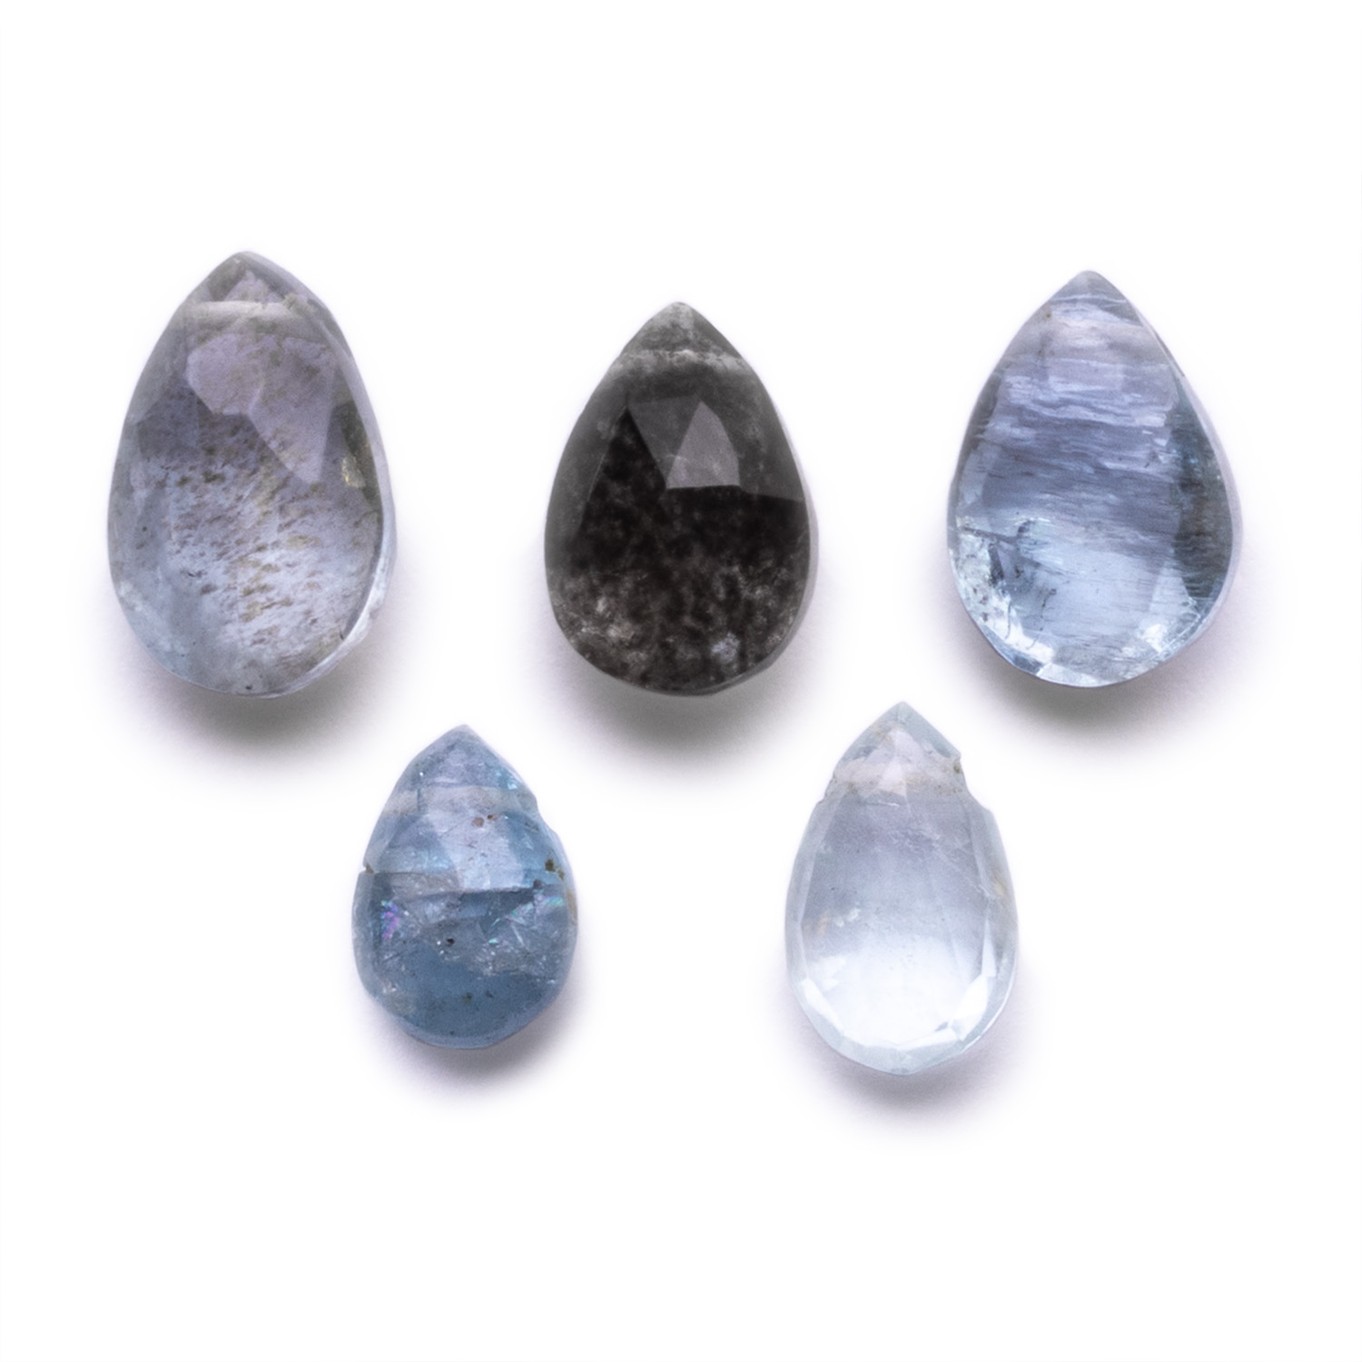
How sweet is this aquamarine willow necklace! We've used March's birthstone, the aquamarine but you could personalise it by using your favourite gemstones instead!
STEP BY STEP INSTRUCTIONS
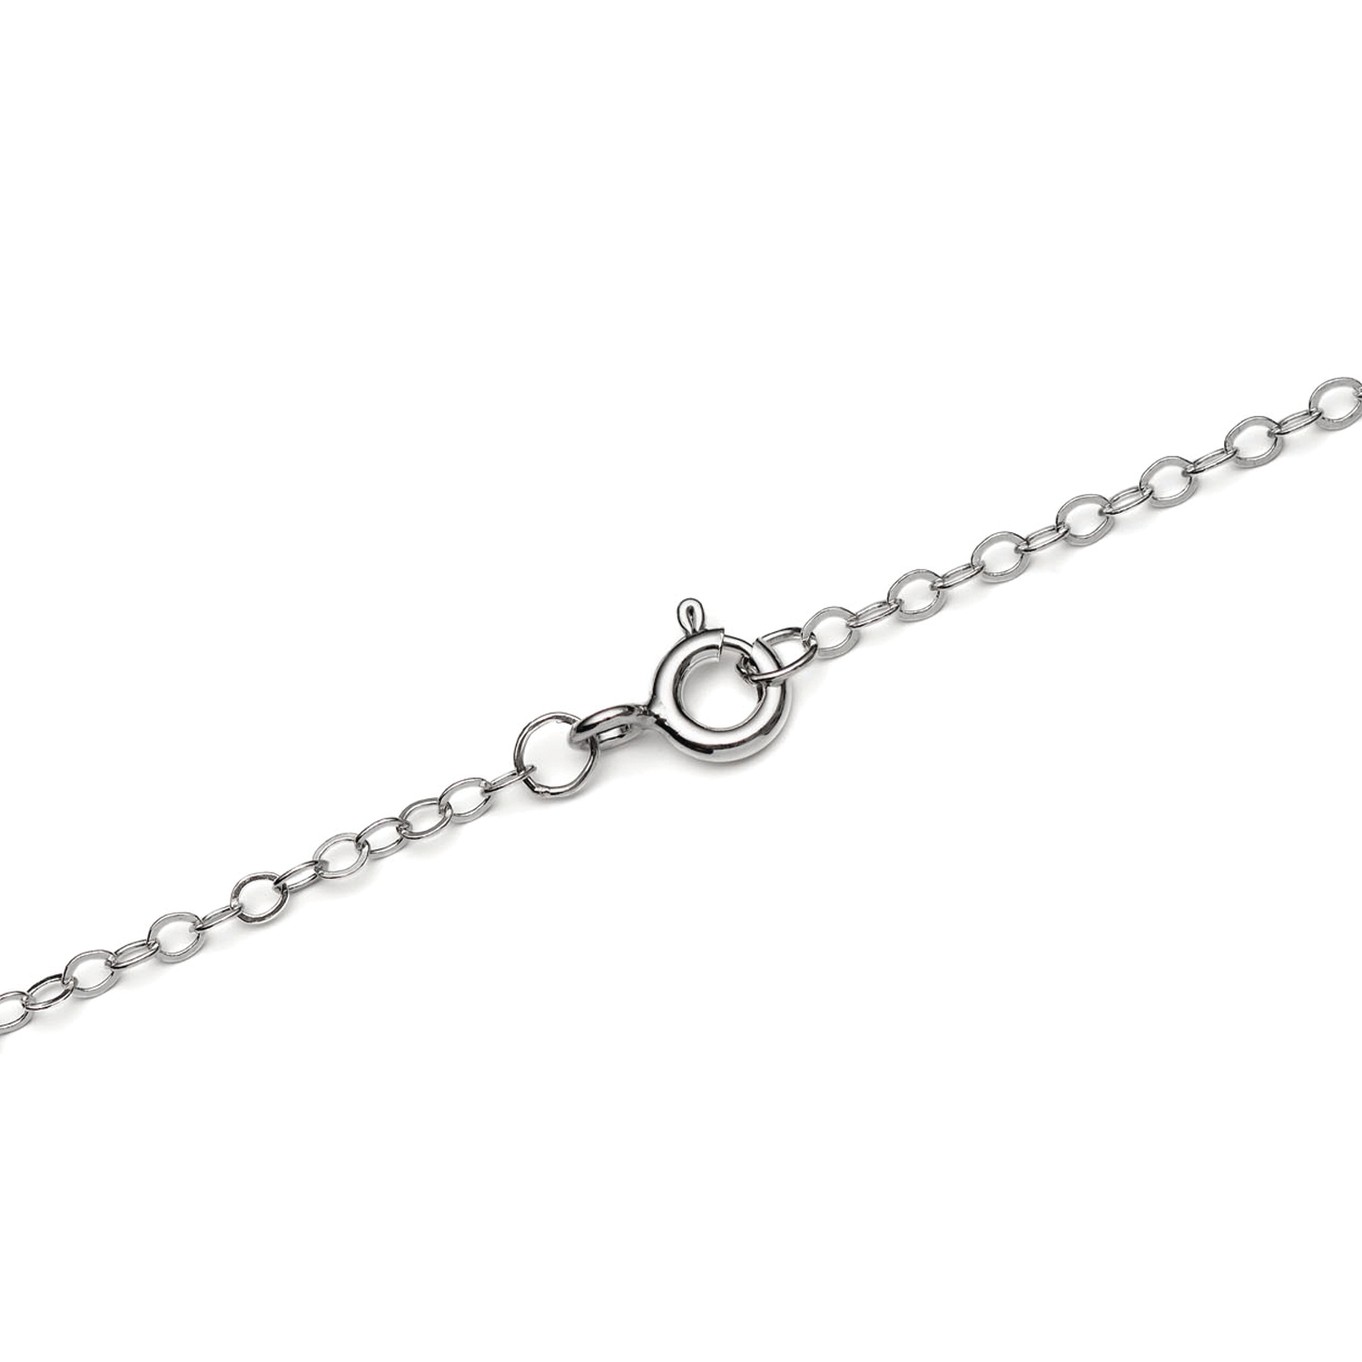
1. Start by finding the centre of the chain and cut it with side cutters.
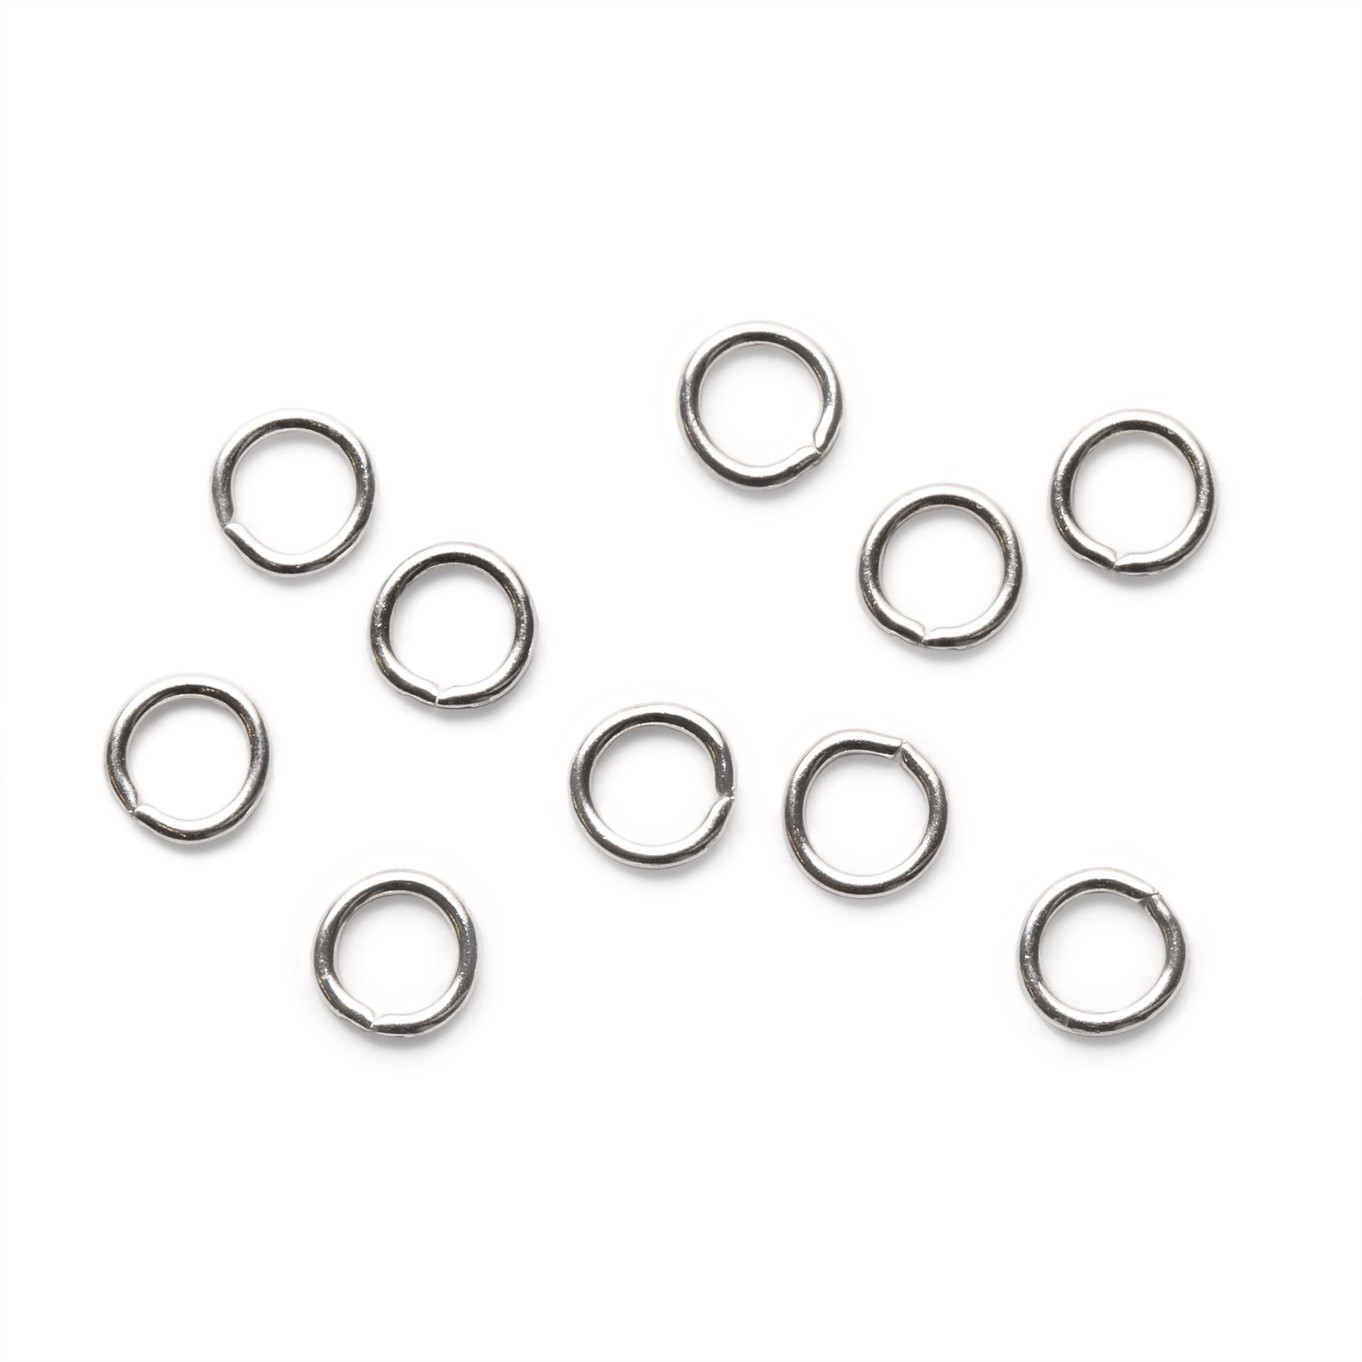
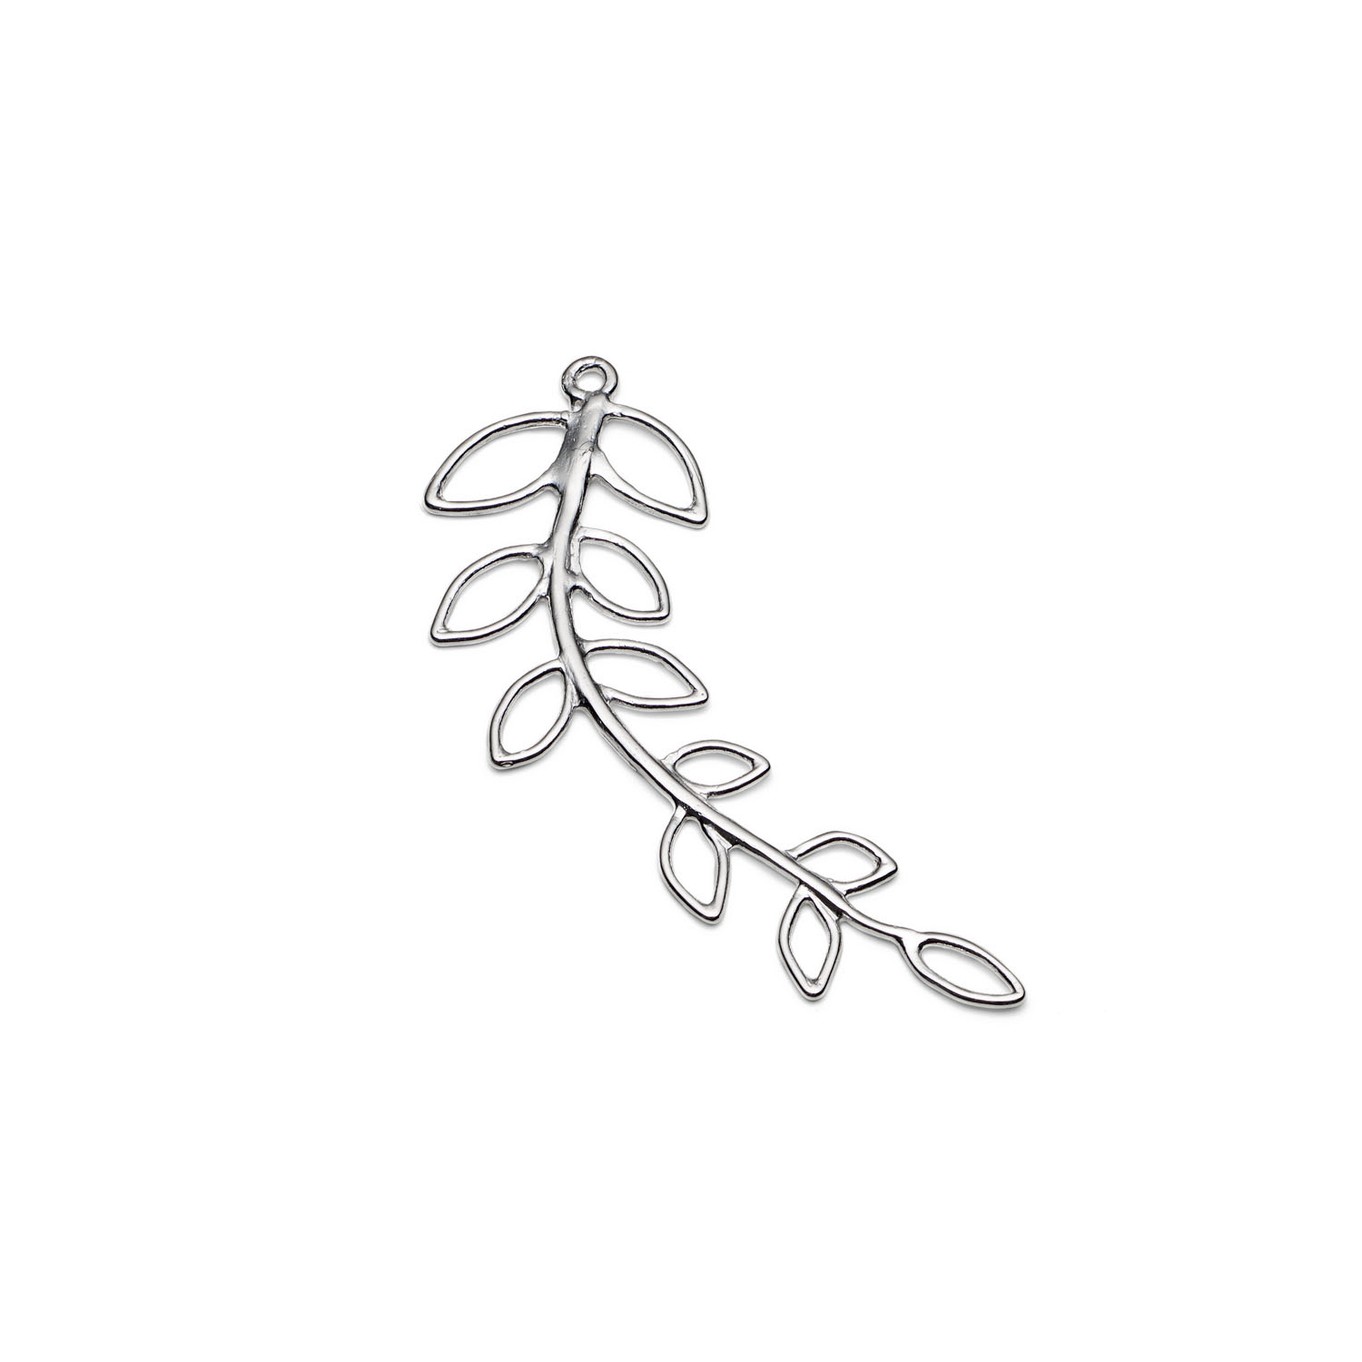
2. Attach the willow connector to the chain necklace in the gap you have made, using two 3.5mm jump rings by twisting open the jump rings and closing them with a pari of snipe nose pliers.
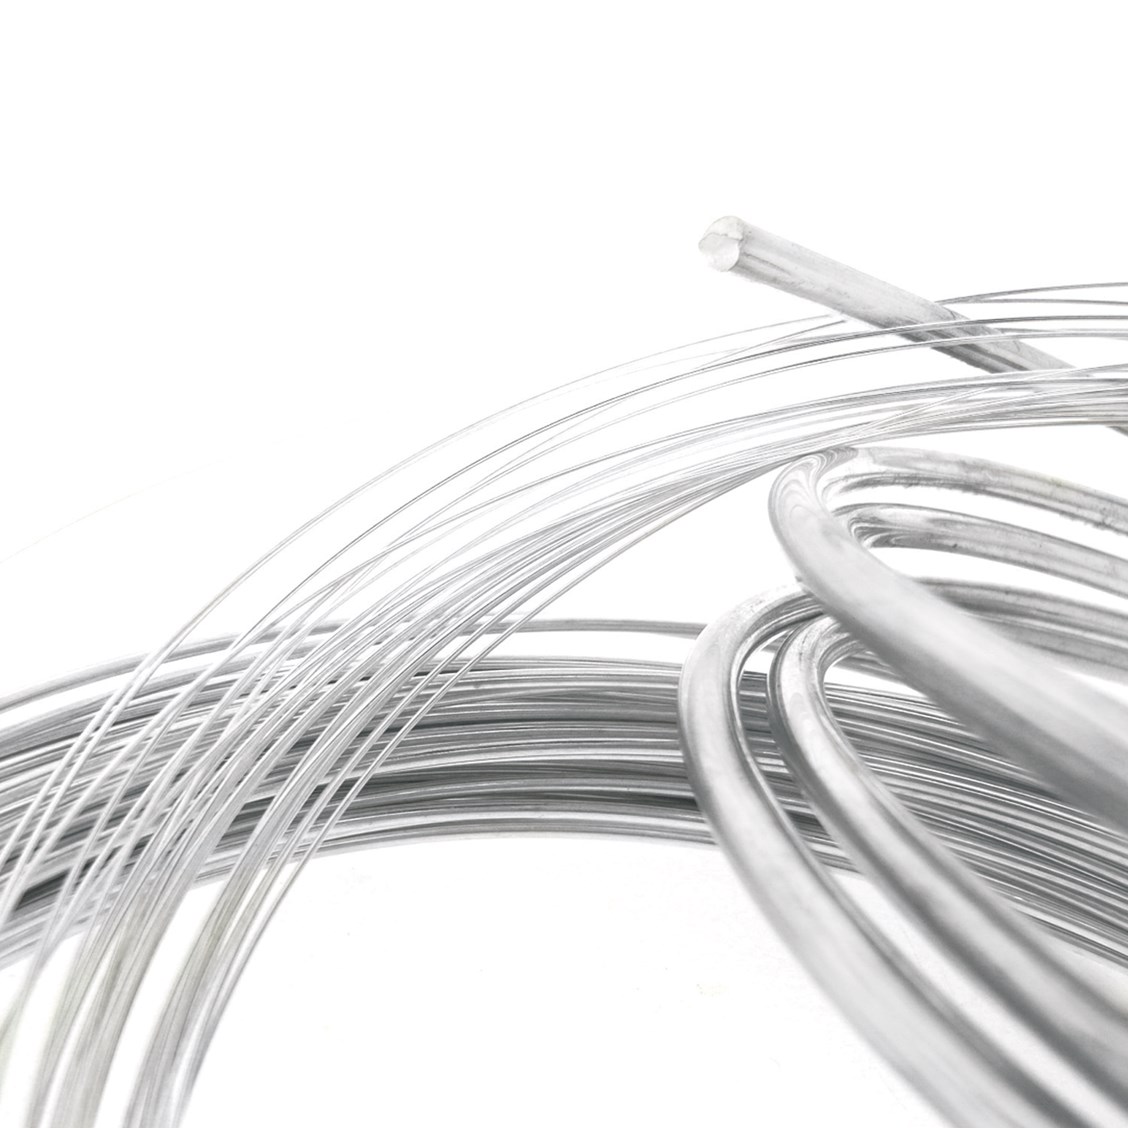
3. Next, wire wrap three aquamarine briolettes. Slip the briolette onto the wire around 3-4cm down, ensure one side of the wire is longer than the other. Pinch both ends of the wire together at the top of the briolette to form a triangle shape, making sure the briolette is central.
4. Hold both sides of the wire with round nose pliers and bend the longer length to a right angle. At his point, work half way up the plier nose to ensure you allow yourself enough room for a good wrap. If necessary, trim any excess wire on the short side with side cutters.
5. Use snipe nose pliers to gently squeeze the coil together and continue to wrap upwards until you reach top of the bead. Once you're happy with the wrap, use side cutters to trim excess wire and squeeze the end into the coil for a neat finish. (Click here for step by step instructions with photos of how to wire wrap a briolette.)
6. Attach a 3.5mm jump ring directly onto one of the wire wrapped briolettes and attach the jump ring to the willow connector. Connect the other two wire wrapped briolettes in the same way.
Your necklace is now complete.
CUSTOMISE YOUR KIT
Make the design your own by using your favourite jewellery supplies.
HELPFUL PAGES
How to wire wrap a briolette bead
How to set gemstones in
How to open and close a jump ring
Kernowcraft's jewellery making kits are aimed to inspire you - therefore the step by step instructions are available online only with a shopping list, where you can easily customise the design to suit you. We recommend printing or bookmarking this page ready to follow.
The suggested products used in this project are suggestions to inspire you. Products used were compatible at the time of making but do be aware that gemstones are natural and hand cut stocks can vary, so do use your own common sense as to the compatibility of each item when making.
Your Shopping List
There are one or more items out of stock at present.

