Amethyst & Aquamarine Lovebird Necklace
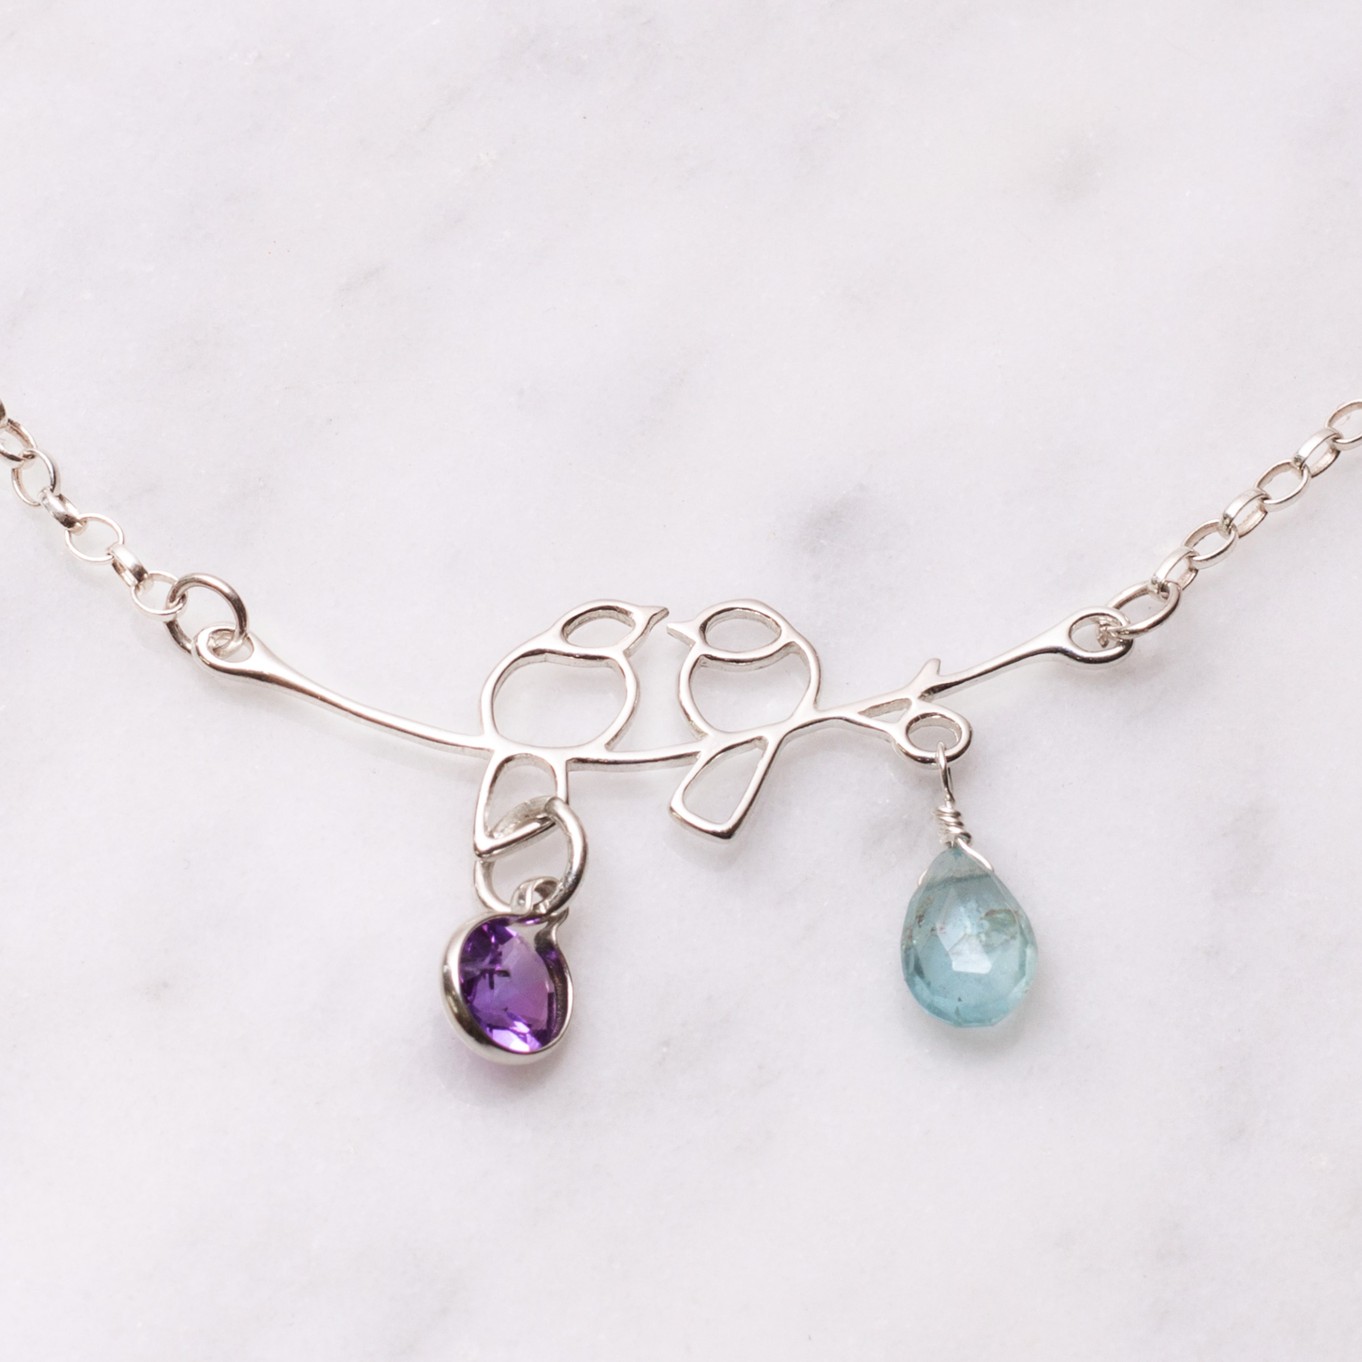
How sweet is this gemstone lovebird necklace! We've combined amethyst and aquamarine (February & March's birthstones!) for an eye-catching design but you could easily personlise it by using your favourite gemstones instead!
The shopping list contains extra jump rings and wire than you need, which you can use for future projects.
Step By Step Instructions
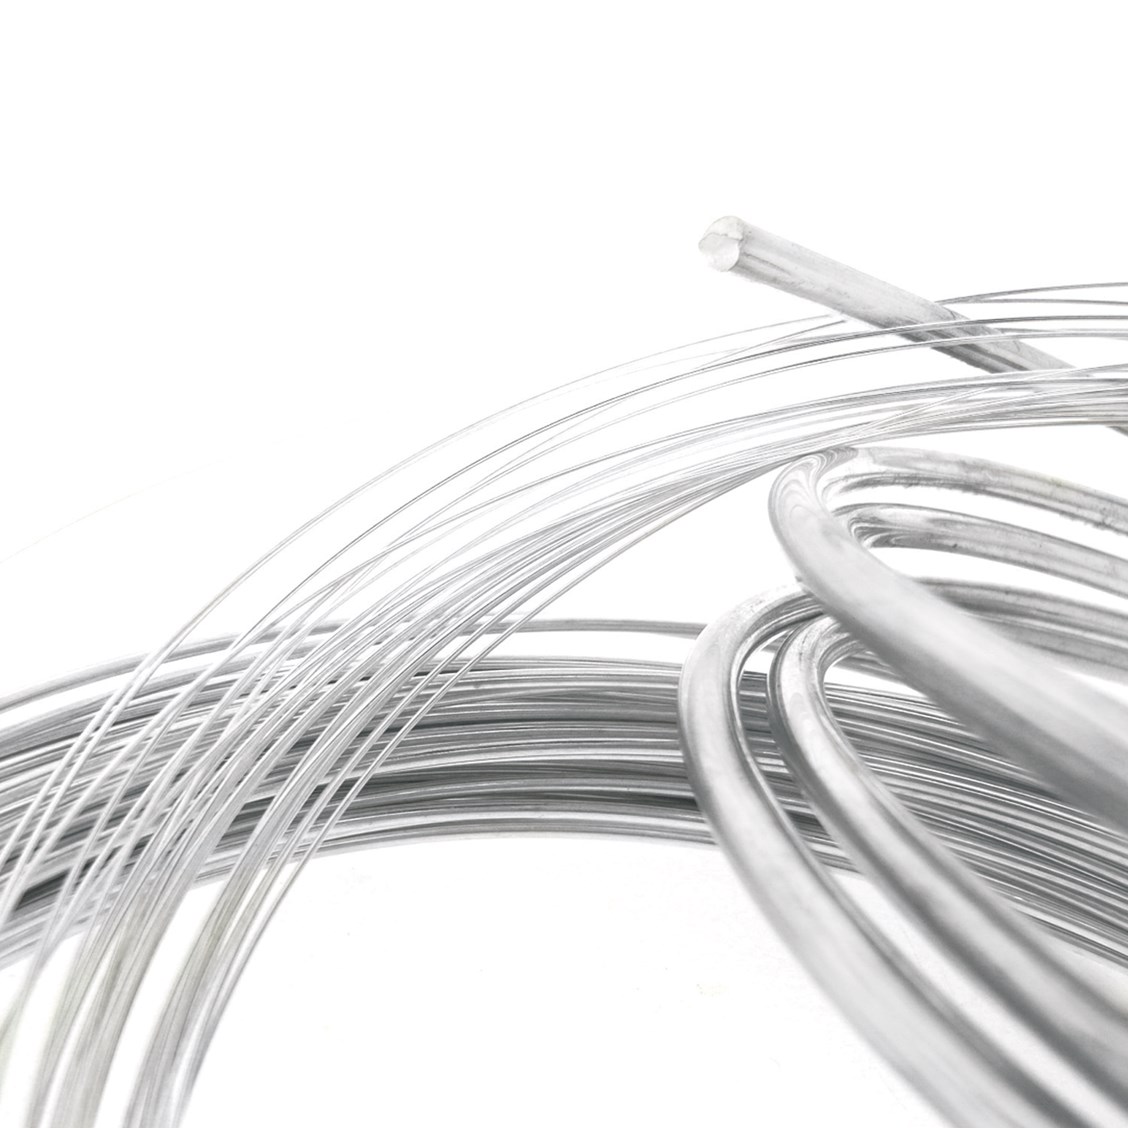
1. Firstly wire wrap your aquamarine briolette bead. Using 15-20cm of sterling silver round wire, slip the briolette onto the wire around 3-4cm down. Pinch both ends of the wire together at the top of the bead to form a triangle shape. Use round nose pliers to bend the longer length to a right angle and if necessary, use side cutters to cut the short side of the wire. Use round nose pliers to form a loop with the longer side of wire by bending it to a right angle and wrapping it around the tip of the pliers.
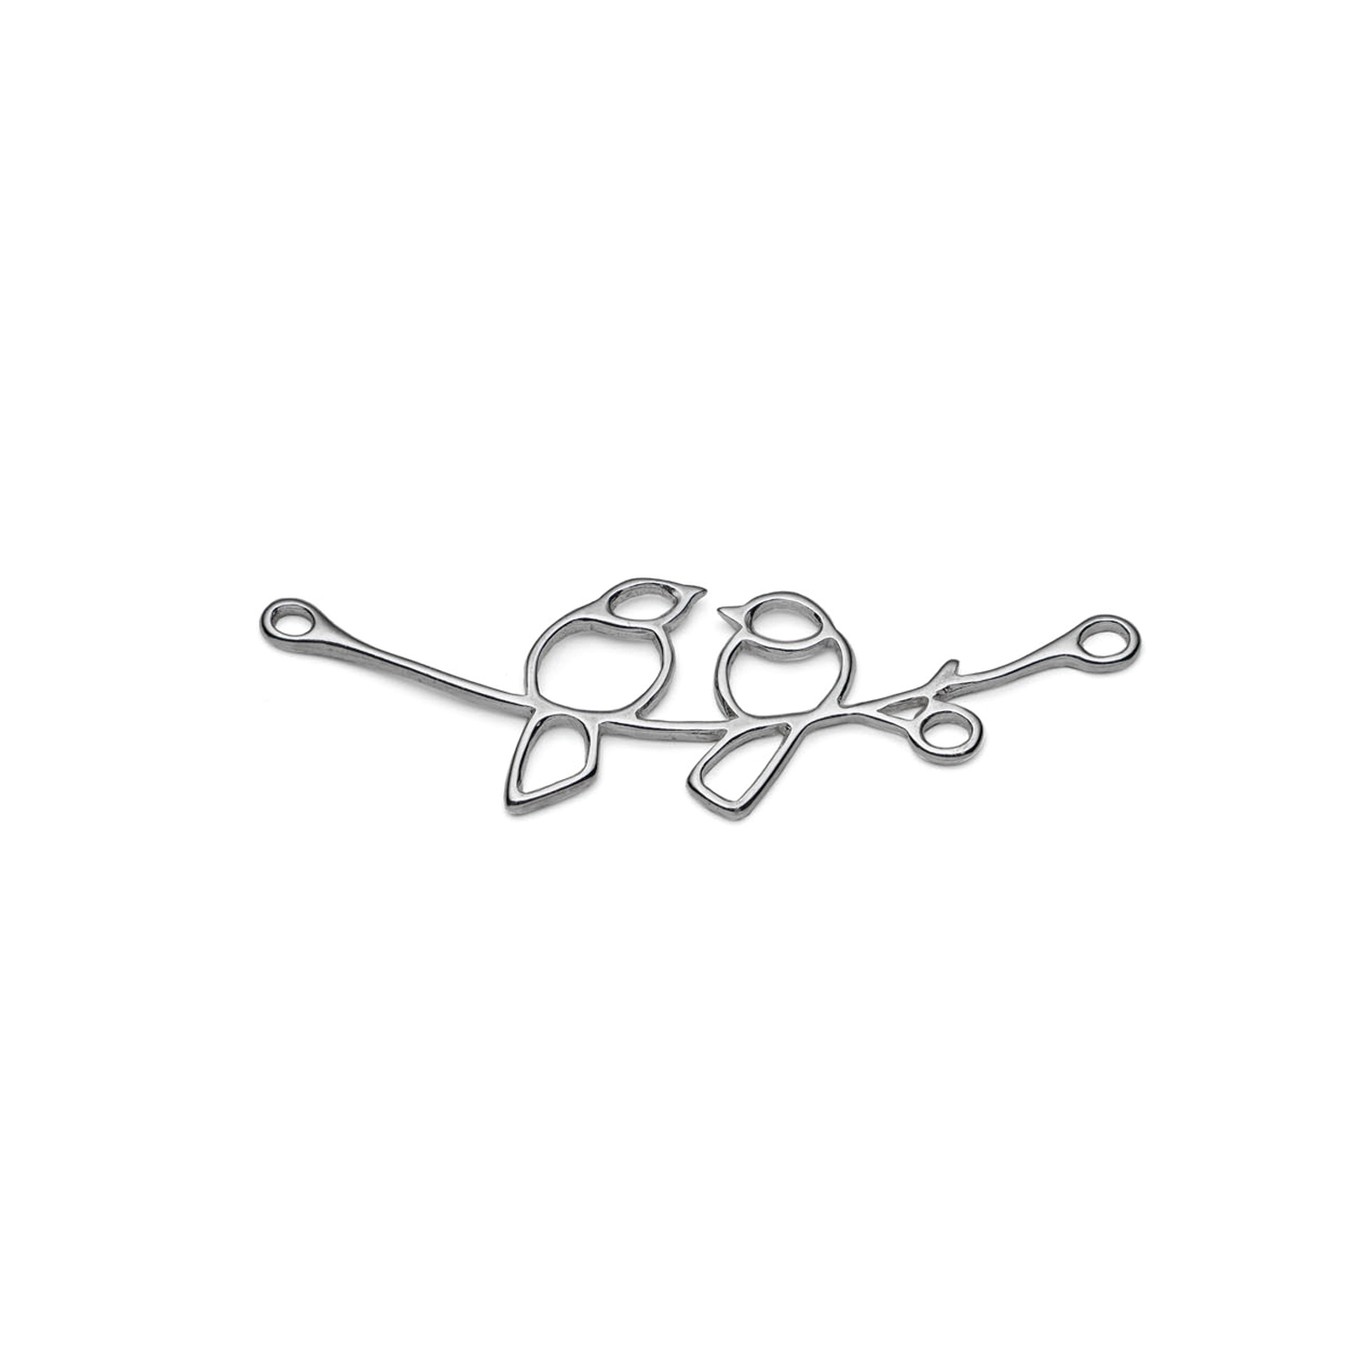
2. Before wrapping the wire, slide the wire loop onto the loop of the loop to the right of the lovebirds on the charm.
3. Hold the loop flat using snipe nose pliers and begin wrapping the wire down towards the bead. Wrap it back up towards the loop, trim and tuck in with snipe nose pliers. Your briolette should now hang nicely from the loop.
4. Next, place the amethyst stone flat side down onto a firm surface and apply gently pressure to 'click' the stone into place.
5. Use a piece of wire to keep the loop open (large enough to add your 5mm jump ring) and use the tips of round nose jewellery pliers to squeeze to tighten the setting around the stone to secure.
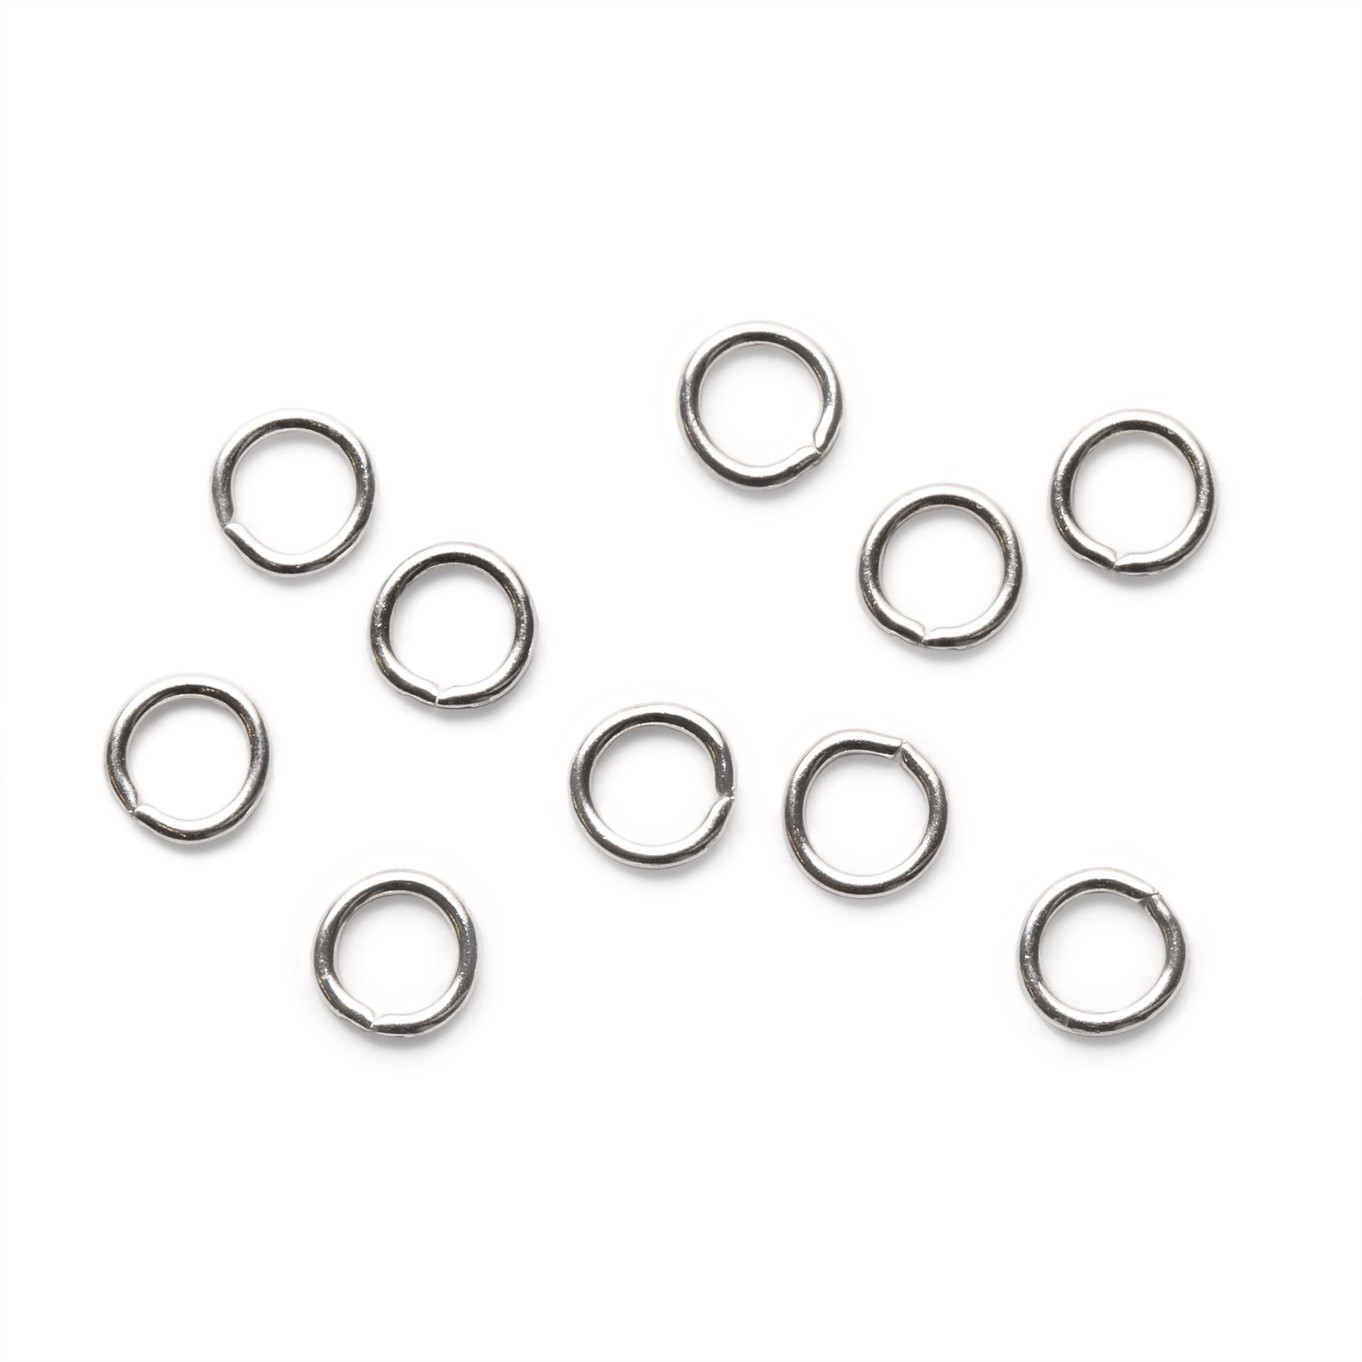
6. Using a pair of snipe or flat nose pliers, open a 5mm jump ring, loop on the wraptite setting and attach it to the tail of the left bird on the charm.
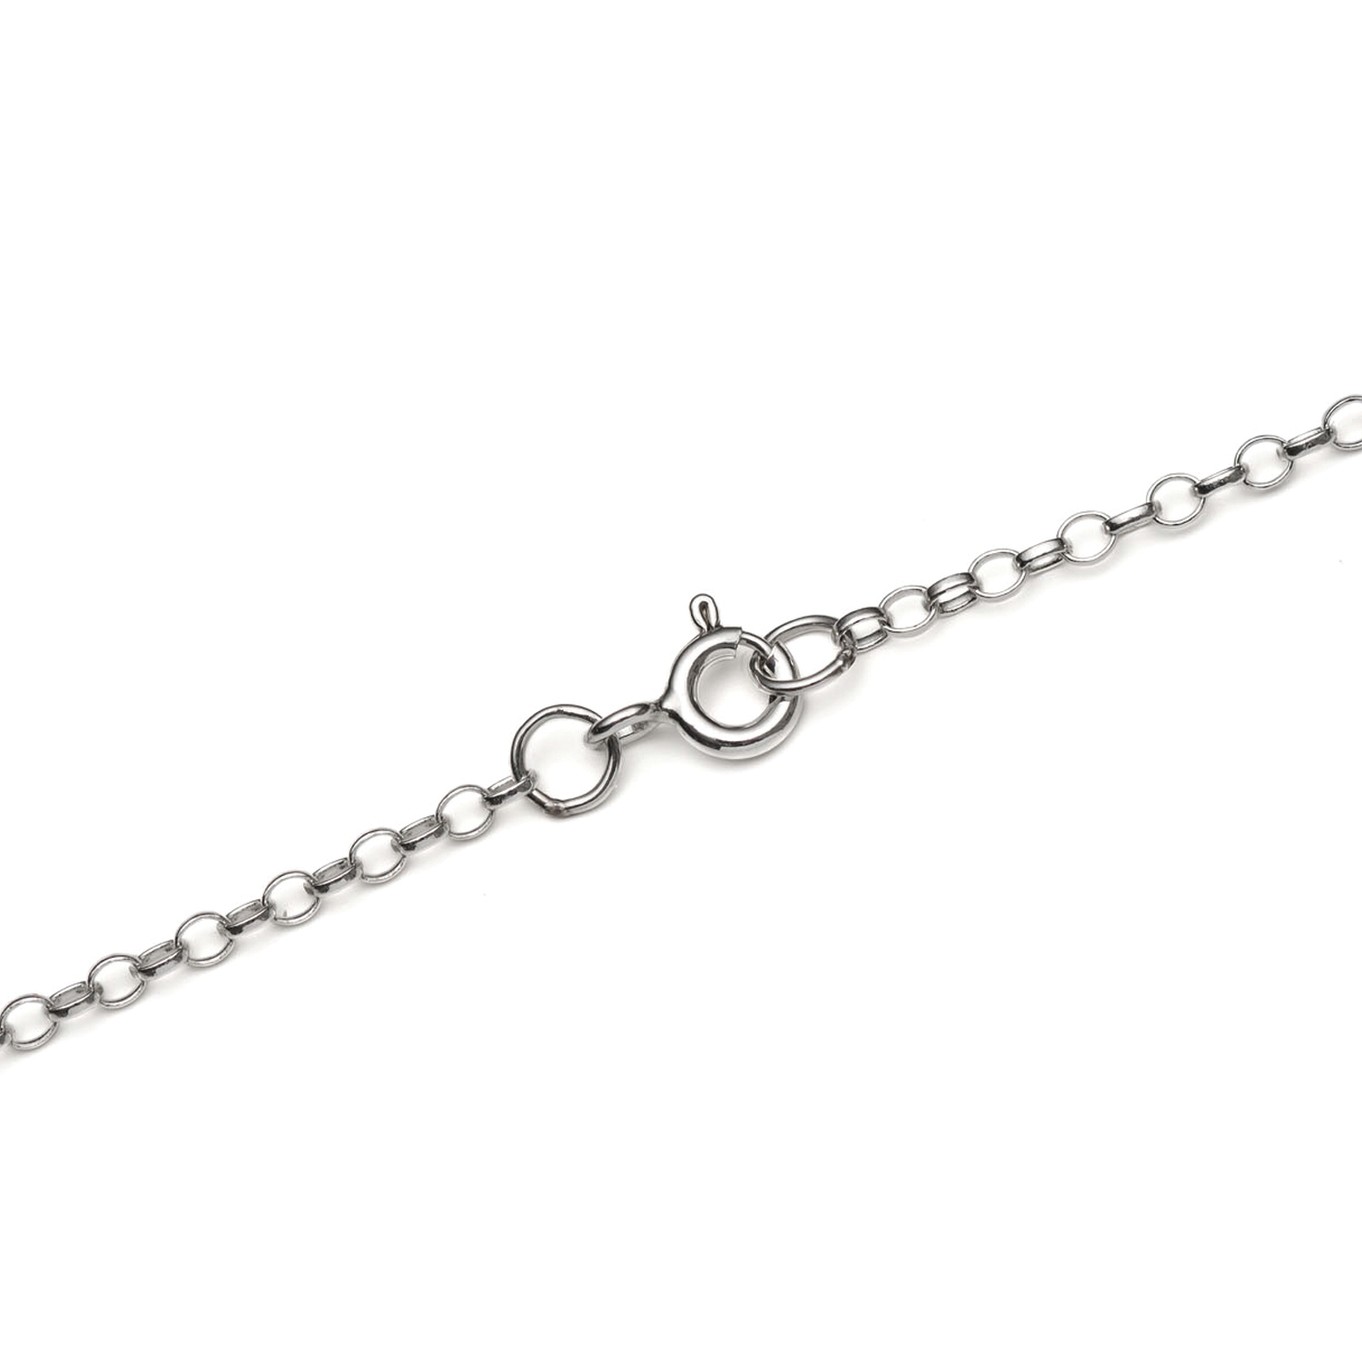
7. Use side cutters to cut your necklet chain in half (you may wish to cut the chain shorter as the link charm will add length to your necklace), use a pair of snipe or flat nose pliers to twist open a 3.5mm jump ring, attach the loose link end of the chain and loop of the charm link, then twist closed to secure. Repeat for the other side of the charm link and your necklace is complete!
CUSTOMISE YOUR KIT
Make the design your own by using your favourite jewellery supplies.
Helpful Pages
How to wire wrap a briolette bead
How to set gemstones in
How to open and close a jump ring
Kernowcraft's jewellery making kits are aimed to inspire you - therefore the step by step instructions are available online only with a shopping list, where you can easily customise the design to suit you. We recommend printing or bookmarking this page ready to follow.
The suggested products used in this project are suggestions to inspire you. Products used were compatible at the time of making but do be aware that gemstones are natural and hand cut stocks can vary, so do use your own common sense as to the compatibility of each item when making.
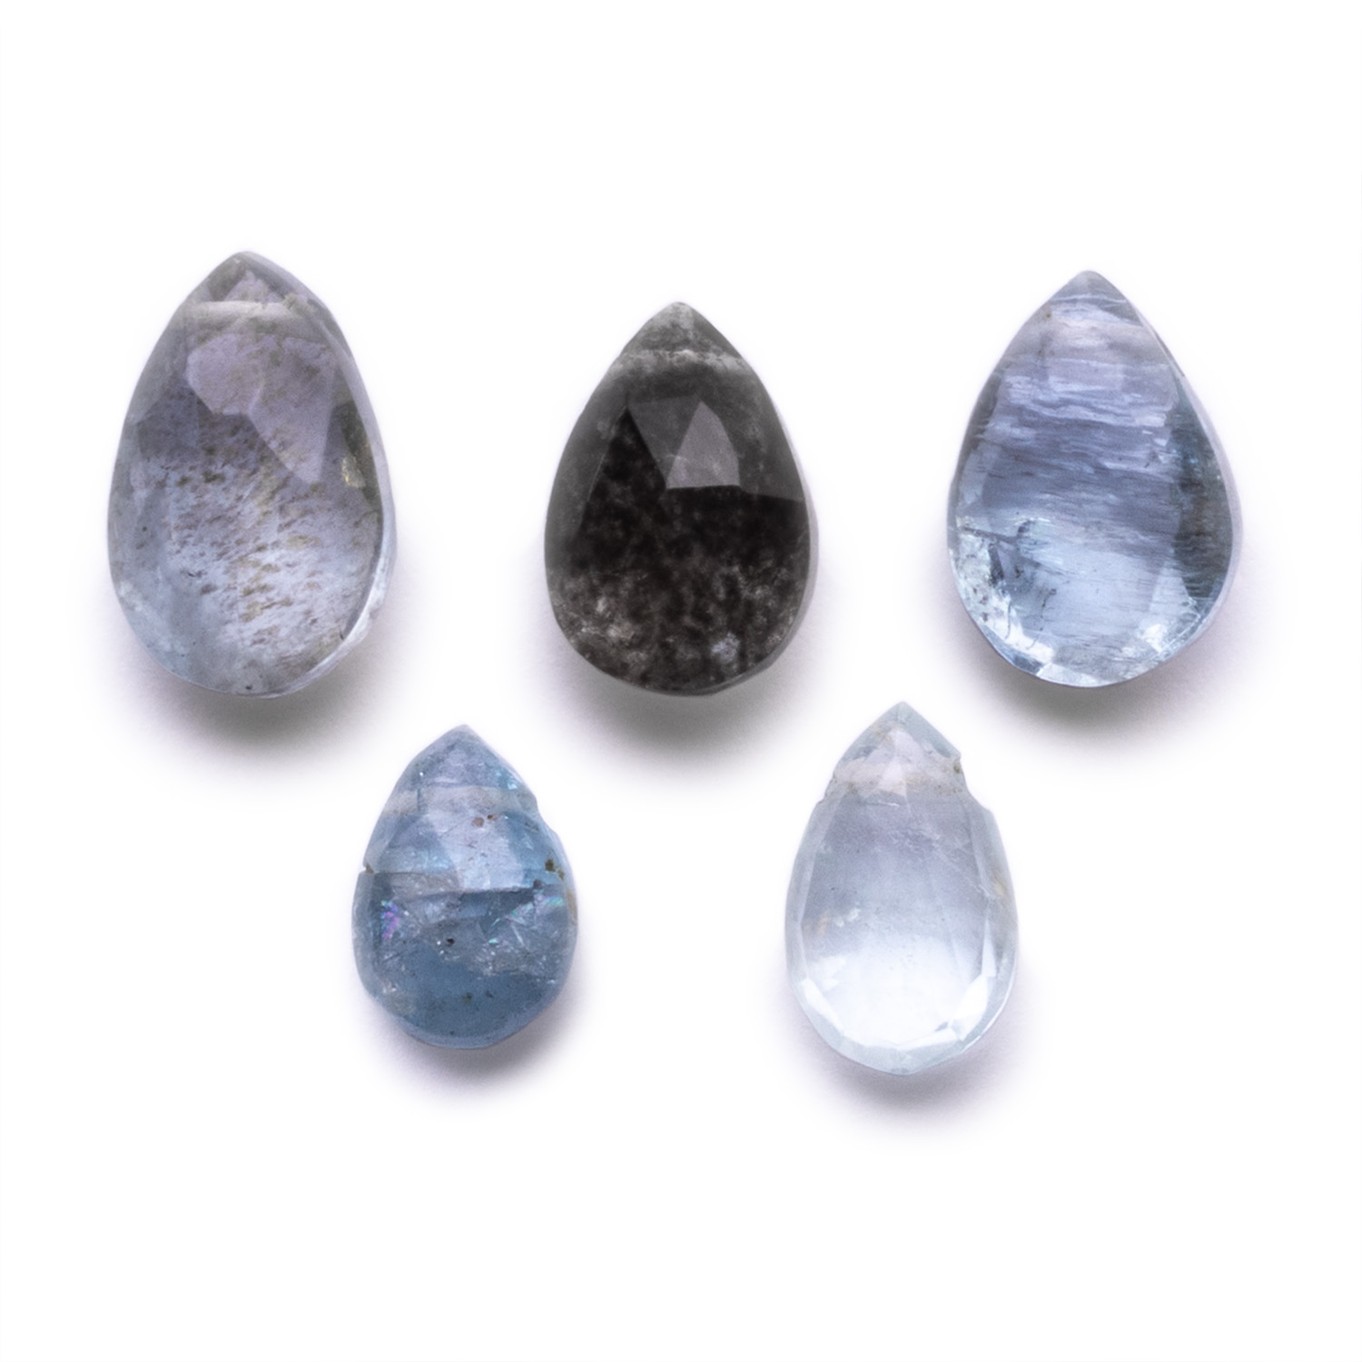
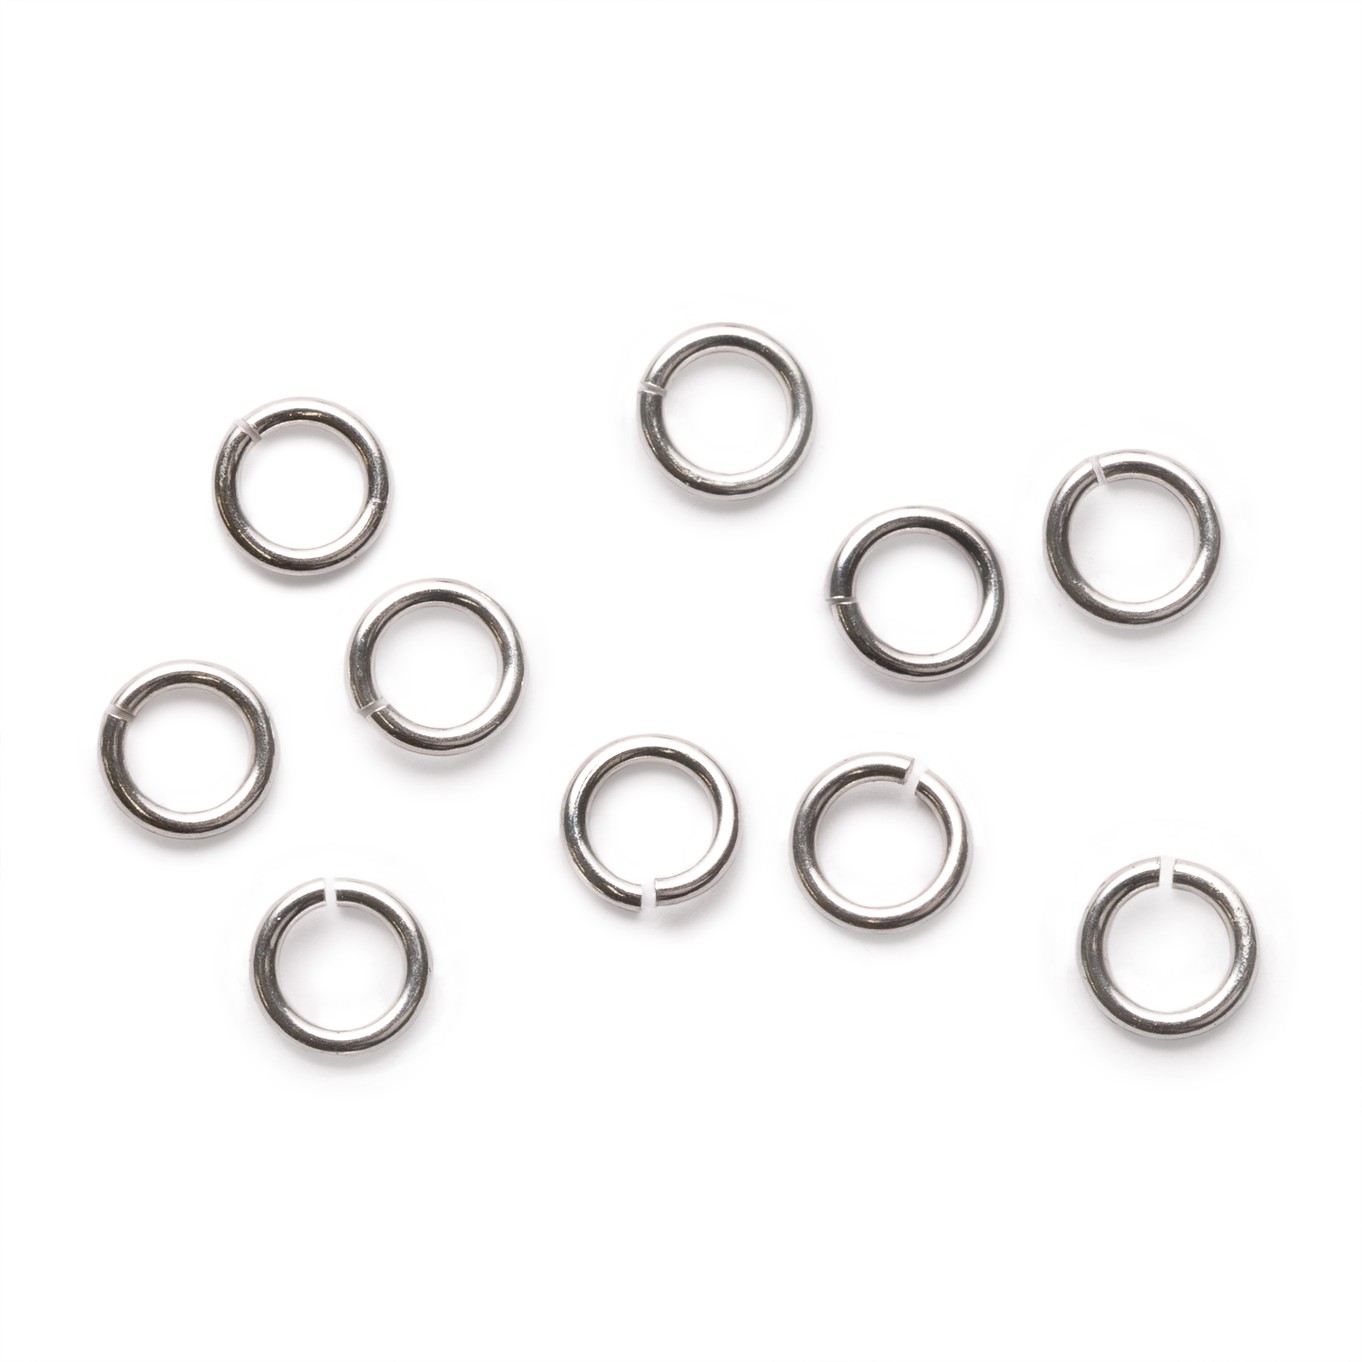
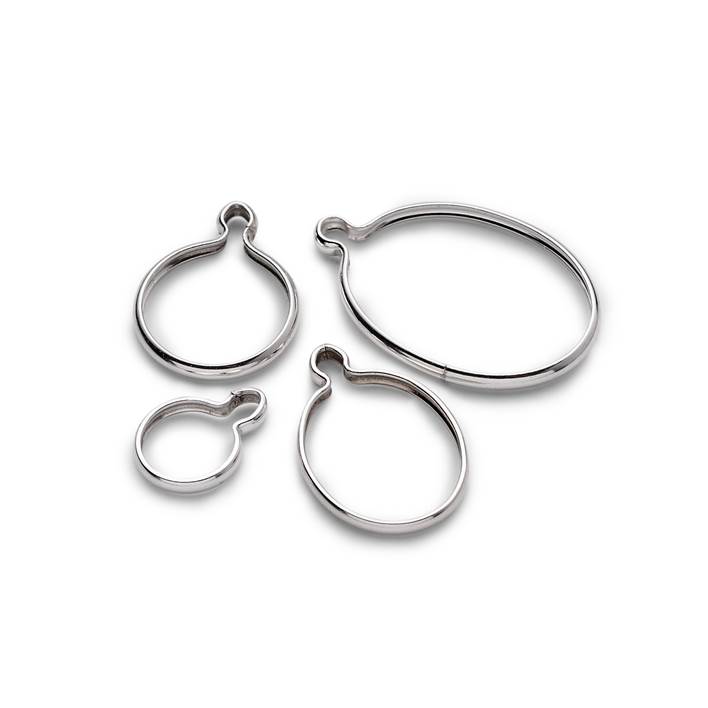
Your Shopping List
There are one or more items out of stock at present.