How To Make A Wire Edged Setting For Different Shaped Gemstones
A common obstacle for those starting out with stone setting is being unsure on the best way to set a more unusual shaped or sized stone. This can easily get in the way of using that stone you love and want to work with!
Here we show you how you can fabricate a simple wire edged setting to suit any shaped stone of your choice using basic silversmithing techniques.
Project Supplies
Step 1
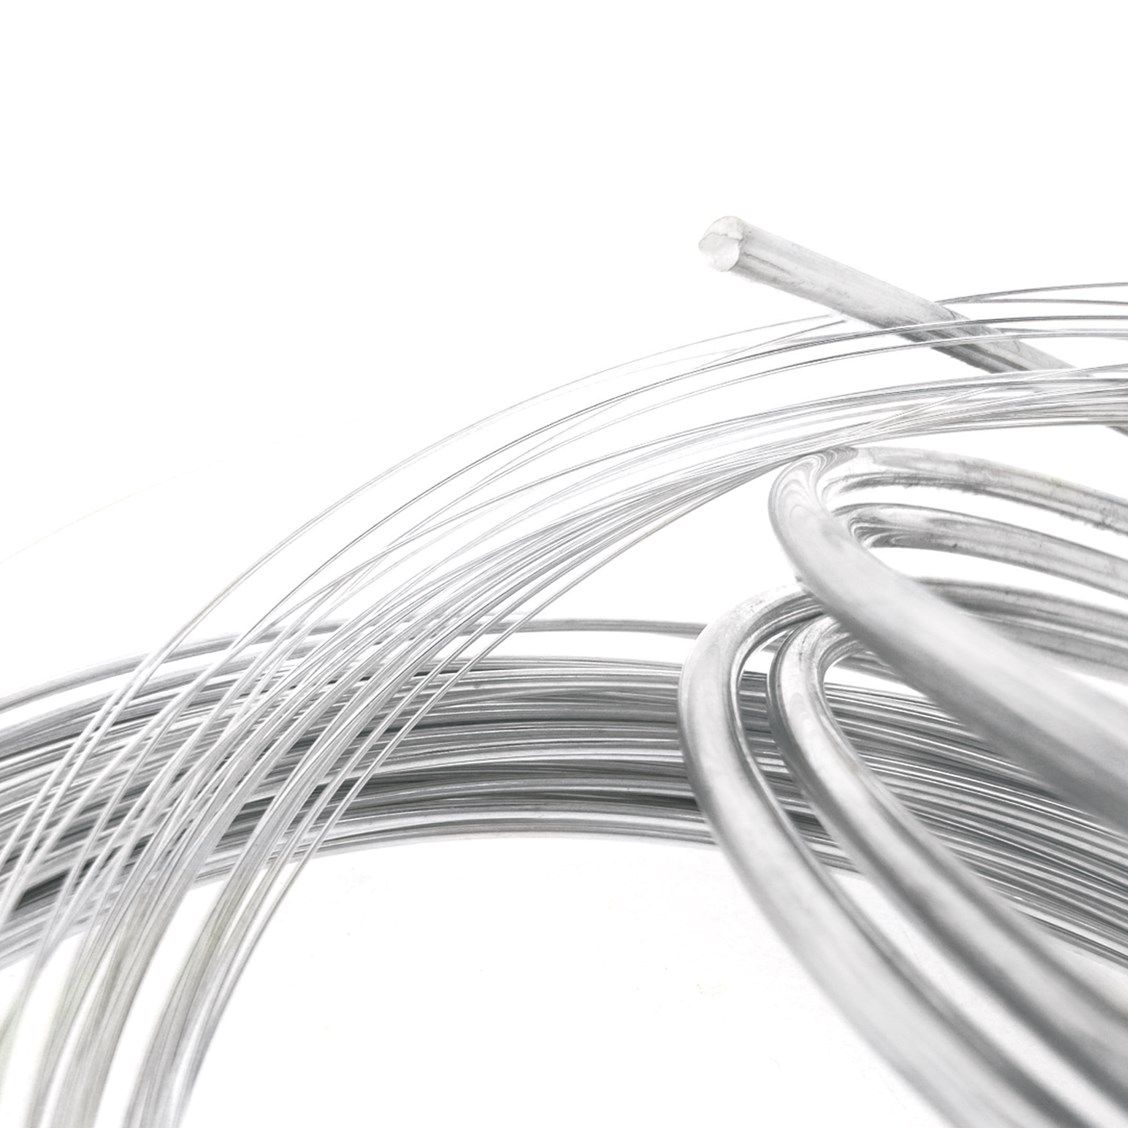
Firstly you want to select your wire thickness. The best way to do this is to lay a bit next to your stone to see what looks right to you; a deeper stone will probably want a thicker wire to look in proportion (you can always file it down once it's made). If you're unable to do this 1mm is a good average size to go with.
Step 2
Use your pliers to help shape your wire around the circumference of your stone, which pliers to use will depend on whether the shape is circular or geometric, round nose will be better for rounded sides and flat nose for geometric sharper angles - snipe nose can be used for both. Take your time during this part as you want the wire to form a nice snug fit around the stone.
Step 3

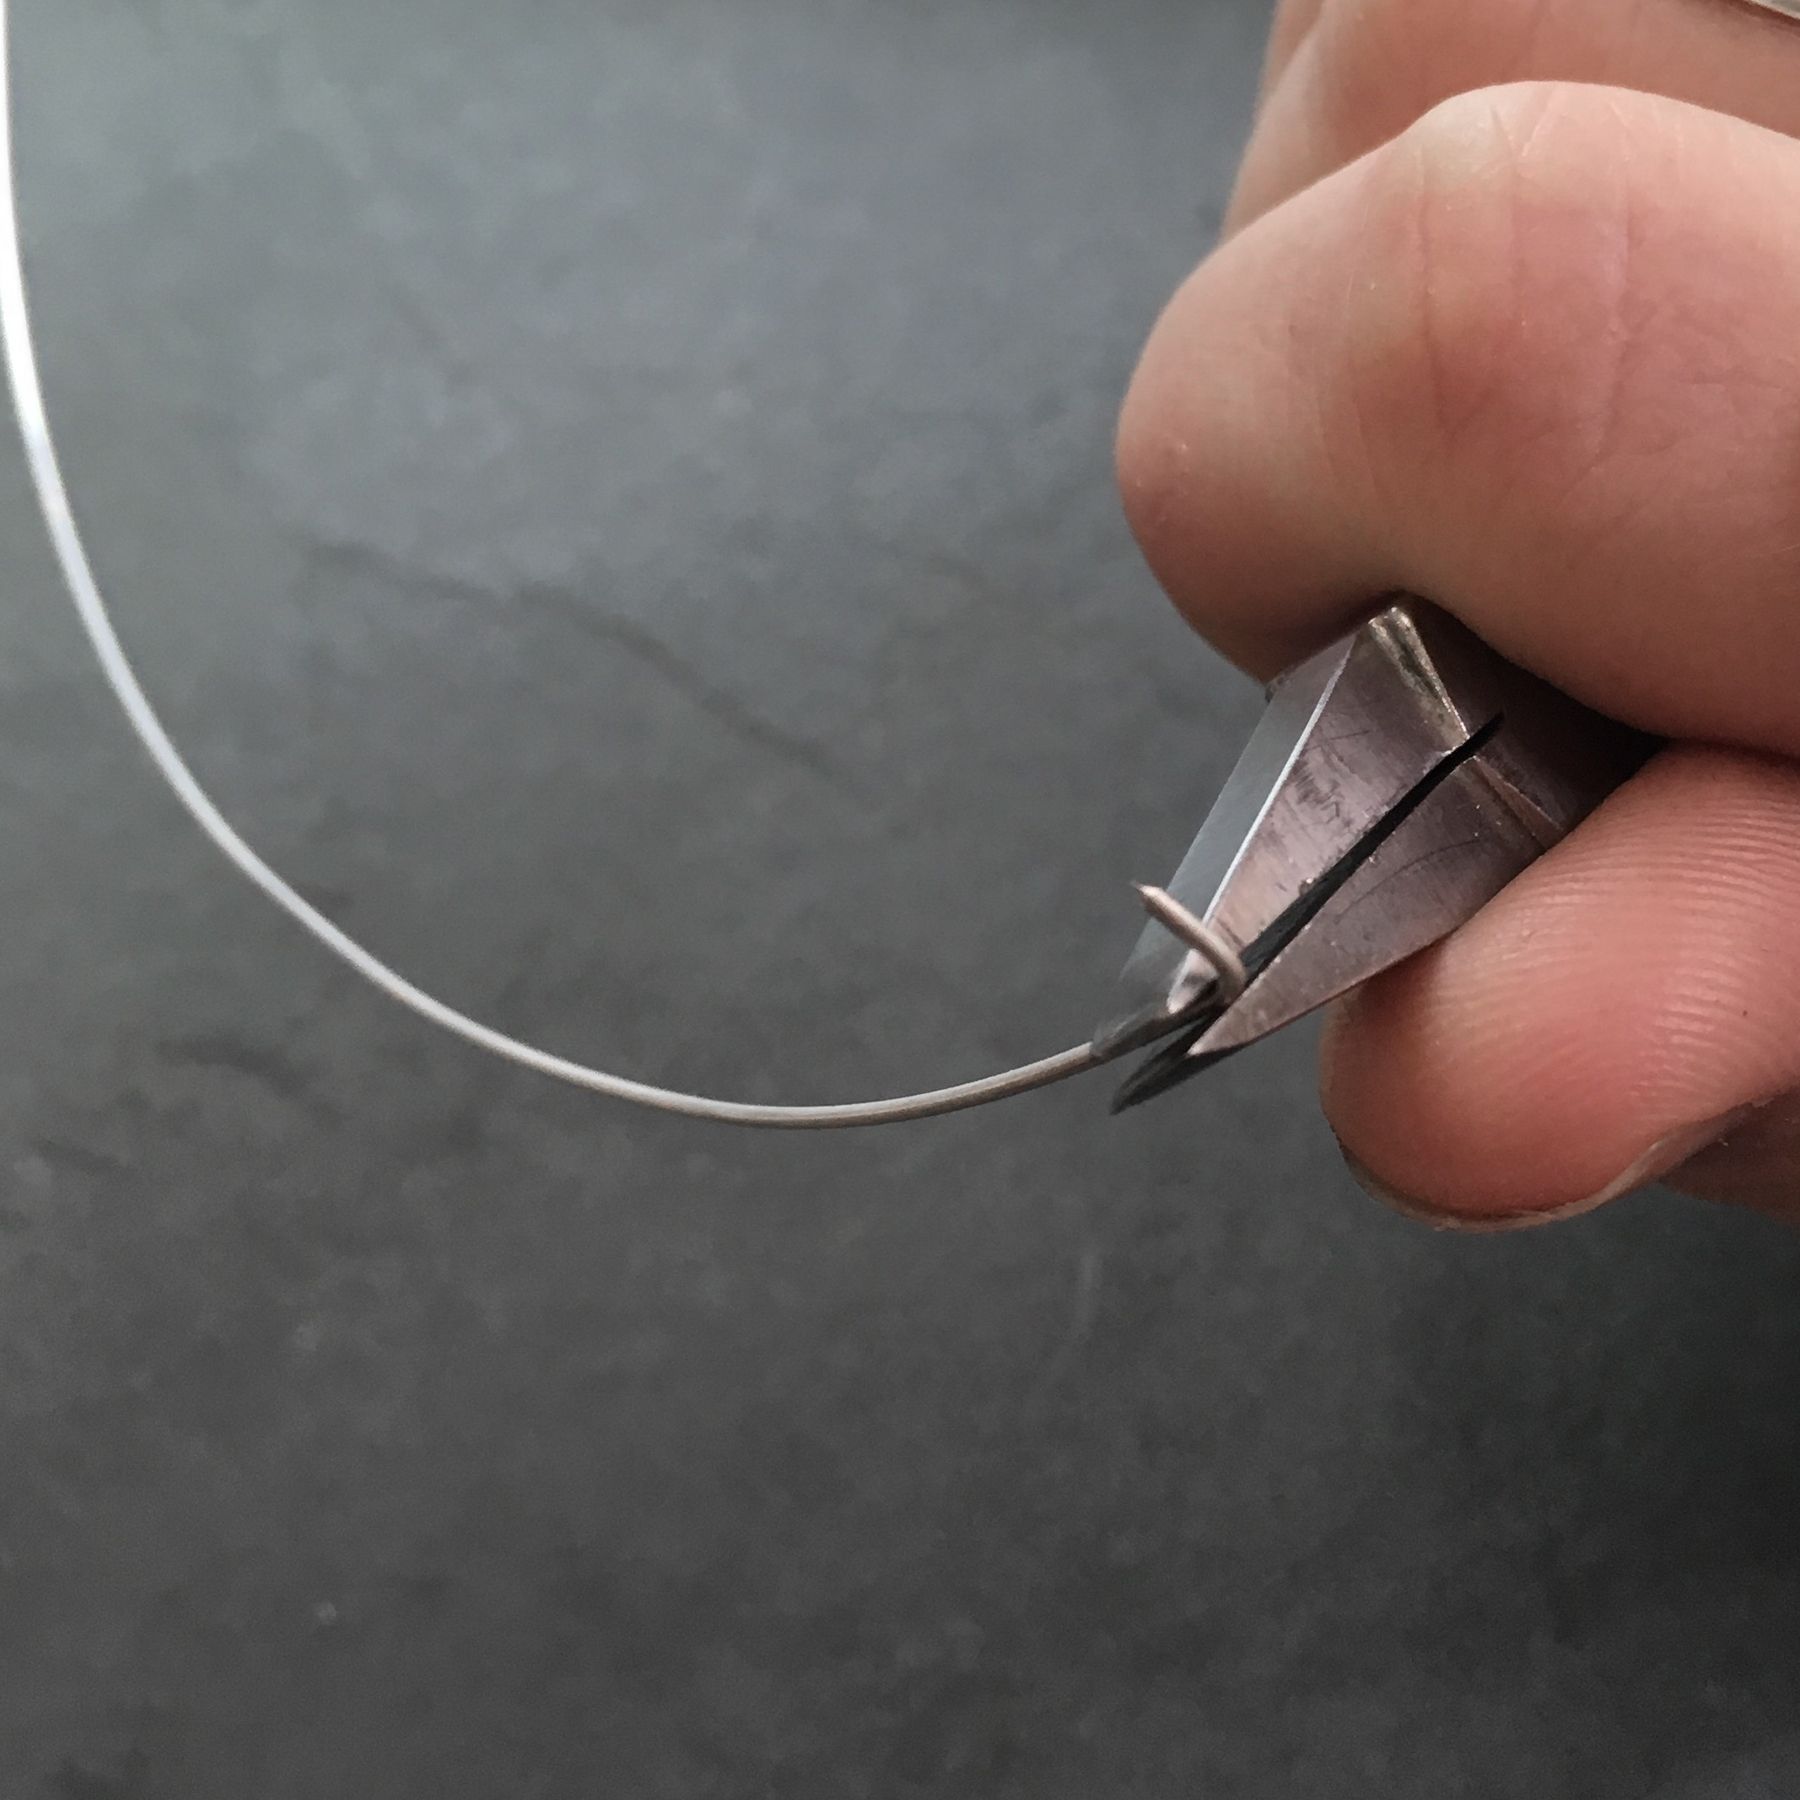
Once you have the wire formed use your side cutters to cut off the excess. If you leave about 1mm extra you can file down the end to make sure it fits neatly to form the join where you want to solder it together. Check the fit by placing your stone in the centre of the wire shape - it should slot in easily but without being able to move around once in place.
Step 4
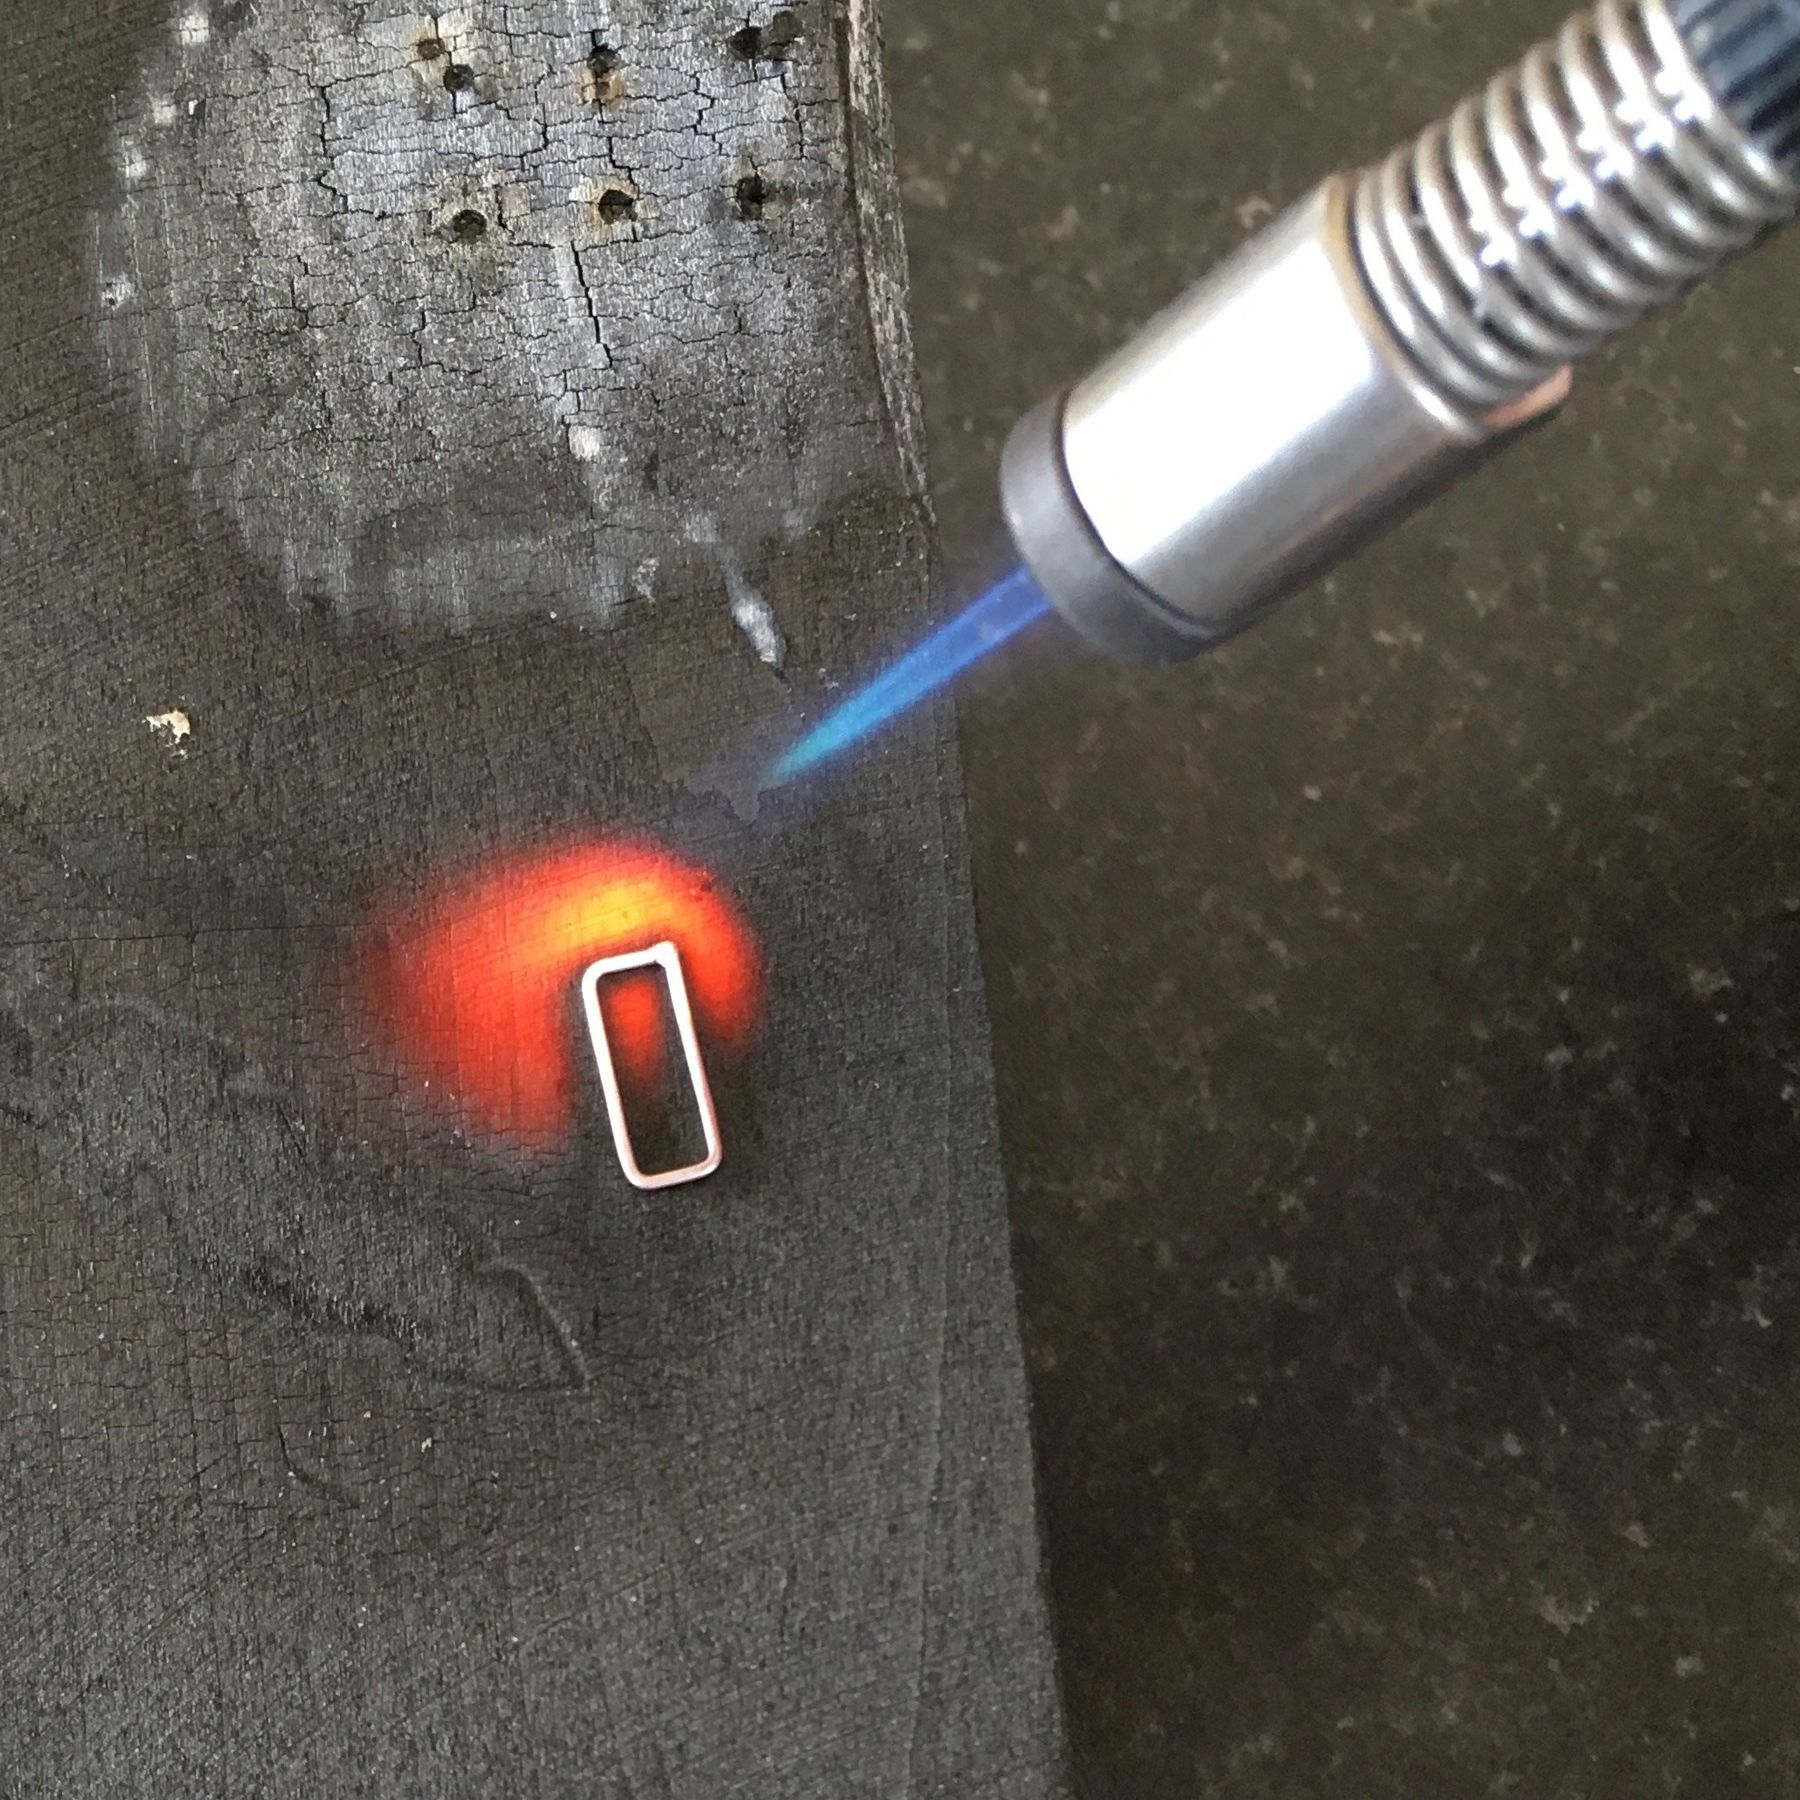
Use hard or medium solder (either paste or strip & flux) to solder the wire join together. To do this put the shape flat on a solder block and add a small amount of solder on the join (about 2 pin heads should be enough). Heat with a blowtorch until the solder melts (you should heat the metal around the join first before directing the flame to the solder). Put in the safety pickle after soldering.
Step 5
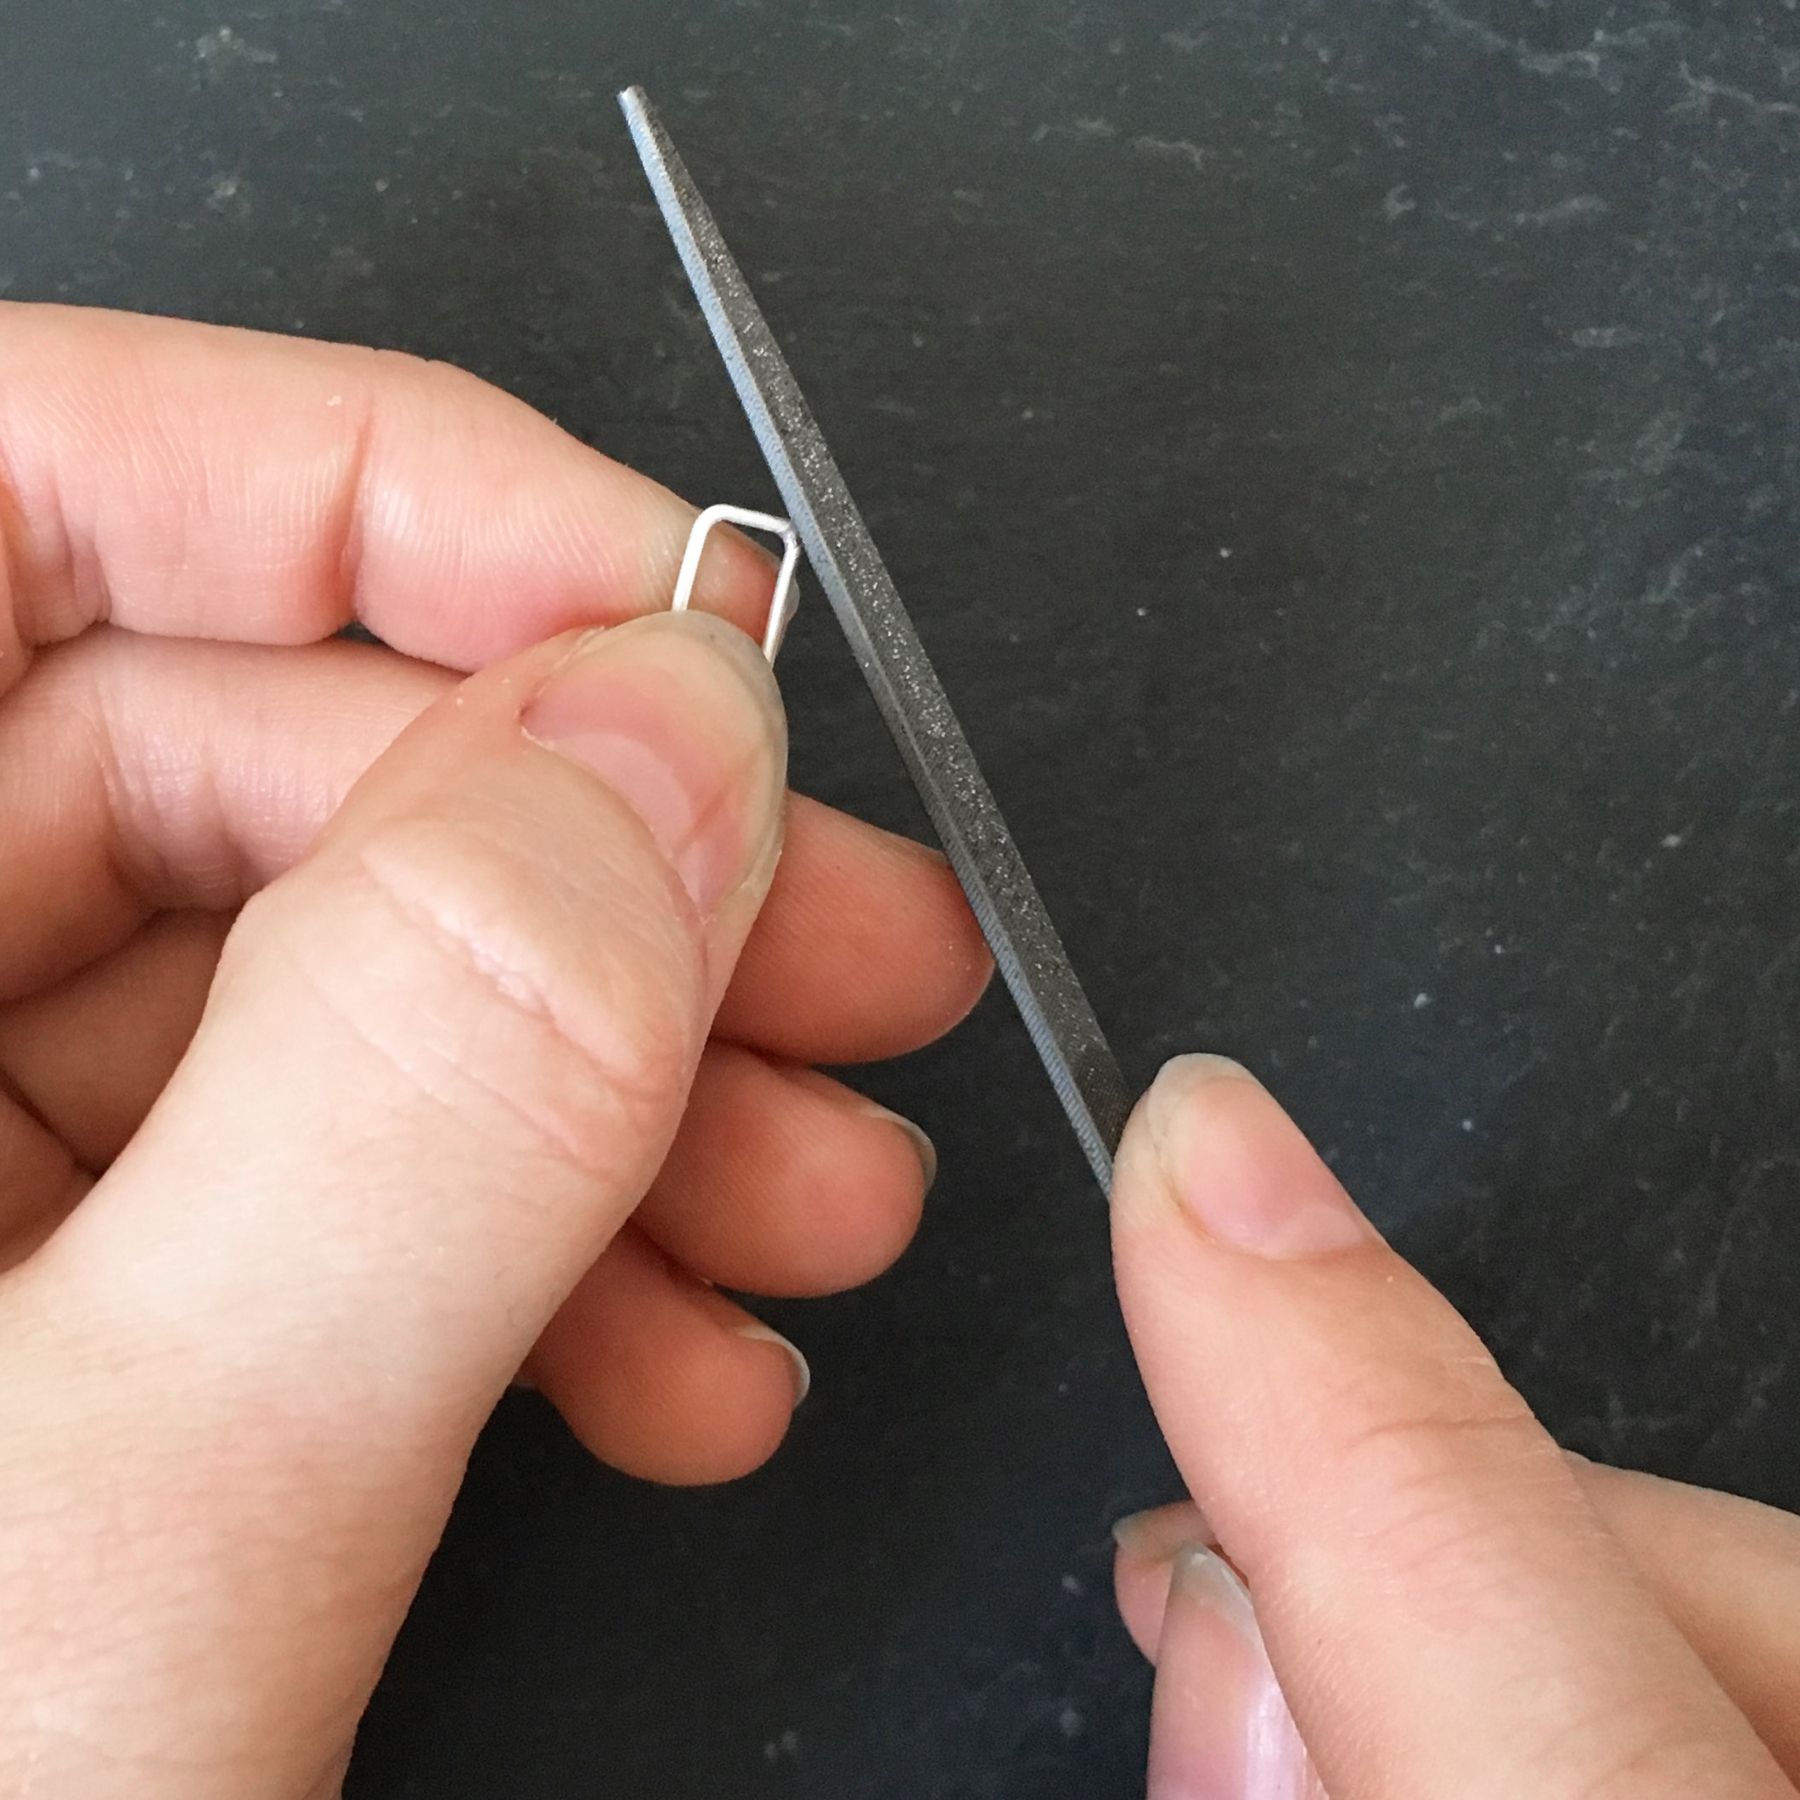
Now use your needle files to remove the excess solder on the join and shape it to match the other corners of your shape (if it has them). To create a more defined right angle to a corner you can create the shape out of wire lengths for each side and solder each corner join separately.
Step 6

The next stage is to create a back plate. 0.3mm silver sheet should be fine for this but you can use thicker if you'd prefer. Use a piercing saw to cut a piece of sheet to a size that is slightly larger than your wire shape.
Step 7
Place your back plate on your solder block then put the wire shape on top - ensuring they are both flat to each other and add the solder paste or pallions & flux around the inside edge of your wire. Heat until the solder flows joining the two pieces together and pickle afterwards as before. For this solder join we recommend using the next solder grade down- either medium or easy but you may be able to do it with the same one.
Step 8
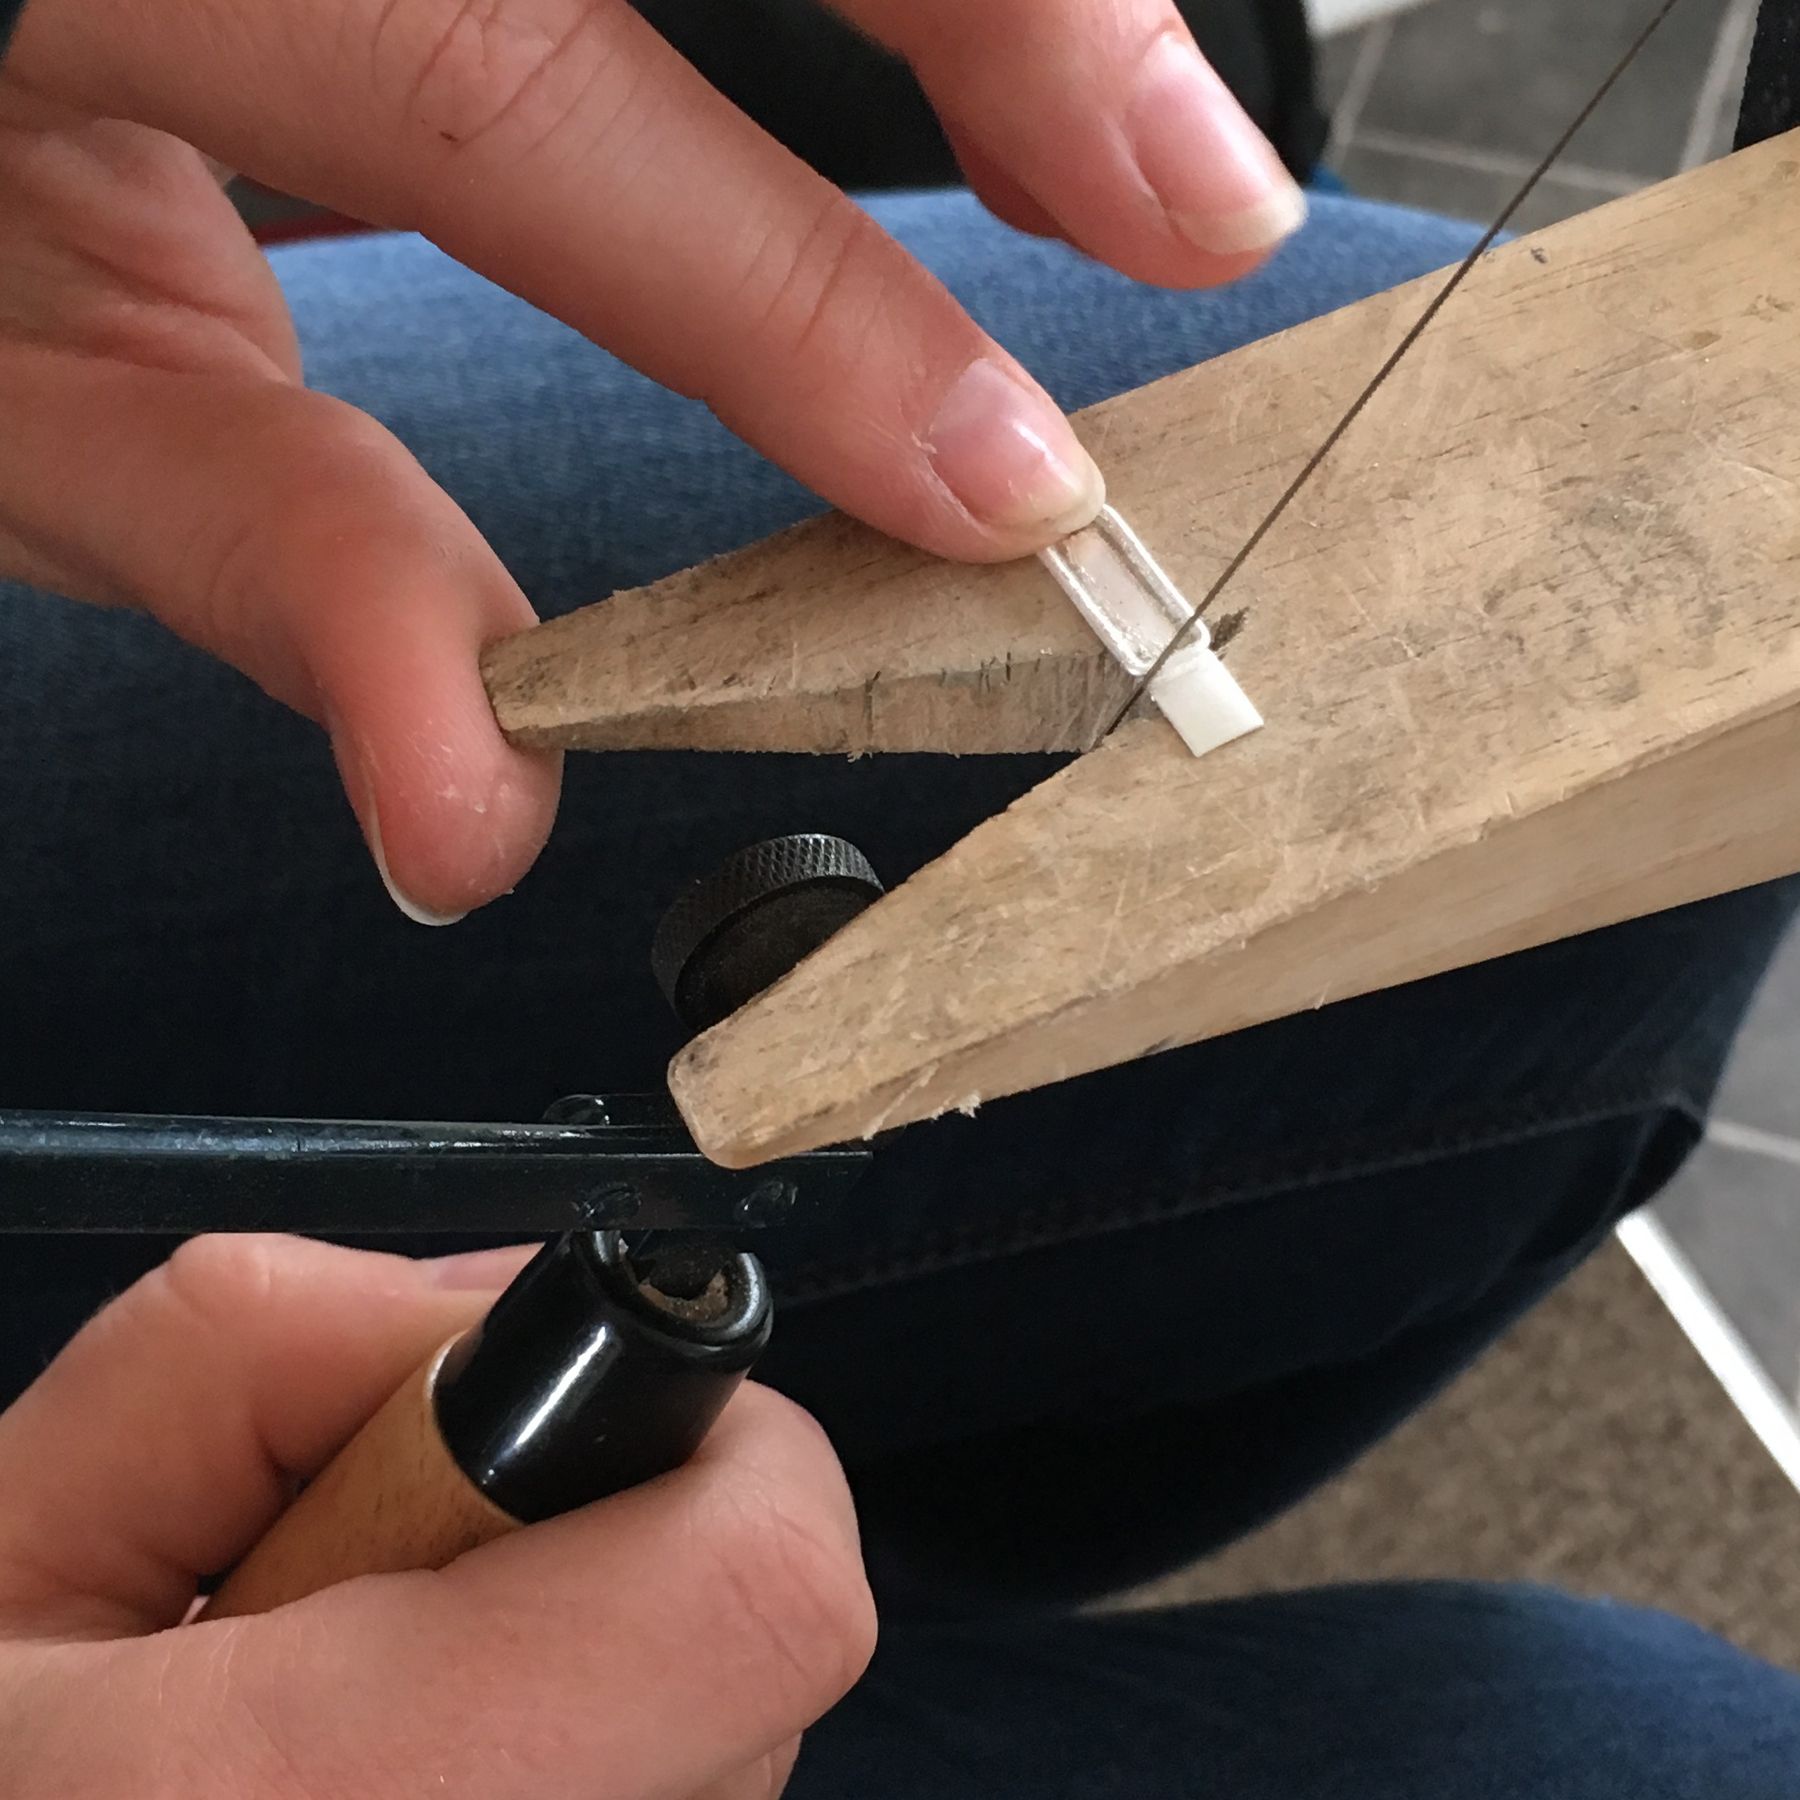
Use your piercing saw to cut of the excess sheet around your setting then tidy up the edges with your needle files and some wet and dry paper.
Step 9
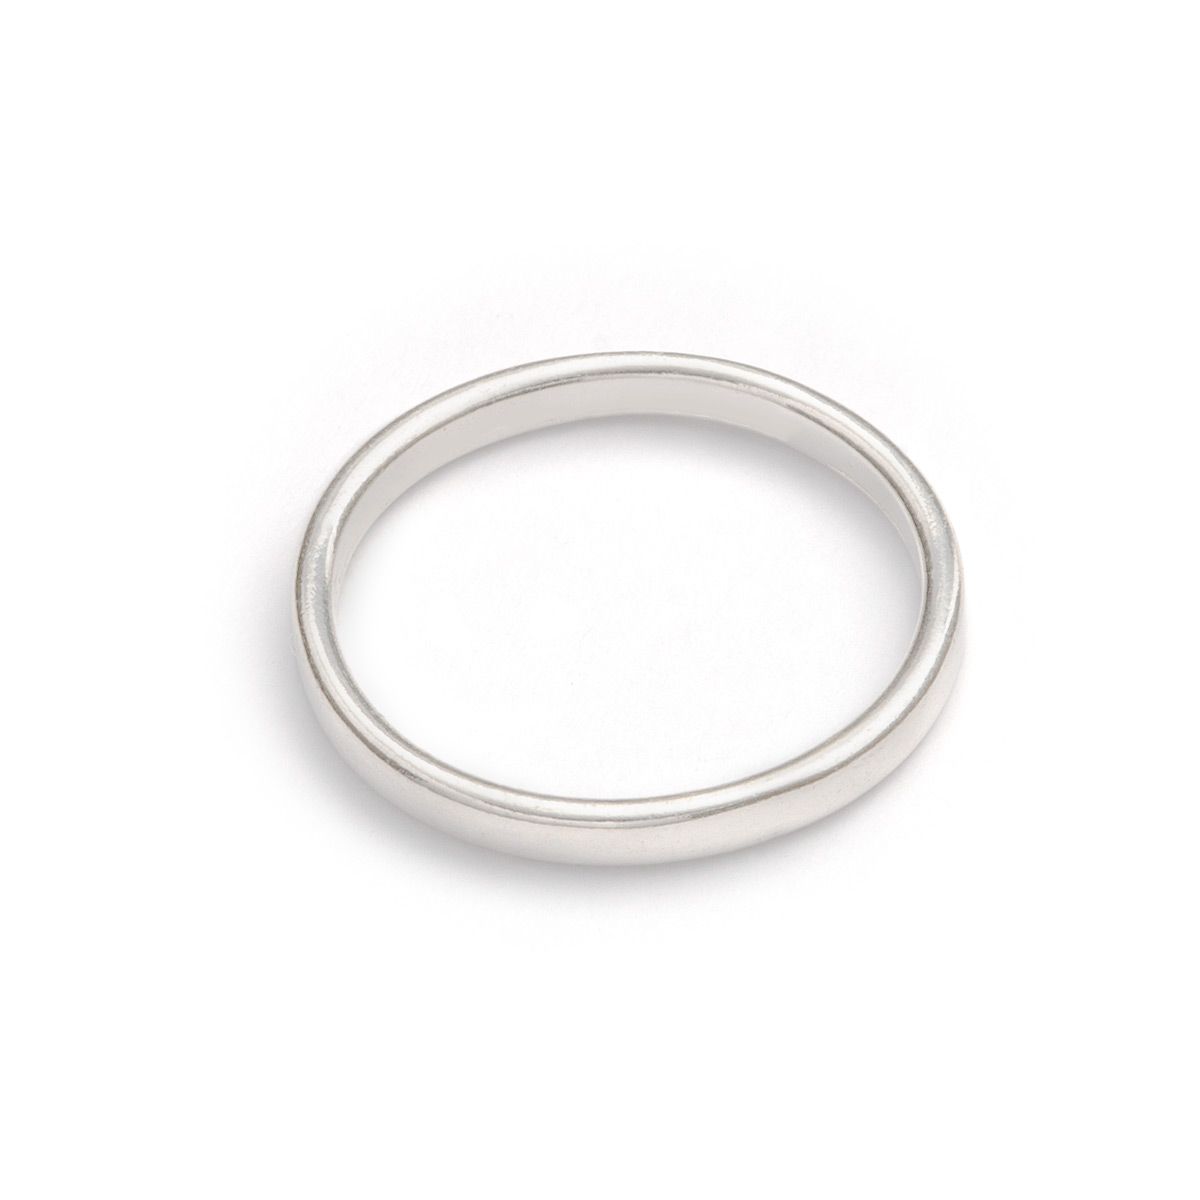
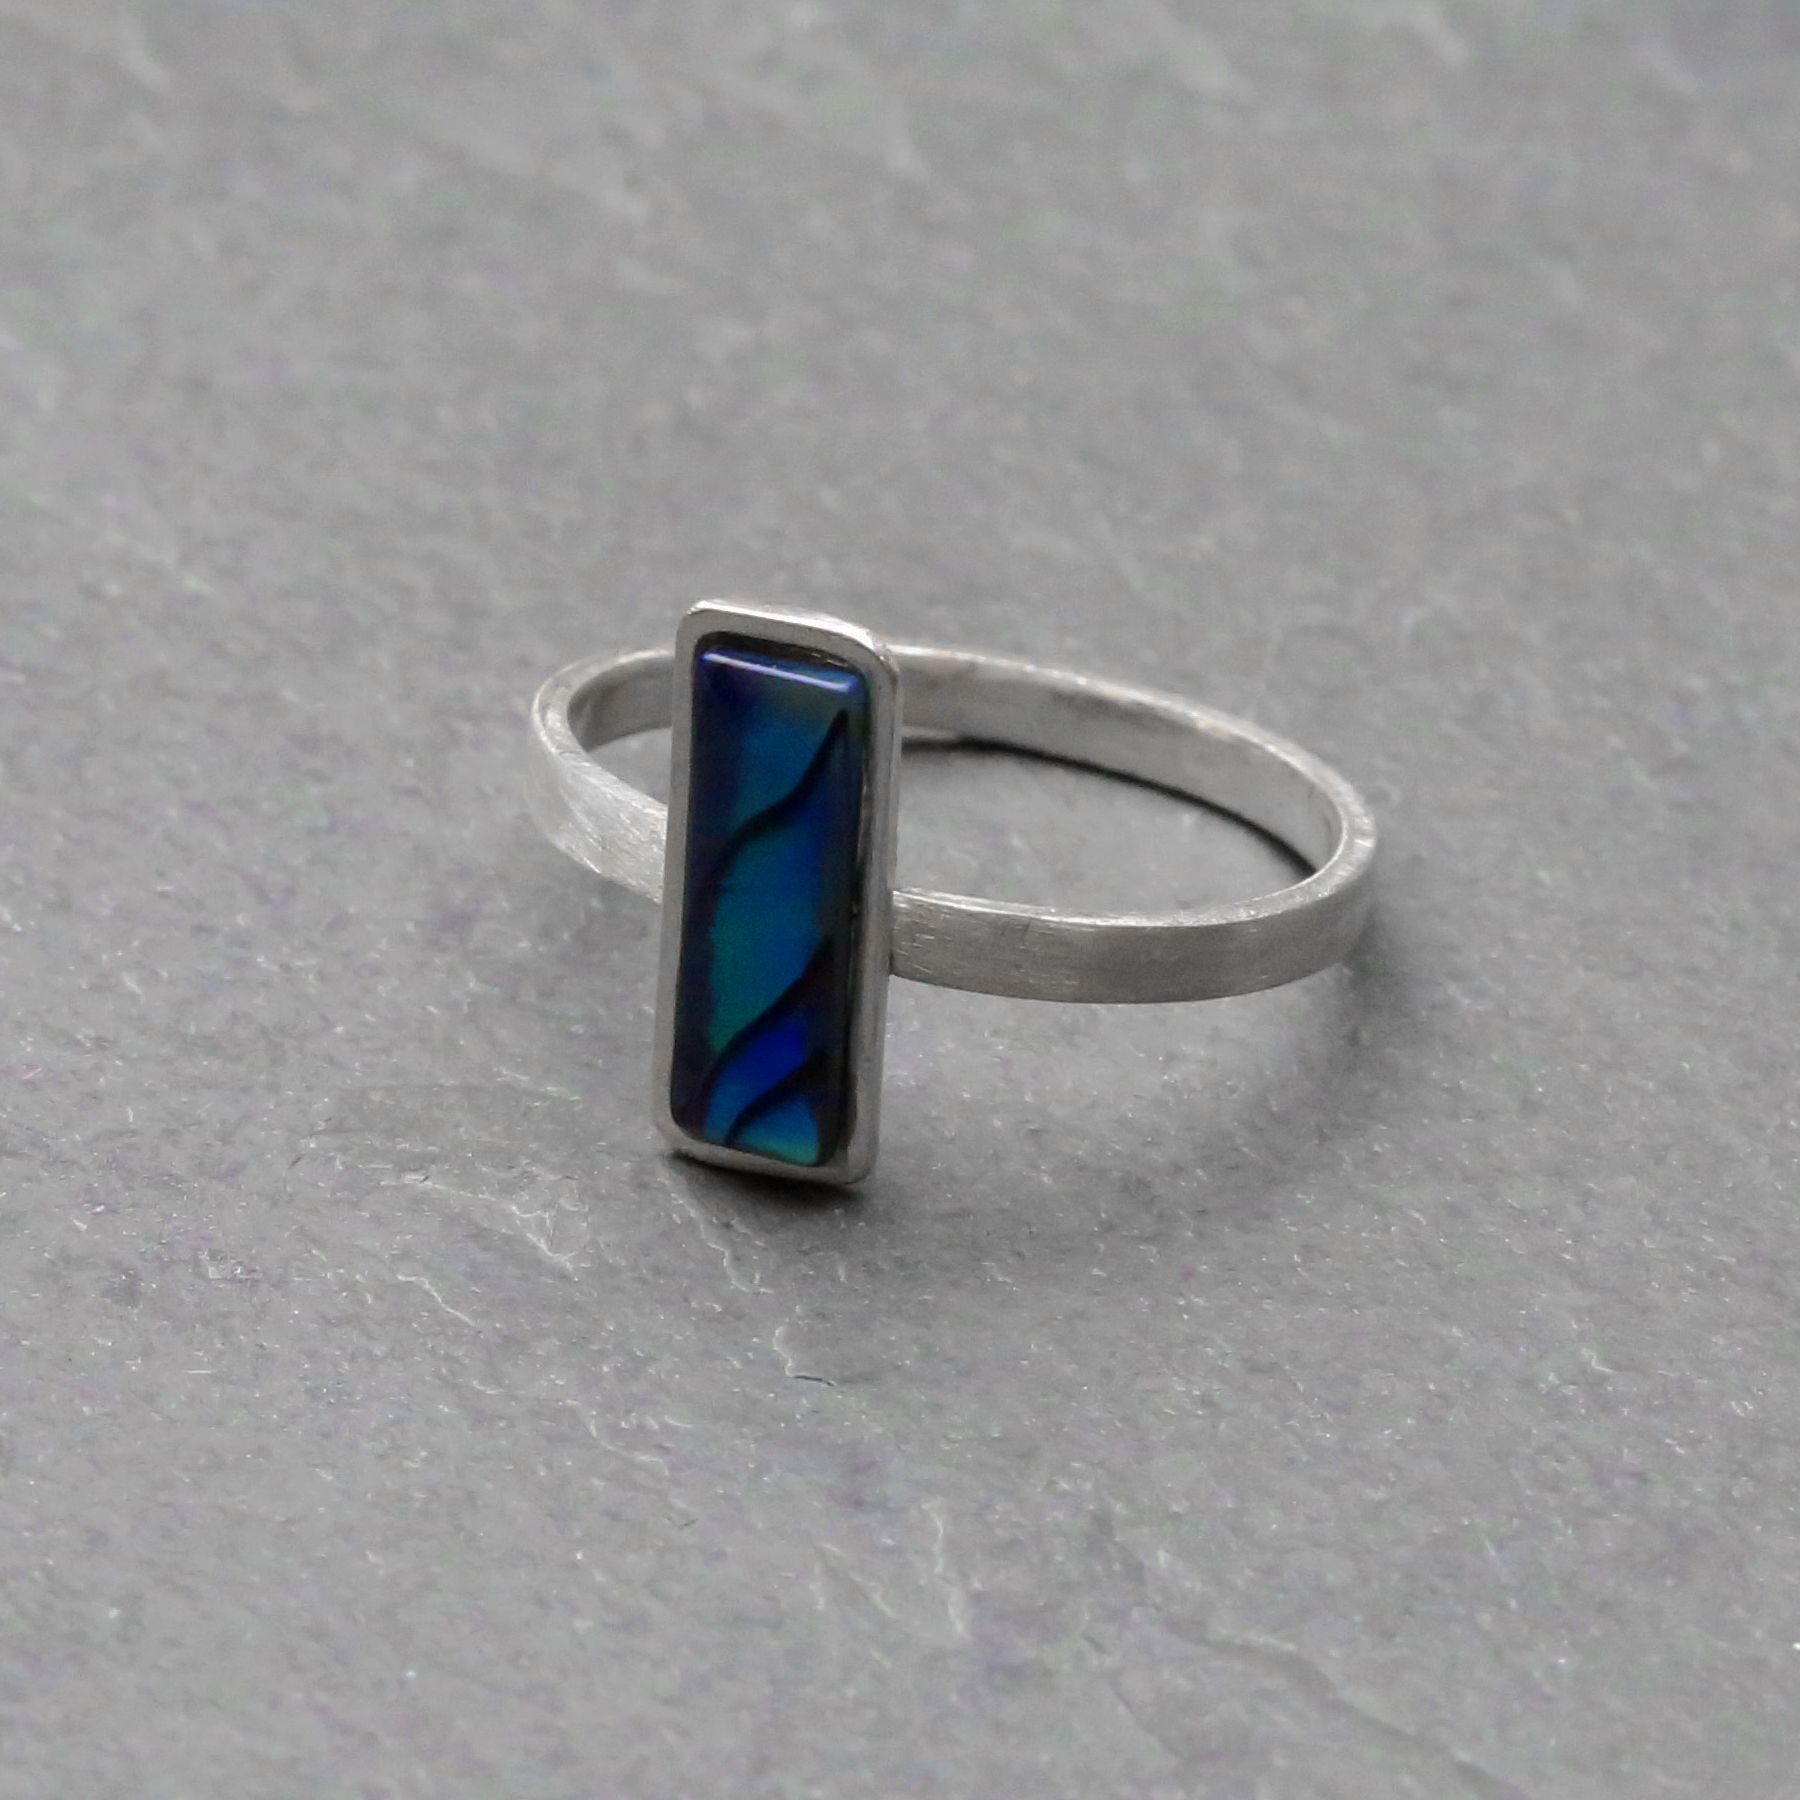
Your setting is now ready to customise as you wish. Try adding some jump rings to the top to make it into a pendant setting or earrings. Alternatively make a simple ring band and solder the setting onto that - as we have done in our example.
Step 10

Once you've completed your chosen customisation polish up the setting. If you don't have an electric hand tool with polishing attachments you can use our polishing papers to achieve a great high shine finish to your pieces with minimal effort.
Step 11
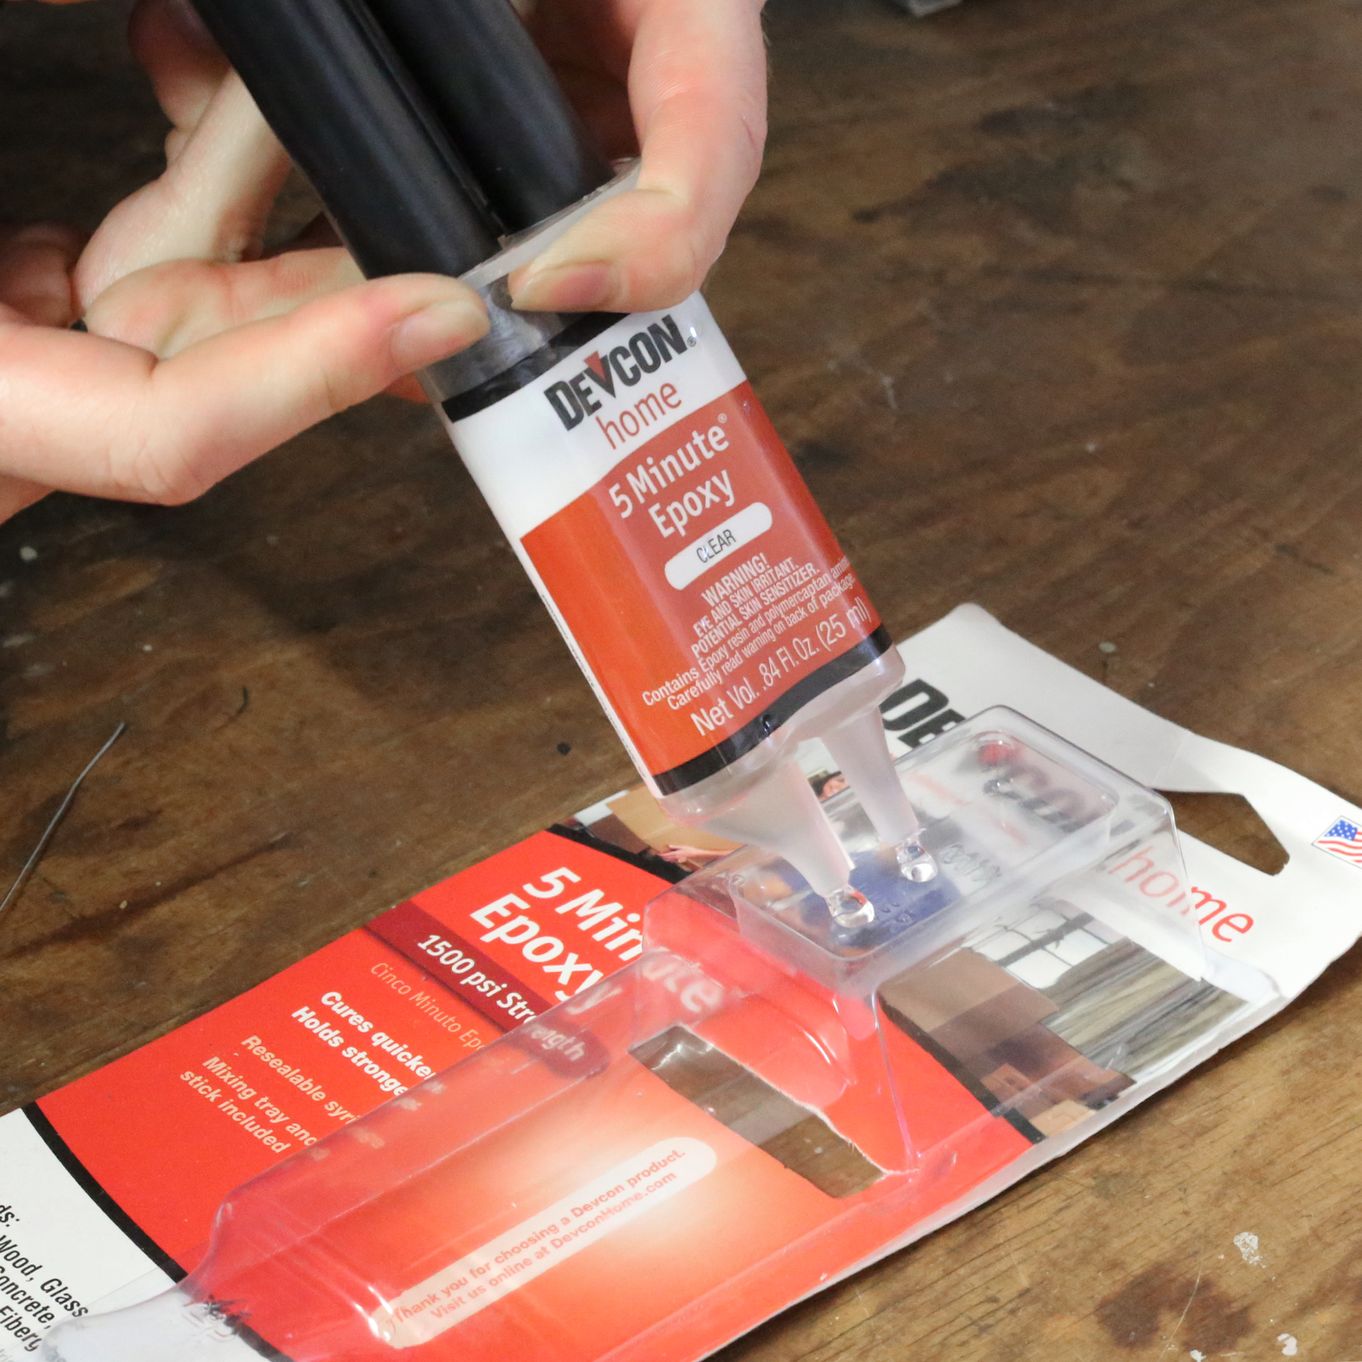
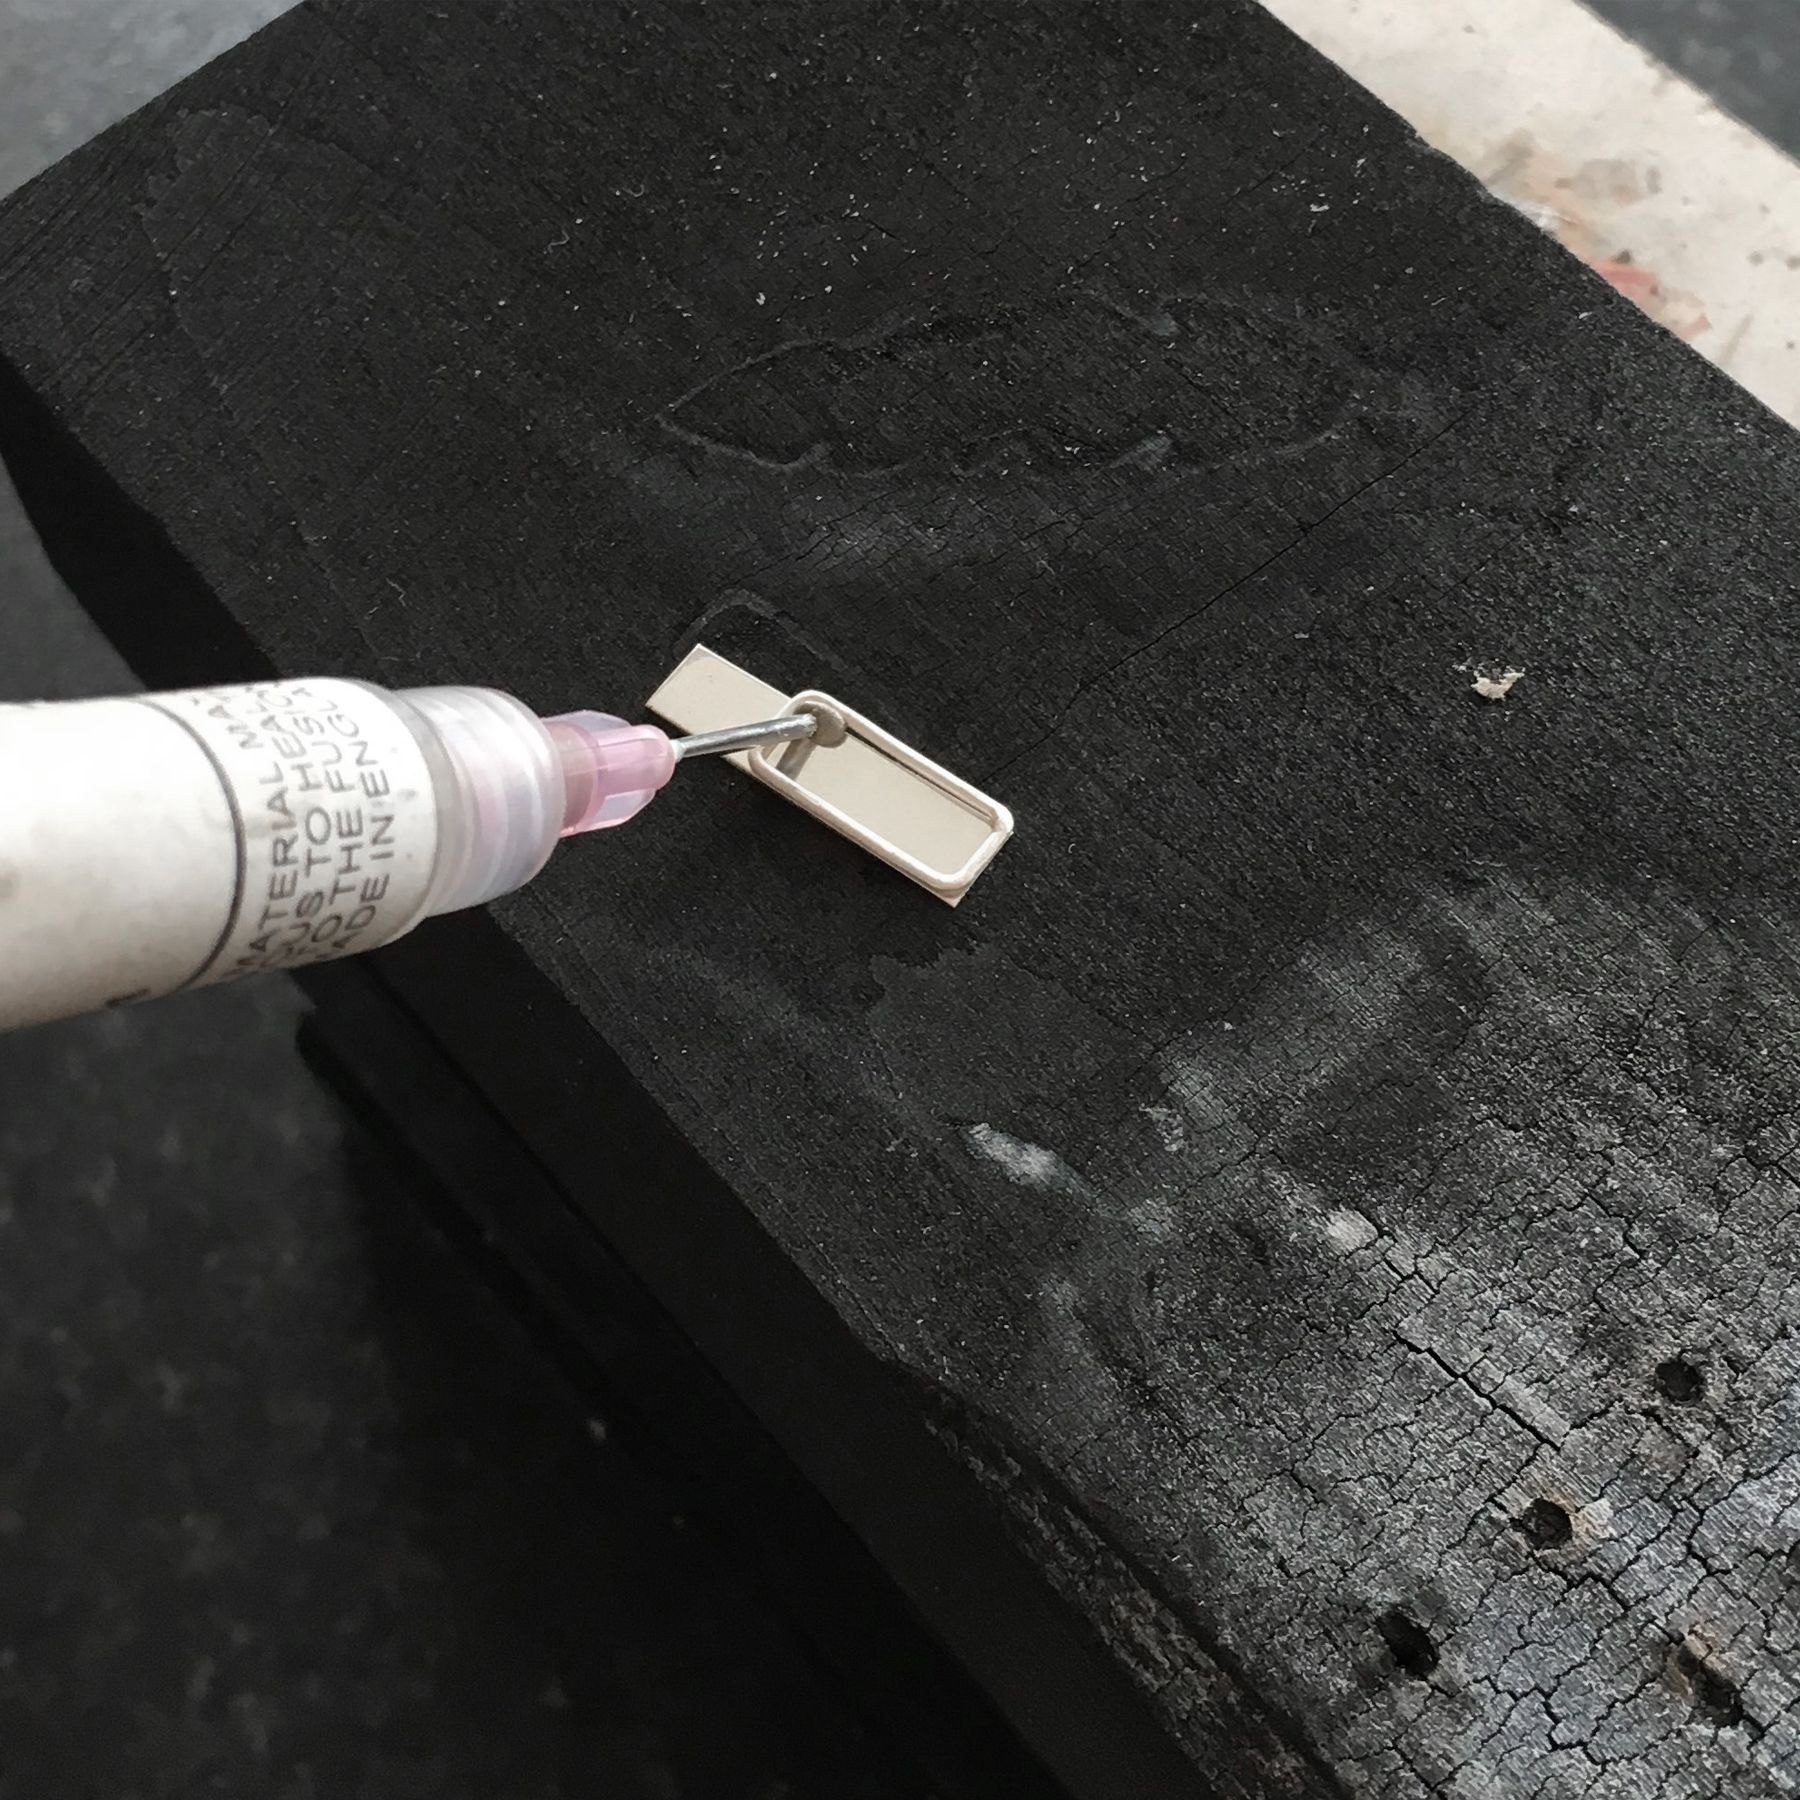
You are now ready to glue in your stone. We recommend an epoxy glue such as our Devcon 5 minute epoxy to attach your stone. Why not try using some sterling silver beaded wire to create a more decorative style for this setting.
The products used in this project are suggestions to inspire you. Products used were compatible at the time of making but do be aware that stocks can vary, so do use your own judgement as to the compatibility of each item when making.
More pages in this category
- The Essential Tools For Setting Gemstones
- Your Guide To Stone Setting Burrs For Jewellery Making
- What Is A Bezel Rocker?
- Types Of Settings & How To Use Them
- Types Of Settings For Calibrated Cabochon Stones
- Types Of Settings For Faceted Stones
- Types Of Settings For Free-Form Stones & Crystals
- Calibrated Gemstones & Size Tolerance In Jewellery Making
- Ready Made Settings vs Making Your Own Settings
- 7 Ways To Make Your Own Gemstone Ring
- How To Set Earstuds For Half Drilled Beads
- How to Set Flat Plates and Milled Edge Jewellery Settings
- How To Set Snaptite Settings
- How To Set Gemstones In Gallery Wire Settings
- How To Set Backset Settings
- How To Set Wraptite Settings
- How To Use Huggie Claw Settings For Crystals & Sea Glass
- What Are Bell Caps For Jewellery Making?
- How To Set A Pre-Notched Setting
- How To Set Claw Settings
- How To Make A Decorative Ring Setting For A Free Form Cabochon
- How To Make A Tube Setting For A Faceted Stone
- 4 Drilled Sea Glass Earring Projects
- Jewellery Making With Sea Glass: Drilling & Stone Setting Tutorials
- How To Drill Sea Glass For Jewellery Making
- How Much Bezel Strip/Gallery Wire Do I Need?
- Types Of Bezel Cups
- How to Adjust Bezel Settings to Fit Cabochons
- How To Set A Cabochon In A Bezel Setting
- How To Make A Gemstone Ring With A Bezel Cup
- How To Make A Bezel Set Cabochon Ring With 'Made By Oonagh'
- How To Make A Sea Glass Ring With Bezel Setting
- How To Make Bezel Set Cabochon Earstuds
- How To Make A Sea Glass Necklace With Backless Bezel Setting
- How To Bezel Set A Free Form Cabochon Onto A Textured Silver Pendant
- How To Make A Textured Pendant With A Freeform Gemstone Slice
- How To Make A Claw Set Cabochon Pendant
- How To Make A Prong/Claw Setting For Irregular Shapes Stones
- How to Make A Wire Edged Setting
- How To Make A Balled Claw Ring Setting
- Making An Australian Boulder Opal Pendant With Stardust Mine
- The Process Of Remodelling A Gemstone Ring With 'Honey Bee Design'
If you have any further questions, feel free to call our friendly team who will be more than happy to give you some advice through Facebook, Twitter, Email or simply calling us on 01872 573888 8.30am-4.30pm.
Alternatively, for more information and how to's on all areas of jewellery making visit our other Gemstone Setting Advice pages.