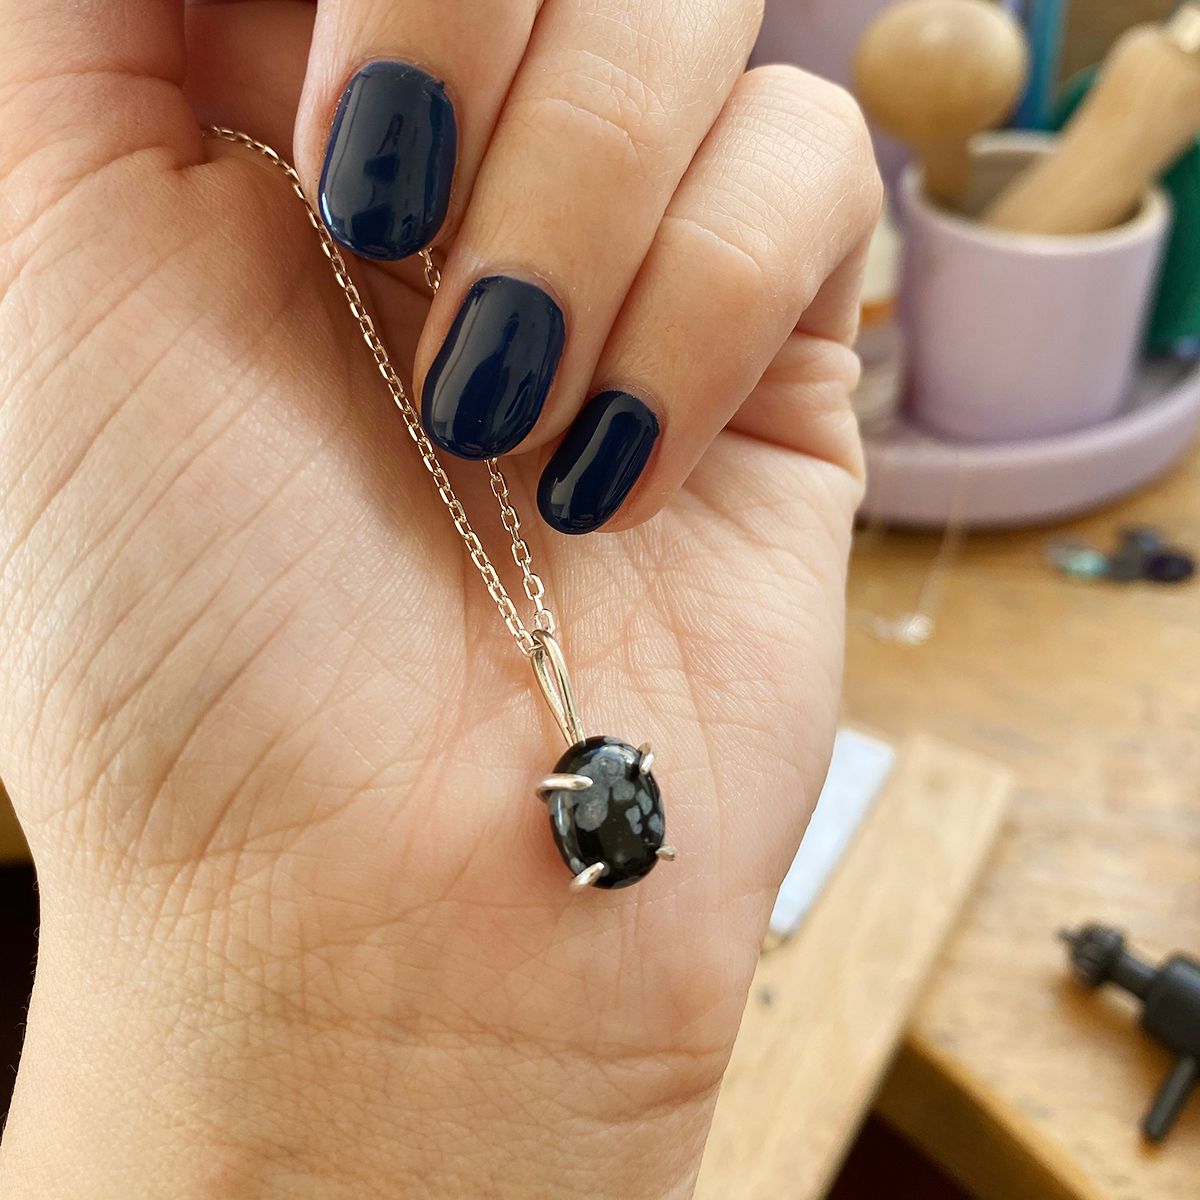
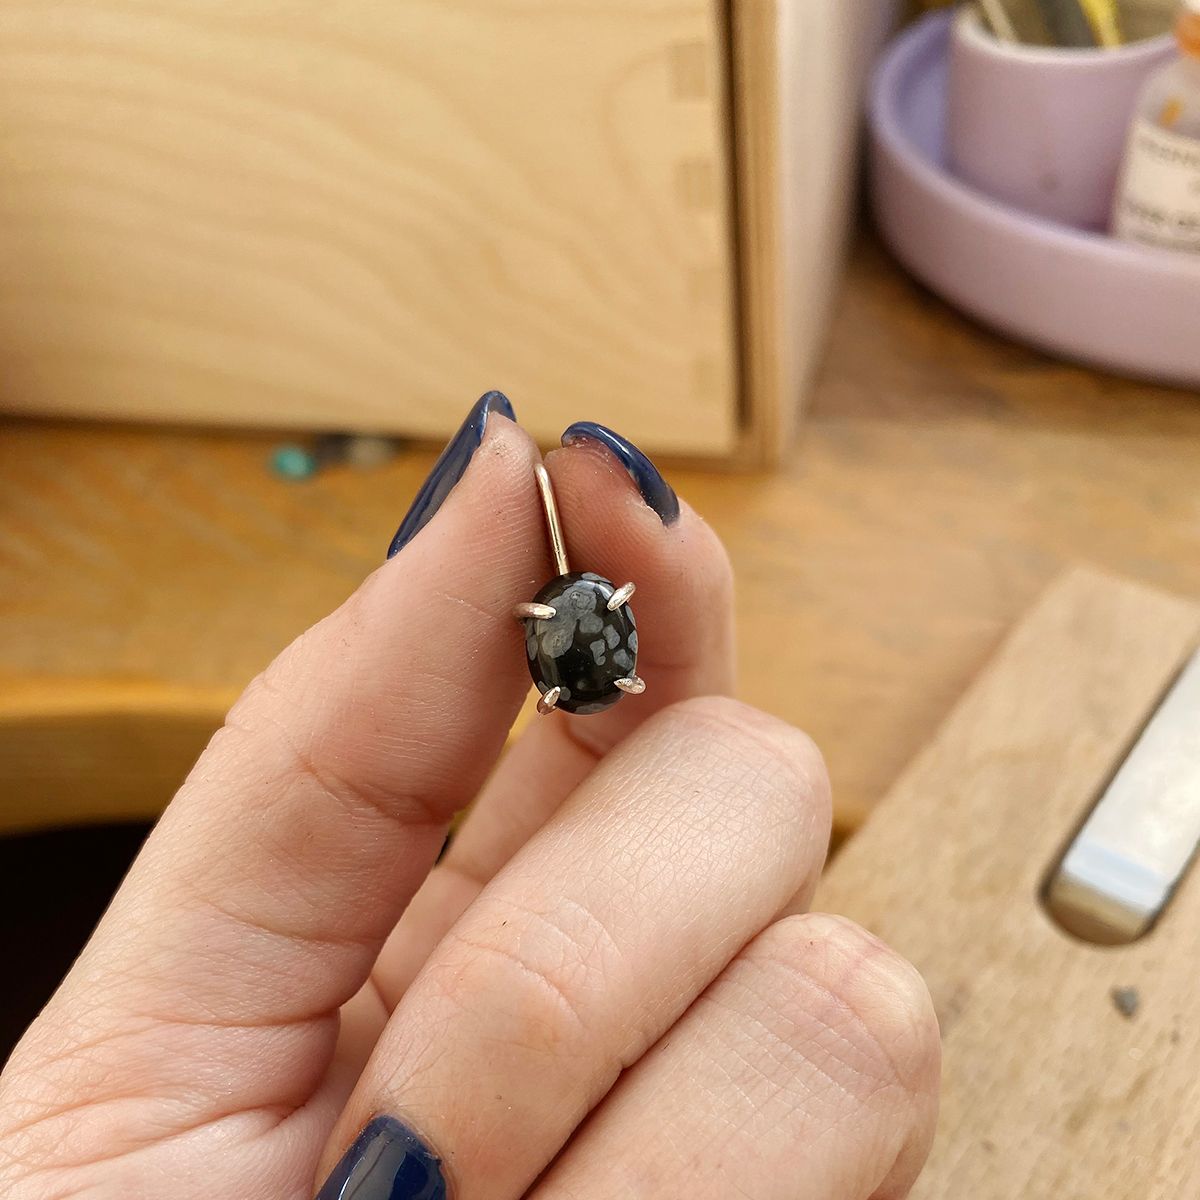
How To Make A Claw Set Cabochon Pendant
Today guest tutor, Hannah from Fox & Blue shows you how to make your very own claw setting for a small cabochon stone!
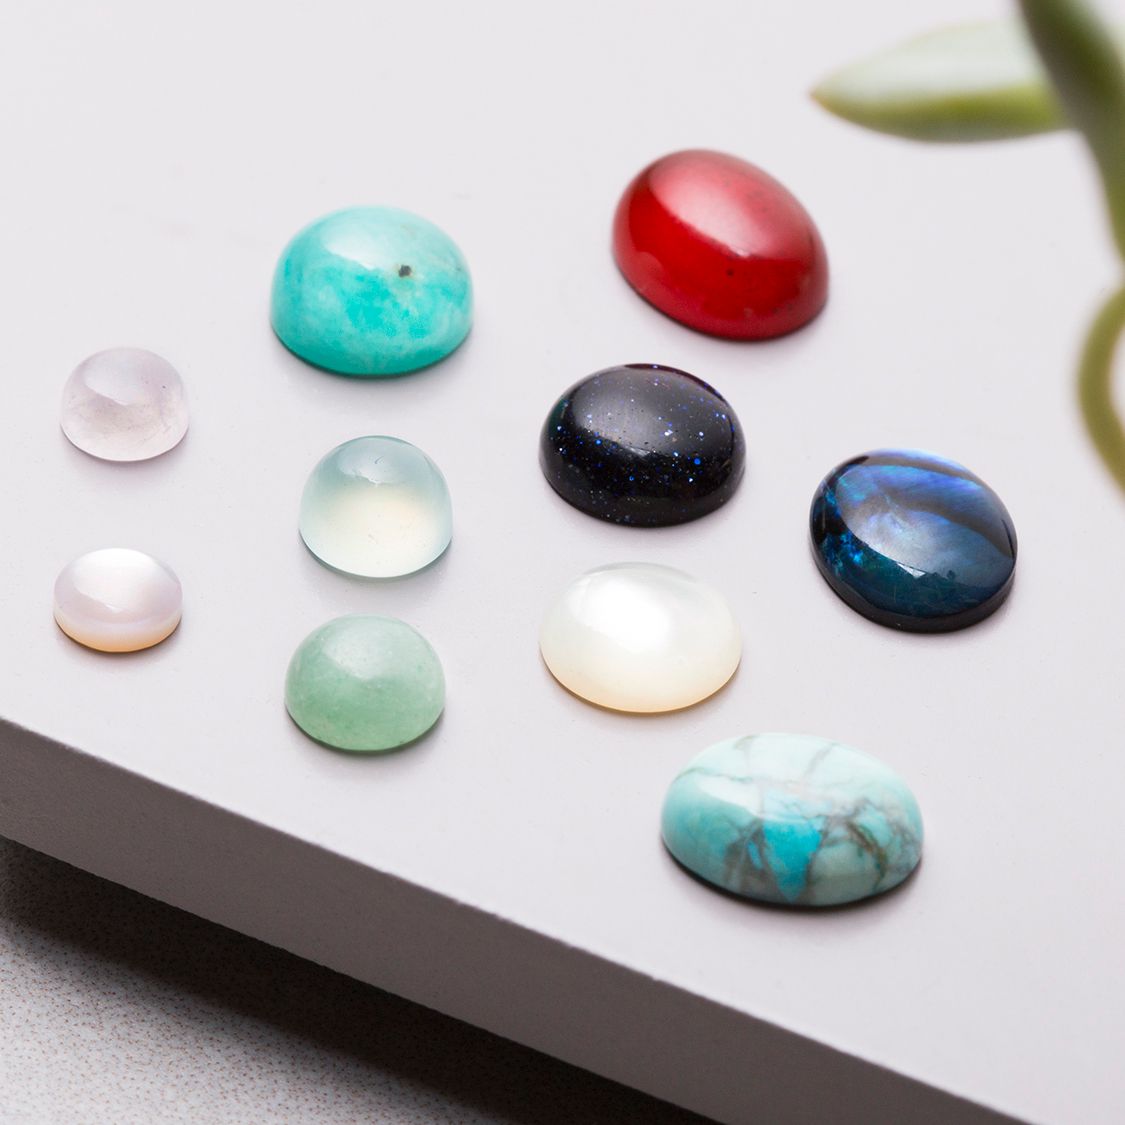
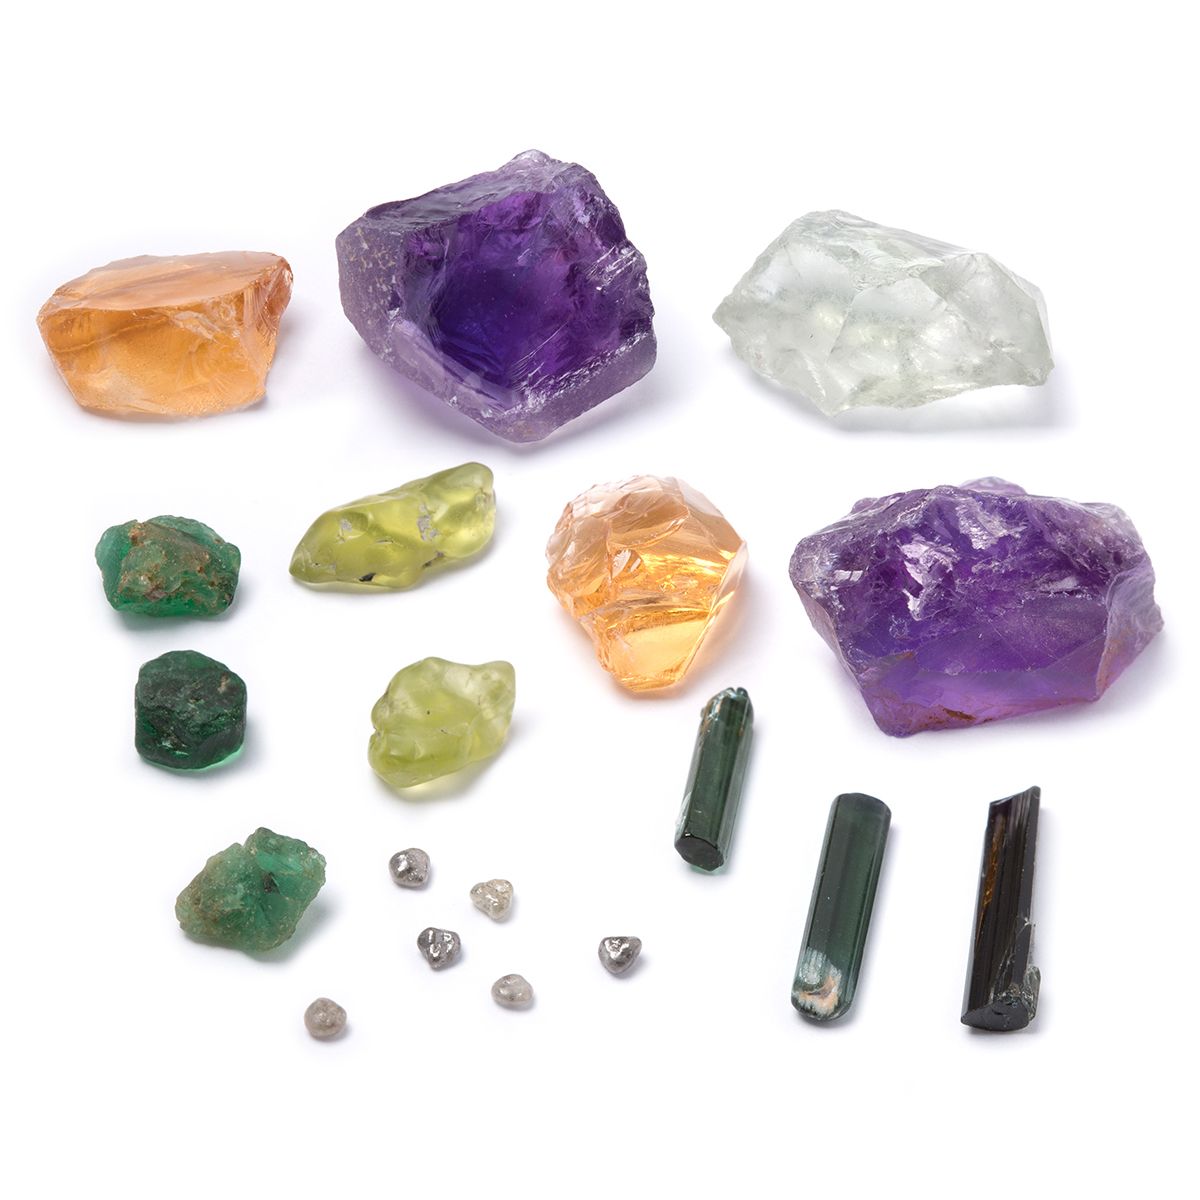
This beginner friendly project can be adapted and applied to various other stones such as rough crystals or larger cabochon stones. You may wish to use the standard four claw setting or add extra stability and character with the use of more claws - get creative and have fun.
If you have a go at this project don't forget to post your design on social media and tag @Kernowcraft & @FoxAndBlue for a chance to feature.
Recommended project tools and supplies:
- Sterling silver round wire in your preferred thickness - this project uses 1.5mm
- Chosen cabochon - this project features a 10x8mm snowflake obsidian cabochon
- Bench peg
- Saw frame, saw blades & beeswax - optional: you can use metal cutters to trim the claws
- Flat & triangular needle file
- Flat nose pliers
- Round nose pliers
- Pusher
- Ruler
- Felt tip
- Flux
- Solder strip or paste
- Gas torch
- Soldering block
- Soldering tweezers
- Plastic tweezers or brass tweezers
- Safety pickle
- Quench bowl & water
- Polishing papers or power tool (such as Dremel Multi Tool) with silicone polishers or barrelling machine
- Finished chain in desired length
Follow Step By Step Photos Of How To Make A Claw Set Cabochon Pendant Below
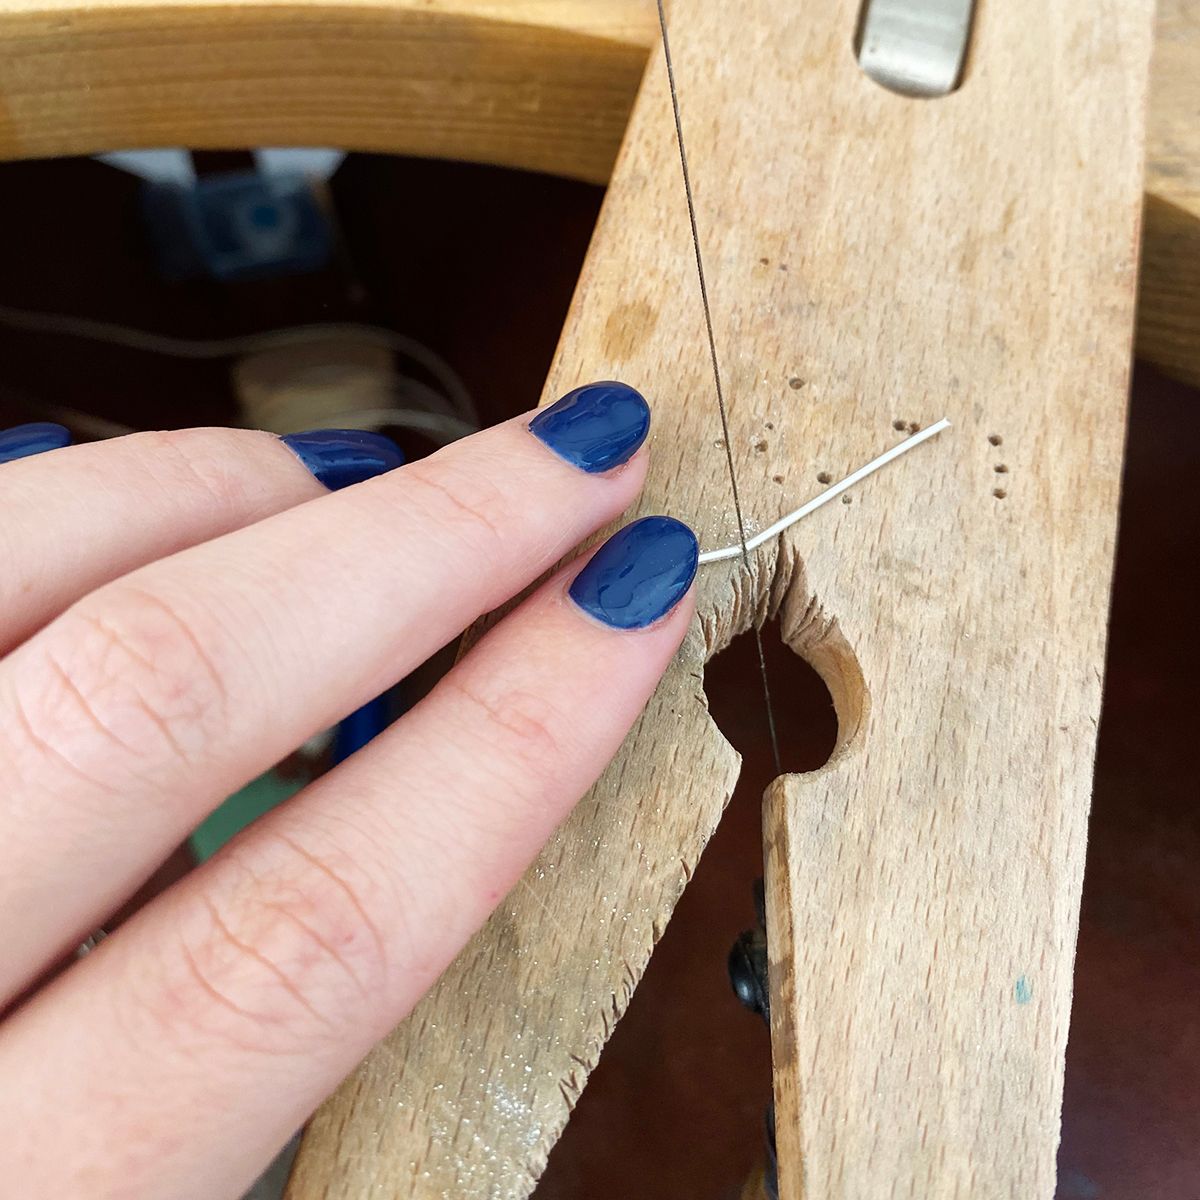
1. Cut Your Silver Wire To Size
The easiest way to work out the size (this will be refined later and you don’t want your claws to be too short to fit around your stone!) is to use your piercing saw to cut two identical lengths of wire, double the length of your cabochon stone. You will also need a third length of wire that will become your bail. You can cut this around two thirds of the length of your other wires.
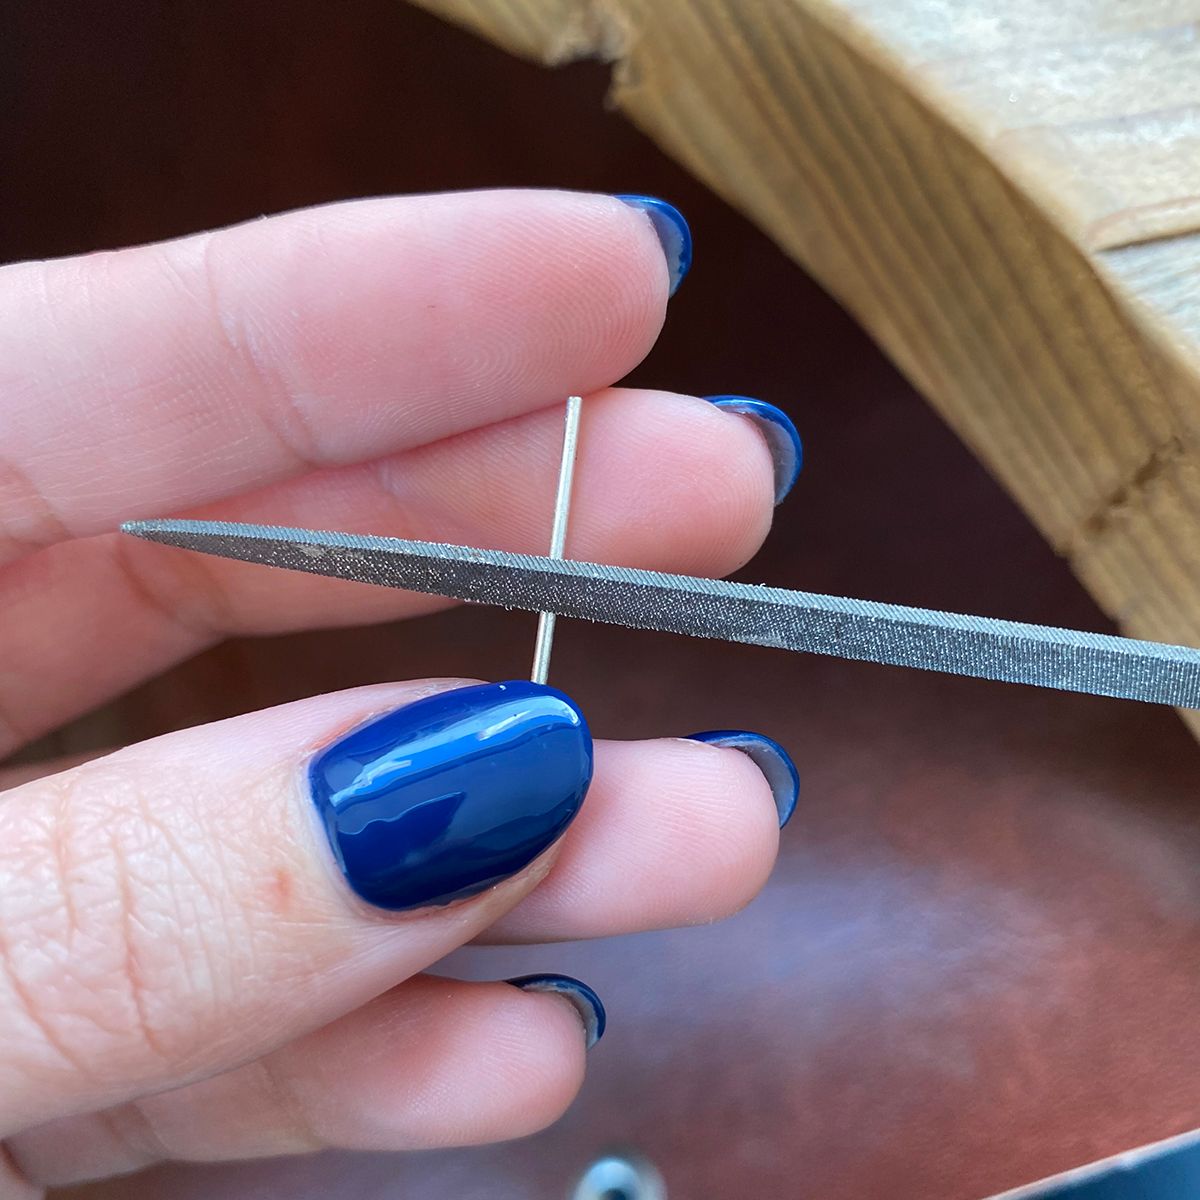
2. File & Position Wire For Soldering
You want to locate the centre of your two wires by measuring with your ruler and marking the centre with your felt tip. Take your triangular needle file and file a small channel horizontally across the middle of your wire, about two thirds deep. Repeat on both wires. You will now be able to ‘slot’ these two wires together in an X shape by laying them over each other with the filed centres meeting. If you position them directly onto your soldering block, they will be ready for soldering. You then need to slide in your bail wire into the bottom of one of the ‘V’ sections of the ‘X’ you have created.
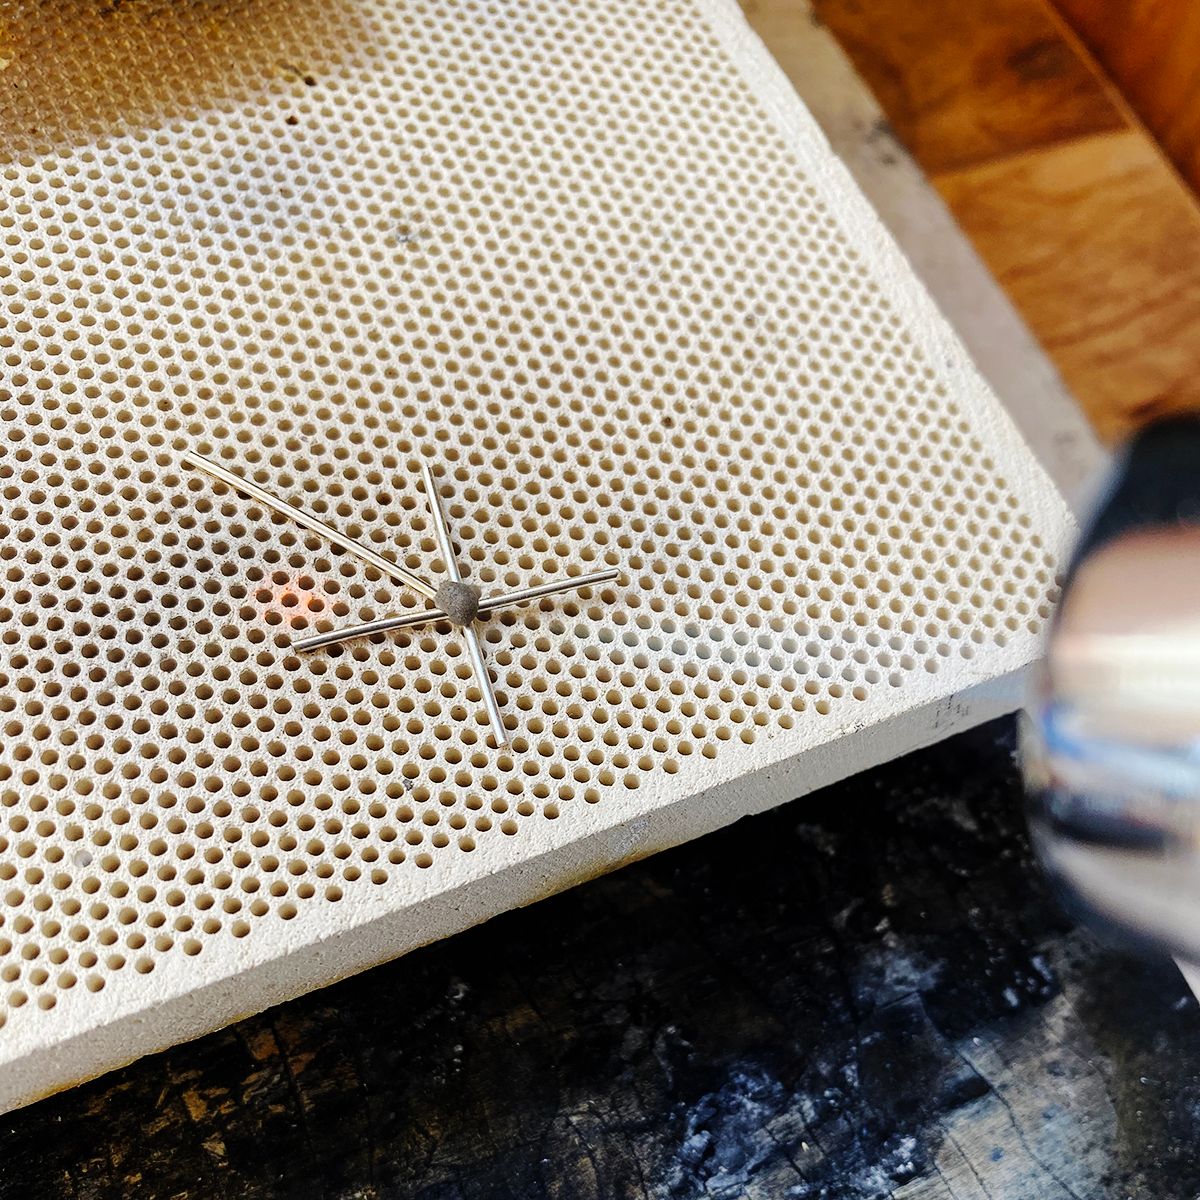
3. Solder & Pickle
Solder your pieces together by adding a little solder paste (easy or even extra easy is fine as you are only soldering once) either side of the centre join and also where the bail wire meets the other wires. If your entire piece is quite small like this one, you can use one ‘blob’ of paste to cover all joins. Use a gas torch to heat gently and consistently until you see the solder flow. Pick up your freshly soldered piece with tweezers and quench in water. You can then pop it in your pickle pot. Remember to use brass or plastic tweezers when removing the piece from the pickle so as to not contaminate the liquid. Remove from the pickle once clean.
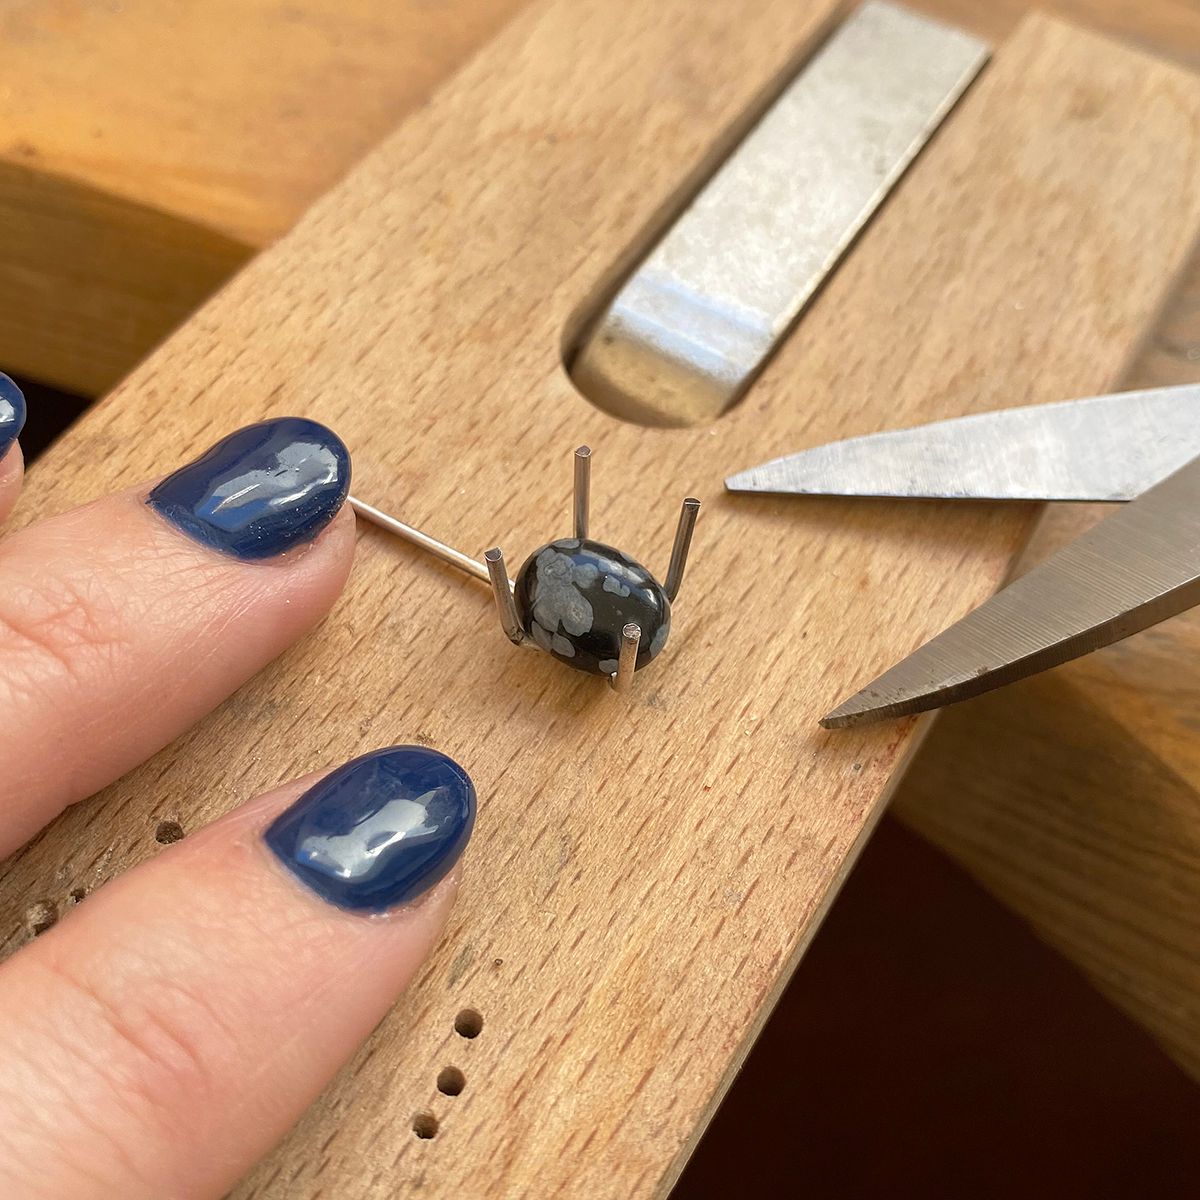
4. Check Length Of Claws
Sit your stone in the centre of your finished piece and gently bend up each claw using your flat nose pliers until they are stood up vertically against your stone. You want to cut the lengths so that they are long enough to bend over and ‘hug’ your stone (if you need to bend one down to check this length, do so slowly). Once you have found the correct length you can then cut them down to size with your piercing saw or choice of cutters.
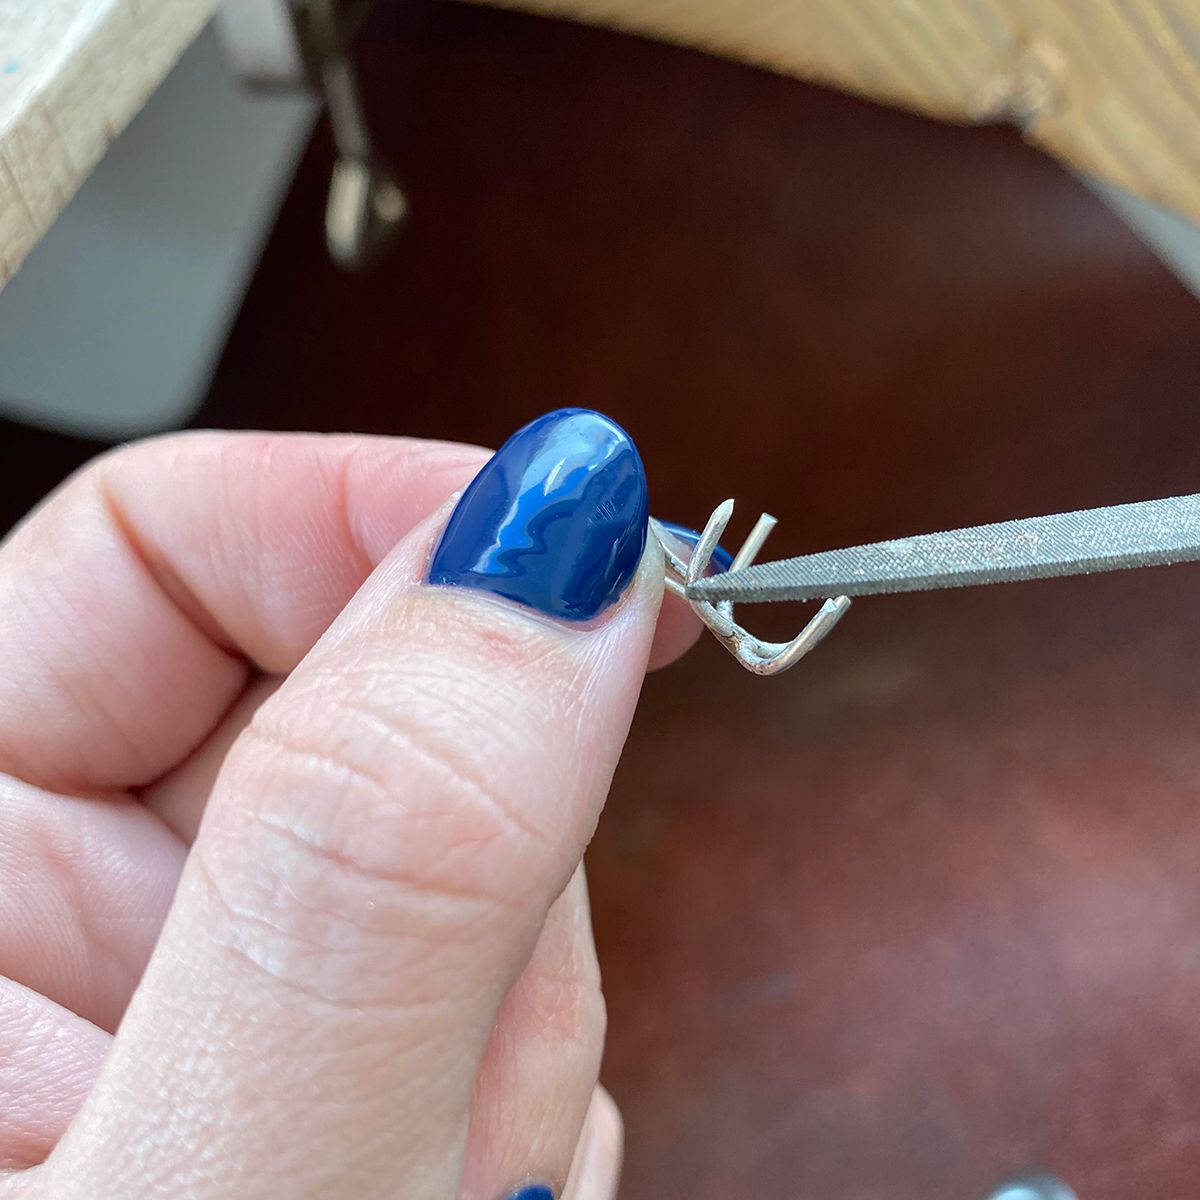
5. File to Desired Shape/Style
Now here is the fun part and the easiest way to create a unique style to suit your aesthetic! I love filing my claws into thin, tapered points. However, you can round the ends, file them completely flat or mix and match them! If you chose to add more claws, you can also alternate the lengths of them to add a fun twist! I filed mine with a flat needle file until they were all more or less even (I like to leave them a little organic looking).
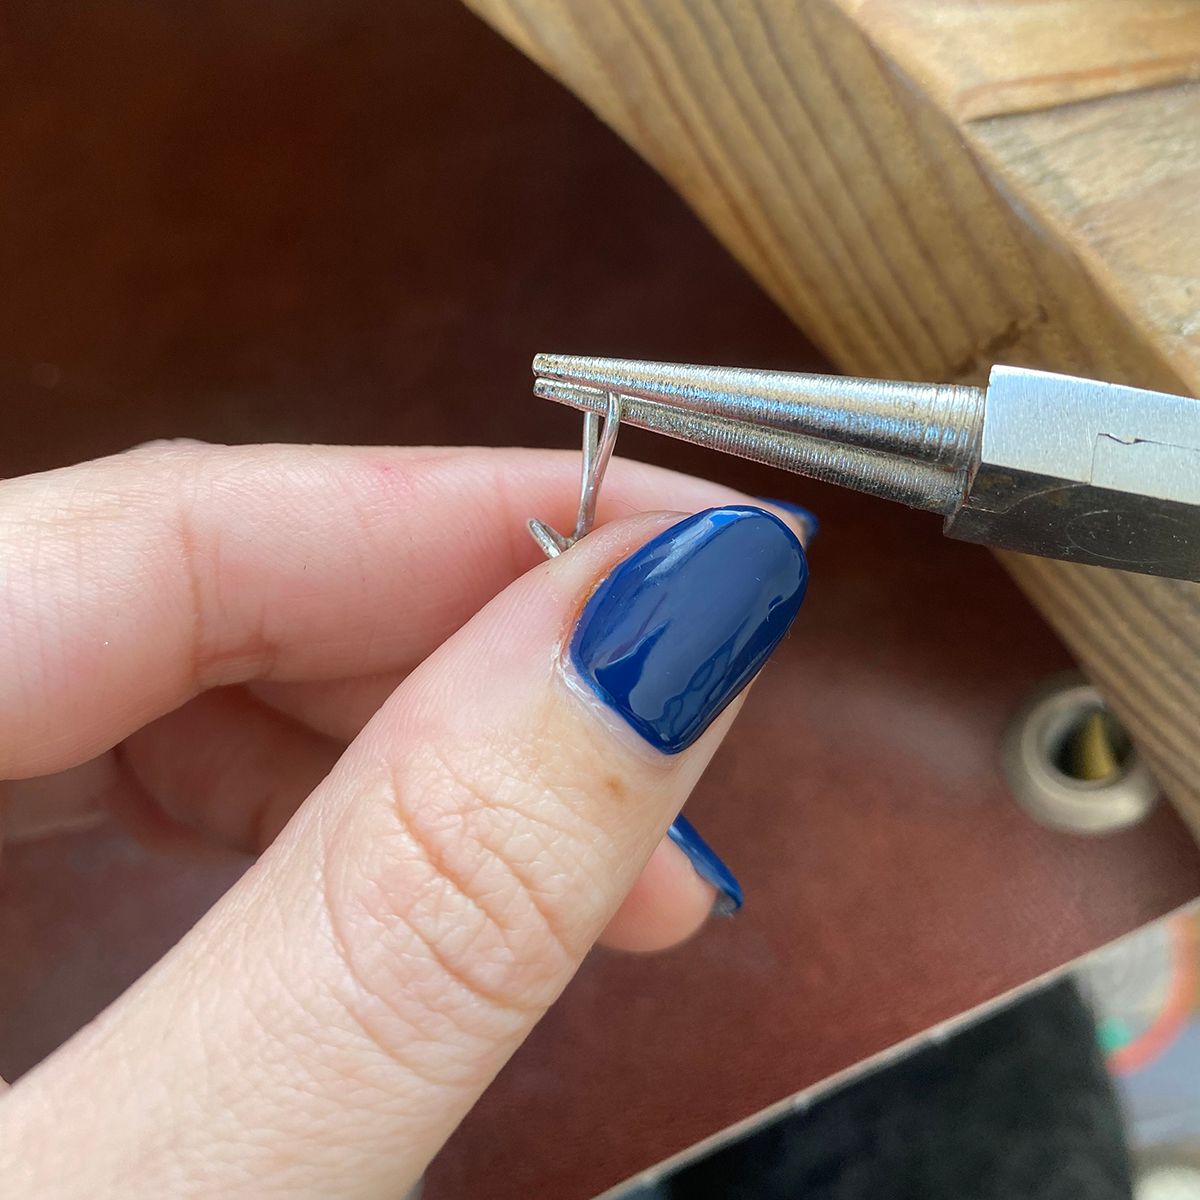
6. Bend & Shape your Bail
Using your round nose pilers, you can now bend and shape your bail into your desired position. You want it to tuck just behind your stone so that you cannot see the join. If it is laying too awkwardly behind the stone or you can’t get it right, don’t worry, you can simply file it down a little at the join so that it’s not as large.
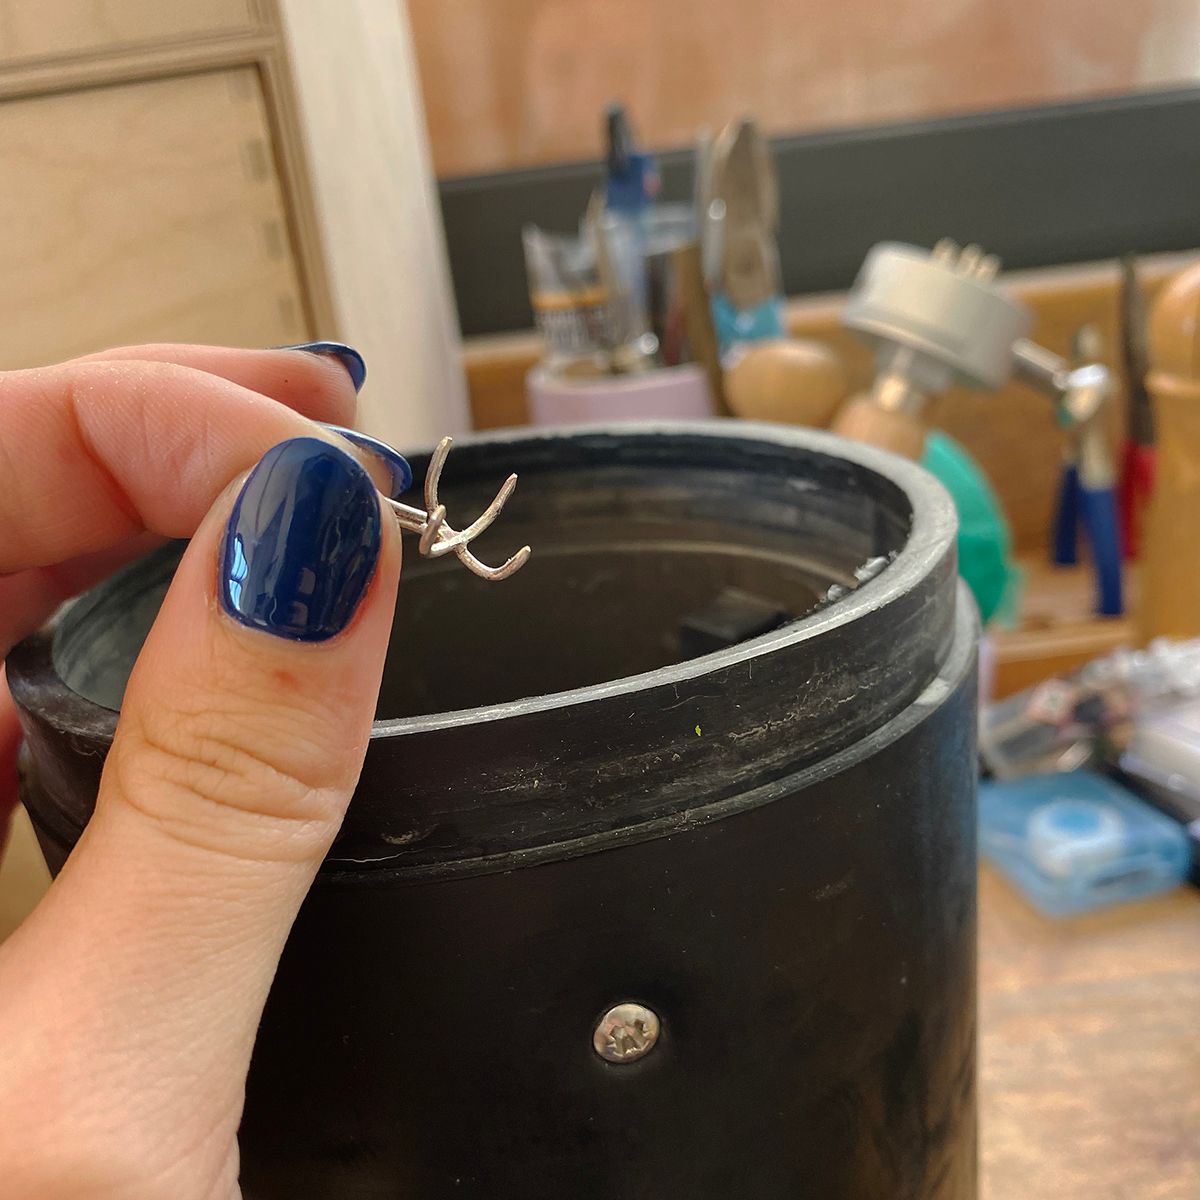
7. Polish Pre-Setting the Stone
It’s best to polish your piece before you set your stone as it can be quite fiddly to get in and around the claws once they are pushed down. It can also avoid scratching your stone which, is everyones worst nightmare! You can hand polish your piece using polishing papers or use a power tool such as Dremel Multi Tool with silicon polishers. My preferred method for polishing is popping the piece into my tumbler, as this can help harden the metal and also smooth out any marks made on your silver when you were bending the claws.
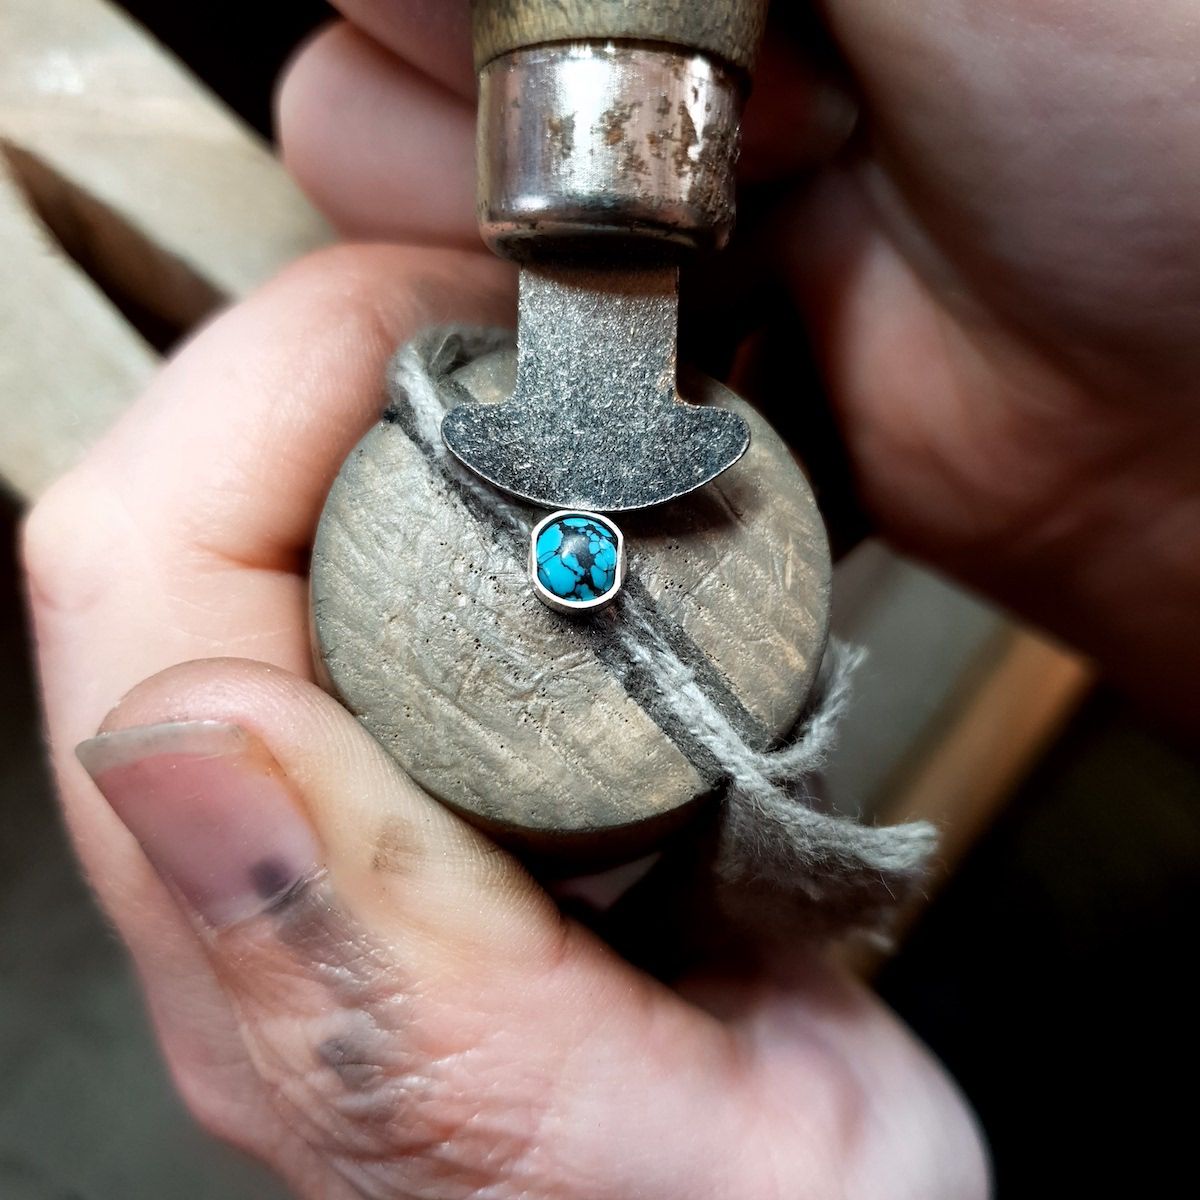
8. Set Stone & Hang on Chain
The final step is to use your pusher to slowly push each claw over your stone. Use your finger on your other hand to push against the stone in the opposite direction, allowing you enough resistance to push the claw down fully. Once you have set one claw you should then set the claw diagonally across from the stone to ‘lock’ the stone in place and ease the setting of the last two claws. Thread your chosen chain through the bail and rock that piece with pride!
You May Also Like
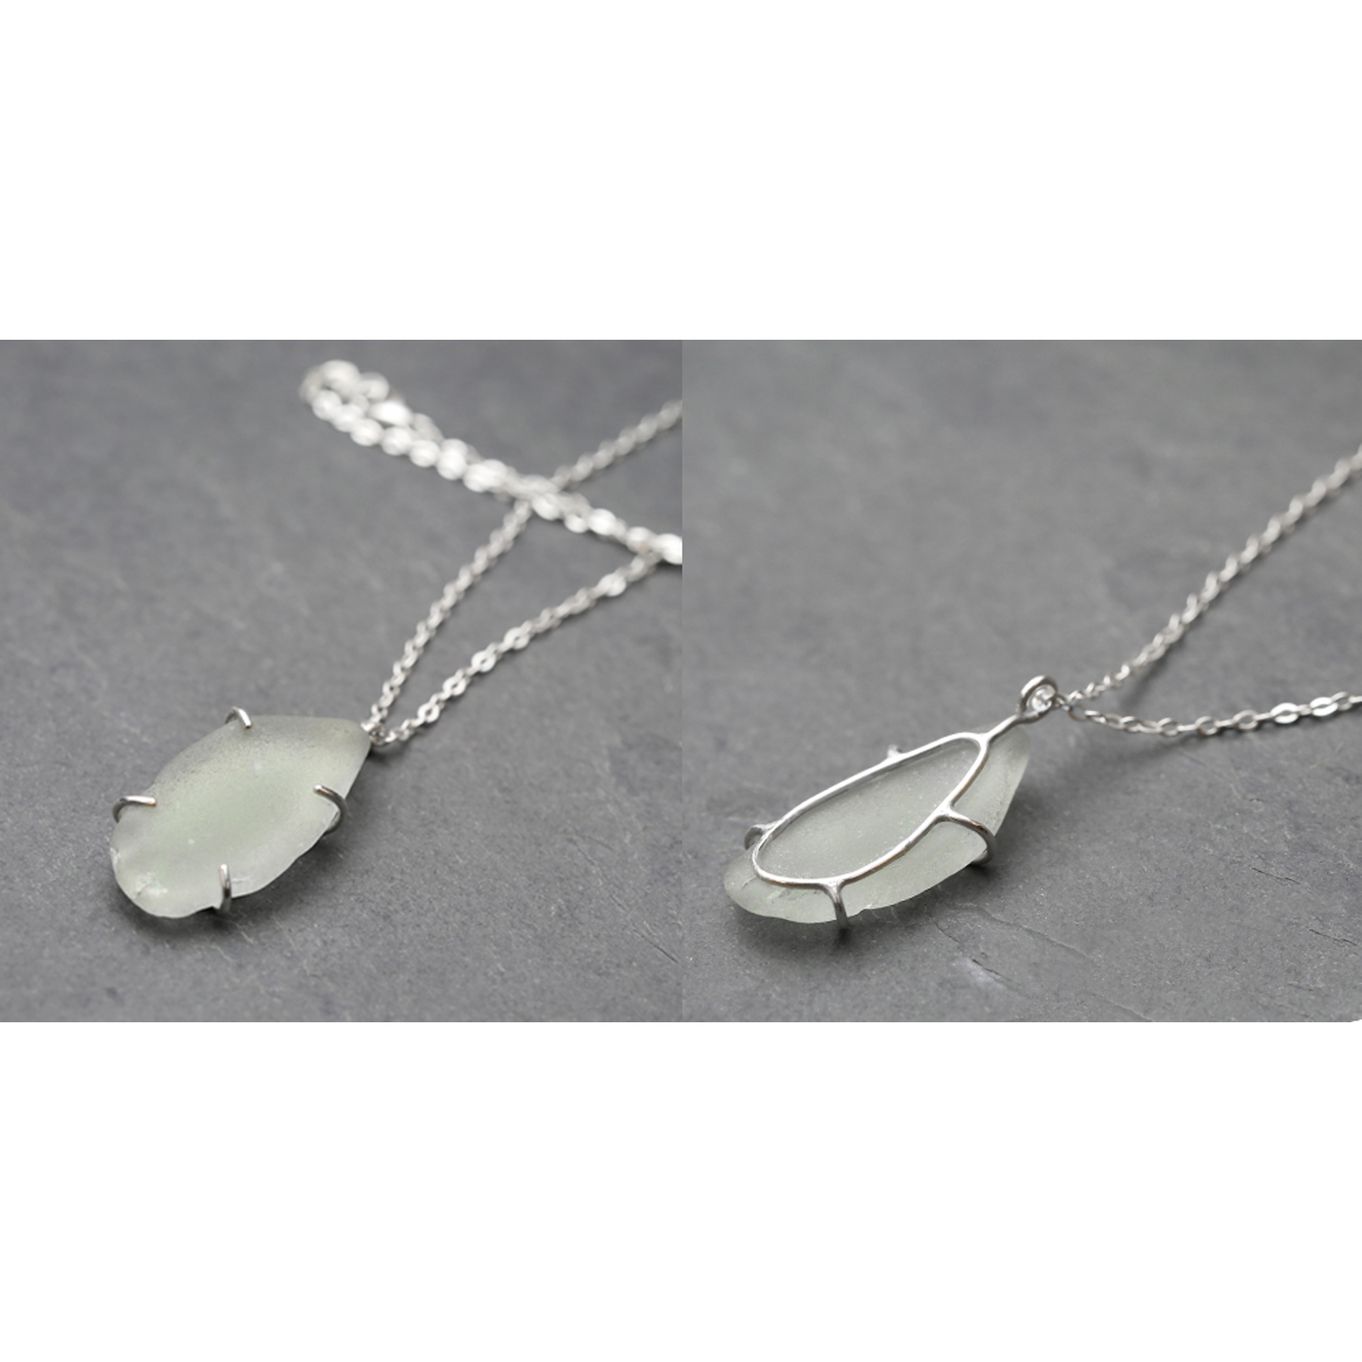
Claw Setting Tutorial For Large Irregular Shaped Stones
Fancy a more advanced claw setting tutorial? Follow along with this tutorial where we set a large piece of sea glass.
Discover More Stone Setting Tutorials
We have so many beginner friendly tutorials to follow! Get all the tools and supplies you need for having a go for yourself, be inspired and get creative!