How To Make A Balled Claw Ring Setting
In this tutorial, Kim Thomson walks you through how to make a balled claw setting from scratch.
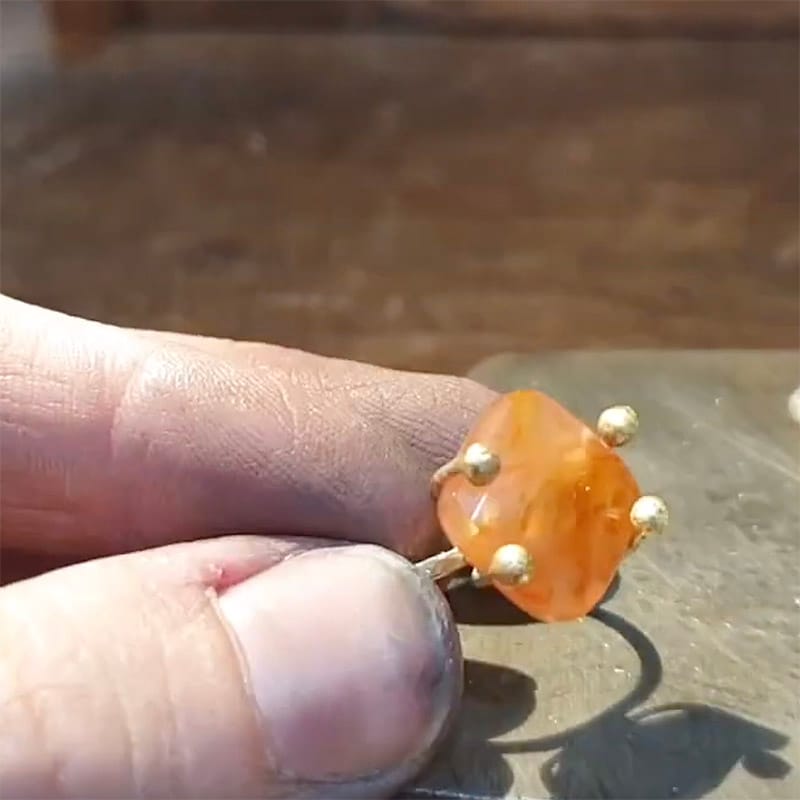
We love this rustic style setting, where the claws wrap around your chosen stone to keep it secure. This technique can be used with many free form materials such as rough gemstones, crystals and sea glass. Pre-made claw settings are also an option, however you will need to select the appropriate size for your chosen stone. Making it from scratch gives you the ability to work on really interesting shapes!
Watch Kim's video tutorial below with step by step instructions and top tips to follow. Have a go for yourself and get all the tools and supplies you need online with Kernowcraft.
Watch how to make a claw setting...
This video is part of our 12 Months Of Metal tutorial series with Kim Thomson!
Basic Instructions
1. Using 0.8mm brass round wire (the size of wire will depend on your desired design), cross 2 pieces of wire and tap with a hammer to form a recess so the wire slots together slightly and doesn't move.
2. Apply flux where the 2 pieces of wire touch and add a pallion of solder.
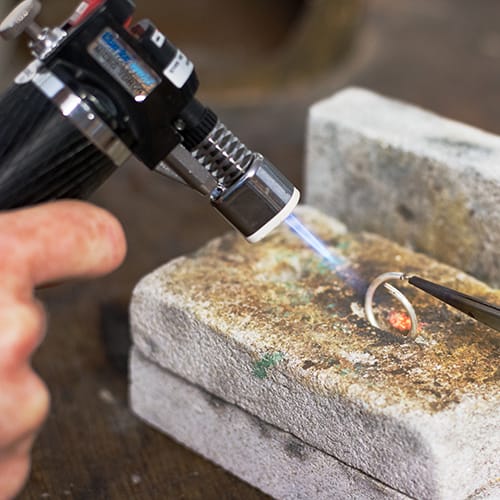
3. Heat the solder using a gas torch on the opposite side of the solder until it runs.
4. Quench the wire and pickle.
5. Flux the cross and ring band where they will meet, add solder then use a third hand to position a ring band on top of the cross join.
6. Use a gas torch to heat the ring band, being careful not to overheat the claws, until the solder runs.
7. Wrap the claws over your chosen stone and trim excess using side cutters, allowing enough room for the balls to cover the stone.
8. Remove the stone and apply flux to the ends of the brass wire prongs, then heat to form balls.
9. Quench, pickle, sand with wet and dry sanding sheets and polish using polishing papers.
10. Place the stone in the setting and use a pusher to push the claws over the stone to secure in place.
Recommended Tools
Soldering Kit
Our soldering kit contains everything you need to get started. Including tools, solder strip, flux and safety pickle.
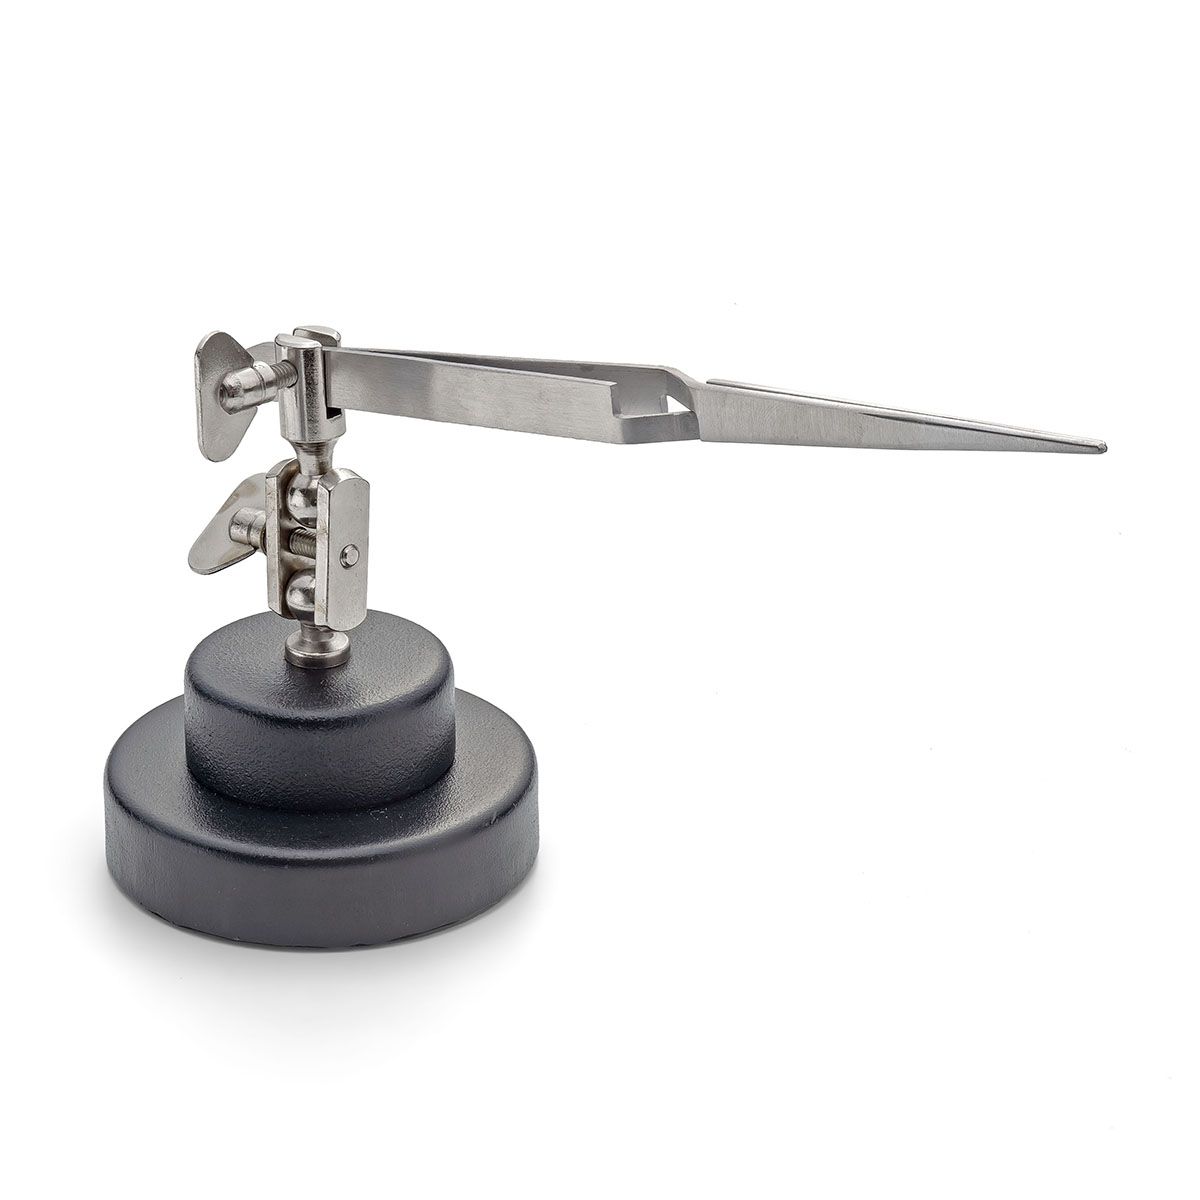
Third Hand
A third hand is a saviour in the workshop, giving you another pair of hands. They have mounted tweezers with an adjustable arm, so you can grip and position your work for accurate soldering.
Ring Clamp
As Kim shows you in the tutorial, a ring clamp can be so helpful for setting stones in rings that are difficult to hold.
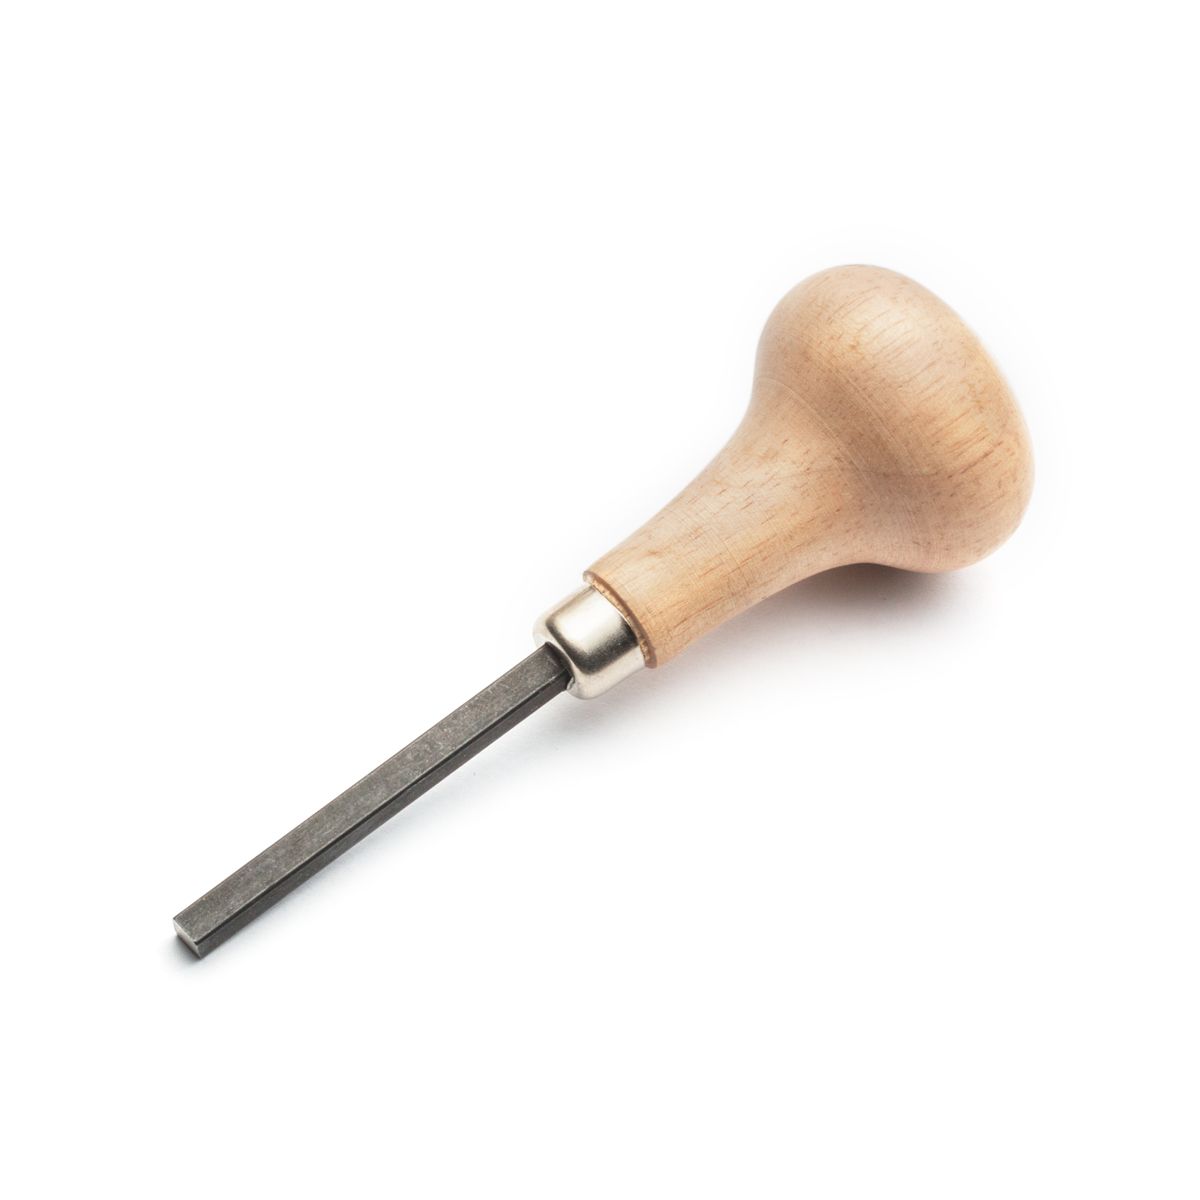
Pusher
A pusher is a simple and effective tool for pushing claws or bezels over stones during setting, for a neat and professional finish.
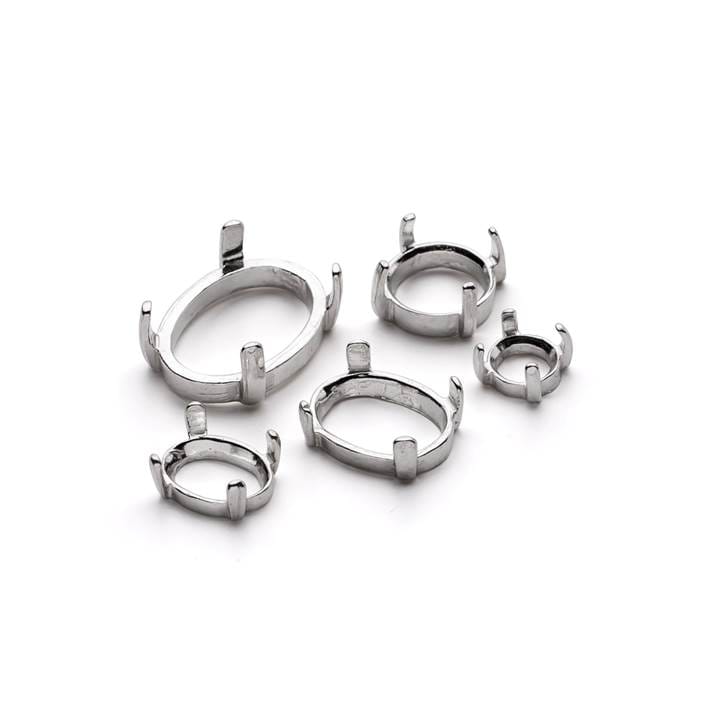
Shop Pre-Made Claw Settings
Claw settings are a great alternative to a bezel setting and can be purchased ready made to set with a specific size stone. You will need to use a pusher to push the claws over the stone to hold it securely in place.
Many are available as loose settings so you can solder them onto your chosen design or you can choose from a selection of claw pendants and earring settings.
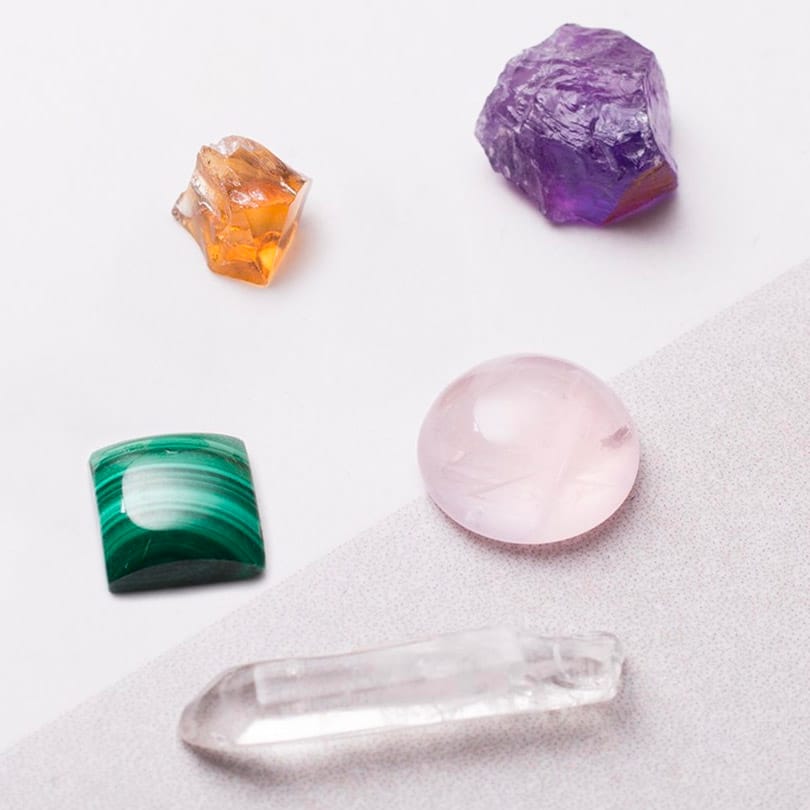
Choose Your Favourite Stone To Set
This technique would work on any of your favourite gemstones, especially rough stones which you couldn't set in a bezel setting.
At Kernowcraft, we have a range of beautiful stones to choose from in a range of shapes and sizes to suit you.