How To Drill Sea Glass For Jewellery Making
How to drill sea glass is one question we get asked a lot! So we thought we'd show you how it's done.
You'll find a video tutorial of how to drill a piece of sea glass using a drill bit and how you can easily transform it into a necklace. Follow our top tips and get all the supplies you need right here on our website.
Don't forget to tag us on social media in your sea glass designs, we often share our favourite designs! Find us on Instagram, Facebook and Twitter.
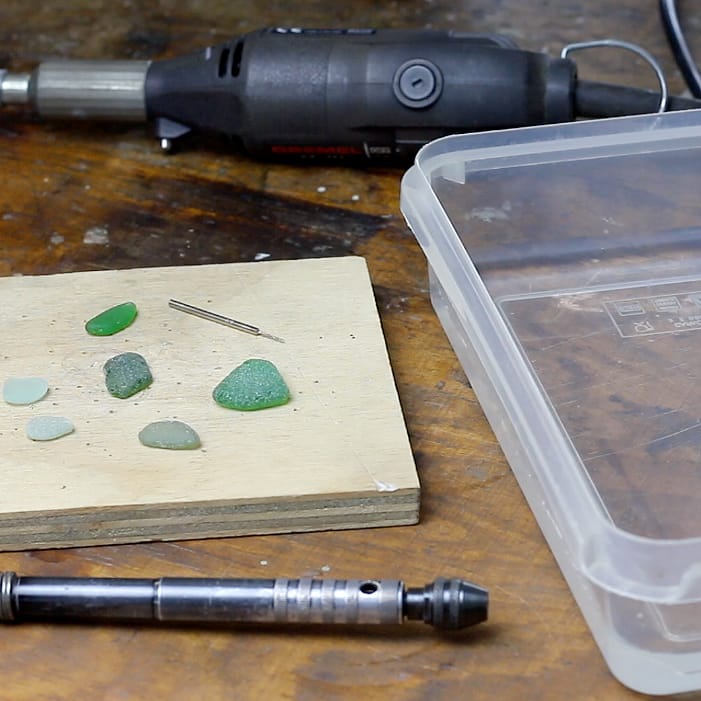
Supplies Needed
Dremel Multi Tool (or other rotary tool) & - Diamond coated drill bit (we used 1mm)
- Safety goggles
- Wooden board
- Shallow tub of water
- Sea glass
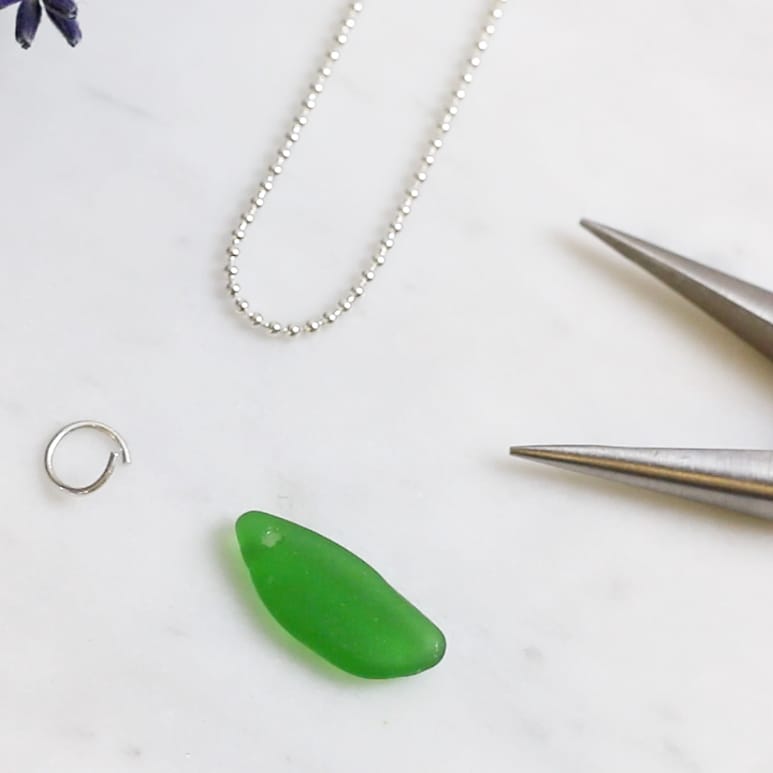
For creating a necklace:
- Jump ring
- Pair of snipe nose pliers for opening and closing the jump ring
- Necklet chain
Top Tips Before You Get Started
Our Top Tips To Remember For Drilling Sea Glass
Safety first: Assess safety in your workspace, such as wearing safety goggles, ensuring your space is tidy and making sure all electric parts of the rotary tool is away from the water.
Start at an angle: Begin drilling the sea glass at an angle and slowly tilt your drill bit upright to continue drilling - this will stop the drill bit from skidding out of position and potentially marking your glass.
Keep it slow and steady: Use at a slow speed with a light to medium pressure, allowing the diamond coated drill bit to go at its own speed.
Drill in water: Use plenty of lubrication by drilling your sea glass in water and rinse the sea glass regularly, ensuring that you are keeping the drill bit and glass cool throughout the drilling process. We recommend adding a piece of wood to the bottom of your container to act as a stopper once your drill bit goes through the sea glass.
Use a gentle pulsing movement: Gently and slowly lift the drill bit up and down while drilling, this will help prevent the glass and drill bit from overheating.
For thick pieces of sea glass: You can drill 3/4 of the way through, flip it over and drill from the other side for a more even hole.
Be patient: If you break a piece of sea glass or a drill bit, don't panic - assess your technique and try again.
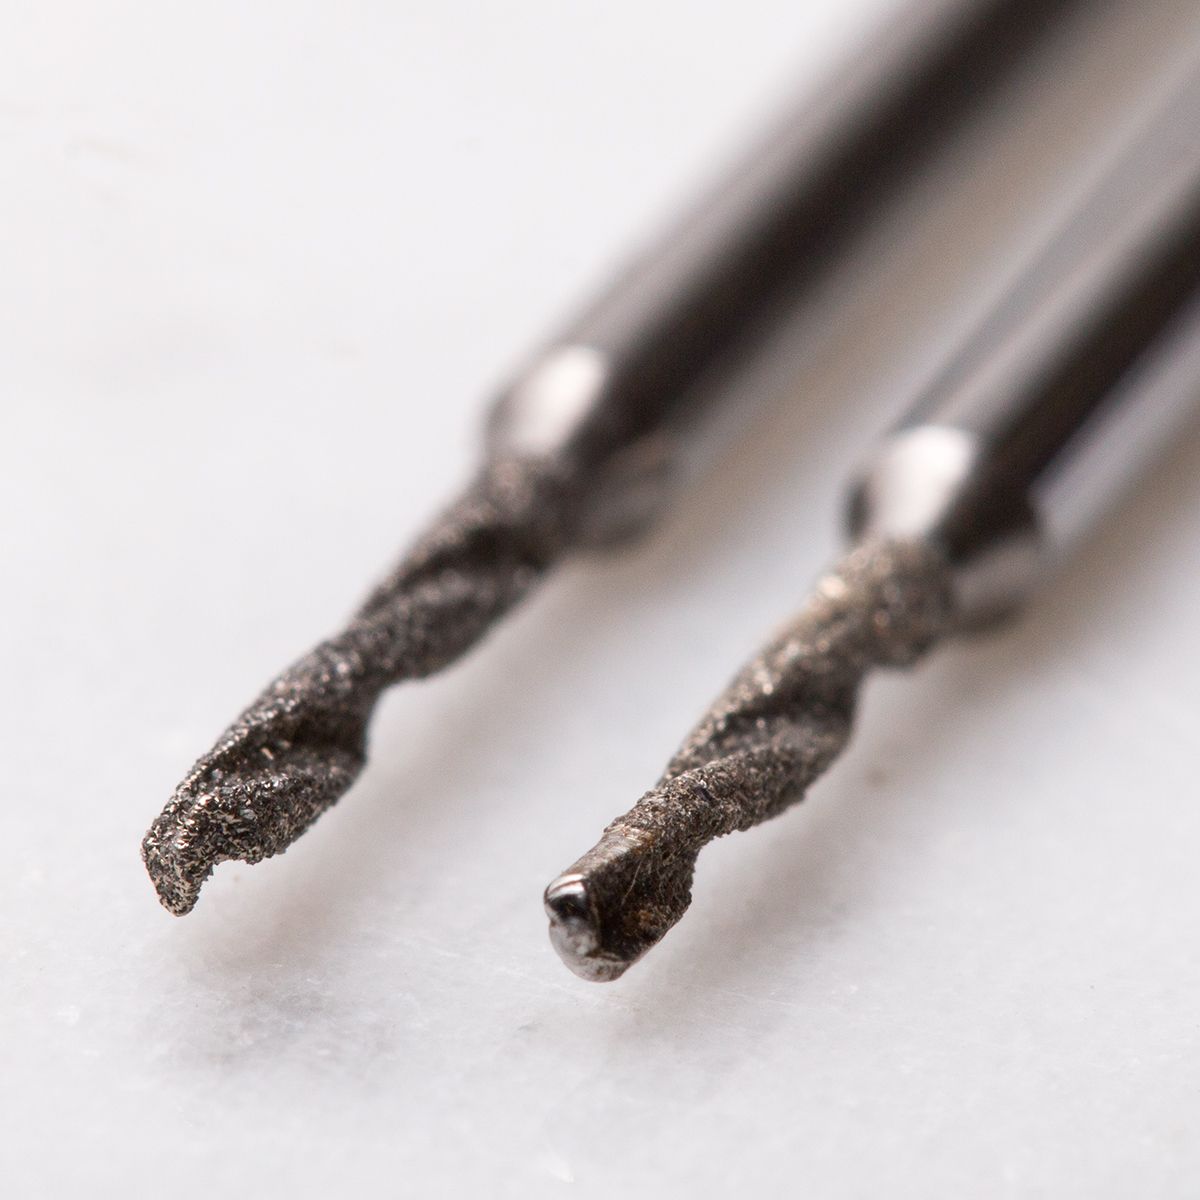
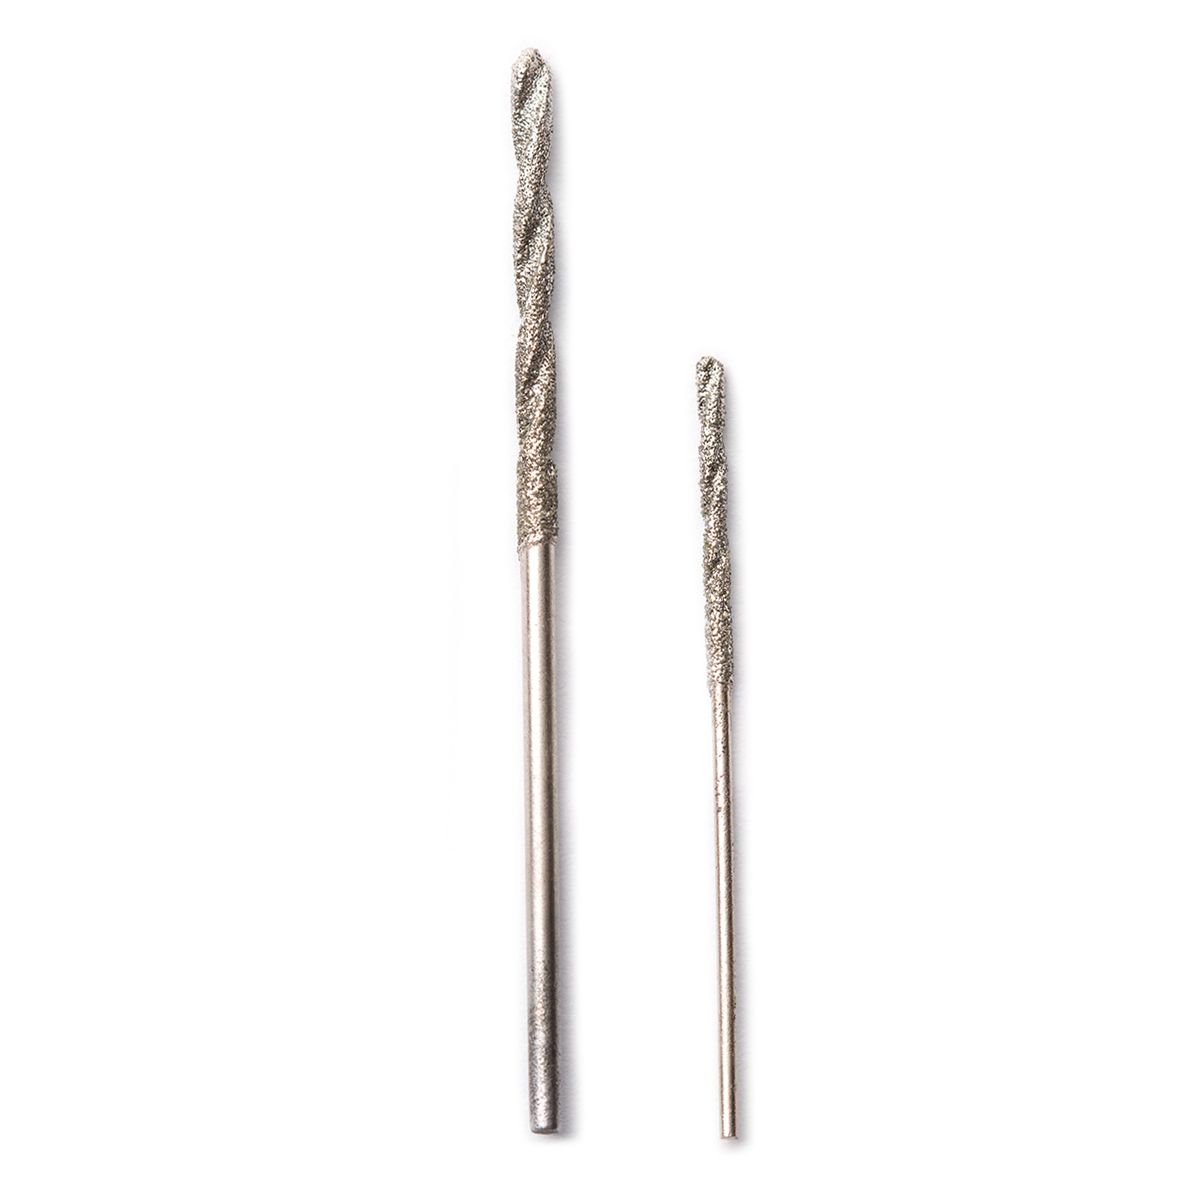
Reasons Your Drill Bit Is Blunt Or Broken
When first practising your drilling technique, it's important to follow our advice to prolong the life of your drill bit and avoid damaging it.
The featured photo shows 2 diamond coated drill bits side by side, the right one is damaged and blunt and we share some of the possible reasons for this below.
Too much force was used: Using too much pressure or speed will cause your drill bit to become dull and ineffective. Always use light to medium pressure, allowing the drill bit to go at its own speed.
The sea glass or drill bit overheated as there wasn't enough lubrication: Drilling the hole underwater helps wash away debris and keep everything cool. Don't forget to keep rinsing the sea glass regularly as this will also prevent it from overheating. If the drill bit gets too hot, it will burn off the diamond coating so you with end up with a smooth and ineffective drill.
Your drill bit wasn't upright and steady: Once you've started drilling the hole, keep the drill upright and steady, do not roll it around as this will increase the chances of breaking the drill bit.
Watch Our Video Tutorial On Drilling Sea Glass
Step By Step Photos Of Drilling Sea Glass
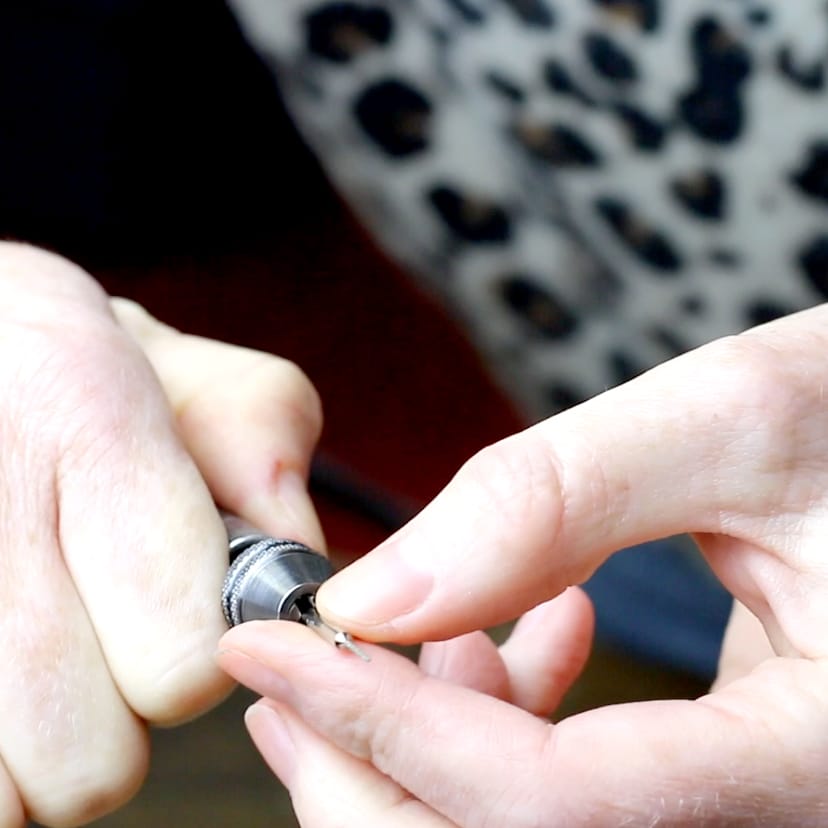
Step 1
Insert the diamond coated drill bit into the collet and tighten. Ensure that the rotary tool is in a safe position, clear from the water.
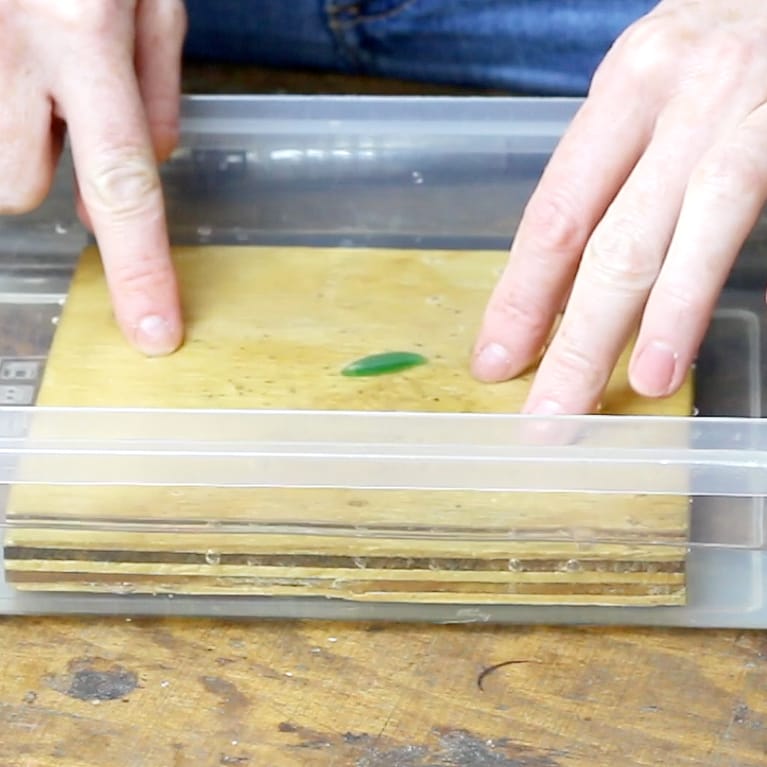
Step 2
Place the wooden board into the tub with shallow water - the board is to stop the drill bit going through the tub. Place your sea glass on top and ensure that there is enough water to cover the board and sea glass. The sea glass needs to be drilled in water to avoid the sea glass and drill bit from overheating and to keep the hole clear.
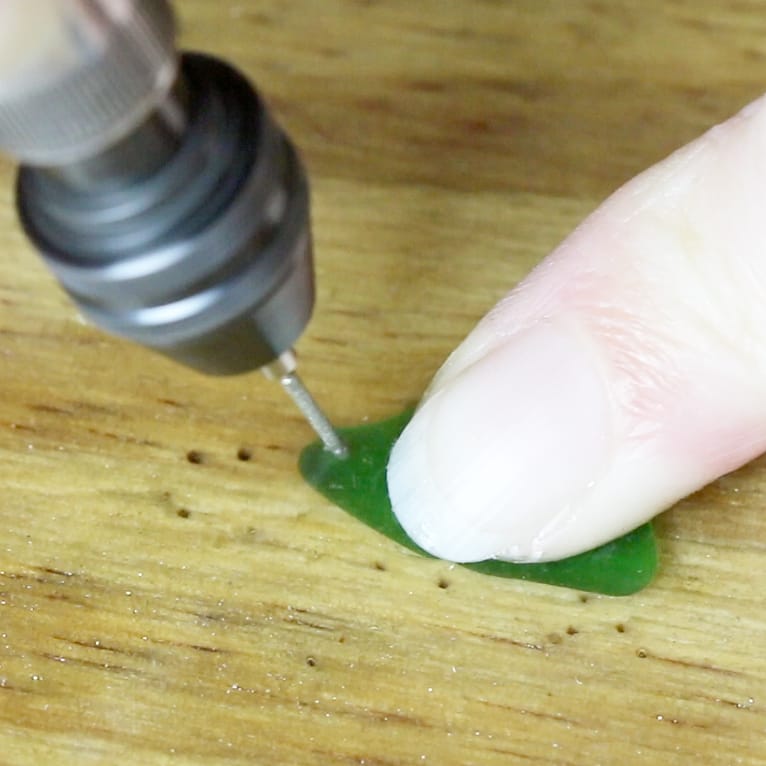
Step 3
Set the speed of the rotary tool to low, use your finger to hold the sea glass under the water. Begin drilling at an angle - this will stop the drill bit from skidding out of position). Then continue to drill vertically using light to medium pressure, allowing the drill bit to go at its own speed.
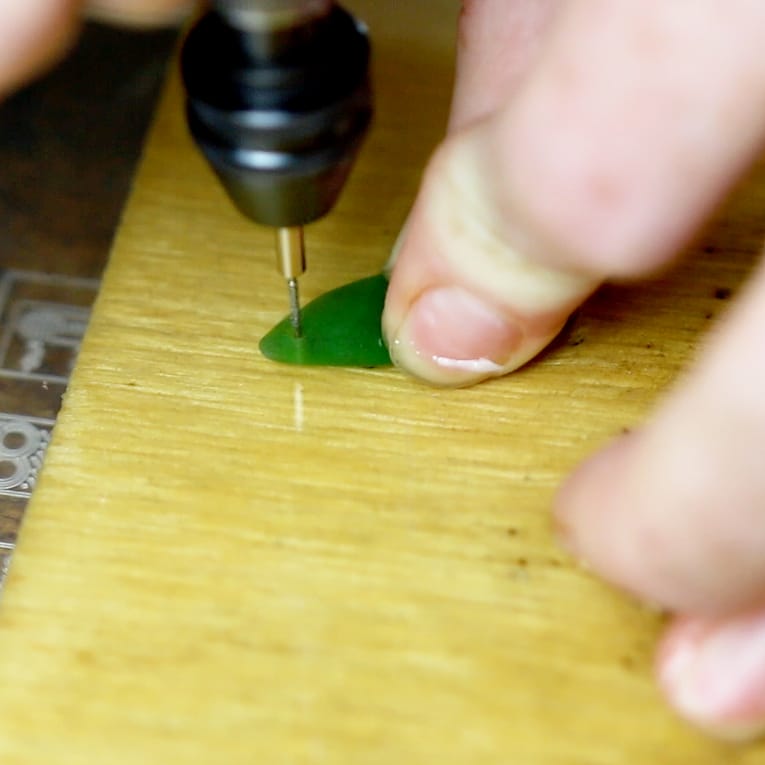
Step 4
Use a pulsing technique to keep the sea glass and drill bit lubricated, allowing the water to reach the tip and wash away debris. Rinse the sea glass frequently to keep it cool. Using a good drilling technique and having lots of lubrication will improve the life-span of the drill bit quite considerably.
Create Jewellery
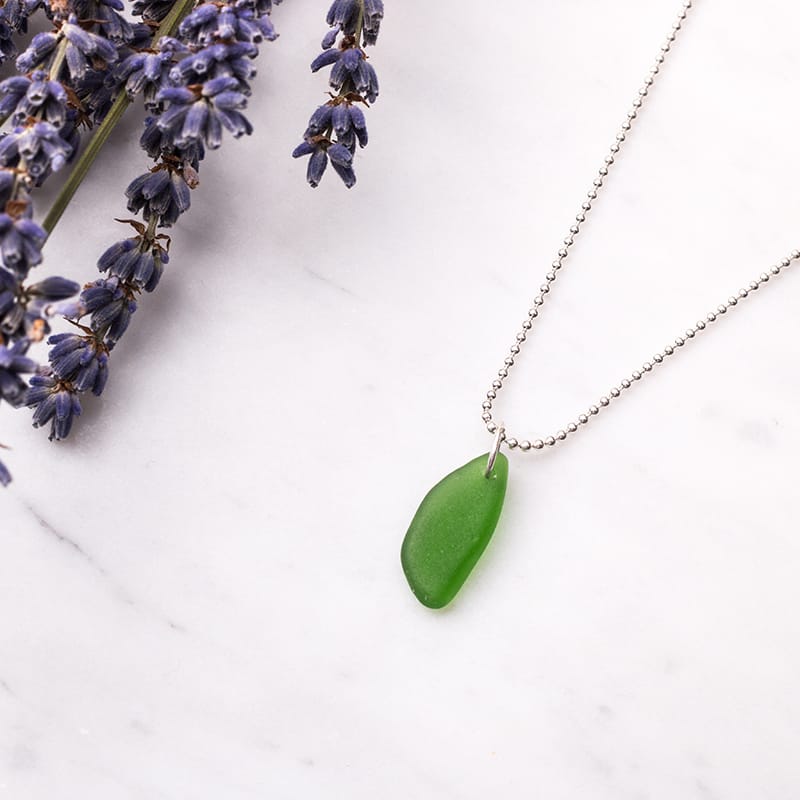
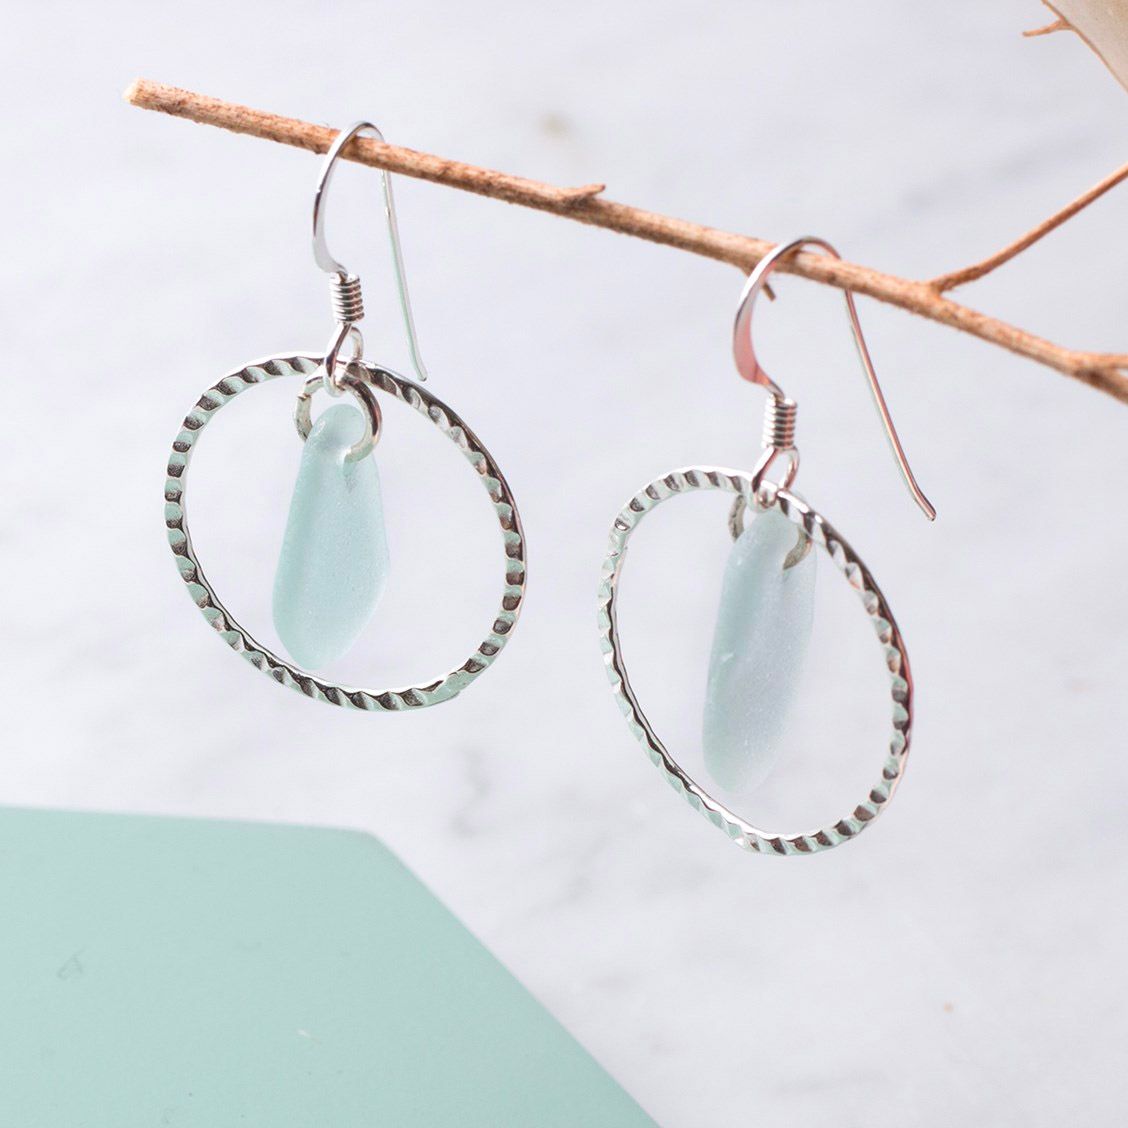
So you've drilled your piece of sea glass, now what? You can transform it into a pendant, charm or use for dangly earrings! The example we show is a simple necklace - it's so easy! Simply get the appropriate size jump ring for your sea glass to attach through the hole, take this into consideration when drilling the hole as the closer you are to the edge, the more room you will have for the jump ring - 7mm jump rings work well for this. In this project, we've used 1mm diamond coated drill bit and If your jump ring doesn't fit, you could also use a wire wrapping technique to form a loop - find step by step instructions here.
Read our top tips for opening and closing jump rings correctly here. You will need snipe nose pliers.
Shop Supplies With Kernowcraft
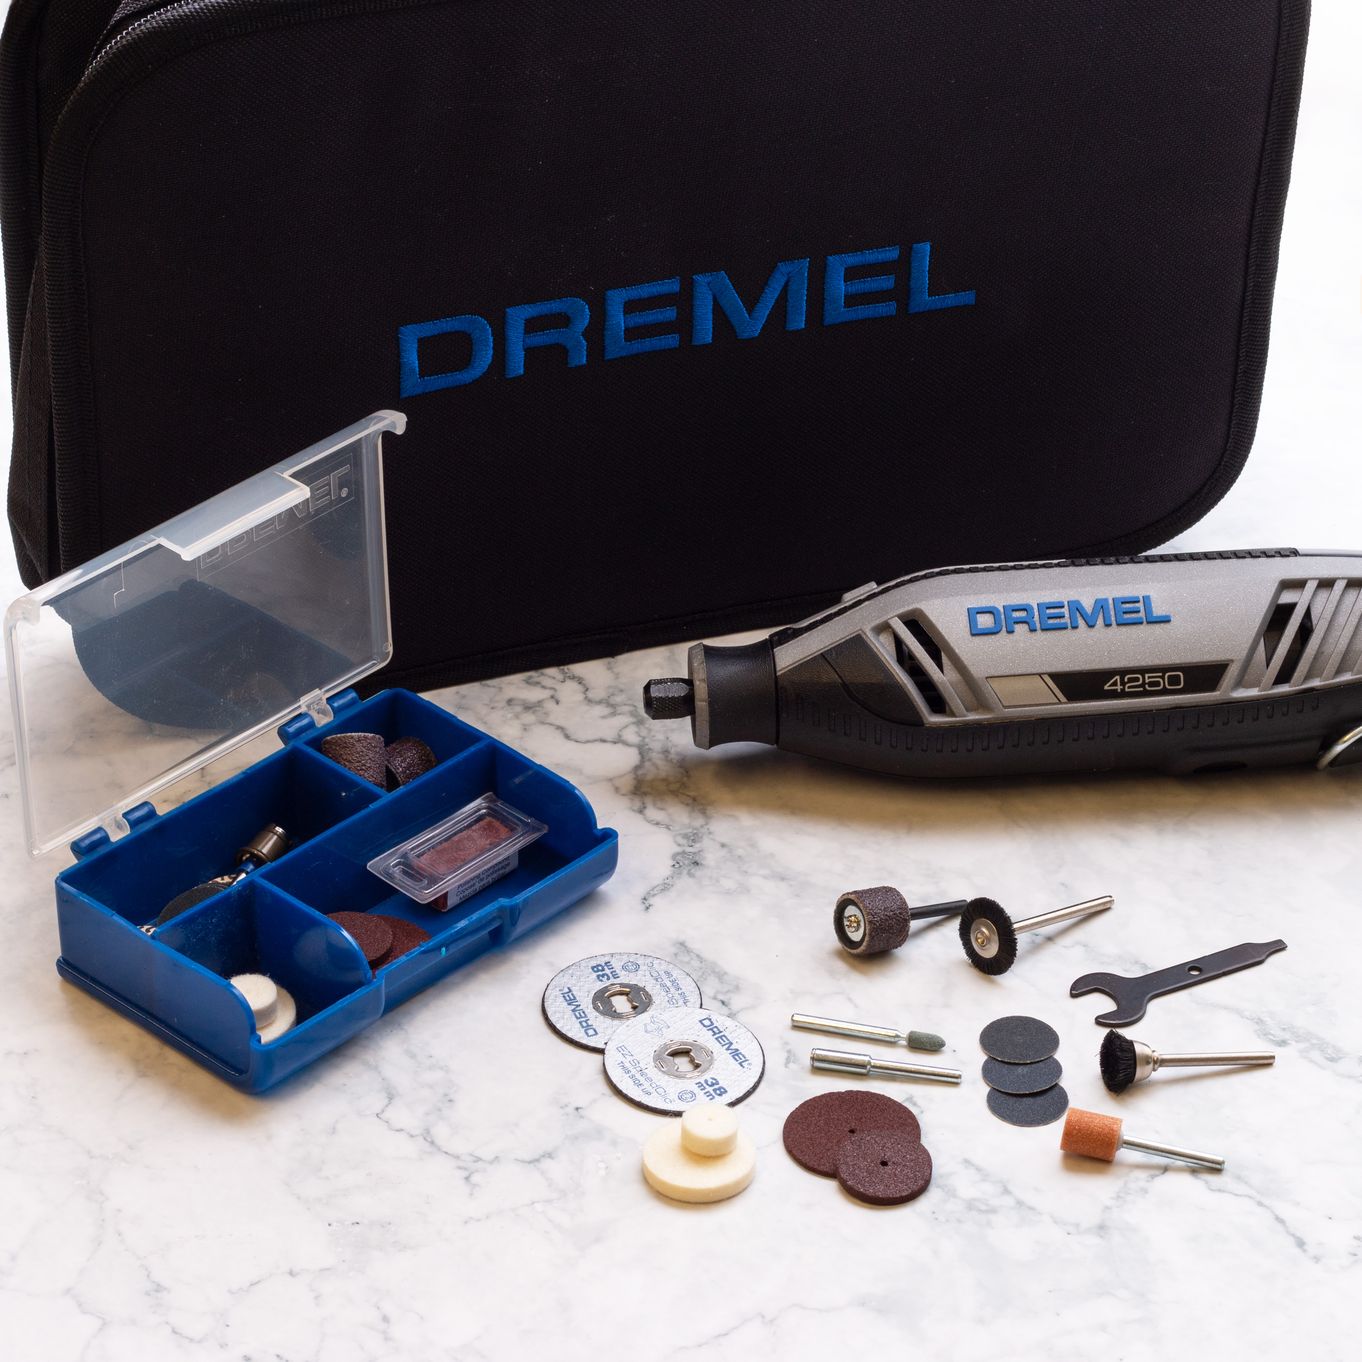
Dremel Multi Tool
This rotary tool is perfect to use alongside our diamond coated drill bits. The Dremel Multi Tool is great for both hobbyists and dedicated jewellers, used for drilling, sanding, carving, engraving, cutting, grinding, cleaning and polishing.
You will also need a multi chuck to use alongside the Dremel Multi Tool and diamond coated drill bits.
Diamond Coated Drill Bits
Diamond coated drill bits are essential for drilling sea glass, stones, sea glass pearls or ceramics. They must be used at a slow speed and water must be used as a lubricant. They are available in a range of diameters to suit your needs, in this project we've used a 1mm diamond coated drill bit.
In Our Day In The Life Series Over On YouTube, 'Created By Niki' Shares Her Process Of Making Sea Glass Jewellery
Also in this section:
- The Essential Tools For Setting Gemstones
- Your Guide To Stone Setting Burrs For Jewellery Making
- What Is A Bezel Rocker?
- Types Of Settings & How To Use Them
- Types Of Settings For Calibrated Cabochon Stones
- Types Of Settings For Faceted Stones
- Types Of Settings For Free-Form Stones & Crystals
- Calibrated Gemstones & Size Tolerance In Jewellery Making
- Ready Made Settings vs Making Your Own Settings
- 7 Ways To Make Your Own Gemstone Ring
- How To Set Earstuds For Half Drilled Beads
- How to Set Flat Plates and Milled Edge Jewellery Settings
- How To Set Snaptite Settings
- How To Set Gemstones In Gallery Wire Settings
- How To Set Backset Settings
- How To Set Wraptite Settings
- How To Use Huggie Claw Settings For Crystals & Sea Glass
- What Are Bell Caps For Jewellery Making?
- How To Set A Pre-Notched Setting
- How To Set Claw Settings
- How To Make A Decorative Ring Setting For A Free Form Cabochon
- How To Make A Tube Setting For A Faceted Stone
- 4 Drilled Sea Glass Earring Projects
- Jewellery Making With Sea Glass: Drilling & Stone Setting Tutorials
- How To Drill Sea Glass For Jewellery Making
- How Much Bezel Strip/Gallery Wire Do I Need?
- Types Of Bezel Cups
- How to Adjust Bezel Settings to Fit Cabochons
- How To Set A Cabochon In A Bezel Setting
- How To Make A Gemstone Ring With A Bezel Cup
- How To Make A Bezel Set Cabochon Ring With 'Made By Oonagh'
- How To Make A Sea Glass Ring With Bezel Setting
- How To Make Bezel Set Cabochon Earstuds
- How To Make A Sea Glass Necklace With Backless Bezel Setting
- How To Bezel Set A Free Form Cabochon Onto A Textured Silver Pendant
- How To Make A Textured Pendant With A Freeform Gemstone Slice
- How To Make A Claw Set Cabochon Pendant
- How To Make A Prong/Claw Setting For Irregular Shapes Stones
- How to Make A Wire Edged Setting
- How To Make A Balled Claw Ring Setting
- Making An Australian Boulder Opal Pendant With Stardust Mine
- The Process Of Remodelling A Gemstone Ring With 'Honey Bee Design'
HAVE A QUESTION?
If you have any questions, feel free to get in touch with our friendly team who will be more than happy to give you advice over email or on the phone.
You can learn more and find inspiration by visiting our Jewellery Making Tutorials, Jewellery Making Kits and YouTube Channel. Don't forget to follow us on social media and tag us in your designs on Instagram & Facebook, we would love to see!